|
||||||
|
Welcome to the TBCS Community Forums forums. You are currently viewing our boards as a guest which gives you limited access to view most discussions and access our other features. By joining our free community you will have access to post topics, communicate privately with other members (PM), respond to polls, upload content and access many other special features. Registration is fast, simple and absolutely free so please, join our community today! If you have any problems with the registration process or your account login, please contact contact us. |
![]() |
|
|
Thread Tools |
|
#1
|
||||
|
||||
|
Hi all,
some of you might have noticed me asking for some ideas on painting my case. Now I made up my mind and my new 'project' is named: ![]() That's right, Hazard. One thing I want to make clear before you read on: this is actually not a real mod, since I will only be painting the case... Anyways, on to the pictures: 
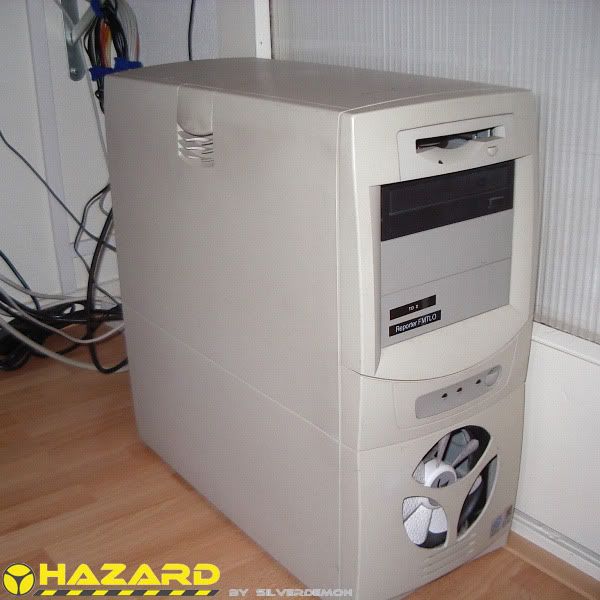
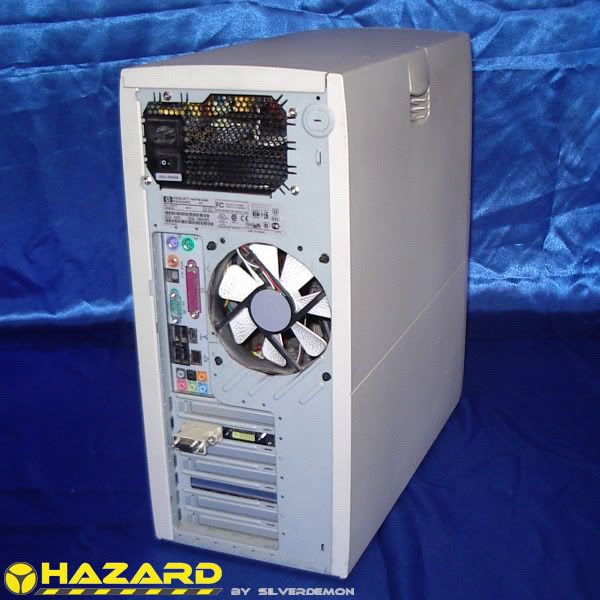
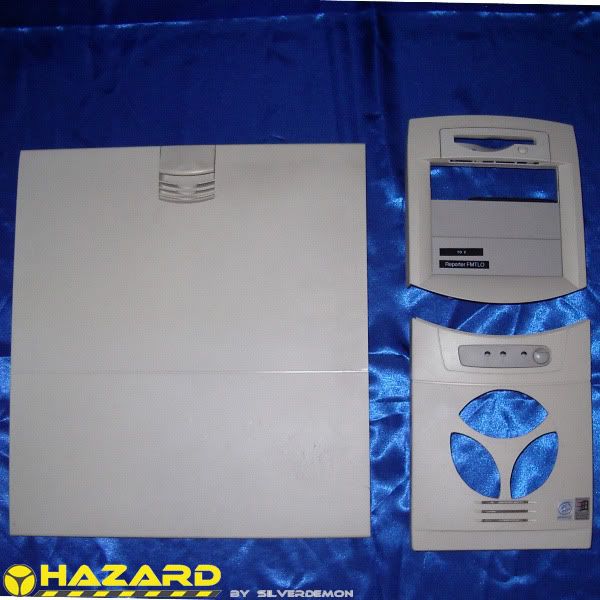
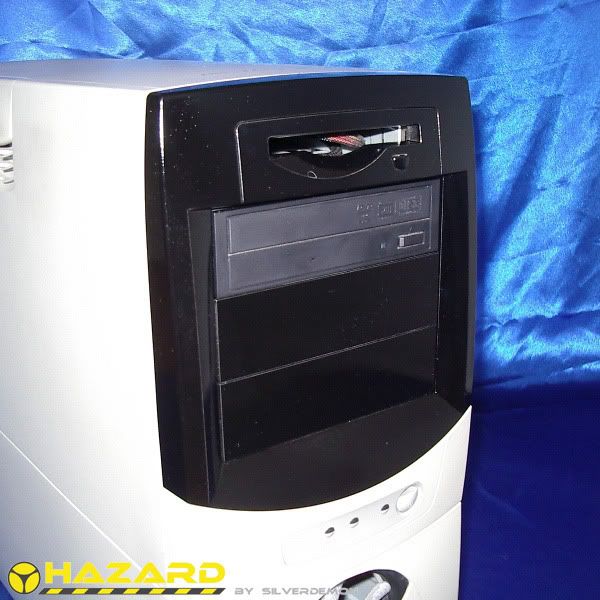
The HP Vectra (server) case in it's natural habitat ![]() 
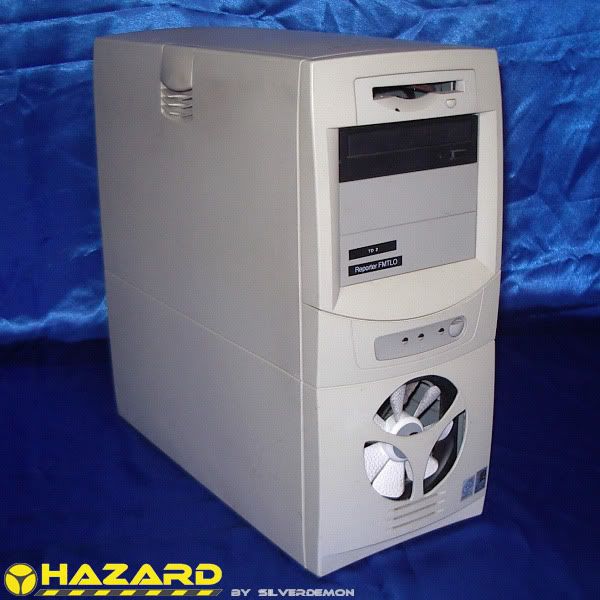
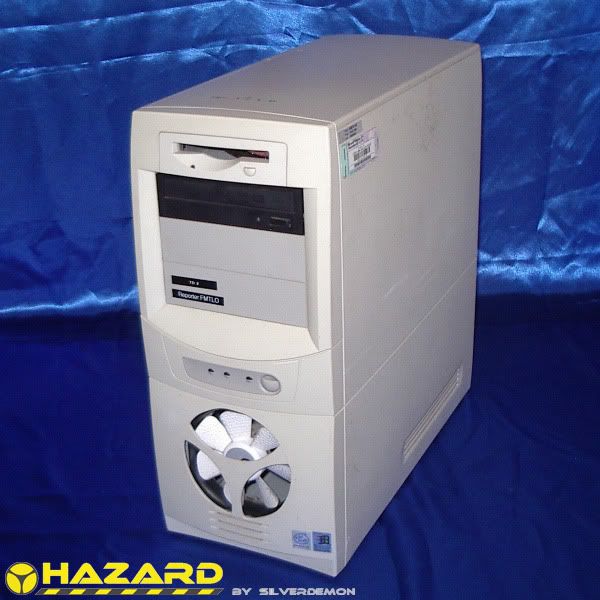
Some other pictures to show what a nice case this actually is (even though it is old and beige)
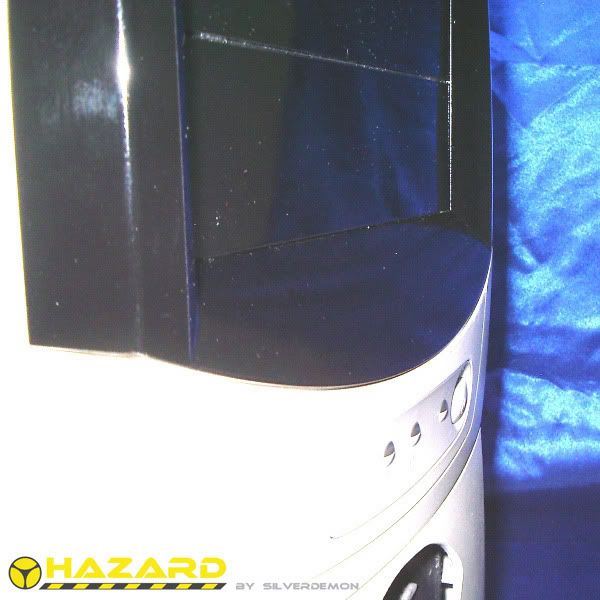
 ![]() other side ![]() The behind ( ) of the case![]() 
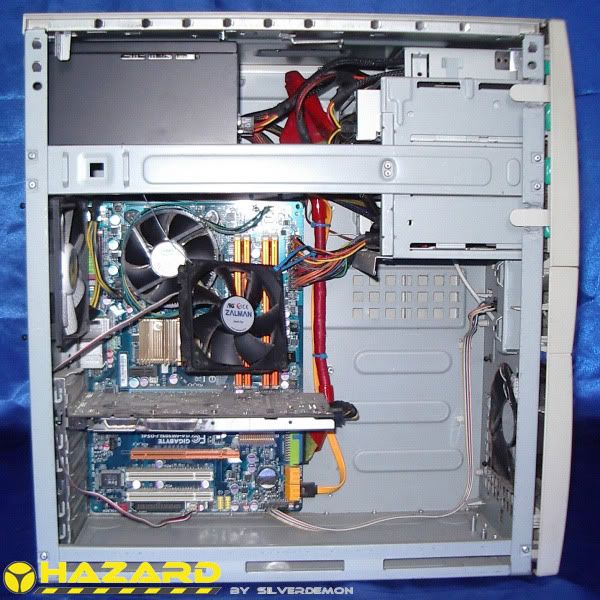
A view of the guts of the beast, the system is in 'my system' but basically it is a E8400 proc, n650 chipset, 4GB of GEIL memory and an nVidia 9600GT ![]() The side panel can be removed very easilly by the way, just pull the handle and it 'folds open' ![]() 
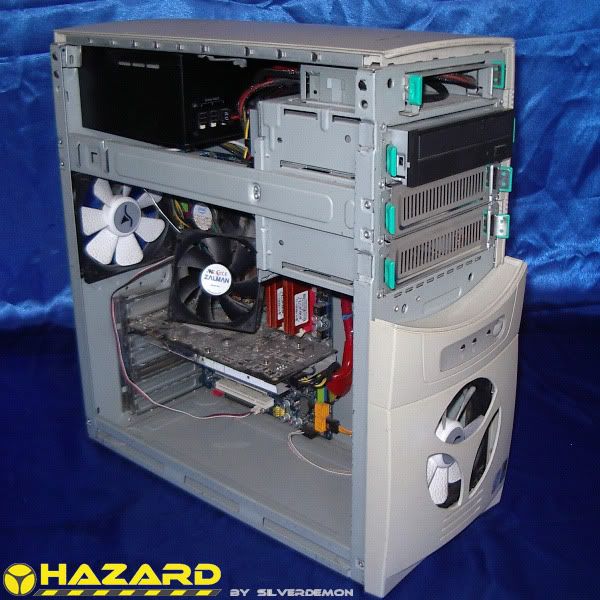
Continue undressing; you can see the nice drive-bay-sleds, 1x 3,5" and 3x 5 1/4" ![]() 
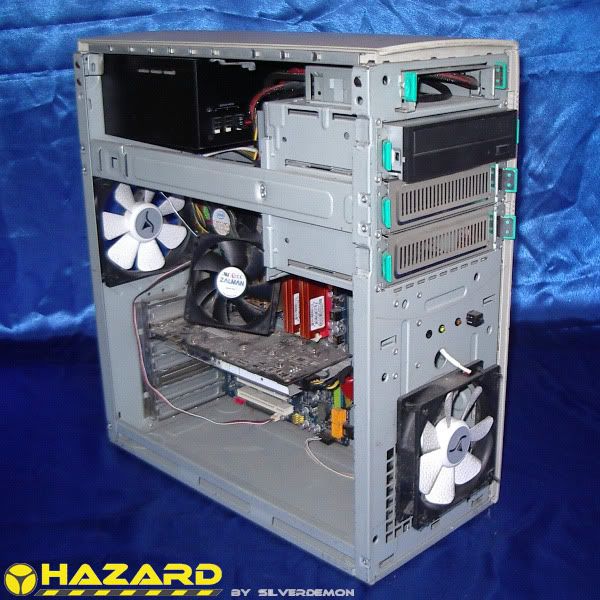
And finally the bottom of the front panel is off. All this can be done with no tools whatsoever, just click-thingies and stuff like that ![]() 
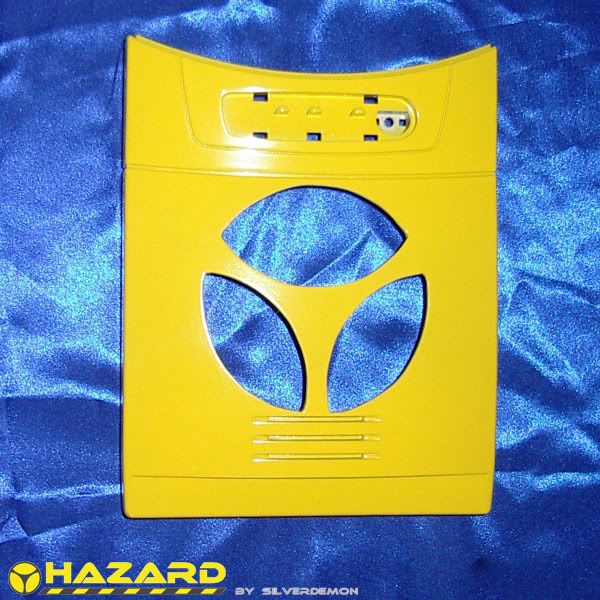
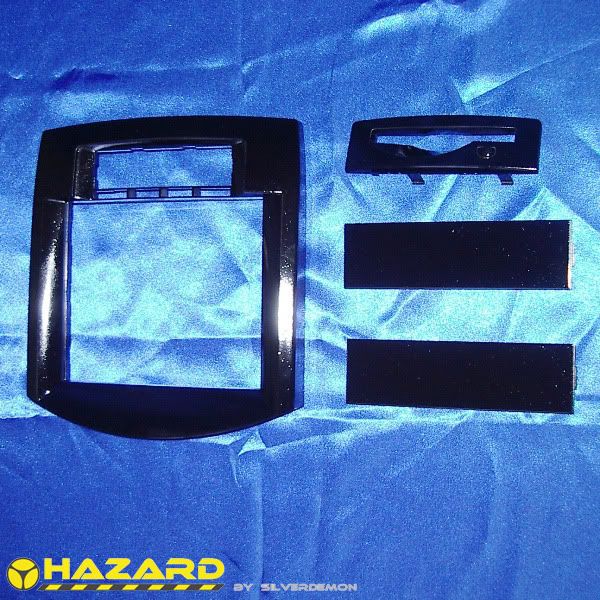
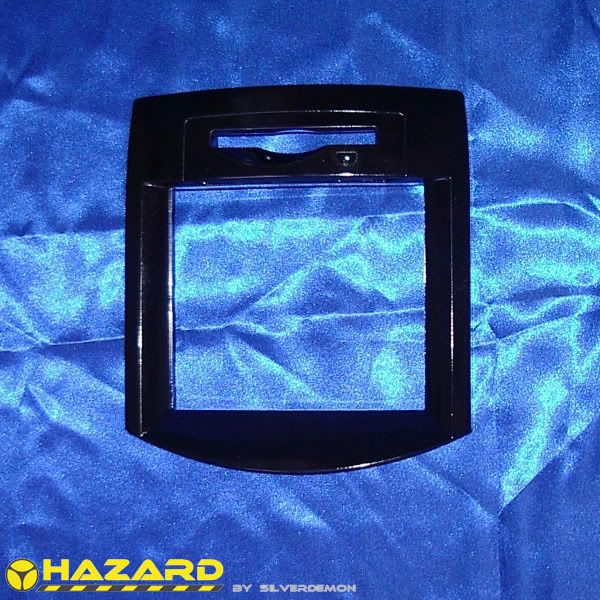
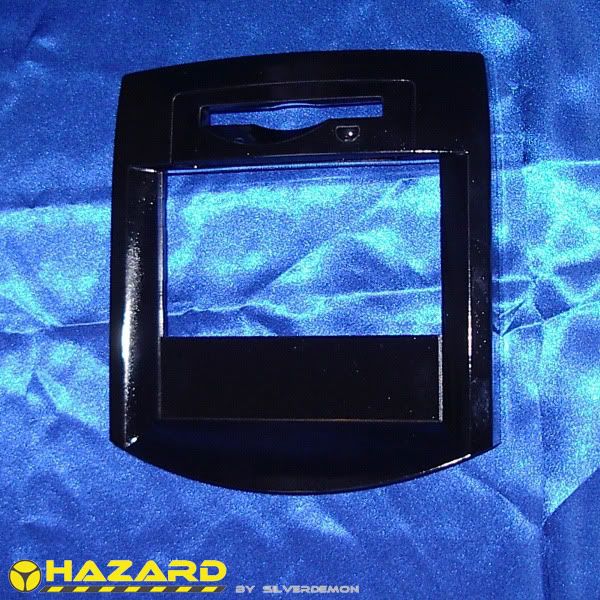
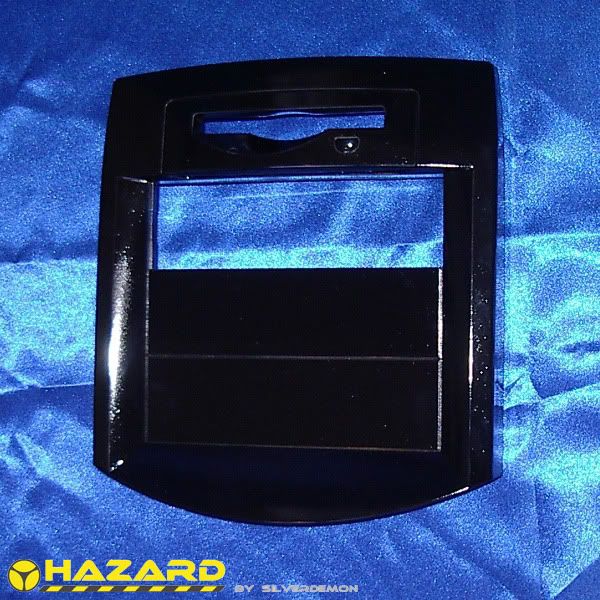
And here is some of the skin I'm going to paint. Obviously the right panel and the top panel will also be painted... ![]() 
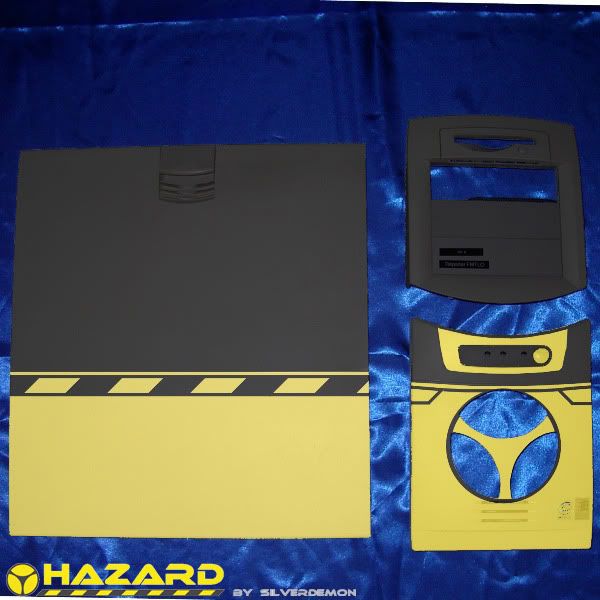
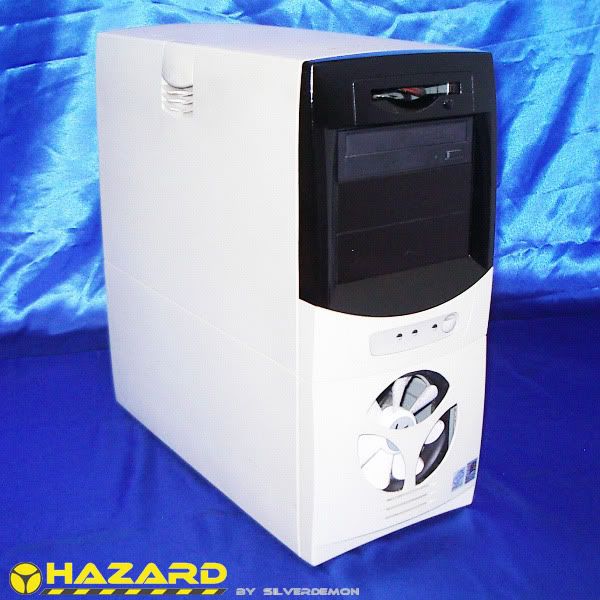
And finally: This is how I plan to paint it ![]() So, that's all I have for now. I haven't started paint just yet, but I might be able to begin next week. Keep safe - silverdemon |
|
#2
|
||||
|
||||
|
Glad you took my idea!
"If it's not stock, it's modded." So this does constitute a mod, even if you don't feel a paint job does.
__________________
Quote:
Projects: Moe's Tavern | Sponsored by: Mimo Monitors, Crucial, Thermaltake Book Of Knowledge |
|
#3
|
||||
|
||||
|
This'll look like a million bucks after you're done. You're inspiring me to tear apart one of my servers and get rid of the beigeness of it.
__________________
Quote:
DrumThumper.net || The Brewing Art || My Flickr Stream |
|
#4
|
||||
|
||||
|
Quote:
I'm about to start painting a couple of "spare" computers just to get some practice in before I start painting Lobo....
__________________
![]() Current Projects: Lobo | Unimatrix | High Voltage | Antec 900 Revamp (Phase 2) Completed Projects: General Lee | Synergy Green | Liquid Yellow Planned Projects: K-9-PC | Limey |
|
#5
|
||||
|
||||
|
Thanks for the kind words!
I really hope it'll look like a million bucks when done, however I had a minor set-back last week. I tried to spray the first layer of paint of the inside of the top-front part, but the paint is a bit different than I'm used to so I messed up a bit... No worries though, I can fix it again, but I'll have to be more patient and this project will take a bit longer than I expected at first. Anyways, I'll be painting the next coat tomorrow, and the last coat for this part the after that, so by the end of this week I'll be done with my first part (fingers crossed) and some more pictures should be on their way... keep safe - silverdemon |
|
#6
|
||||
|
||||
|
All right!
Here are the pictures of the first painted parted. I'm not really happy with how they turned out, because there is a lot of dust at the place I paint the parts, but it'll have to do. On to the pictures! These are the parts I painted in the first batch; the top front panel along with the drivebay-covers and the floppy-drive cover. ![]() Here you can see the nice shiny finish of the paint. Unfortunately you can also see that there are quite a lot of dust-particles IN the paint :s ![]() On to the assembly; the front cover. ![]() With the floppy-drive cover in place ![]() With one drivebay-cover in place ![]() Final drivebay cover in place ![]() And this is how it looks on the case! I think the color came out pretty nice. Oh yeah, The drive-front will also be painted, so that'll blend in too in the end... ![]() Let's see a close-up. You can see that I don't use the floppy-drive... The space behind this cover is used for some wire-management. The flash of my camera shows it very well, but in real life you can't see that far into the slot. ![]() and finally an even closer-up ![]() So, that's all I have for now, tell me what you think so far. Today I will start with the bottom-front cover, 2 or three layers of yellow and then the black-design... Probably will finish that somewhere next week. I'm sorry that the pictures are not top notch, I just don't have enough light to make real nice pictures... Hope you like it keep safe - silverdemon |
|
#7
|
||||
|
||||
|
Give it a nice wet sand and some rubbing compound / polish. That'll help smooth out any imperfections. On another note, did you clear coat it? If not, I'd recommend doing that before you do anything else. =D
Looks great though. Really good mirror finish on it. ^_^
__________________
![]() "Don't imitate the world; Create your own."
|
|
#8
|
||||
|
||||
|
I never did polishing (nor wet-sanding) before, so I'll have to try that on a test piece first.
I did not use clear coat. I just sanded the parts with some nice old cleaning-sponge: ![]() Don't know how you call them where you are, but it's a sponge with a rough surface on one side to scrub off the really terrible stains and stuff.. It does great as fine sandpaper, I think it's about as rough as scotch brite (I actually looked it up and it turns out 'scotch brite' also makes these things) Anyways, sanded, painted, sanded some more and painted again, that's all I did... You say clear coat it before you do anything, but does the clear-coat cloak the dust particles? or does it just make it easier to wet-sand/polish it? For now I'll leave this part of the case alone, I'll paint all the other parts first and then decide if I want to clear-coat and polish/wet-sand it thanks for the advise though! |
|
#9
|
||||
|
||||
|
Looking good so far...
If you can, close the painting area and boil some water for 10-15 minutes. The steam helps to take the dust particles out of the air (unless it's a very large area).
__________________
![]() Quote:
PROJECT: DIRTY BOMB |
|
#10
|
||||
|
||||
|
Hey guys,
thnx for the tip jiggiwiddit, but unfortunately the room I'm painting is is a bit too large so I'll have to do with the dust... Last week I tried to paint outside because the sun was shining. But that didn't go that well either, the painted cover looked like a magnet to dust, sand and other things you get outside :S So after some sanding and another layer of paint the bottom-front cover is now yellow: ![]() This morning I masked the area that needs to stay yellow and sprayed the first layer of black on it. I'm hoping it turns out well, but I'll see that later today. I think I will then spray another layer of black tomorrow and that should do it for the front of the case... keep safe - silverdemon |
![]() |
«
Previous Thread
|
Next Thread
»
| Thread Tools | |
|
|
Powered by vBulletin® Version 3.6.8
Copyright ©2000 - 2013, Jelsoft Enterprises Ltd.
thebestcasescenario.com


) of the case


If you can, close the painting area and boil some water for 10-15 minutes. The steam helps to take the dust particles out of the air (unless it's a very large area).

