I got my 2nd sponsor!
Big thanks to Bill at MNPCTECH! He will be providing some Billet Machined Aluminum case feet, 2 types of modders mesh and a Beer Bottle Opener!


I got my 2nd sponsor!
Big thanks to Bill at MNPCTECH! He will be providing some Billet Machined Aluminum case feet, 2 types of modders mesh and a Beer Bottle Opener!
MNPCTECH is full of awesome. They give great advice and are an asset to the community. Can't wait to see the goodies on the machine.
Since this is my first scratch build I am a bit out of my comfort zone. Before I get to what I did here is some stuff I received.
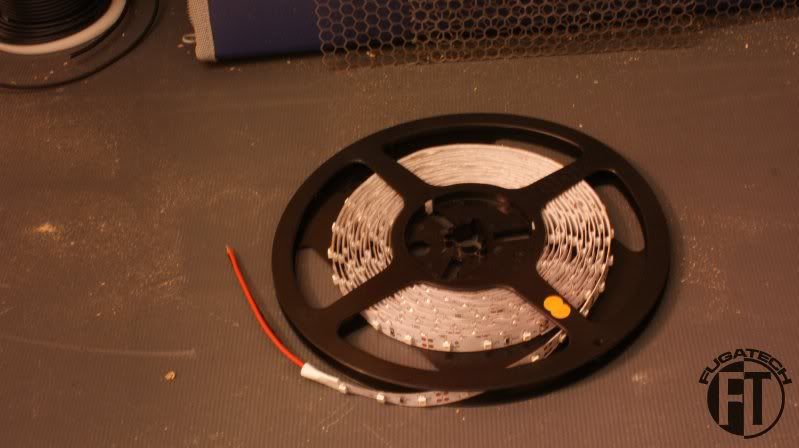
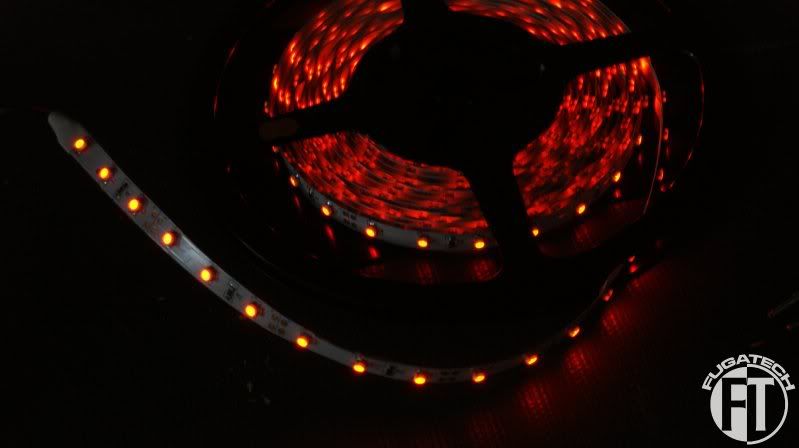
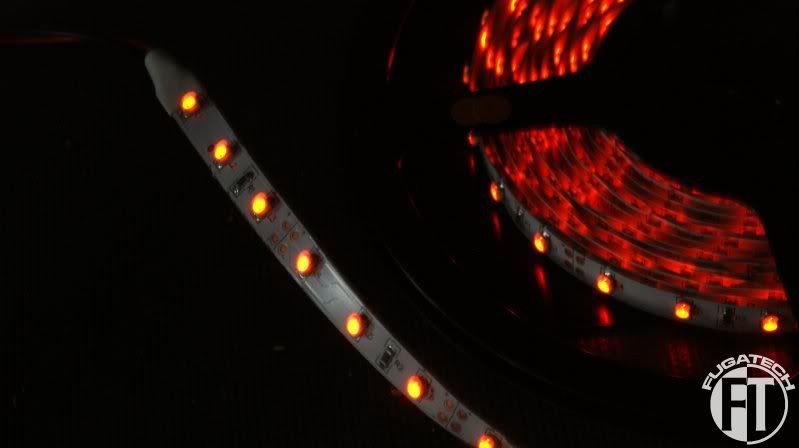
Orange LED strip
Its not very bright for being 12v....
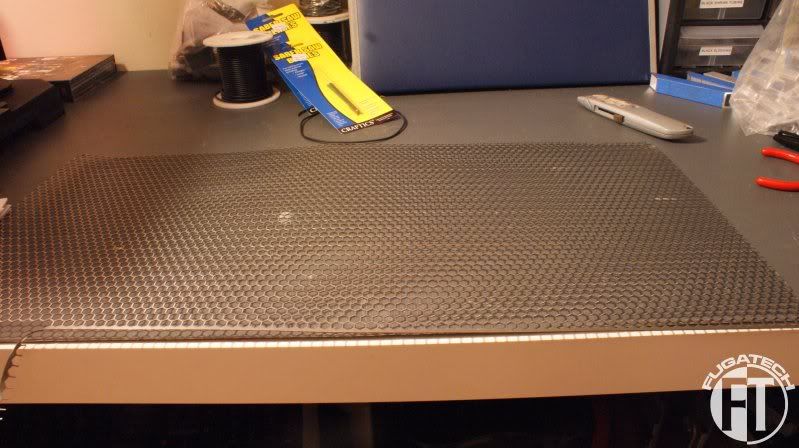
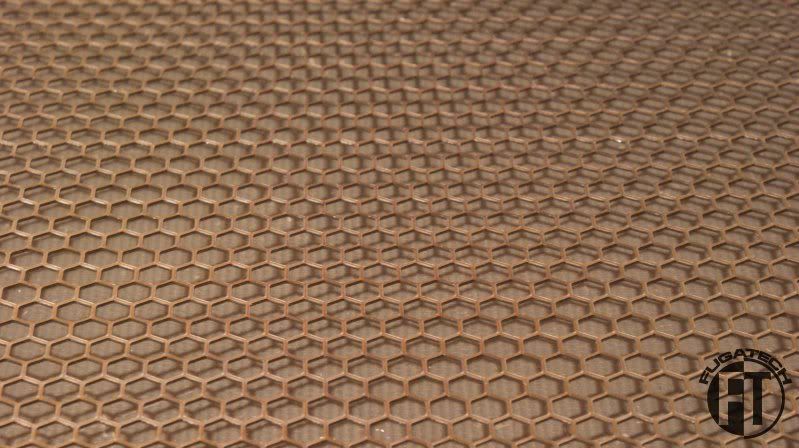
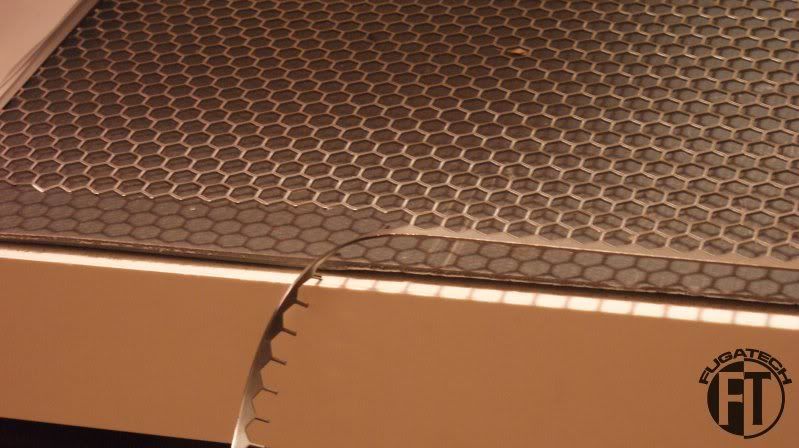
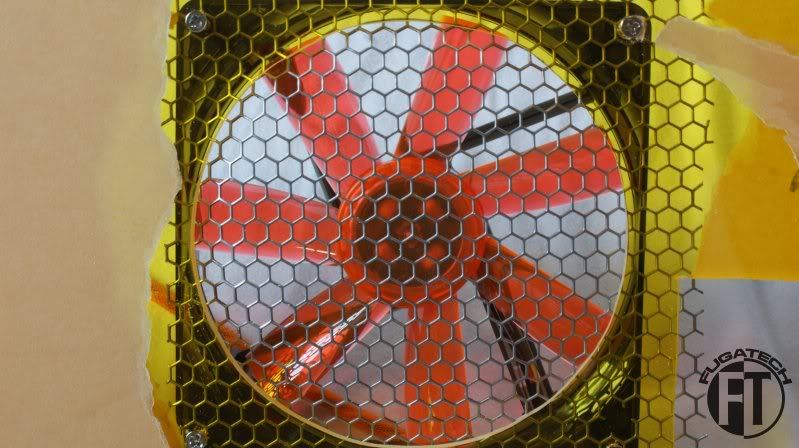
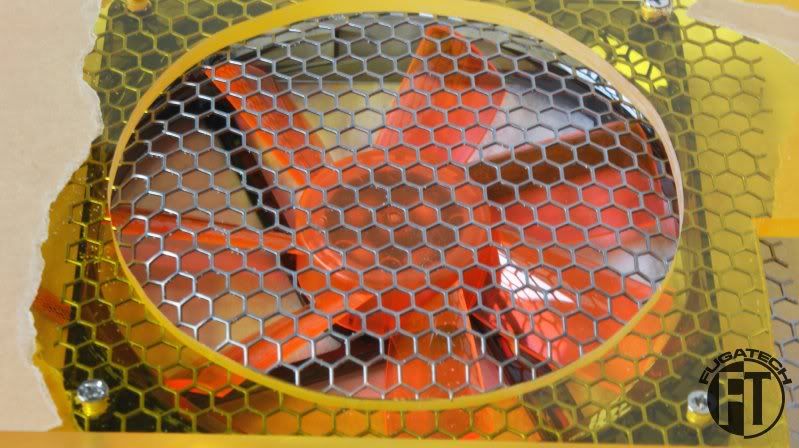
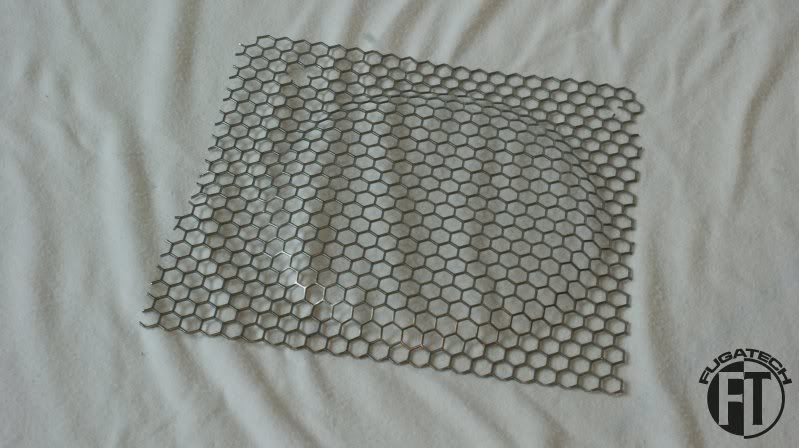
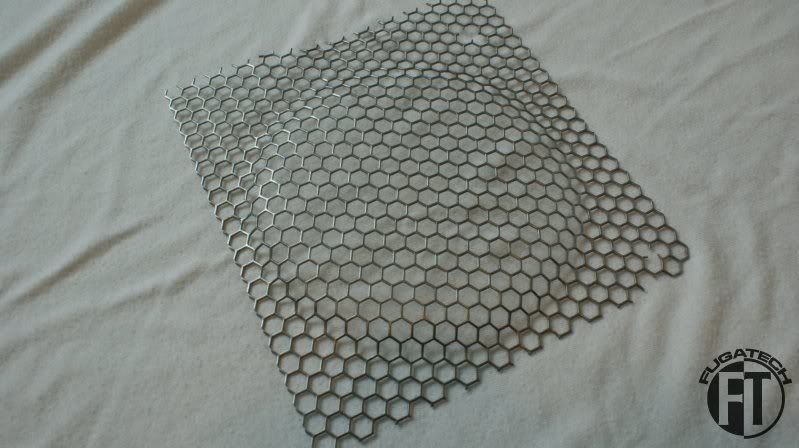
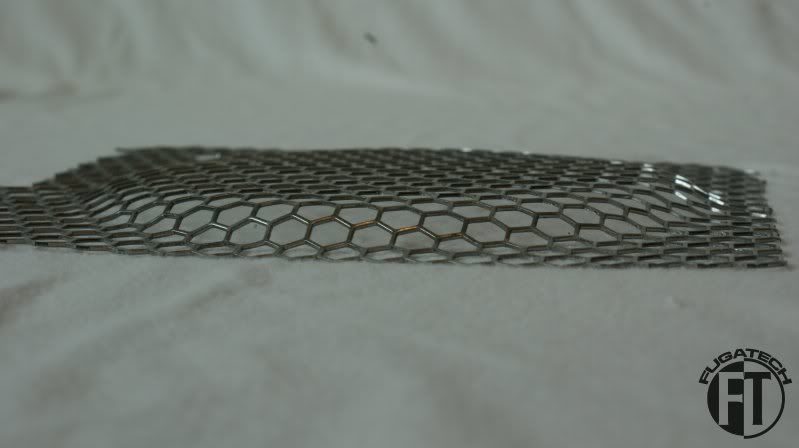
Honeycomb mesh from MNPCTECH
It had a thick end to it that had to go.
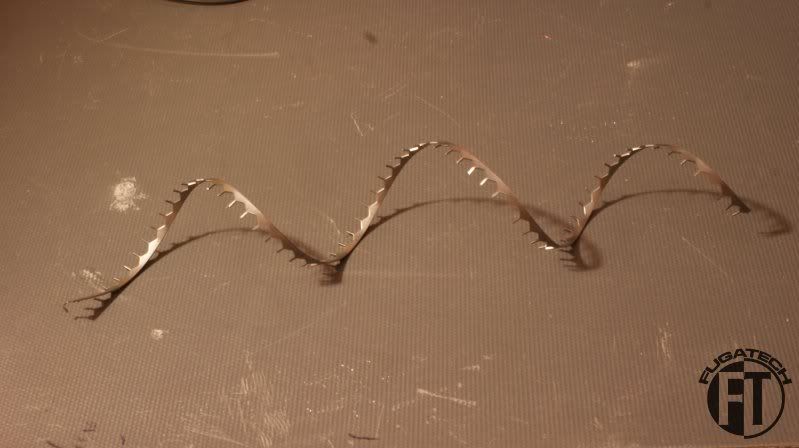
Tin snips worked great but this is what I had left.
So on to some real modding...
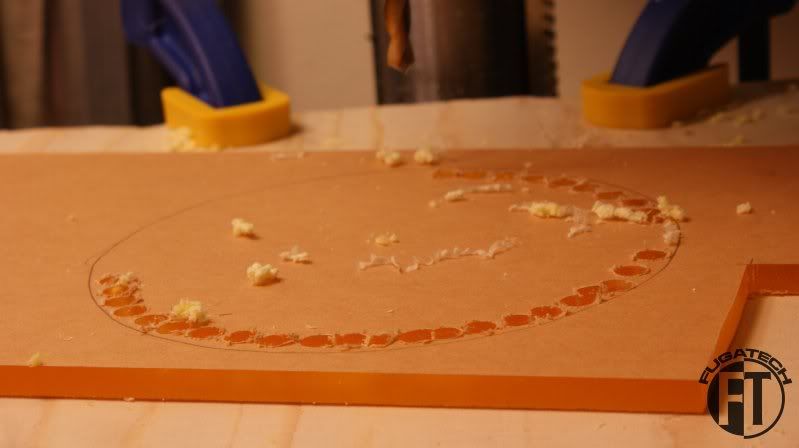
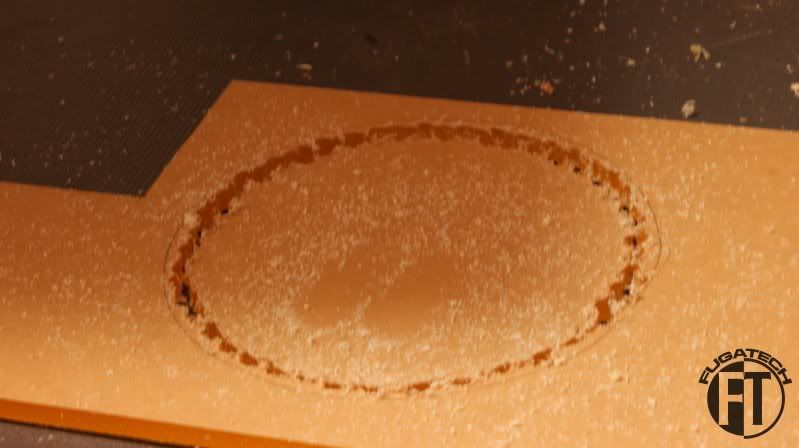
I had some scrap pelxi left over from an old mod that I started expermenting on. I traced a 140mm hole on it and started drilling.
And after the first round of sanding.
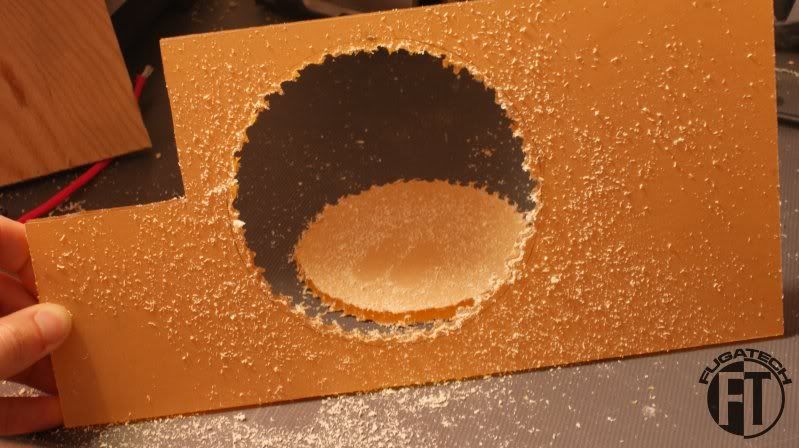
2nd round
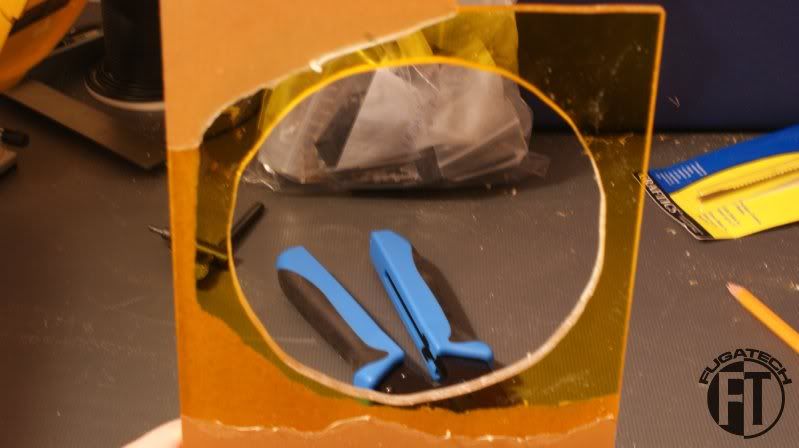
3rd round was finally enough. Here it is with a fan.
Its not 100% smooth but its damn close. I'll probably use a 140mm hole saw on the actual case plexi. This was me trying it out by hand.
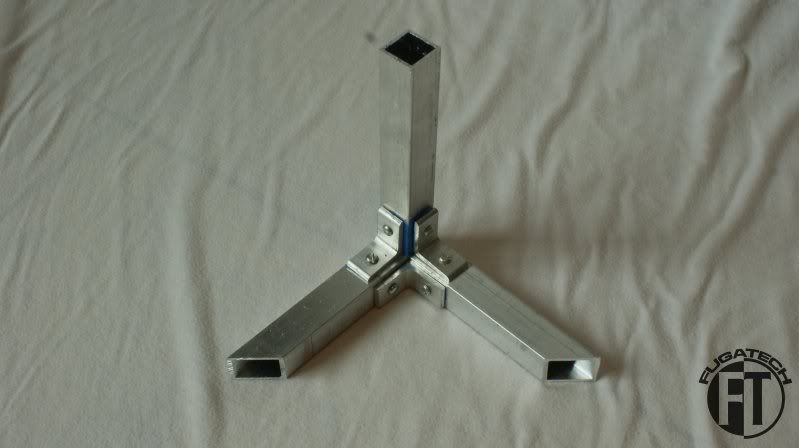
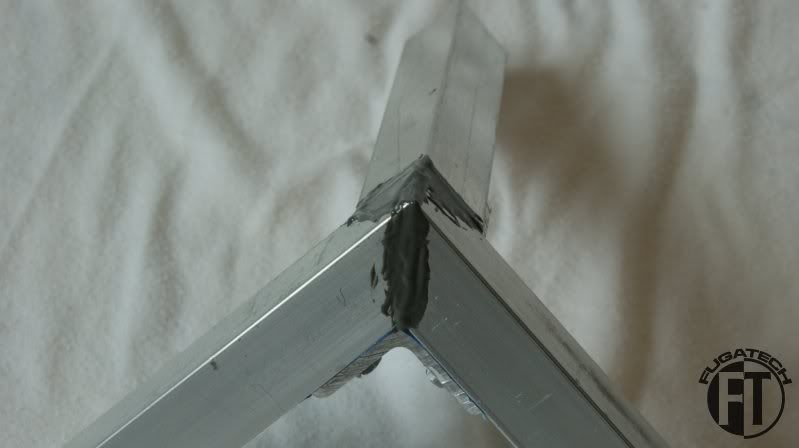
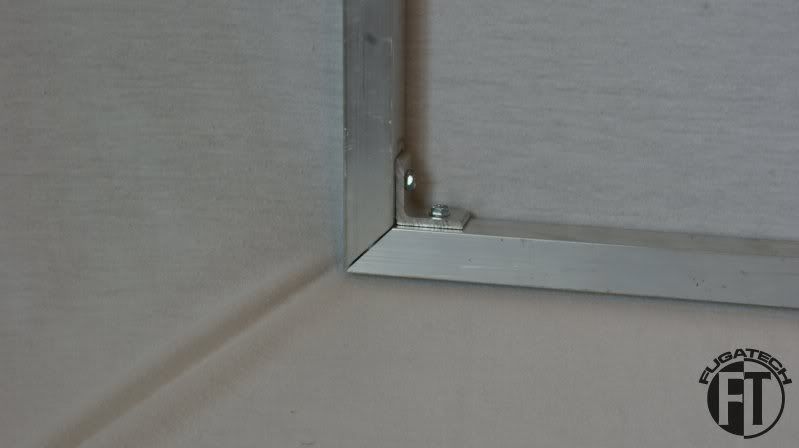
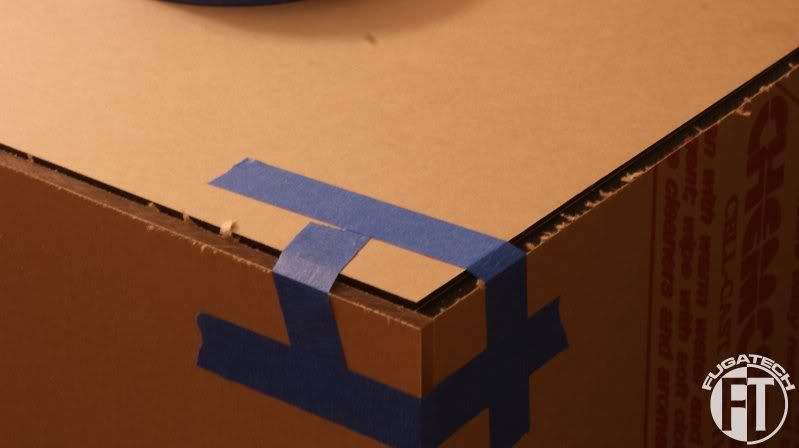
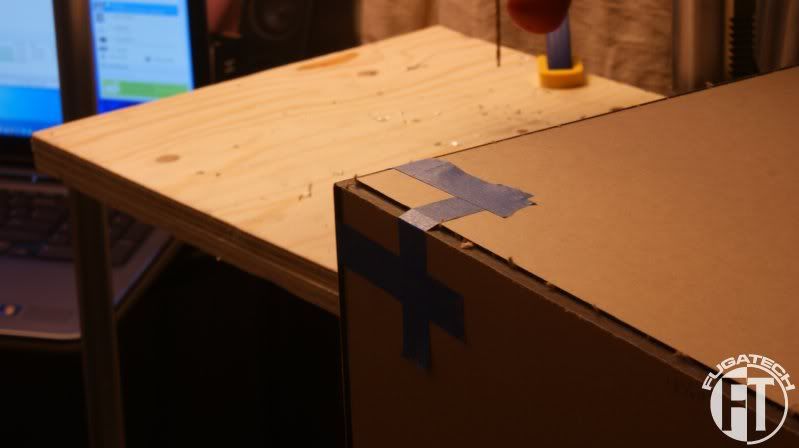
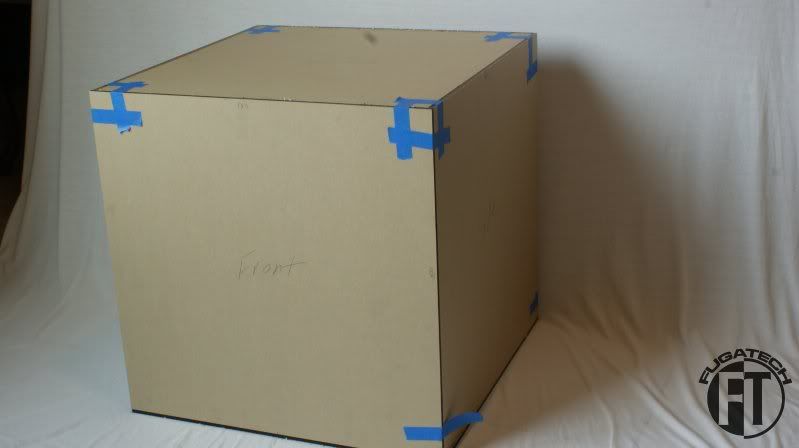
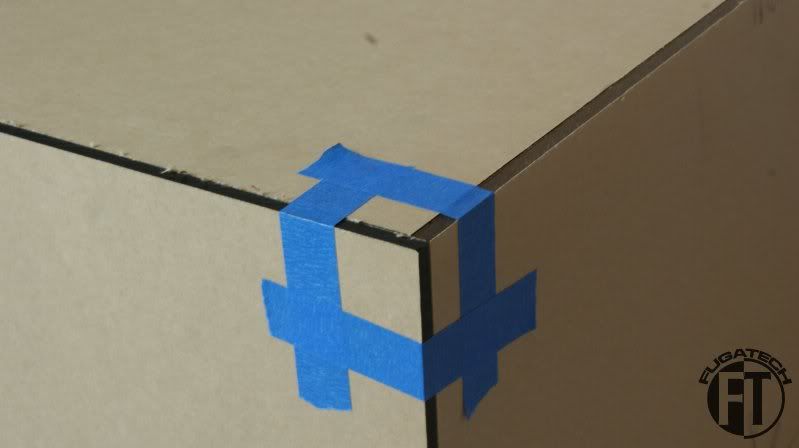
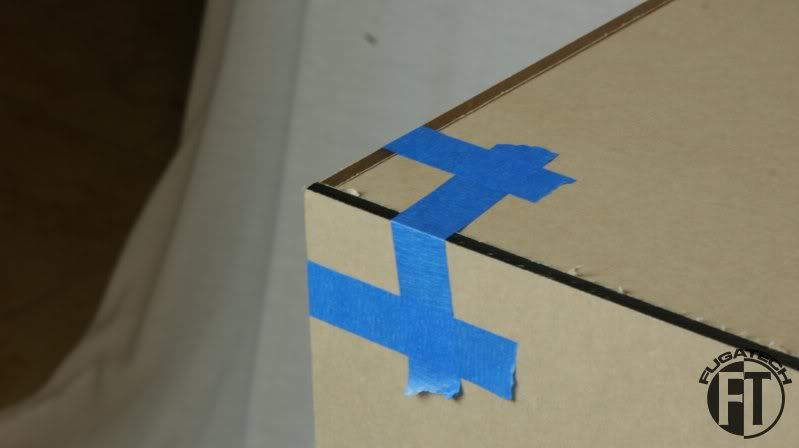
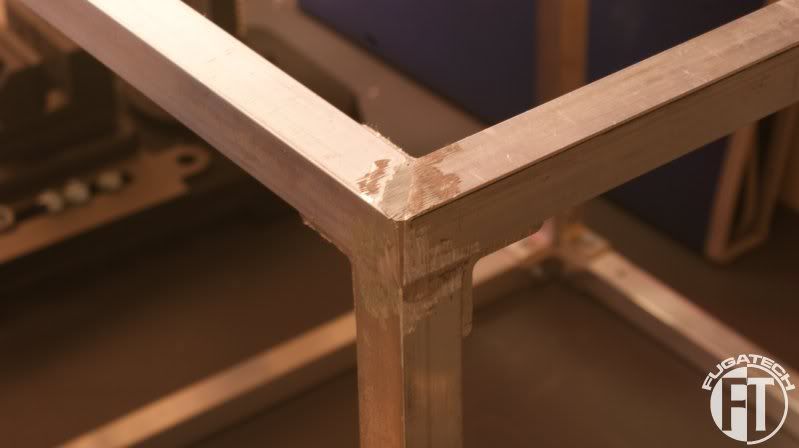
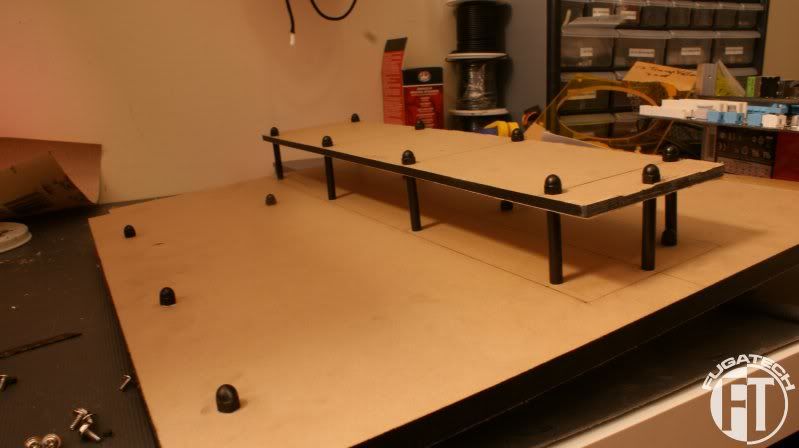
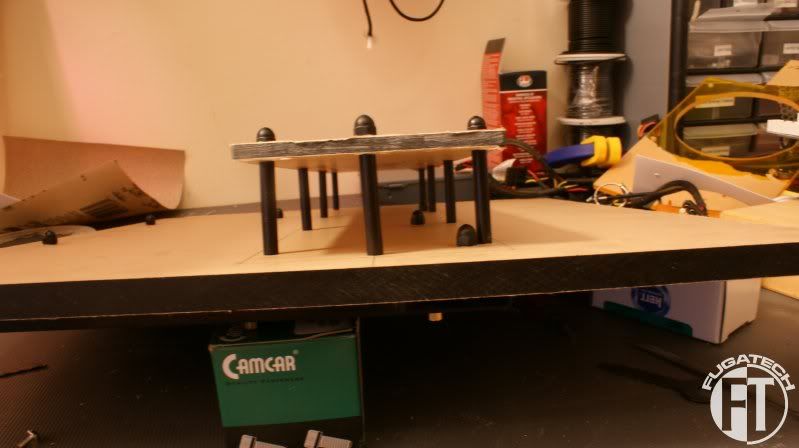
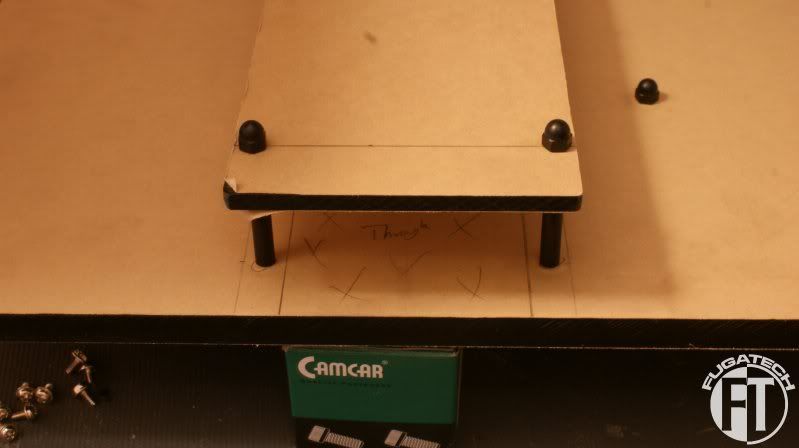
Now to the frame. Here is the little mock up I made so I could figure out the best joint to use.
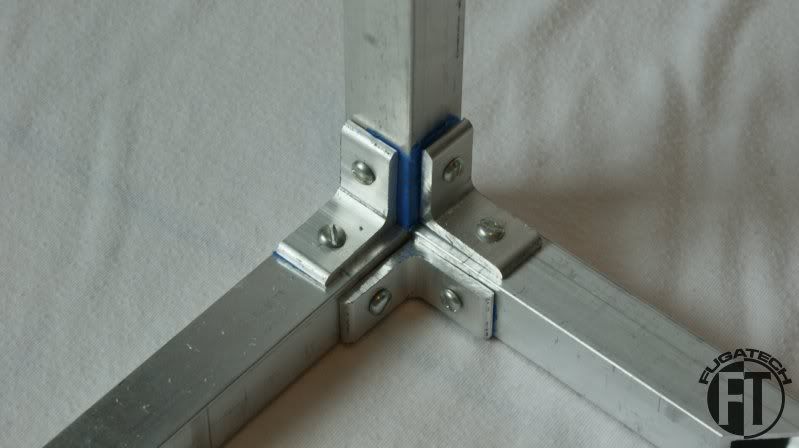
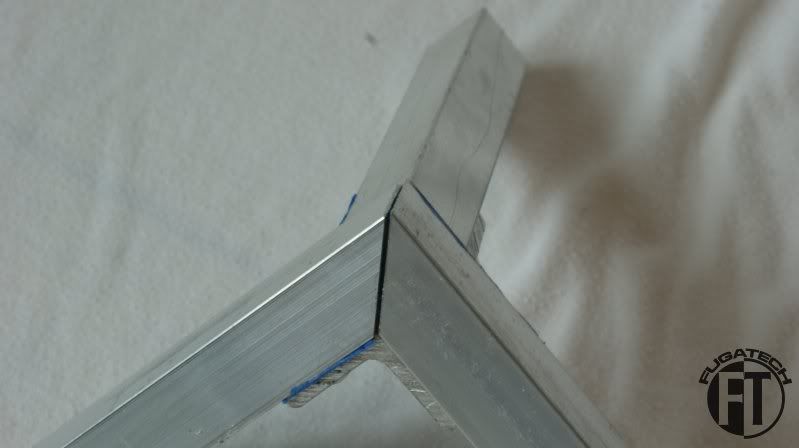
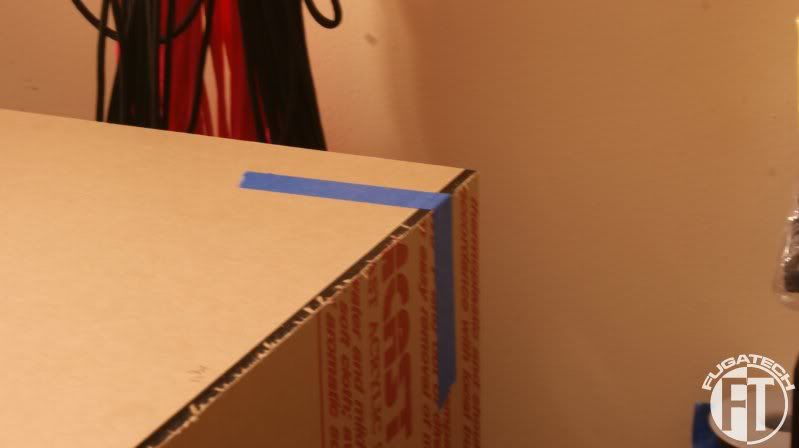
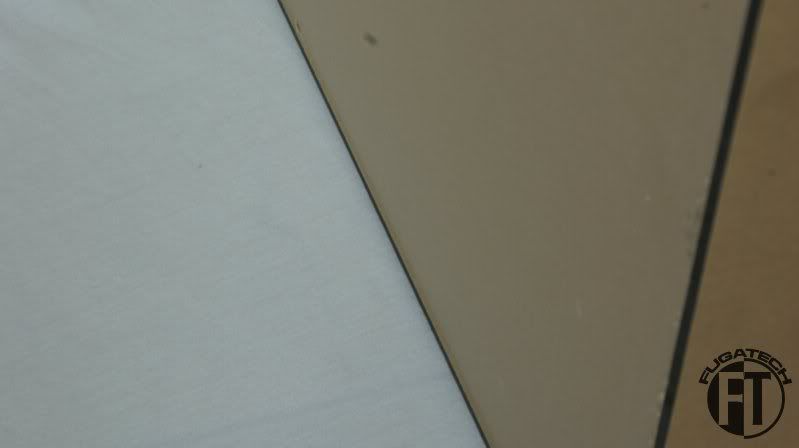
It proved to be pretty sturdy. It's not exact... so I have to make sure my cuts on the real pieces are exactly on.
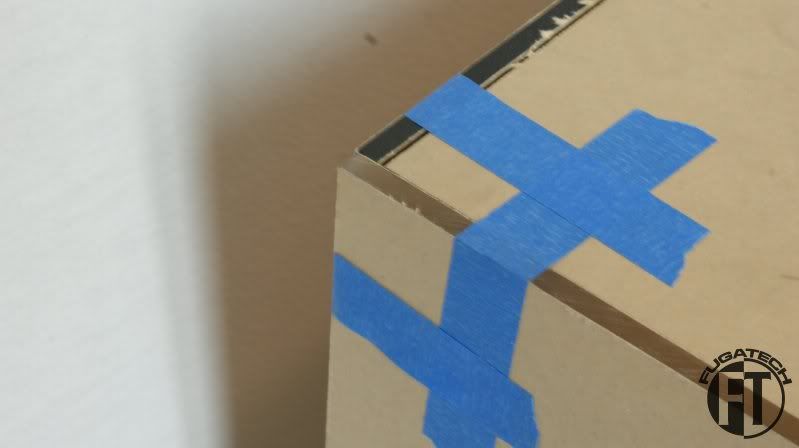
So to solve the gap I used some J-B Weld.
Its curing right now. I'll sand it later tonight or tomorrow and post pics of how it looks.
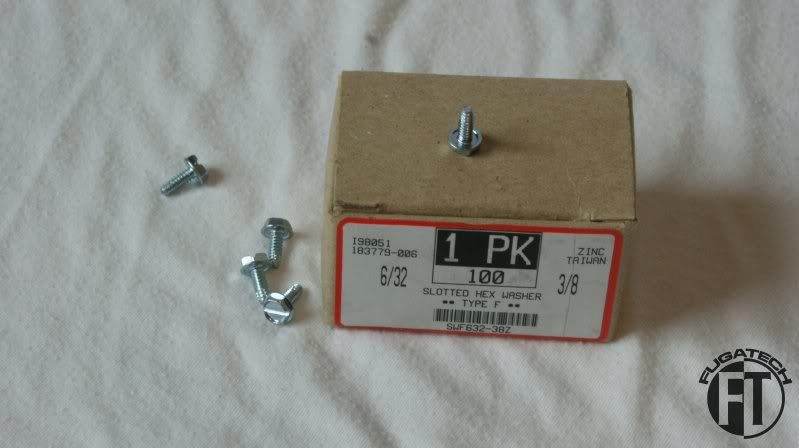
Here are the screws I will be using. 6/32 self tapping hex head screws.
They grip like nothing else. Greatly improves the joint over the crappy screws I used at first. I might switch these for some black anodized hex head screws that I'm using everywhere else in the case.
And finally I didn't want the mesh to look all flat and lame. I wanted it to be "domed". So I cut a peice, put it in the mock 140mm hole and pouned it with a rubber mallet. It came out rather well.
Well that's it for today. I have a 3 day weekend so expect another update. Hopefully I can get the frame done this weekend.
Cheers till next time.

Very nice, keep up the good modding.
my 1st scratch case made july 2008 (finding my feet)
Air Cube prototype (fin jan 2009) (still finding my feet)
Air Cube v2 now with added cpc stack (fin aug 2010) (getting better)
Project Stealthlow (fin sep 2011) (much improvement)
Lean and Green - modular dual PC scratch build - Paused
Midlag Crisis
I worked all day today fabricating the frame. Too a lot longer than I was expecting but I guess that's the price to get it right the first time. Well... pretty right. There are some small gaps but I knew that would happen because the L brackets I made are not exactly at 90 degrees.
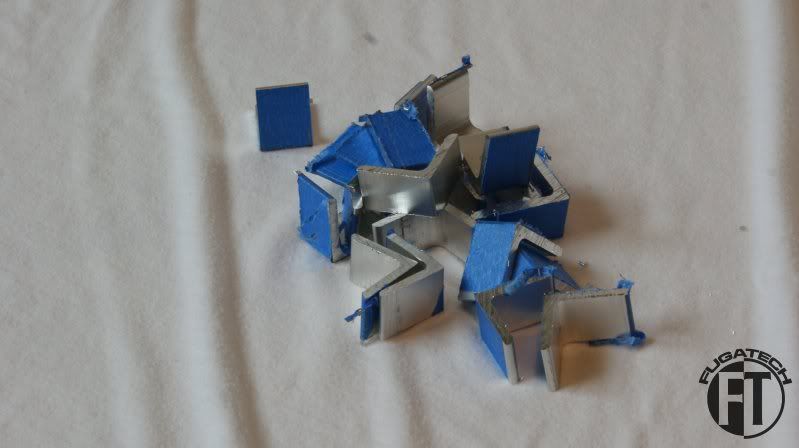
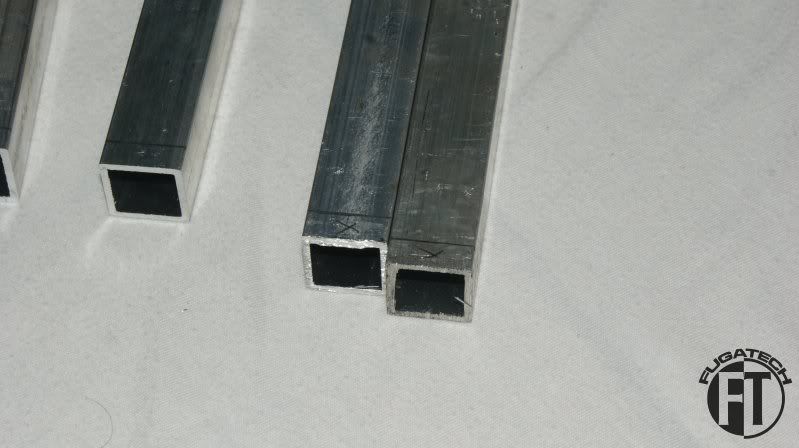
Here are the brackets. I cut 1"x1" 1/8" thick angled aluminum in 1/2" sections.
I then measured and drilled the holes for the screws. Very easy but time consuming job when I needed 32 of them. Plus spares.
The first side cut.
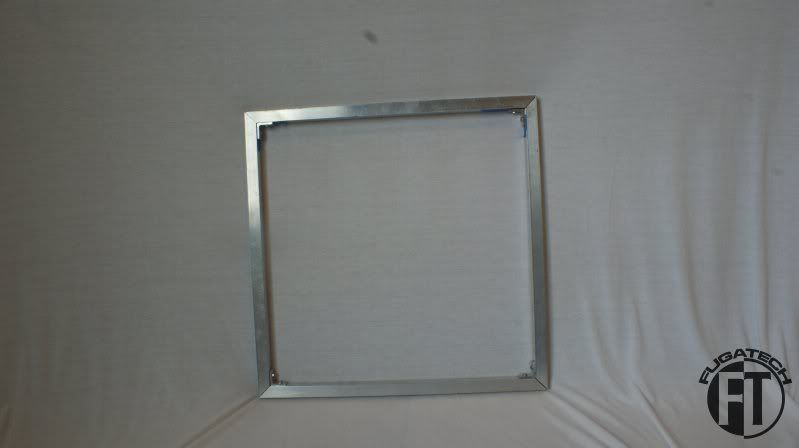
And all put together.
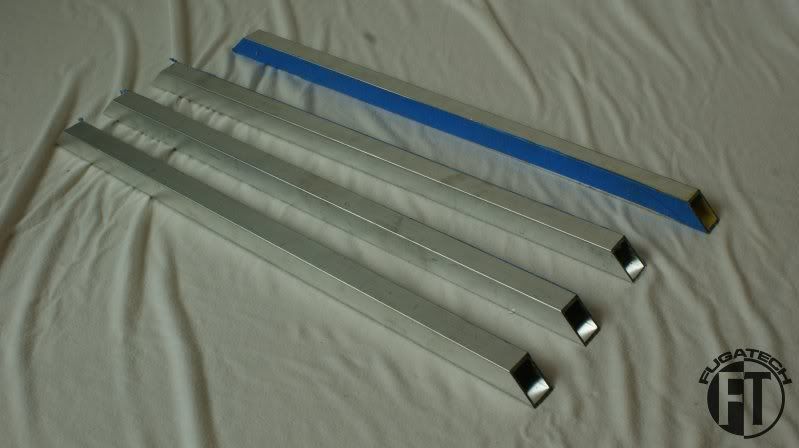
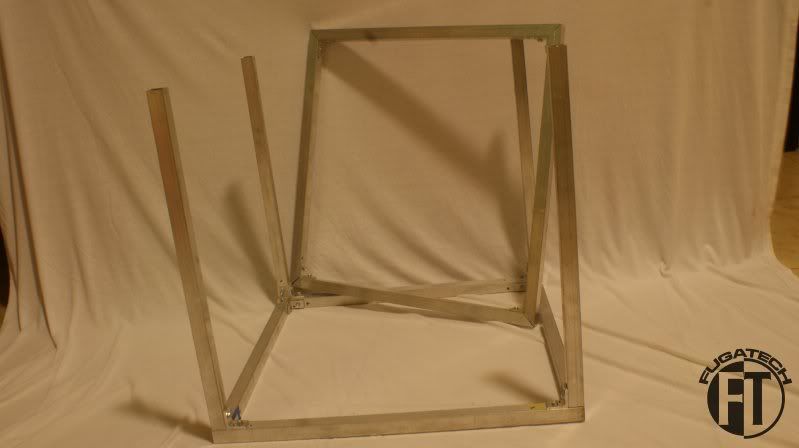
I then measured the straight peices that connect both sides together and cut, drilled and installed them on one of the side pieces. (Sorry about the yellowish images. I took these at night so no natural light coming in the window.)
No real gaps like my small model I made so that's a good start. I won't have to use too much J-B Weld to fill the gaps.
I then put the other side on top so I could make sure it came to 18" exacly from end to end and it didn't... I was 1/8" off on all legs. So I marked them and will be cutting them down first thing in the morning. Its too late to cut now.
More work on the frame tomorrow and probably starting to map out the cuts in the acrylic. I probably won't cut any of it until after my vacation.
Cheers till next time.
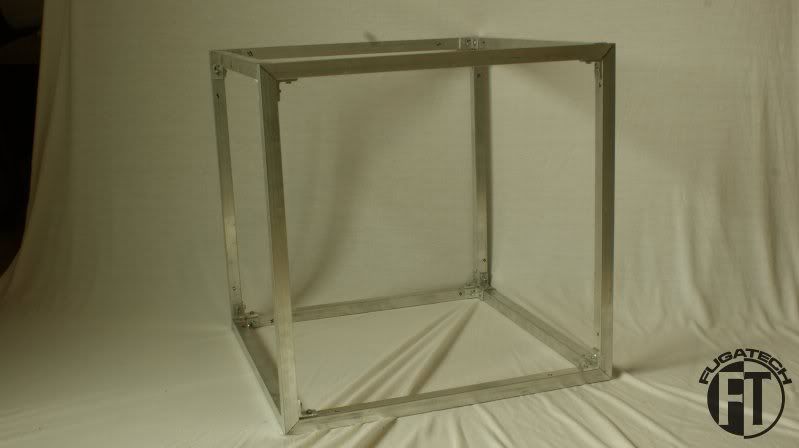
I finished putting the frame together and I have to say, its really nice to finally see something from this mod.
Now that it is all together lets see how the plexi aligns with it. Hmm... a bit off...
Ok so 3 corners are too high. Well that's better than being too low. Can't add but I can cut. So after about another 4 hours of cutting, re-drilling and recreating 3 of the parts everything aligned nicely.
Just perfect!
Man... this piece is about 2mm off... Its the side so its not a huge deal so I'm going to let it ride for now. If it looks horrible later than I can remake the 2 pieces. They are very easy because they are not angled. Just straight pieces.
Now here is a 1.5mm gap.
I took the dremel to that back corner and shaved away some of the aluminum. We will see how it aligns again later.
Since everything was good except for those 2 parts I decided to start the J-B Weld process.
It has to cure for 6 hours before I can work on it again so maybe tonight before bed I can sand it down.
Cheers till next time.
I've been working non stop to get as much done before my vacation next week. Last night I got the dremel out and used a sanding bit to sand off all of the excess J-B Weld. Worked out well.
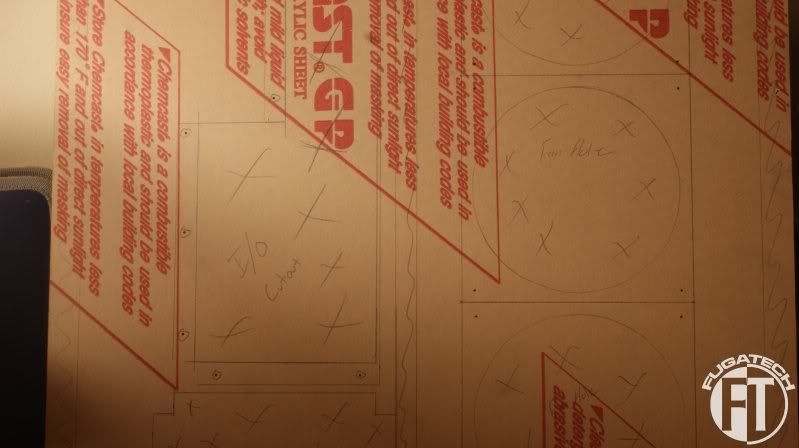
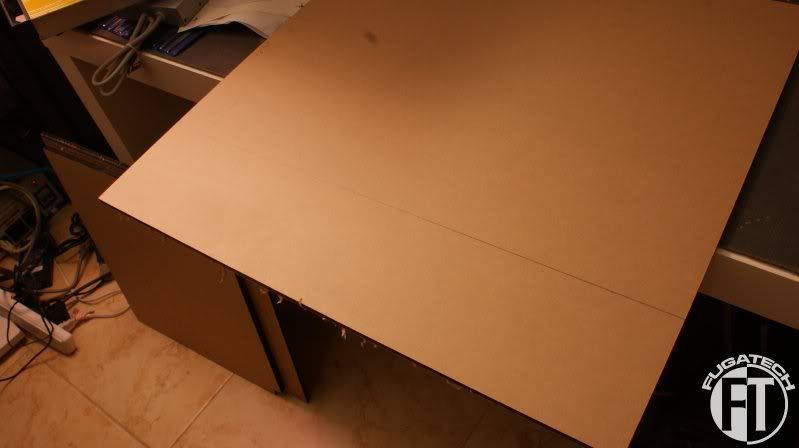
Then I started designing the front, back and center panels.
Here I had to cut a notch in the center panel for the aluminum frame to pass through.
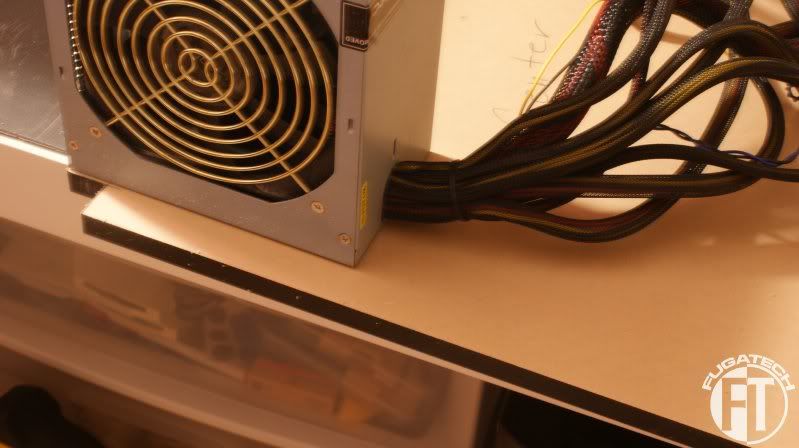
Next I traced where the PSU would be sitting next to it so I had a frame of reference when I do the mobo tray.
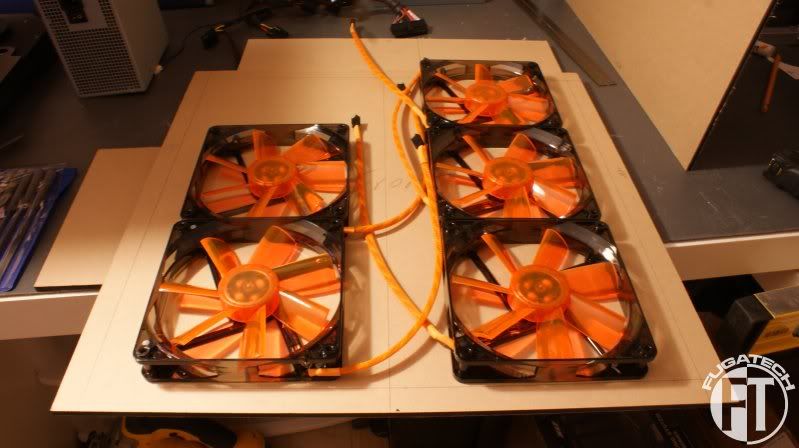
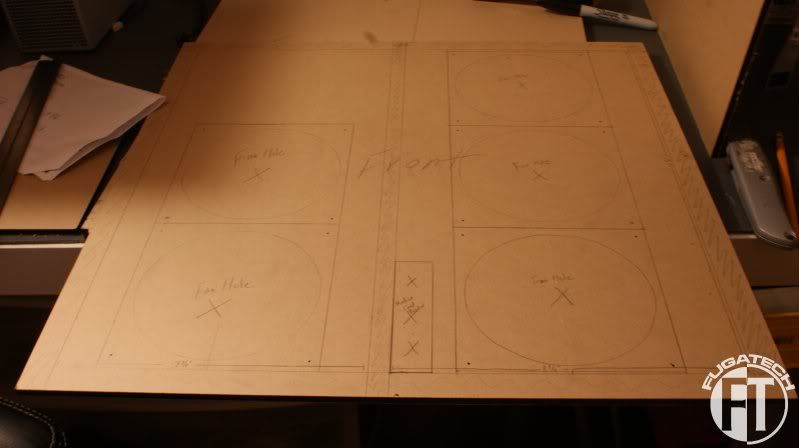
Then I started on the front panel. Here is how the fans will be mounted.
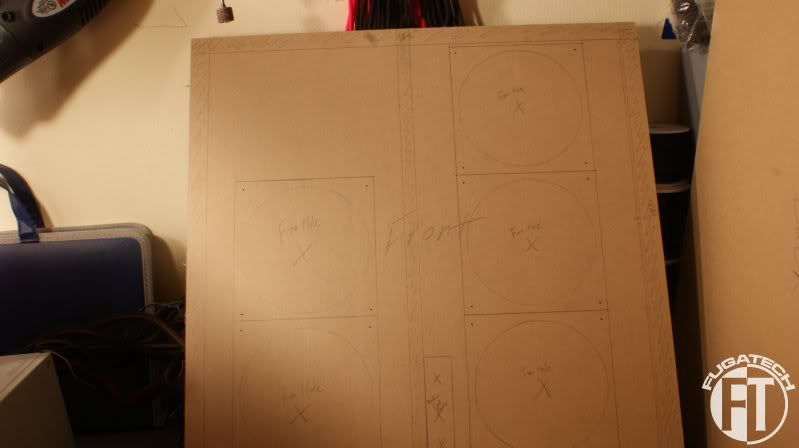
All drawn out. Its pencil so it might be hard to see... sorry.
Back panel.. deff hard to read it but you get the idea.
A closer shot.
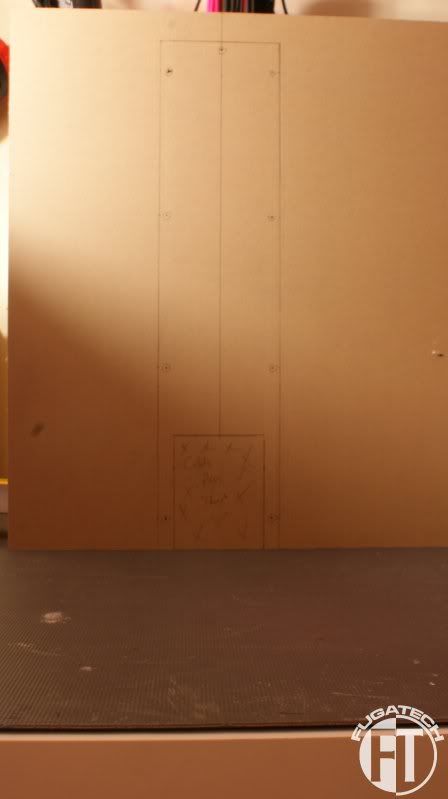
And the center panel design. The big rectangle in the middle will be raised 1 1/8" off the center panel. It will be a hiding spot for all the cables.
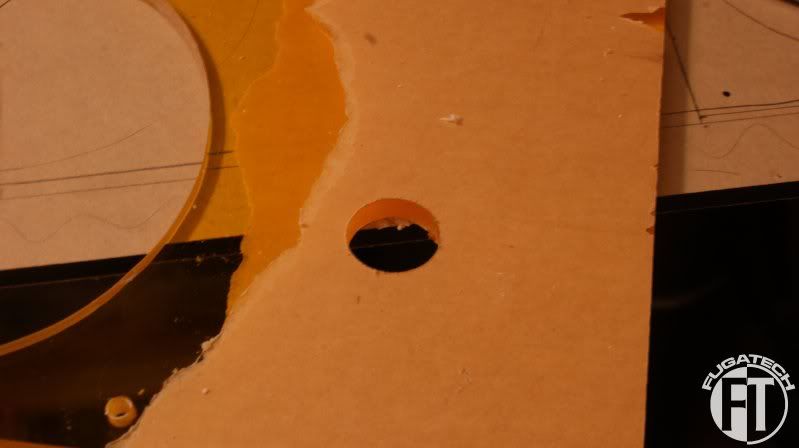
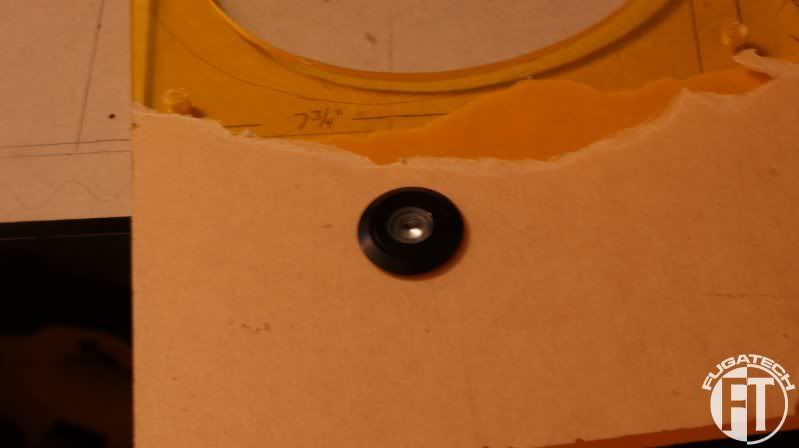
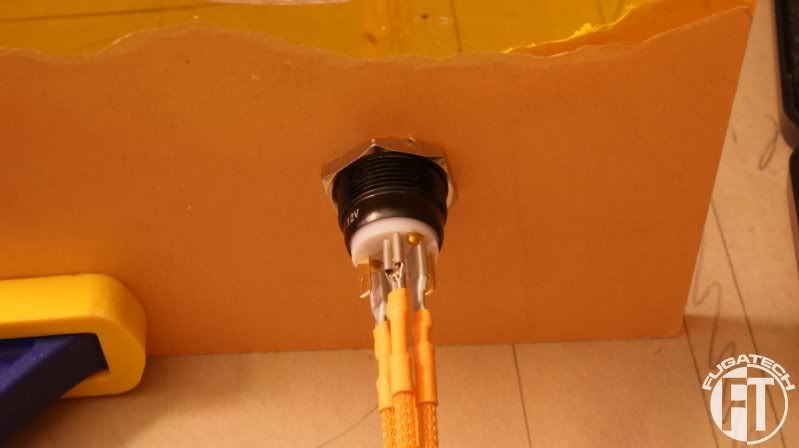
Tonight I started drilling. Before I actually drill in the real pelxi I figured I would try out the hole for the power and reset switch.
3/4" hole
Fits without a problem.
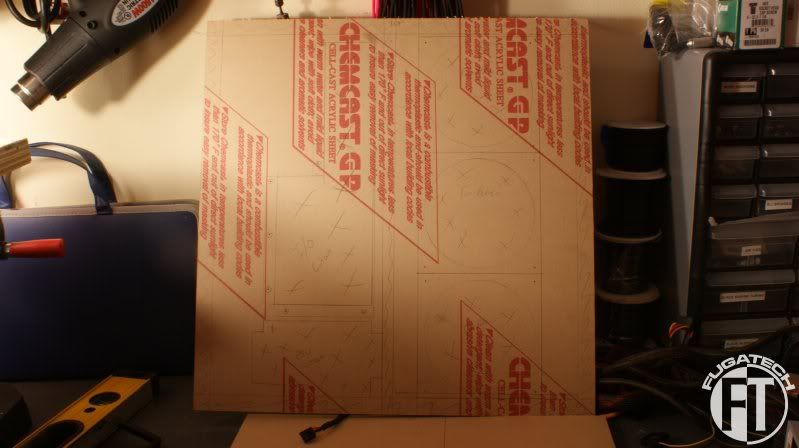
Now... this is the first time I have to cut my own pelxi since I ordered all the other pieces to be cut by a laser.
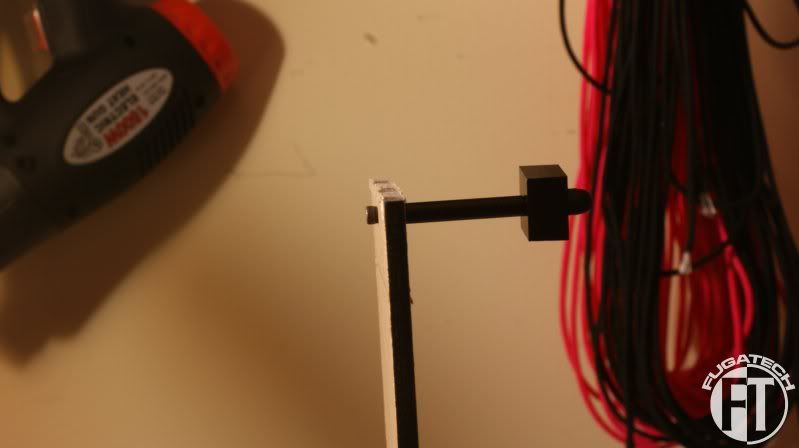
Well it came out great and you'll see it in a few. Here is the order that I'm mounting the things.
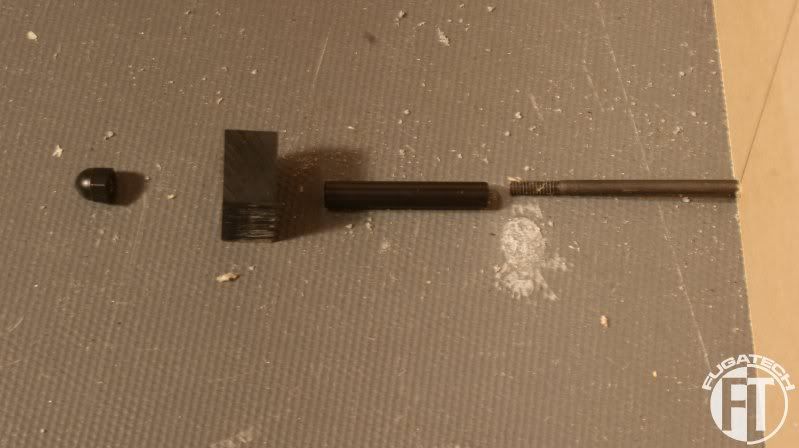
2 1/2" bolt > 1/8" plexi > 1 1/2" tube > 1/2" plexi > acorn nut
Here it is all broken down.
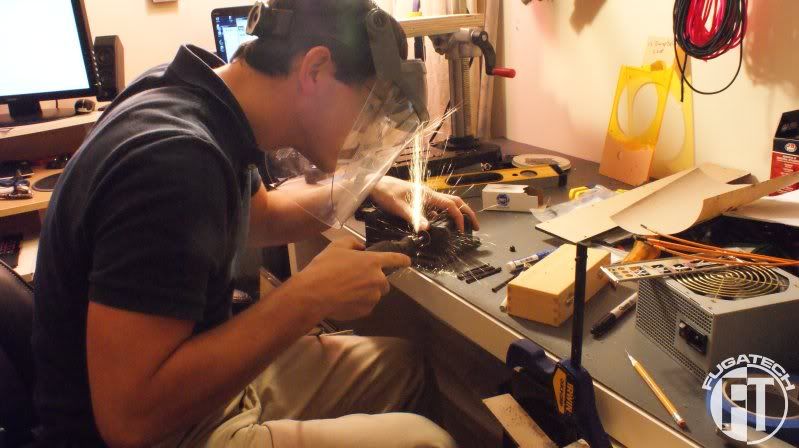
Me working hard! I ordered the bolts too long for the next part and had to cut 1/4" off. No jokes about the face shield... if your not using one then the jokes on you when you get hurt.
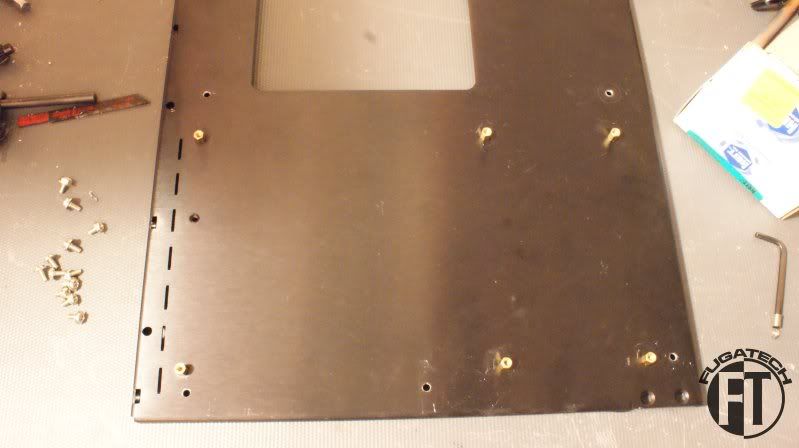
Here are the holes I put in the mobo tray to mount it to the center piece of pelxi. 7 mounting points is way more than enough to keep this up.
And here it is mounted.
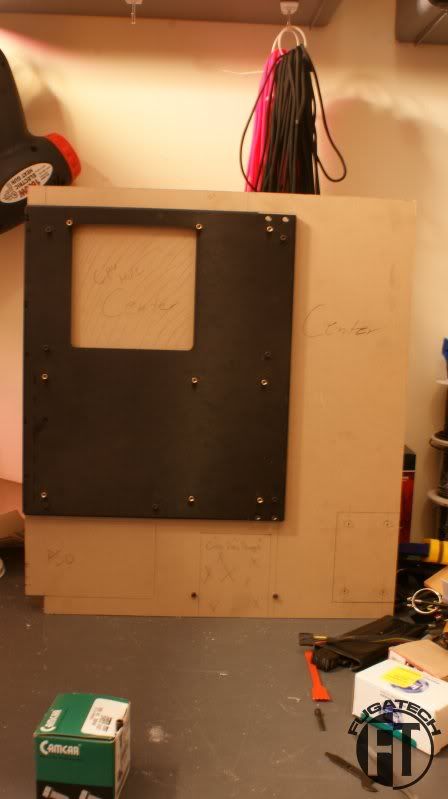
Remember that piece I cut myself? Here it is.
My measurements were pretty good. Only 2 of the 9 bolts are at a small angle but it doesn't matter because you will never see them once this gets mounted into the case.
Here you can see where the cables will come through. This will feed one side of the case to the other.
Hope your enjoying the work!
Cheers till next time.

Looks great!
Haha, won't hear anything from me.Originally Posted by Fuganater

Though I prefer safety glasses and a breathing mask. Does a bit better with keeping all that metal dust out of my lungs.

TBCS 5TB Club :: coilgun :: bench PSU :: mightyMite :: Zeus :: E15 Magna EVThat we enjoy great advantages from the inventions of others, we should be glad of an opportunity to serve others by any invention of ours, and this we should do freely and generously.
--Benjamin Franklin

All I was going to say about that photo was that it looks like you are dremeling your thumb. I'm all for safety gear, I don't think it's possible to look ridiculous when you're protecting yourself.
TheMainMan

What they said about saftey gear. Heck I don't even buy sunglasses anymore, I just get shaded safety glasses.
By the way, Nice progress.
so far left of center i'm in right field
 Posting Permissions


 Reply With Quote