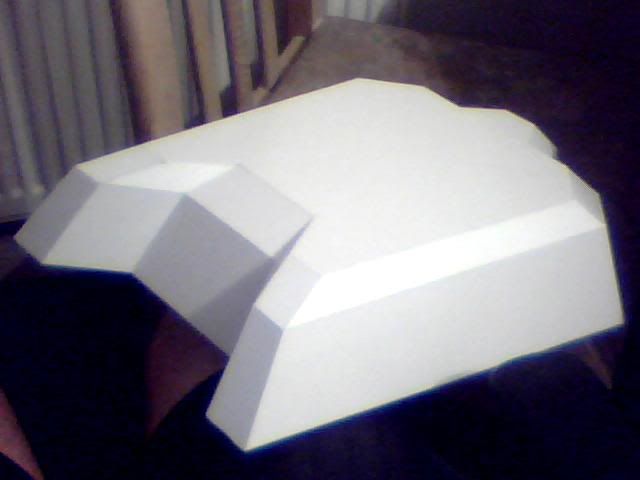
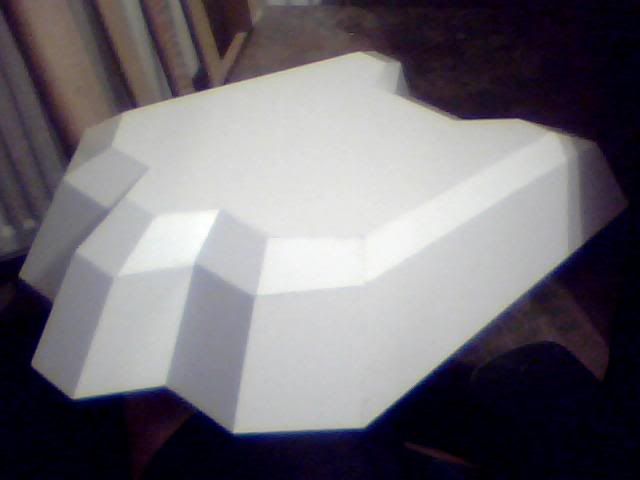
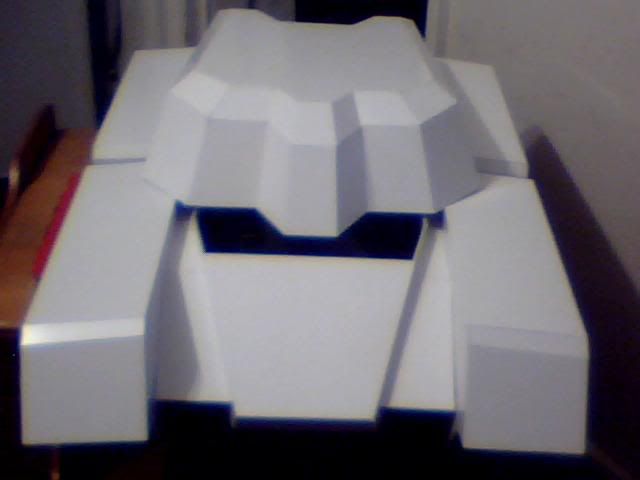
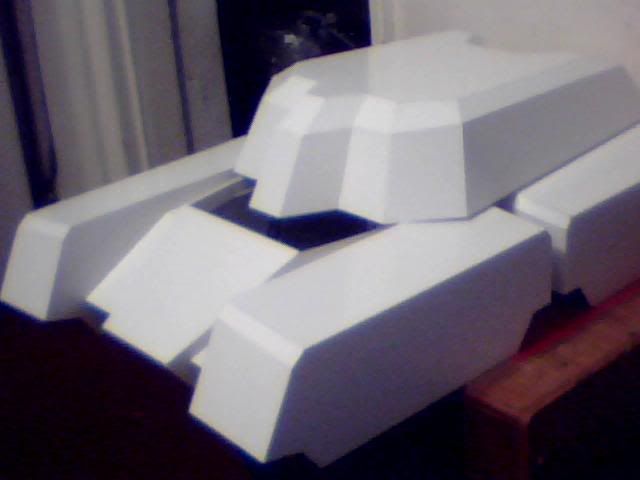
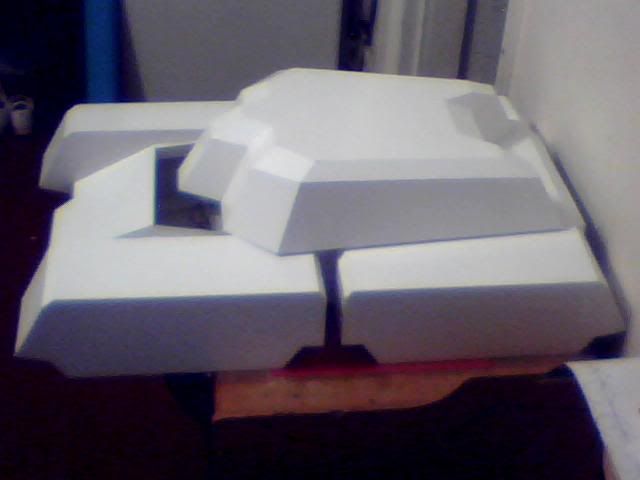
Ok, after a long time of not posting this here I decided what the hell. I don't have much to do today so I'm going to spend it sharing my crazy tank building with you
This for those who didn't catch it in conversation elsewhere, is my brilliant idea to build a Mk.1 mammoth tank from the Command and Conquer series. And of course have it be radio controlled... And have a working turret... With firing guns...
So yeah, I've been at it for a touch over 2 months now but I'm very easily distracted and incredibly poor so it rarely makes leaps and bounds progress-wise. That said, I thought I'd been at it for longer than 2 months already so given that I have a child to look after and am perpetually broke (and actually I didn't really get started till April so that's less than 2 months) So yeah that's not bad
Anyway I won't share the whole build right now as it already consists of nearly 200 images and a great deal of pondering. I'm going to take some exerts from my existing worklog elsewhere and post that here so it'll be a bit impersonal for now while I catch up you good folks but I promise it's not personal
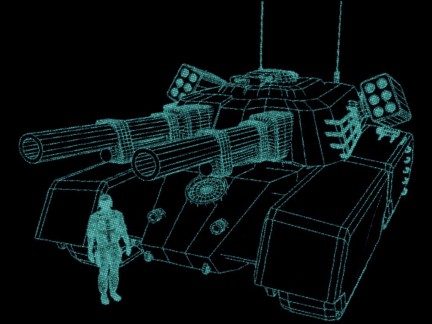
So first thing sfirst I had to figure out the scale of this tank as nowhere is it actually mentioned how big it is. I used in game screenshots and original promotional images to gauge it but by far the most useful shot was this one with a soldier in the foreground.
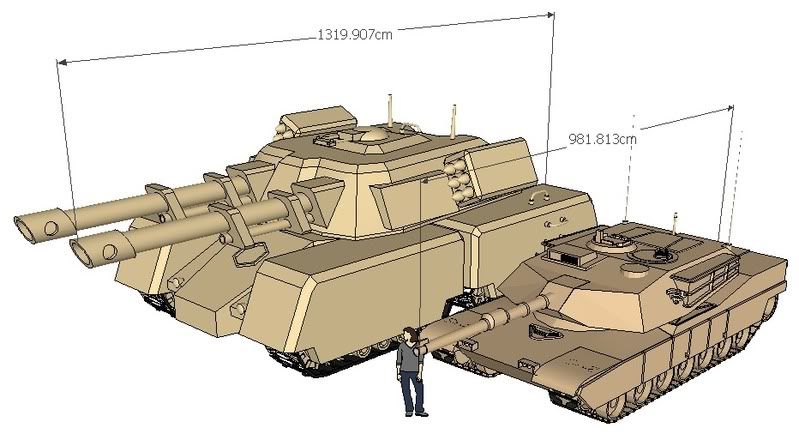
With that and a lot of other comparisons such as in-game footage of it alongside the medium tank (which is an Abrams) I came out with some final figures and then stole a model from Google's 3D warehouse for this first comparison shot.
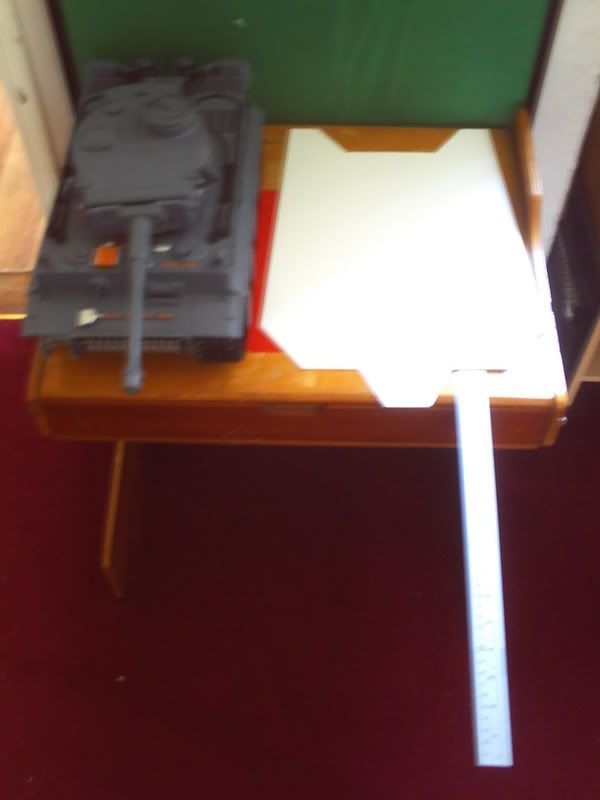
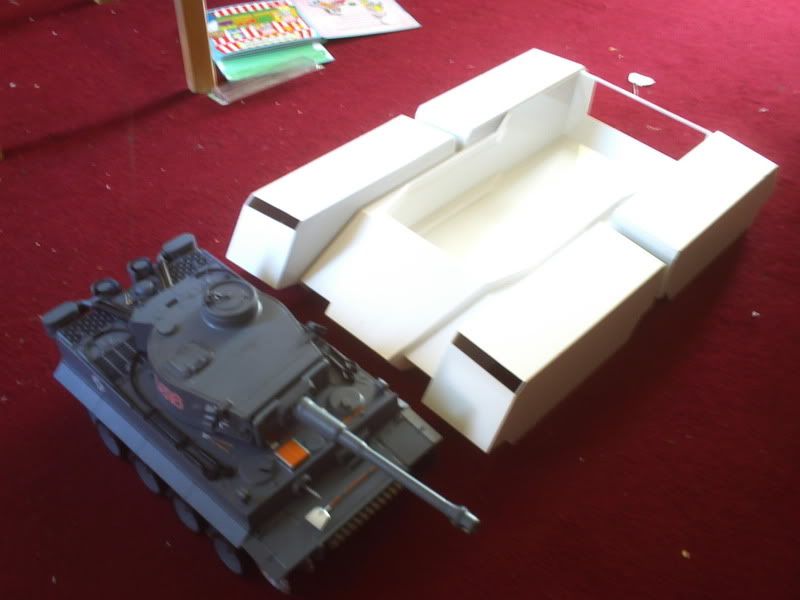
With the scale down I got my hands on the 3D model of the tank from it's appearance in C&C : Renegade in 2-dimensional format. I printed off a few copies for small scale prototyping and found I could pretty much make it angle for angle then got another set of the plans blown up about 370% to get myself a set of full size templates for my 1:16 scale build (typical RC tank scale of course!)
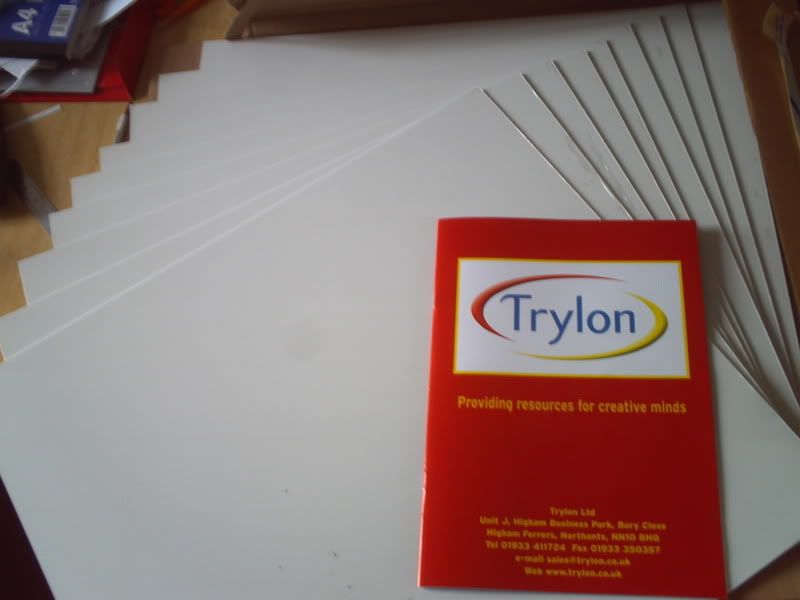
Got my materials from Trylon (UK company) which was great and delivered lightening fast at a bargain price and then I set to work!
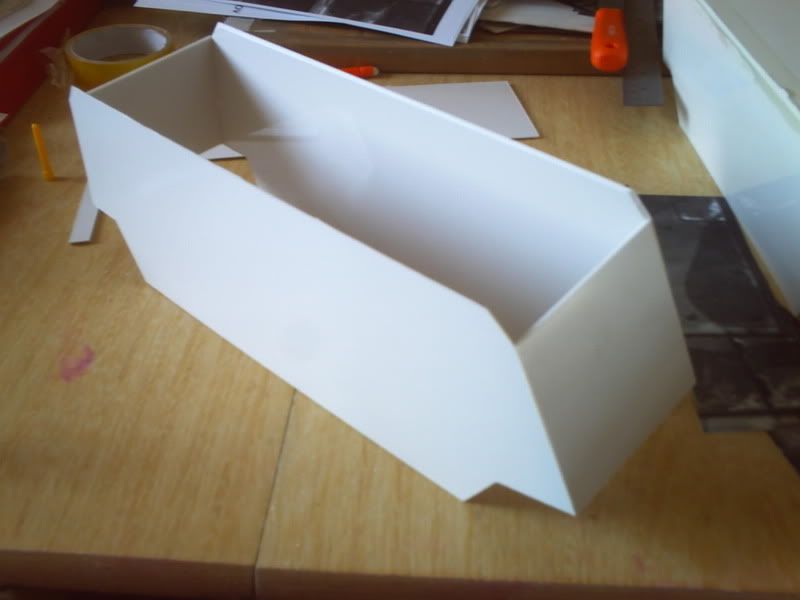
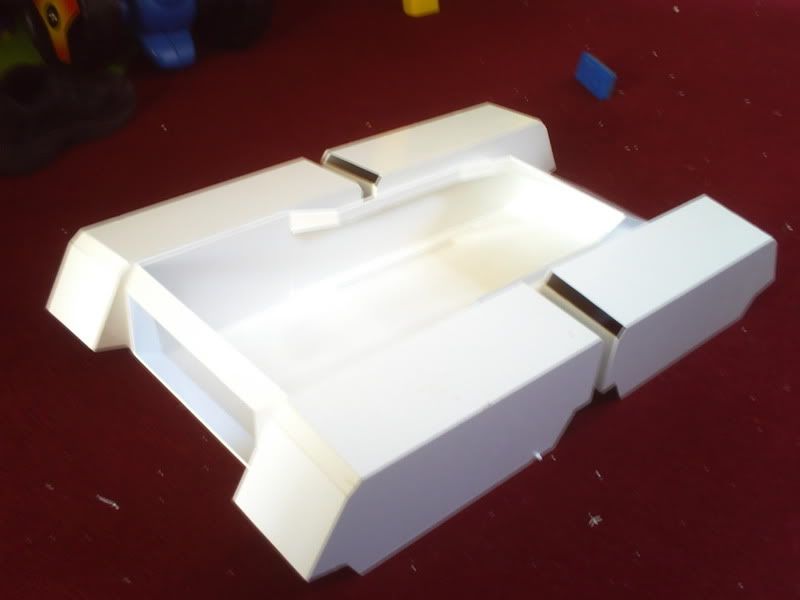
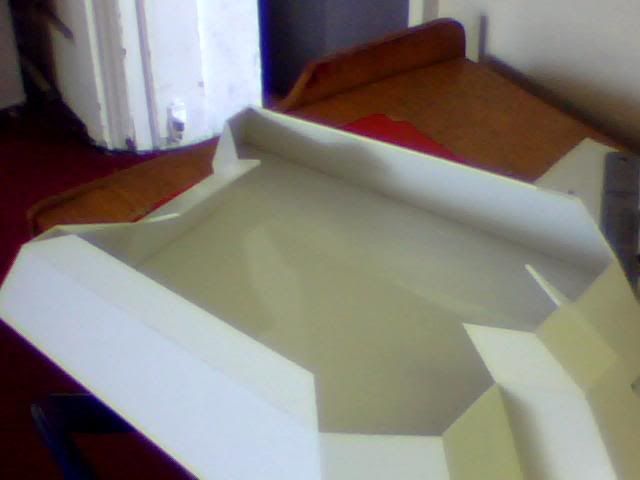
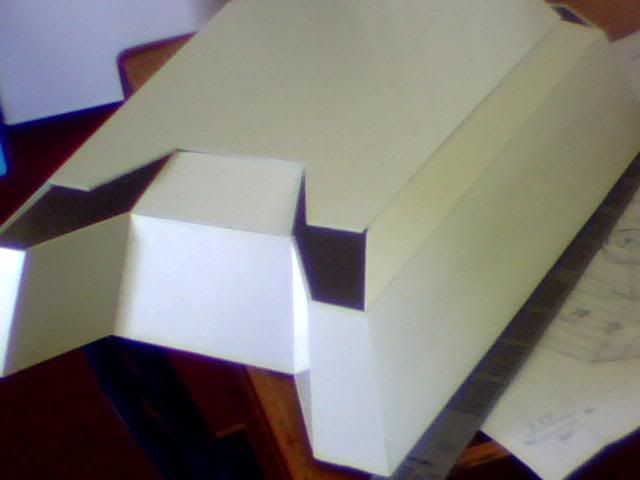
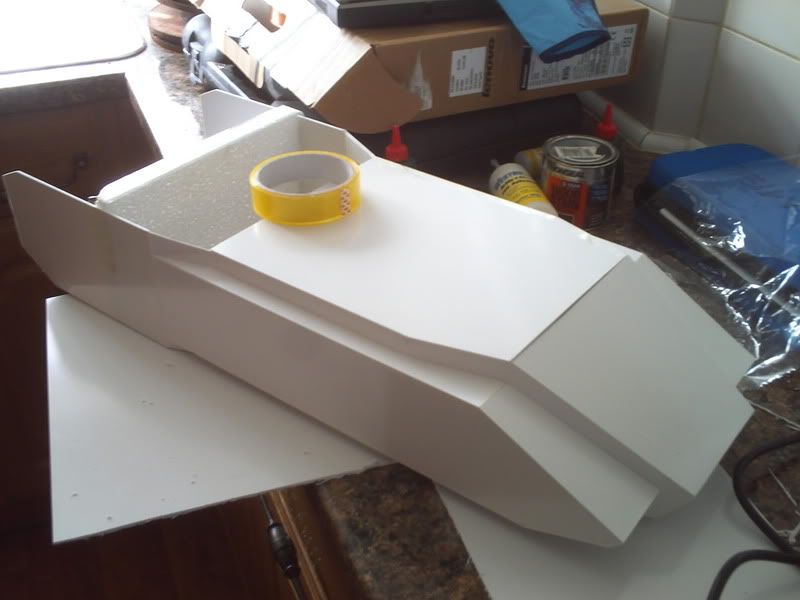
Honestly the hardest bit was probably knowing where to start but the central hull seemed the obvious choice so I started from the bottom and worked my way up, immediately hitting a snag as I realised the material I had was about 1" too short for the bottom piece! It was easily fixed anyway and things built up from there.
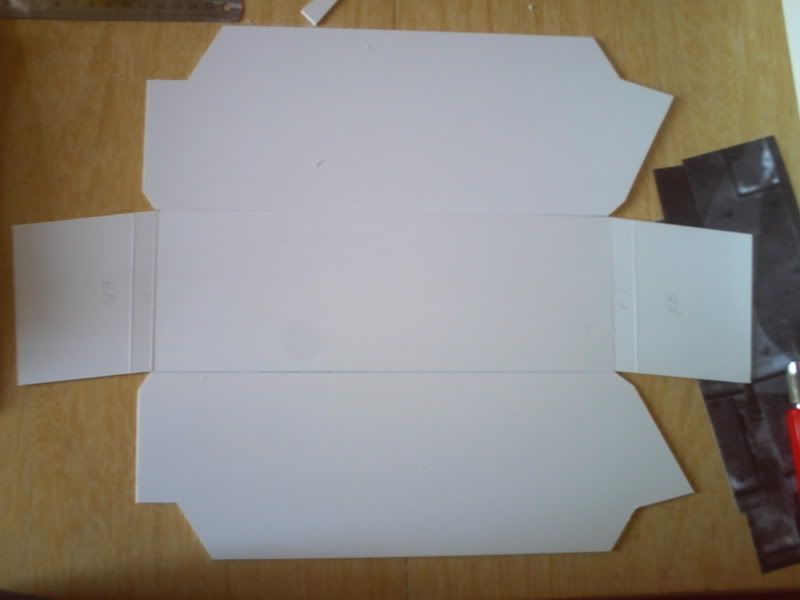
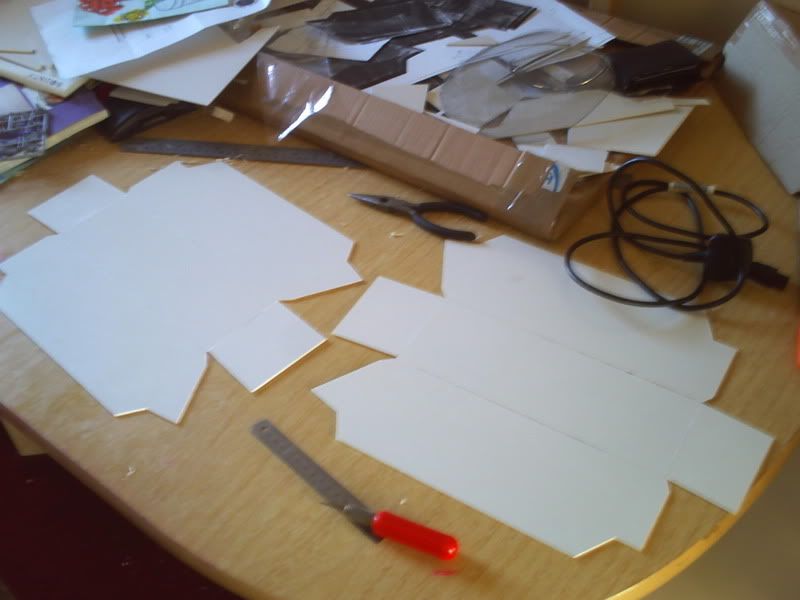
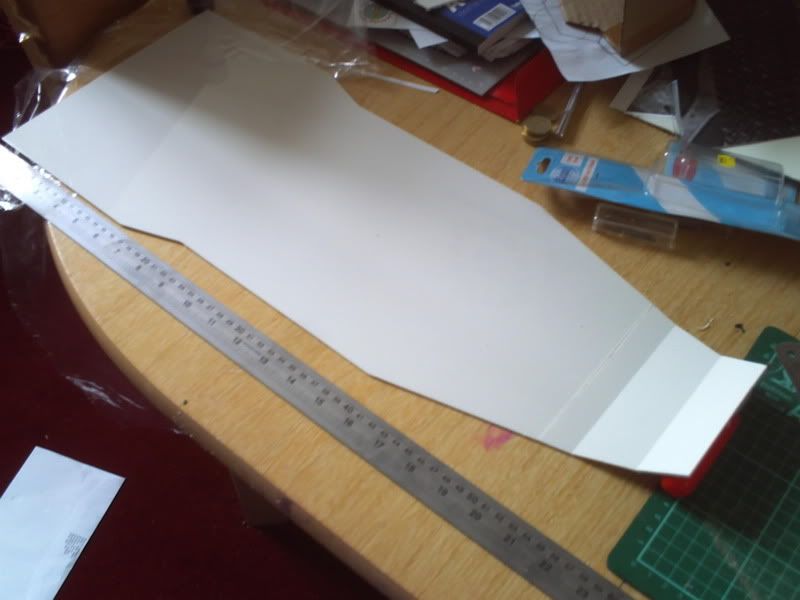
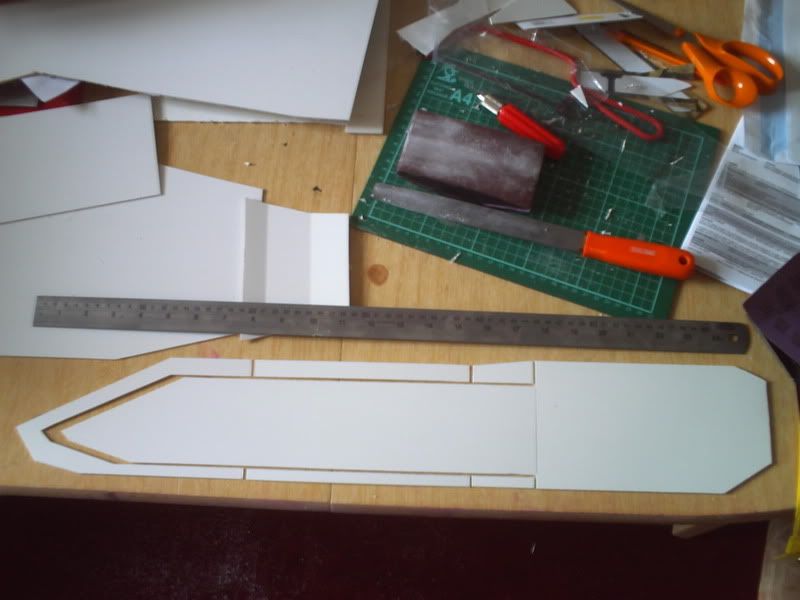
Soon had the sides cut;
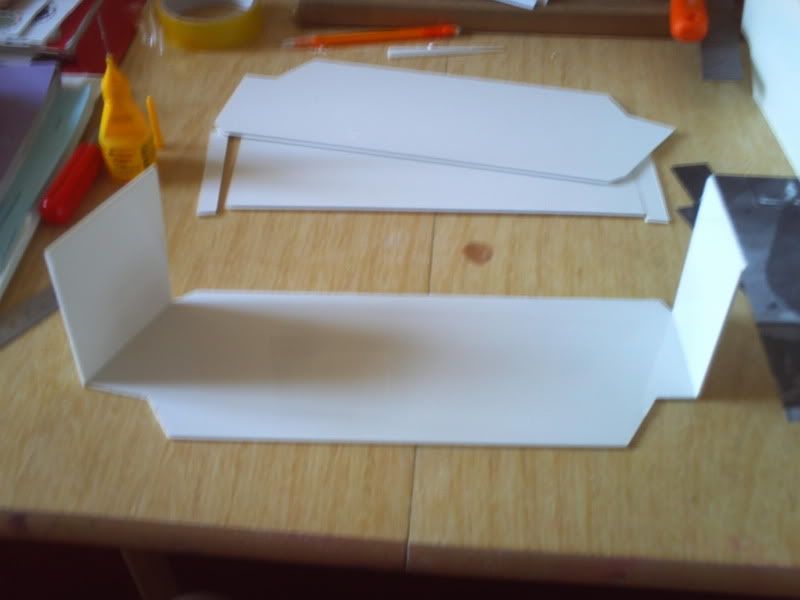
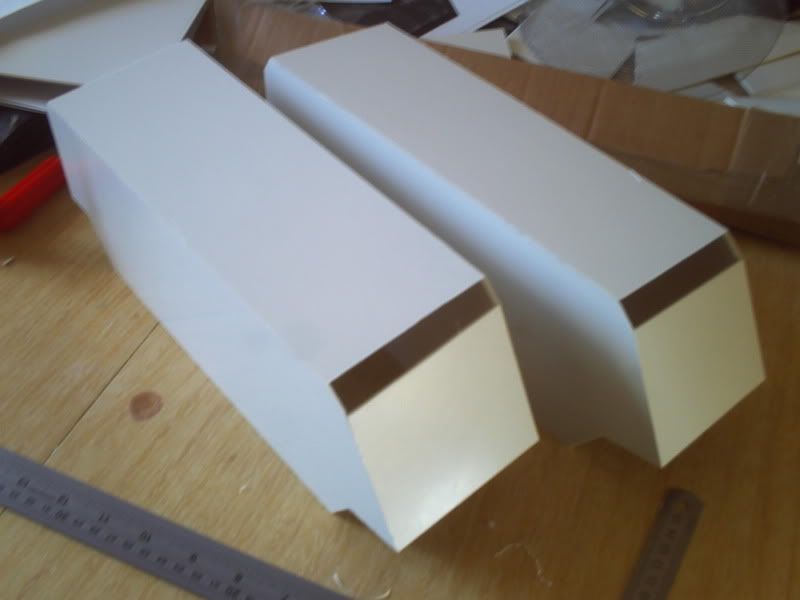
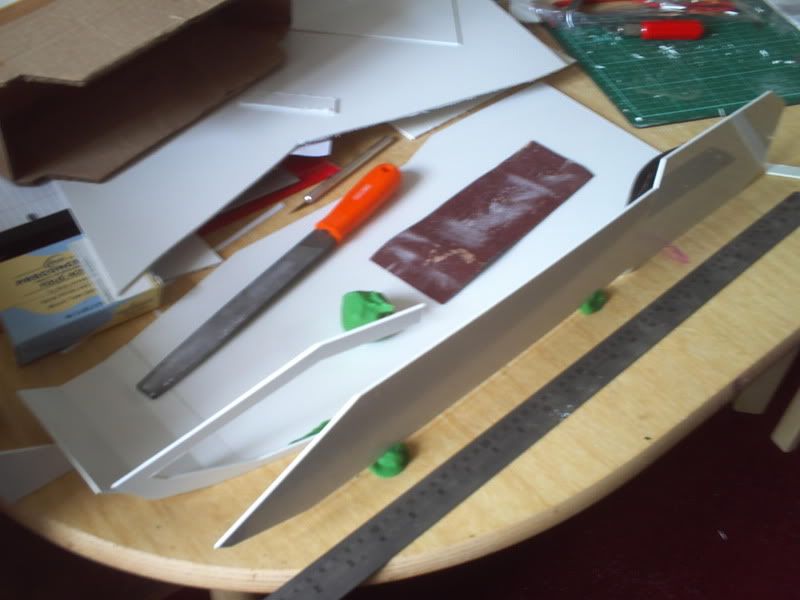
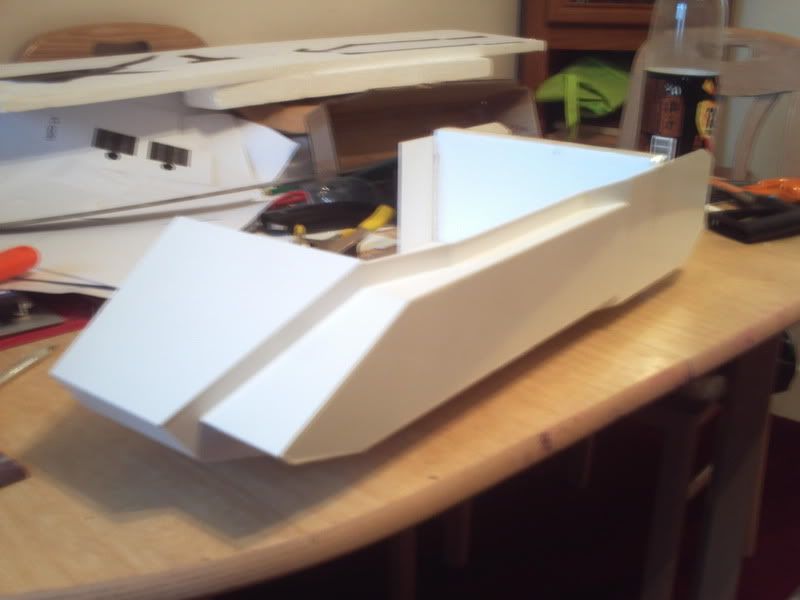
And started building...
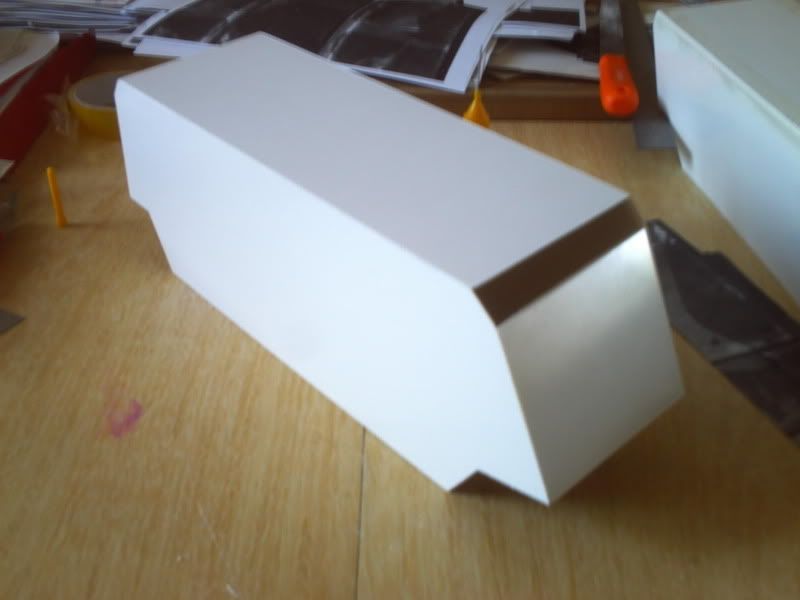
The front panel turned out to be too narrow as I'd accidentally made the entire hull 4mm too wide by not applying a chamfer to the edges of the bottom piece and just building onto eitehr side. You'll see the result shortly!
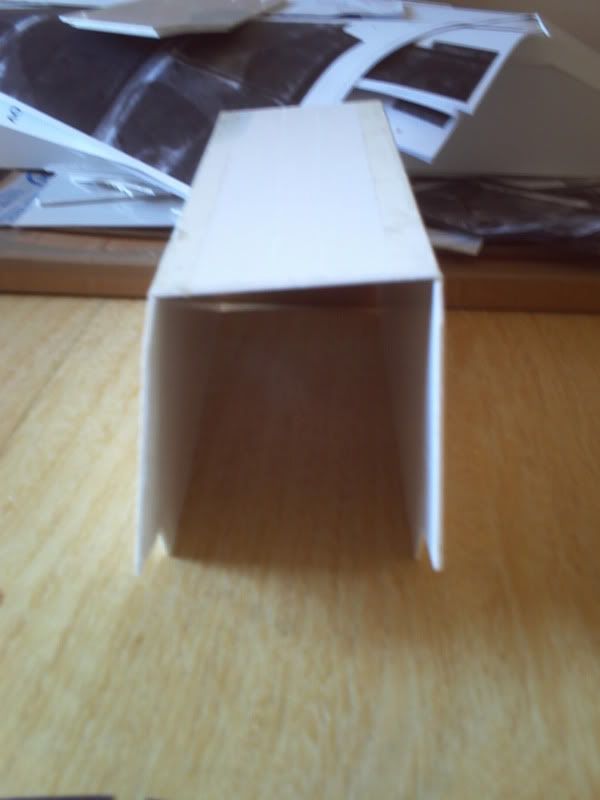
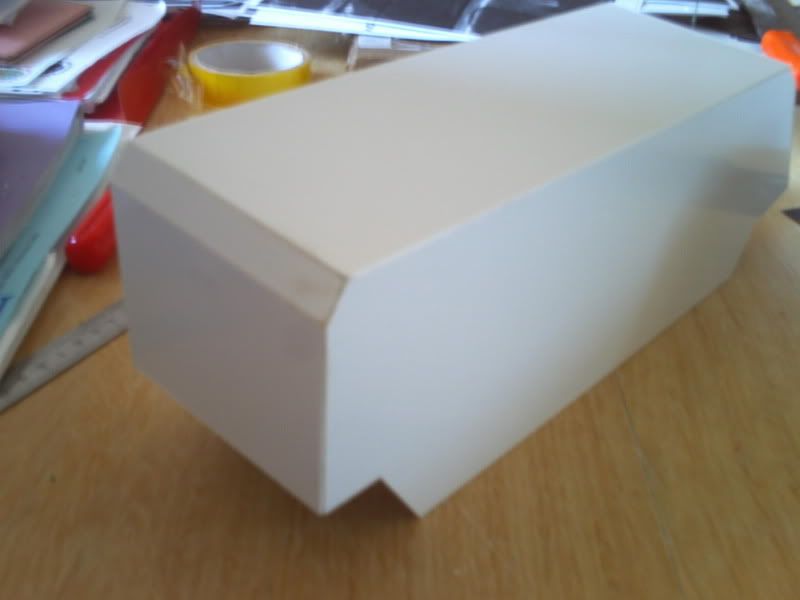
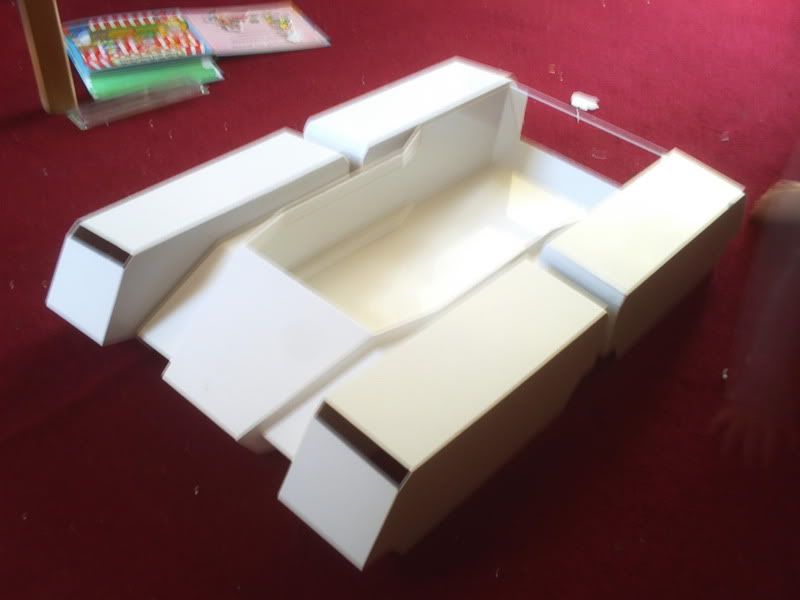
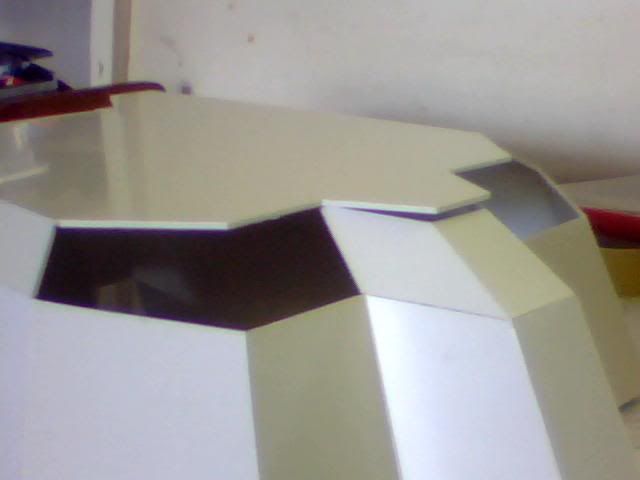
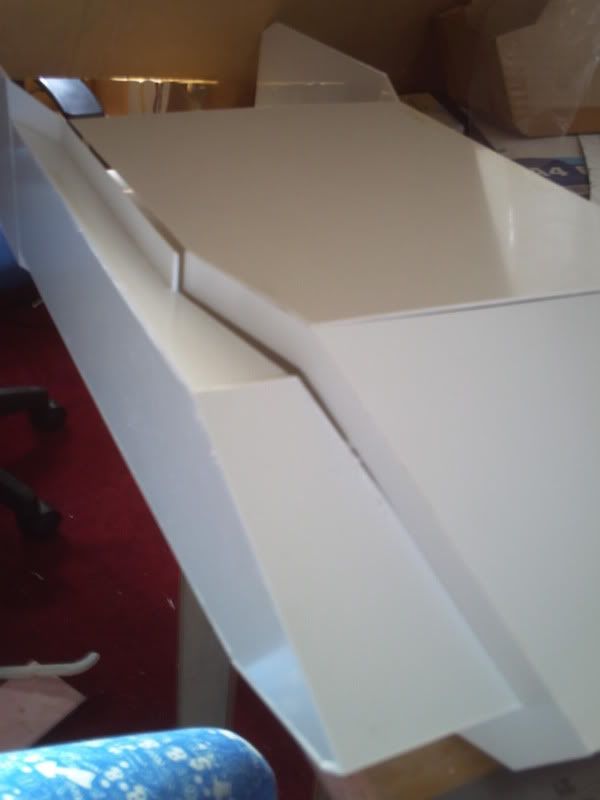
Here it is with both sides finished and the hull top cut but this is also 4mm too narrow and is currently topping off my scrap pile (though it's a good piece so will be used!)
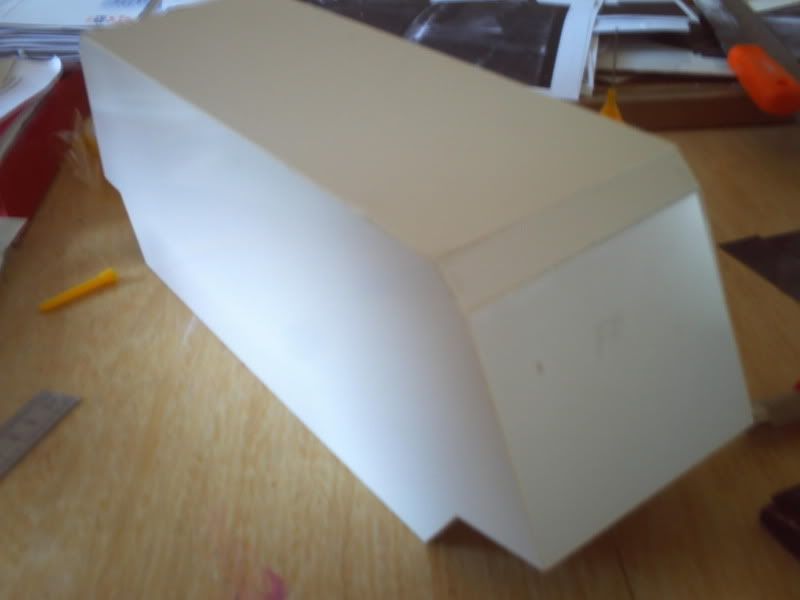
I don't have an image of the problem caused by the narrow pieces I used but it was basically pulling the right side of the hull inwards at the top which looked horrible and was somewhat devastating for me! Luckily it was only that front piece causing it and breaking the seal fixed the problem. This is how far out my measurements were due to that silly mistake of adding 4mm!
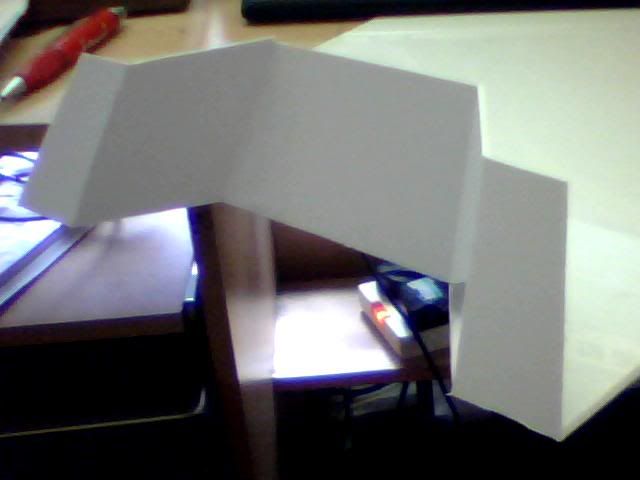
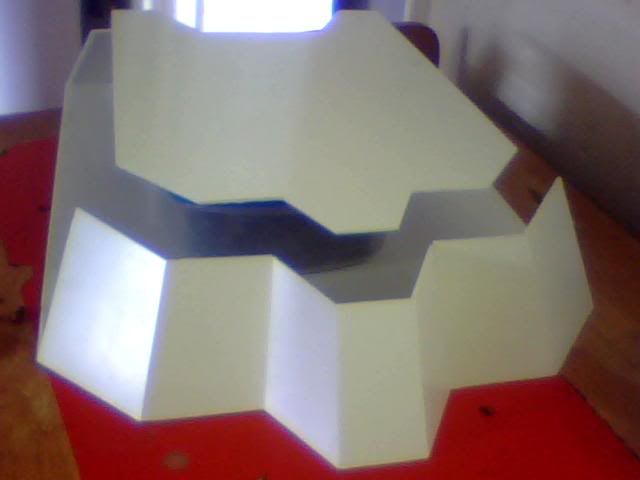
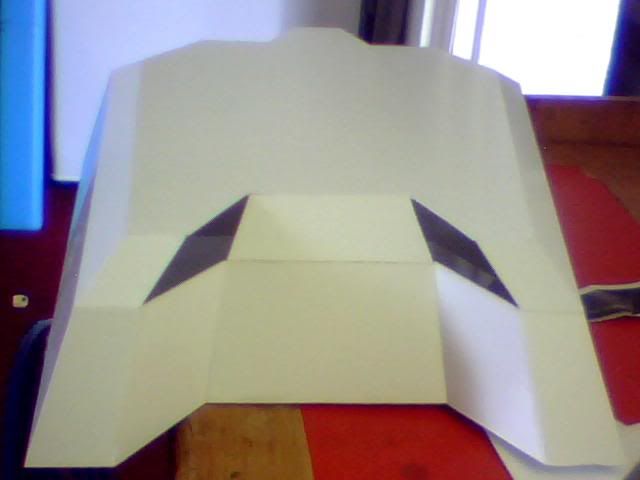
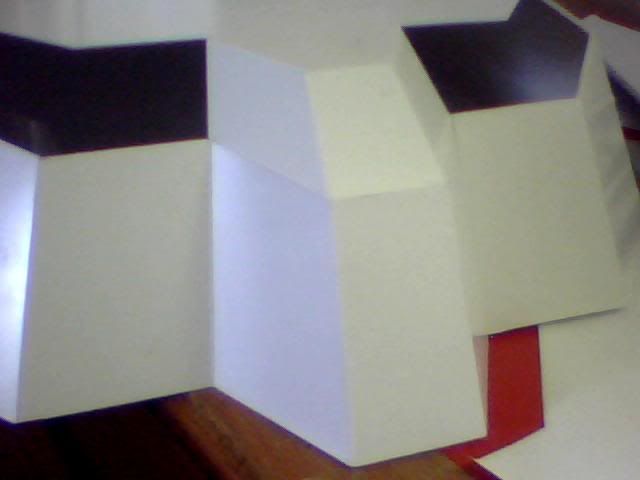
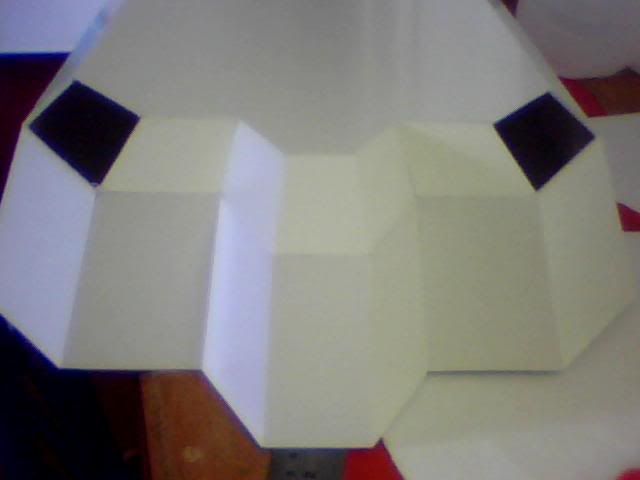
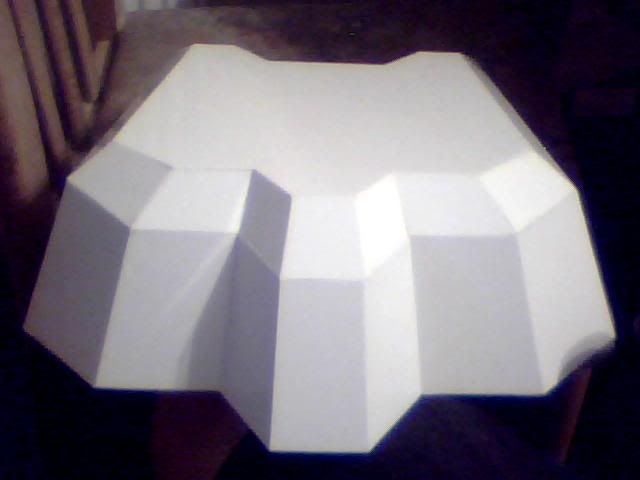
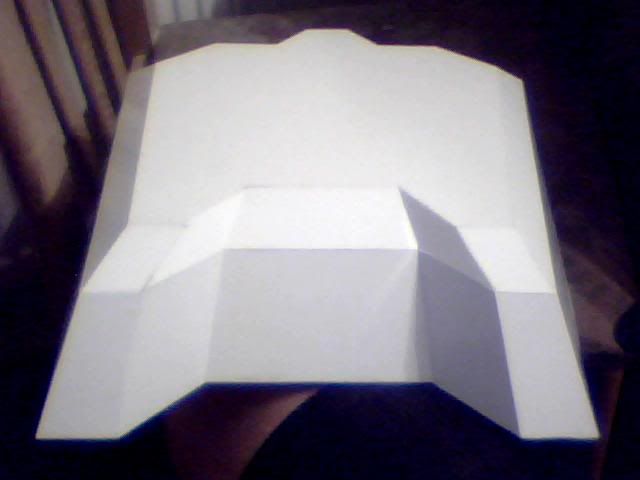
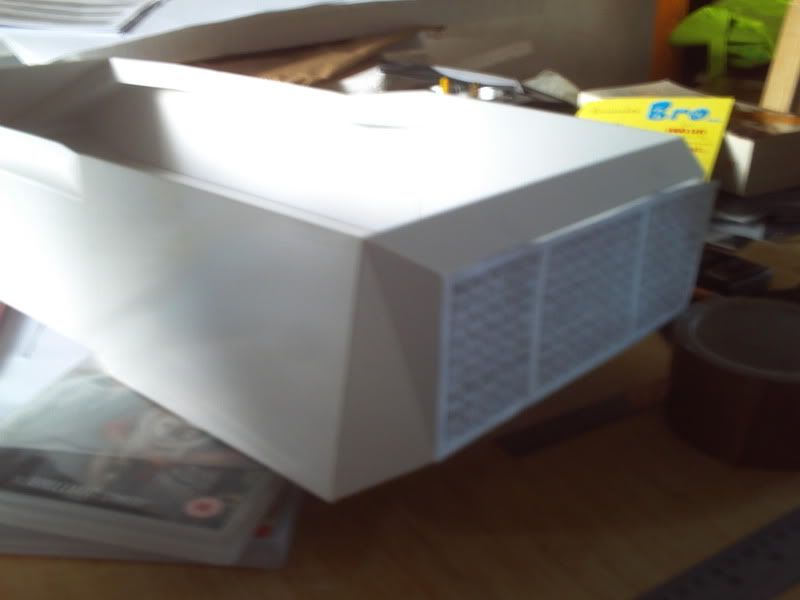
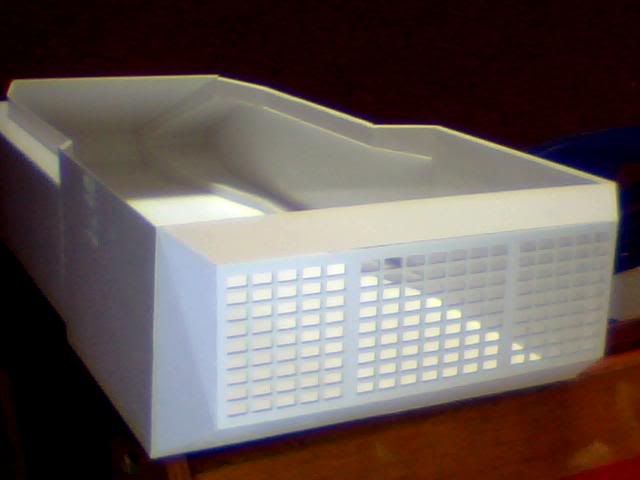
Soon fixed that and moved onto the back which was horrible with some real nasty angles and not much to fix to! It has a large grill here which is kind of what the paper template represents here.
It took a long time for that grill to arrive and it cost half as much as all the rest of the materials used to date! (9 big sheets of plasticard and one small grill!) It did the job nicely though and looks great. There'll be a finer grill on the inside of this at a later date. Topping the running right now is a kitchen sieve I um... liberated from it's handle...
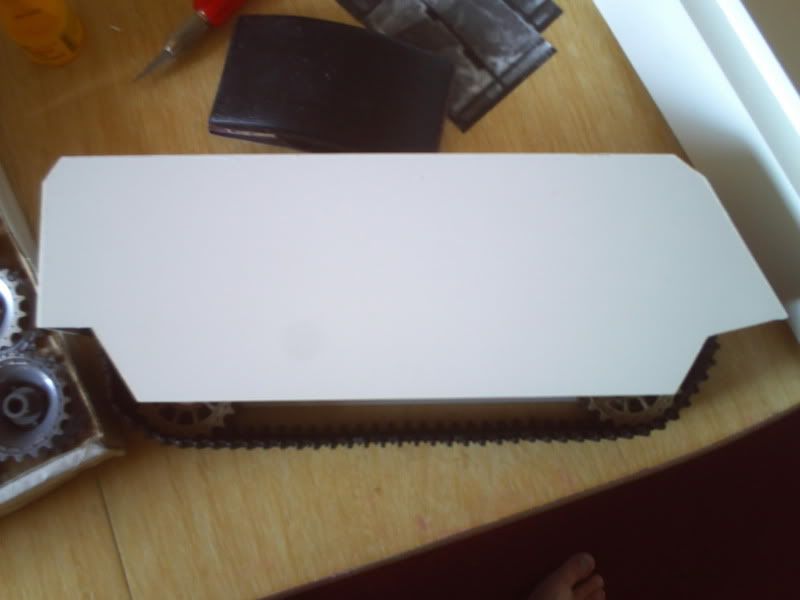
In between those last 2 images I actually did loads, built up some track housings, took a hardware delivery AND made up some track but that's enough for now. You get the hull today and then if people are interested I'll show you the rest later



 Reply With Quote


 so far left of center i'm in right field