congrats on making front page!
sorry its a bit behind


congrats on making front page!
sorry its a bit behind
Originally Posted by intergalacticman


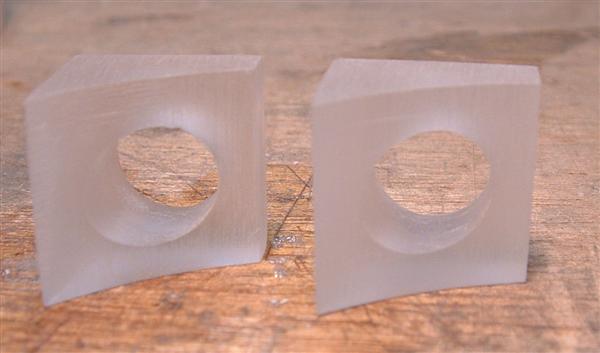
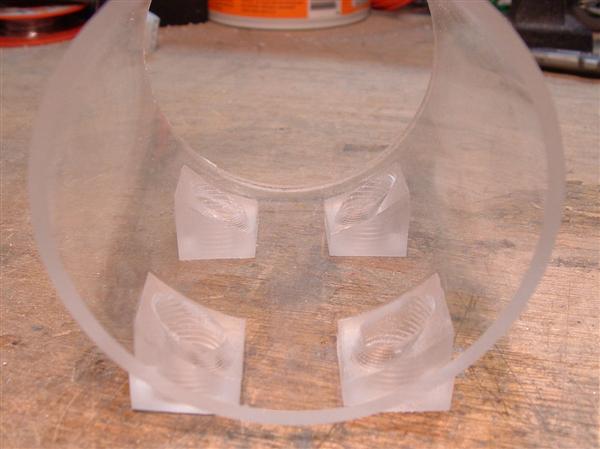
Where were we? The last pic in the previous update was of my connection blocks (still don't know how to call em in english, not even in dutch). I sanded them down first:
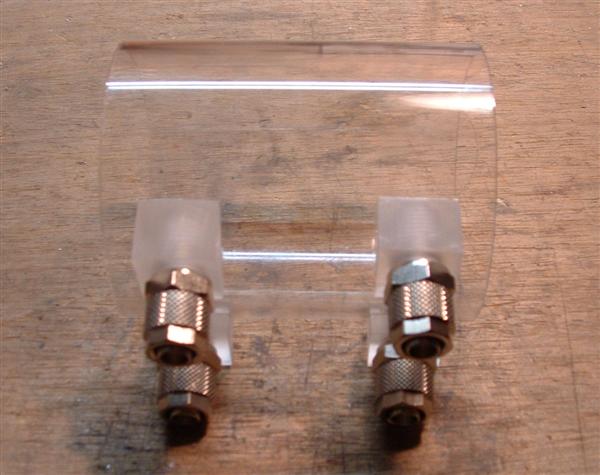
I remade one, and started glueing them to the tube. Tribaloverkill has his spongebob, I have my own angry looking plexi-face
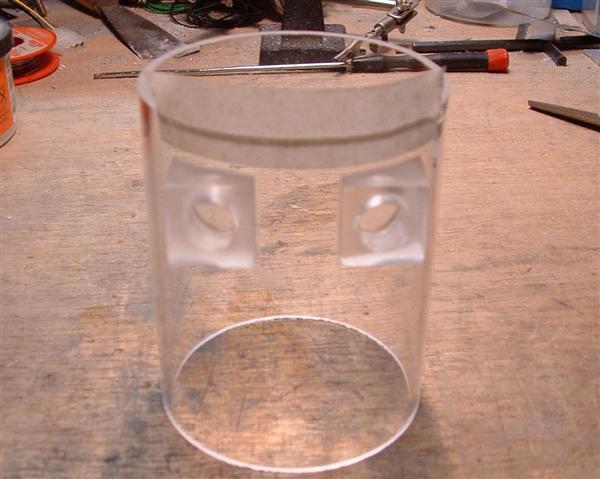
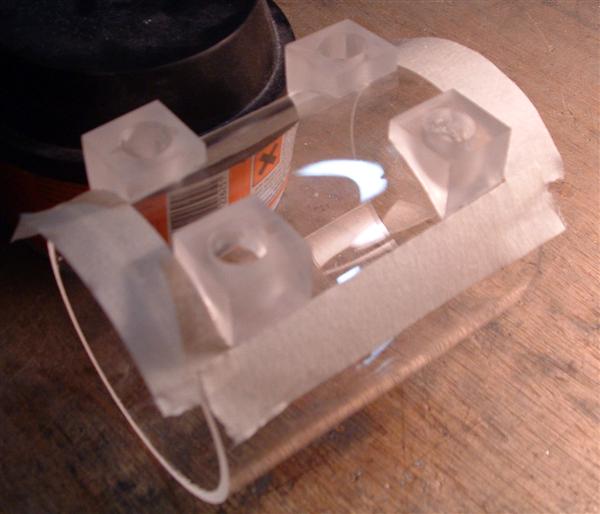
By using masking tape, I made sure that the connections would be stuck on even. Glued the last two:
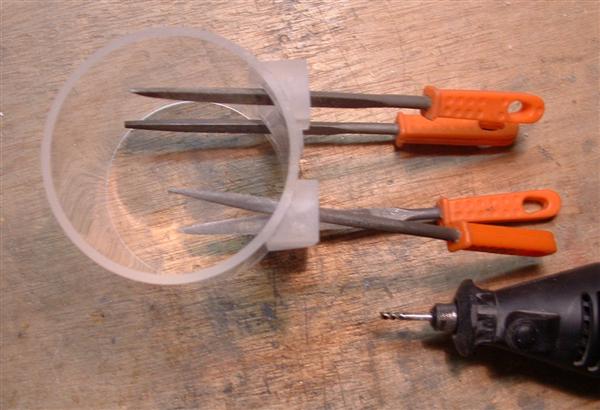
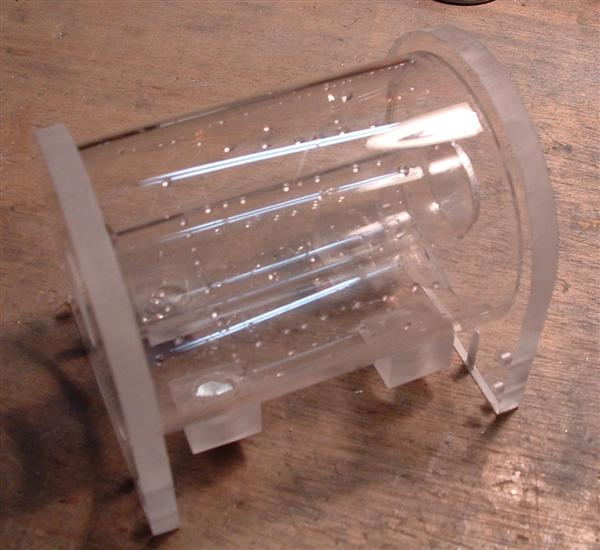
I gave a little thought on how to drill out the holes in the big tube. The best solution was to use the mill bit on my dremel, and it worked like a charm
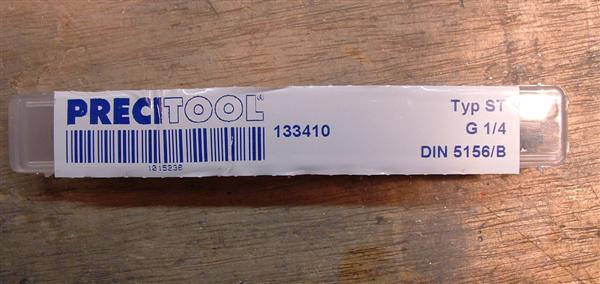
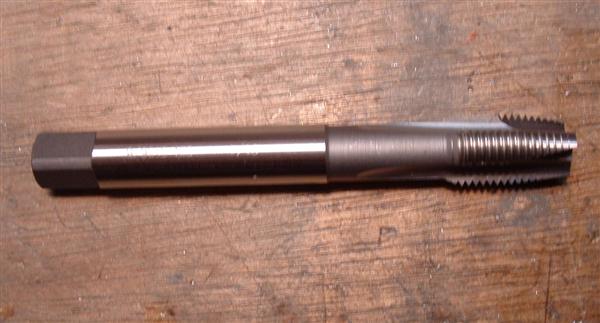
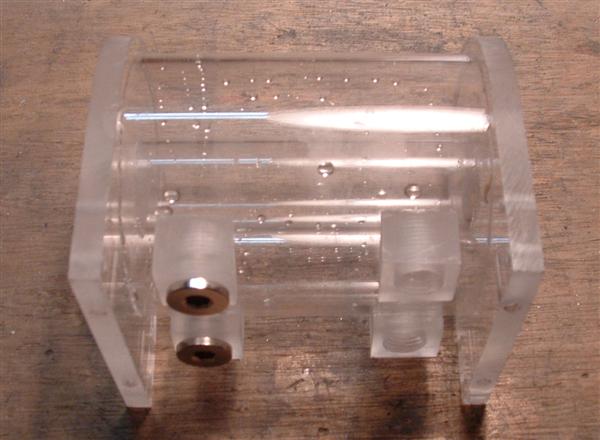
Just in time, my G1/4" tap arrived
I hurried myself to get home, just to find out I don't have the tools to use a tap that bigSo I still had to go to school to tap those holes. That wasn't very hard:
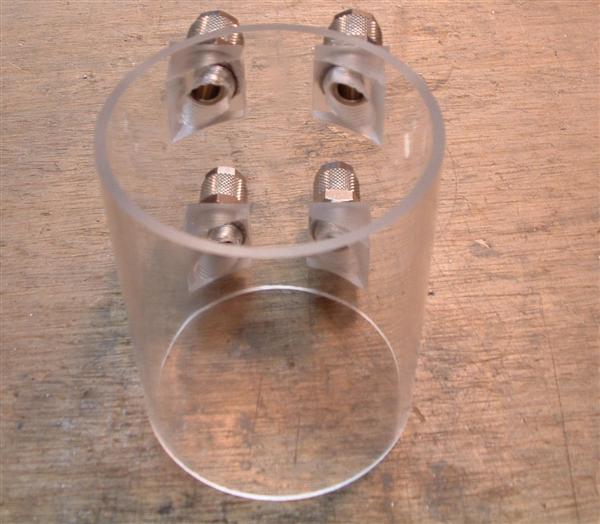
This picture is kind of weird, it looks like the holes aren't parellel, but facing outwards:
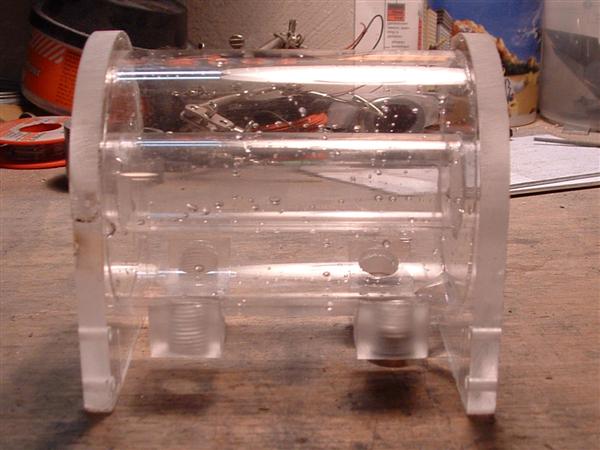
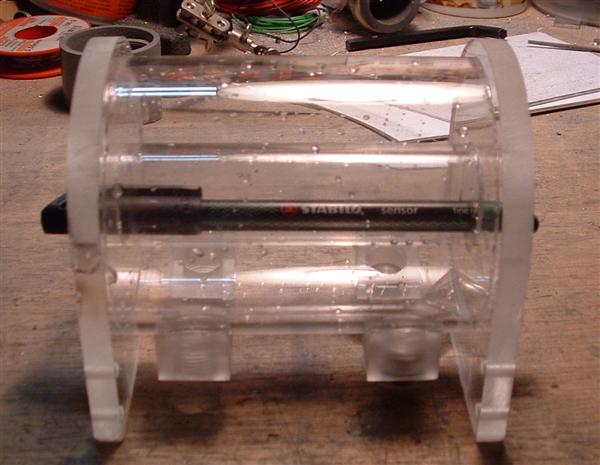
I then glued the big tube to the rest of the acrylic. After that, I applied some more glue to the spots that were leaking, and then mounted the second end piece
Just a pic to show off the inner tube
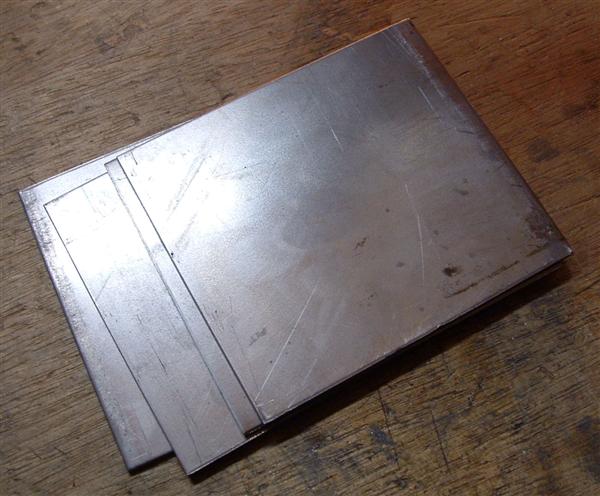
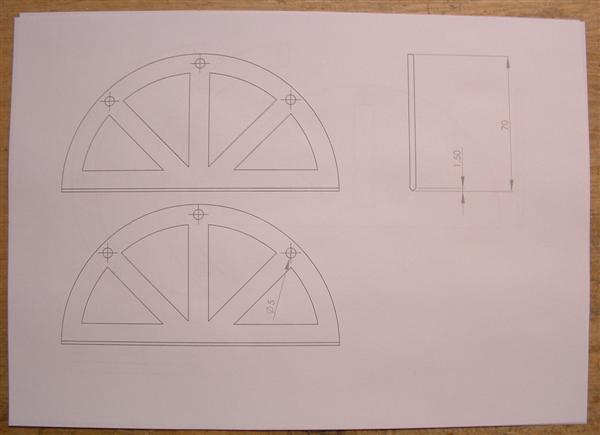
The next pieces I will be working on will be these 1,5mm steel sheets. They will be mounted to the flat pieces of acrylic:
At this pic I've drawn out two of them, the other two will be like these. I will cut them at school, with the machines Koradhil already showed in his topic
After these parts are mounted, the res will look entirely different, so check out the updates that still have to come
My casemodding company: Brink of Modding
My current work log: miXture
Reservoirs and more:Phase 2 casemodding

Very nice work, I am thinking of making a pair of custom reservoirs for a cube mod I am thinking of doing.
Project: Elegant-Li *NEW*
Project: Alpha FINISHED
Project: LEXA Revival FINISHED
Project: LEXA FINISHED Bit-Tech MOTM Nominee October 08
I believe everyone is making his own res's
My casemodding company: Brink of Modding
My current work log: miXture
Reservoirs and more:Phase 2 casemodding
Hey there, I am back
I had to cut really small pieces at the time, so it took at least 15 minutes per plate. And then it still looked like this:
That still needed a lot of filing to fit it around the res, and that's one of the reasons it all took so long. Man I'm glad that's over
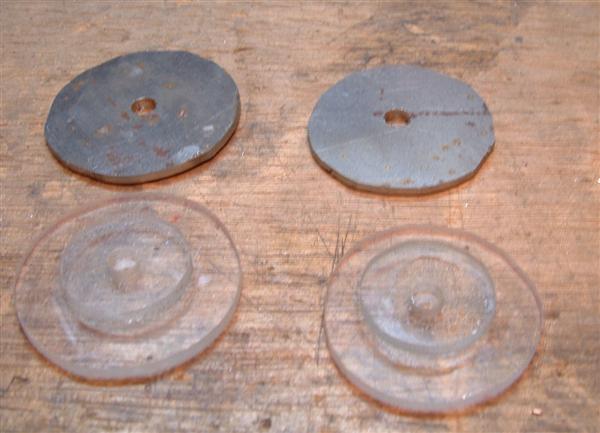
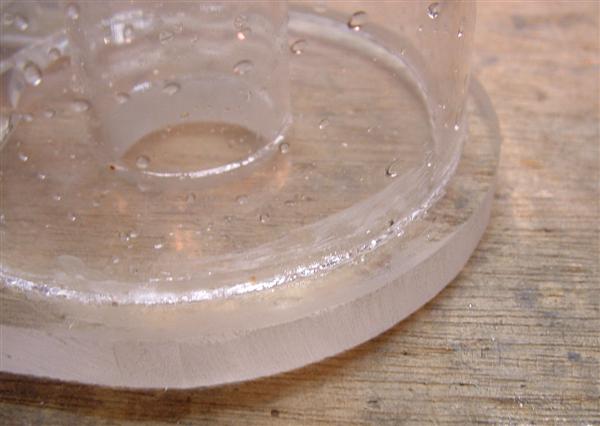
I had to make some more parts, some plexi pieces to cover the center tube. They may not be as round as you guys are used to see from mee, but it has its purpose
On top of that, two little pieces of steel:
Another reason for not finishing, I couldn't get it not to leak
As you may have noticed, all of this is not as clean as I used to make. That's the same for the tube that will go inside the inner tube of the res:
Let alone the rest of the steel sheets
I started this project so I could use different styles, and as you can see, this one has a totally different approach than the sleek design of B-res. At this pic, I mounted most of the sheets:
And here the inner tube and the cover plates are placed also. And it's finished, I call him Rusty
Look at the size of that thing
I really like the look of the nickel plated pieces with the rusty parts. The inside became a little steamy because of the sun, but that won't happen when it's filled up with water of course. I am gonna try to make a little video so you guys can see the nice vortex
If all of you check out this topic a few times, I am going to break my record of showed files from april. It still stands on 230,000 pics, but I know that record will be smashed this month
My casemodding company: Brink of Modding
My current work log: miXture
Reservoirs and more:Phase 2 casemodding

wow i love rusty...
that looks so nice mate
Wow that looks bloody fantastic mate. Rust much lol. I forget, did you rust that yourself or cut it from rusted metal? +rep
Project: Elegant-Li *NEW*
Project: Alpha FINISHED
Project: LEXA Revival FINISHED
Project: LEXA FINISHED Bit-Tech MOTM Nominee October 08
I just let it rust for a week outside, after cutting that is
My casemodding company: Brink of Modding
My current work log: miXture
Reservoirs and more:Phase 2 casemodding

Wow! Your reservoir really turned out great! +Rep
Looks cool with the rust on the steel pieces.
A few weeks ago, I found out that Casemodproject.be was having a competition. It was based on the BeP Modding Trophy, in which I'm part of the crew. In the first round, people had to mod a dvd drive, and the amazing results can be found here. Ten people went to the second round and they are currently modding a power supply, sponsored by Fortron. Well, back to the Belgian Contest, we were supposed to create or mod a fangrill. I really like to do small projects, as you may have noticed in this topic
I started sketching, first in my sketching book and then in SolidWorks. I designed a fangrill that uses plexi not just as a flat sheet, but more in 3D. I did that because I'm a little tired of the plexi fangrills under the stainless radgrillz and stuff like that. Plexi (and other materials also) has so much more potential, and I'm trying to inspire other people to create more creative design with the things I'm doing.
It all starts with a 120mm blue ledfan:
A piece of brake line for a bike. I bought this a long time ago because I knew I could use it one day for casemodding but I haven't yet, until now.
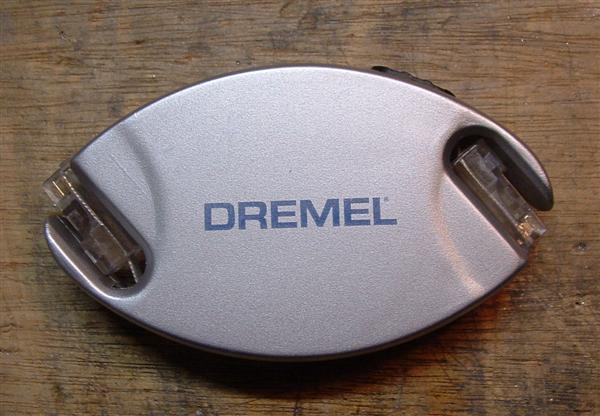
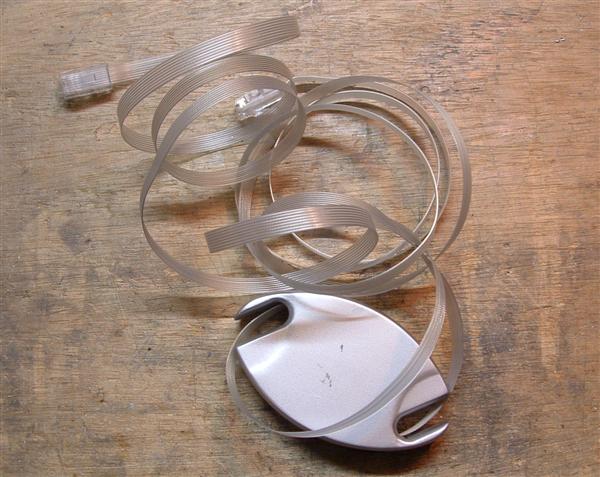
I got this gimmick aka lan cable at the Dutch Casemodding Championchips 07, but I probably won't use it anyway. I like the cables though, so I'll be using those
It's about three meters long, but I won't need that much.
I just need a short piece with three conductors:
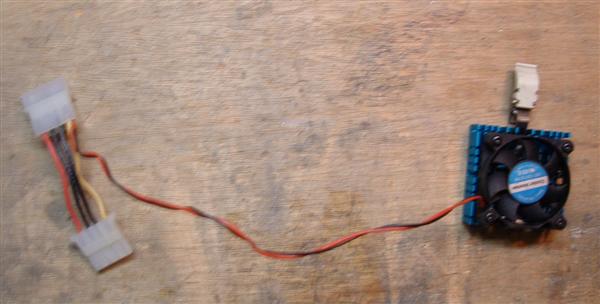
It will be used to replace the black and red cables for the 12V. The fan makes a lot of noise at 12V, so I will never use it in a case anyway. To hook it up to the power easily I will use the splitter of this fan:
I turns out to be a low budget mod. Not because I don't have the money, but because I have all of the materials at home already. I think I just have to much stuff
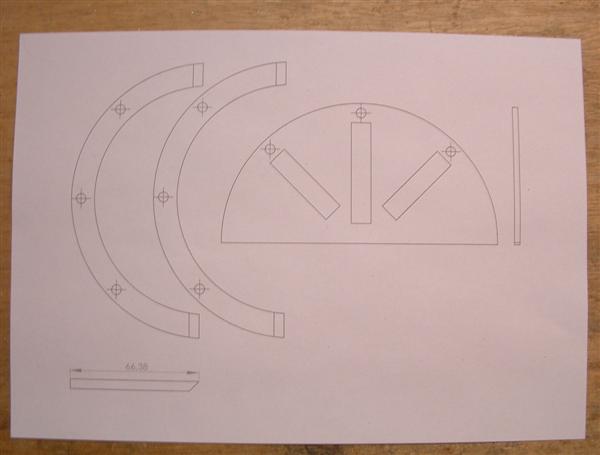
The design was made using SolidWorks, so I could easily print out the designs, once again:
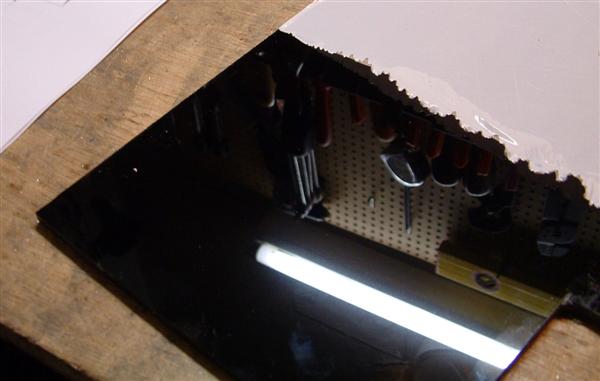
The colors I will be using are black and yellow. I wanted to use blue but I didn't have enough plexi of that color. This is 5mm solid black:
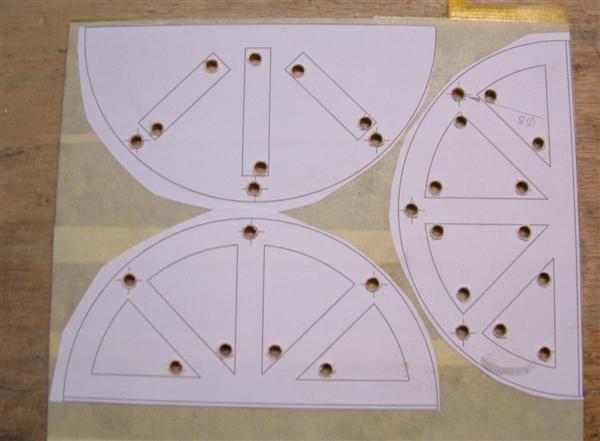
And the first pieces were drilled and cut:
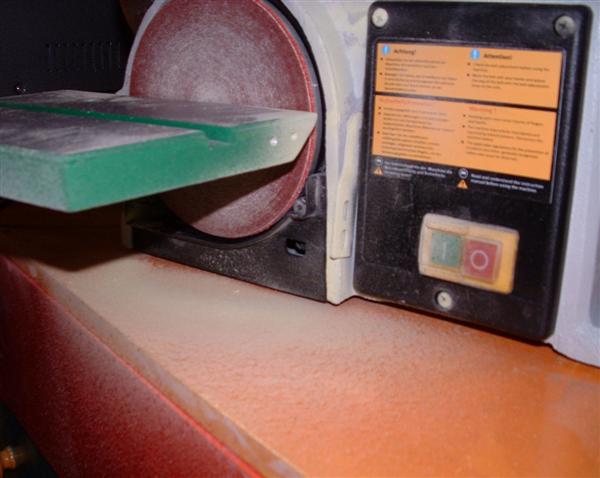
With a nicely sanded edge of 45 degrees:
To win the compo, it needs a little finishing. Sanding with 80 grit to get the shape right, than sanding with 280 grit:
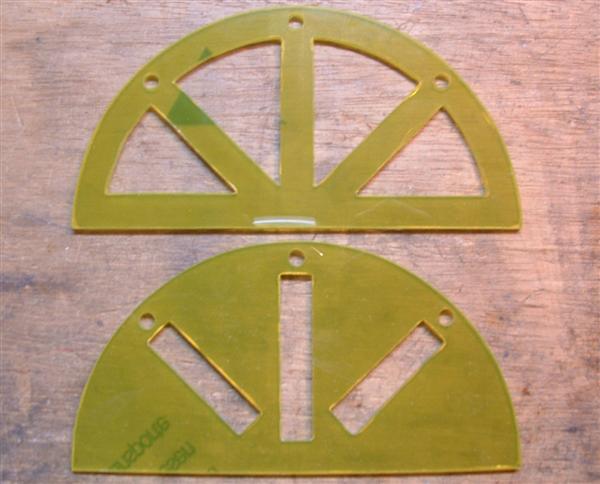
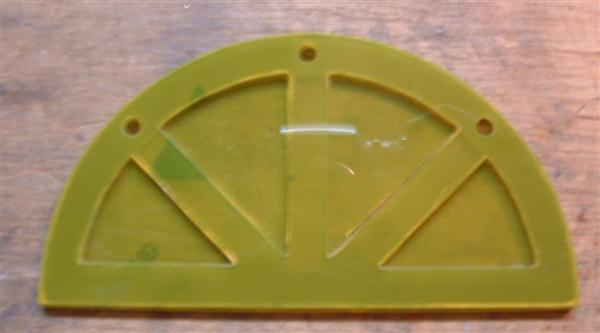
It's time for some color, this is 3mm yellow plexi:
Drilled and cut with the coping saw:
After the cutting and filing, it was time to cut them out of the big sheet of plexi with the jigsaw. After sanding some more, my workplace now looks like this. Not even one day after vacuuming
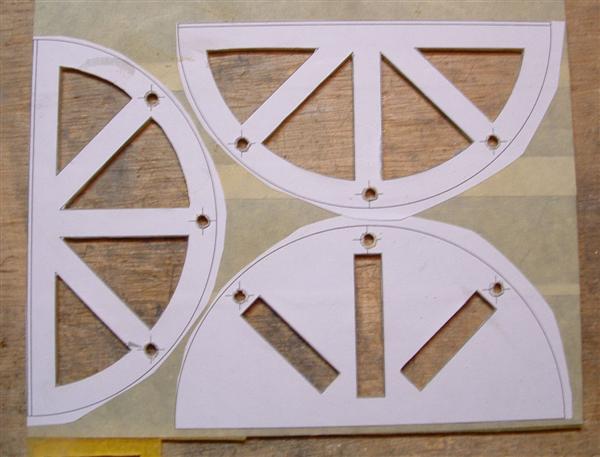
I hope you guys see the idea behind these designs? In the first part, everything will be cut away that will stay in the second one:
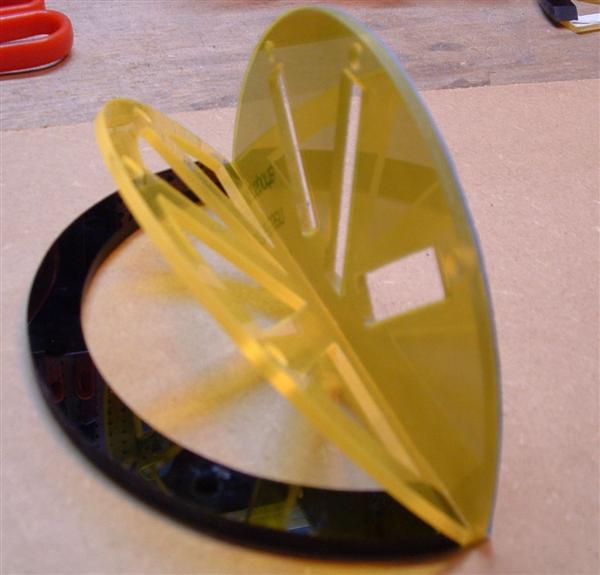
The sanding at an angle was pretty hard, but it made the gluing a lot easier:
For now, it looks like this
This is actually a big part of the actual fangrill, but I will show you more very soon
My casemodding company: Brink of Modding
My current work log: miXture
Reservoirs and more:Phase 2 casemodding
 Posting Permissions


 Reply With Quote