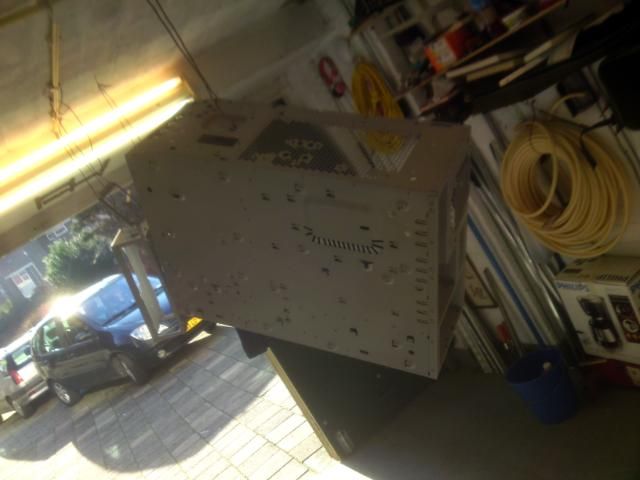
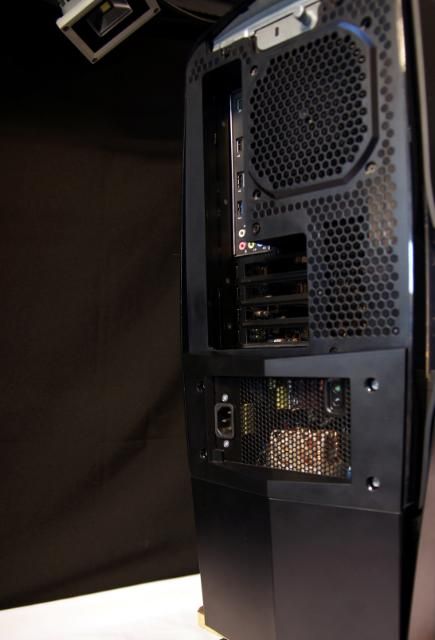
The mobo tray and back panel make me shudder lol. All those mounting points...


The mobo tray and back panel make me shudder lol. All those mounting points...
Alien autopsyOriginally Posted by TLHarrell

It al will be covered
Update!!!
Hi Y'all,
I had a nice update in mind about the internal and the beautiful water blocks. Unfortunately GLS did it again... destroyed my package and send it back to Slovenie.... Thanks again GLS!
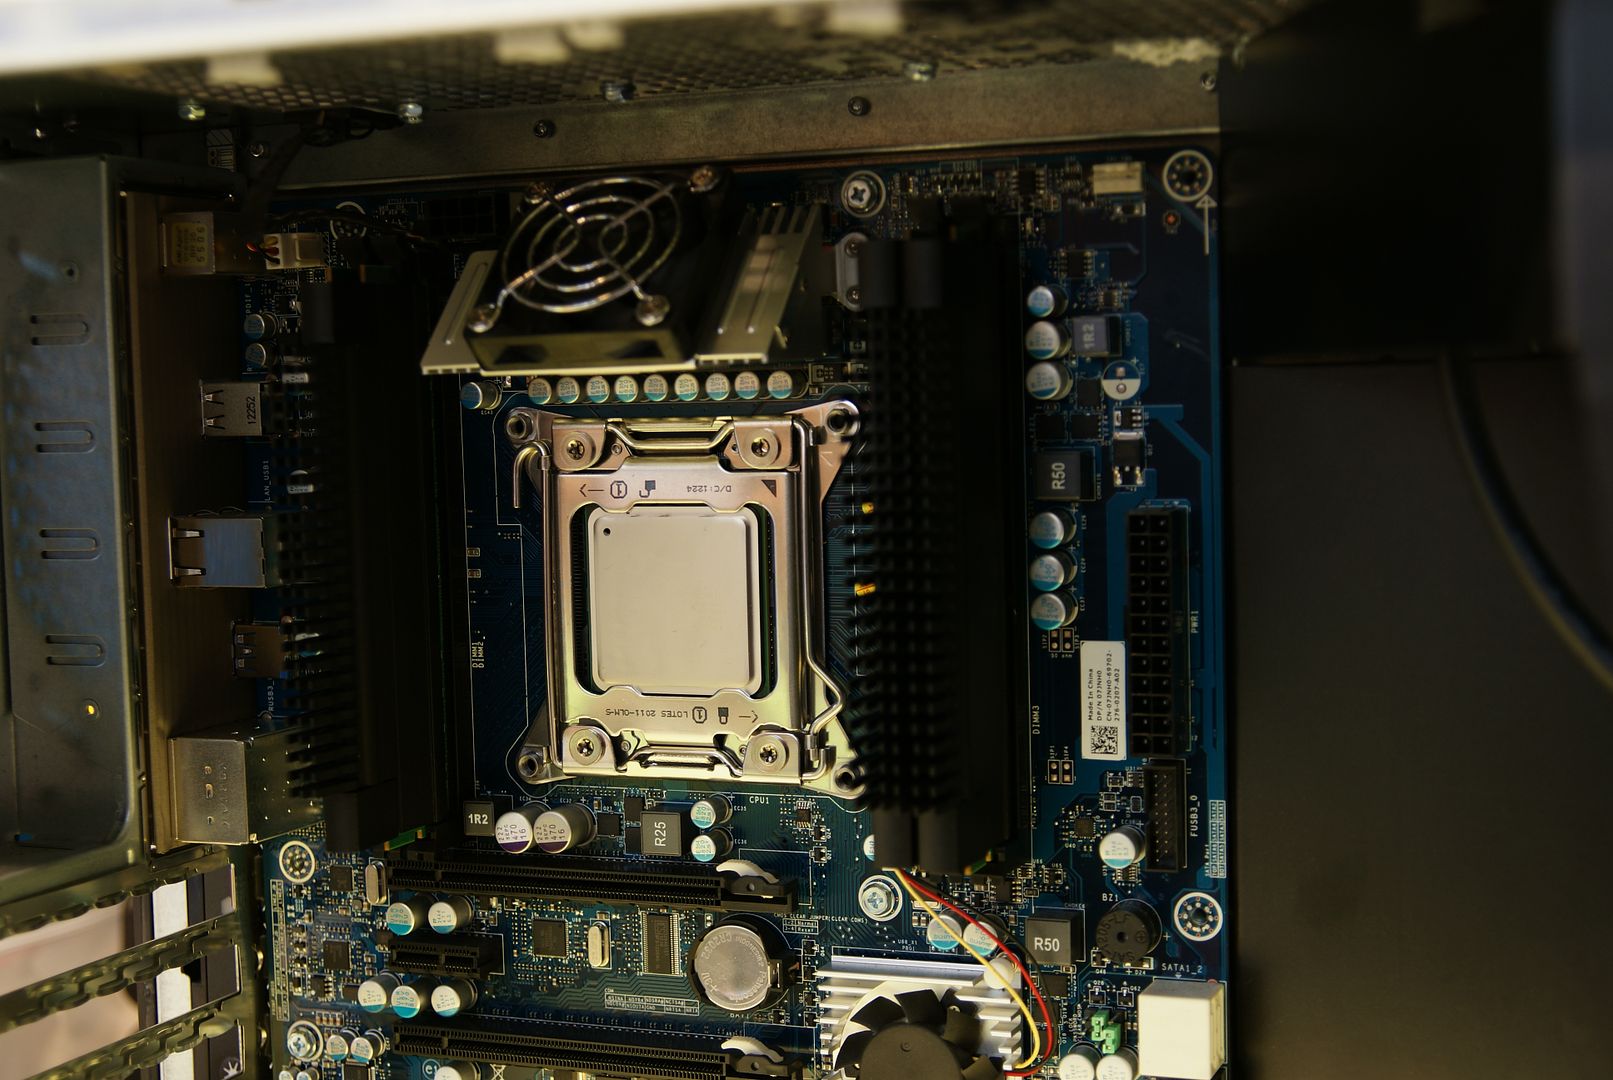
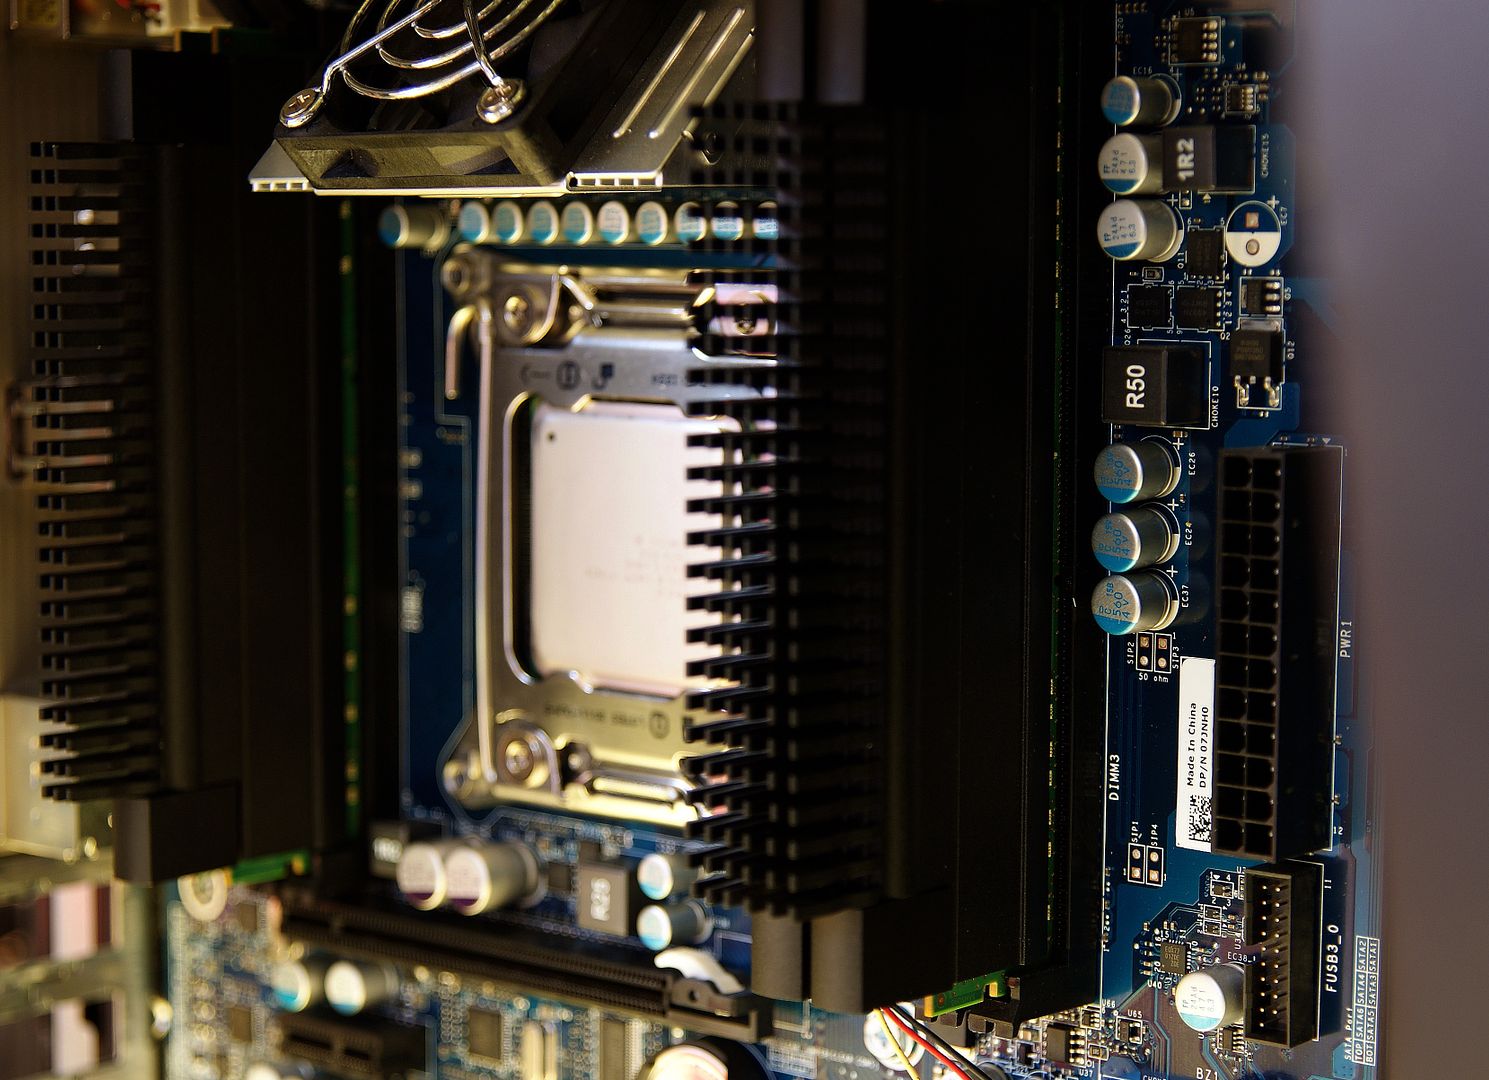
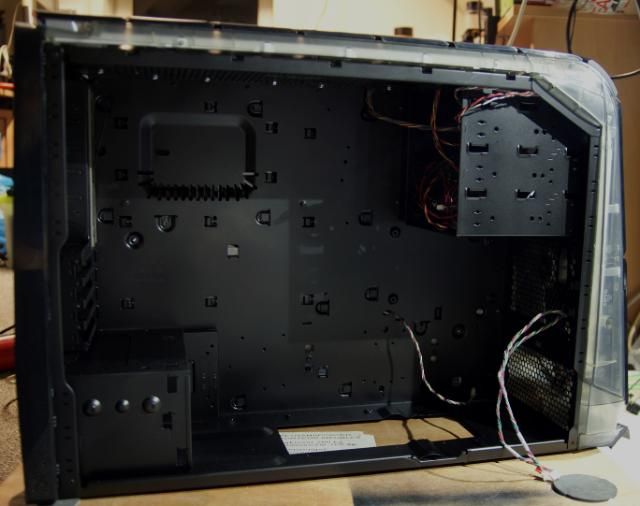
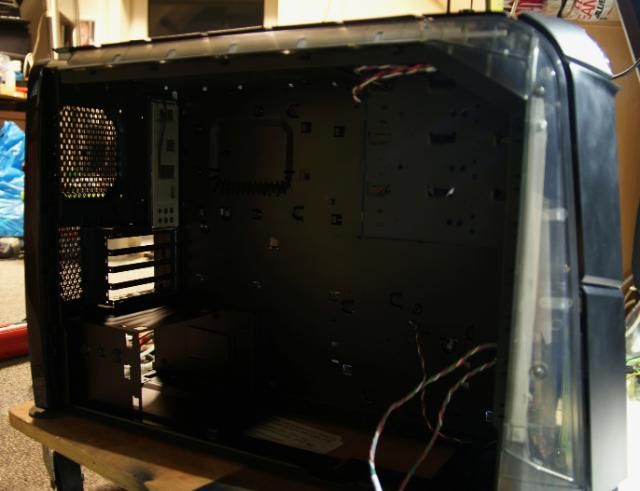
So this time only an update about the internal parts.
First I have some RAM coolers mounted on the Dell RAMs
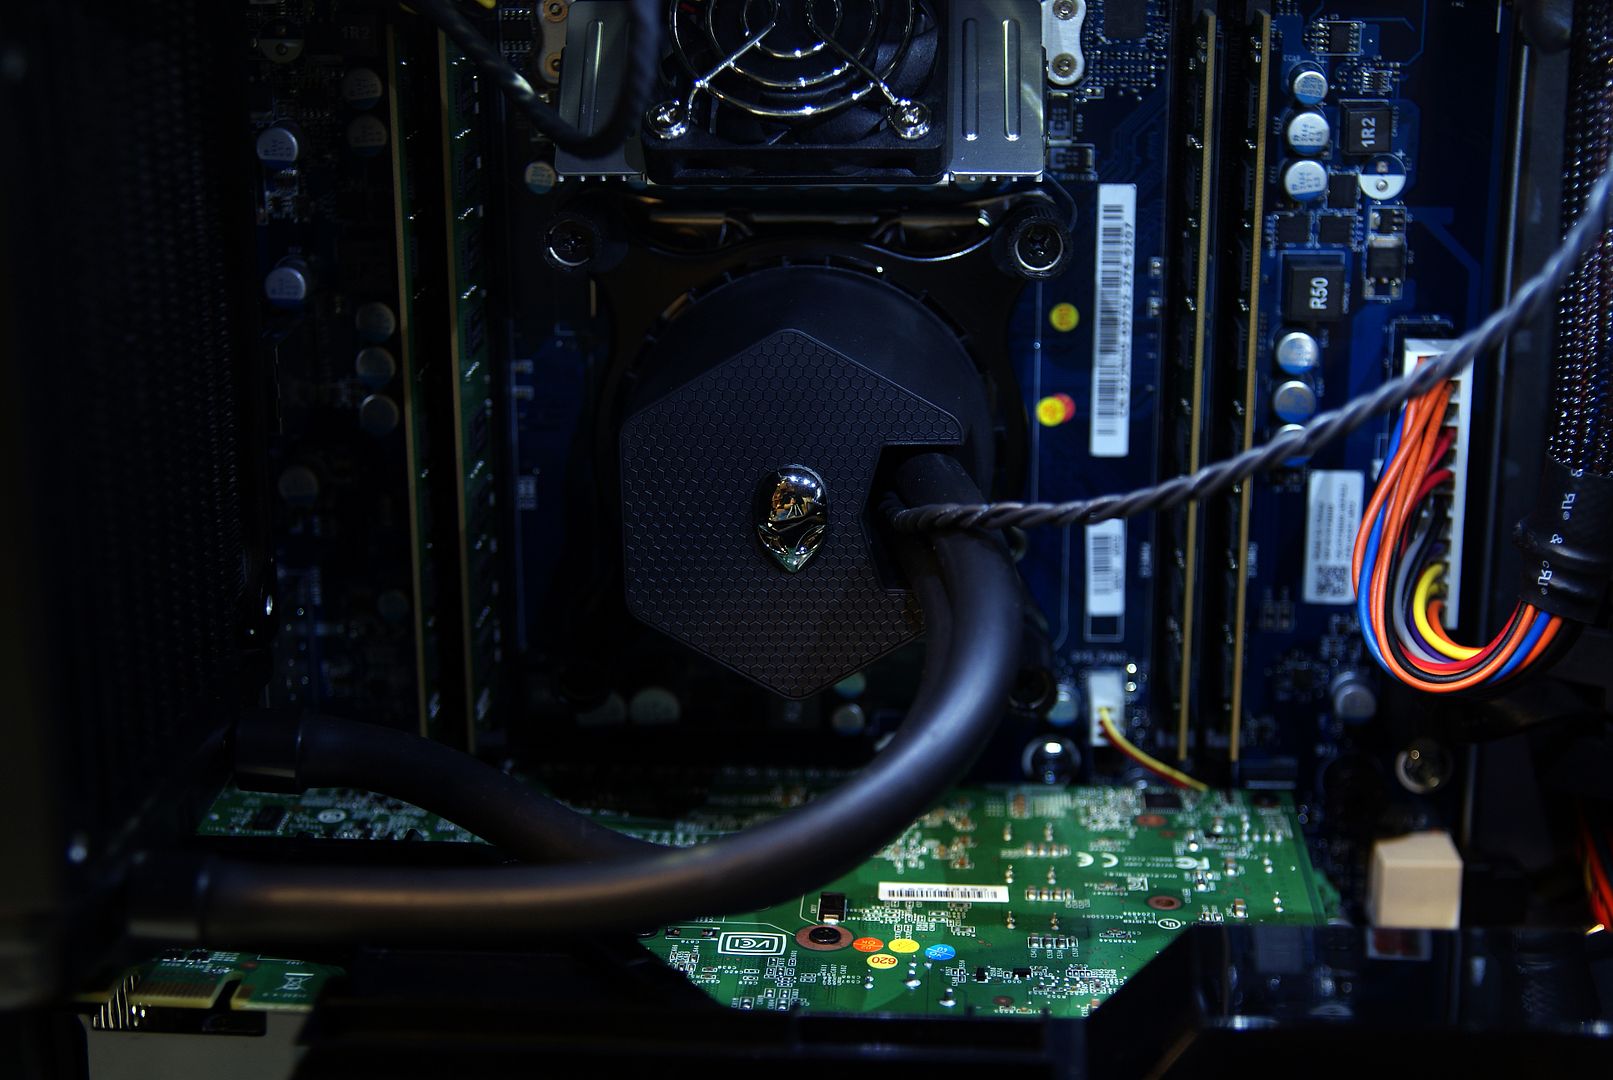
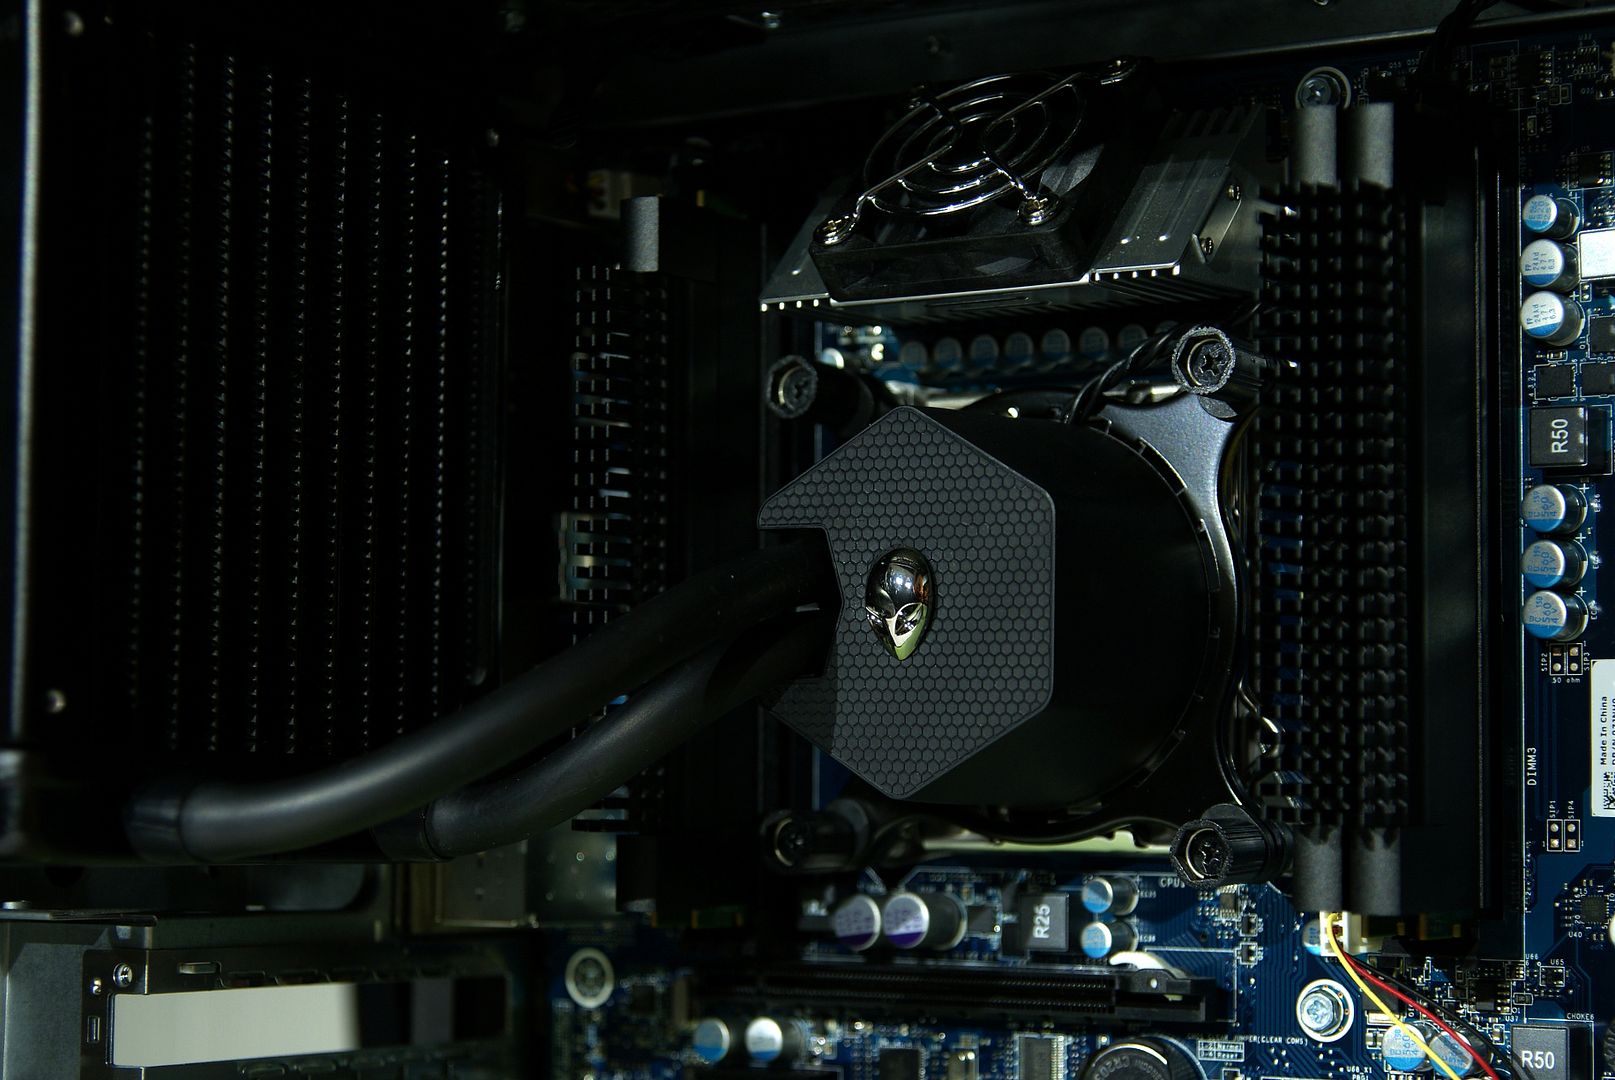
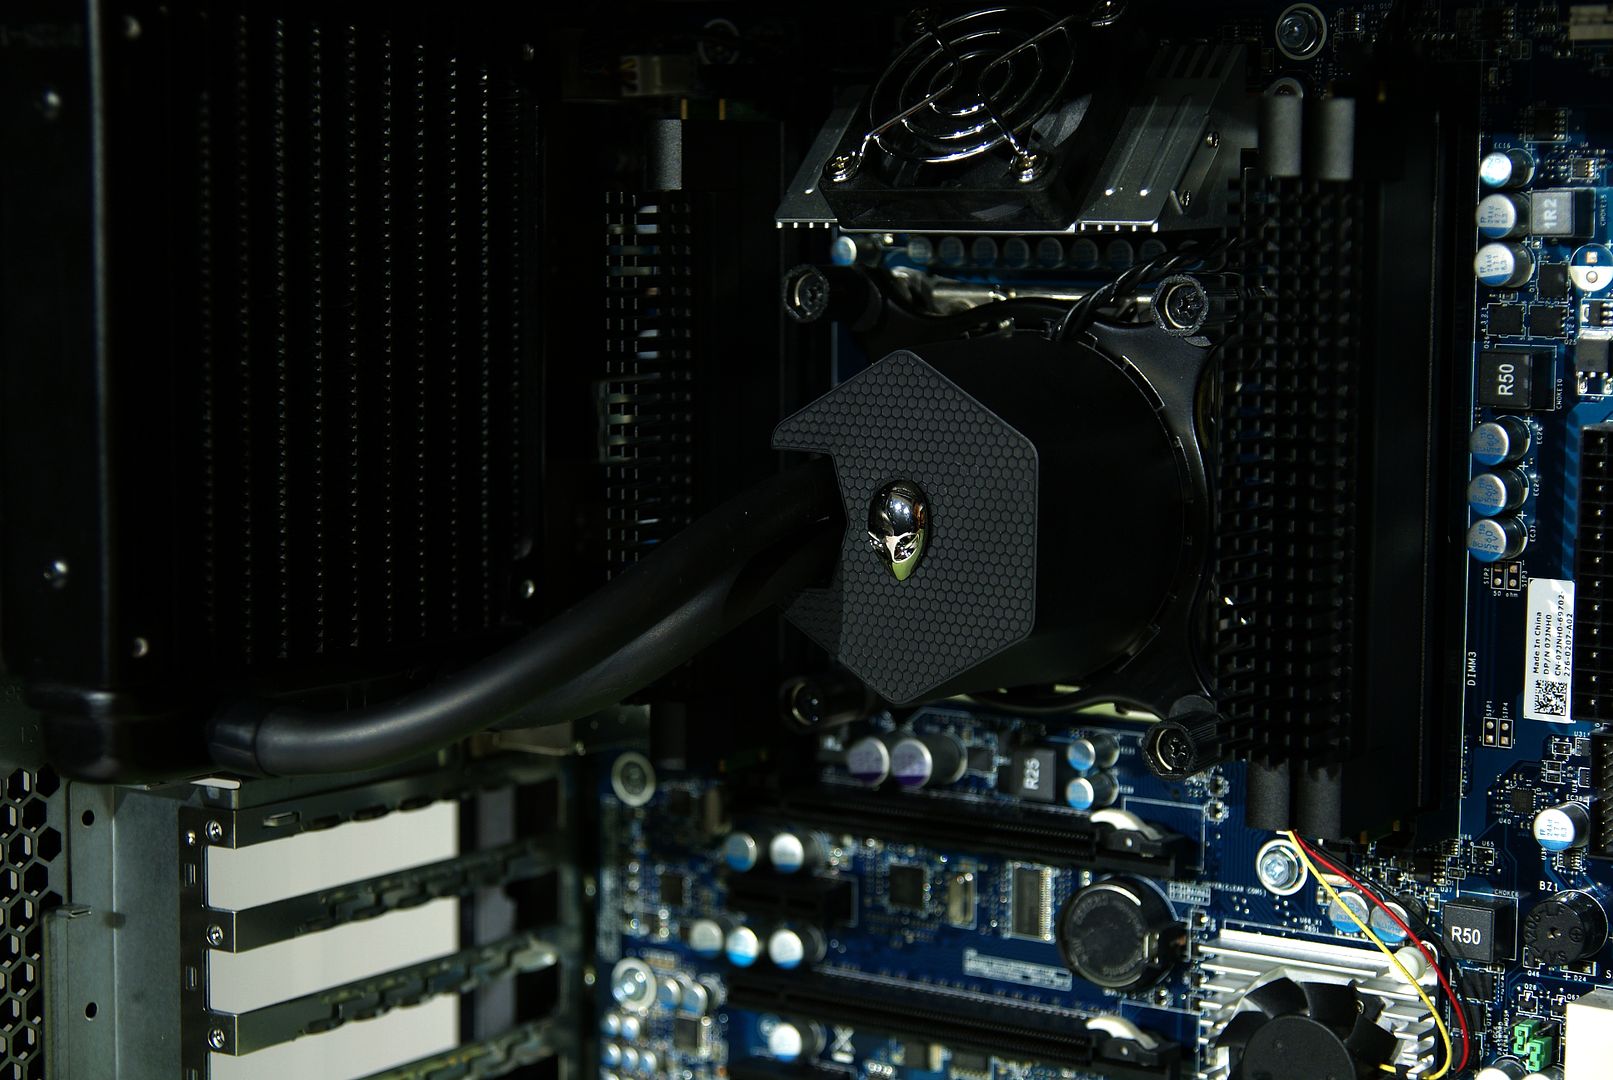
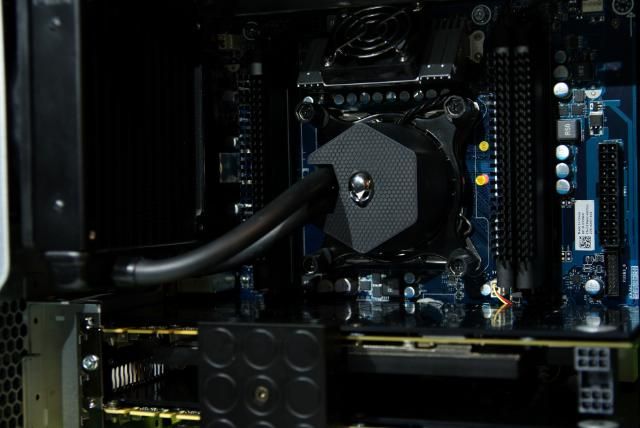
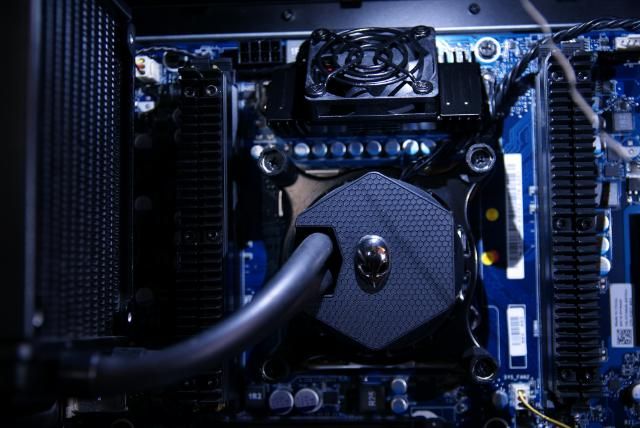
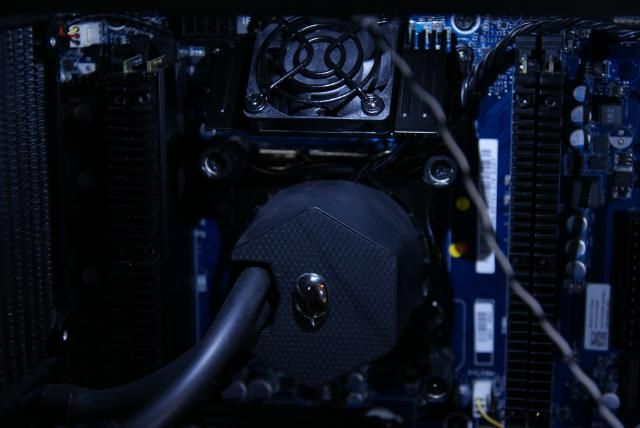
I also changed the CPU cooler.
Before:
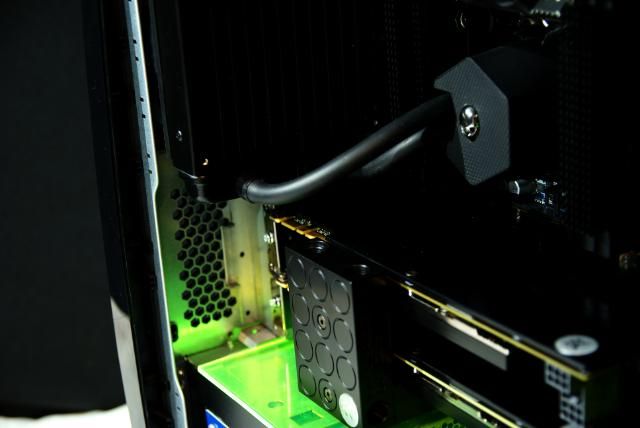
Shorten the tubes, turn the cover, turn the alien and re-route the cable
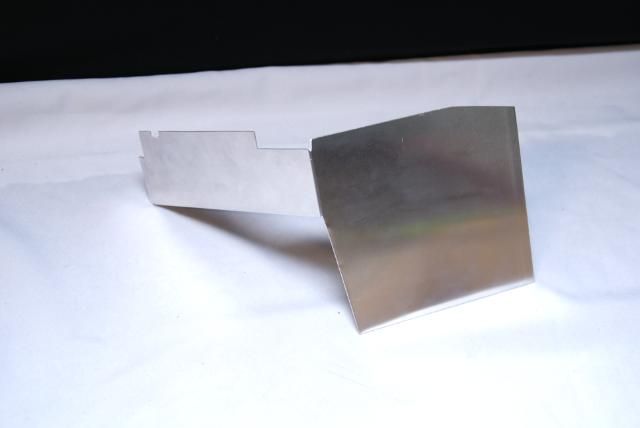
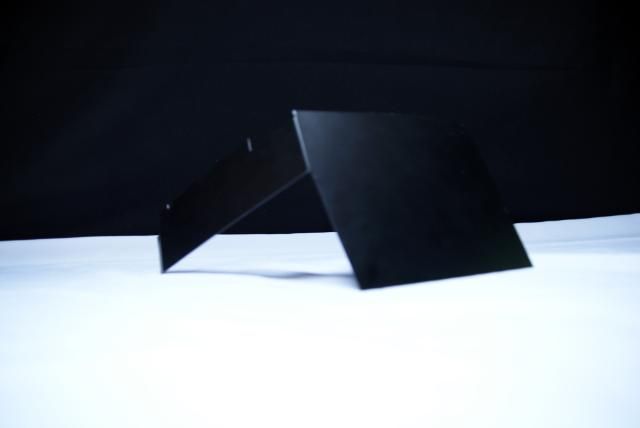
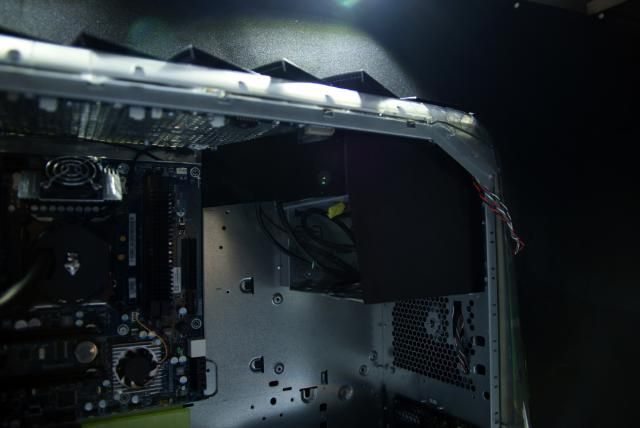
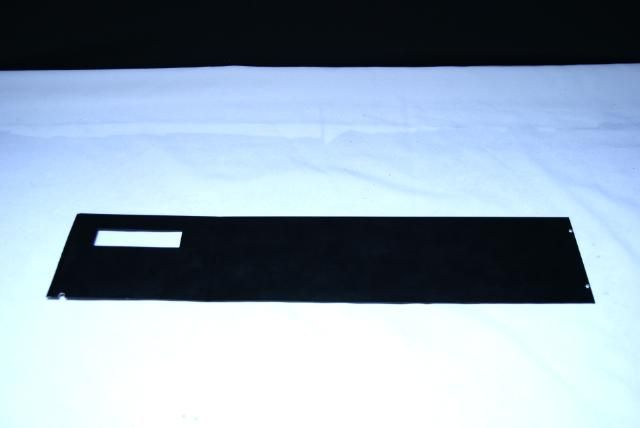
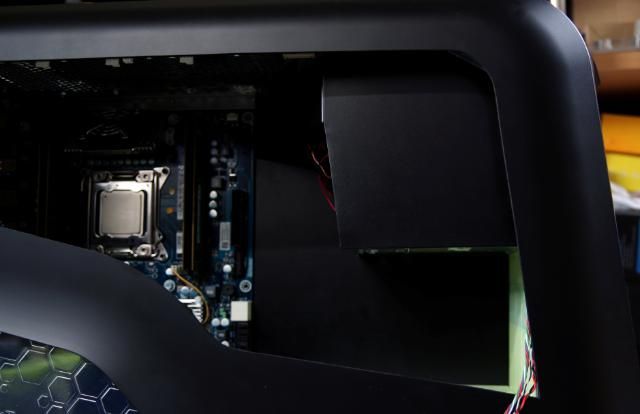
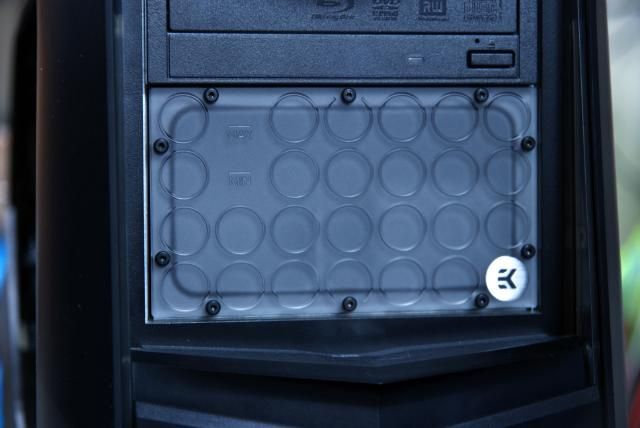
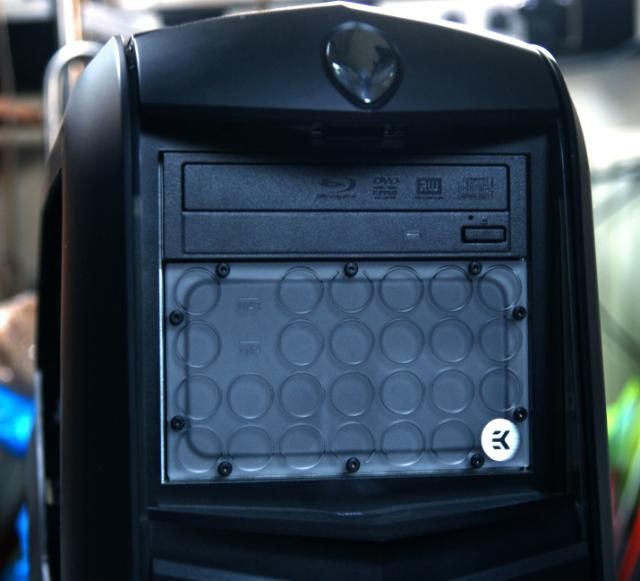
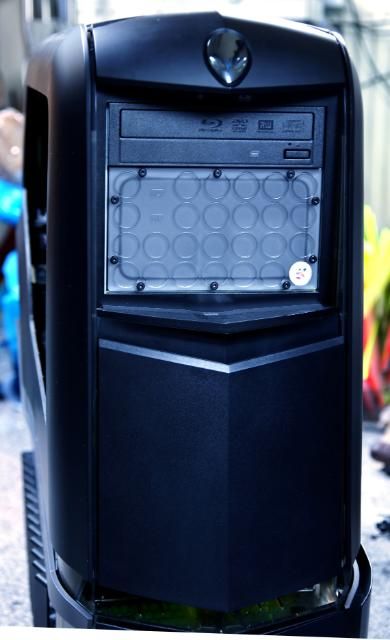
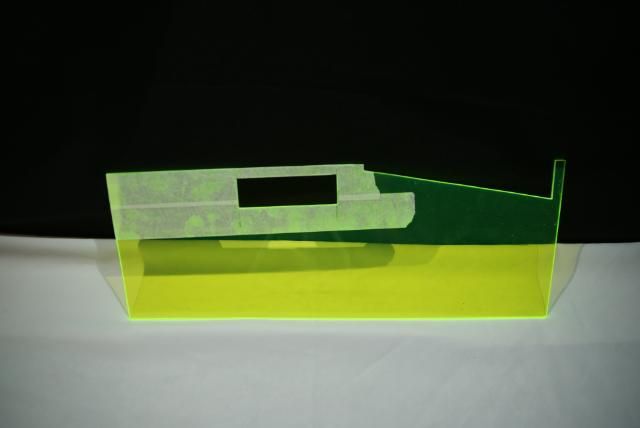
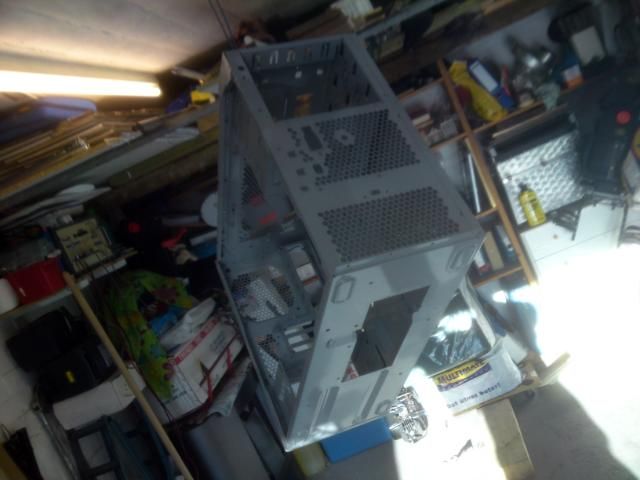
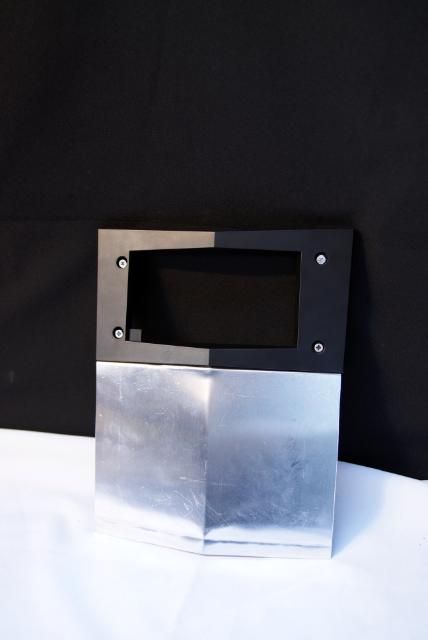
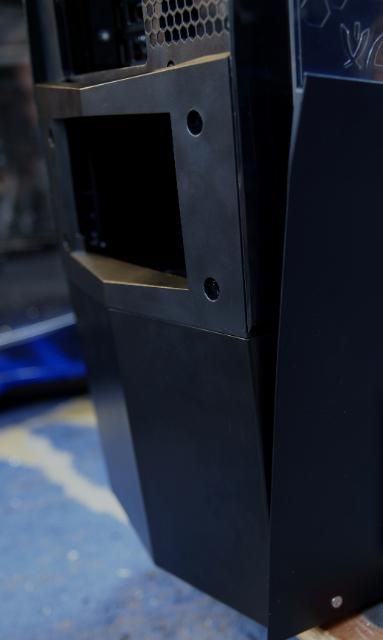
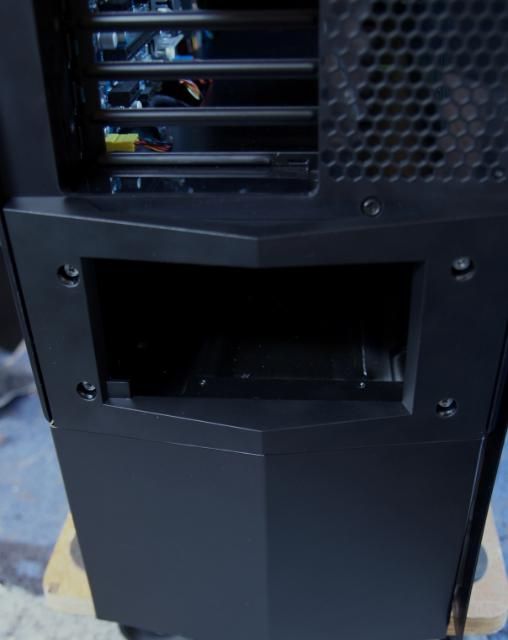
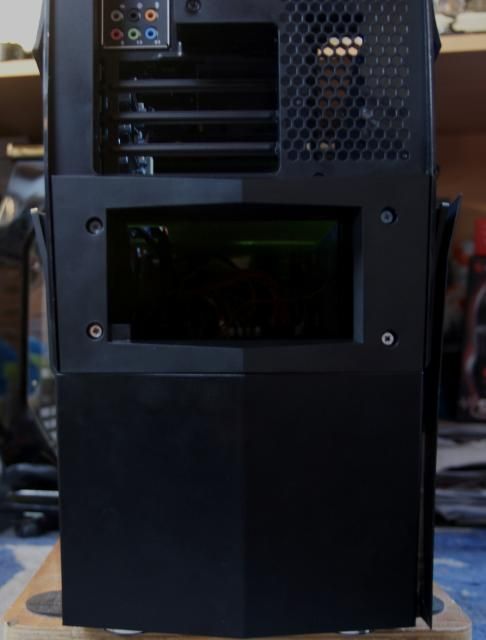
Internal: First cut and bent a custom cover
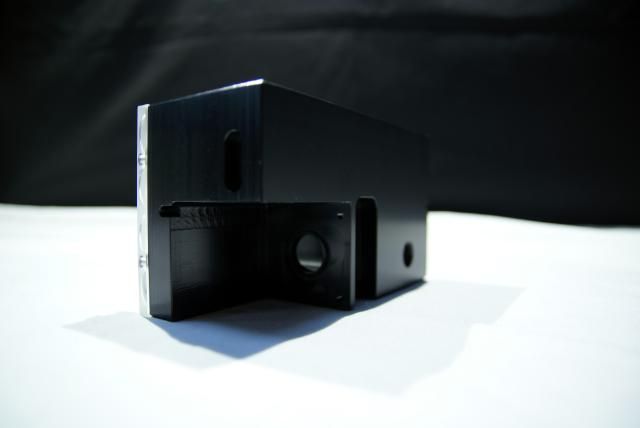
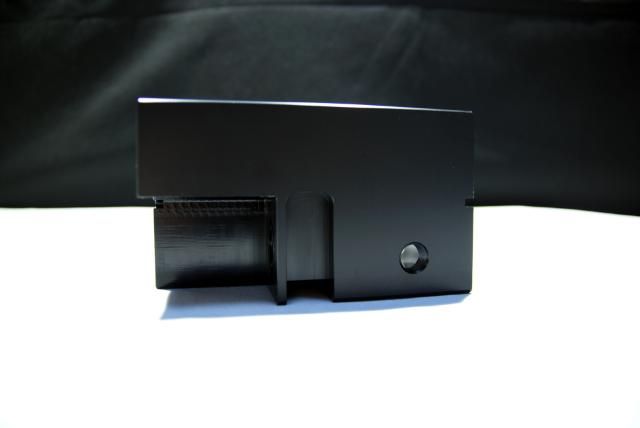
What hides the 5.25 bay
Made it black
Placed it
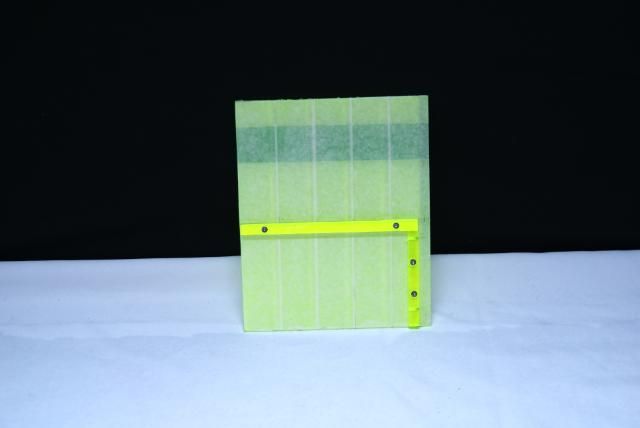
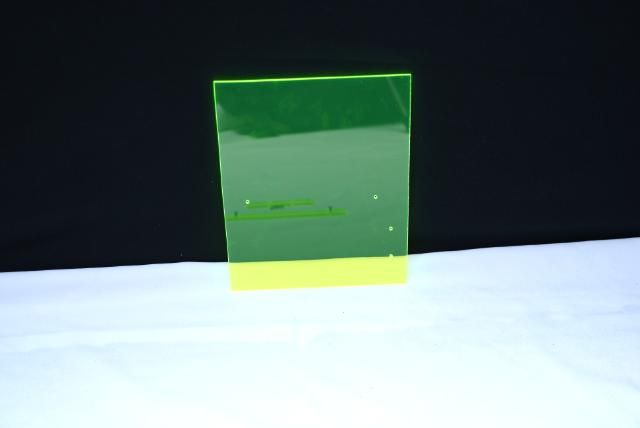
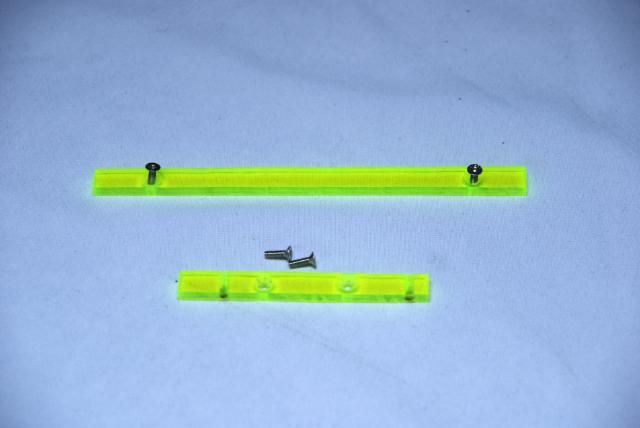
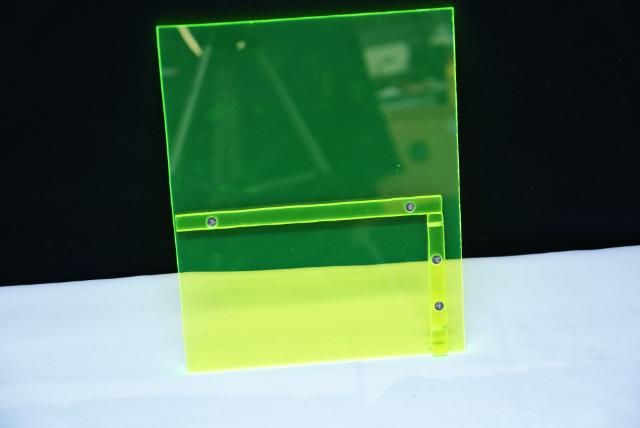
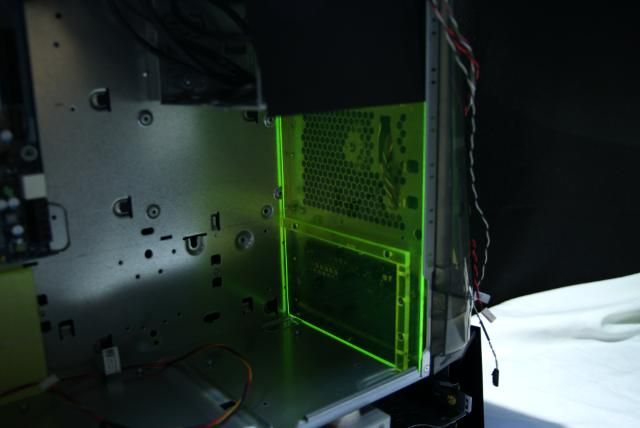
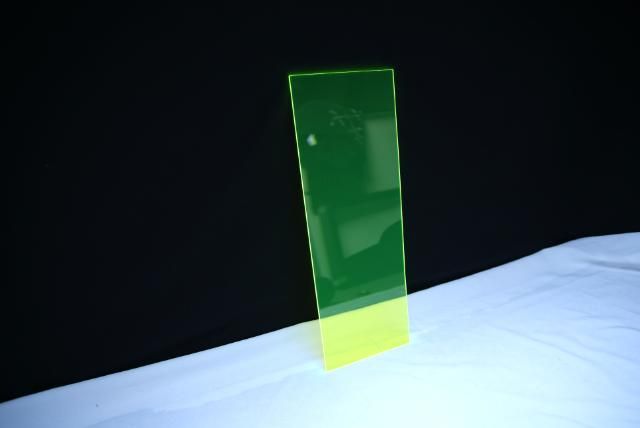
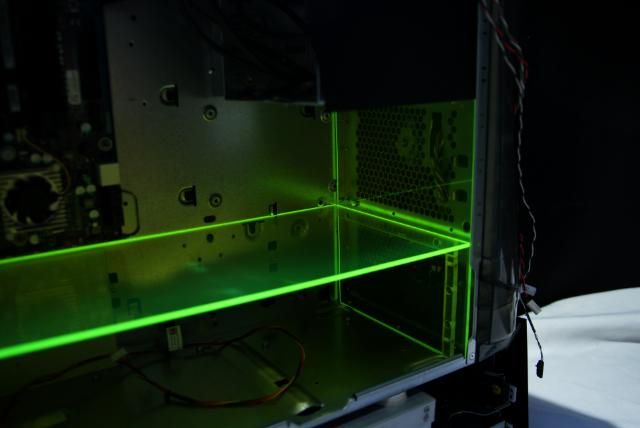
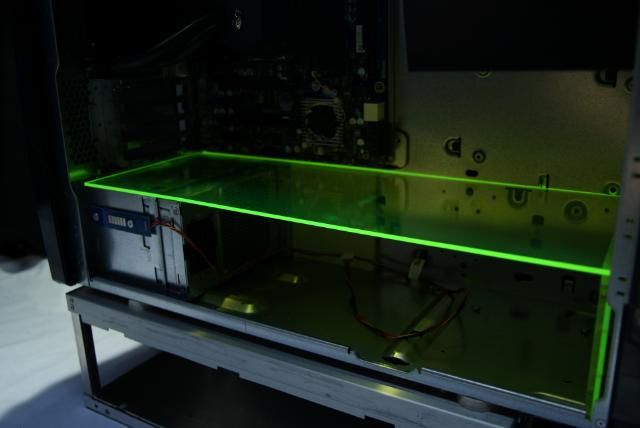
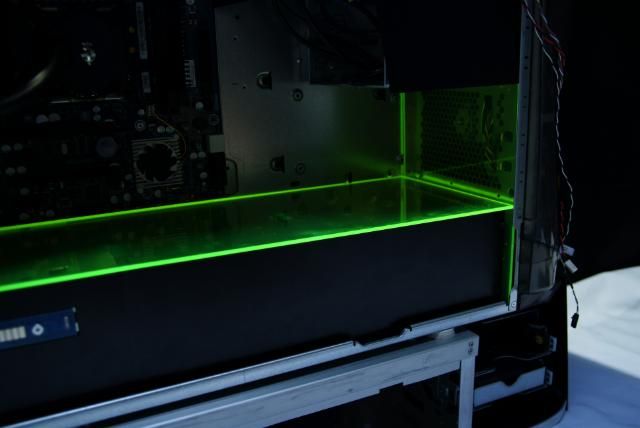
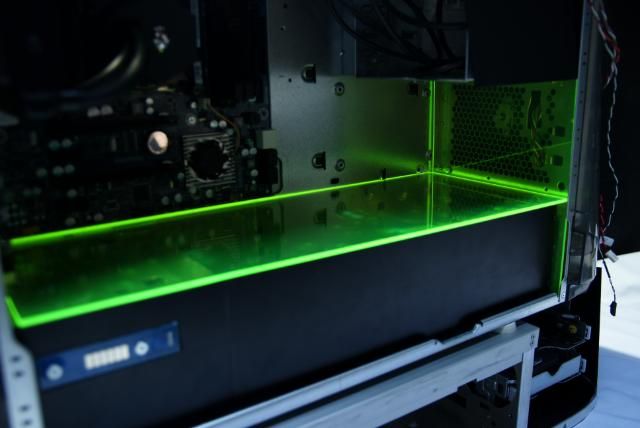
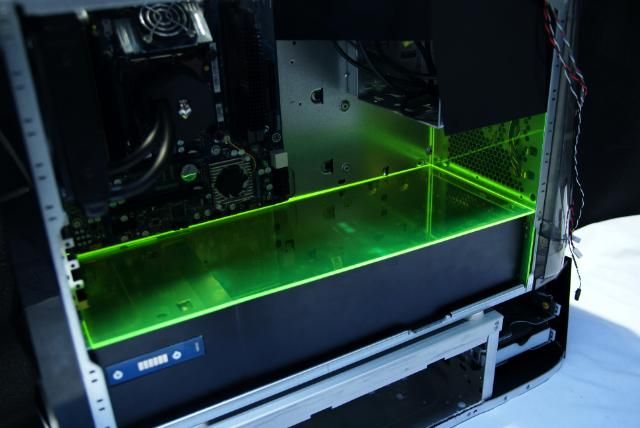
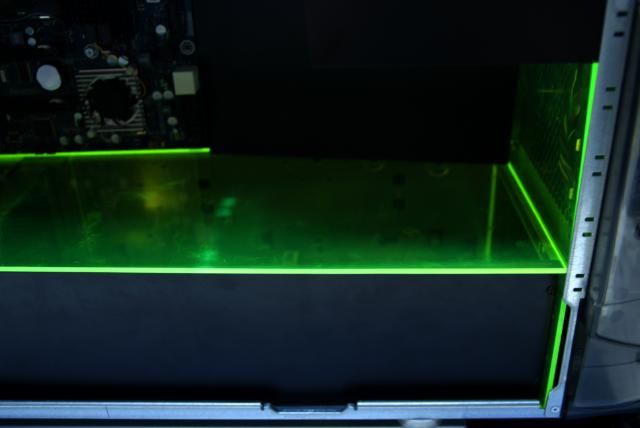
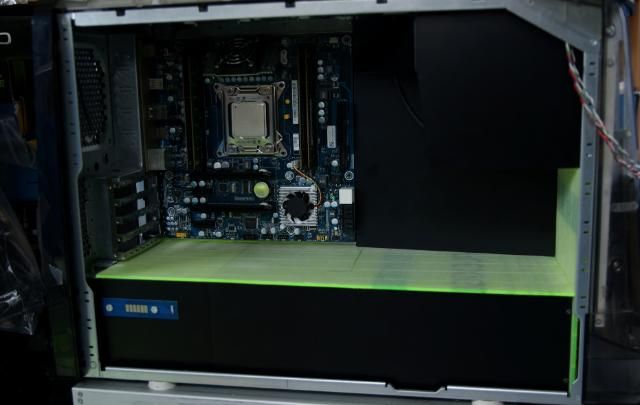
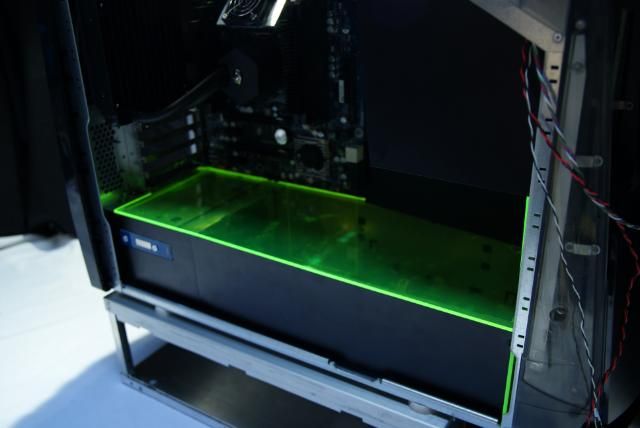
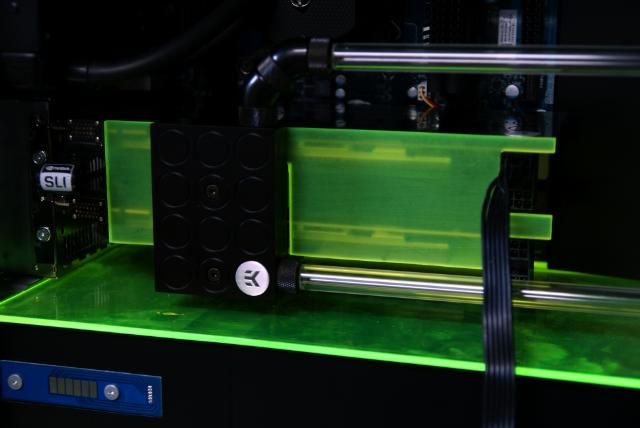
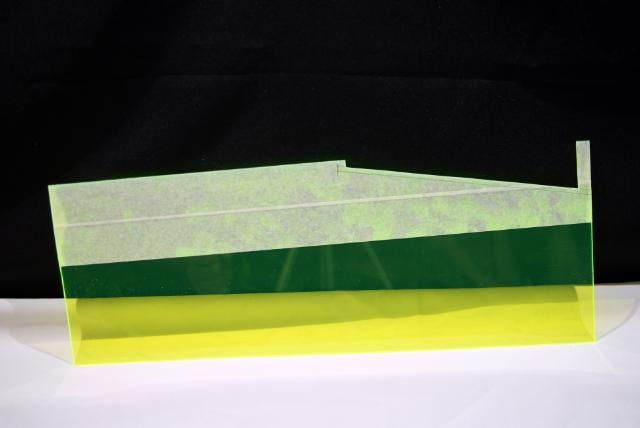
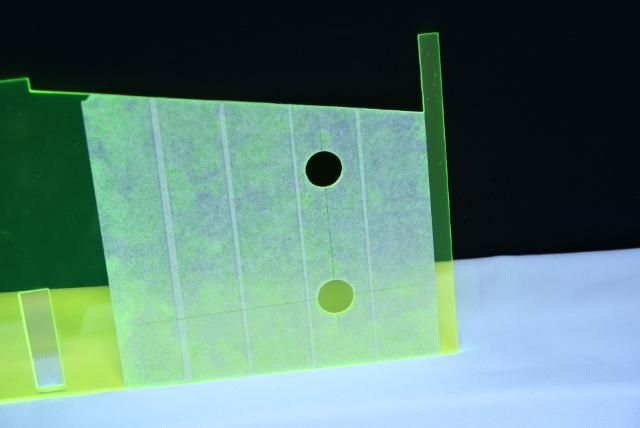
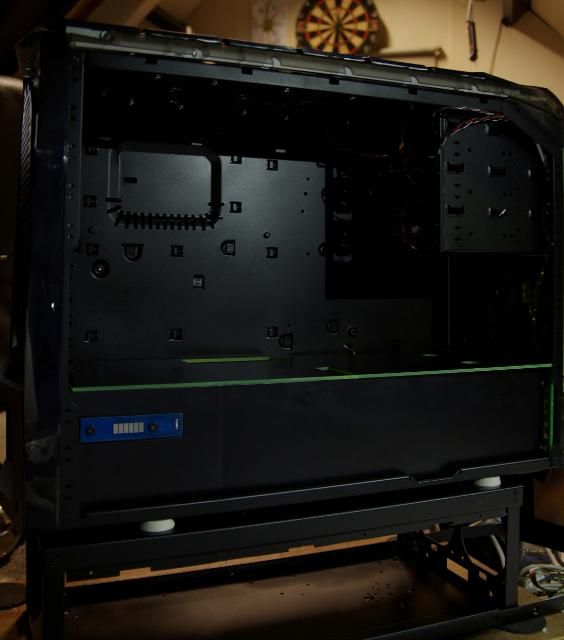
Next cut a piece of green acrylic to the right size with two small pieces for mounting the midplate and side cover
Which will be like this
The midplate. Later on there will be holes in it and a vinyl cover with the brand names which will be illuminated from below
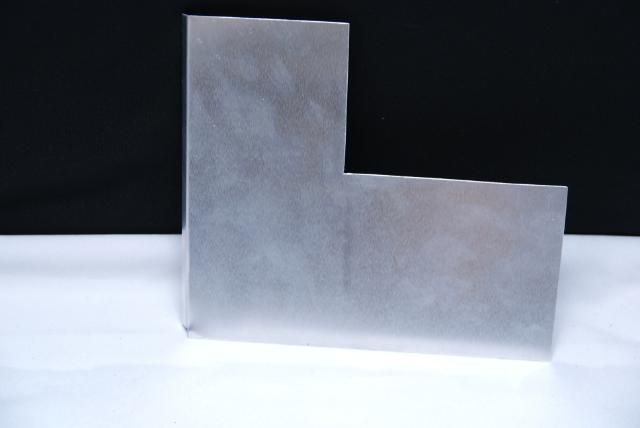
The side cover is also made of aluminum with recess for the power for the side panel
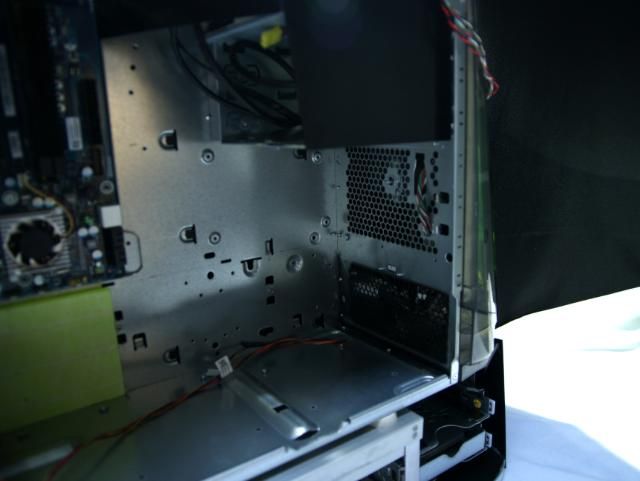
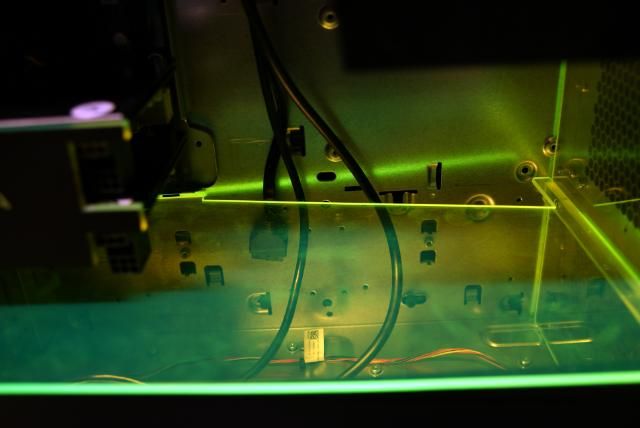
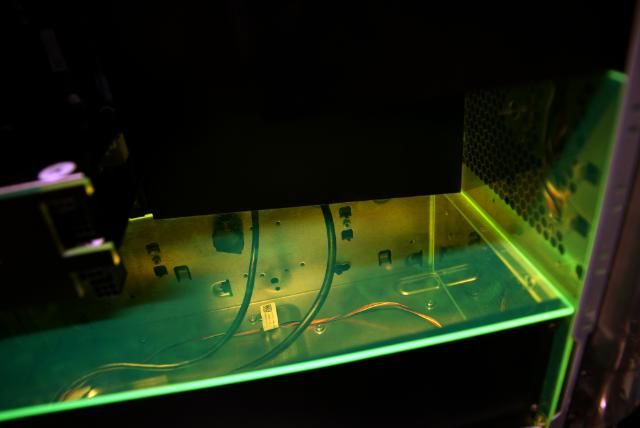
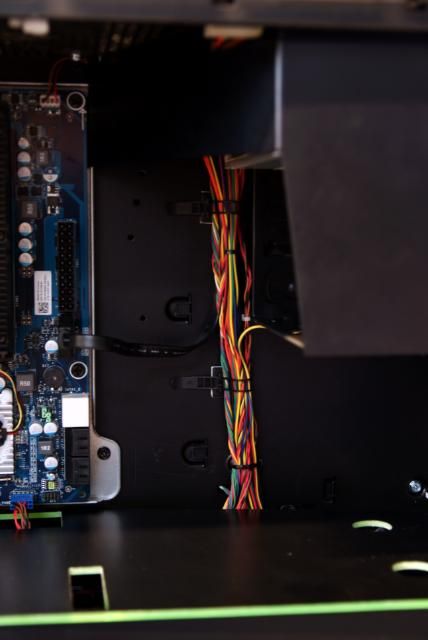
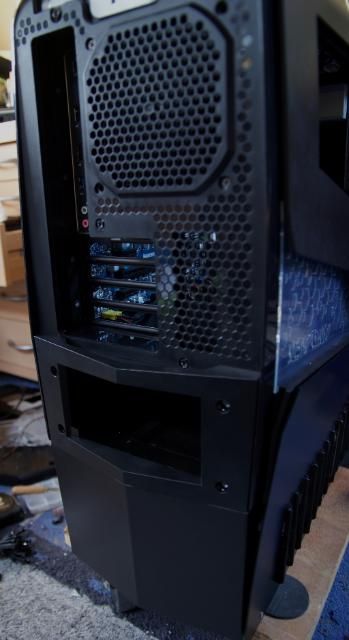
And last... made a cover next to the motherboard tray,which will hide all cables
Next week after the waterblocks are in, the case will go to the coater and turns completely black.

Nice work so far!
so far left of center i'm in right field
Gonna be a clean one!
Thanks
Hope so...trying to hide most of the cables
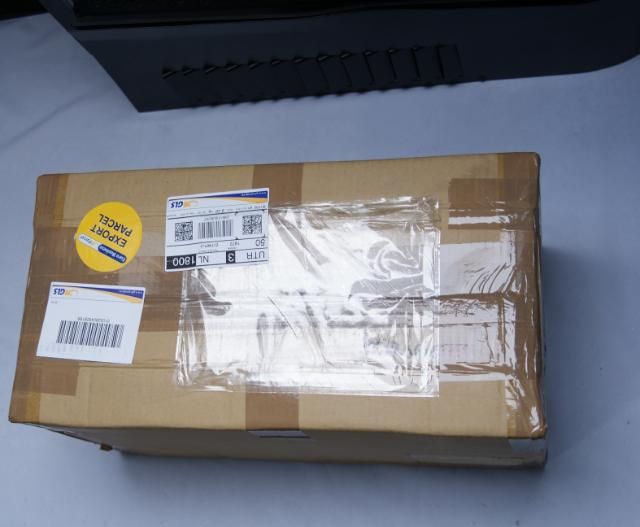
Update!!!
Received a beautiful package today. This time GLS did a good job
Early christmas
EKWB your the best
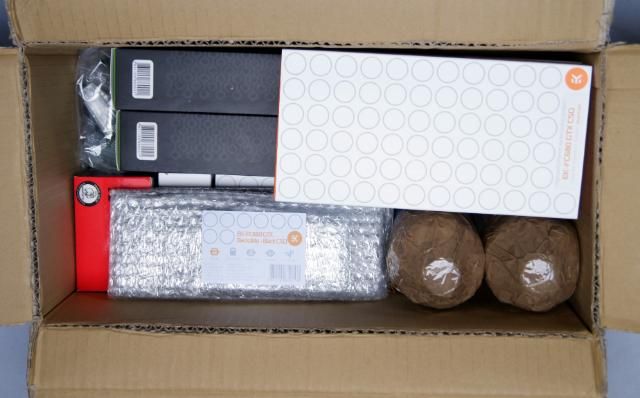
Unpacking can begin
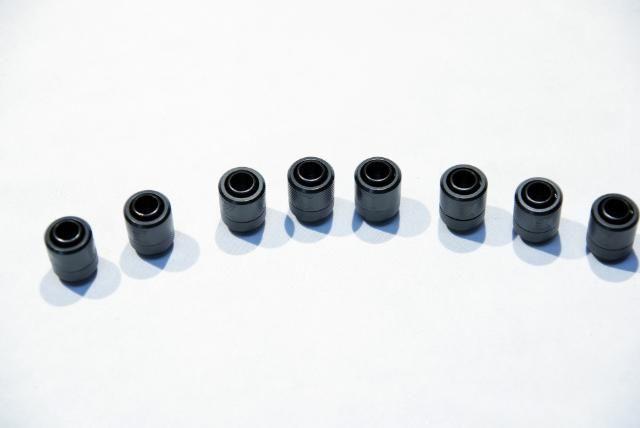
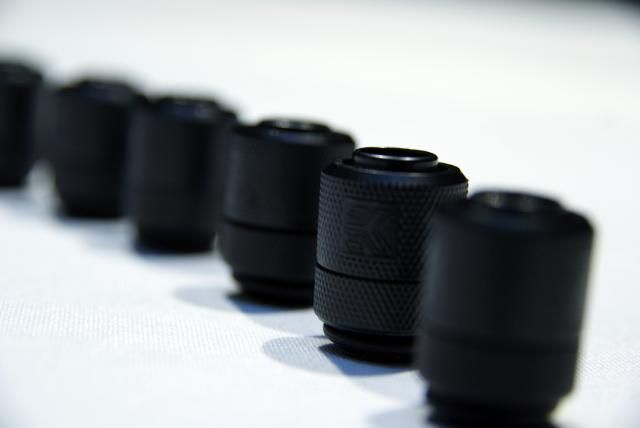
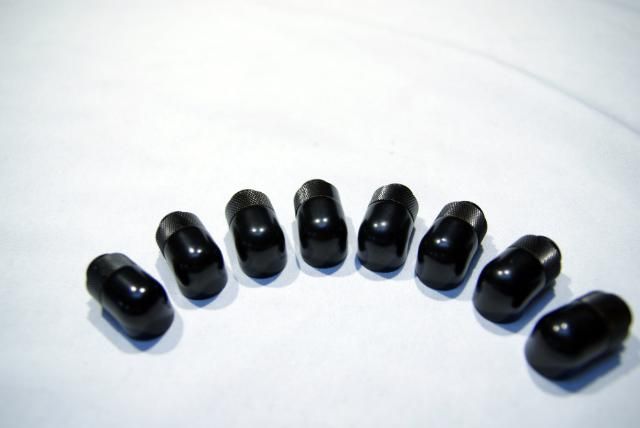
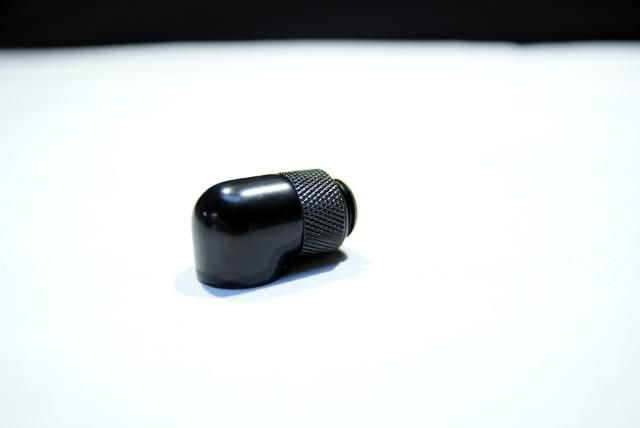
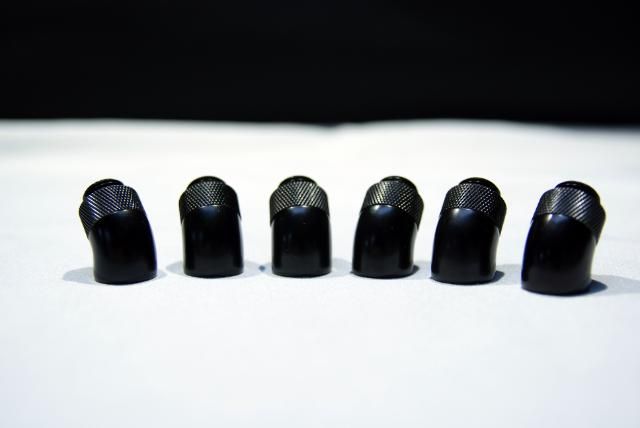
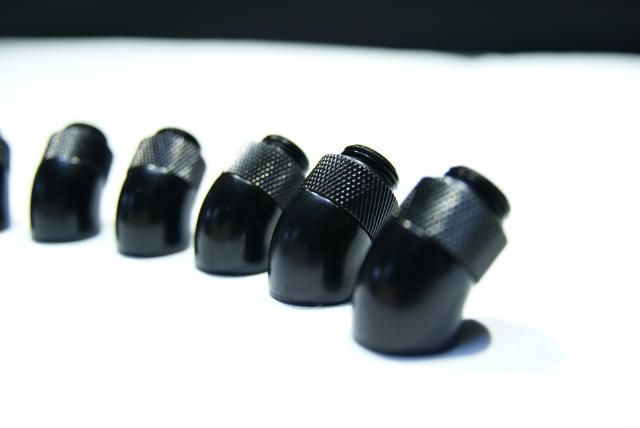
First some EK-PSC Fitting 10mm - G1/4 Black
No build without EK-PSC Adapter 90° G1/4 Black
And offcourse the EK-PSC Adapter 45° G1/4 Black
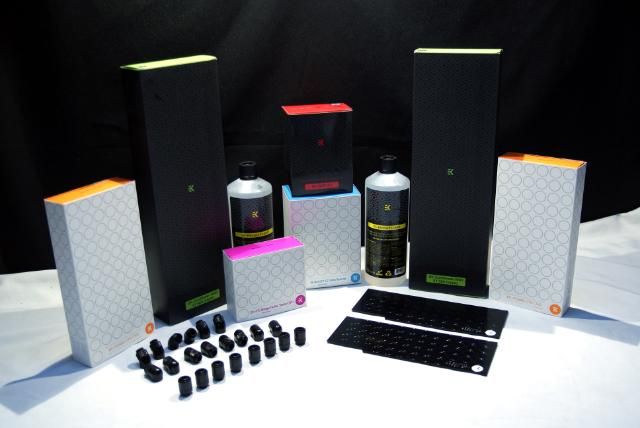
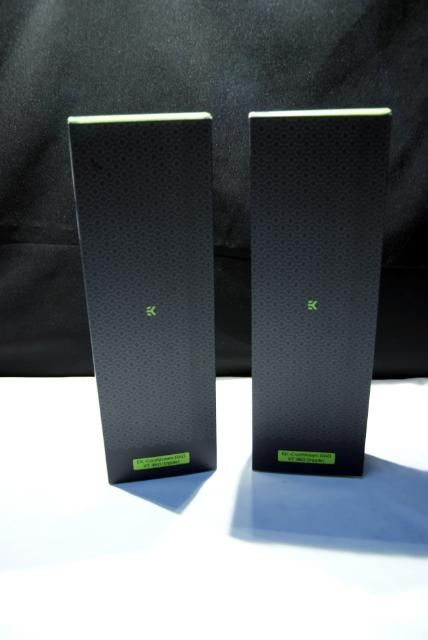
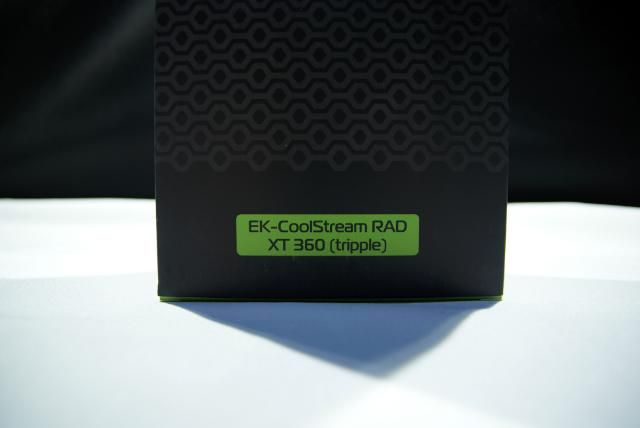
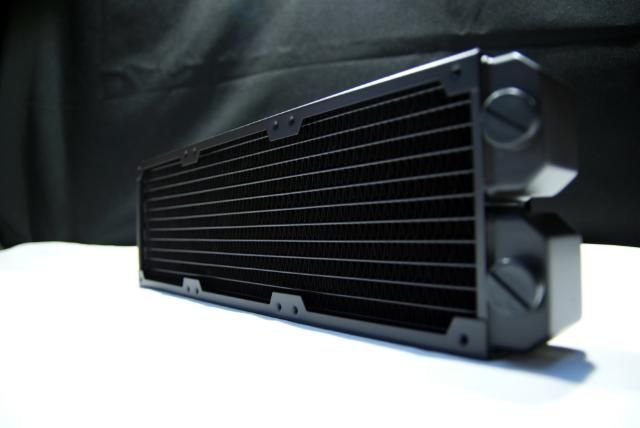
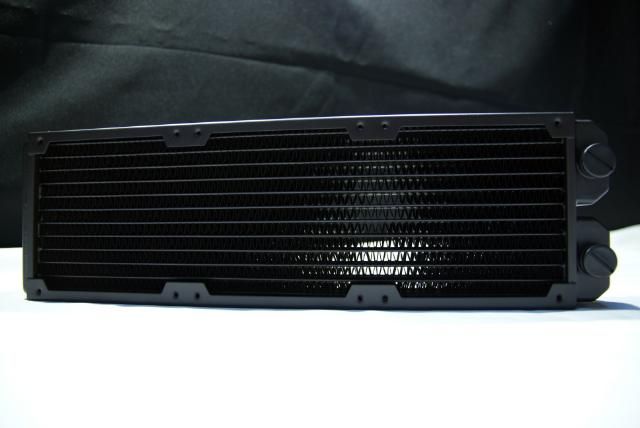
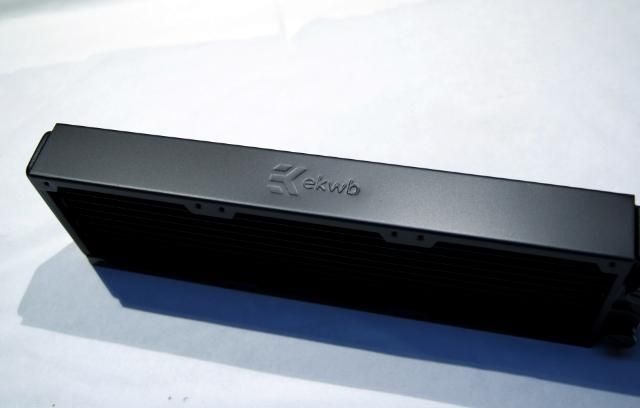
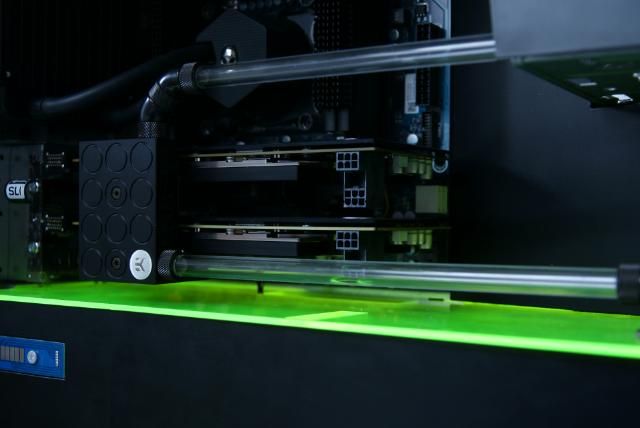
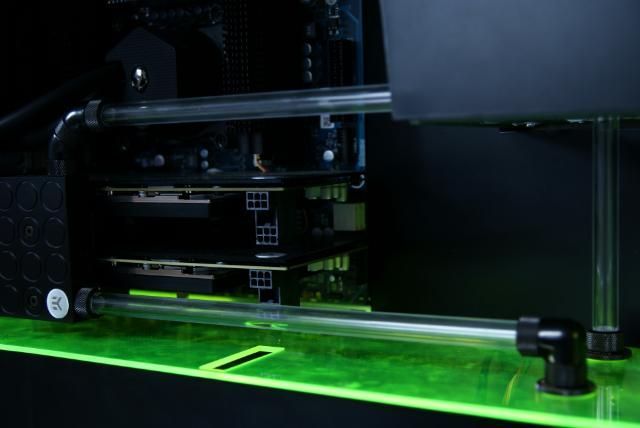
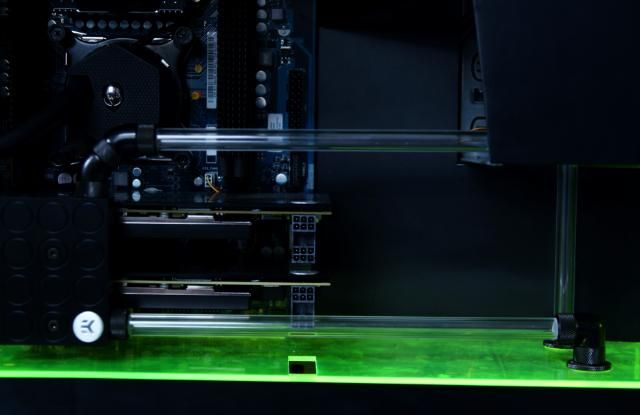
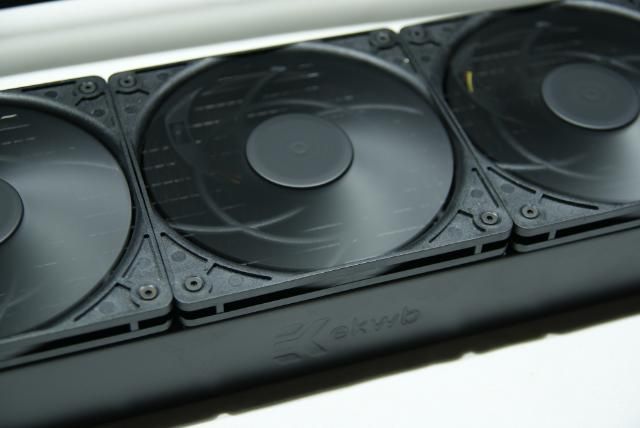
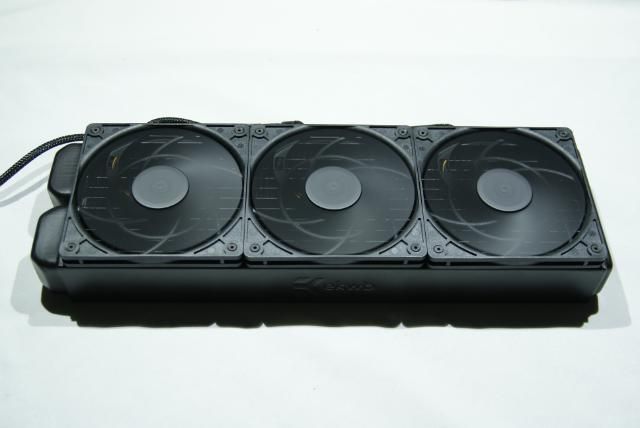
Two beautiful EK-CoolStream RAD XT (360)
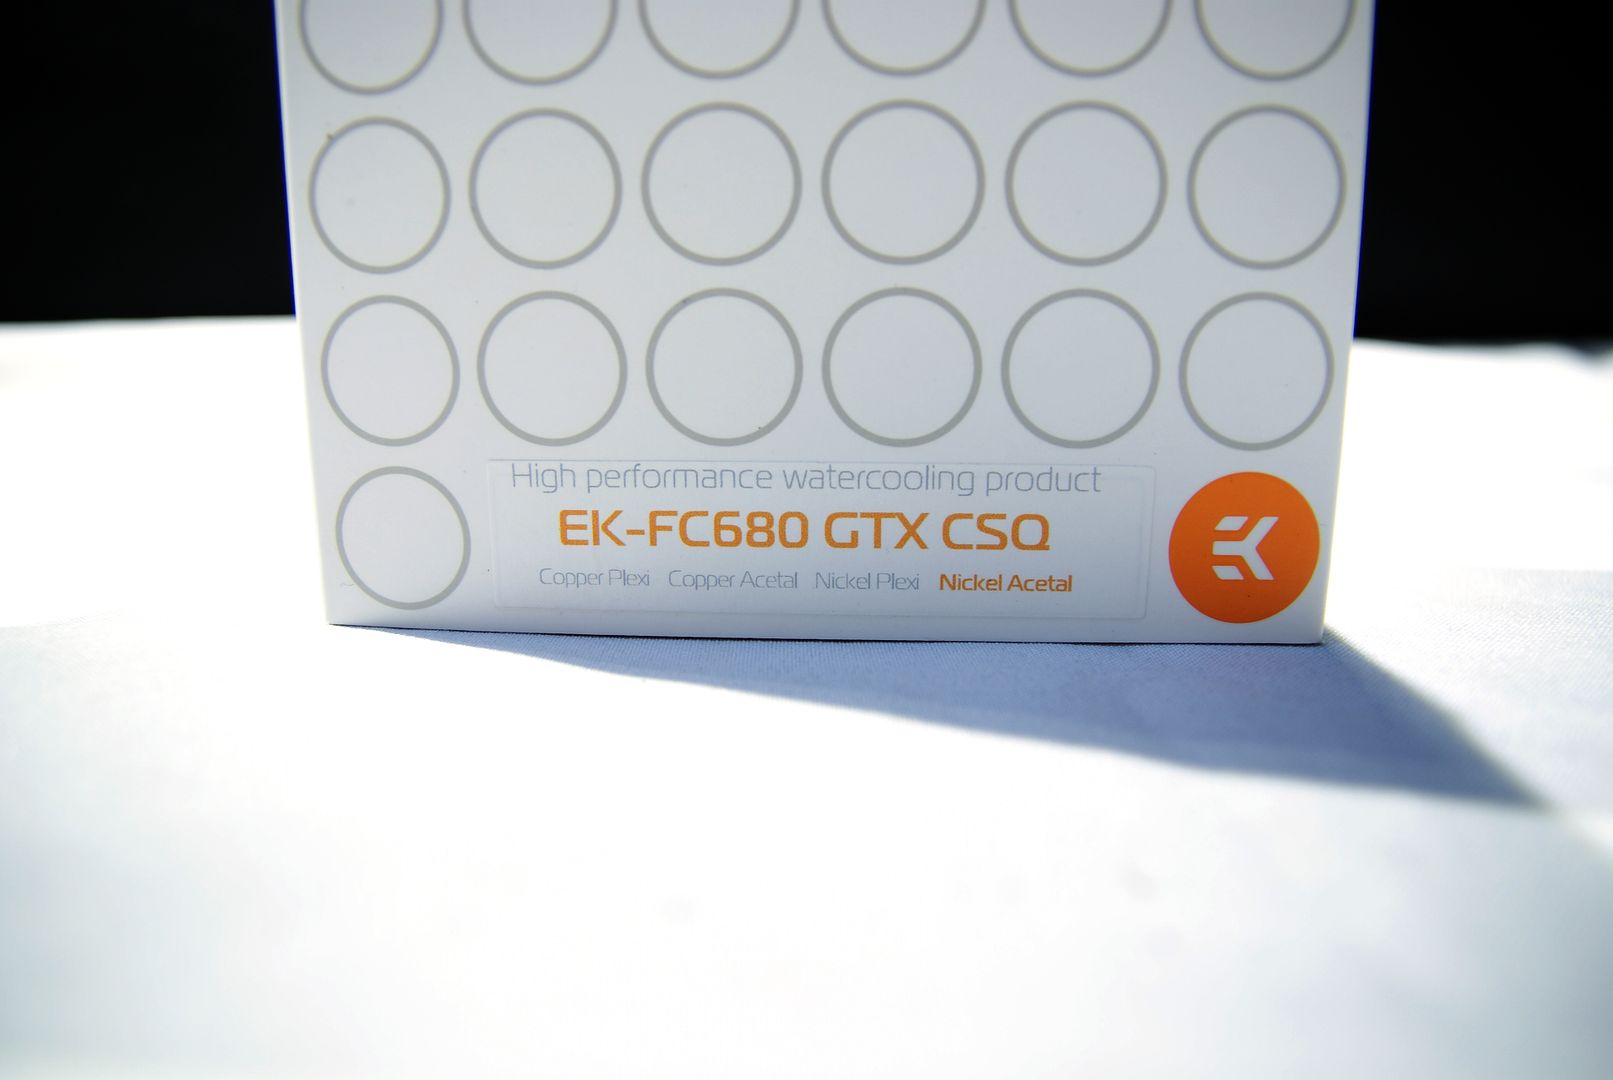
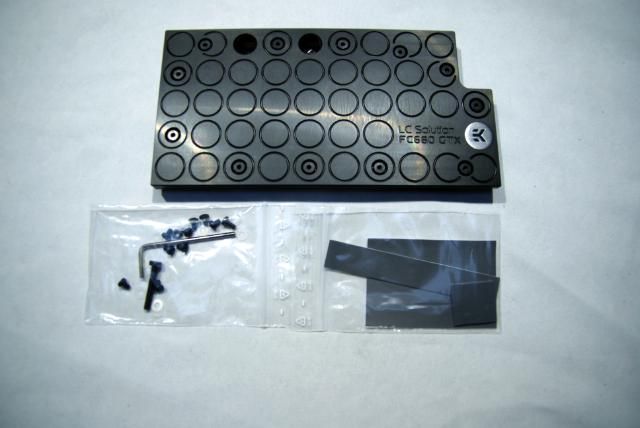
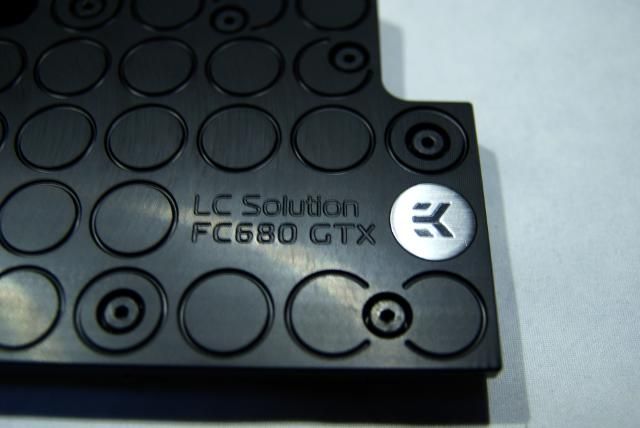
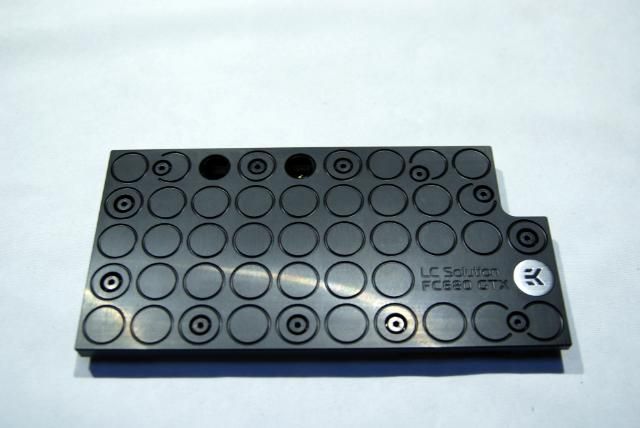
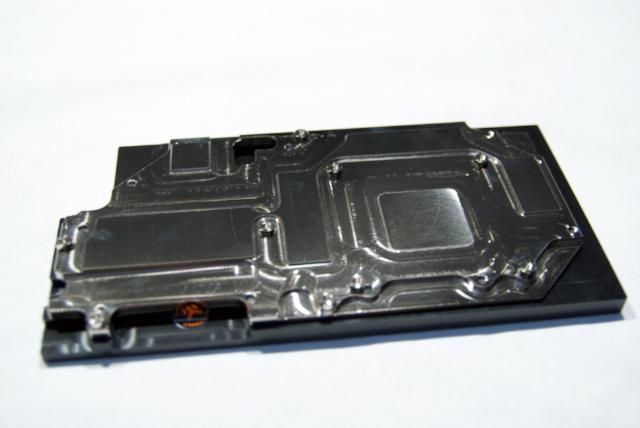
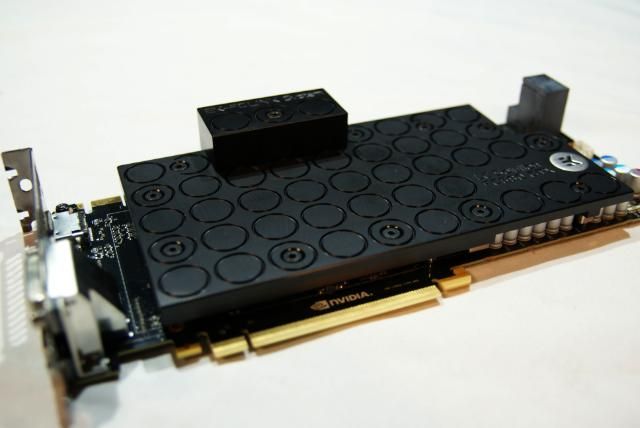
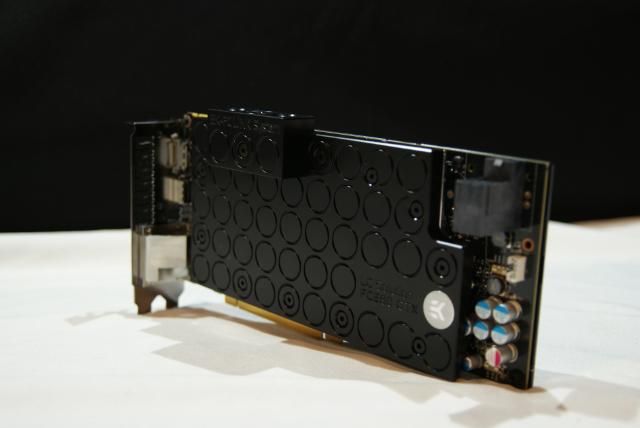
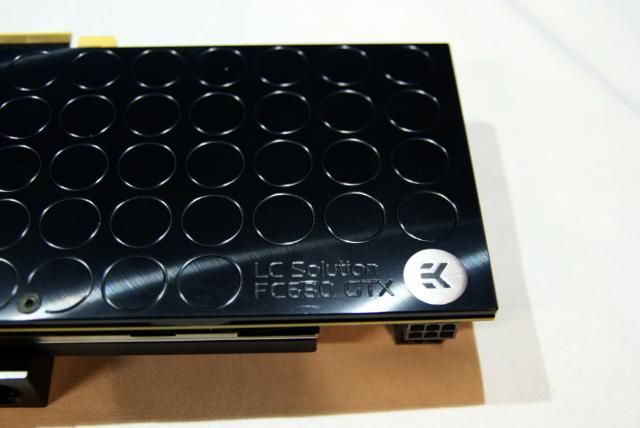
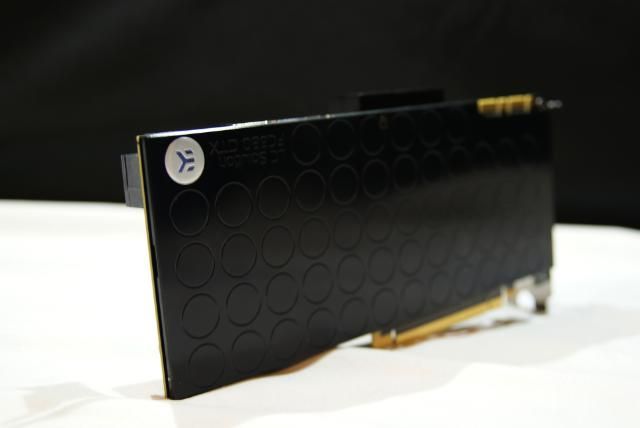
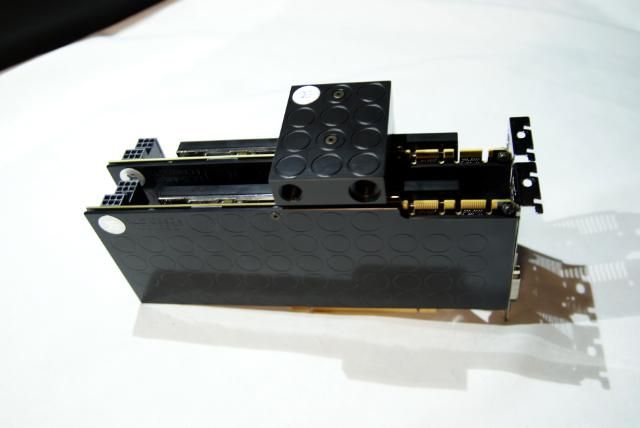
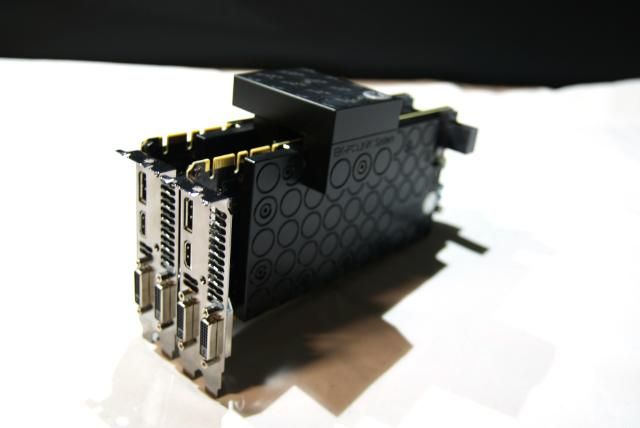
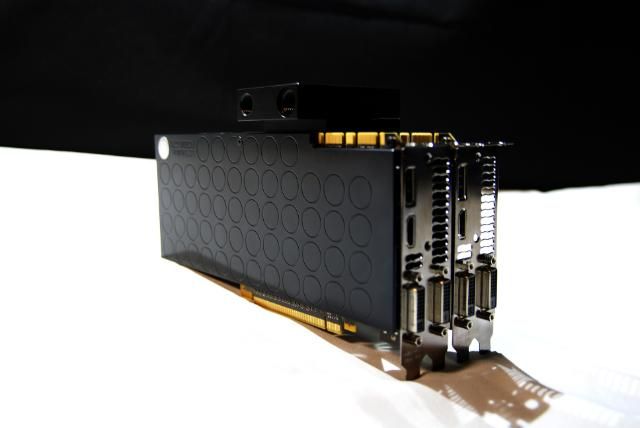
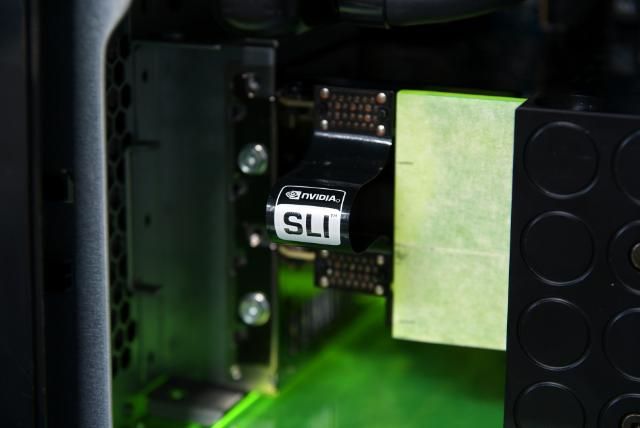
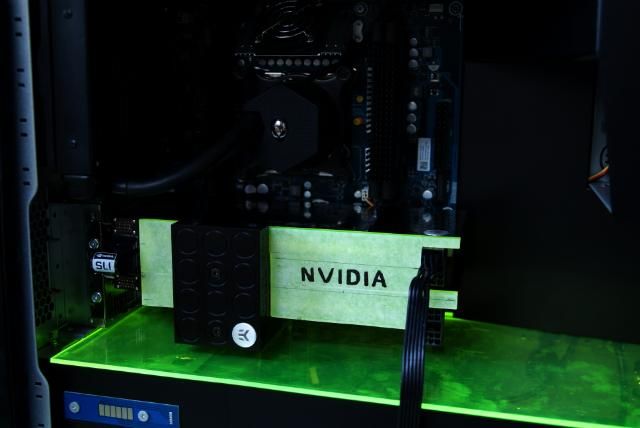
And for the great Nvidia GTX680 GPUs 2x EK-FC680 GTX - Acetal + Nickel CSQ
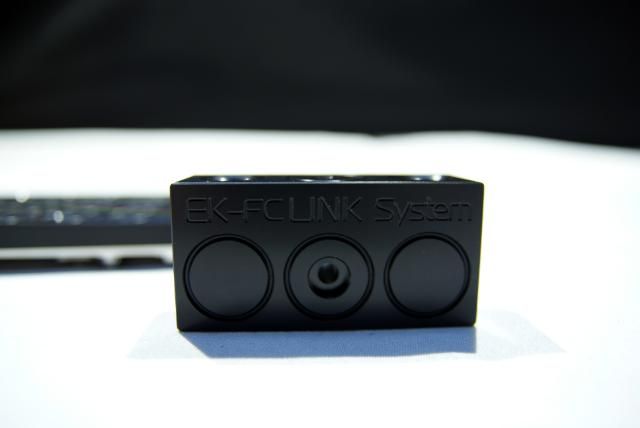
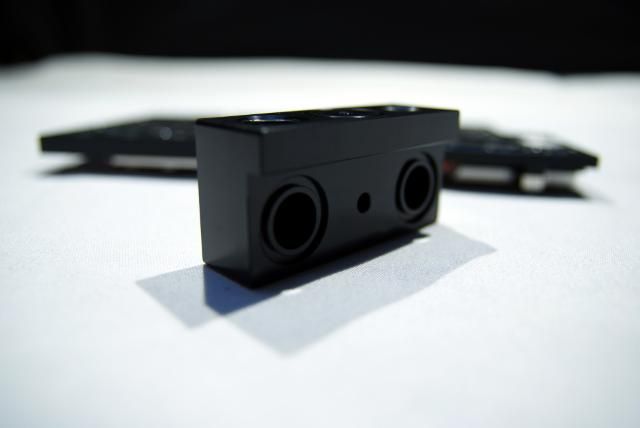
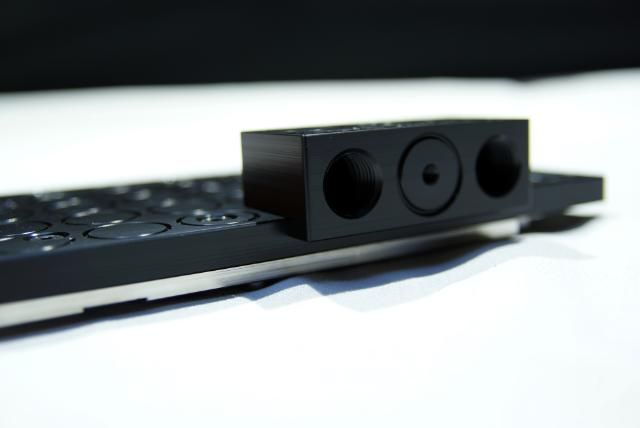
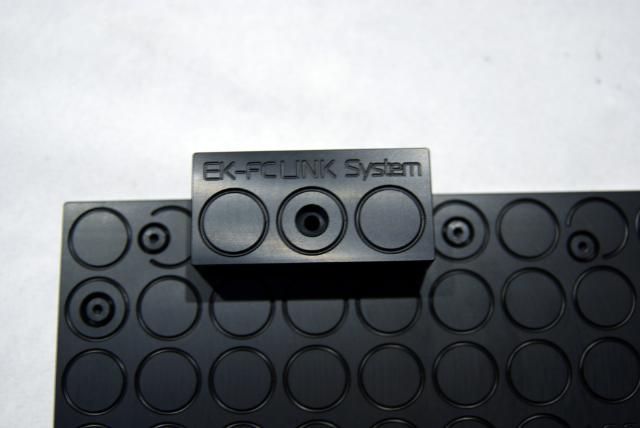
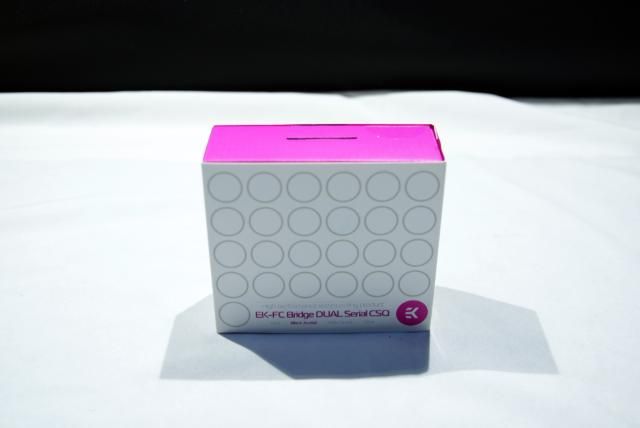
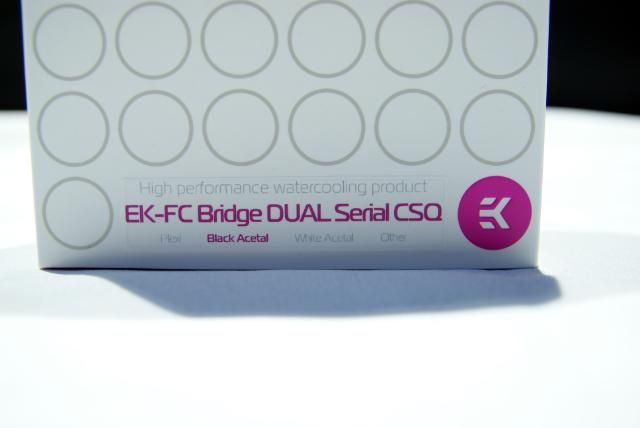
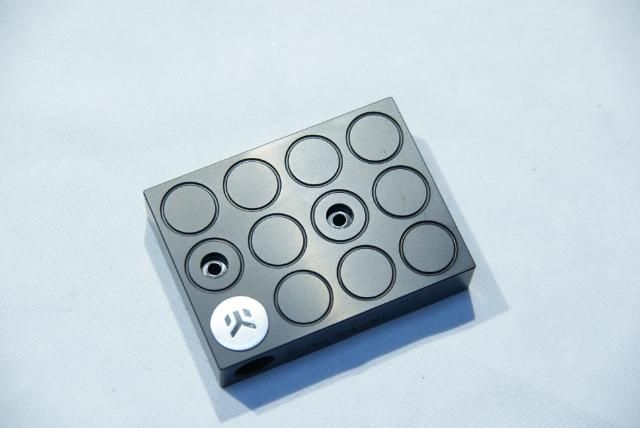
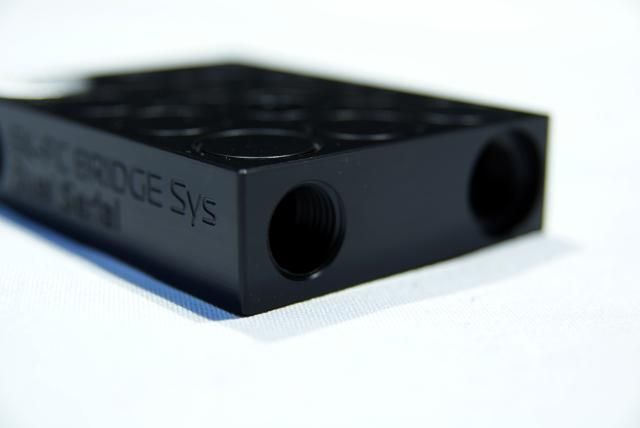
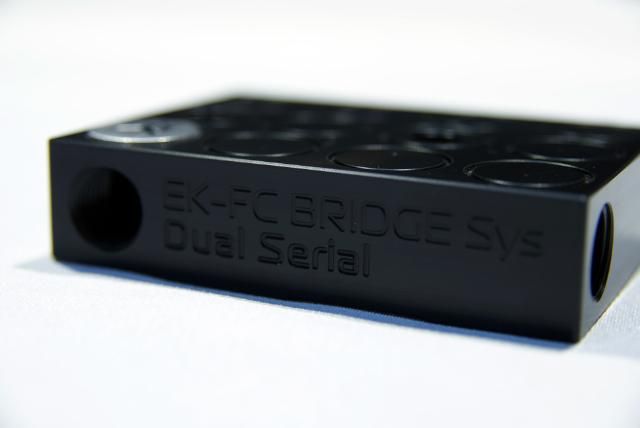
Linked with a EK-FC Bridge DUAL Serial CSQ
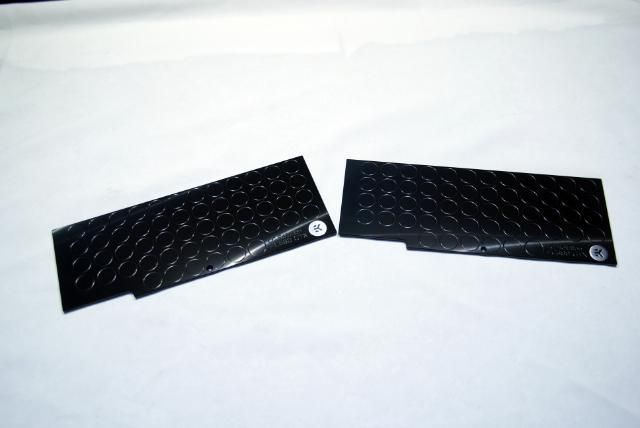
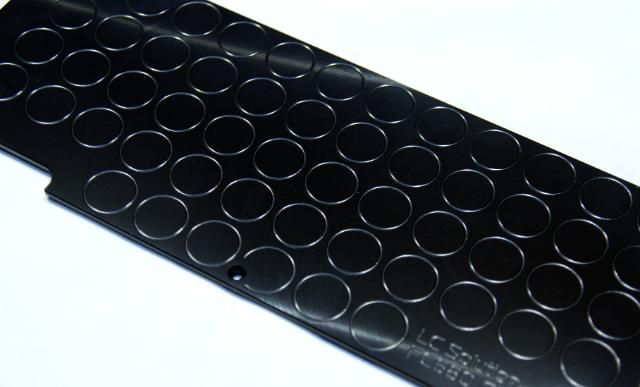
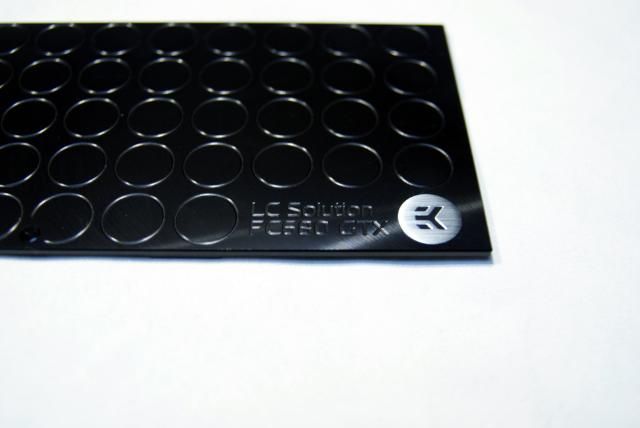
And don't forget the EK-FC680 GTX Backplate - Black CSQ (QClass2)
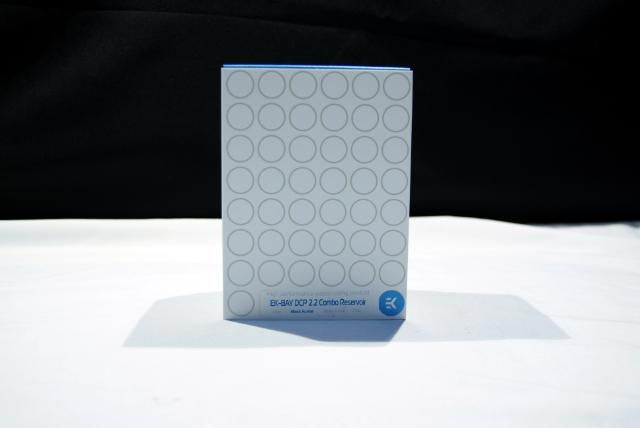
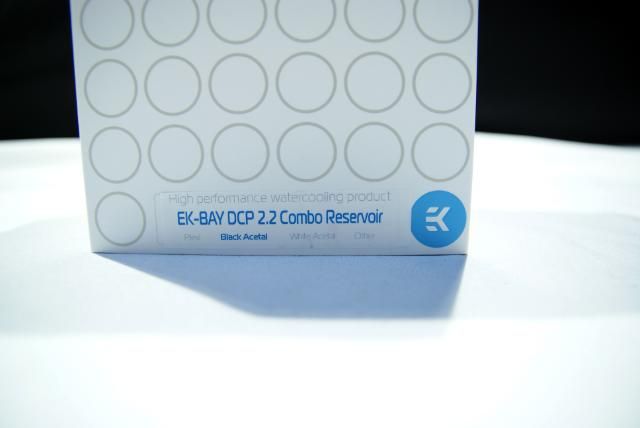
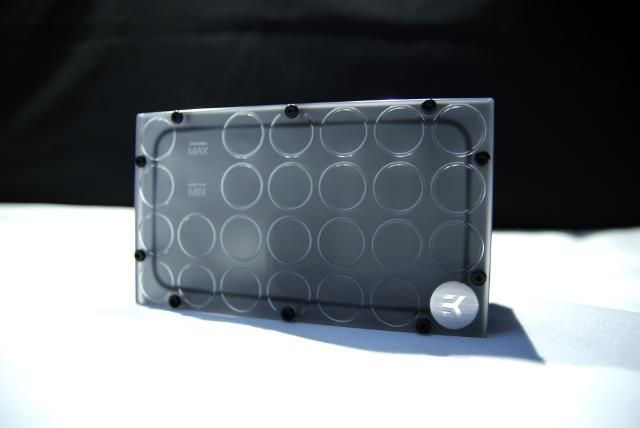
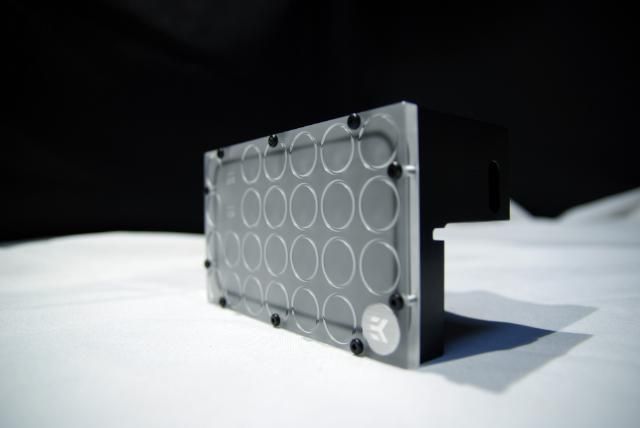
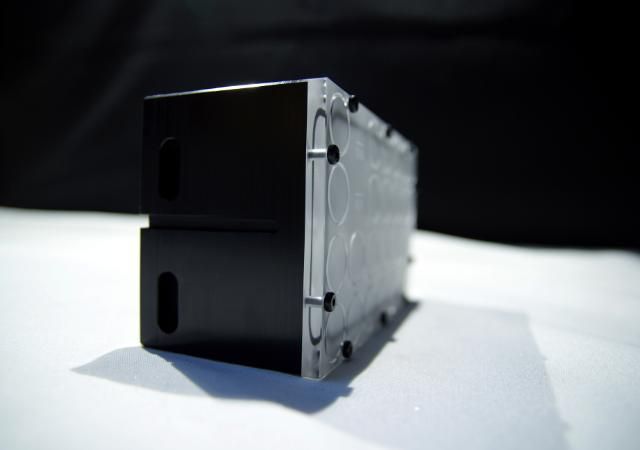
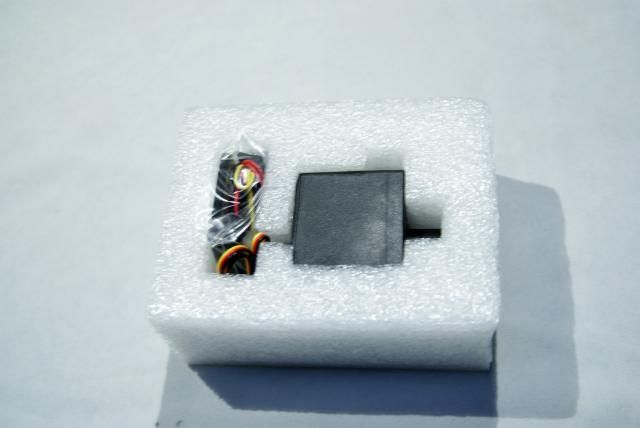
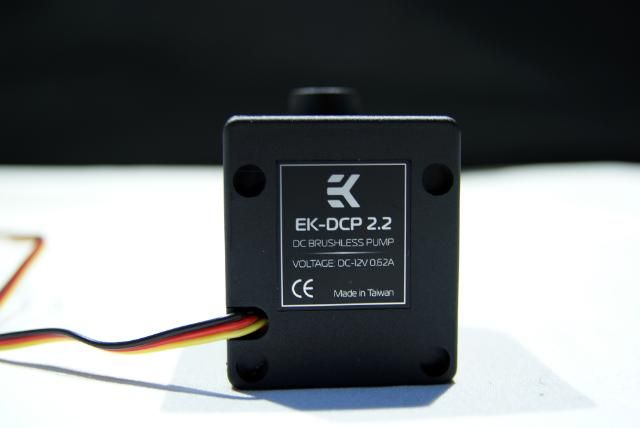
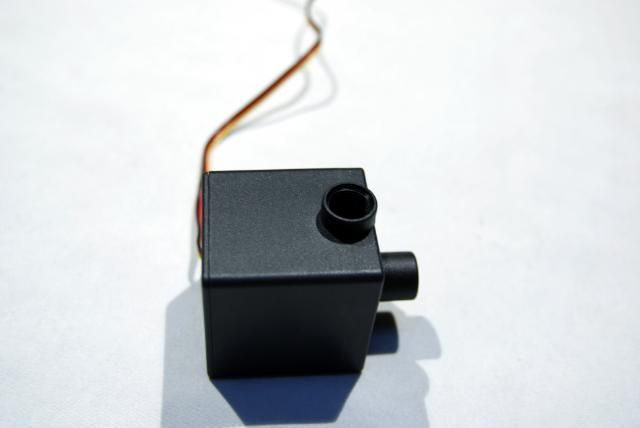
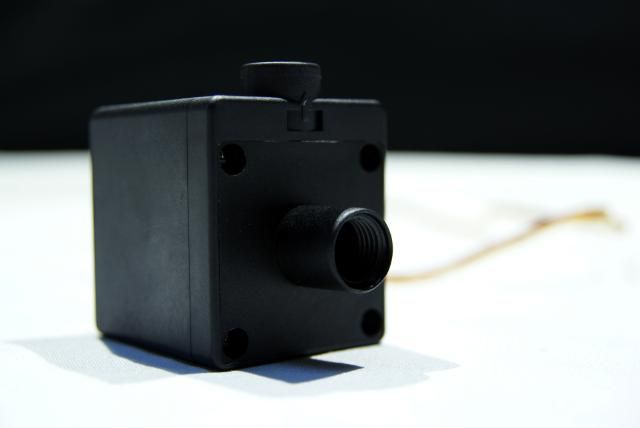
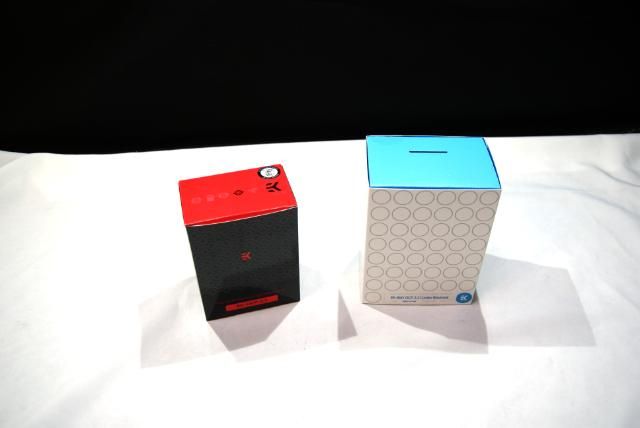
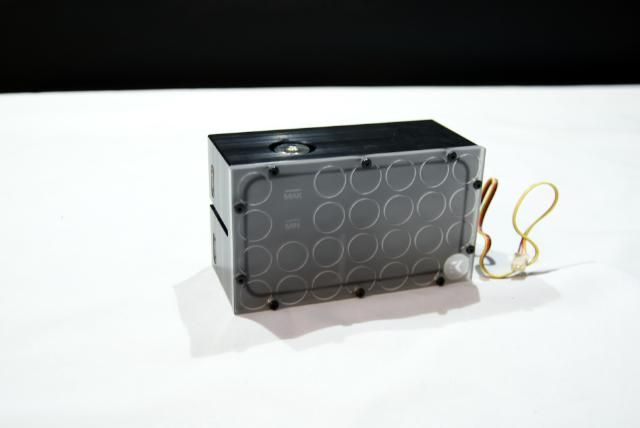
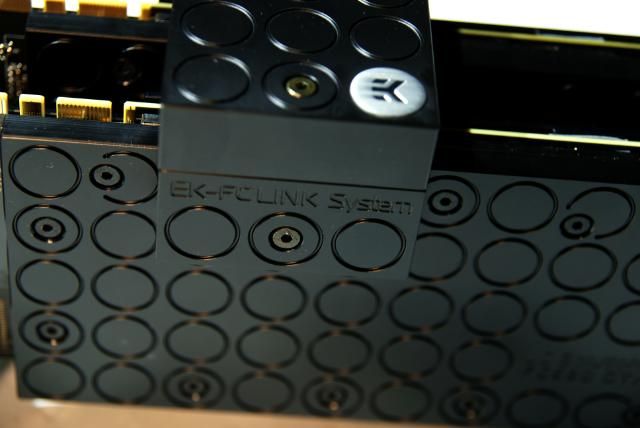
This time I will use the new EK-BAY DCP 2.2 Combo Reservoir - Acetal
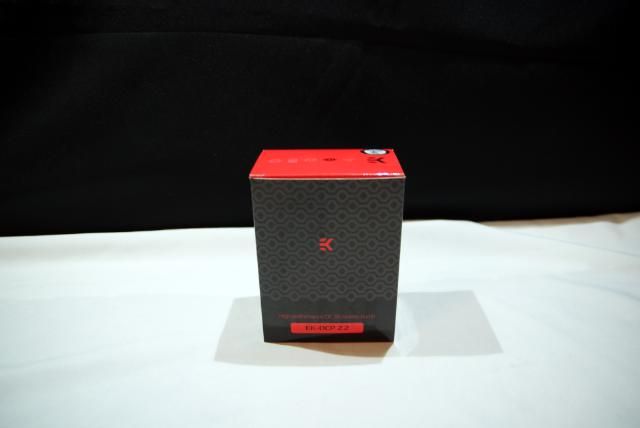
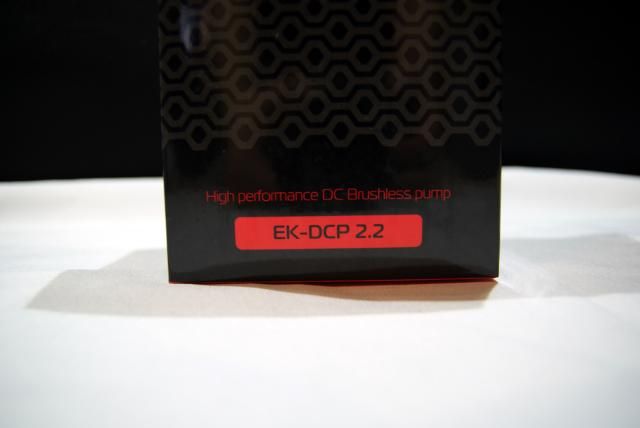
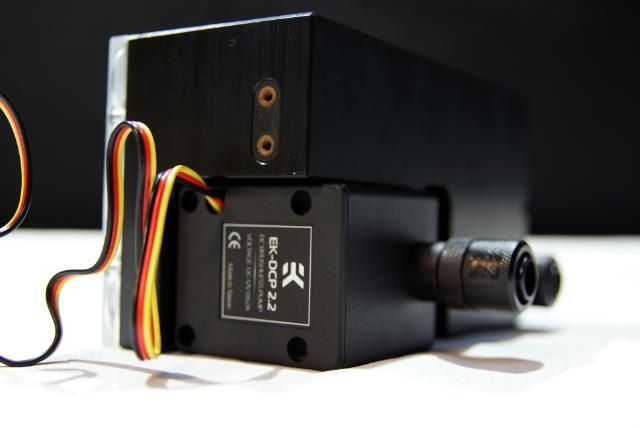
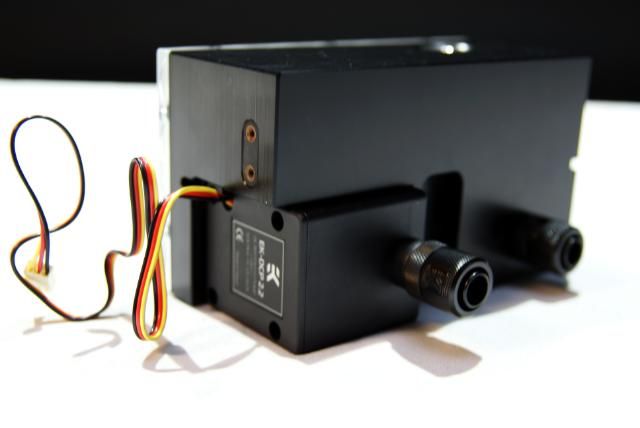
With this the EK-DCP 2.2 (12V DC Pump)
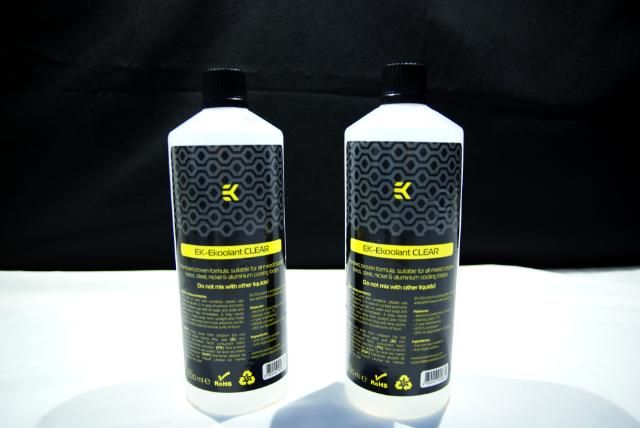
Filled with EK-Ekoolant CLEAR (premix 1000mL)
Thanks Gregor and everyone from EKWB who made this possible.
Don't forget to look at the great new site from EKWB CooledPC and show your system to win great prizes
Alienware Aurora ALX-XL is sponsored by:
Update!!!
To start with I have placed the EK bayres to see how it looks
Installing the pump onto the bayres
Small tutorial about this
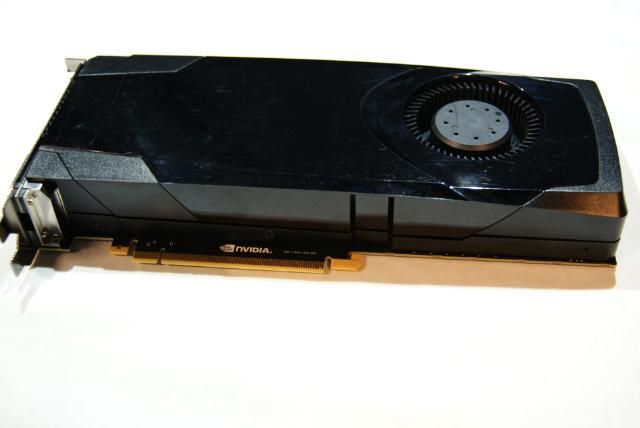
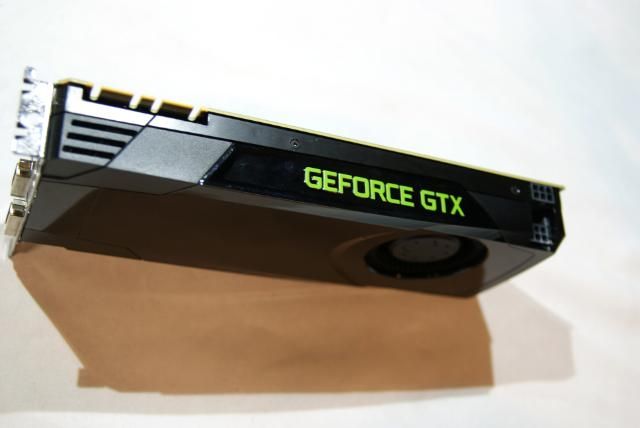
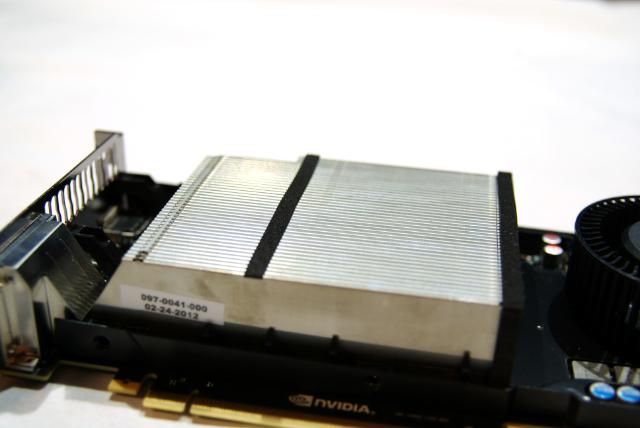
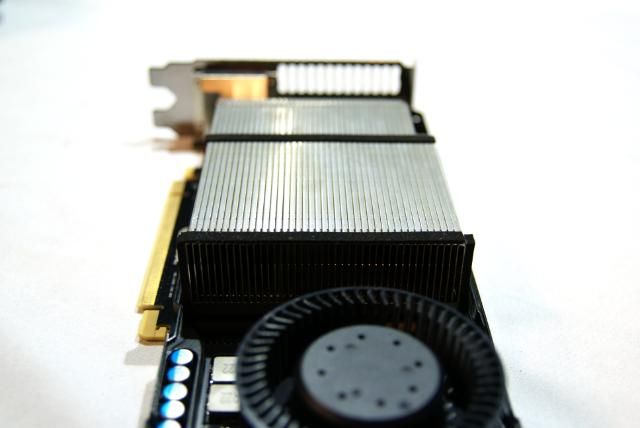
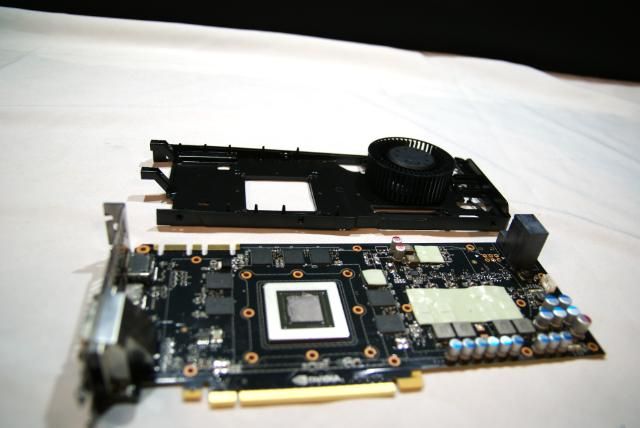
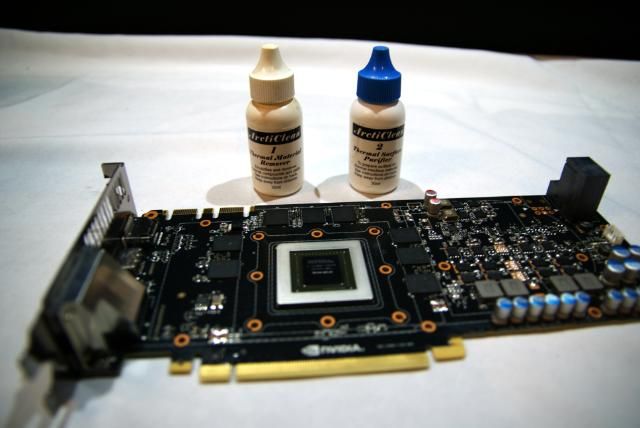
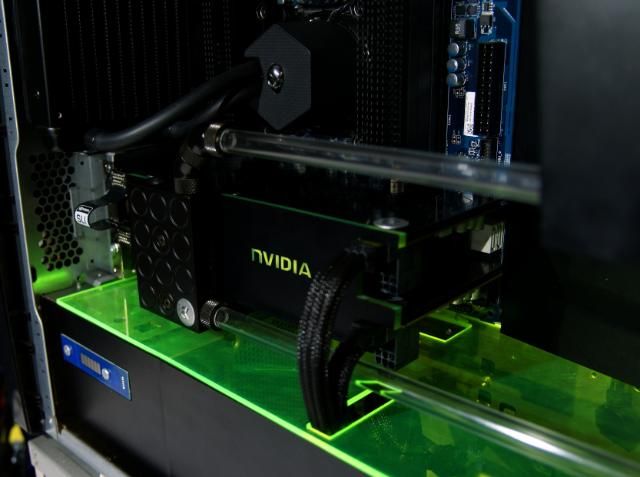
Time for the Nvidia GTX680
Also made a tut for placing the EK-FC680 onto the Nvidia GTX680
Don't wanna see the vid!!! Thank god we still have pictures
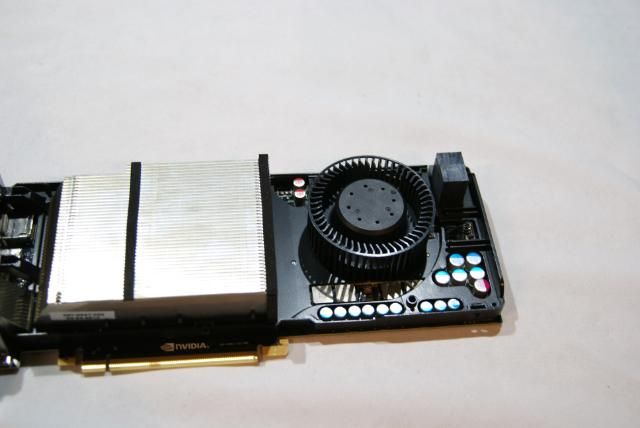
Removed the plastic
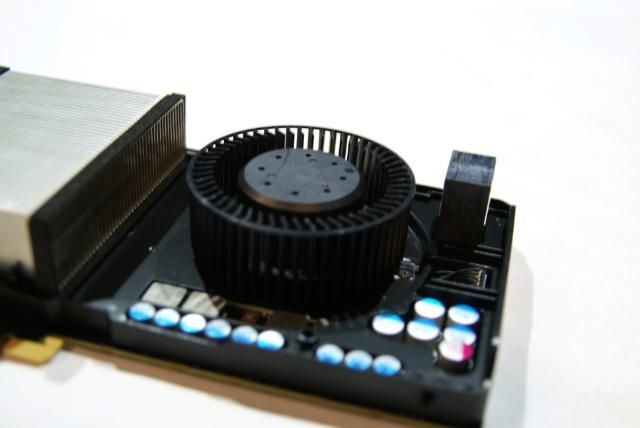
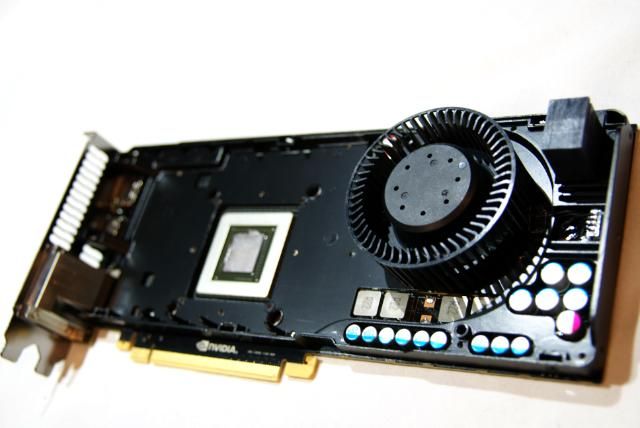
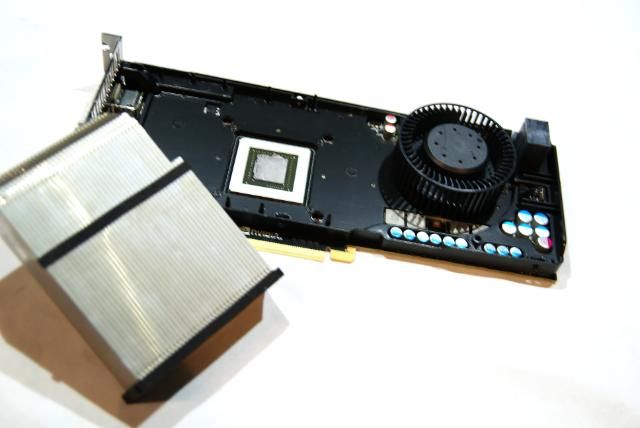
Also removed the block
Dismantled the bracket
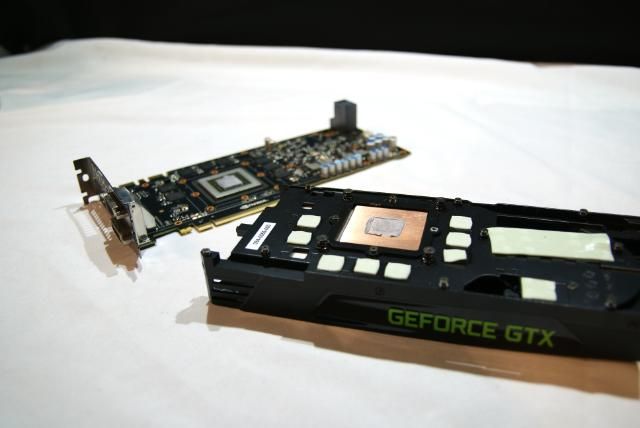
The EK block
First cleaning up the GPU
Placed pads and compound
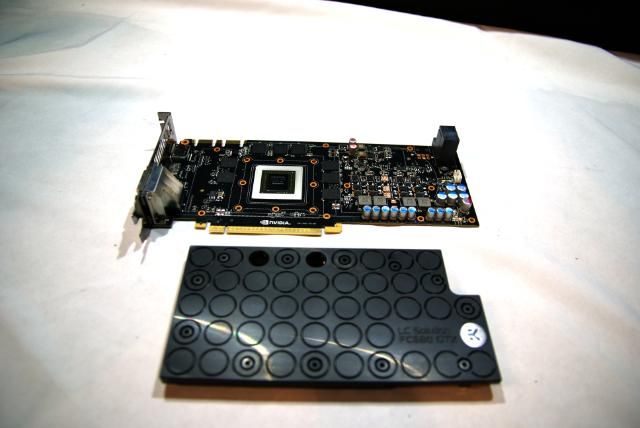
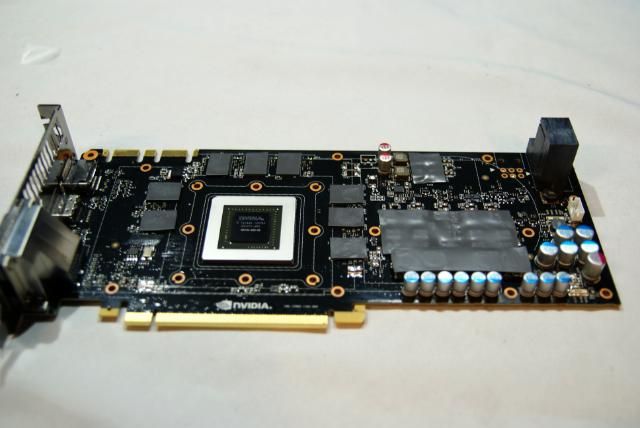
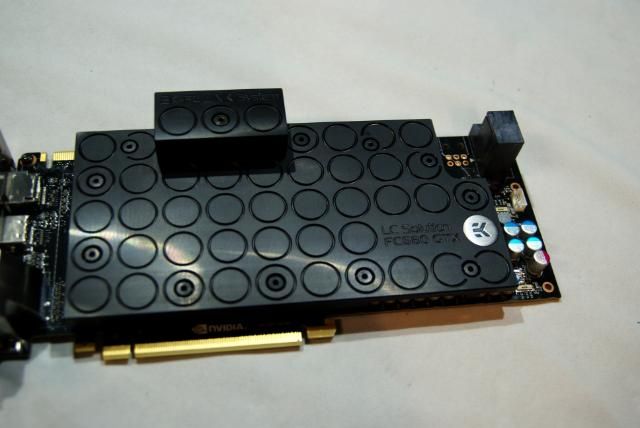
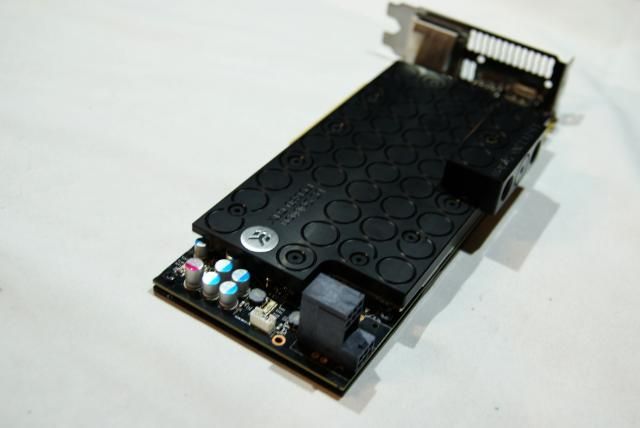
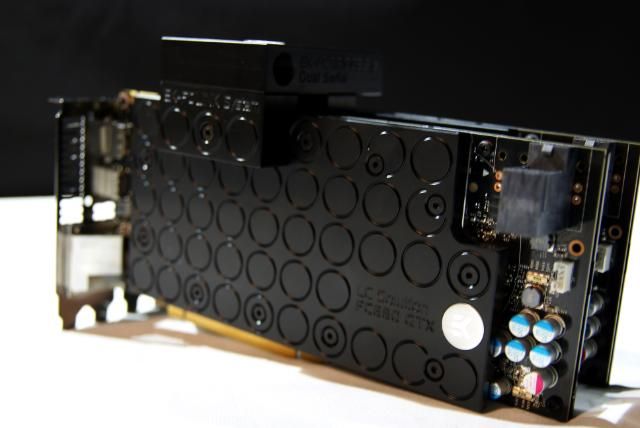
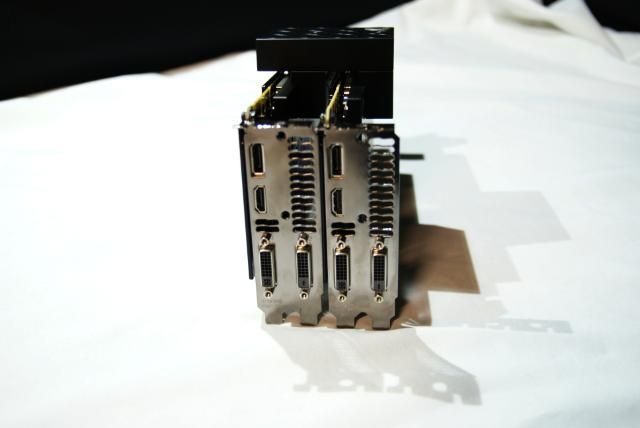
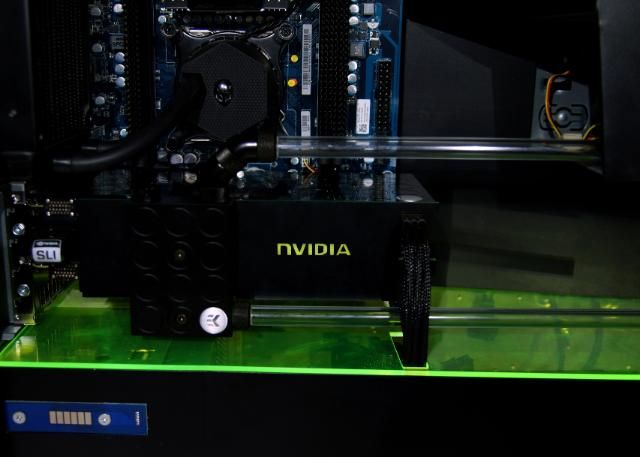
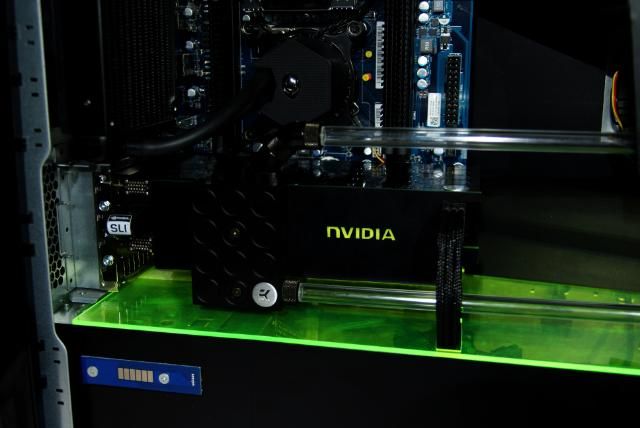
Mounted the EK block
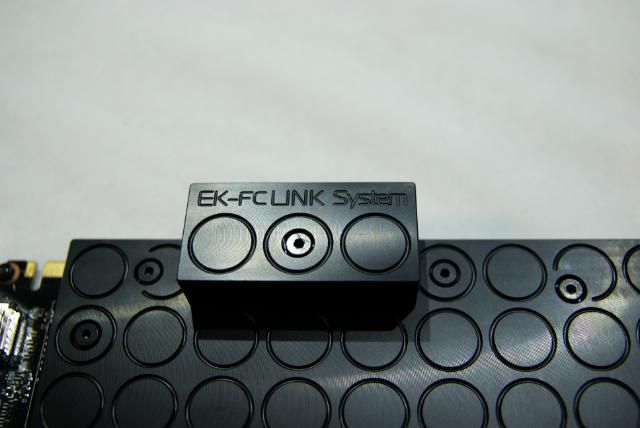
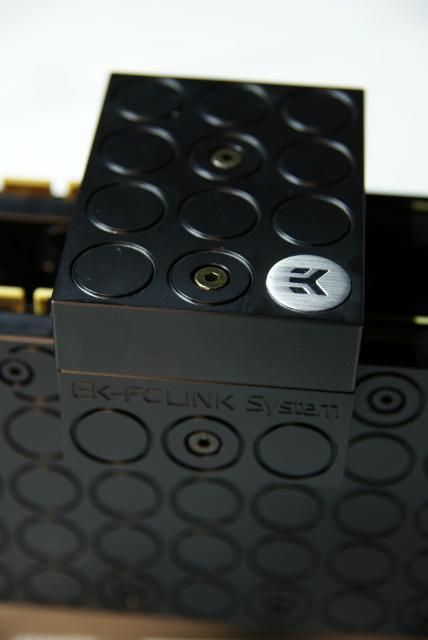
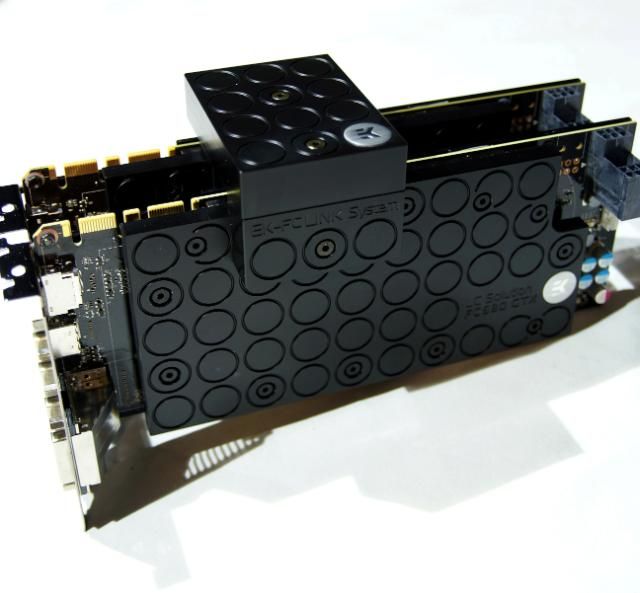
Also installed the EK-FC link
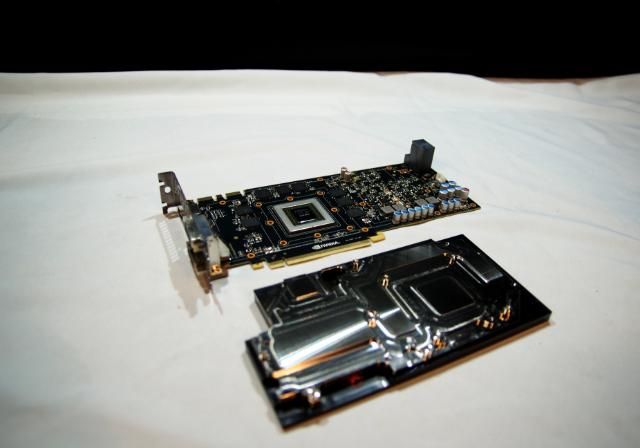
And backplate
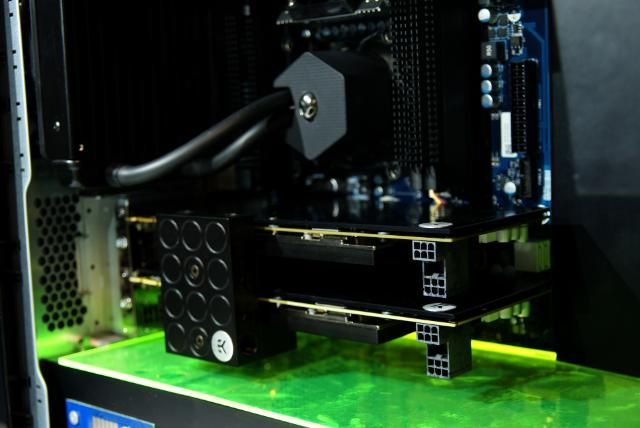
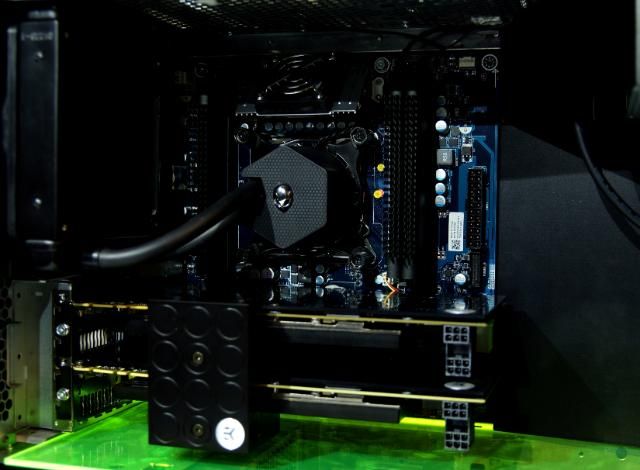
Second GPU finished
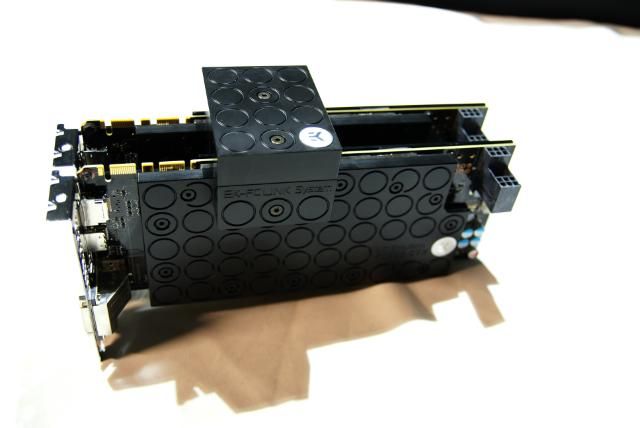
Connected all together with the EK-FC Bridge Dual Serial
And offcourse....placed it right away
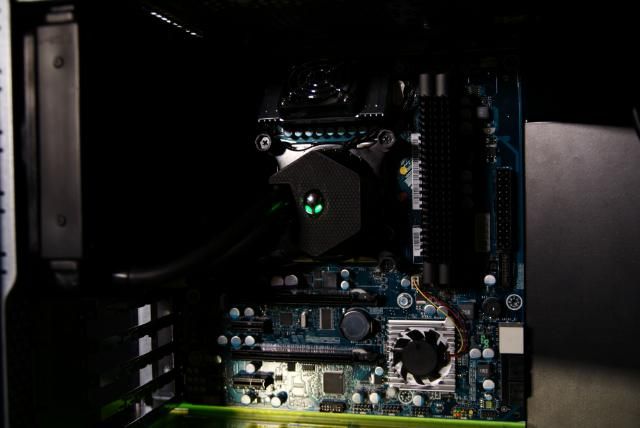
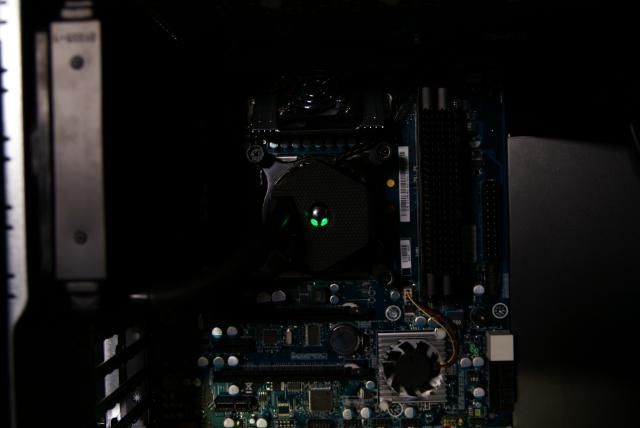
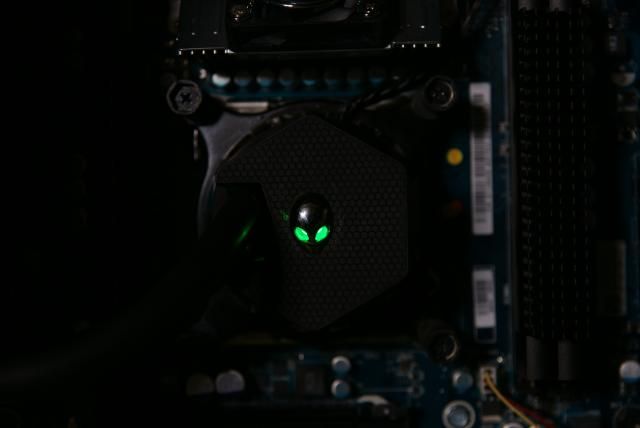
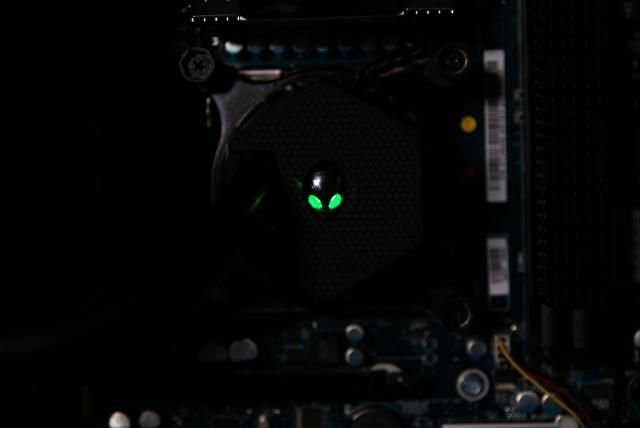
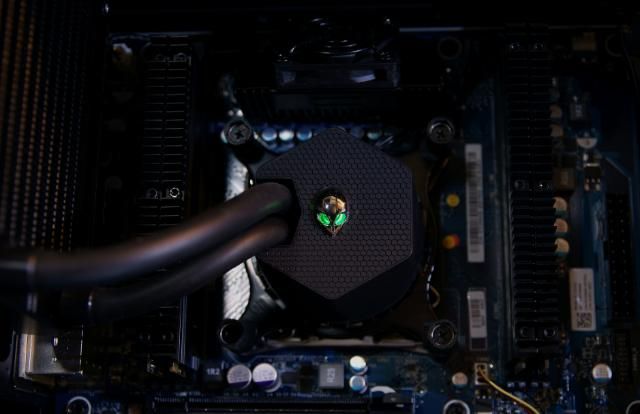
Made a minor adjustment into the CPU cooler. Placed LEDs for a nice effect, bright Alien eyes
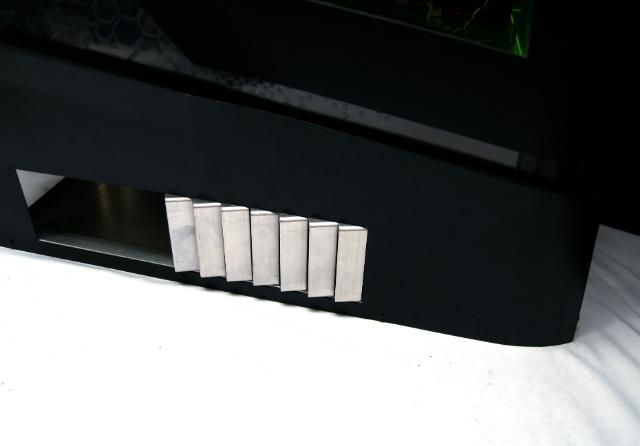
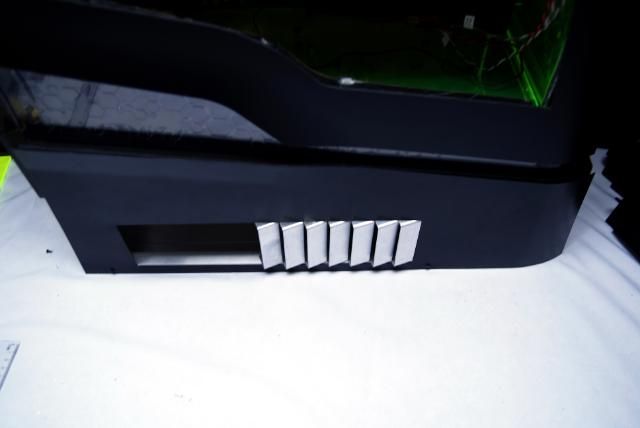
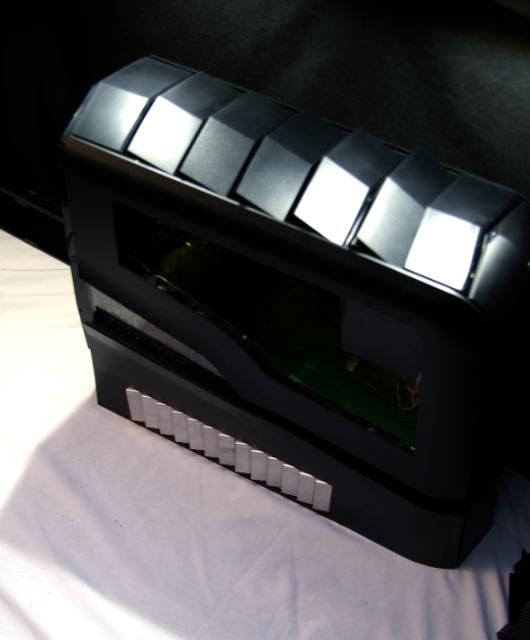
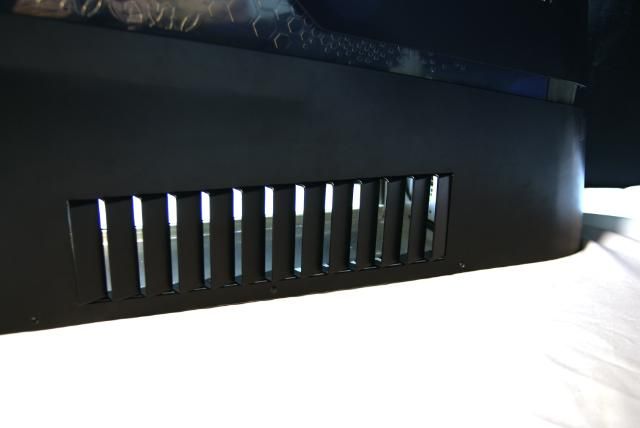
I was still searching regards the radiator recesses on both sides. Here's the first idea.
Playing with some mesh and air outlets
But no...didn't like this.
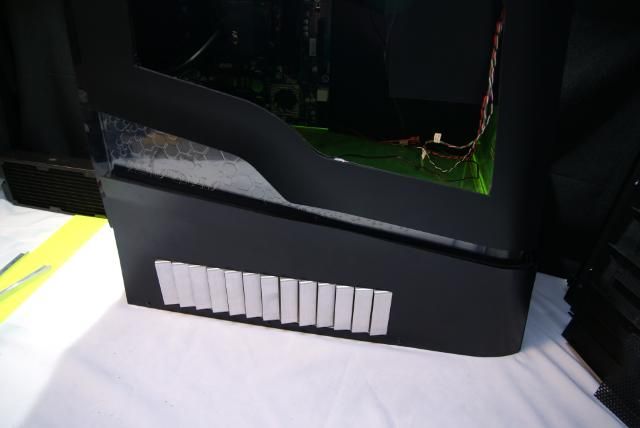
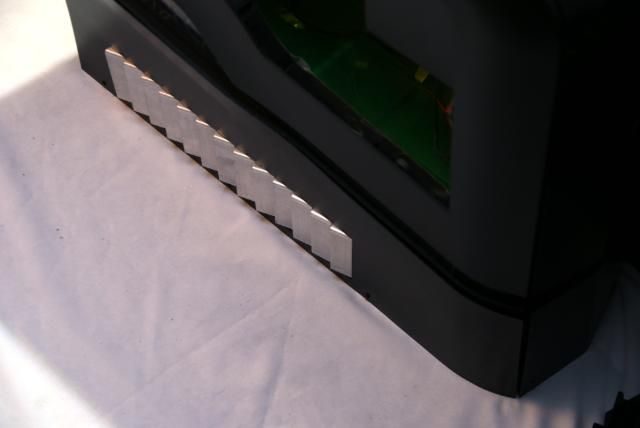
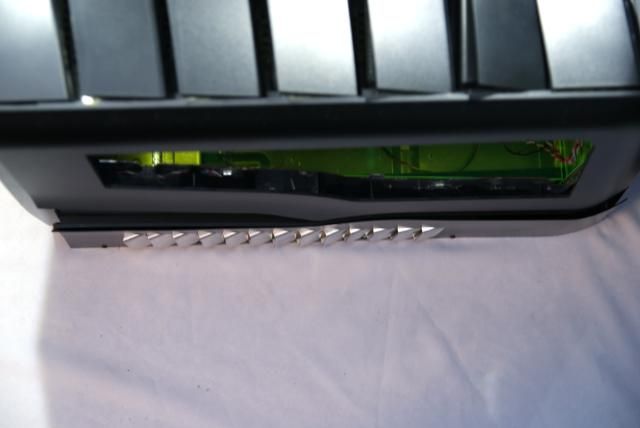
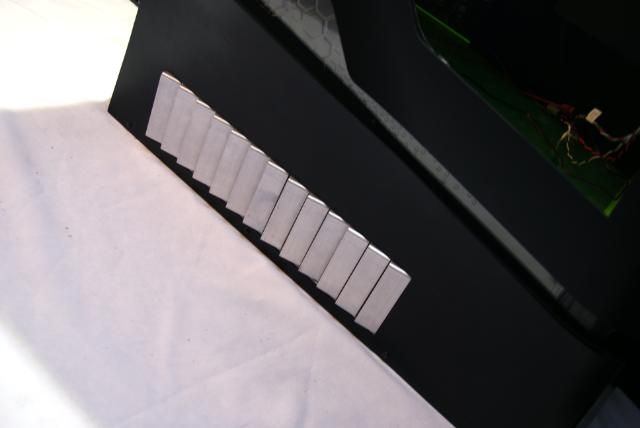
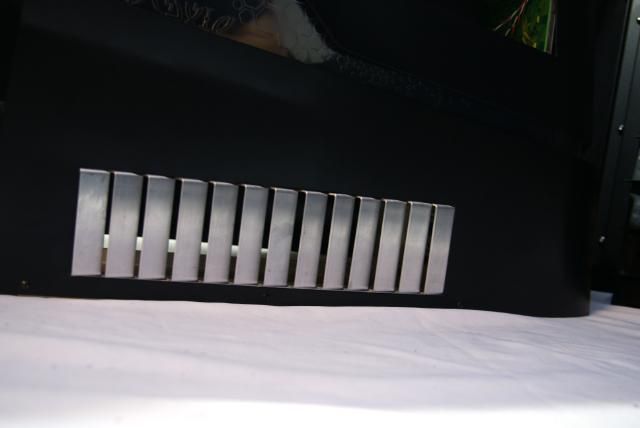
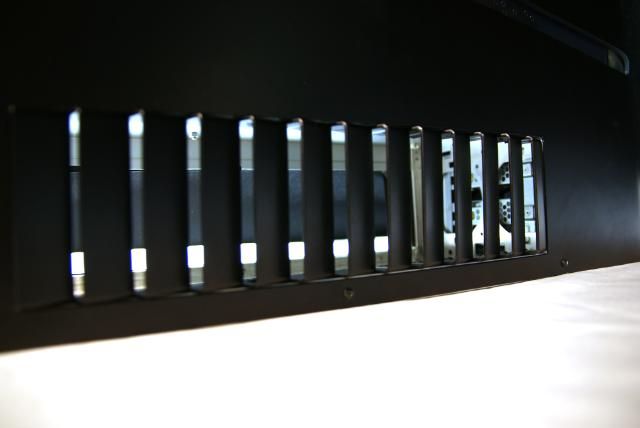
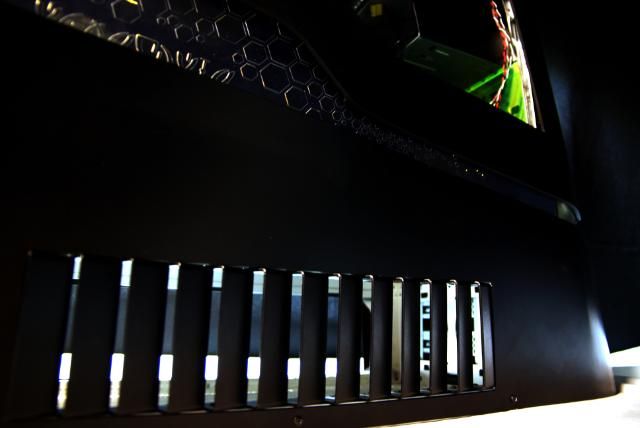
So cut an aluminium strip, bended a lot of vents and assembled
Made it black
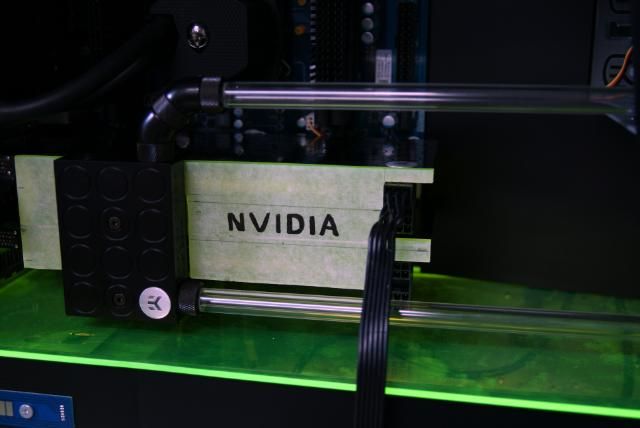
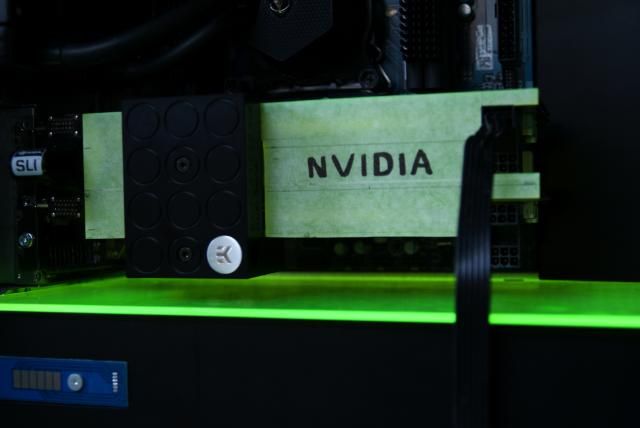
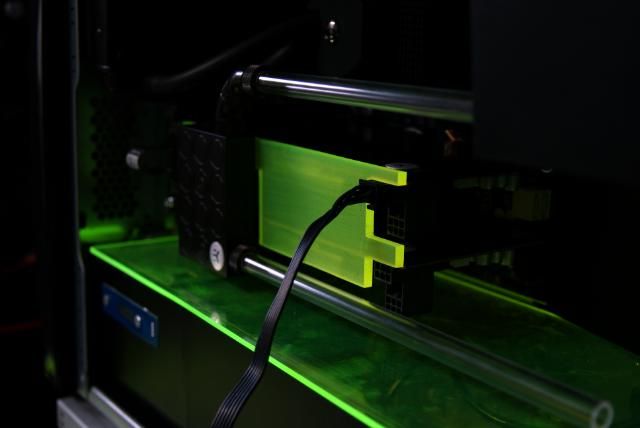
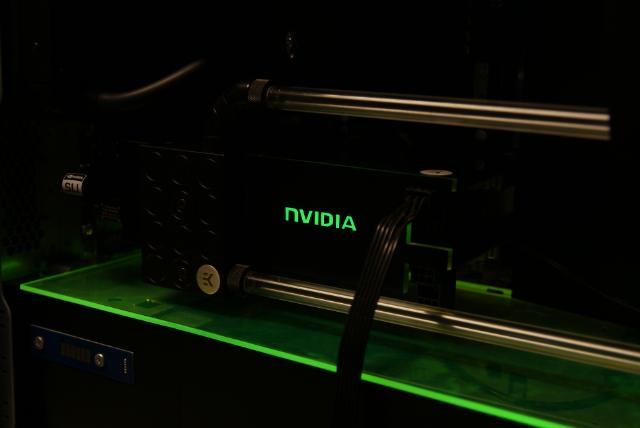
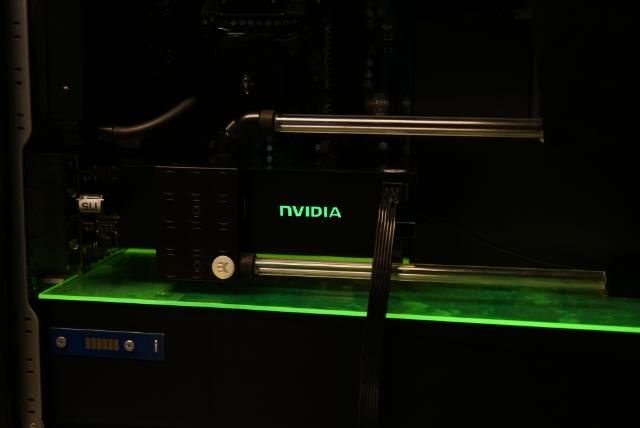
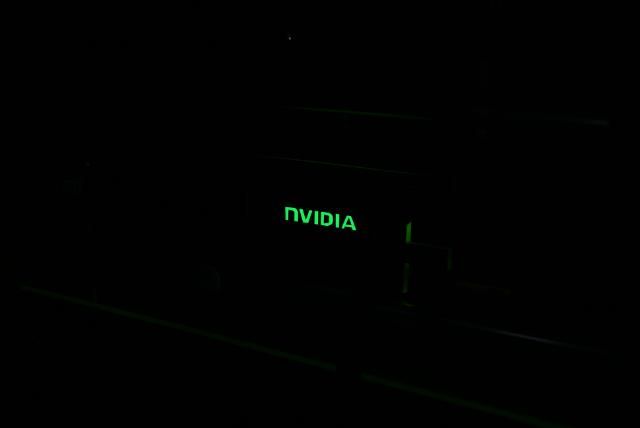
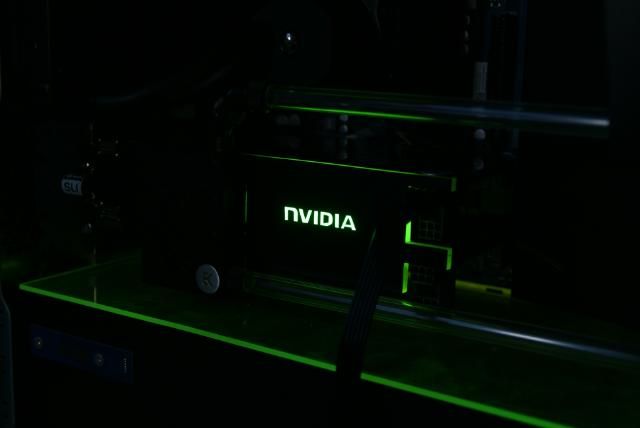
Next ..... The Nvidia Logo should come back. Therefore I made a little cover where the Nvidia logo is displayed.
Like this
Frosted the piece
Just to see how it will look I cut out the name by hand.
This is NOT the final logo, soon there will be a better one (with Nvidia claw)
To give this a bright shine, I have used a piece of glowpad
Placed a small piece
For the cables, I cut out a recess
This will no longer be seen through the cover
And another recess for the remaining connections mobo
And a recess for the GPU power. Bottom PCI-e power is tight, but possible
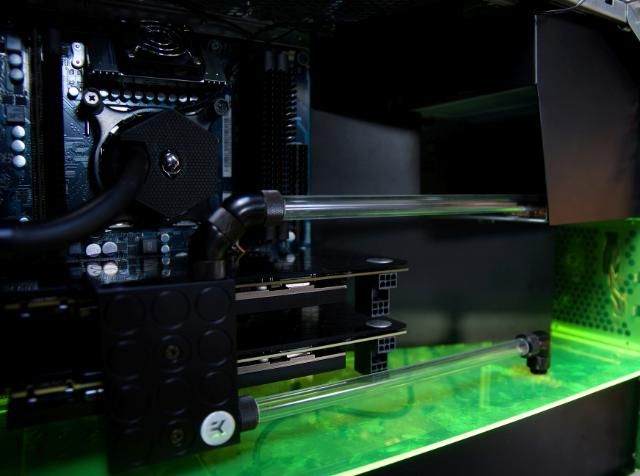
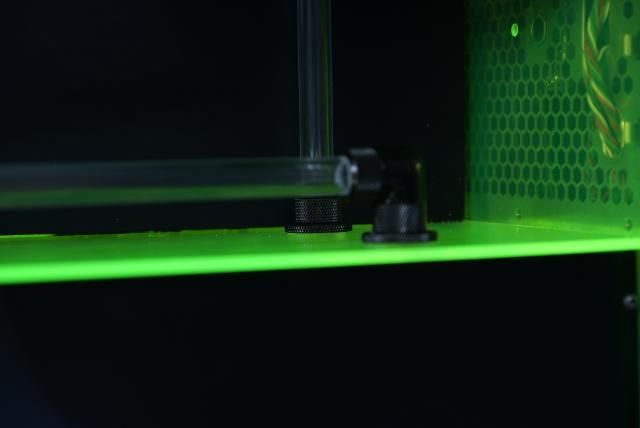
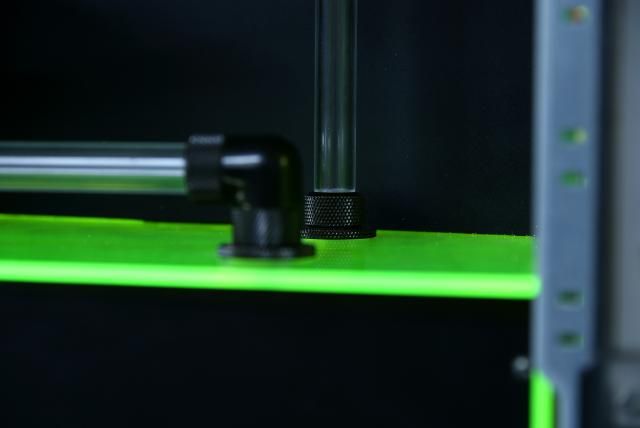
And last... Busy again with acrylic tube
After some measuring, Made 2 holes for the fill ports
That's it for this weekend
Alienware Aurora ALX-XL is sponsored by:
Update!!!
It took a while but here is a new update of the Alienware Aurora. After some doubt what I would do, paint or powder coating I decided to do it myself.
purchased a number of cans primer and Black.
Put the primer on
Let it dry for a night and then applied several layers of black
And again, hung to dry. Looks good i think
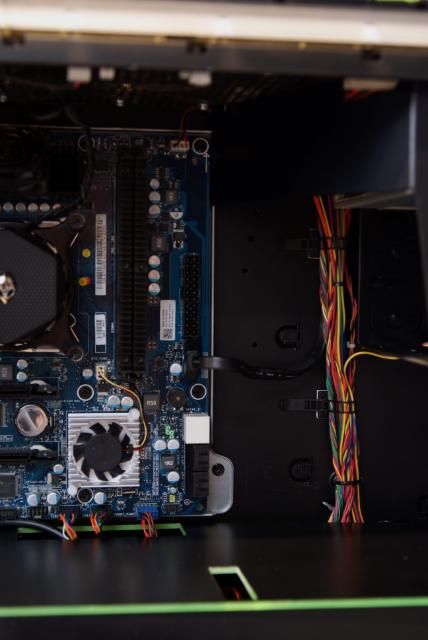
Internal also used some black for the heatsink and other small stuff ... still need to exchange the connectors
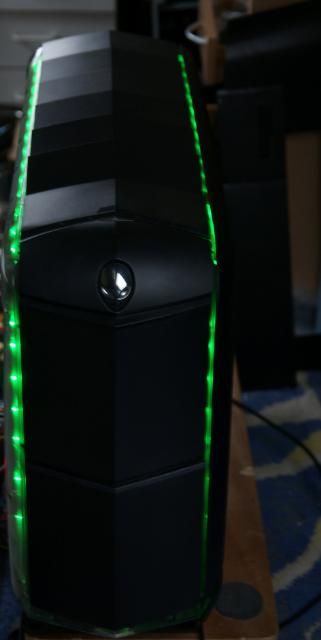
Always fun to play with Alien eyes
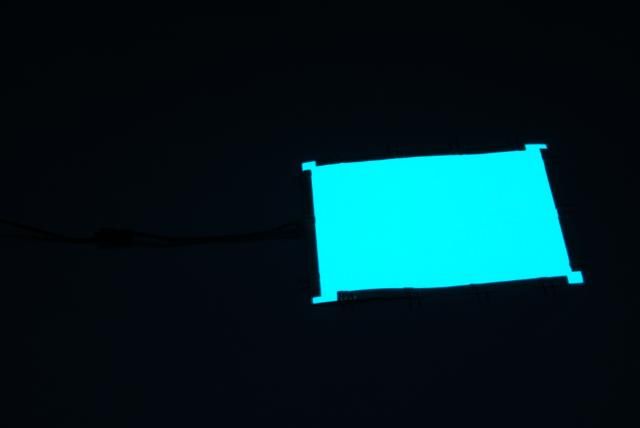
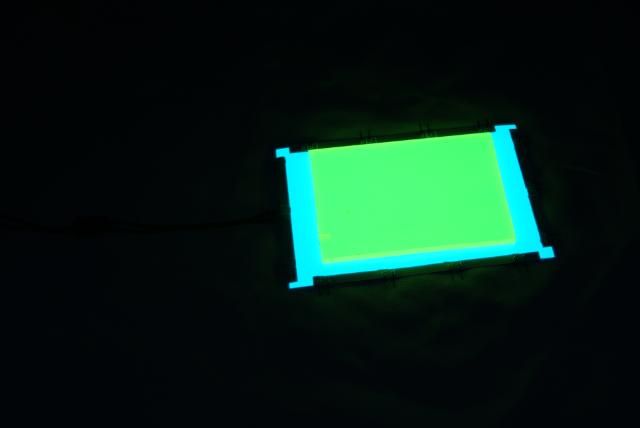
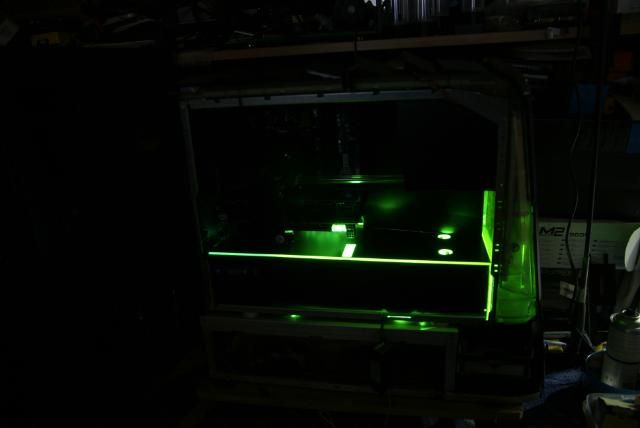
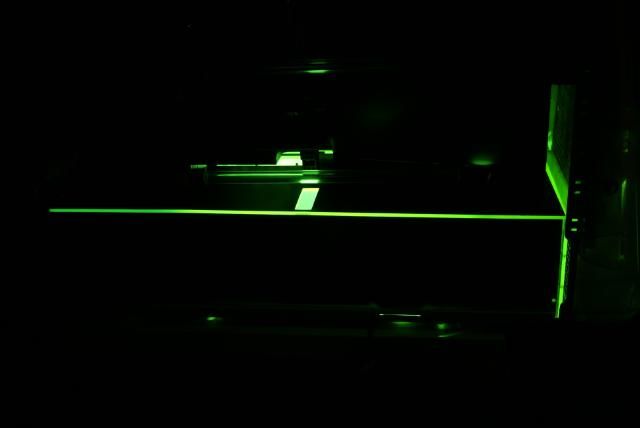
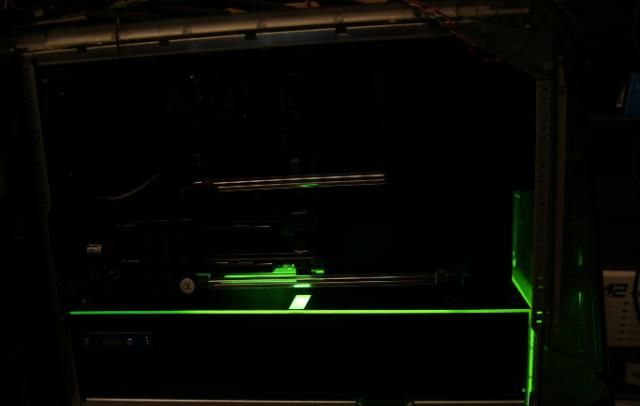
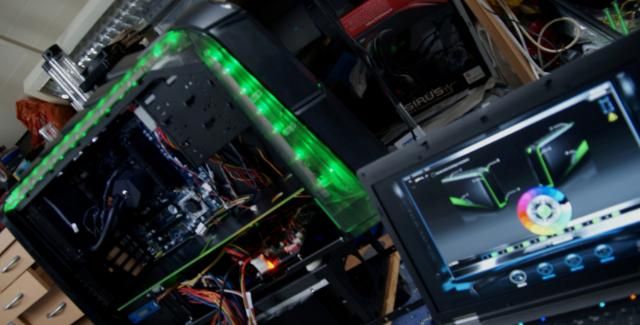
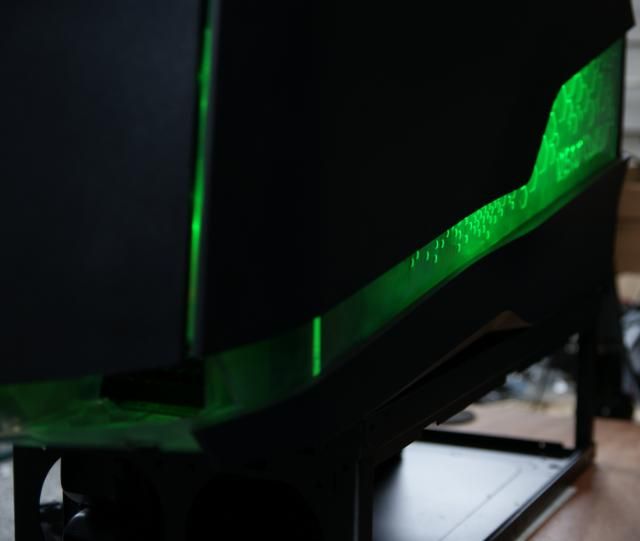
I also gave the midplate a black layer. This to get a illuminated green border using a CCFL. I first made the top white, after that a black layer
Placed the CCFL
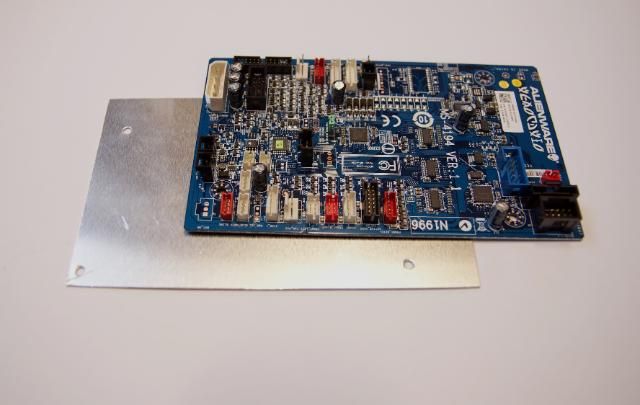
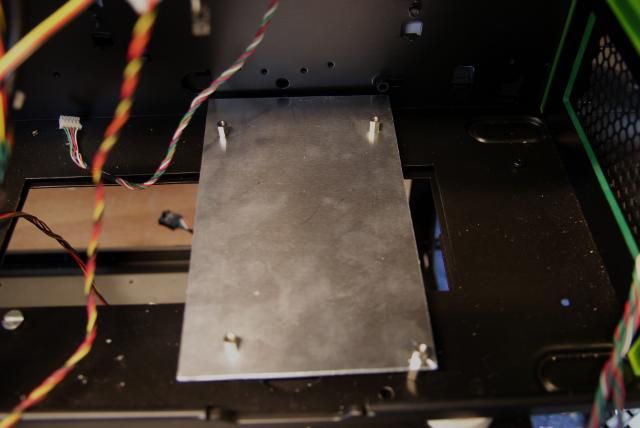
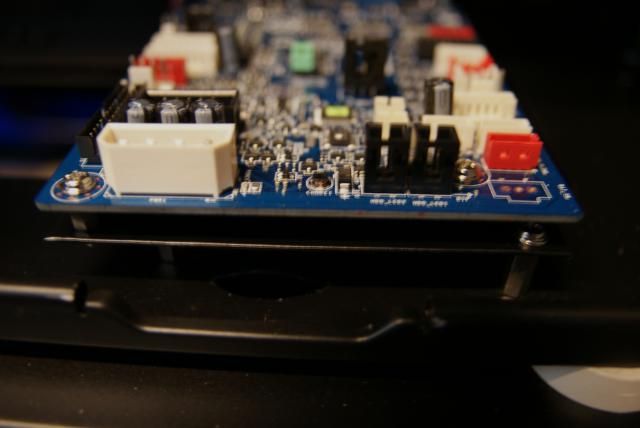
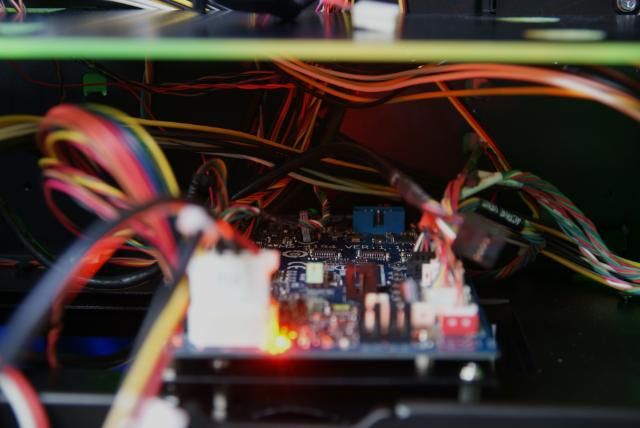
Time to place the PCB for the lighting etc. For this I have cut a aluminum plate
Placed like this
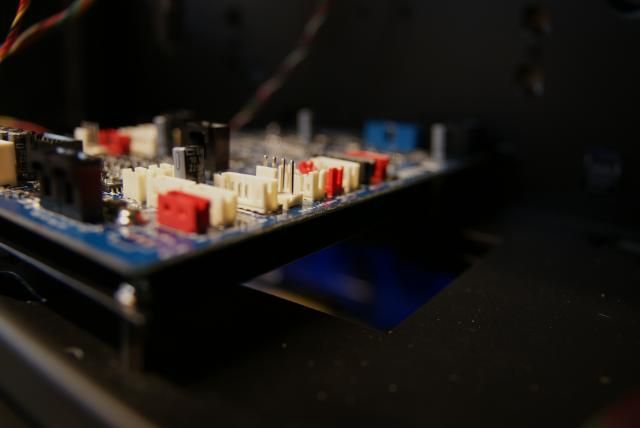
After extending some cables
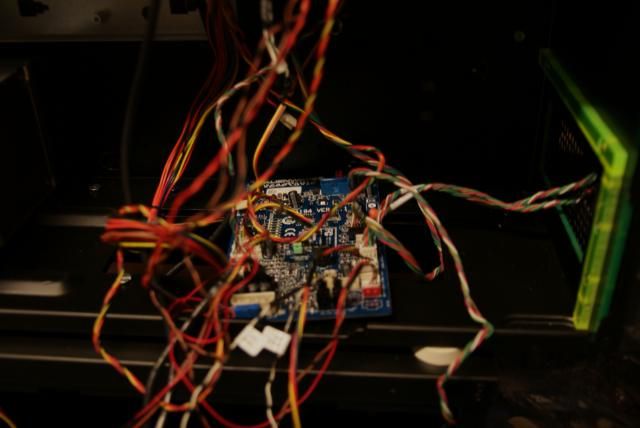
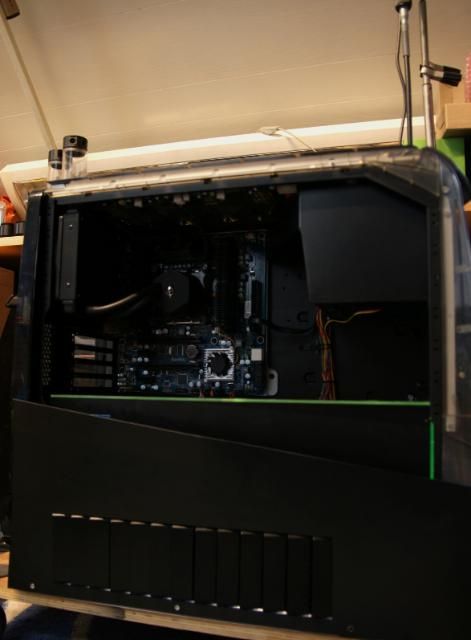
Power on for testing
And it's working again
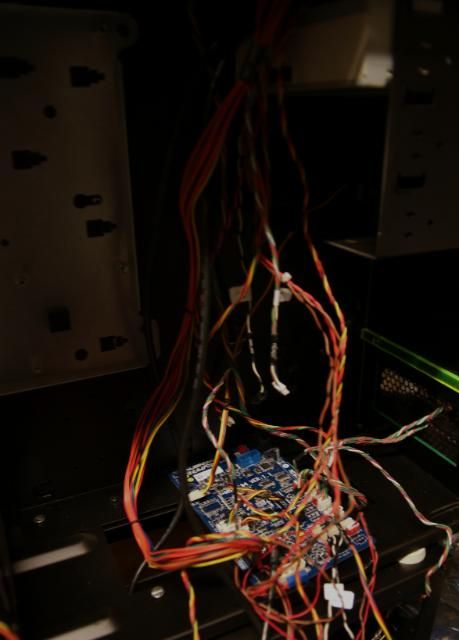
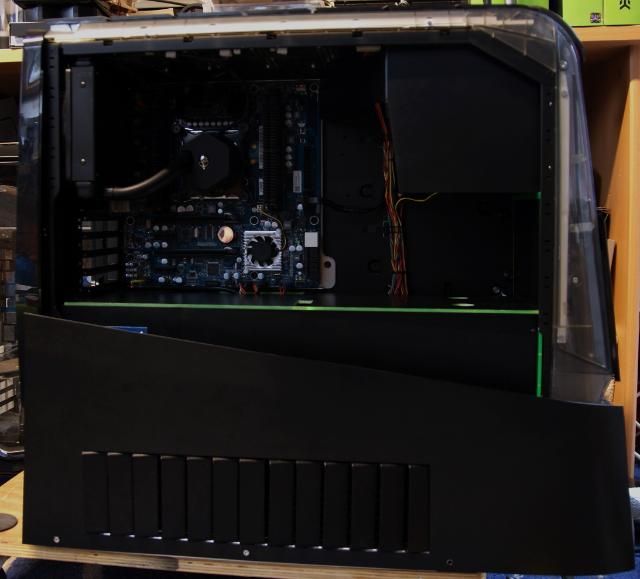
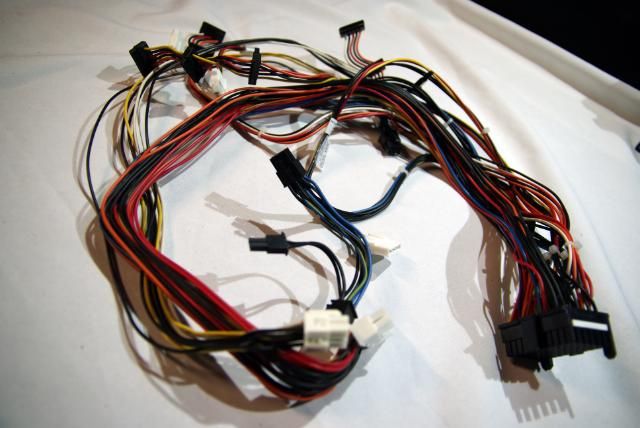
Always good to know before the cable management begins
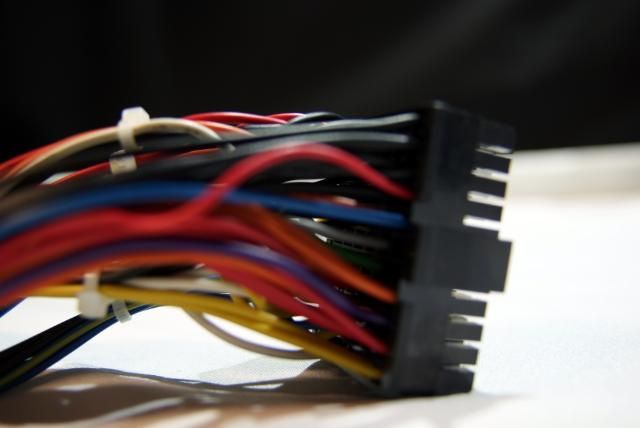
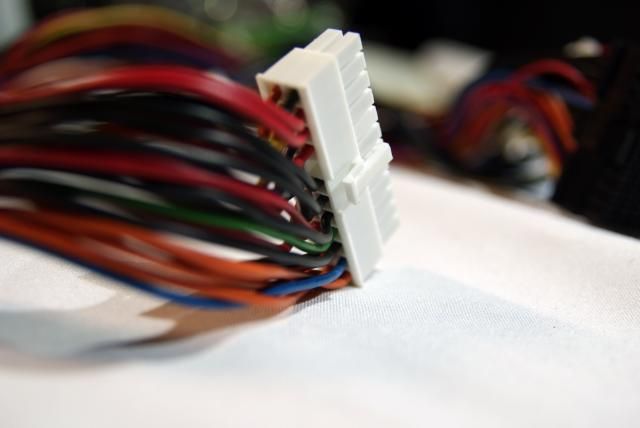
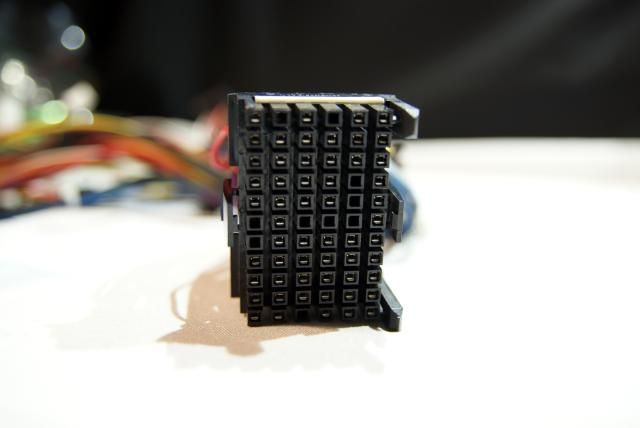
Searched and found my sleeve stuff againfor sleeving the big bundle
I discovered that the pins of the big block are not so easily to remove. 've Tried al kind of tools, but it isnt possible without demolishing. I just miss the slots for the pin remover.
So change of plans ... going to use sleeved extenions now. Sorry no sleeve update this time
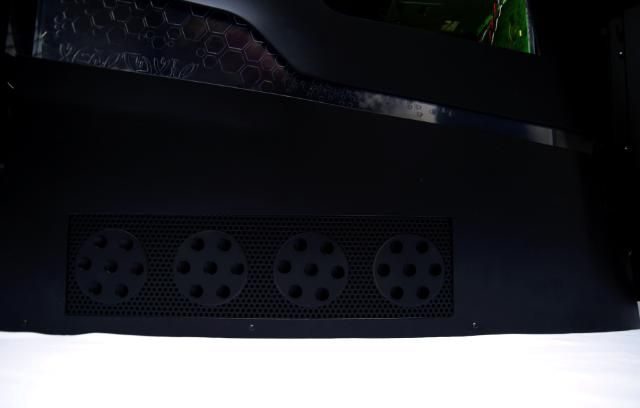
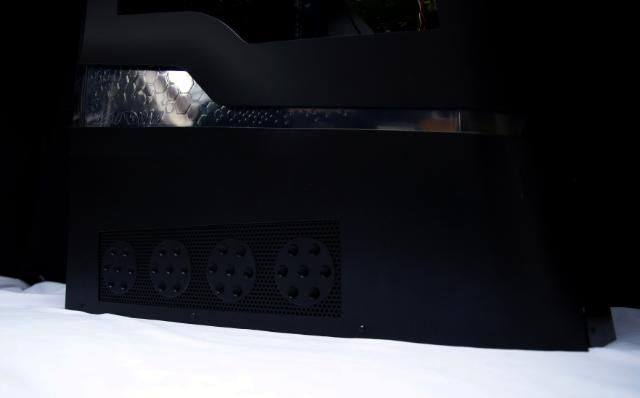
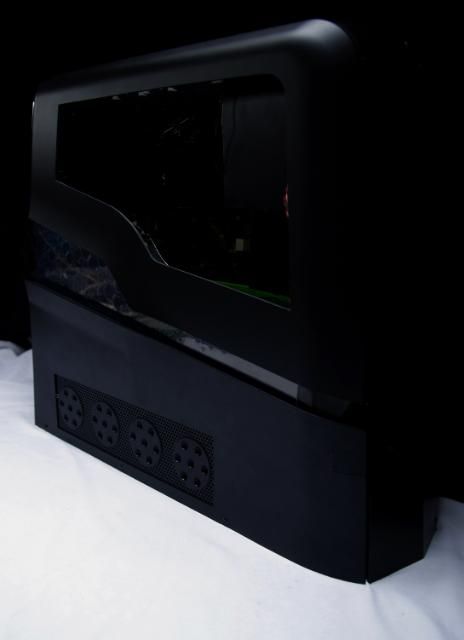
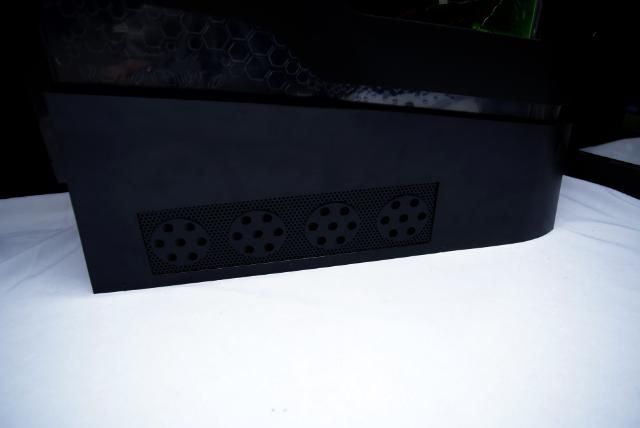
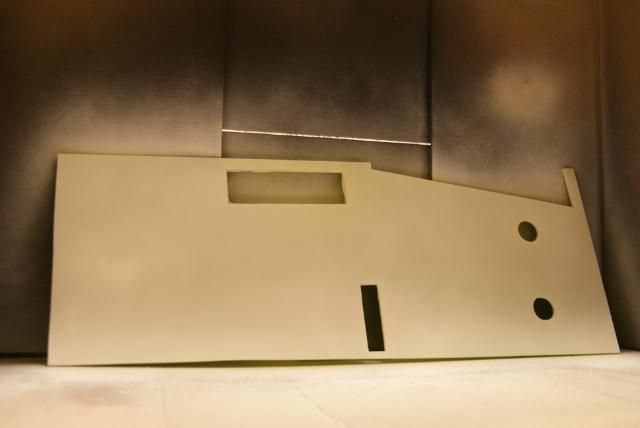
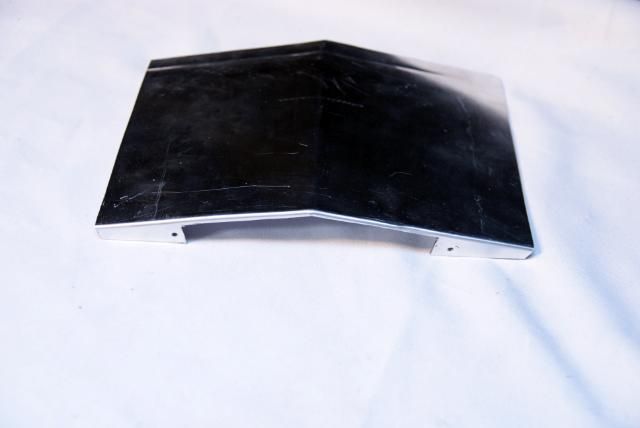
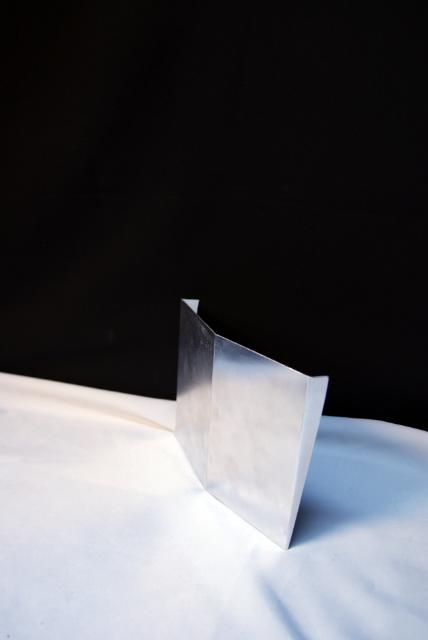
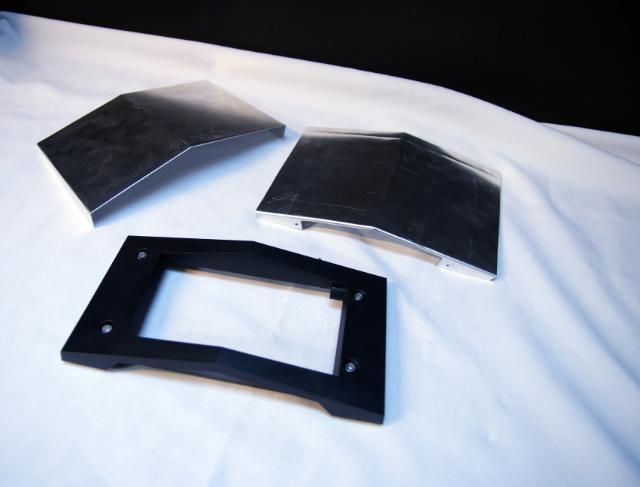
I also did the lower back. Because I made the Aurora a bit higher, I also need to extend the back.
For this cut, bent and drilled an aluminum plate
Cut and bent another aluminum plate
First plate mounted on the existing PSU cover
And made the other plate black and mounted it. Must still bend it a bit and still make some openings with mesh in it..I think, but this is how it fits.
Finally the choice of the fans for the rads. The Scythe SY1212SL12H ... pretty thin fans but very noisy.
definitely need some adjusments
More coming up!!!
 Posting Permissions

 Reply With Quote