Page 2 of 8 FirstFirst 1234567 ... LastLast
Results 11 to 20 of 77

Thread: Demission

  1. #11
    Anodized
    Join Date
    Nov 2007
    Location
    The Netherlands
    Posts
    88

    Default Re: Demission

    UPDATE 13

    Some ''eye-candy''. Not really but you'll see what the project will be like.

    The last piece of the puzzle arrived. The top

    Thing on his side.


    With top.


    With every plate that will give you an idea how it shall look.


    And now you now the shape. This is an old design of the case. Some things changed and some things are improved but you'll get the ''feeling''


    The arows on the top have been changed. I also made an original fanguard which will be shown later (even the Dutch guys don't know yet what it is). The other side of the case is even more interesting. But more on that later. The logo which you can see through the window on those 5.25'' coverplates is also removed.

    Next Update: Some real work
    In all of it's glory!

  2. #12
    Anodized
    Join Date
    Nov 2007
    Location
    The Netherlands
    Posts
    88

    Default Re: Demission

    UPDATE 14
    I've done a lot of platework but it isn't worth a picture. The proces: You'll take a plate,screw it on, mark it, treat it, screw it on again and you repeat that proces until every plate fits. Time-consuming work

    Luckely there are some things worth of taking a picture. This is the top.


    With Fans.


    Another one because I like them


    Taping it in.


    The other plate were the 360. rad. will come.


    Voila.


    Another plate for the front.


    done.


    From the bottem.


    More platework. Some were to big so I needed to reduce them.


    Of course it's never good in one time.


    But after 3 times it's perfect


    Next up: the logo.


    A bit blurry but you can see that it needs some serious filling.


    After an half hour.


    Replacments for those ugly 5.25'' bays.


    Let's see the overal result.


    With side.


    Other side.


    Next up: Mobotray with an old mobo.


    You'll see there's a lot of space. Bit there will be a lot of cabling in there. So i made this to cover them.


    Some removing of stickers.


    After:


    That's it for now!
    In all of it's glory!

  3. #13
    Anodized
    Join Date
    Nov 2007
    Location
    The Netherlands
    Posts
    88

    Default Re: Demission

    UPDATE 15

    Not so exciting because I was ill. So I just did what I could.

    I had to extend all the cabels from my PSU in my other mod which I didn't like. So that had to be different this time. I made an extension cable. But then you need a male-molex and I didn't have one. So I got my dremel and cut it off an old CD-drive.


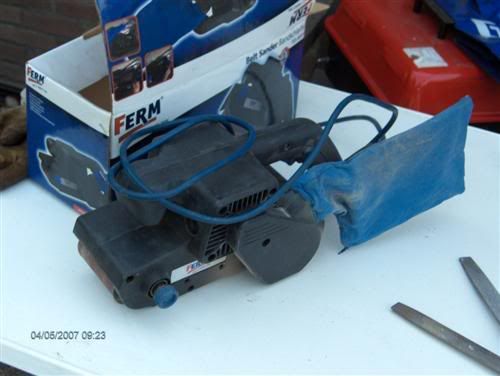
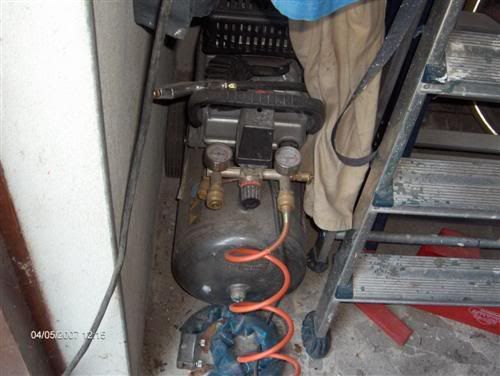
    Then I needed cables. An old PSU with a sticker: ''AMD K7 en Intel P4'' 125 watt.


    The inside.


    Cut of the cables and solder them.


    The result. Will be sleeved later on.


    More interesting stuff you can find in a PSU. It's a stekker were I'm going to putt the waterpump on.


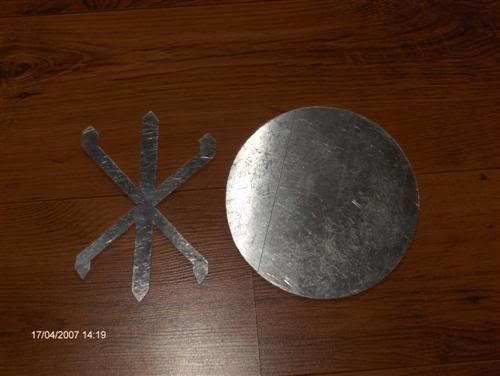
    The ''feet'' which will cover the cables is also done.


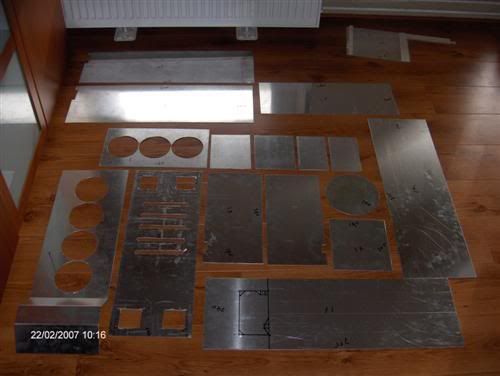
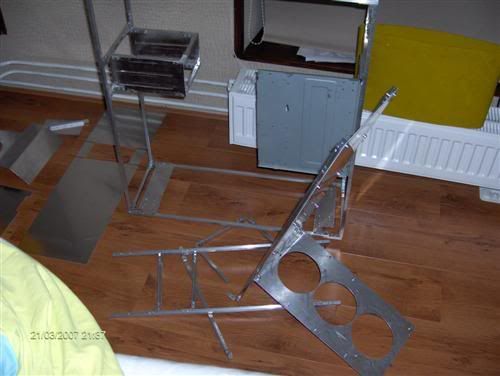
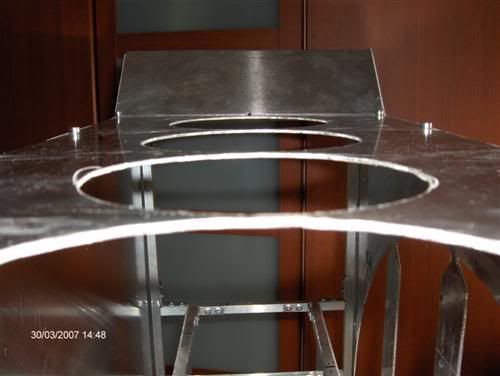
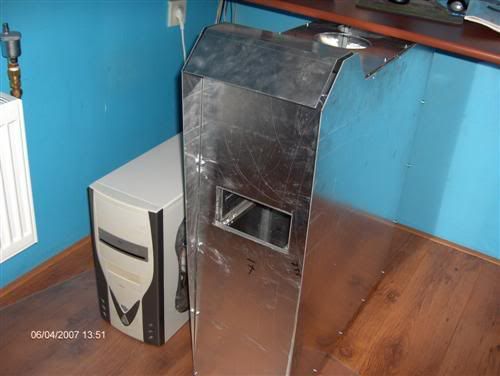
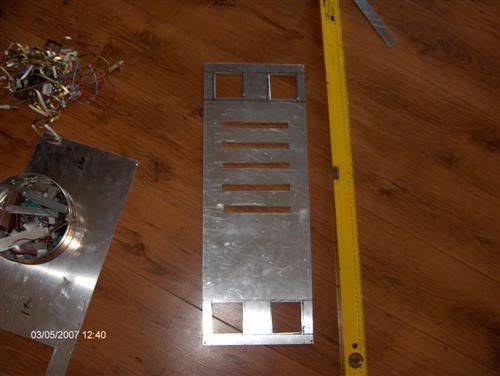
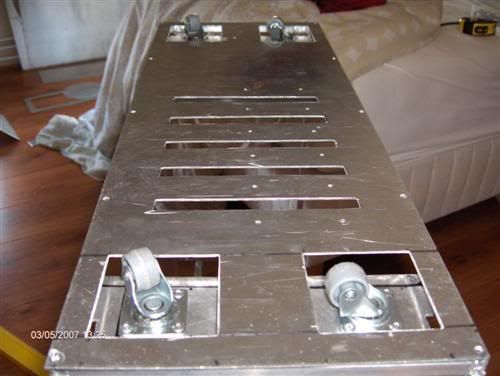
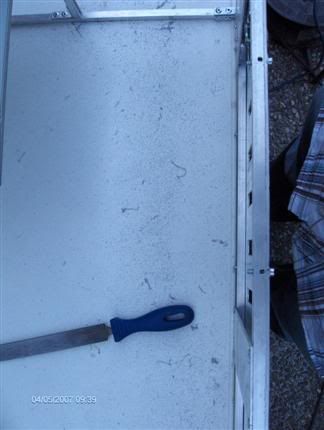
    The plates which are supposed to go in the case
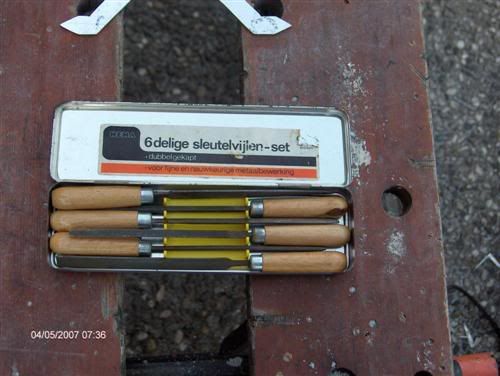

    My dremel.


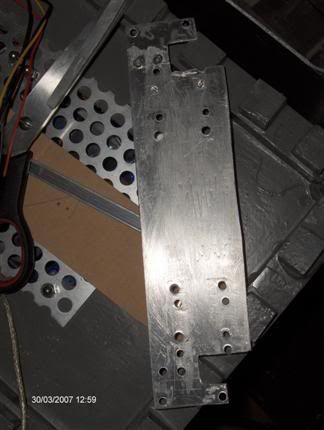
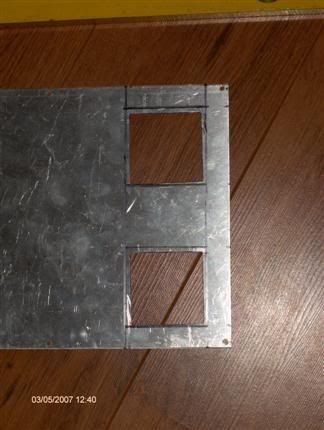
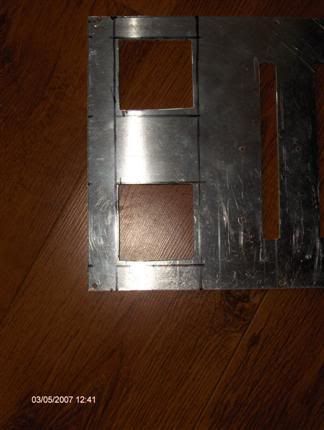
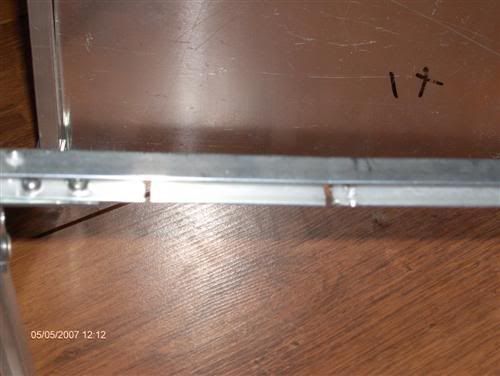
    The moboplate. You see a strip on the right. It was also on the left but I don't like them so I removed it.


    Zoom


    And the other one is gone to.


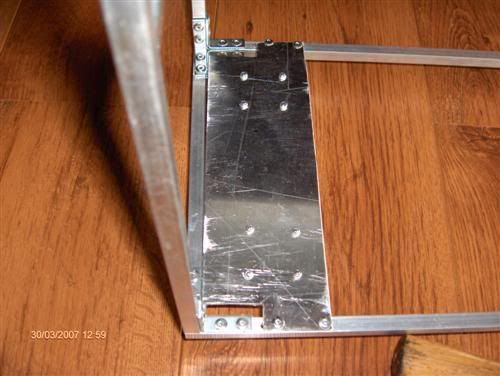
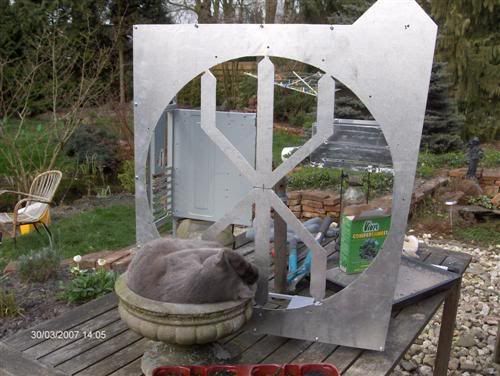
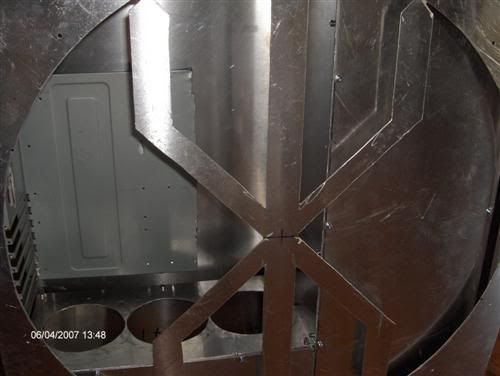
    Big improvement. Next up was the making of the backplate. I put the donor PSU in so I can draw it on the plate.


    After treatment.


    Here I made it stuck on the PSU with two simple screws. It gives an impression of how clean it will be.


    That's it for now. Hope you like it. If you do: rate my threat! I'm very curious of what you think of it.
    In all of it's glory!

  4. #14
    Anodized
    Join Date
    Nov 2007
    Location
    The Netherlands
    Posts
    88

    Default Re: Demission

    UPDATE 16

    Well, finally something what you like! I Hope at least Let start.

    I needed somehting which coners that nasty need on the back where the panel goes around (?) the moboplate. The things in the inside are for the PSU.


    Done.


    Without.


    With. It's better don't you think? There will be an illuminated 6mm plexie strip under it so you get the net setup:

    -ALu plate which will be polist
    -Illuminated plexie
    -Case


    Next up was some plexie. I had laying around some pieces.


    In the garage I found even more.


    After some cutting in the rain.


    Rougly done. But I decided to buy one piece so it's a little neater in the end.


    Finally! This is the engine whcih will power some things in the case


    12 V and 2400 RPM. Way to fast. But I will solve that problem. Here's a little video with it.


    To make some thing's clear: This will be the right side of the case.


    Remember that these are old sketches. The plan has changed a bit so I won't explain completely what my intention is. Of course I will explain it later on.

    Why all this fuss you may think? Because I'm always frustrated when beautifull mods don't have a modded right-panel. Or at least the panel were the window isn't. I think this is a lot better than a standard panel
    In all of it's glory!

  5. #15
    Anodized
    Join Date
    Nov 2007
    Location
    The Netherlands
    Posts
    88

    Default Re: Demission

    UPDATE 17

    Not to many comments! Too bad but you can't stop me with that :clap:

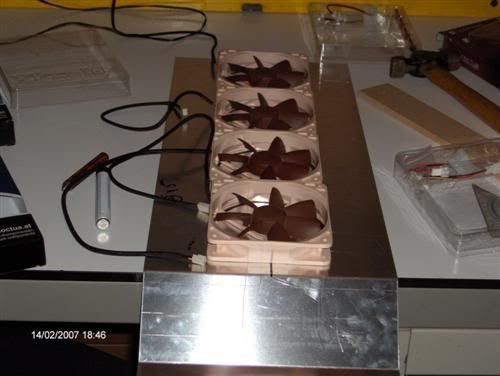
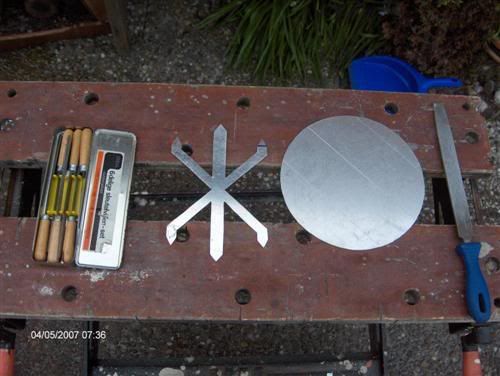
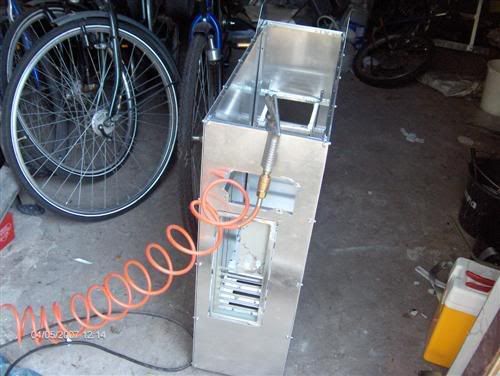
    I made a little housing for my motor.

    First I made a little holder (?) from foam. It dampens it.


    Then I made casing itself from scrap ALu that I had laying around.


    A little bit of bending et voila.


    With the front.


    A hole were the as will go trough.


    A lilttle gap for the cables.


    Done. Needs some putty but it will come later on.
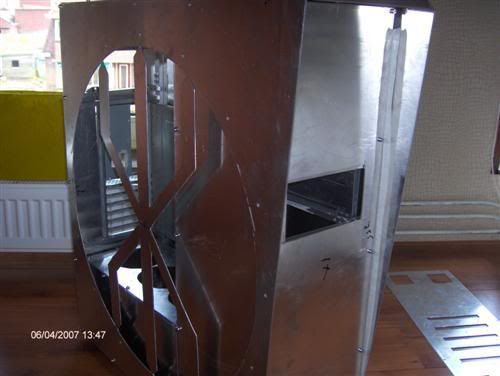
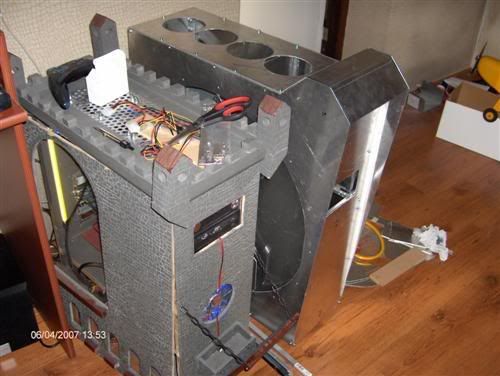

    In the case.


    From the back.


    Zoom


    A bit much of the same but I like it. That's it again for now.
    In all of it's glory!

  6. #16
    Anodized
    Join Date
    Nov 2007
    Location
    The Netherlands
    Posts
    88

    Default Re: Demission

    UPDATE 18 & 19

    Hello again!

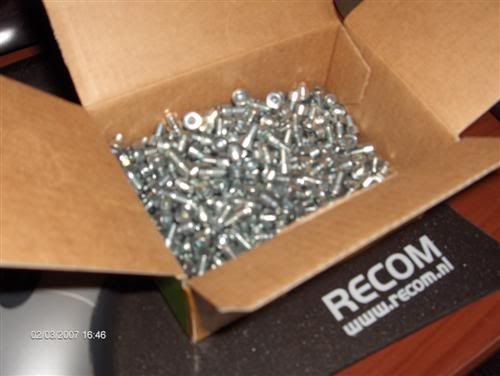
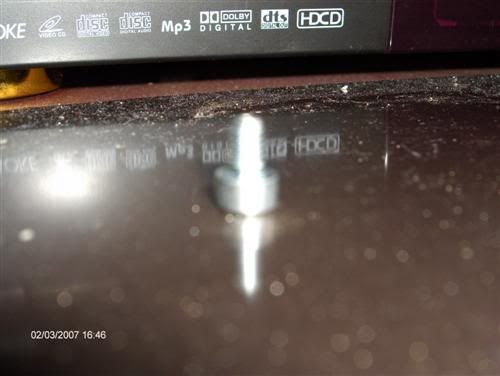
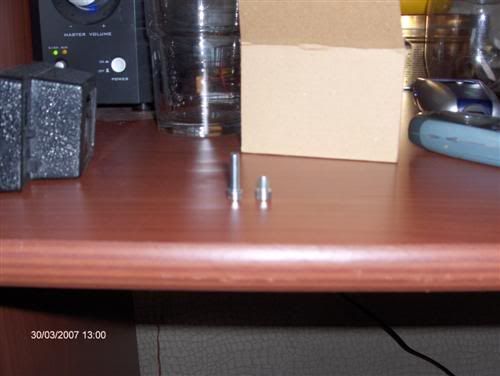
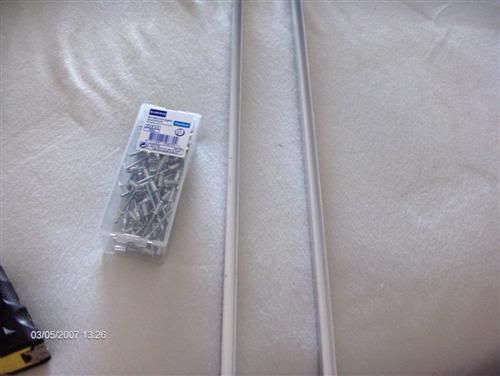
    I don't like screws on mods so I 'll use inbusjes (do you call it like that in English?).

    A whole box. 500 pieces.


    Zoom


    All M4. I think it's going to give a nice contrast with the eventually black.

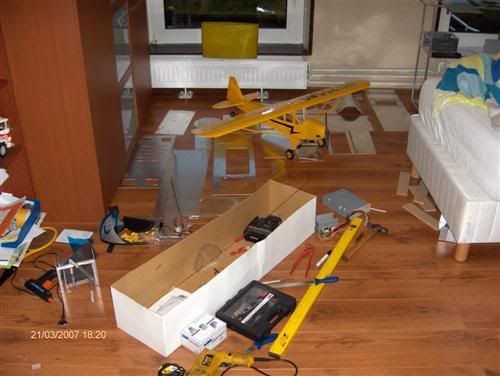
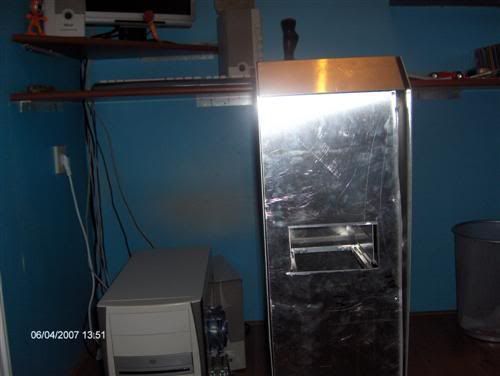
    A little picture from my room. See also my other hobby. I sold it this week though because modding is much more fun


    The case. It stands there when I'm not bussy modding it.


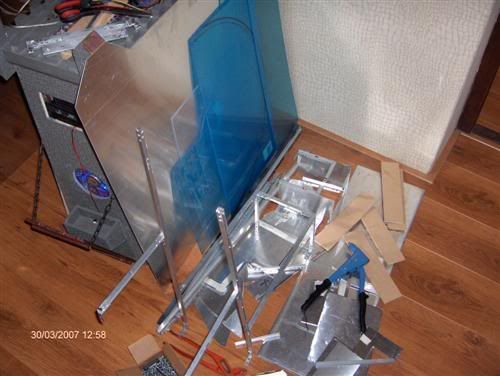
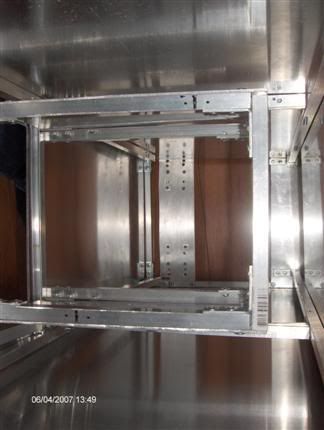
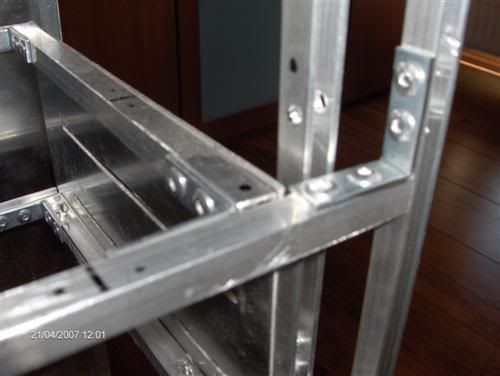
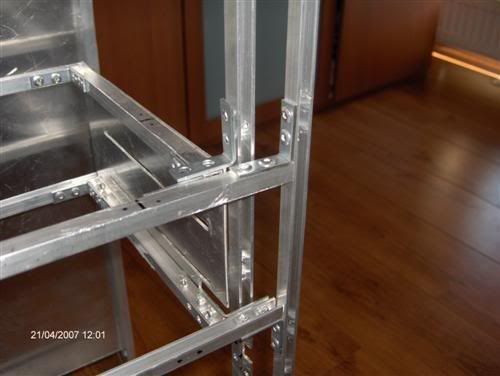
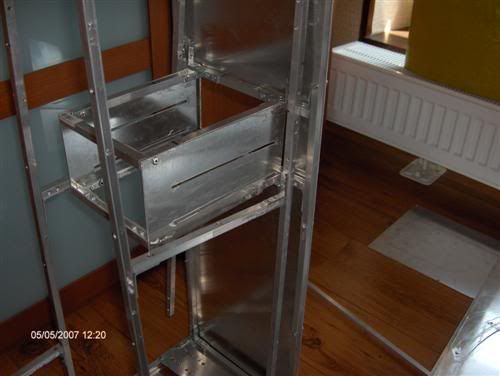
    Something went wrong with the frame so I had te rebuild a few pieces.


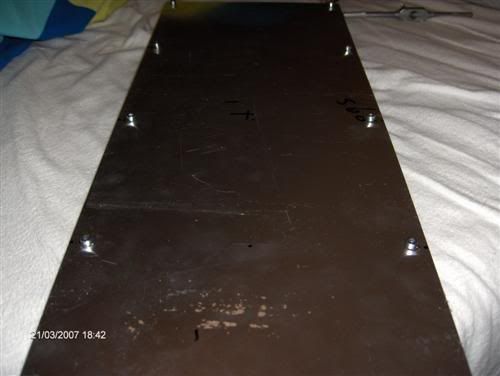
    Another plate for some stiffness.


    Old


    New. Better hé?


    Even more inbusjes for the plates. These are longer.
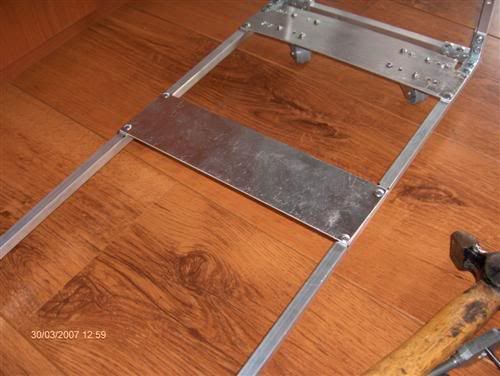
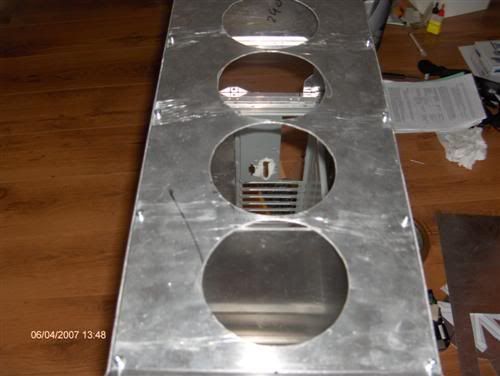
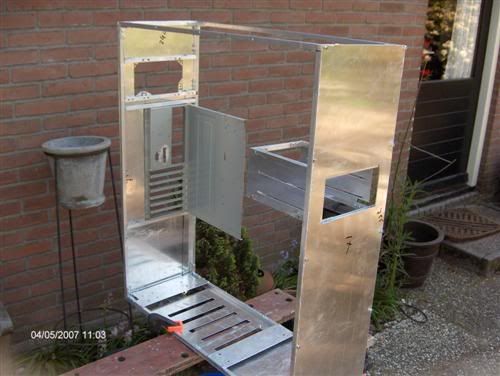

    First plate doen.


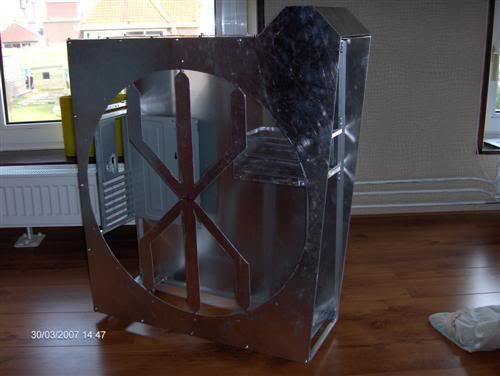
    2 plates on the frame.


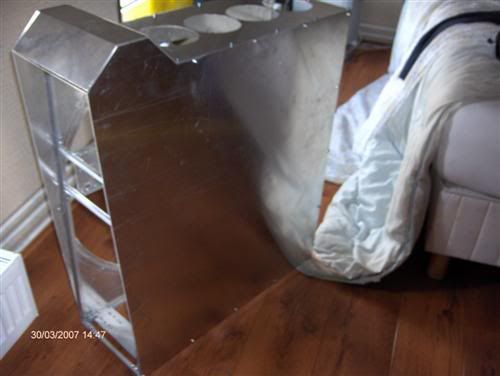
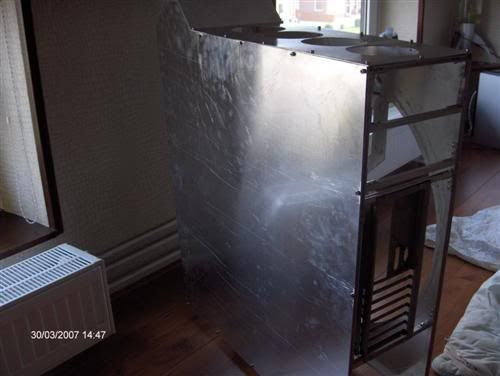
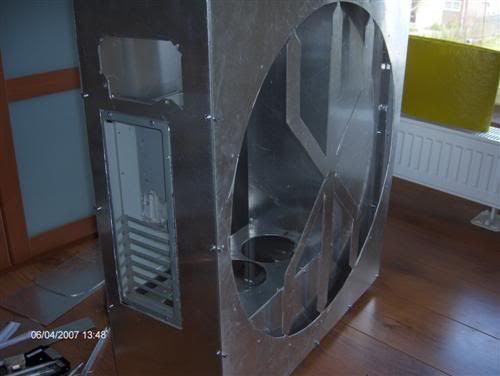
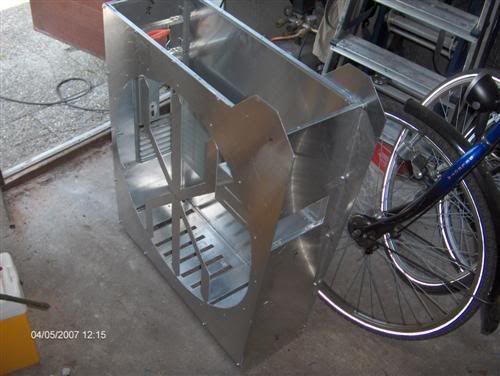
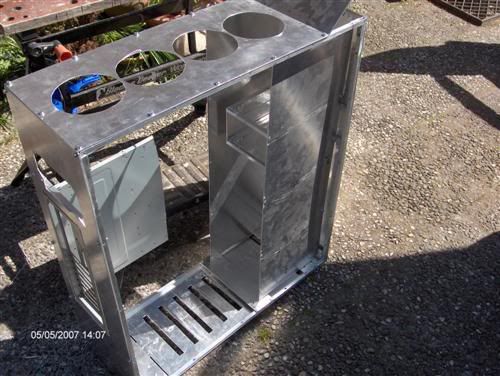
    1st sidepanel stuck :rock:


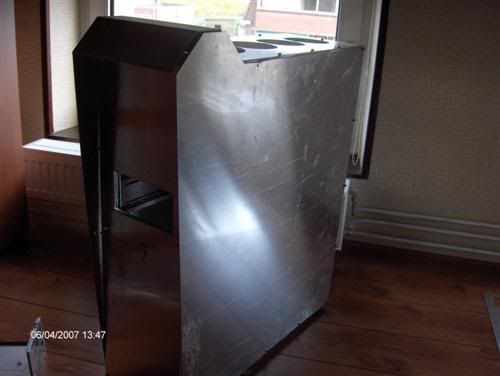
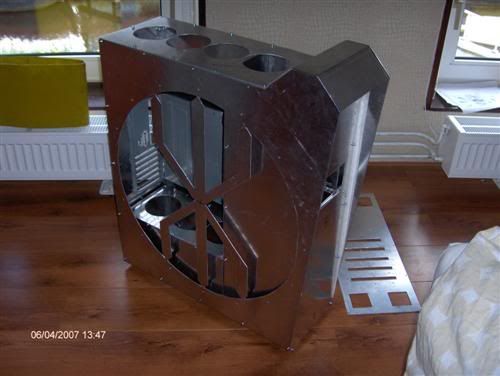
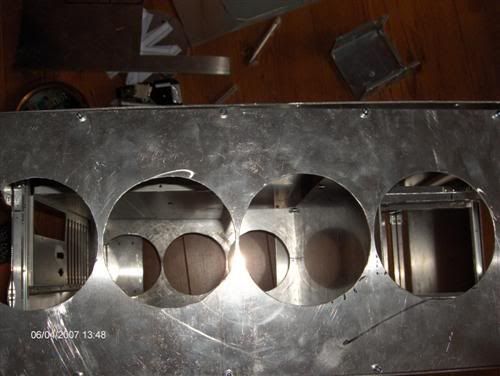
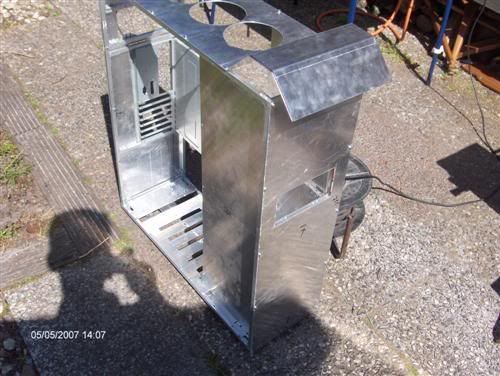
    Other sidepanel and the top.


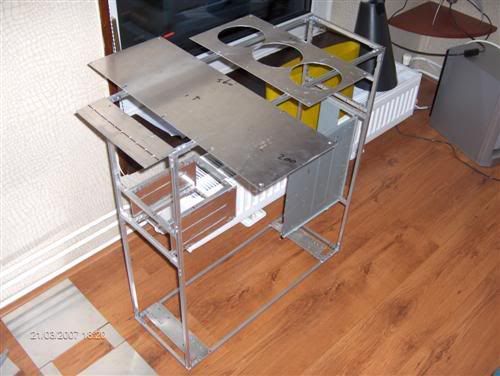
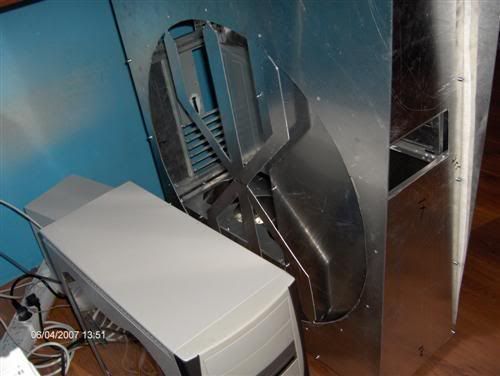
    How it stands at this moment.


    Next time more platework! It's vert time consuming work to get everything right but I'm sure you'll can imagine that.

    See you next time :clap:
    In all of it's glory!

  7. #17
    Anodized
    Join Date
    Nov 2007
    Location
    The Netherlands
    Posts
    88

    Default Re: Demission

    UPDATE 20

    For the first time you can get an impression of how it's going to look. I haven't screwed al the panels in place so don't worry if anything is out of allignment.

    Front and left.


    Front and right.


    Back and right.


    Back and left.


    The whole thing.


    Top.


    Top.


    A look on the inside. Al that space will be used


    In here there isn't much space left too. Keep in mind that there will sit 2 drives, 2 resevoirs, the pump, an TFT , an LCD and a lot of wiring.


    Comparison with a standerd midi-tower.


    Also watch the left side of the case. A mirror with scratches.


    Next to my case at the moment. The King's Castle. If you are interessted I could post it to.


    That's it for now. The rough shape is there. It takes really loads of time to finetune them. It is a milestone however. Finally it's looking a bit more at casemodding then casebuilding

    See you next time :clap:
    In all of it's glory!

  8. #18
    Anodized
    Join Date
    Nov 2007
    Location
    The Netherlands
    Posts
    88

    Default Re: Demission

    UPDATE 21

    It toke a while but I was to lazy to transelate the thing so sorry for that. I'm still working on it although the progress is slowly. It has to be perfect and that takes a lot of time.

    First I made the logo on the front. It's not done yet.


    I made the innerframe attached to the outerframe. Before


    After


    Next up is the underside. It was very bad. Watch the black stripes. It should be like that


    And after I treatend it :thumb:


    New materials for the innerframe. Again some rivets. I already used 500 of them!


    Next step was finetuning the logo.


    With very small files for those little spots


    Thé tool of choice to create straight edges.


    The residu from one plate after sanding. This was needed to let the plate fit the frame well. I made all the plates 2mm too big so I could correct small things later. That's what I did on that moment.


    After a few plates


    And some more. I cleaned it with the compressor.


    That's it again. I'll try to update more now. On the other forums I'm with update 32 so you still have to see something! Please let me know what you think of it:clap: See you next time!
    In all of it's glory!

  9. #19
    Anodized
    Join Date
    Nov 2007
    Location
    The Netherlands
    Posts
    88

    Default Re: Demission

    And that's it for now. I'm further but it takes time to transalate the logs. What do you think of it?
    In all of it's glory!

  10. #20
    Anodized
    Join Date
    Nov 2007
    Location
    The Netherlands
    Posts
    88

    Default Re: Demission

    All right, just a little one

    UPDATE 22

    Finally an update. It took me a while but I'll promise I'll go on the next couple of days.

    I didn't get why the frame dind't fit very well. So I went looking:


    I used a scrap-part for support. Never good.

    Next were the 5.25'' bays. I needed a plate here.


    Not bad


    Suddenly it looks better.


    At the back will be a few switches and power for the pump.


    Made a plate for it.


    Bussy with rebuilding the innerframe. There were a lot of old holes in it so I made a new one.


    Next up was the front.


    Not bad.


    Back part rebuilded


    More platework.


    Without tape


    Not bad again.


    Next up were some holes for fan-mounting. But I dind't had a good mal (mole?) so I adjusted an old fan for the new purpose


    28 holes further


    The back needed a hole for the PSU


    At once


    Overview


    That's it for now. More soon!
    In all of it's glory!

Posting Permissions

  • You may not post new threads
  • You may not post replies
  • You may not post attachments
  • You may not edit your posts
  •