Video is up:


Video is up:
Honey Roasted Peanuts Ingredients: Salt; Artificial honey roasting agents; Pressed peanut sweepings.


nice video!
Arctic Cat * Maximum Security * Cribbage Board * Rockin Case * Armor Redux
Tempest SXR * Power House * Red Comet * ICHIWZ * Acrylic Headphone Hook
Continuing sponsorship support from PCBoard.ca

very cool video!
Centurion 5 Mod <<--- ON HOLD FOR THE WINTEROriginally Posted by Omega

i like it/back to never posting


Very pro Bod.
And wowzers, haven't seen you around for a while DonT-FeaR.
my 1st scratch case made july 2008 (finding my feet)
Air Cube prototype (fin jan 2009) (still finding my feet)
Air Cube v2 now with added cpc stack (fin aug 2010) (getting better)
Project Stealthlow (fin sep 2011) (much improvement)
Lean and Green - modular dual PC scratch build - Paused
Midlag Crisis
Got my vote
my 1st scratch case made july 2008 (finding my feet)
Air Cube prototype (fin jan 2009) (still finding my feet)
Air Cube v2 now with added cpc stack (fin aug 2010) (getting better)
Project Stealthlow (fin sep 2011) (much improvement)
Lean and Green - modular dual PC scratch build - Paused
Midlag Crisis
Thanks Don't Fear & Waynio! Every vote helps, and I'm way behind so it's much appreciated!
Ok I'm back with an update!
I've been playing around with different designs for the base, and finally settled on what I think will look the best and be functional at the same time. The next step was to figure out what materials to use to make it. The following is my first attempt, making it out of aluminum sheet. It didn't work out too well, so I'm calling this a prototype.
In the mean time, here is my prototype construction:
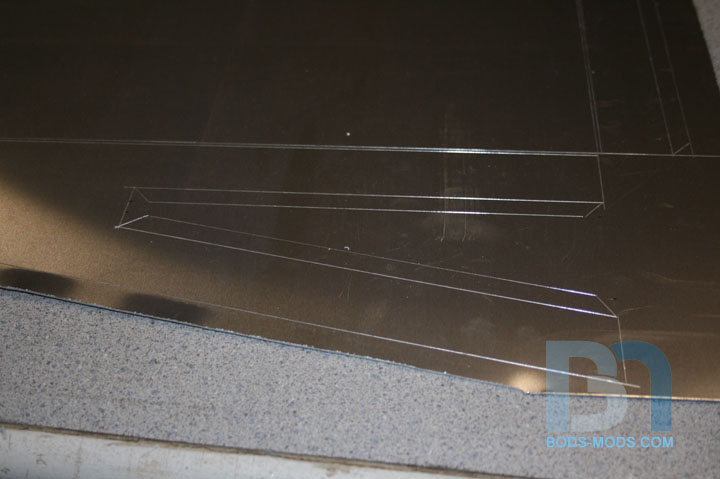
I first printed the design out and taped it together, and down to the aluminum sheet.
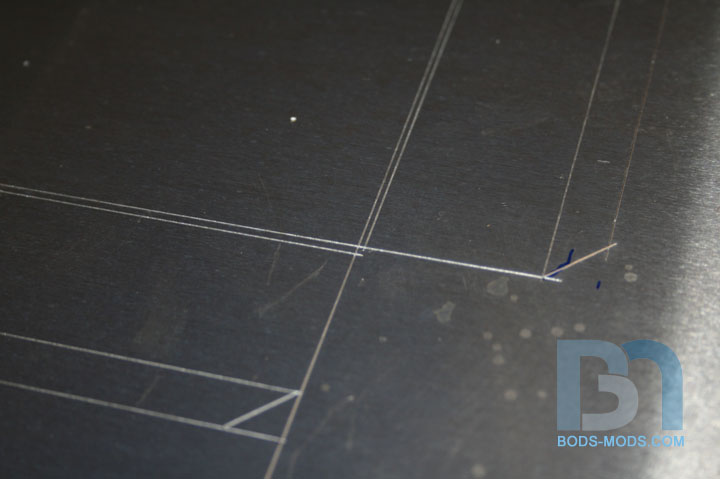
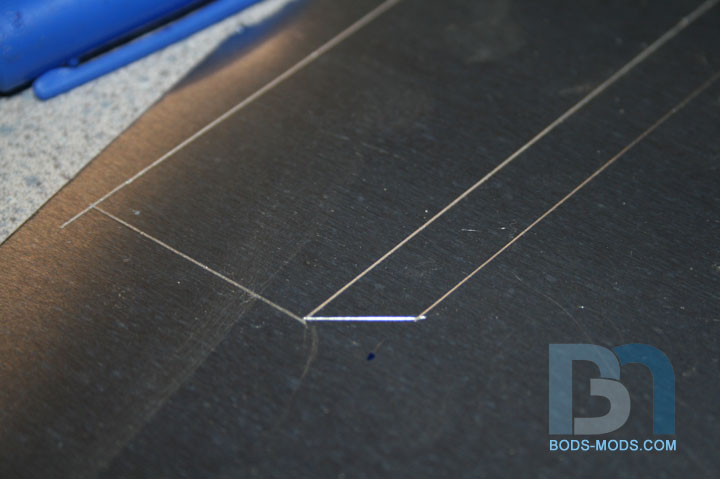
I scored all the lines through the template, into the sheet.
I had provisions for 1/2" edges on the top and bottom of where the fins will go. (more on fins in a moment)
I also allowed 1/16" for the folds.
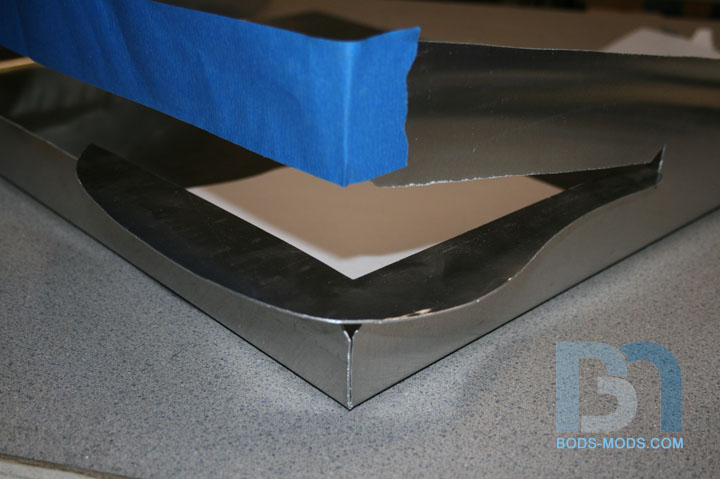
A close up shot of the score lines.
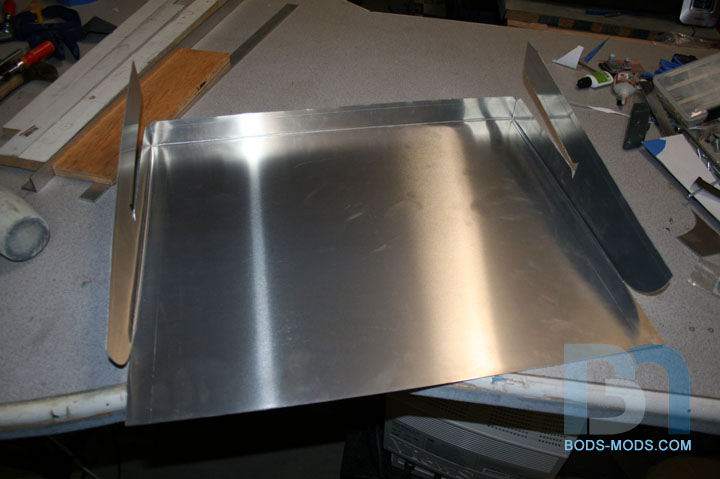
The whole thing cut out, ready to be folded.
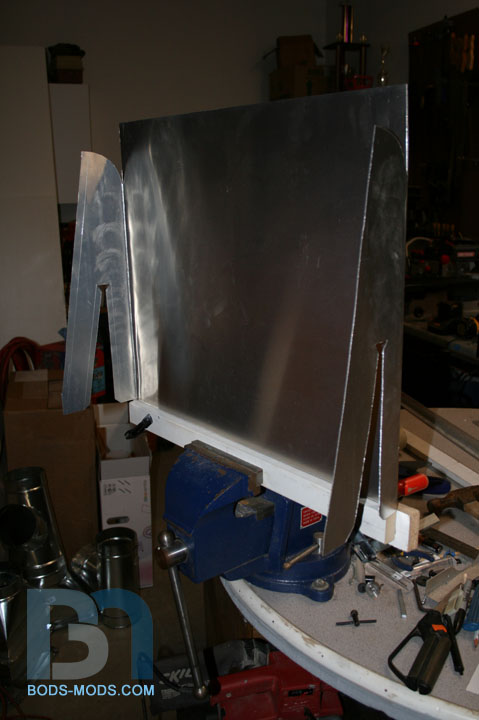
Got the sides folded, and here I'm bending the front. I cut a piece of mdf to fit inside and run the length of the bend.
And we have a 3-sided box! The back was to be bent upwards to match the curve of the side pieces. This is where I stopped and after close examination of my (not-so) handy work, I decided it wasn't good enough and abandoned it.
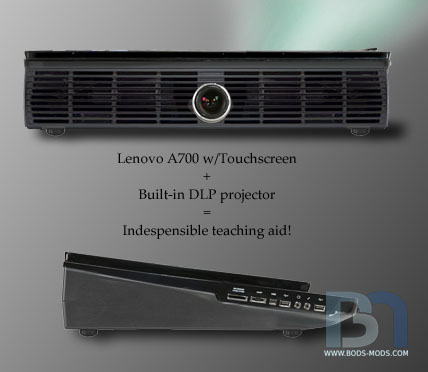
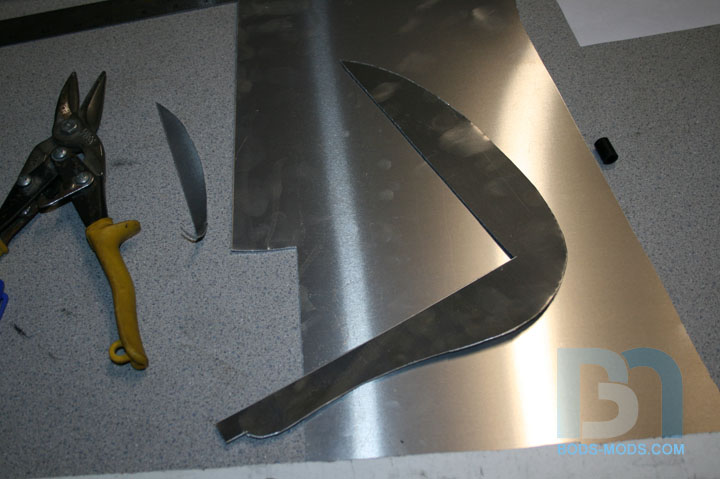
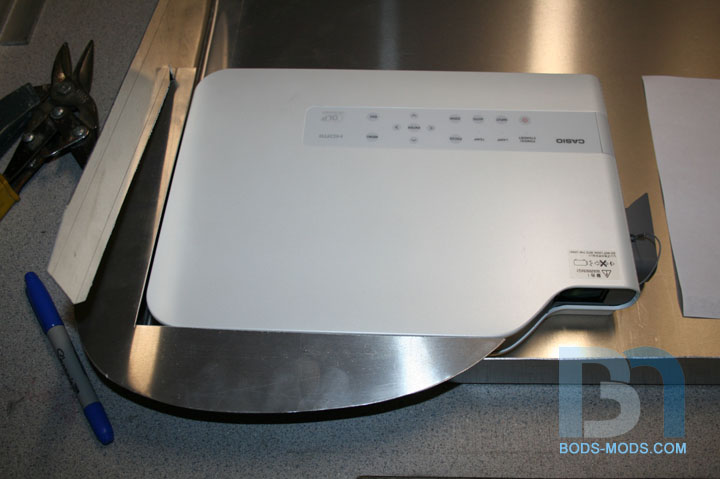
This is one of 30 or so fins that will be stacked on either side of the projector (15 on each side). The projector gets extremely hot, and needs adequate ventilation. These fins will help facilitate getting fresh air into and out of the base and projector.
[/quote]
The prototype, however, has been quite useful for testing placement, so it hasn't been a total loss. Here I'm placing the fin to see how it will look.
[/quote]
And with the projector in place. I designed the fin's shape to follow the projector's curves around the lens area.
[/quote]
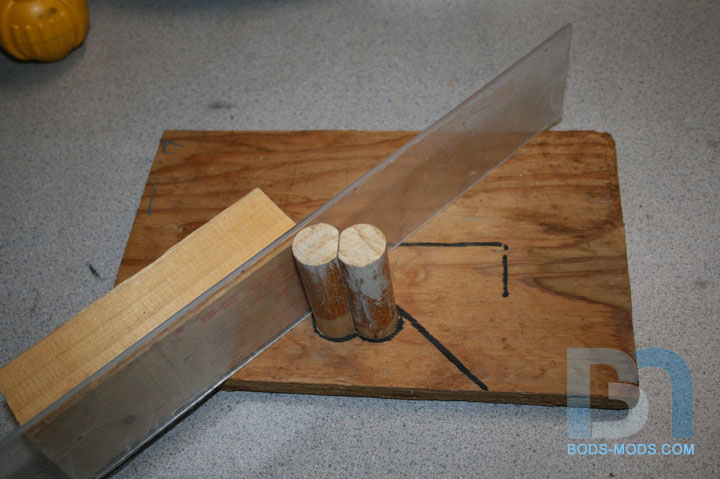
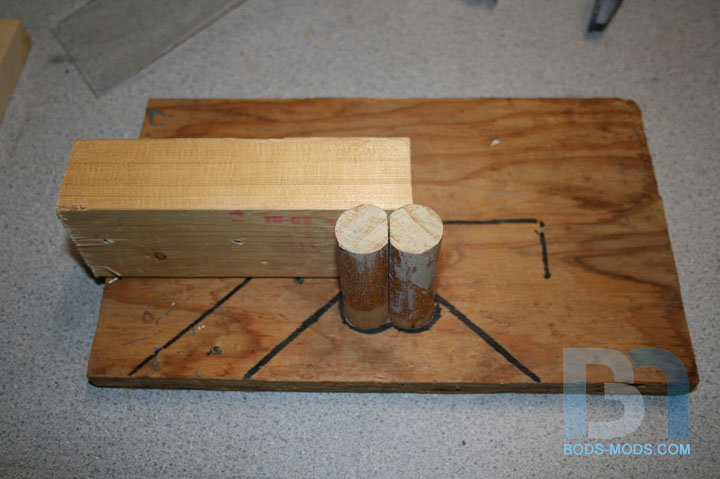
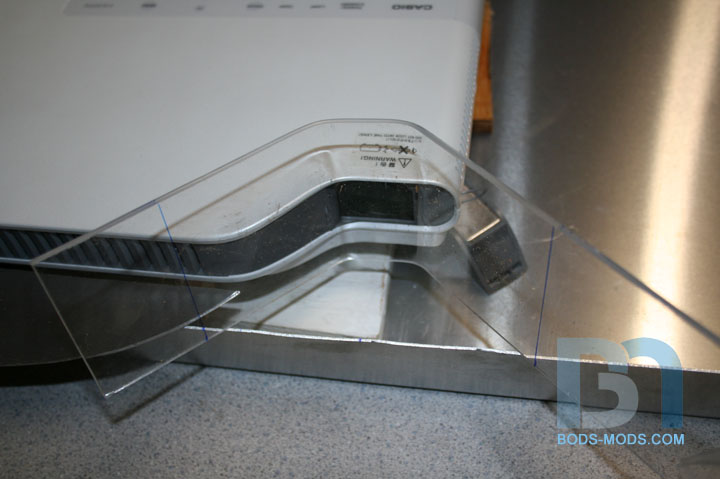
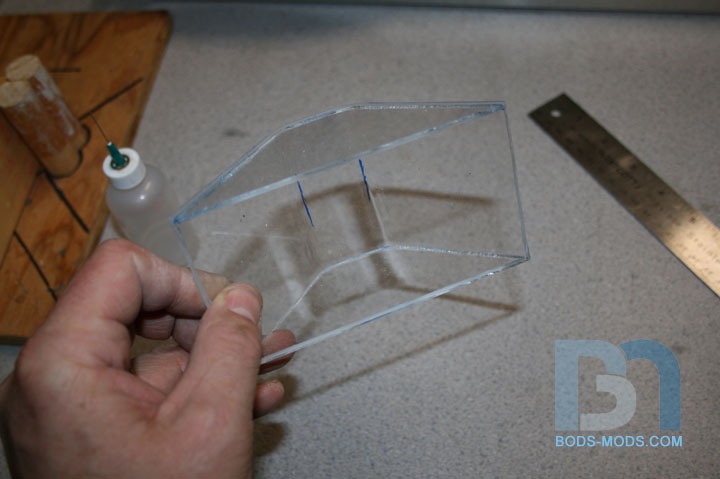
Speaking of lens, I need some kind of center piece to bridge the gap between both stacks of fins. I wanted to match the curvature of the projector, so I quickly whipped up a jig to bend a piece of acrylic.
The acrylic fits in it like so..
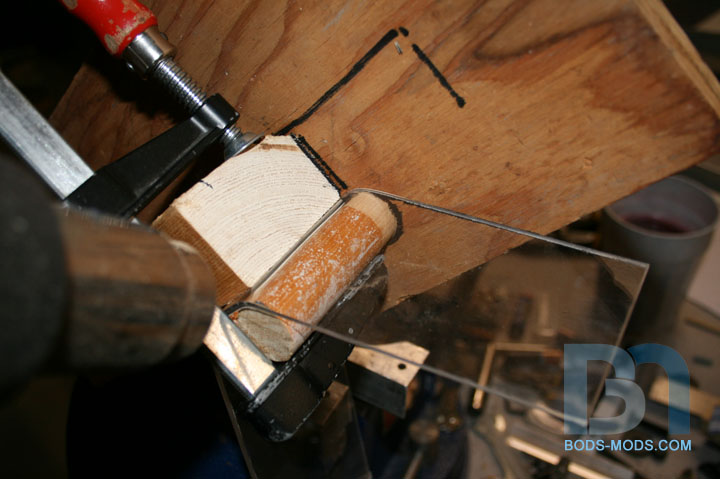
After clamping it down, I stuck the whole thing into the vice and used my heat gun on the acrylic piece while gently pulling it down.
For the second bend, I moved my backing block on the jig.
Clamped it down, stuck it back into the vice and bent away.
Checking my bends, and marking the ends for trimming.
Once trimmed, I knocked out a couple end caps and glued them in.
Looks about right!
Still need to cut an opening in the center where the projector lens is, but I'll wait until I know exactly where they will mate up.
While I'm waiting for the pieces of the base, I will be adding a bit more functionality to this computer. That will be in my next update, so stay tuned!
VOTE FOR THIS MOD!
Honey Roasted Peanuts Ingredients: Salt; Artificial honey roasting agents; Pressed peanut sweepings.

Looking good, I like the fins.
TBCS 5TB Club :: coilgun :: bench PSU :: mightyMite :: Zeus :: E15 Magna EVThat we enjoy great advantages from the inventions of others, we should be glad of an opportunity to serve others by any invention of ours, and this we should do freely and generously.
--Benjamin Franklin
u amaze me .. lols what you do is so awesome.. yet, in a way simple.. with a tricky bit
did i loose anyone?
lol thanks man. And yes, you lost me
OK, update:
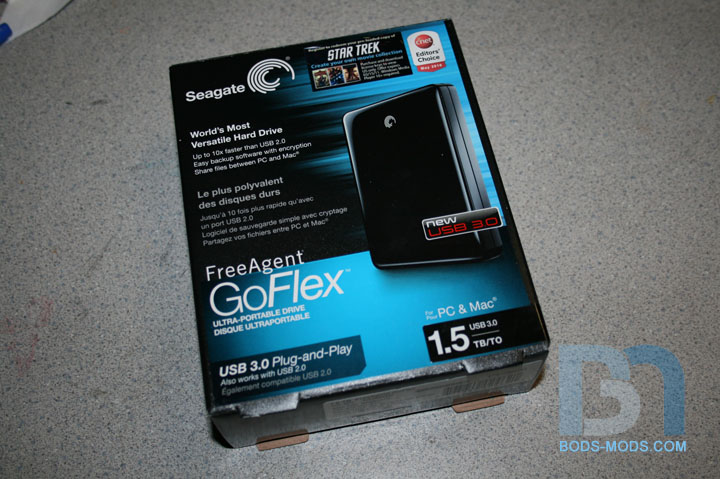
I wanted to add some extra functionality to the case (you can never have too much functionality), so I decided that a built-in removable drive bay would suit this mod nicely. If this was employed in a multi-user setting, each person could have their own drive to keep their files, rather than on the system itself.
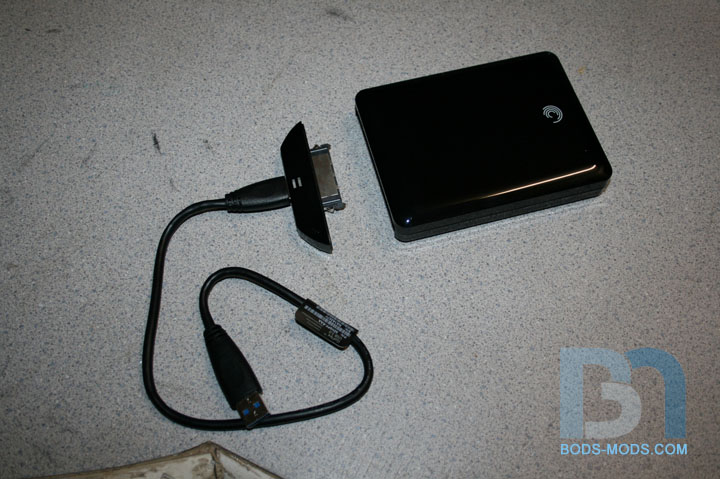
I really like these Seagate Free Agent "Go-Flex" drives. This one is a 1.5Tb drive, and is USB 3.0 (unfortunately, the A700 doesn't have USB 3.0 yet, but I can still use the backward compatible cable in a 2.0 port).
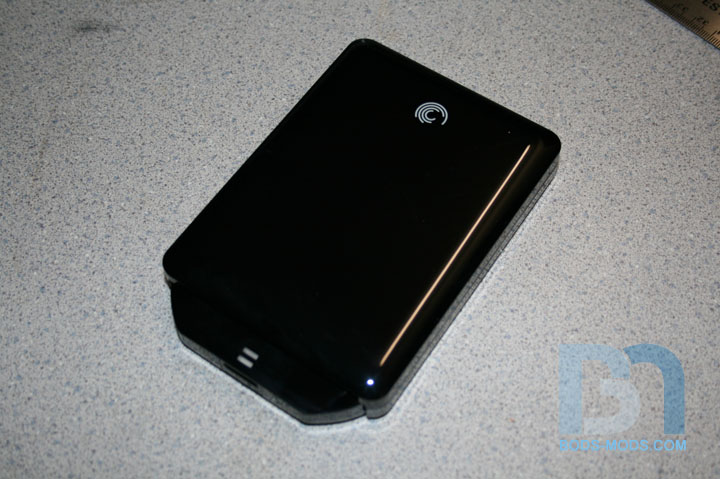
Out of the box, it is sleek and sexy!
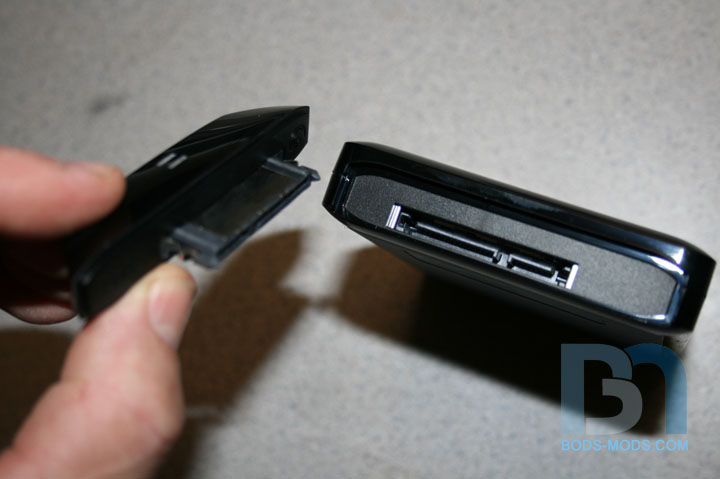
Comes with the usb 3.0 cable and a detachable rear connector.
The detachable part is standard sata data and power. This will be built into the pocket the drive will slide into.
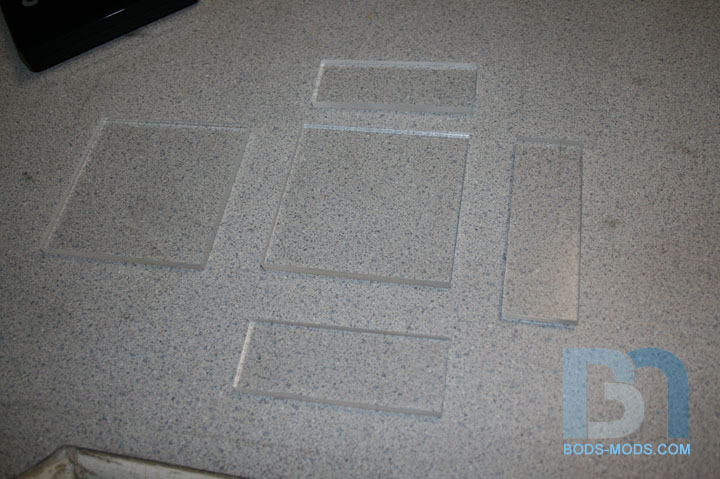
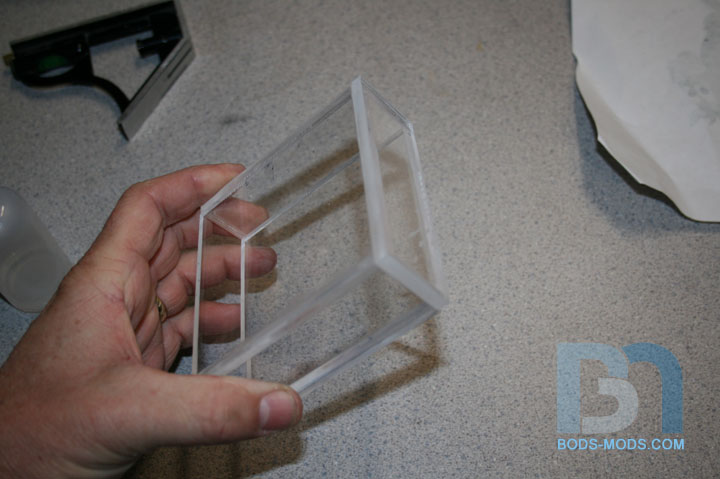
Building the pocket: Measured and cut all the pieces.
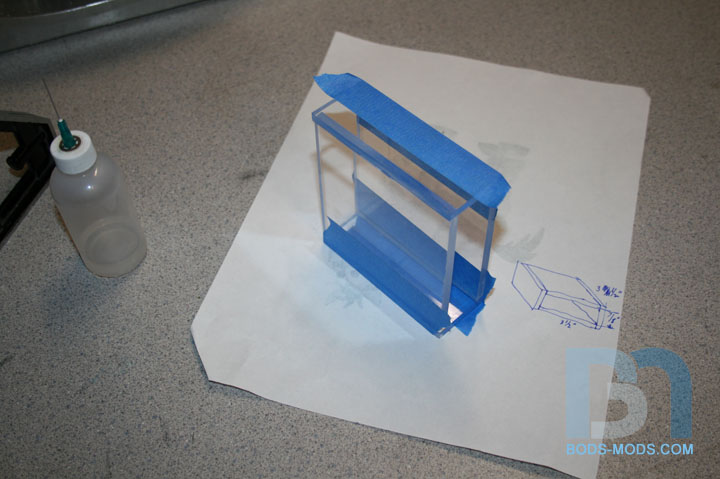
Gluing the pieces together to make a box.
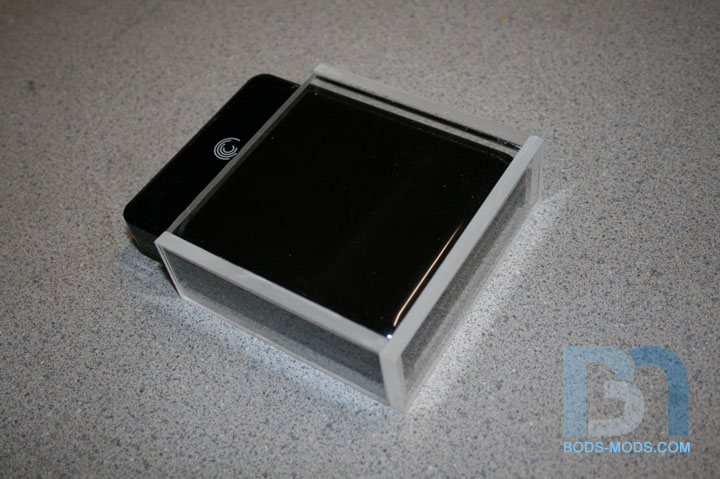
End piece on.
Drive fits snug inside.
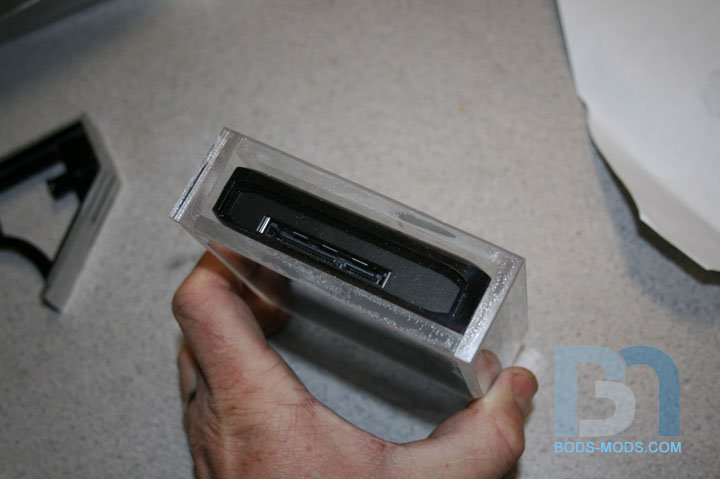
Looking at the back end, I'll mark the area to be cut away.
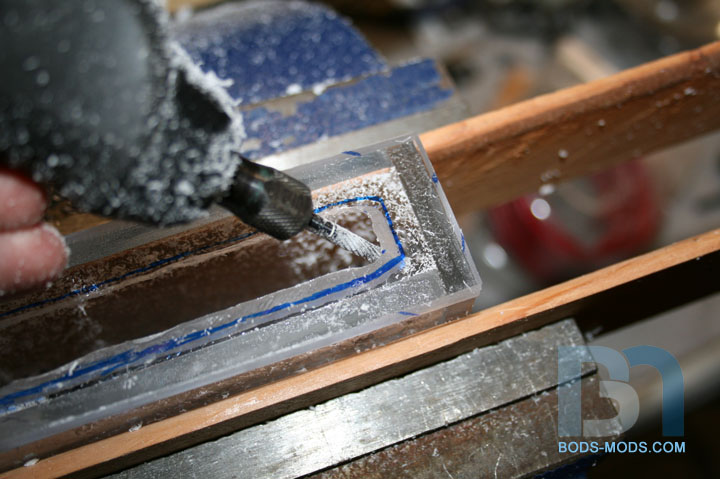
Removing material to make way for the connector.
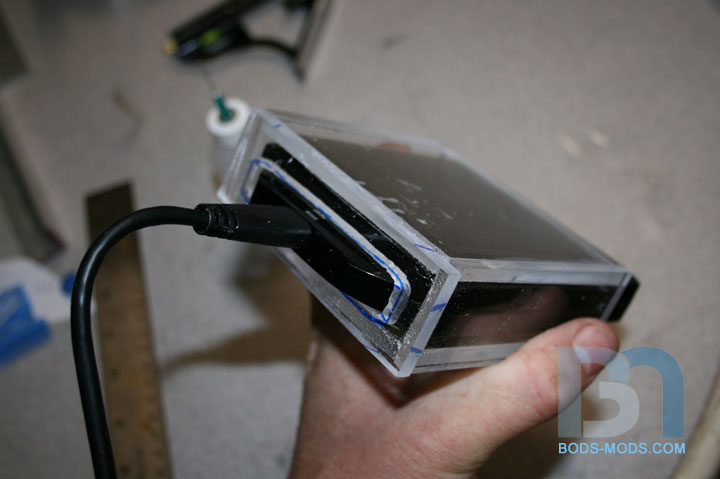
Fits ok. Now to glue the connector in permanently to the pocket.
It's not glued yet, but this is how it will look once finished.
And once I get the main base put together, I'll cut an opening in the side where this pocket will go, and glue it in place.
If you like this project, head over to my contest page and VOTE! Only takes two clicks!
Honey Roasted Peanuts Ingredients: Salt; Artificial honey roasting agents; Pressed peanut sweepings.
 Posting Permissions

 Reply With Quote