


Heilà!
this is my first post on this forum.
Mi name is joh and I'm Italian (this is why my english is very bad)
I am writing to introduce my new work!
Maybe someone have already seen on other modding forums because I have seen many familiar avatars
Let's begin.
First, to understand the mod i want to explain why i made this new pc:
The computer used by me every day is:
Motherboard: Maximus II Formula
Processor: Q6600
RAM: 4Gb Dominator GT
Video Card: 8800 GTS 512
Supply: CM Real Power 620W
Hard Drive: 2x160Gb
Cooling: EK Ybris
Case: HAF 932
As you can see is a gaming machine, and so high consumption, noise and high temperatures.
But now I don't play much videogames, then I asked myself: "It's good keeping a typically PC 20 hours on 24 just to get me the facts of the other on facebook, listen to music or download from the network?"
So here come this project, a little and silent pc with very little consumes.
This PC will be as follows:
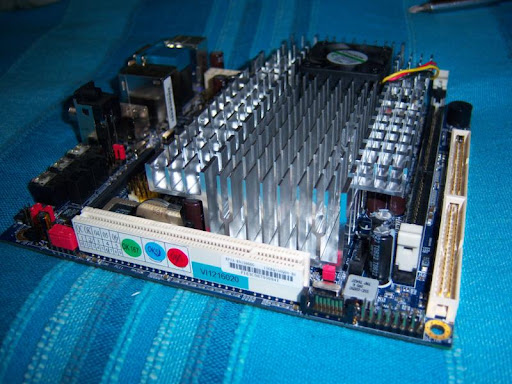
Motherboard: EPIA-en15000g
Processor: Integrated 1.5 GHz VIA C7 Nano
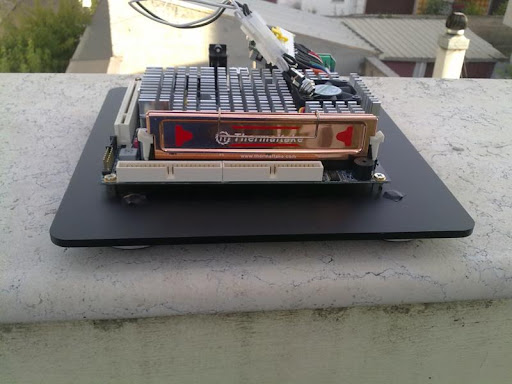
Ram: 1Gb 533MHz with Heatsink Thermaltake
Supply: Pico PSU 150W
Hard drive: not yet bought any case surely a 2.5 "
Case: Home Made
I called it
Elementality Pico pc
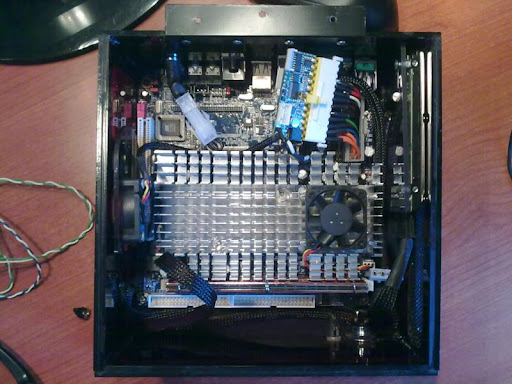
The motherboard EPIA-en15000g
It 's a 17x17cm great Mini ITX motherboard and is normally used for car computer (PC like this could also be used inside a car) this does mean that the PC will be very small (23x23cm maximum), the power could be a problem because the supply are usually quite large but wandering around on the net I came to the attention of Pico PSU, small power supply (like those on laptops) with 24-pin adapter for the motherboard.
So I bought a 150W, even if the pc but consumes much less.
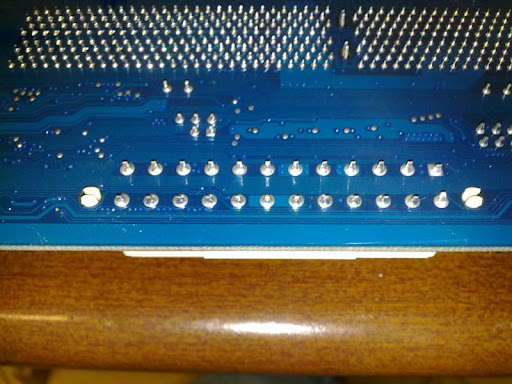
The first problem was the power supply, because the supply was is 24pin and the motherboard is 20 pin, 24 pin could not be mounted because it touches the PS2 port, so I had to build a mini extension 20> 20 pin.
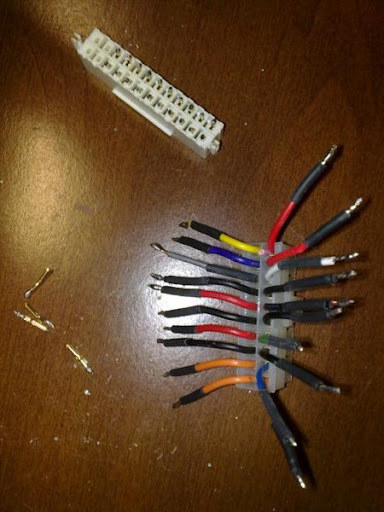
I then unsoldered a female connector from a motherboard burned..
I recovered a male connector from a power supply burned (i do not know if the my hardware characteristics of burning can define a luck or bad luck)
A bit of heat shrink for a cleaner touch and here the result:
Attacked the pico psu
Fast and functional
As I've already said the case will be home made.
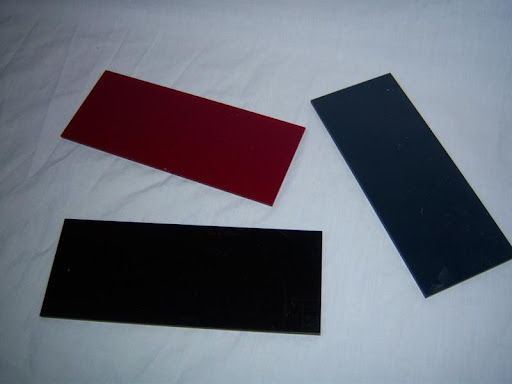
I thought of different solutions but the one that prevailed was built entirely in plexy.
I was inspired by:
BluBawx Mod by E.E.L. Ambiense
So I began to create projects with sketchup trying to minimize the possible spaces at the same time make it cool.
So I started working on some pieces of colored plexy.
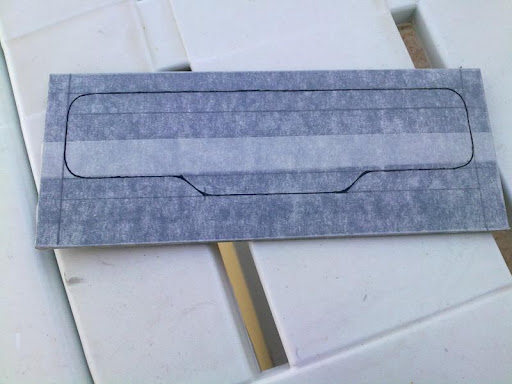
After attacking a strip of paper I drew on it the first window of this case
And I began to realize a rough cut of the shape ready to be refinished a couple of times to obtain the desired effect (all the mod is made with a Dremel)
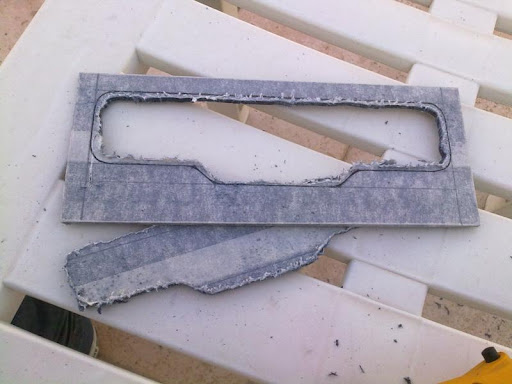
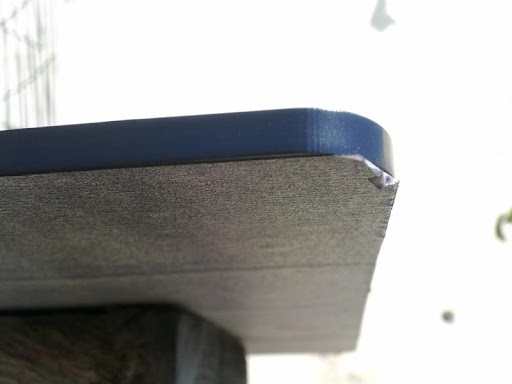
After the first refinishing the cut looked like this
Still a bit raw.
By finishing the second the result is different. From the picture you can't appreciate because of the flash
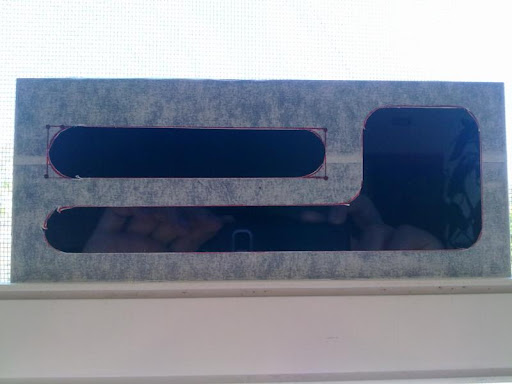
Then I reapplied the paper tape to outline another workpiece
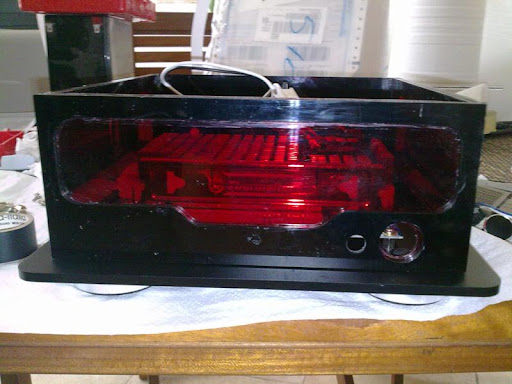
Once this cut, I have drawn another one a few mm smaller on a second piece of plexy, this time transparent red
And I also cut it
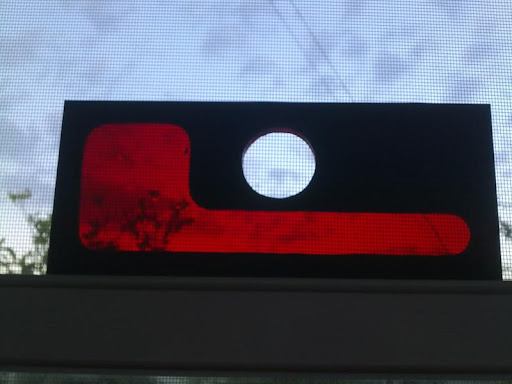
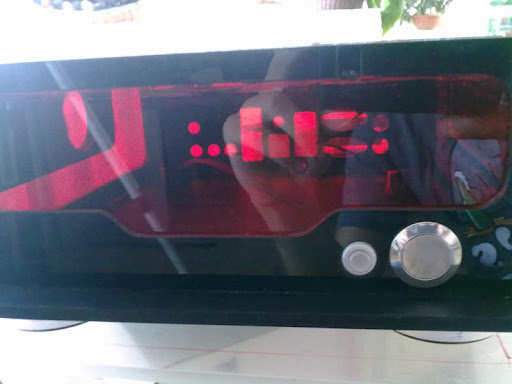
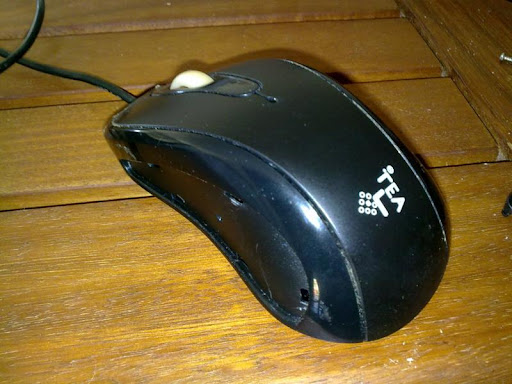
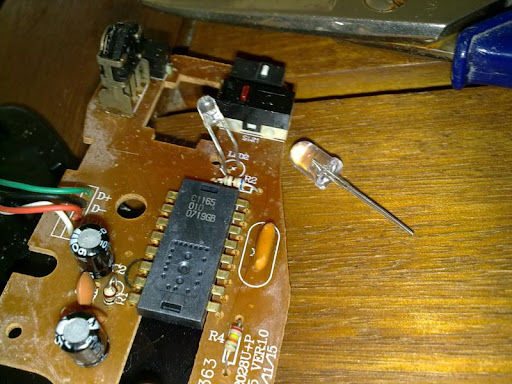
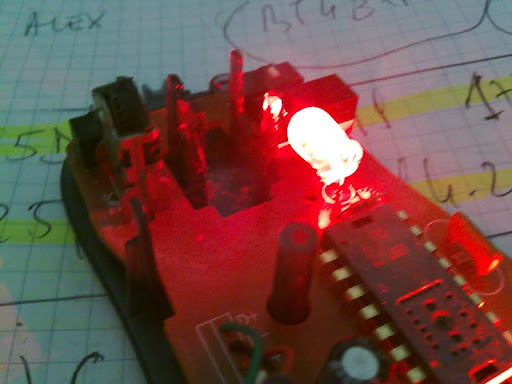
These cuts are used to enter the power button on the PC that has been recycled from an old cooler master but was not good.
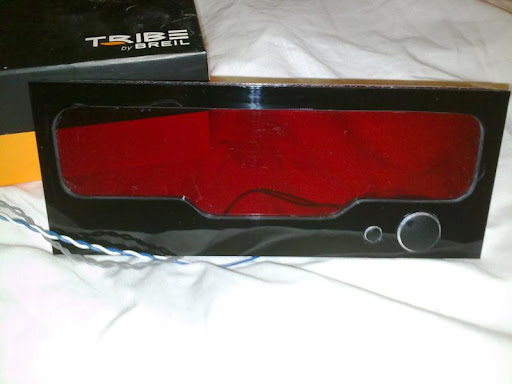
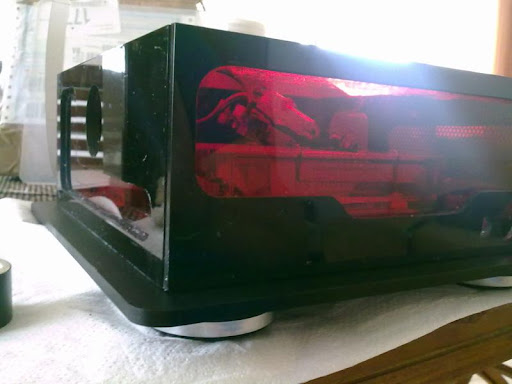
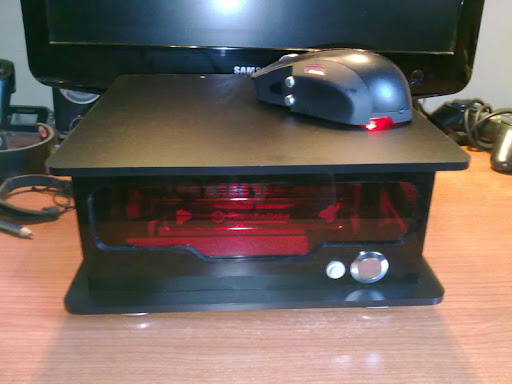
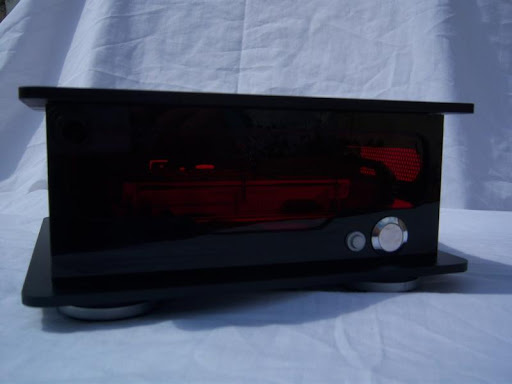
Here are the panel temporarily mounted almost to see the effect
Ps: it is a bit dirty but you know how much dust is attracts by plexy
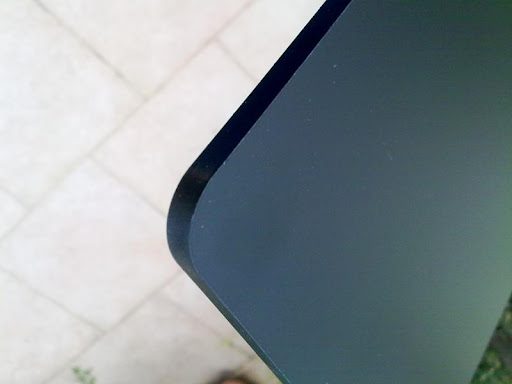
After a lot of tests I was able to recreate the back cover
Finished
He didn't come fine but is not easy to work with the dremel on plexy and very small spaces
Part of left side panel
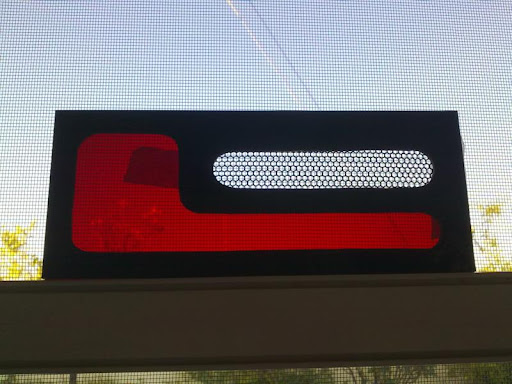
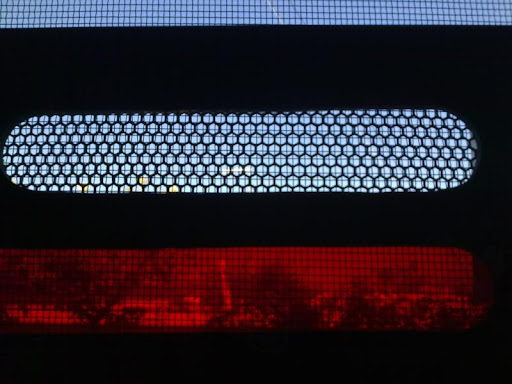
With the same method used previously I made a hole for a fan on the red plexy
Finished with red plexy
The right panel.
compared with the first to see if they were equal
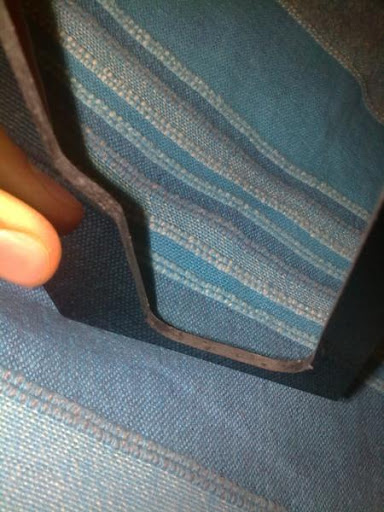
the difference?..
The difference between the first and the second is made for the airflow
particular:
after I've finished the panels i glued all:
(Note the "weight battery" to keep the panel straight .... very useful to make modding the battery)
I must say that despite doubts about the strength of silicon, contrary to expectations, keeps very well.
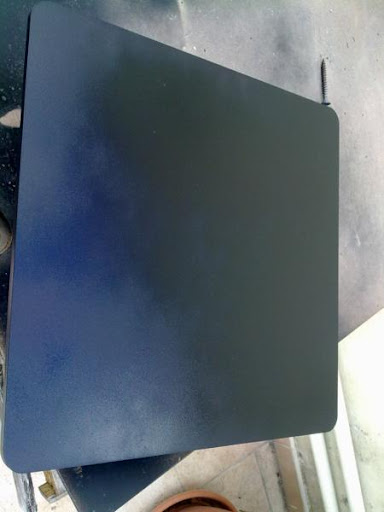
Meanwhile, I realized the support of the case. In this photo you see the first painting
Finished
Here it is in particular
So I decided to mount the legs to the case, and also make the holes for the motherboard.
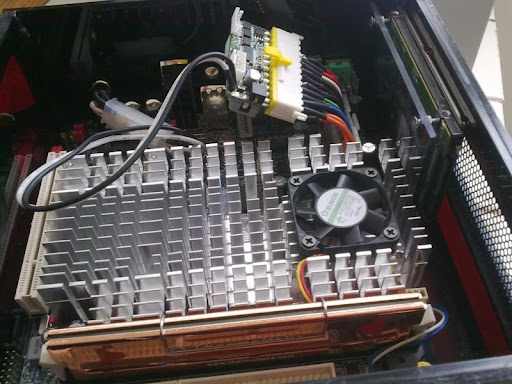
here is the result
PC installed with the base (it is very dirty, needs a wash)
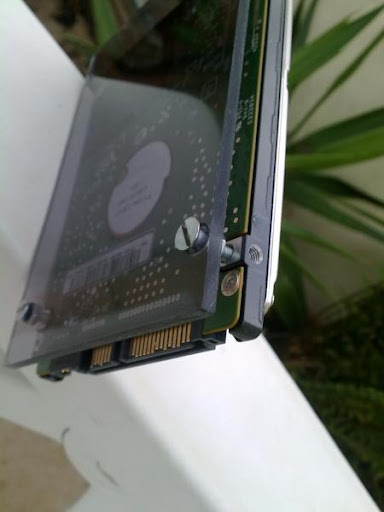
I made the hard disk support in plexy. I cut the plexy and I put 4 screws to secure it to 'Hard Disk.
I decided not to put the HD attached to the plexy to facilitate the recycling of air
In the case, the HD goes between the motherboard and the right panel pc,
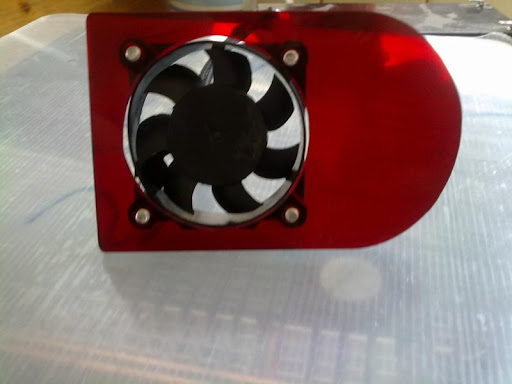
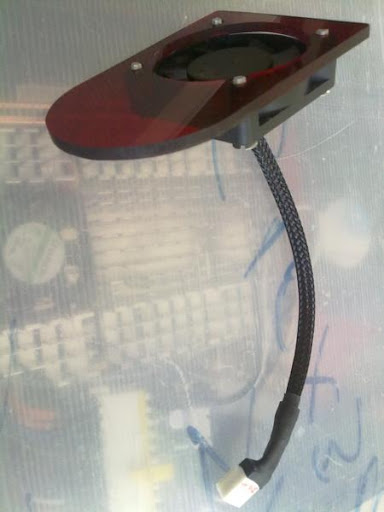
To cool the pc I had put fan so I created a support for the fan side:
PS: The fan is 40mm
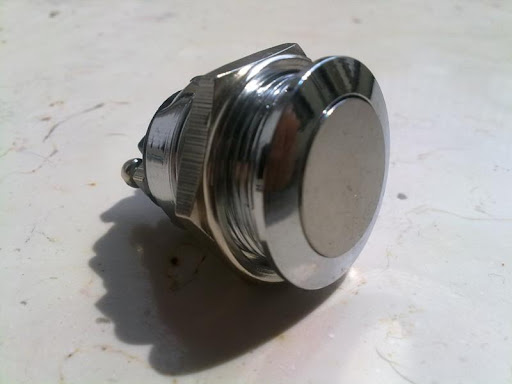
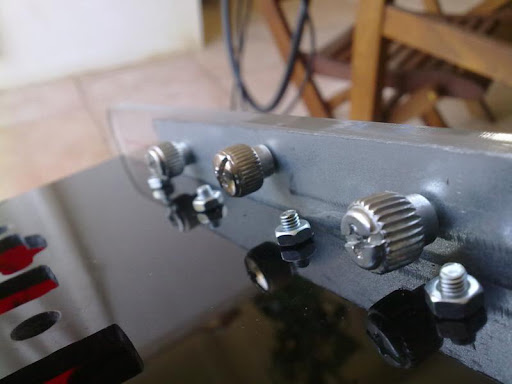
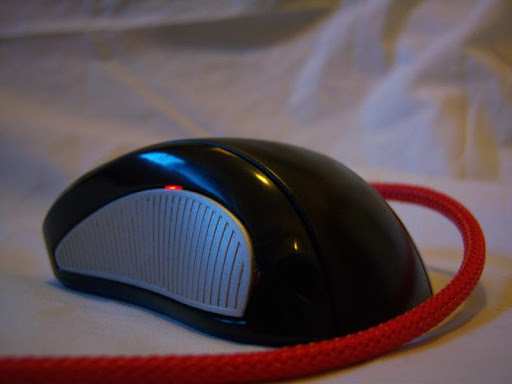
After a long search I found the buttons
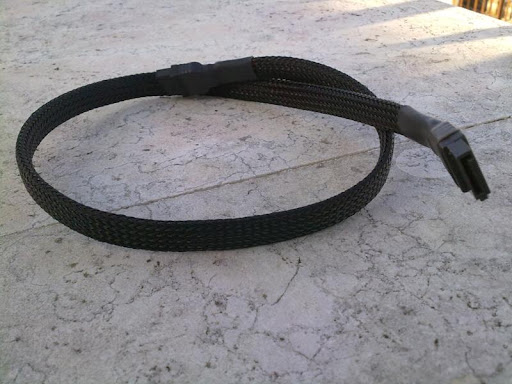
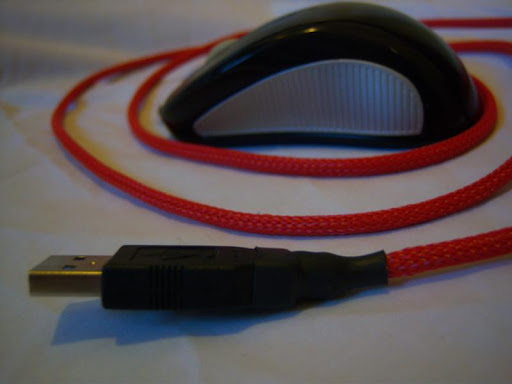
So I started sleeve some cables
in particular
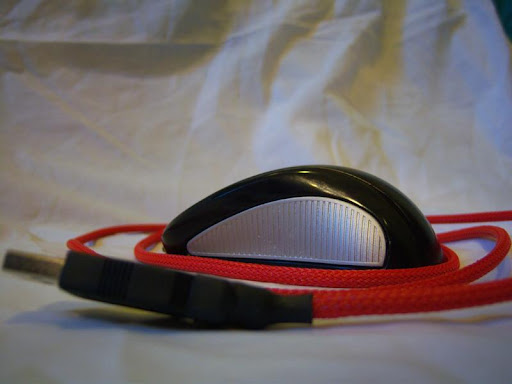
and the SATA cable
Mounted
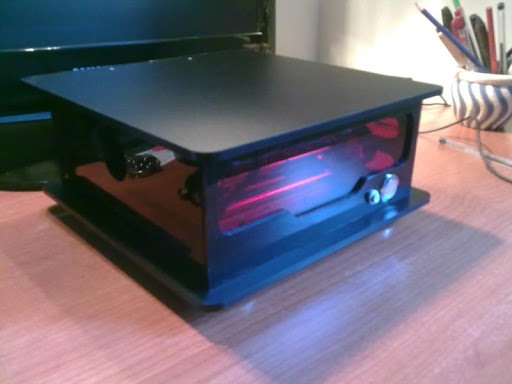
I made the bracket to close the case.
The bracket was mounted on the back of the case
and I painted the top panel


 Reply With Quote


 so far left of center i'm in right field


