Page 2 of 2 FirstFirst 12
Results 11 to 20 of 20

Thread: Project: Hellcat

  1. #11

    Default Re: Project: Hellcat

    Quote Originally Posted by Fear.Sin View Post
    So you had to paint the grill white before applying the red you have?
    Nope - any colour primer will do. Primer just gives a better surface for the paint 
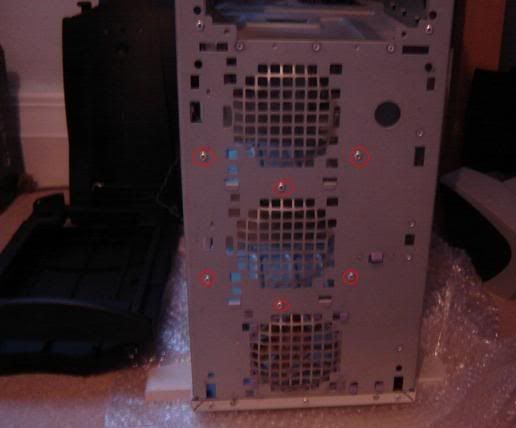
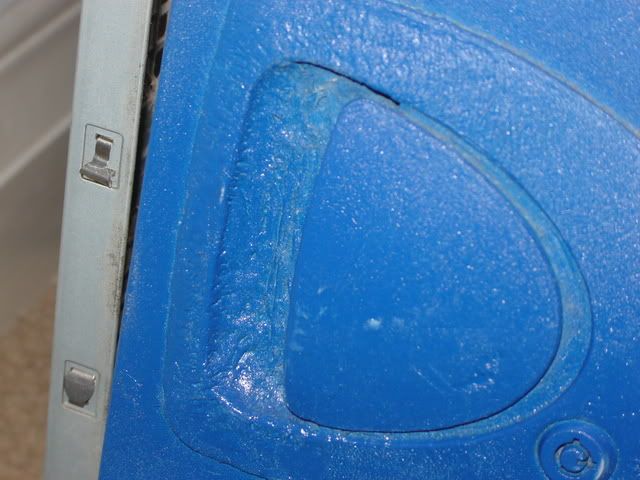
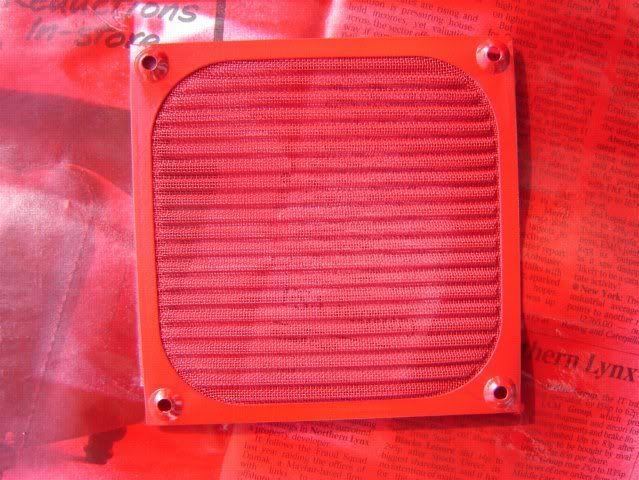
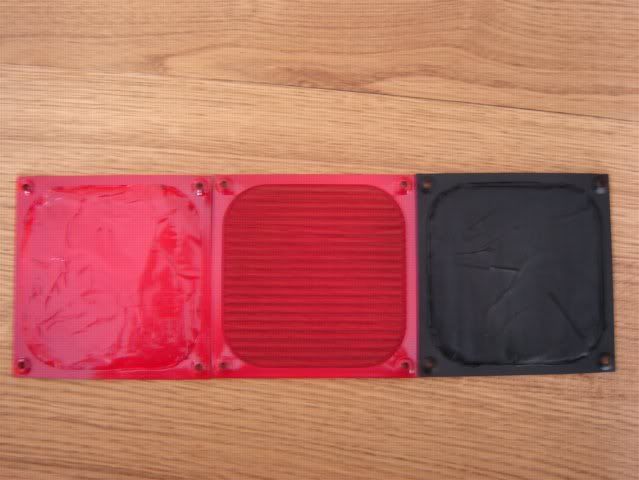
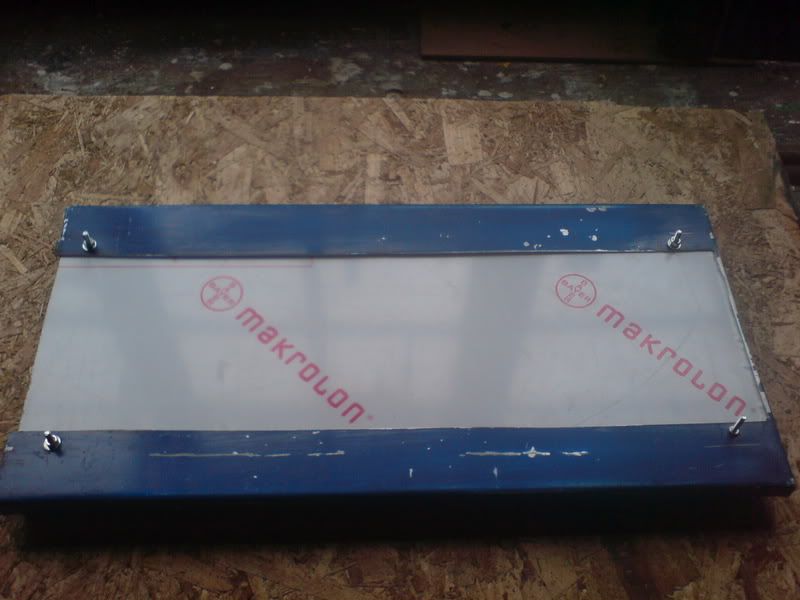
I've got some red primer too, not sure whether to use white primer or red primer for the case (one of the side panel has had a bit of red primer test sprayed on it, but I could always remove that)

    Quote Originally Posted by moOmL View Post
    The white paint was a primer coat. The primer will ensure that the red paint will look nice.

    Nice start prosser.
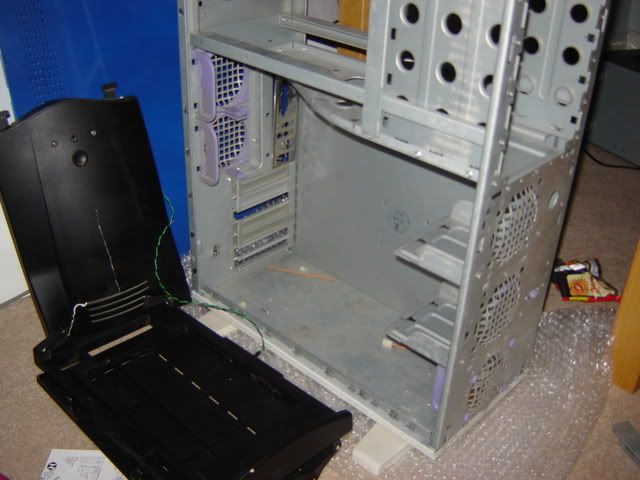
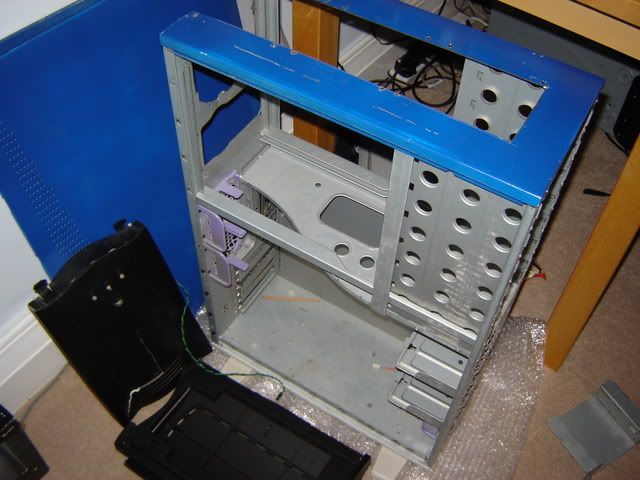
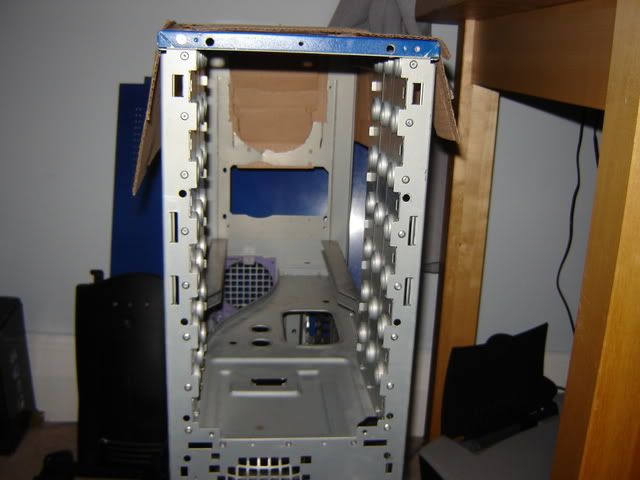
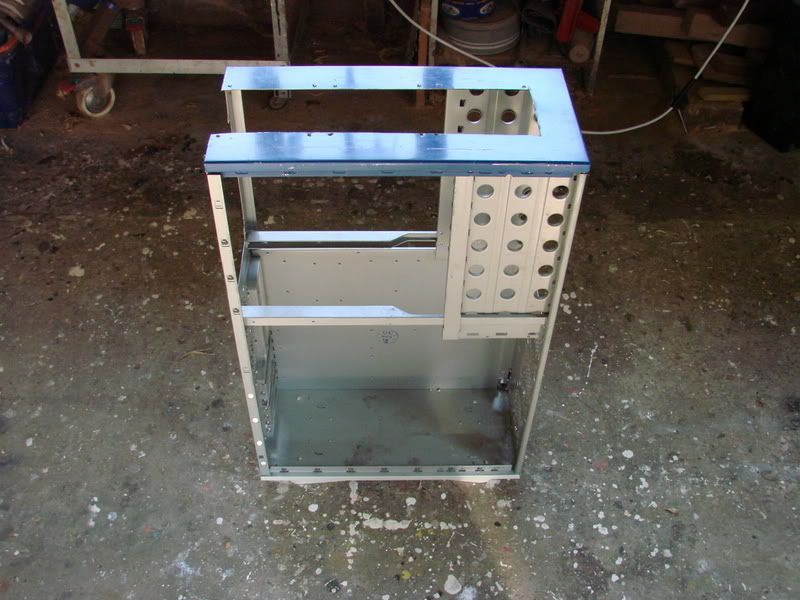
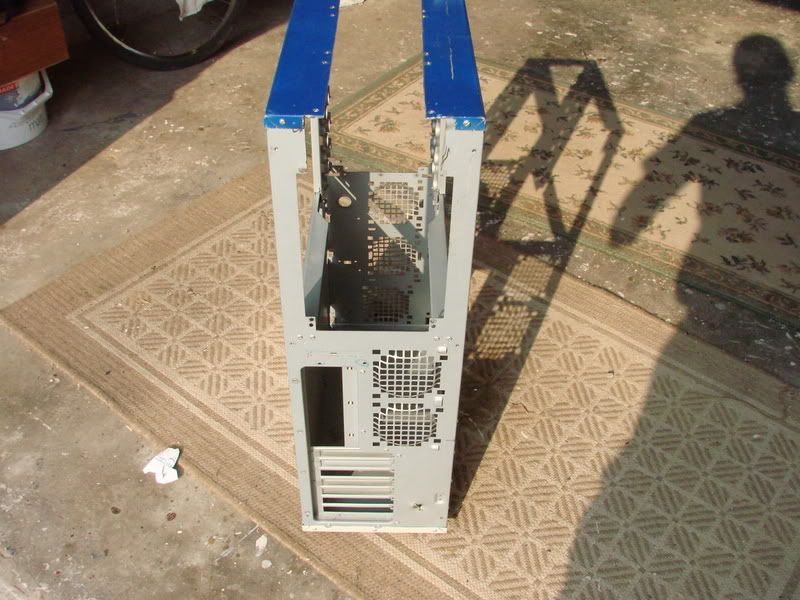
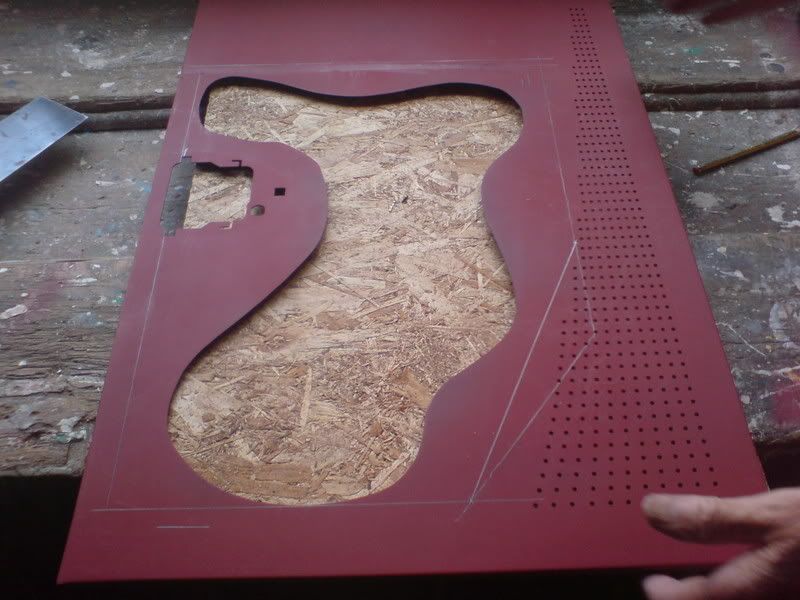
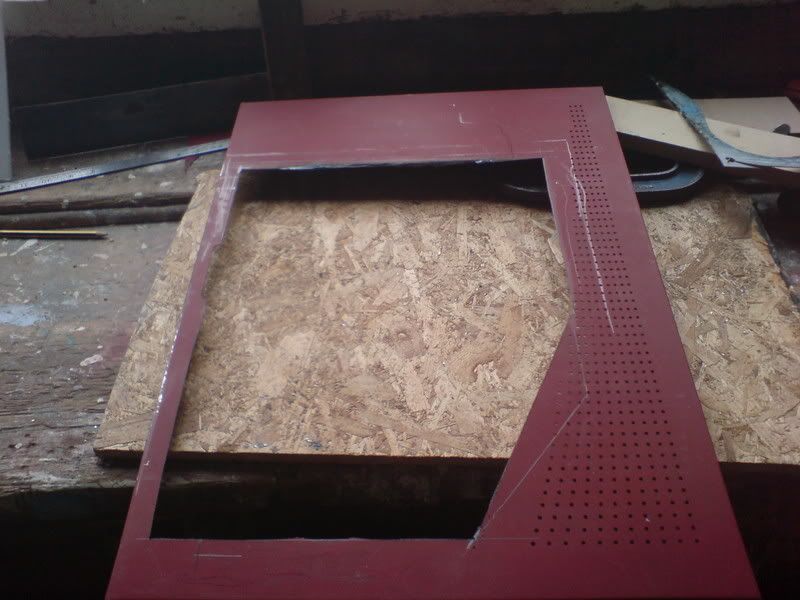
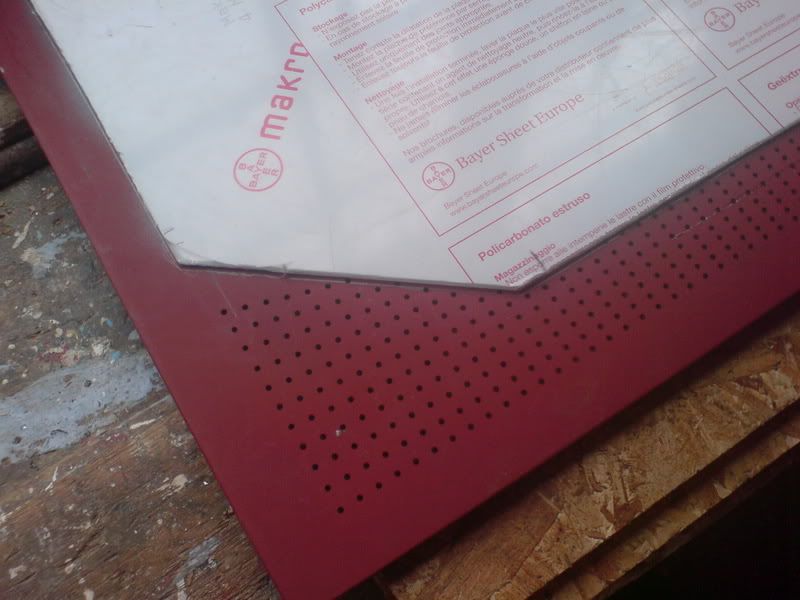
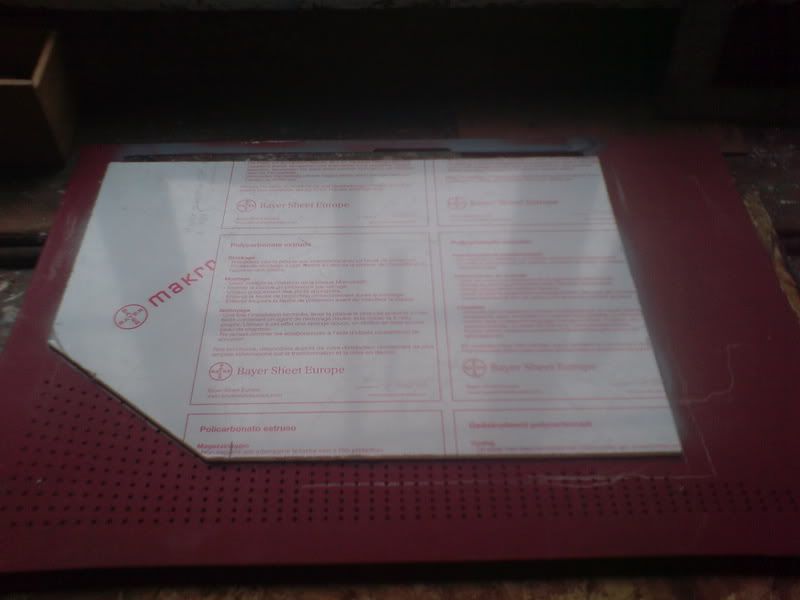
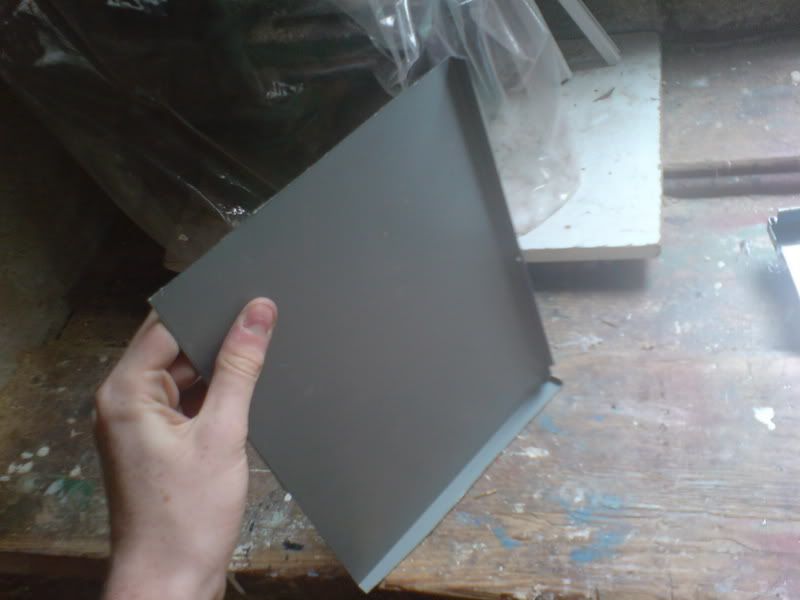
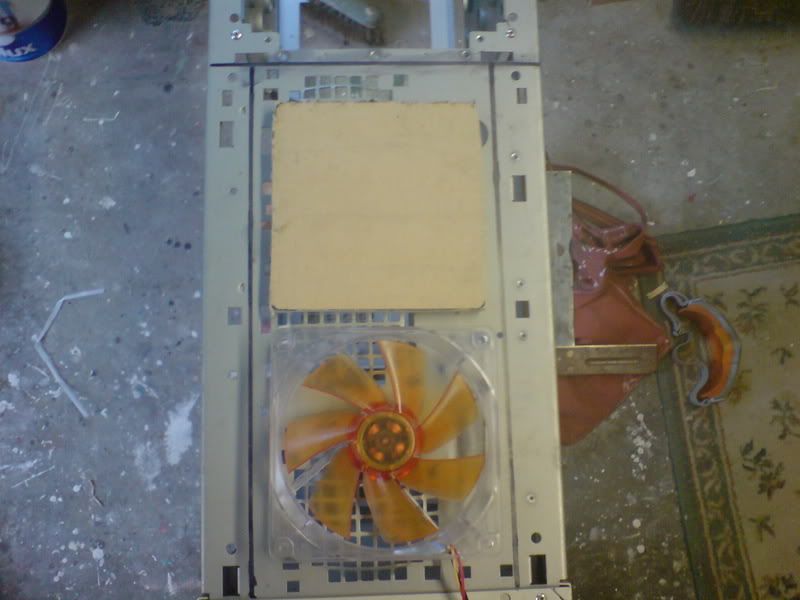
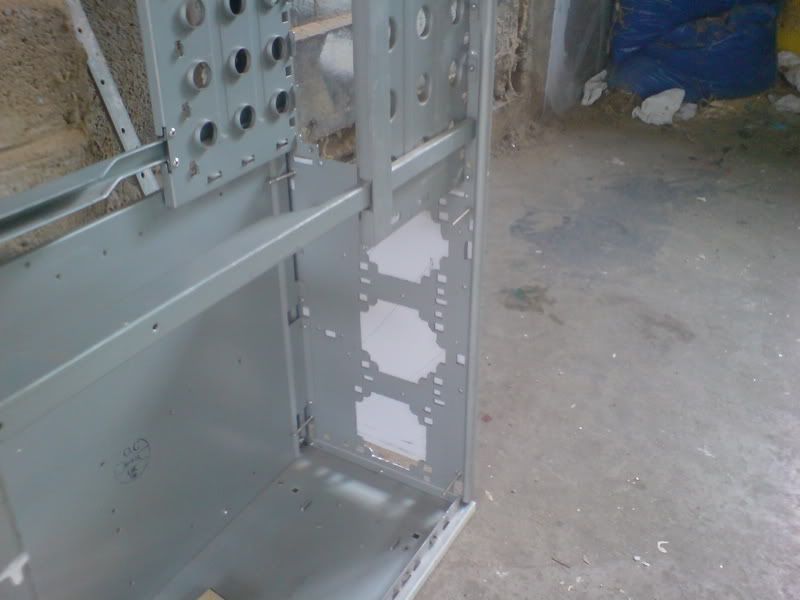
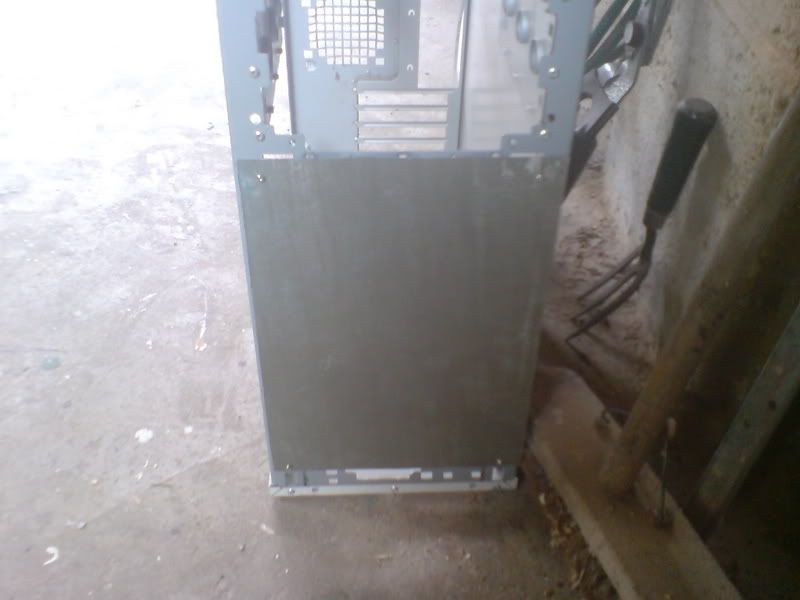
    Cheers, did some more work last night, pics coming soon

    Quote Originally Posted by XcOM View Post
    Yea, standard procedure, always sand and prime anything you intend to paint, Priming just allows the paint to stick better and get a smoother finish. Also use a light primer for light colours and dark primer for dark colours, (Although you can use light primer for dark colours, its recommended to follow the rule)
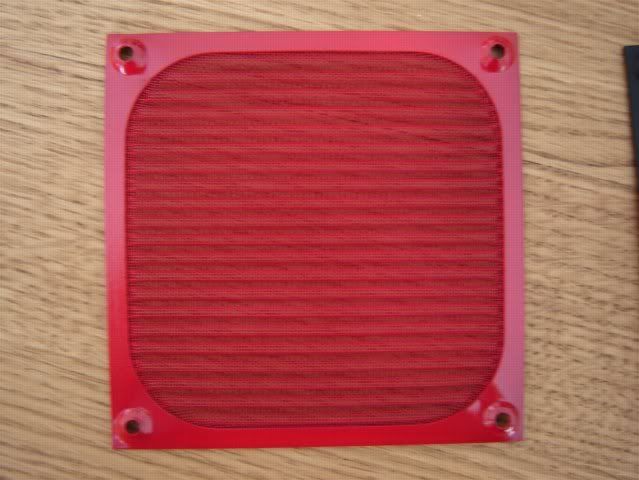
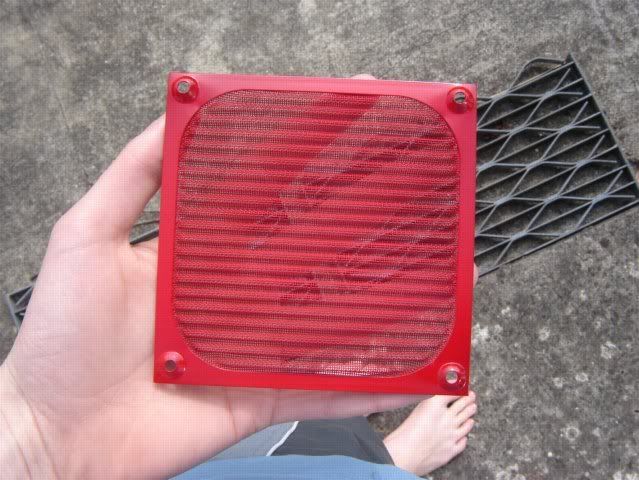
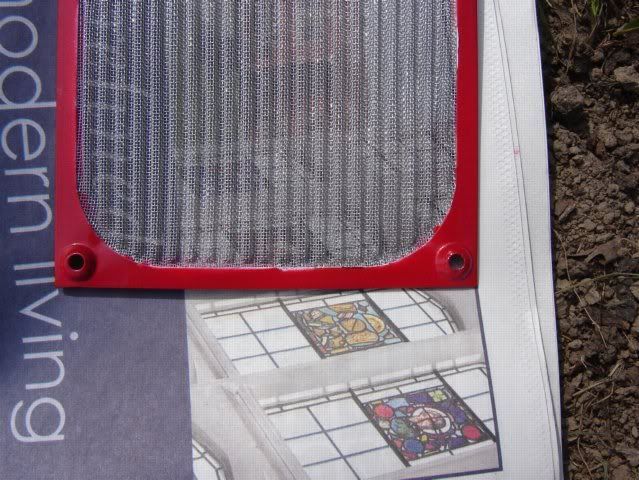
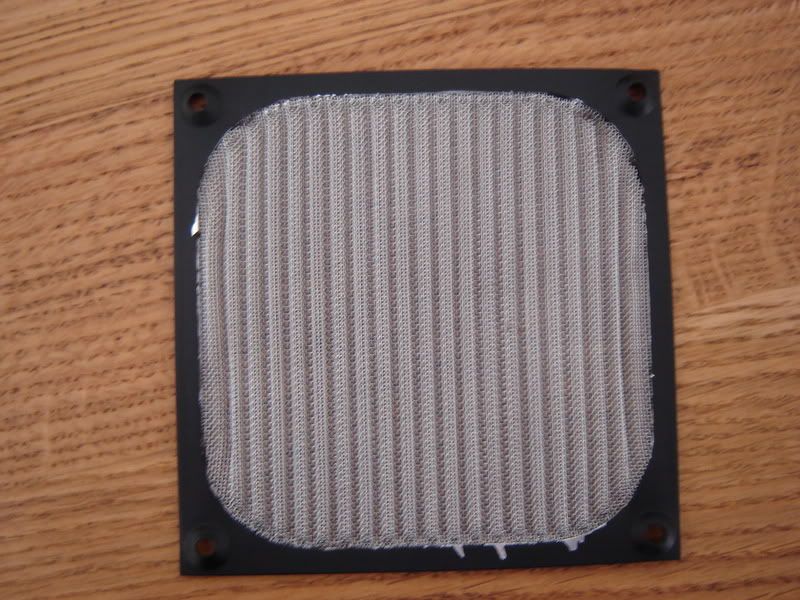
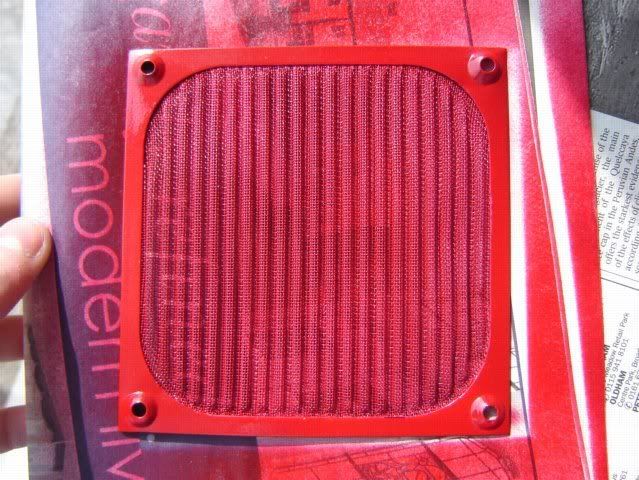
    I'm considering using white primer for the black and red primer for the red - cos I've already bought 500ml of white primer and I'm tight Can start sanding the fan grills down in about 2 hours
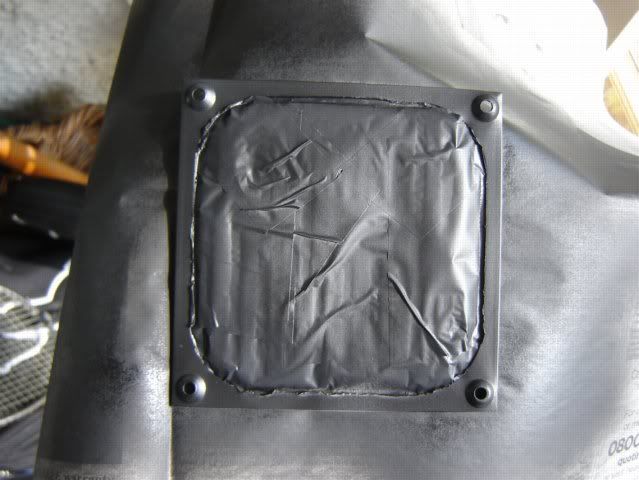
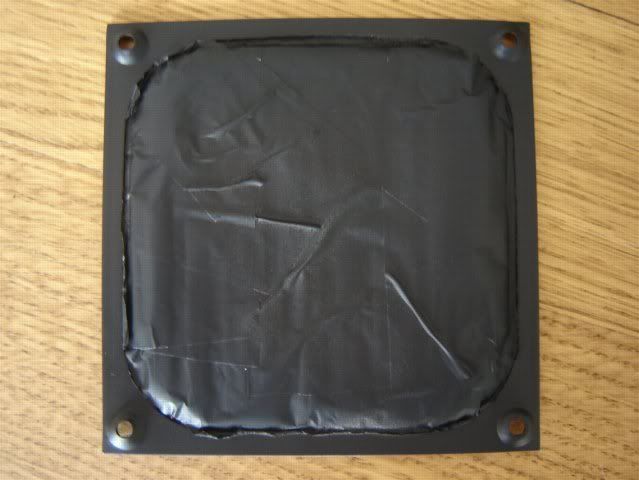
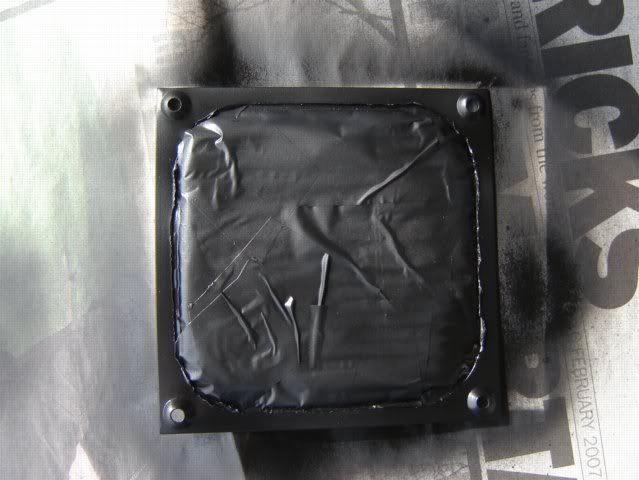
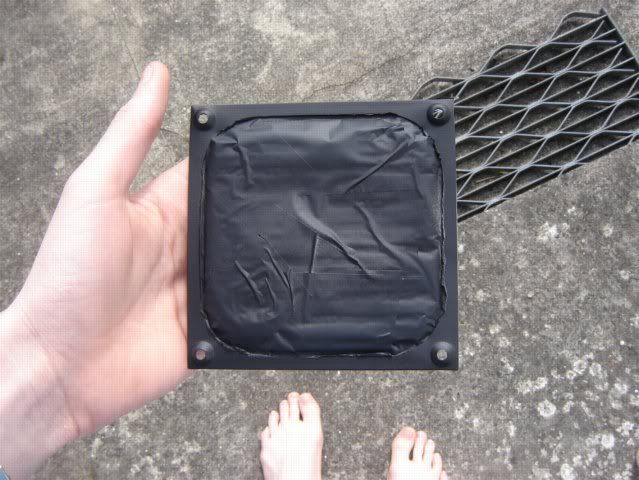
    Quote Originally Posted by Fear.Sin View Post
    Okay so if I have it straight, a primer is just a base coat of paint that is applied to help the color you actually want to paint the object stick and stand out better.

    For instance if I want to paint say a fan grill a light green then I would first sand and clean (I am guessing sanding is the cleaning process?) the grill. Apply a lighter coat as a primer such as the white Prosser is using then after the primer dries apply the coats of green I want for the grill color.

    How many coats do you need for the primer stage? Do you have to match the number of primer coats with the actual color you intend on painting the grill?
    What I did was:

    Scuff with P800
    Clean
    Primer
    Sand lightly with fine paper
    Primer
    Sand lightly with fine paper
    (Primer
    Sand lightly with fine paper) <-- optional

    And what I'm going to do:

    Sand lightly to get a nice, flat surface
    Paint coat one
    Sand lightly
    Paint coat two
    Sand lightly
    Paint coat three
    Clear coat
    Clear coat
    Polish (need some polish though)


    Quote Originally Posted by moOmL View Post
    You are correct. Sanding something before you primer or paint it helps the paint stick better. After you sand it, you want to clean it so that you aren't painting over any particles left over from sanding.

    Personally i use about 2 to 3 coats of primer, but i've had as many as 5 coats. You'll know when to stop applying coats once the entire surface looks smooth and equal.

    No you don't HAVE to match coats, but generally (for me at least) I have about the same amount of primer coats as I do final coats.
    I primer until the surface looks nice and flat, and has no blemishes Sometimes you have to sand back, but what else can you do to get that perfect surface

  2. #12

    Default Re: Project: Hellcat

    Sorry for the delay in the update - had quite a bit of work to do, loads more today though Ah well, two weeks holiday are worth a day and a half of solid work

    Unfourtunately, I won't get to even see the case itself for another two months The reason is, I have no workshop at home (you might have guessed seeing as I spray paint in the garden) so the only place I can work at is at my grandad's workshop, who lets me borrow his tools. With my exams coming up fast though (oral on the 2nd May,

    Removing the hard drive cages

    The Chieftec Scorpio comes with a total of 6 internal 3.5" bays, in the form of 2 removable hard drive cages containing 2 bays each. These slot under shelves at the front of the case; my annoyance with these are any number of hard drives will block the airflow into the case, and with so much space above the PSU I've decided to mount my hard drives up there.

    I removed the hard drive cages to start, which just left the two shelves, which can be seen here at the front:


    They were held in place by rivets - the rivets circled in red are the ones:


    Sorry for the poor quality pic :p

    So, out came the drill, and away the hard drives shelves went


    Unrestricted airflow for the 2 x 120mm fans which will go there!

    Removing the center shelf

    One thing which really annoyed me about the case was the fact its massive, but space in the bottom half is smaller than it could be as there is a massive shelf running across the middle of the case. Its the piece of metal with a large hole and two smaller holes here:


    And as you can see from this picture, it extends right the way into the 5.25" bays:


    Well, I say "extends". I should say "extended" as out came the drill again, and away went the rivets:


    And a picture of the drilled out rivets:


    Drilling this out meant the metal making up the 5.25" bays had nothing to connect to at the bottom, so it was flimsy. I grabbed a few self tapping screws and screwed the cage at the top (to the top) and at the bottom (to the motherboard tray) and this sured up the motherboard tray as well as the cage. I didn't get any pics of it though, sorry

    As you can see though, the case is a lot more spacious and, thanks to the screws, has retained its rigidity, so I'm a happier bunny now

    Heres a picture from the back:


    I used screws and nuts to hold on the top, in the end it will be pop riveted but I need to be able to remove it to spray it and to fit the acrylic window and blowhole so I don't want to use them yet. You can also see the large amount of space which wasn't there before in the middle of the case.

    IIRC though, I took this picture to show the large hole at the back of the case. I've measured up a replacement panel for this but couldn't find any metal cutting jigsaw blades - I think my grandad will pick some up and cut the sheet out for me though.

    What I did and didn't get pictures of

    I thought I'd finished what I could do so I took the camera down - when I'd put it away though, I realised there was more to do.

    First thing I did was get rid of this nasty hole:


    I hammered it out on an anvil to make it flat, then used a circular file to even out the edges, and I also cleaned up around the hole with a flat file. I'm probably going to put my CMOS switch in that hole, so I don't need to block it up

    Next, I removed the wrecked handle:


    I don't have a clue what happened, but the whole of that panel had the same, bumpy texture - I would imagine the sanding went wrong or the wrong type of paint was used, something like that. I unscrewed the handle, removed it, and tried some paint thinner on it - while it got rid of all the blue paint, it still had the same bumpy texture, so I'm going to get rid of the handle and replace it with a simple catch or something. Luckily, I'd already planned to take it out so I dont need to worry about filling in the little holes left by it.

    With the handle off, I whipped out the trusty orbital sander, put on some P120 paper, and sanded down the left side panel. The bumpy texture disappeared right away, so I've now got a nice smooth left side panel I used the sander on the right side panel too, and got rid of the clear coat finish and sanded that down too. I didn't do the top - the screw holes have some jagged edges sticking up and I don't see the point in filing them down when I'm going to be cutting them out anyway - and I finished the side panels by hand-sanding the edges down with some more P120

    I also found an old fridge being thrown out by next door, which has a front door made from what looks like mild steel - if it is, and is the right size, it will be perfect for the front panel, so my grandad will have a look at that for me and see if he can remove the door

    I think thats all the work I did (I only had an evening ), but fan grill updates coming soon

  3. #13

    Default Re: Project: Hellcat

    Fan Grills - Painting

    Hmmm, with just update I think I need a 56kb warning :cool:

    So, I left my fan grills last time with the primer drying. We shall now follow the progress of each of the three

    And outside to show the different light:


    Fan Grill 1 - Red with Mesh Masked Off

    Coat 1 drying:


    20 minutes later I sprayed on a second coat:


    And the second coat dry:


    It looks good enough, so I didn't feel the need for a third coat


    Fan Grill 1 - Black with Mesh Masked Off

    The black spraypaint:


    From my old Warhammer days :cool:

    Coat 1, sorry for the dodgy light:


    Coat 2, wet:


    Coat 2, dry:


    I wasn't happy still, so I added a third coat:


    And the third coat dry outside;


    Fan Grill 3 - Red with red mesh

    A forgot to get a picture of coat one :o but it looked just like coat two

    Coat 2, wet:


    Coat 2, dry:


  4. #14

    Default Re: Project: Hellcat

    Coat 2, dry and outside:


    Lineup


    And the problems start

    I was very impressed, up to this point. I let them dry for a good half a day, then decided to take the tape covering the mesh off. I knew there was a very fine line between this working and not working, and I hoped I was dead on.

    Turns out I wasn't

    Grill 1:


    Grill 3:


    What had happened on Grill 1 was the tape had simply been not precise enough - it didn't go exactly along the edges. The problem with Grill 2 was that it looks like in two or three places the primer had stuck in "flakes" to the tape - when the tape was removed the primer, and all the coats on top, were ripped off. Grill 1 could be saved, but Grill 2 was wrecked

    Adapting Grill 1

    Out came the spray can again, and Grill 1 was resprayed.


    No problems there this time, but to be honest I'm not too keen on the red mesh

    Whats to come?

    Well, this afternoon (5 hours or so) I'm going to clear laquer both Grill 1 and Grill 3 to finish them off

    Grill 1 will then become my testing grill I need to get a picture to show this, but where the rounded corners are theres metal on the back as well - what I'm going to do is cut out the mesh around the edges, then get some new stuff (need to buy some anyway), silver probably, and add it to the grill by sticking it in the rounded corners I'll get some pictures and a large, sharp knife and show you what I mean

    More to come soon Comments welcome, as always!

  5. #15
    iShot the Sheriff jdbnsn's Avatar
    Join Date
    Jan 2006
    Location
    Normal
    Posts
    8,241

    Default Re: Project: Hellcat

    They look nice, I think a red mesh might look better with a black frame though. Contrast is good, but then again I don't see the big picture yet so it's tough to guess what would look best. Good progress though, keep it coming.
    "At the midpoint on the journey of life, I found myself in a dark forest, for the clear path was lost..." -Dante Alighieri

  6. #16

    Default Re: Project: Hellcat

    I've been told that a red frame and black mesh would look good, but not vice versa until you :p

    The idea is to blend the fan grills into the side panels (take a look at my designs), while having silver mesh will fit in with the chrome style faceplates - just looking for something to blend the side panels with the front and make them seem related, other than the red

  7. #17

    Default Re: Project: Hellcat

    Haven't forgotten about this, don't worry :p

    Currently doing exams, will be spending much more time on this afterwards and I now have some income so I can afford to mod

    Next purchase will be these fans;

    http://www.watercoolinguk.co.uk/cata...roducts_id=454

    Can't find a fan which can beat that CFM to dBA ratio at the same price, and I like the red

    Couple of design changes - hard drives are going to move to the bottom 2/3 5.25" bays and have an extra fan in front of them, meaning a solid vertical column of 3 x 120mm at the front, then I'll have a back 120mm for exhaust, top 140mm and a 140mm in my PSU

  8. #18
    I come from a land down under. simon275's Avatar
    Join Date
    Jun 2006
    Location
    Sydney, Australia
    Posts
    3,075

    Default Re: Project: Hellcat

    Lol nice work. I have a can of chaos black and camo green in my cupboard and and whole lot of those little paint pots;.

    I also have the exact same fan grills on my case. They need constant attention. It may appear they are clean but when you run your finger across them you find that they are covered in dust.
    Need a sig

  9. #19

    Default Re: Project: Hellcat

    Woohoo, an update!

    Did some work before I go away for two weeks on temporary work, but at least I did something. Didn't all go well, I forgot something

    Measure twice, cut once!

    Anyway, you'll see what I mean soon.

    So here we go, pics galore!

    First thing to do was expand the hole on top, took it as close to the front as I dared - its still gotta hook over the front. Braced the back after cutting so I could file it without it bending. Need to pick up some U-channel...


    After measuring I also worked out I might as well mount a 120mm fan with a UV RadGrillz (the AcRyan one) on top, I think that'll look pretty good.

    I then put in the acrylic, cut the acrylic to size, and put in four temporary bolts:


    They will be replaced by M4 allen headed bolts when I get a chance. And from the inside:


    Came across a *slight* problem when trying to fit it. Theres a little bit sticking out the top of the 5.25" bay cages which stops the acrylic being able to fit So I took a 4" grinder to it to see what would happen and it looks like it should grind away pretty easy, so no problems there:


    Onto the side window now. After measuring up and drawing out:


    Just a tip - NEVER try and cut with a 4" grinder, I had a go cos the sparks amused me (great reason or what) and it simply burnt through, even with a diamond tipped bladey thingy:


    The jigsaw, I found, was much easier, and I *think* this was after I filed it:


    Again going to take a look at U-channel to see what it looks like...

    So, here was the problem. Poor measuring by me means:


    Slight gap And when I say *slight* I mean a good cm or two So, my plan is to get some mesh and have a mesh strip instead, as I can't afford to buy more acrylic...ah well...

    The angle in the bottom right corner looks pretty good:


    BTW, the acrylic will be mounted on the inside, so the vent holes should look fine and not be obscured...

    Window overview as if the case was on its side and the front was closest to you:


    Remember this hole?


    Cut this out to cover it. I still need to cut the PSU hole, might do something above that too but that'll come later:


    Loops over the top, and then the acrylic top part goes over it. Won't be too viewable and it can be filed and painted later

    Next random stage was checking the back fans. Rather than a single 120mm, I'm going to go with dual 92mms - cut out some templates from plywood with a jigsaw and checked they would fit:


    Looking good

    Then onto the front fans. Cut out another template to go along with my Akasa Amber which I'm using to measure. These are 120mm fans


  10. #20

    Default Re: Project: Hellcat

    Cut out the 80mm fan grills (shot is from later on in the day with some more work done, but you can see I've cut them out. Used a jigsaw and quickly filed them:


    Next I got a sheet of metal, cut it out to approx size, and bolted it over the holes left (thats the white thing you can see covering the fan holes on the inside in the picture above)


    What I'm then going to do is just cut the 120mm fan holes straight through that and drill holes through it. Going to get some better bolts, use more of them and thick rubber washers to stop it vibrating with the fans attached.

    Well, thats it for now More to come soon, any questions just ask.

    More info on the front panel BTW - need to measure up the front of the case and I'm getting a fibreglass panel custom cut to exactly the right size. I will then use 1cm or 2cm standoffs and long M4 bolts to mount it, 3 bolts down each side (top left, top right, middle left, middle right, bottom left, bottom right) and the standoffs will allow the light from inside to filter out from the sides and maybe the front fans

    Currently looking at AcRyan UV fans for the top to light up the UV RadGrillz and then maybe something like Xilence Red Wings to help match in with the rest of the case.

    Lots more to come

Posting Permissions

  • You may not post new threads
  • You may not post replies
  • You may not post attachments
  • You may not edit your posts
  •