-
Anodized

 [Worklog] Project:Black Fire update 31 Dec 2007
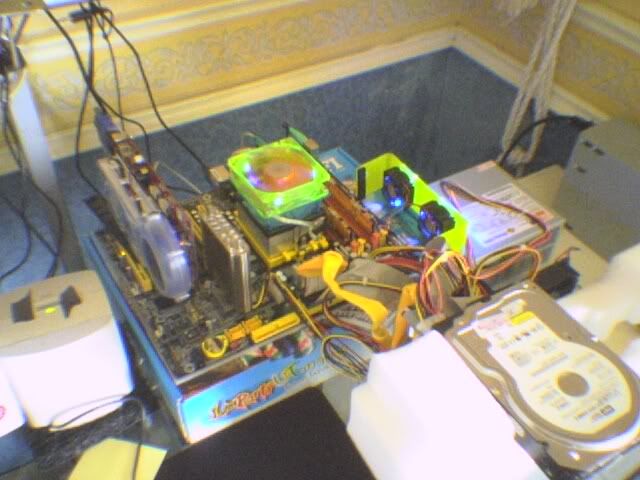
Update status...currently at this stage
Hey, This is my second mod project. Anyway some info bout the mod, first the case , a 0408-sl i cute aka Aerocool Jetmaster(Aerocool)
secondly a list of things to do:-
1)Cut out mobo tray holes for cable management
2)Make the cd-drive bays shorter
3)cutout the floppy bays
4) make a mounting plate for a double 120mm radiator
5)make divider plate between power supply and the rest of the components
6)paint interior black as well exterior, but with flame stencils on all sides.
7)remove front panel
 make new front and top panels out of acrylic
9)get case ready for water cooling
heres a list of my current hardware:-
AMD Athlon 64(939) 4000+ Clawhamer (FX-53 Core)
DFI UT NF4-Ultra D
mushkin enhance memory Level2 DDR3500 (old skool bh-5)
HIS X1650Pro 256DDR3
FSP Epsilon 600wtt(RMA), Currently Acbel 390WT
80Gb Pata WD Caviar
LG H220N DVD-RW(coming soon) Currently OEM IBM DVD-rom
Cooling:-
Swiftech Storm g5 Rev.2 (coming Soon) currently i have a whitewatter sitting in front of me,bt using stock hsf.
Swiftech MCP655 aka Laing D5 and a Nirox p2800
Swiftech MCR220
Swiftech MCRES-Micro
Swiftech Hydrx
alright enough with the words, lets start with the pictures.
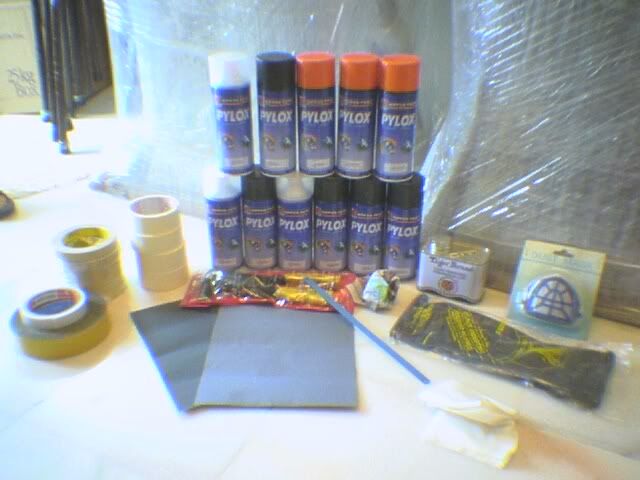
first i went to my local hardware store to get some supplies bout 25$USD worth.
Heres a list:-
11 cans or Spray Paint (Nippon brand)-3 Tangerine,2 Flat black, 3 Gloss black, 3 Clear Coats
4 Rolls of 1 1/2" Masking tape/Painters tape
6 Rolls of 1/4" masking tape /painters tape
1 Roll of 1 1/2" Double sided tape(thick)
1 Roll of 1/4" Double sided tape(thin)
100pcs of 1/2" x 1/2" Pop Rivets
1 Hand Riverter
1 Hacksaw blade
1 800 Grit wet/dry sandpaper
1 1500 grit wet/dry sandpaper
1 1/2L Paint Remover
1 Pair of Rubber Gloves
1 Dust Mask
30pcs of tack cloth
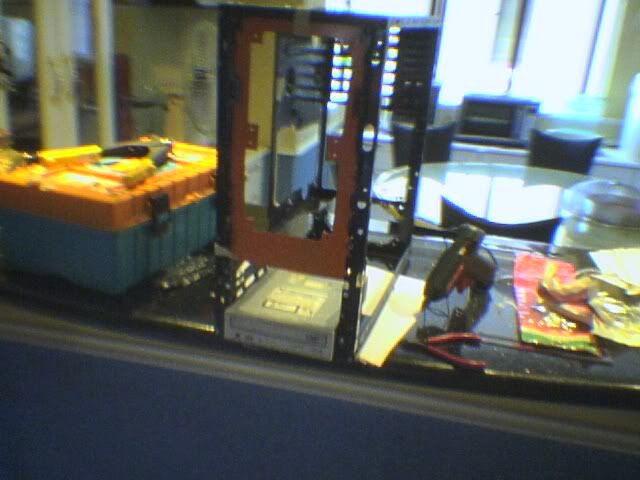
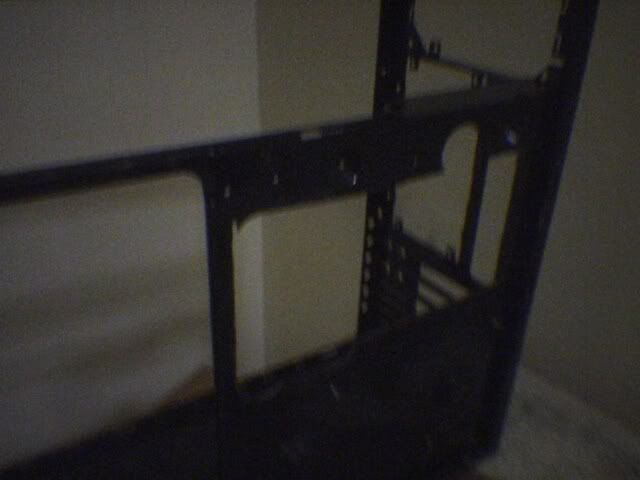
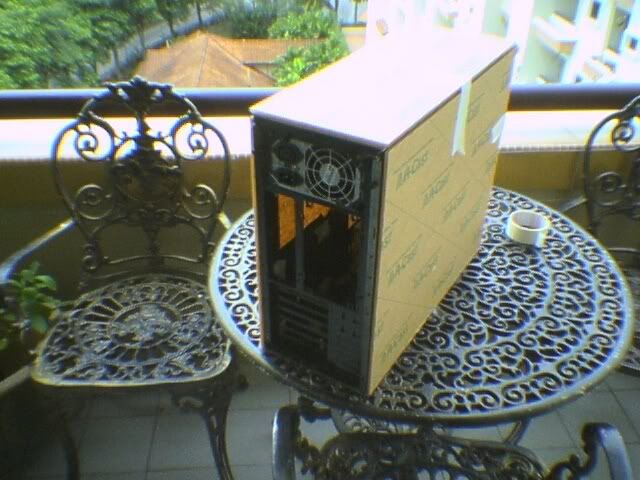
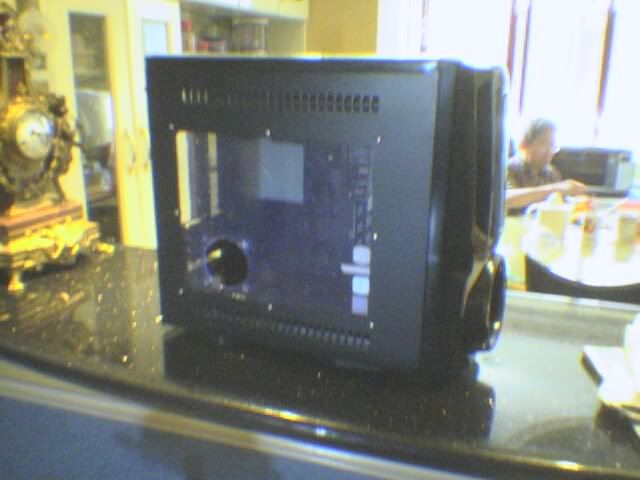
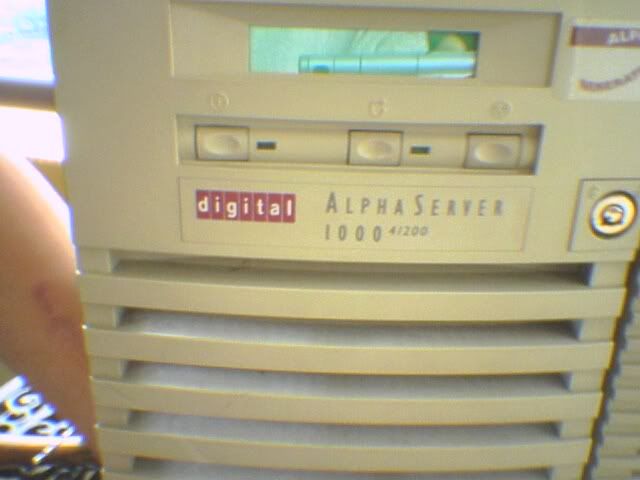
heres the case to be modded.
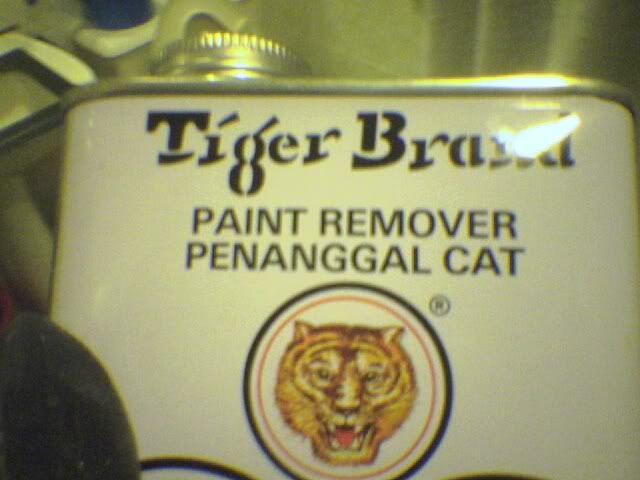
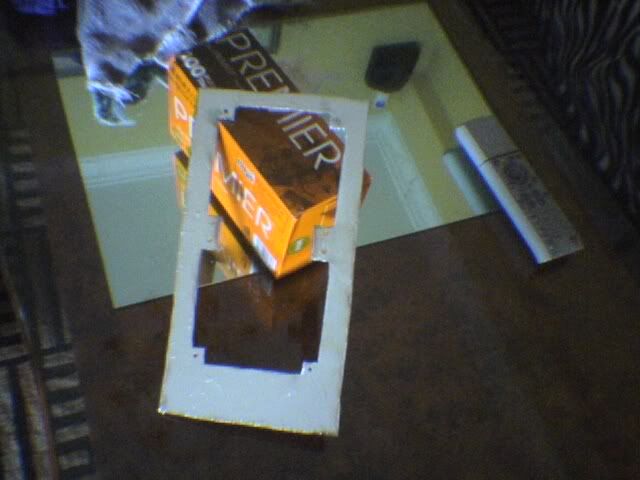
this is a server cube i got for free, dam this thing is heavy as it is large, whole thins is constructed out of 2mm thick steel. Look at the comparison between the case and the spray can.
bt it has a lot of metal i can use.
its an old server from a printing company.
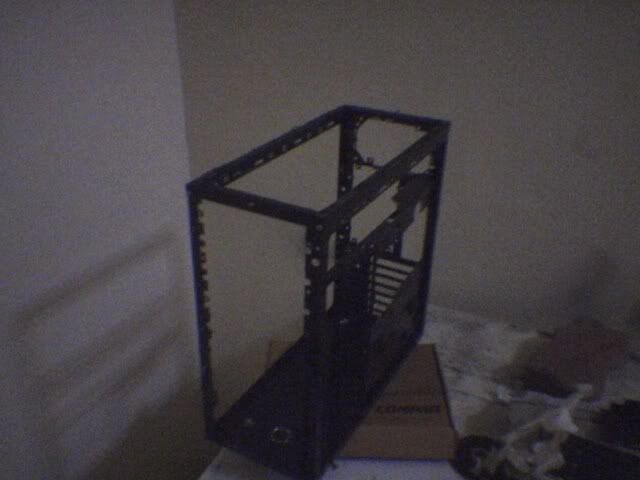
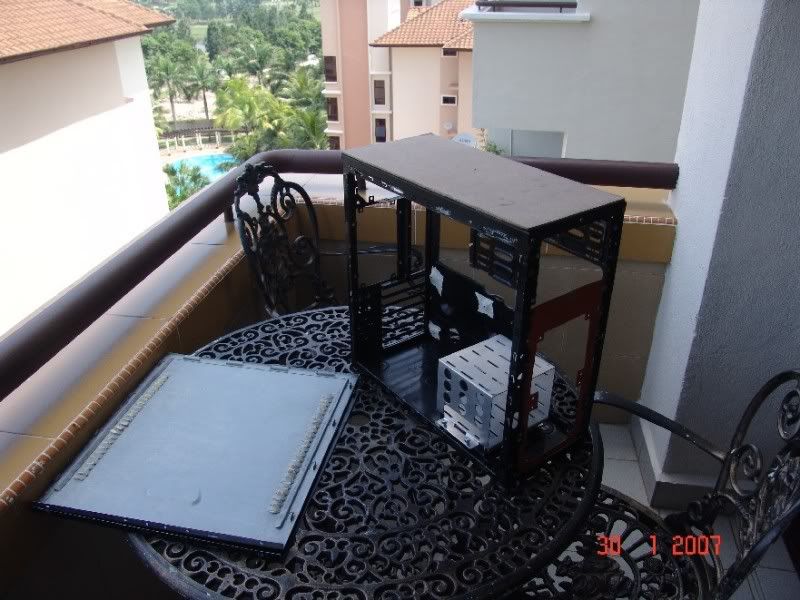
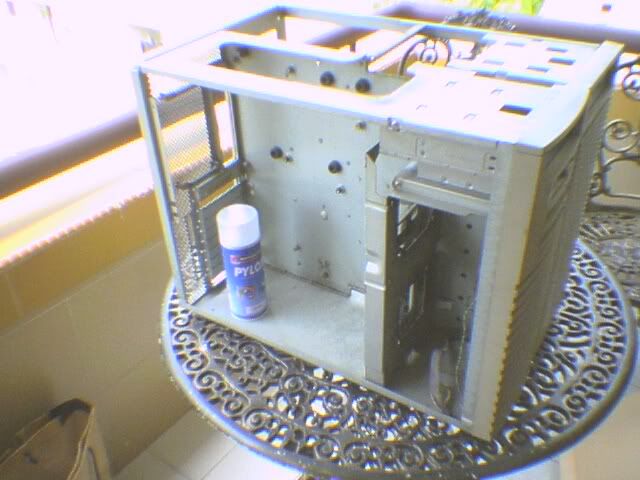
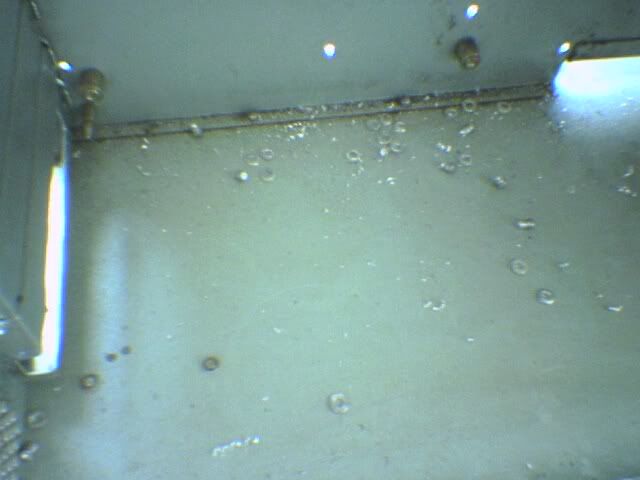
the case needs to be striped down first so after 160(i counted) rivets drilled out
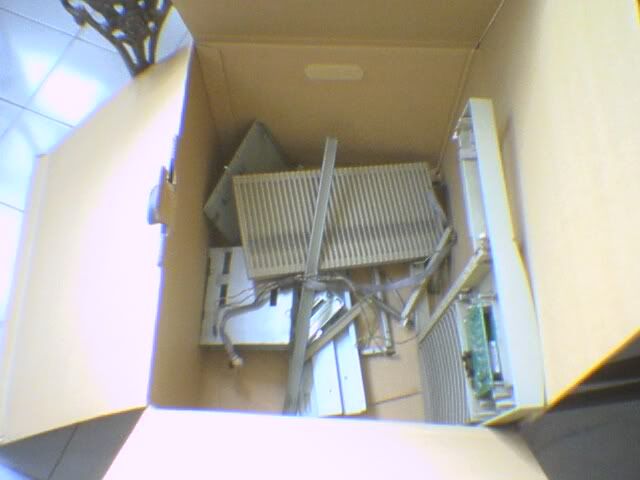
we have a pile of junk metal on one side, a clean chassis on the other.
theres lots more metal but it couldn't fit the box ....
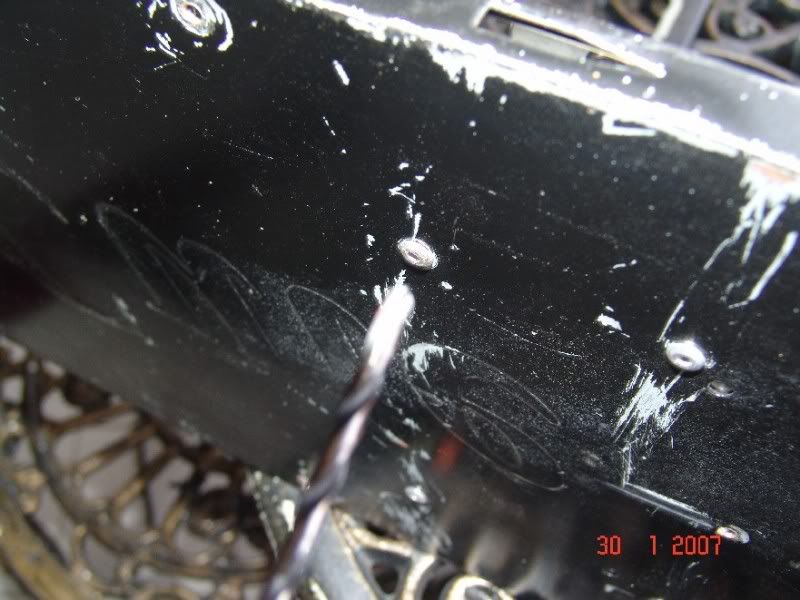
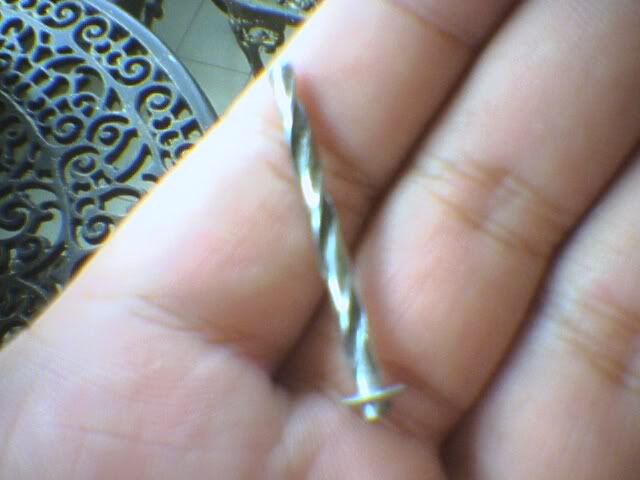
while de-riverting the case a drill bit broke, snaped actually, with half the drill bit still in the rivet...
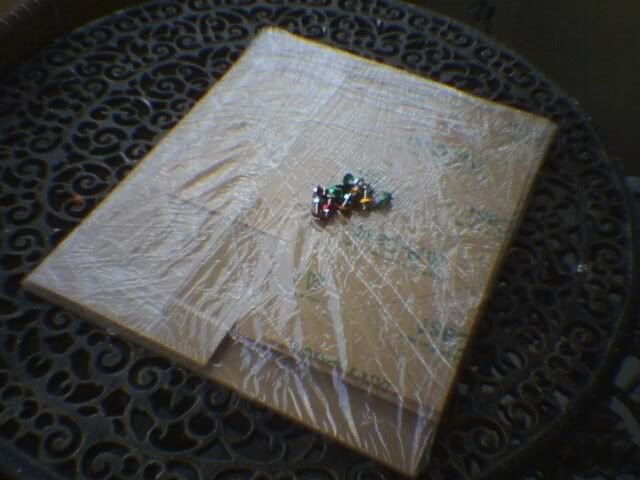
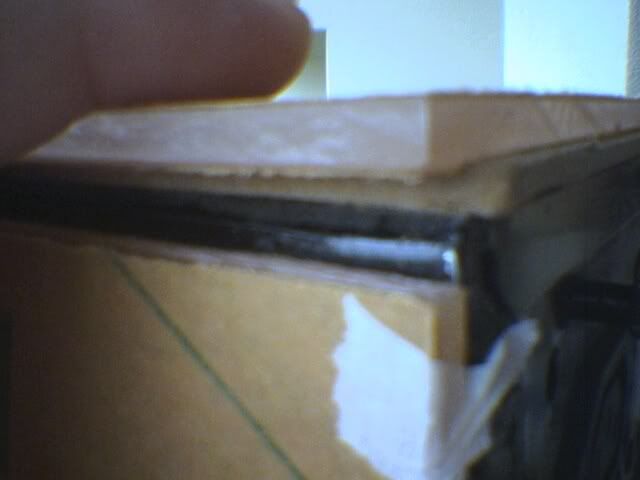
then i got a knock on the door and a big brown box was delivered to me,  some of my wc stuffs has arrived.
sorry for the blur pic's, using a sony clie camera..
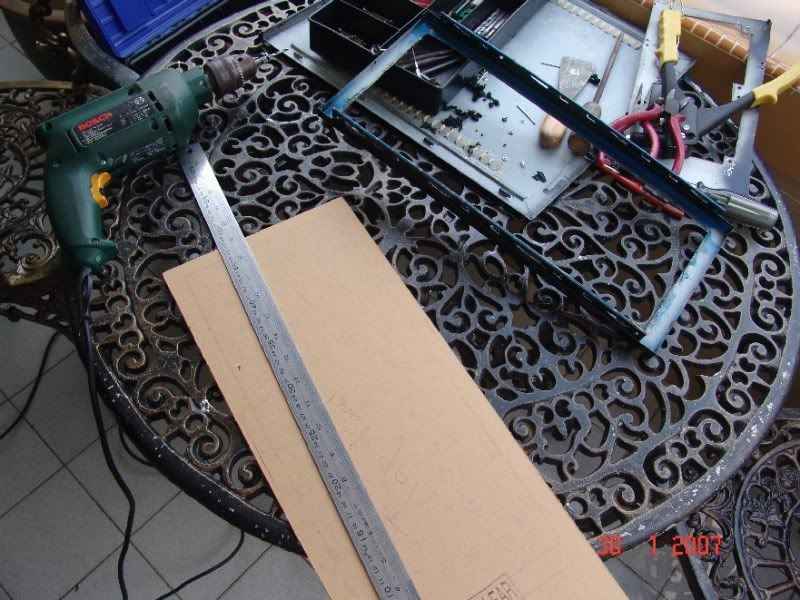
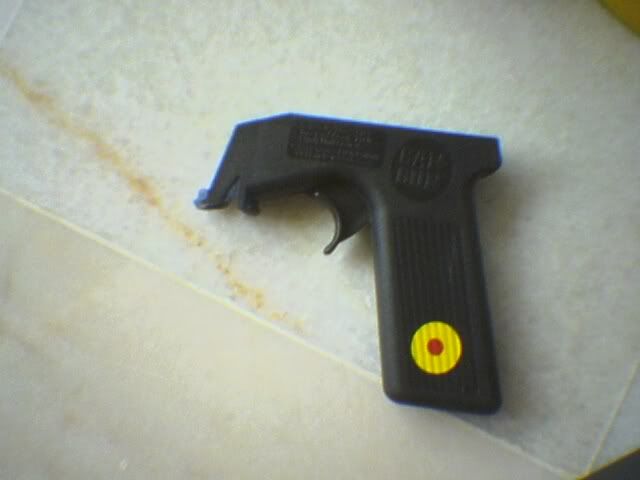
anyway went to ace hardware n got this
a spray gun ....it really helps with the painting...
wait n c the pics...updates coming on wednesday.....
-
Anodized
Re: [Worklog] Project:Black Fire
hello agian ... i skipped skool today to mod.... the pictures u c in the first post is yesterdays work....
neway here we go ..on with the pictures...
here we go....
first i wanted to strip the paint before i started cutting
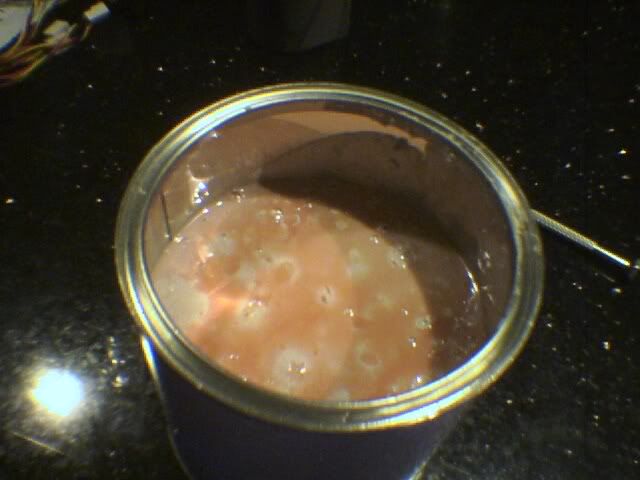
heres the cap ayam paint remover...
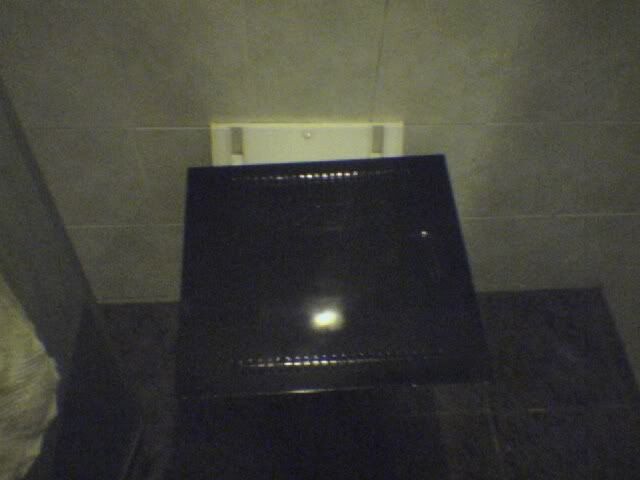
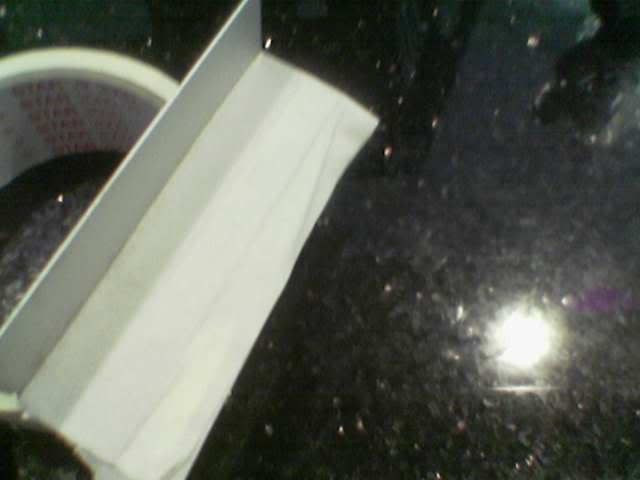
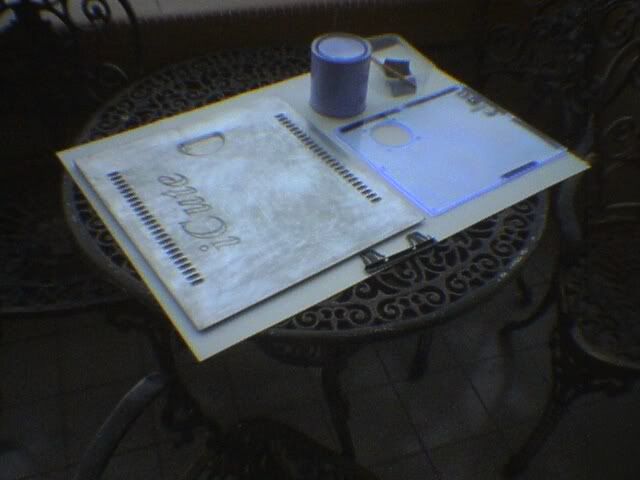
the panels laid out ready for some stripping action :w :w
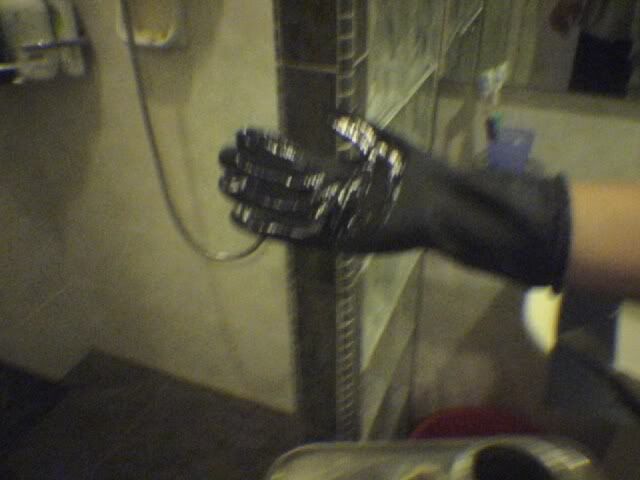
i forgot to buy a brush so i had to use my hands to spread the fluid around, i swear u dun wan to try this at home, paint stripper burns man....
all spread out
]
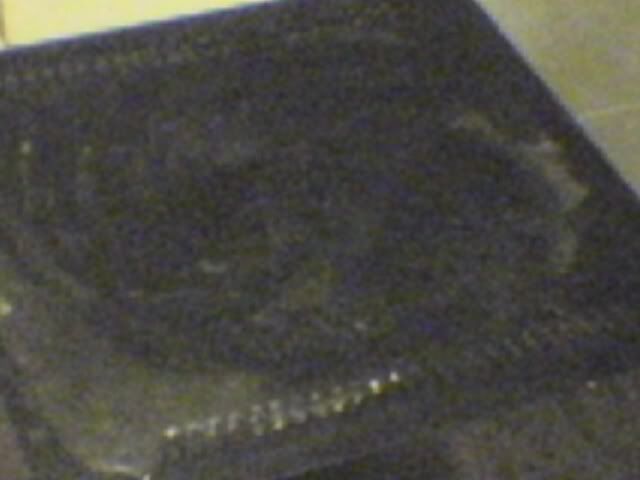
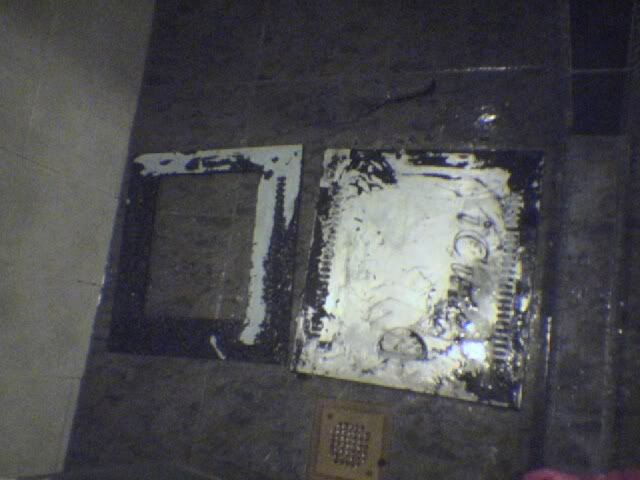
almost there, the paint becomes like wrinkly then u can use a scraper and scrape it off...of the panel there is after 3 coats of flat black.... almost the whole can is finish di coz i painted the other side to...
this is after some wet sanding with 800grit on the panel with the window, the other panel is waiting for some bondo to cover up the icute logo :w :w ...
time to paint
my tool of choice.. can gun.... :thumbs: :thumbs:
my painting area...neway so sorry no close ups coz my camera battery suddenly gave up on me shouting put me back on the charging dock,,,.... :x :x :x
-
Anodized
Re: [Worklog] Project:Black Fire
k here we go again...riveting the case back together...
cdbay
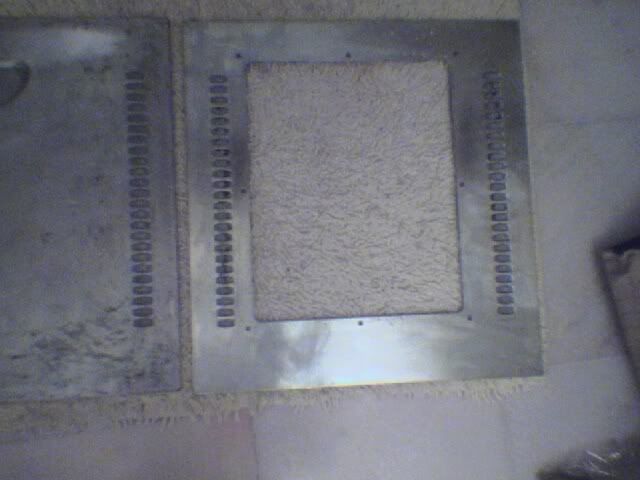
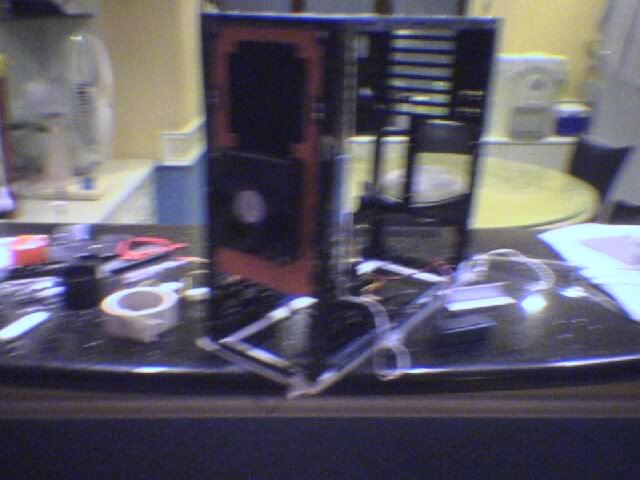
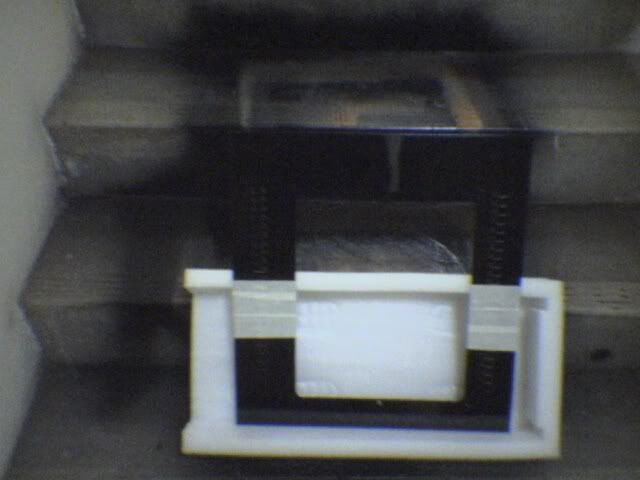
heres the rad plate mounted on....
another shot of it......
test fitting to c whether the rivets can hold....n it does...
[
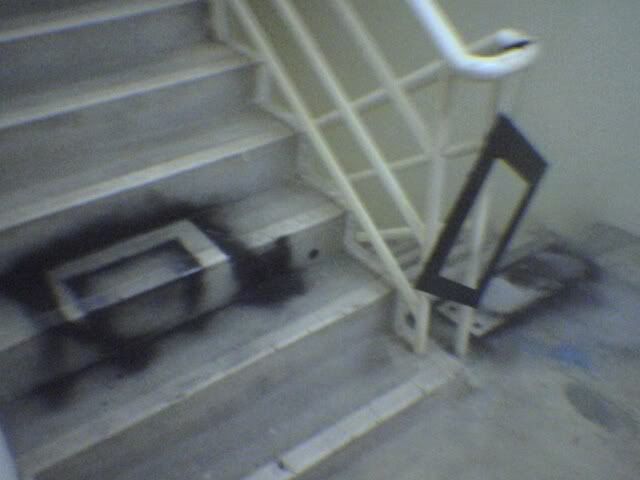
final shot for today... did so much work since morning 6 am non stop..u can literaly c my hand shaking ..look at the pic how shaky.......tired like a B****....
neway want to try n c whether i can cut this .... without rotary tools....(looks up to the sky praying for :help: )
comments as usual are always welcome....tell me wat u think... constructive criticism is always good....now time to go play nfs carbon..finnaly ariived my pre order kit.... :thumbs: :thumbs: :thumbs: :peace: :peace:
p/s again so sorry for the lousy pictures... im gonna get a sony cybershot ...Sony
-
Anodized
Re: [Worklog] Project:Black Fire
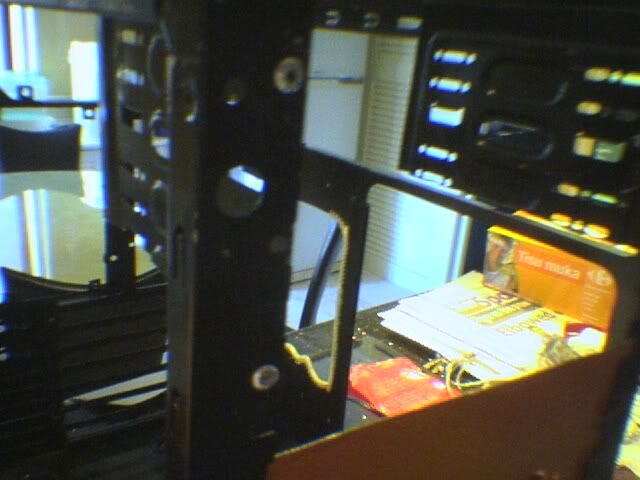
then cutting a big hole in the mobo tray for cable management....
then disaster struck when i was half way through.. the cutting disc i was using on my angle grinder shattered, spitting the broken pieces at mach1 all over the place... luckily i wasn't hit :sweat: :sweat: B]
but when i thought it couldn't get worse the angle grinder got jammed and i couldn't remove the center part of the broken blade... so no more cutting for me for now... maybe ill just get a dremel...
but in the end i manged to get it cut anyway....
after some sawing and filling we have this
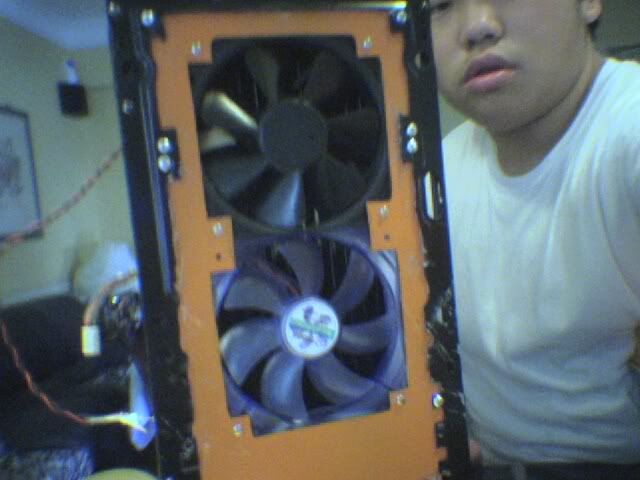
the radiator mounting plate.. i know it is not straight :w bt it fits and no one is going to see it anyway once I'm done....
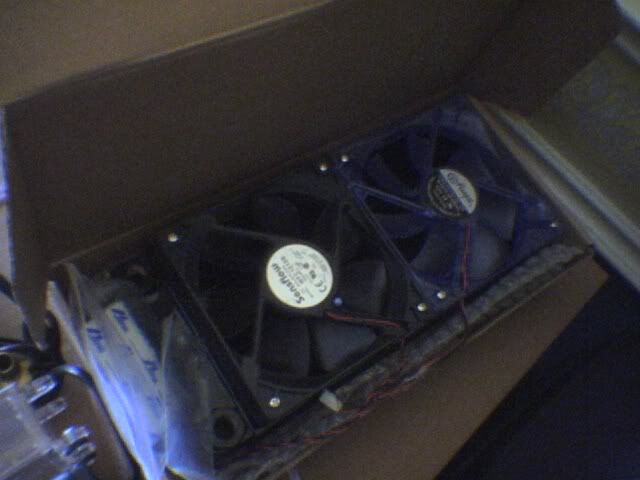
here we go testing with two fans... perfect fit.. :hyper: :hyper: :idea: :idea:
-
Anodized
Re: [Worklog] Project:Black Fire
k as u saw in the first thread.... i had a swiftech mcres-miro with me... n was deciding where to mount it...i decided to mount it near the pci slots... as this case is inverted it is also the highest int in the loop(well almost) coz the rad is bout 2 mm taller....bt if i wanted to mount it there i would need to fabricate the mounting bracket...so here goes....
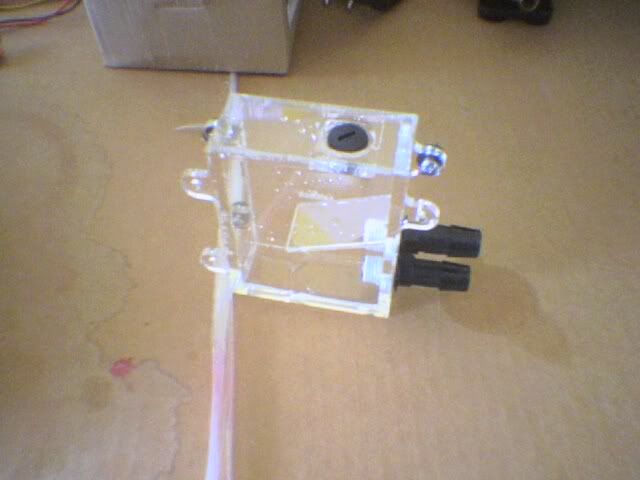
heres the reservoir, to me its the best ever design.... user friendly n good erformance with low pressure drop...
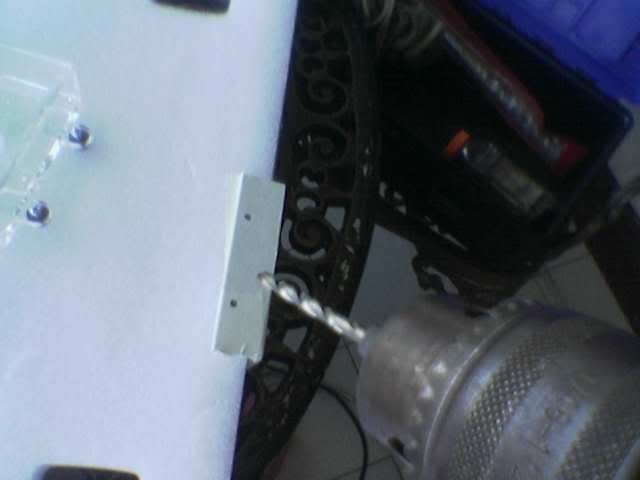
thats where i plan to mount it...
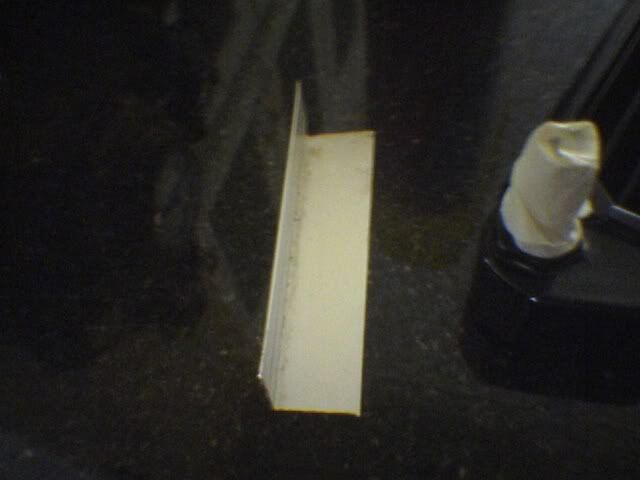
here i manage to get a aluminum l bar which will donate bout 5 inches of it self for my bracket.
:stars: back to using hand tools, after my episode with exploding cutting discs, i went back to using hand tools... :flex: ...
here it is cut, ready to be taped off and drilled...
the ever useful making tape
all taped in it temporary clothes..
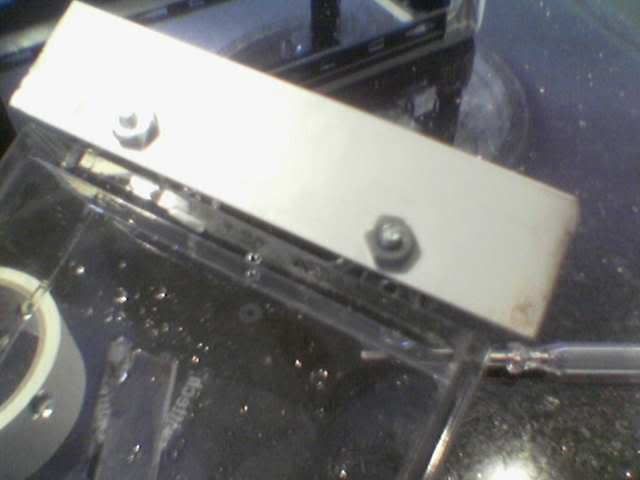
drilling, i went slow this time as allu is so soft no broken drill bits this time...
drilled and fillled
test fit and voila, it fits perfectly...
-
Anodized
Re: [Worklog] Project:Black Fire
here i scuffed the suface so that paint could adhere to the surface... painted it 3 times before i realised
alu cant be painted on...without prep work....neway i scuffed it with a sanding bit with the drill
painted.....
now i paint the side panel....
i painted this on monday and left it to dry....
we have after 3 coats...
aftere 4 coats... the relflections are unbelieaveble the stupid camera doesnt catch the reflection so well...
anyway
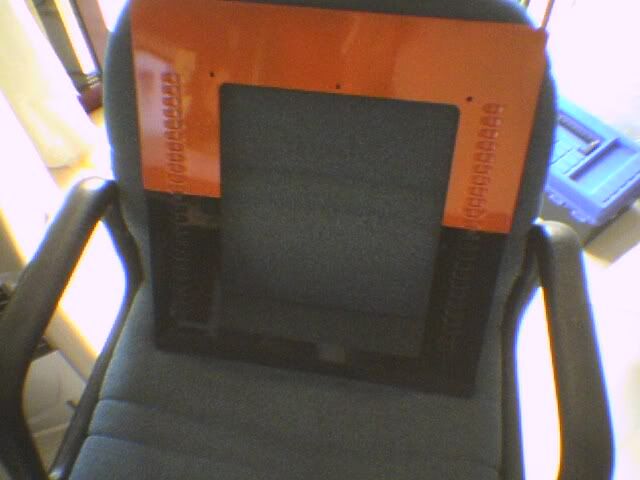
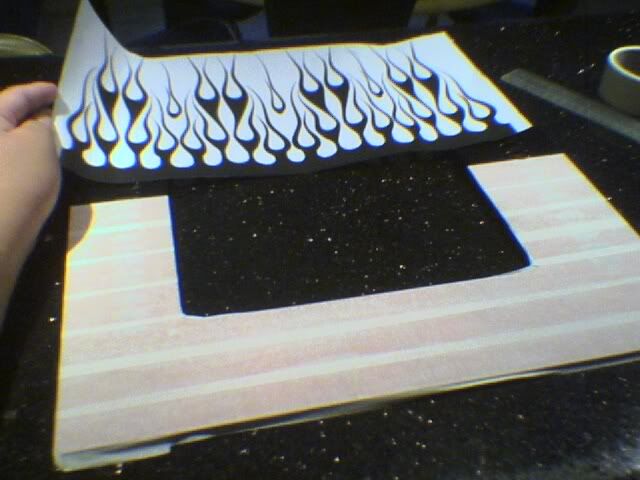
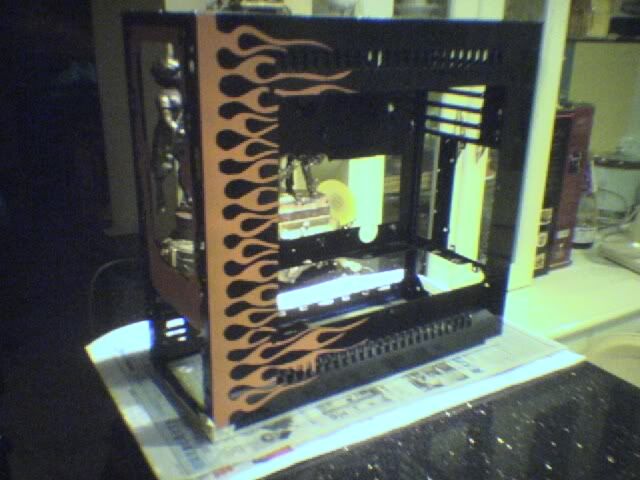
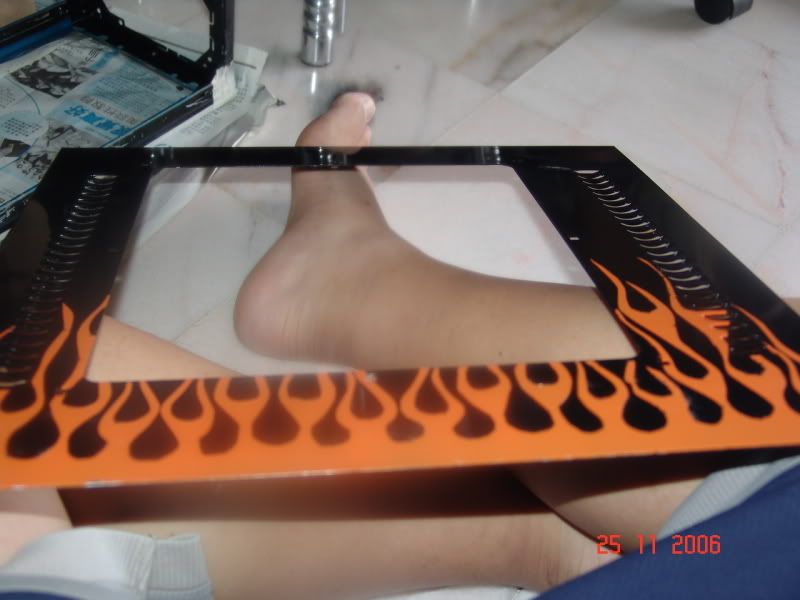
the rason y this mod is called black fire, flame stecills...
first getting the panel orange coat ready....
done
then leave it out to dry....
then mask the orange part, and stick the stencil on top and use a knife or blade to cut along the lines....
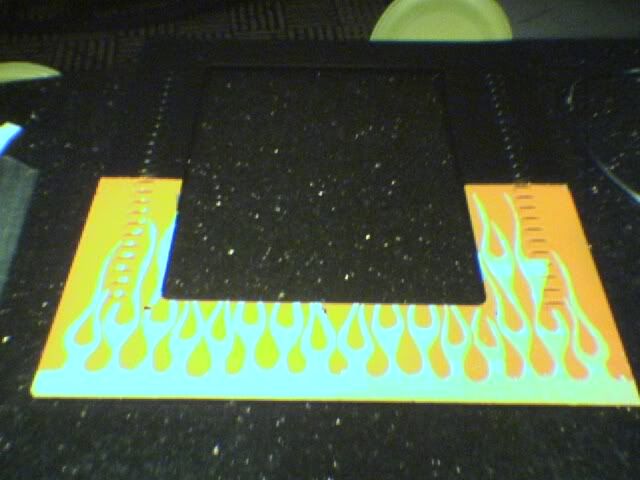
peel of the masking tape and u have this
nice right....
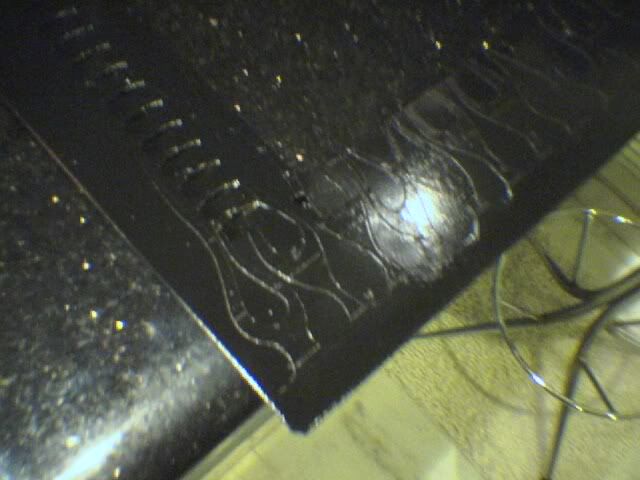
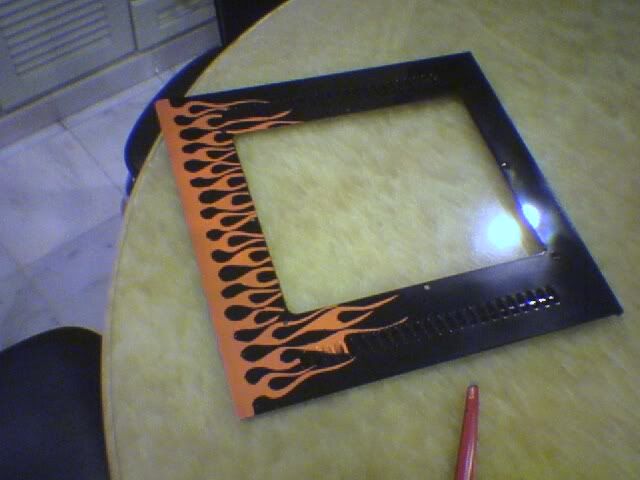
then spray the black over it, and voila u have fire....
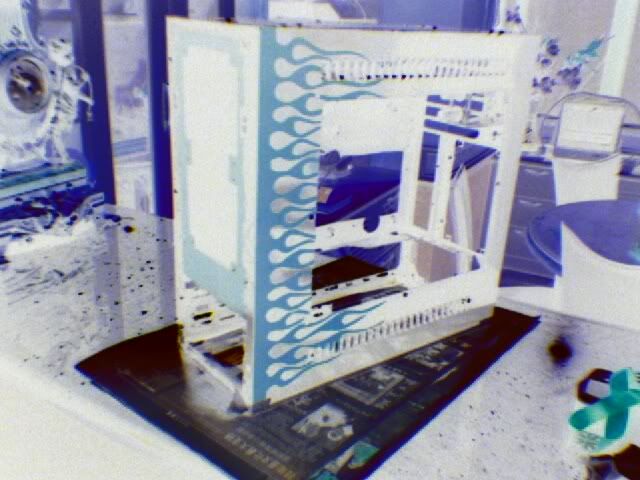
here it is on the case....
:x :x :x then while looking at it , it hit me that i did a stupid mistake i should have painted the other way round.... black first mask off the black and put on the orange part.... :x :x i think ill just redo it.,.... neway it still looks sweet thogh....
anyway i put an order through to ppcs
heres a list ... most of the stuffs are self explanatory and is for this mod...
1 x Urethane Bumpers Tapered Square - (Set of 4) - Black
14 x Lian Li Thumb Screws M3 Size - Silver
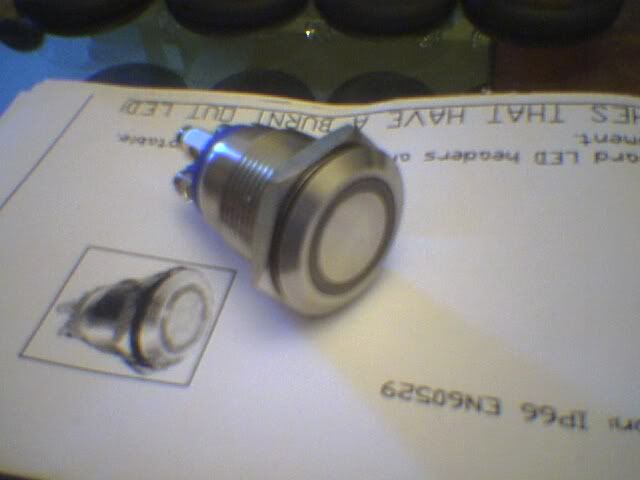
1 x Vandal Resistant Illuminated Switch - Blue Ring
4 x PVC Rubber Grommets 0.8125" I.D. Hole
1 x A.C. Ryan Toolx™ Pin Remover - ATX / P4-12V
1 x Lian Li Replacement Removable Hard Drive Rack Base for PC-6X
1 x Lian Li Replacement Removable Hard Drive Rack for PC-6X
5 x ClearFlex 60 Tubing 1/2" ID 3/4" OD
1 x Ultra All Purpose Computer Assembly Screws
2 x Grommet Edging - Clear
1 x Swiftech STORM Extreme Performance Universal Water-block - Rev 2
1 x Swiftech MCP655™ 12 VDC Pump
total=$usd250
should be arriving dis saturday or sunday... im going to go get my camera this weekend too... :clap: :clap: :clap:
neway this mod is stuck for the moment coz i need to go get bondo and sandpaper, and wait for my stuffs..
u can expect a tiny update maybe on friday the earliest....sorry guys....
a funky shot....
-
Anodized
Re: [Worklog] Project:Black Fire
k i did some skecthup work and came up with this...
this finish product should be something similar....
k guys..update
got another package today...
hehe Colgate package... thx bombman...he does many more modding services for people...great guy nice business man n great modder....Bombman Modding Services
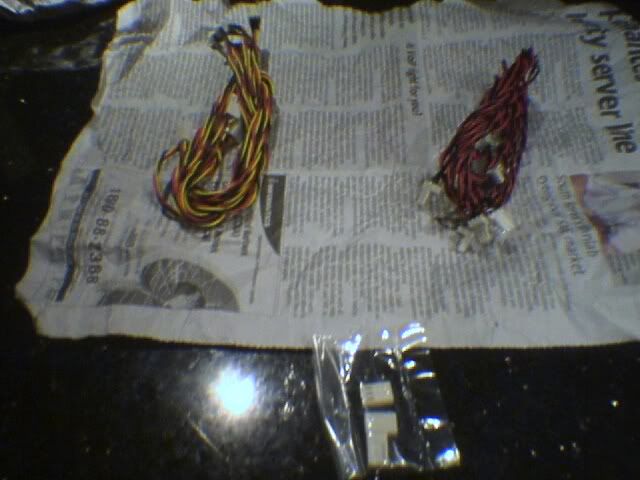
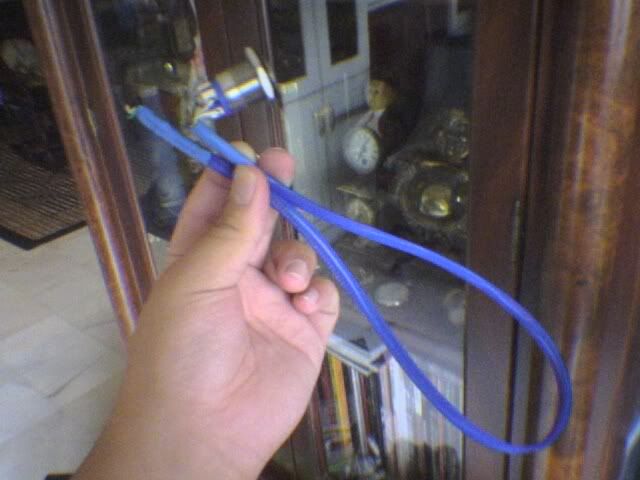
heres what was inside the package....
bt i wanted to add my own touch to it...
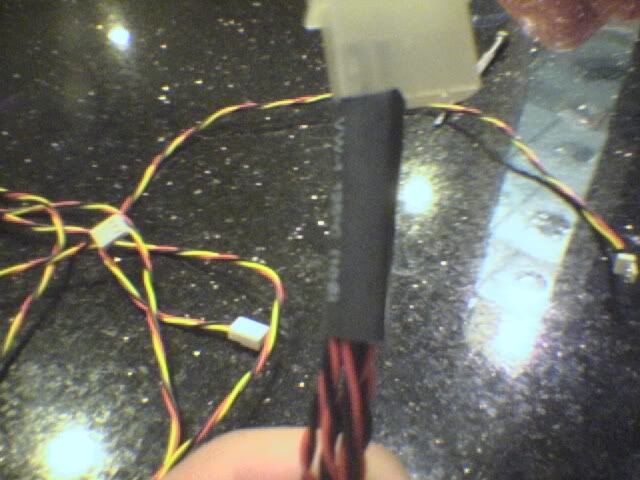
heat shrink the end so that they can take more punishment when pulled...
done
k now back to modding.. so sorry guys bt this update will be very very small.. cant get much done as i need an orbital sander and wait for my stuffs to arrive from ppcs....
neway still i went out to buy some putty(the shop did not have bondo) and sand paper(100grit and 800 grit)...
]
i dunno whats this called , hardener i think....
the putty...
ok where my fingers are pointing at, im gona bondo also the handle thingi on the other side....
my workspace
puttied...
then when i wanted to sand it i realized i put too much putty on , very hard to sand, after one hour i gave up....
so i removed all the putty with a hammer and chisel and we end up here...
i left it alone and went to play
:thumbs: :thumbs: :thumbs:
will update again as soon as i get the putty done...thx for reading, and comments are as always welcome, good and bad
guys my stuffs arrived from ppcs.... :clap: :clap:
for the list look a few posts back...
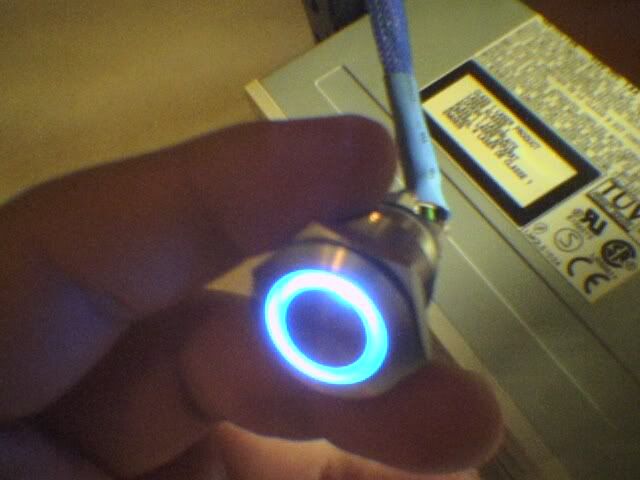
this is wat i was waiting for a bulgin swithch..cost me 15usd, 60rm for that...
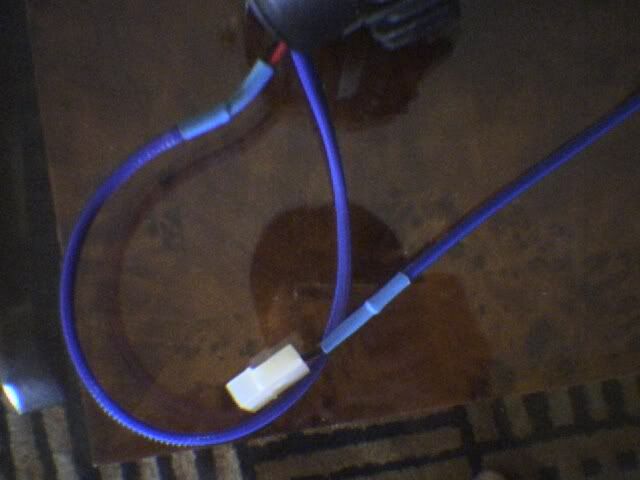
wired it ...
sleeve it ...
and on it...
looks nice ehh... :clap: :clap:
and the highlight is
tada.... :clap: :clap:
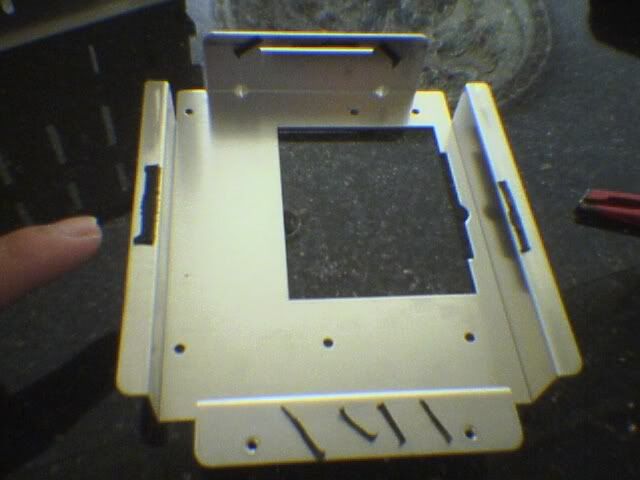
heres is the lianli hard drive cage...
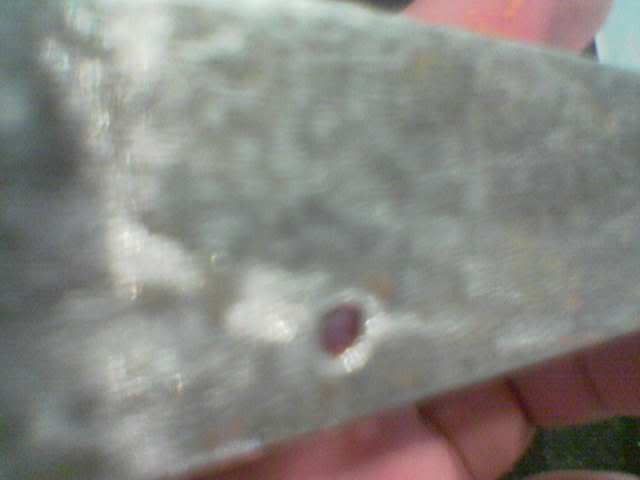
bt got a wee bit of problem
seems like oxidation bt looks like bumps bt no probs... can just sand a little... bt hard to c as it is on the "lblind side"
here i glued on some rubber strips to dampen the vibrations from my hdd...
test fit..still works...
-
Anodized
Re: [Worklog] Project:Black Fire
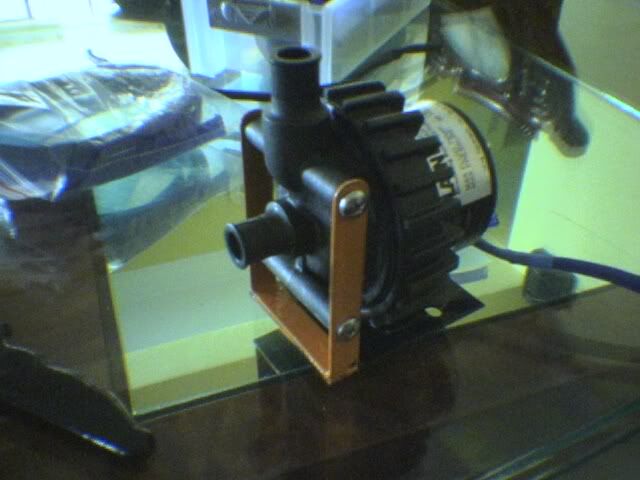
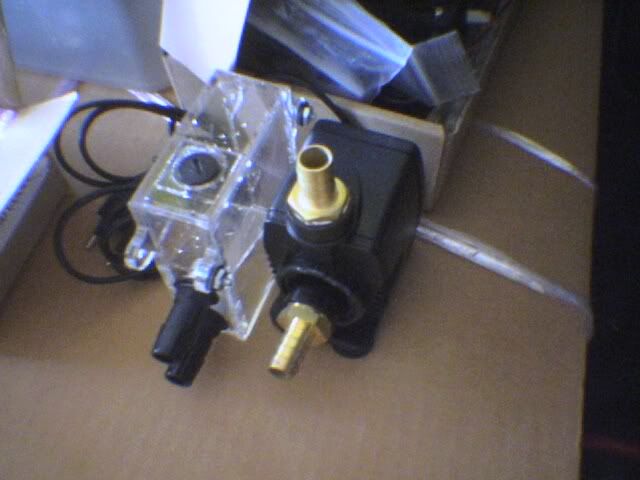
sleeved the pump...
done...
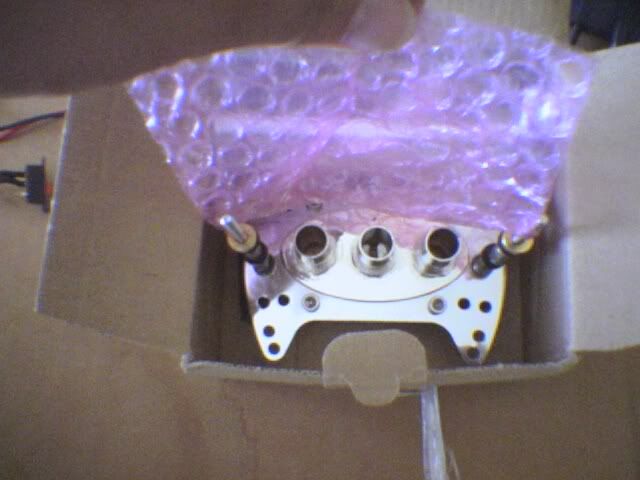
heres the original mounting plate for the mcp655... looked a bit boring all black...so added some colour to it...
done..
the mcp655 also generally all black, so tried to get the same colours as the nounting...
done...
deosnt look that nice thogh will redo after it dries...
got my new camera... not exactly new... as this is a second hand one..bt its good enough for my uses...wont be taking alot of pics with this though... just for close ups and for the finishing pictures...
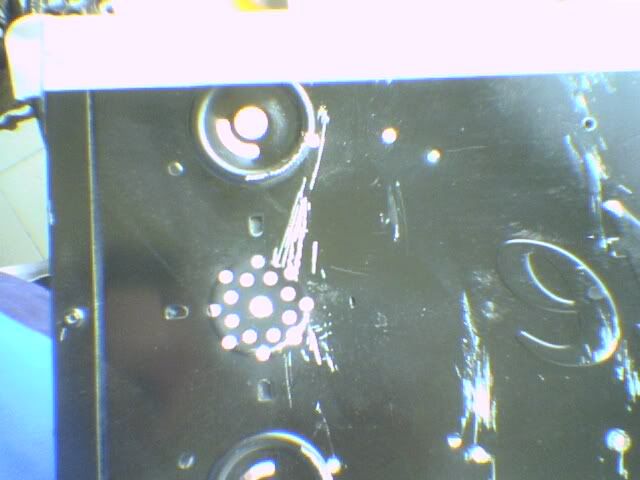
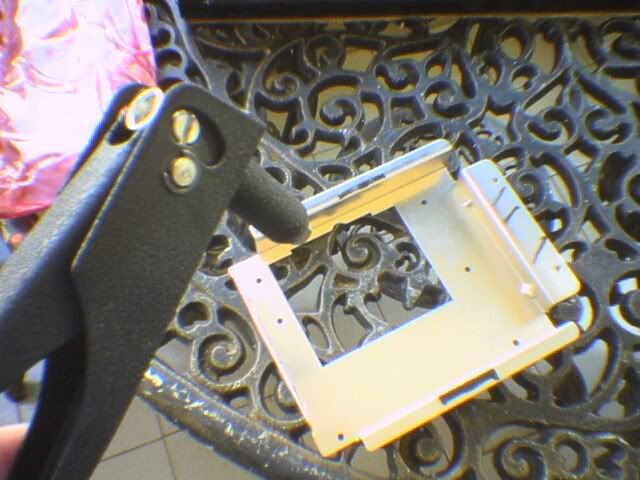
drilled some holes to fit the hdd cage,....
the mounting plate and my trusty riverter...
lock and loaded...
doen..6 rivets needed for optimal security...
fitted on... i will replace the fan in front of the hdd drive soon as i suddenly didnt have any decent 20mm thick fans...
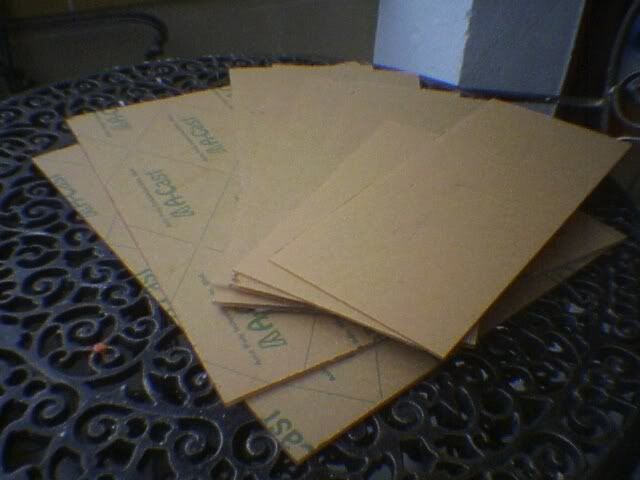
i got this two pieces of some kind of sound dampening material.. its very hard, feels like cardboard and it is water proof... and if u knock on it u can only hear a soft thud... its going to be the base for my case...
like so... with thick double side tape to further daampen the sound....
after cutting the edges to fit..tada...
-
Anodized
Re: [Worklog] Project:Black Fire
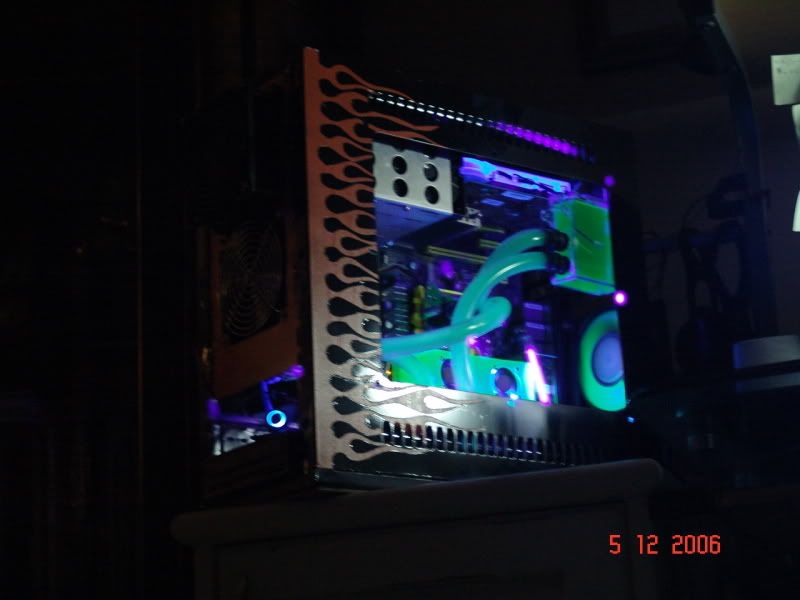
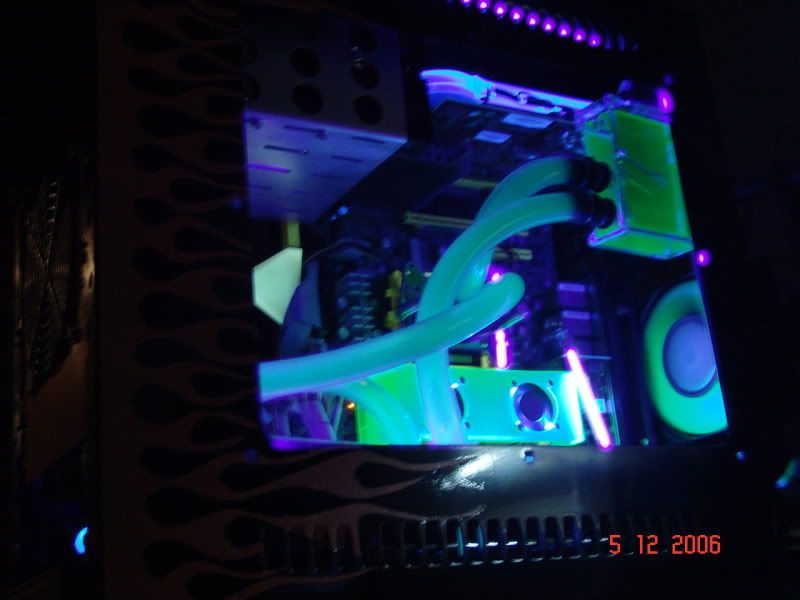
started installing my wc stuffs and got to this..
look preety neat to me.minimal tubing used...short travel distance foe the water...and set up like this...res>pump>rad>storm>res
mountain dew anyone...hehe
system filled and bleeding for bubbles...
a little uv doesn't do any harm...
well this mod is going a bit slow coz of
1) i had a few family problewms... my granpa just paseed away so no mood to mod..
2) $$ dun have coz of the camera and the ppcs stuffs...
3) thinking of changing paint scheme(all black with orange highlights)
4)bloody exams in january...
thx for your compliments...
here guys... some pictures for now.... just for u guys.... thx for supporting me...
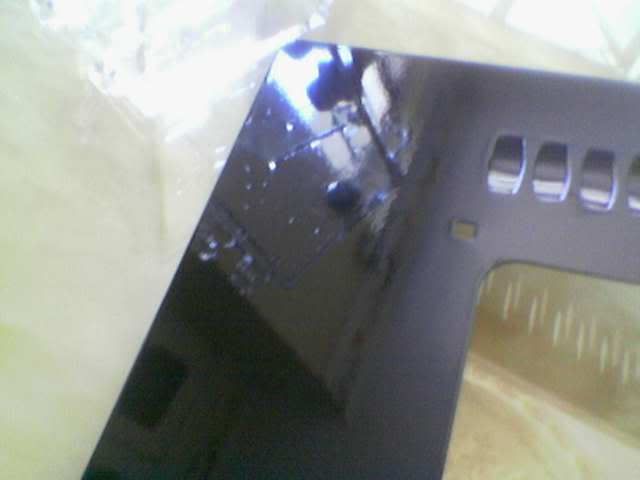
some mirror finish
shiny :clap: :clap:
shiny :clap: :clap:
-
Anodized
Re: [Worklog] Project:Black Fire
ok guys finnally back modding
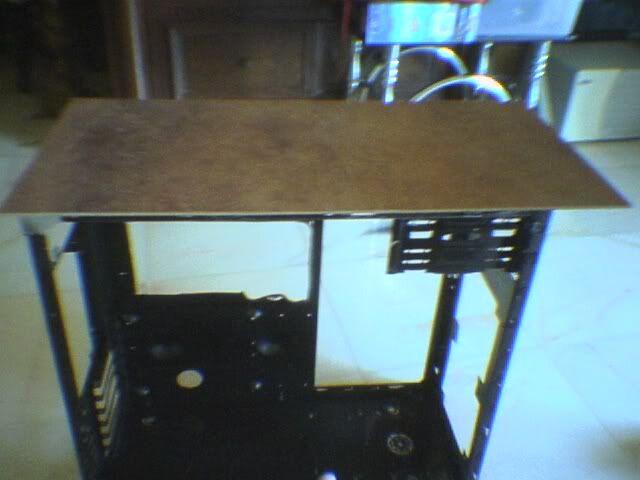
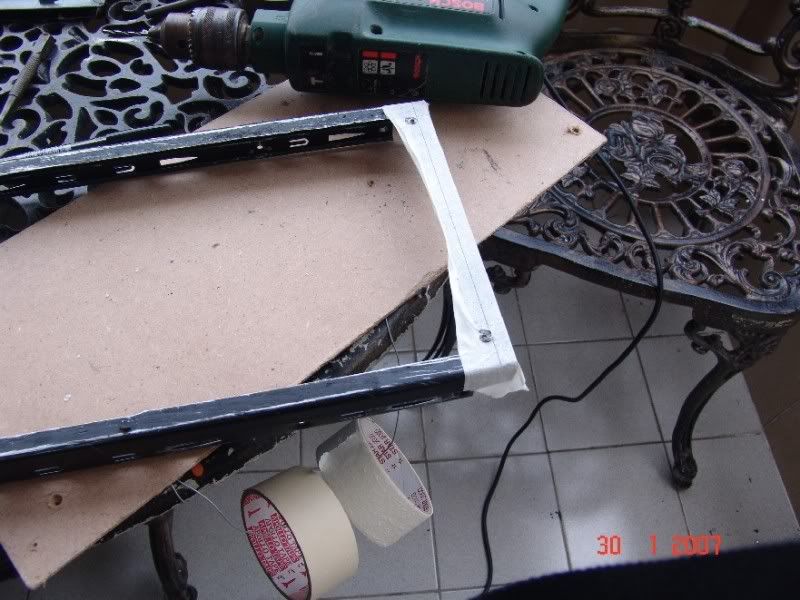
took the measurements for cutting the acrylic.
poped into the hardware shop for some anti rust primer and some more paint.
ok as i mentioned i wnet to my firends plastic shop , well aftrer bout 3 hours of cutting, i got the pieces i want. also i poped into a near by motorcycle shop for some counter sunk nuts. and bolts.
the acrylic and the bolts .,
the acylic
the bolts.
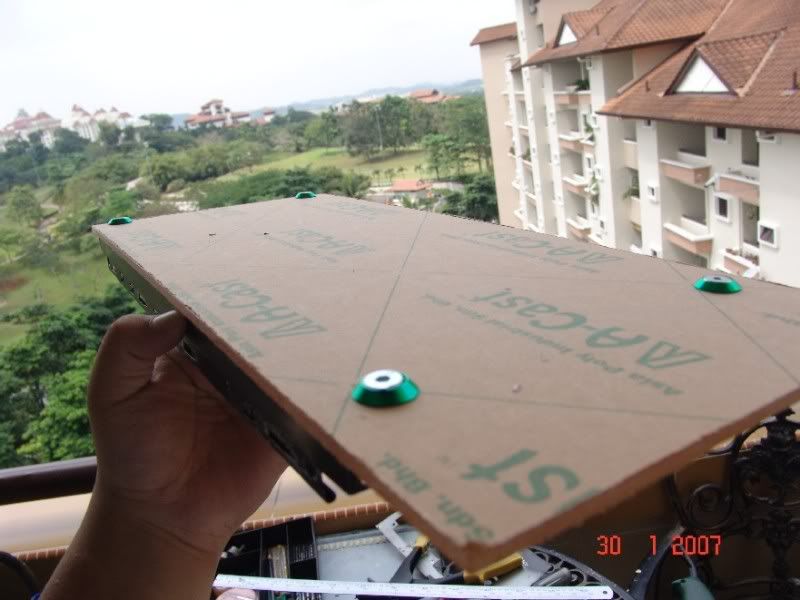
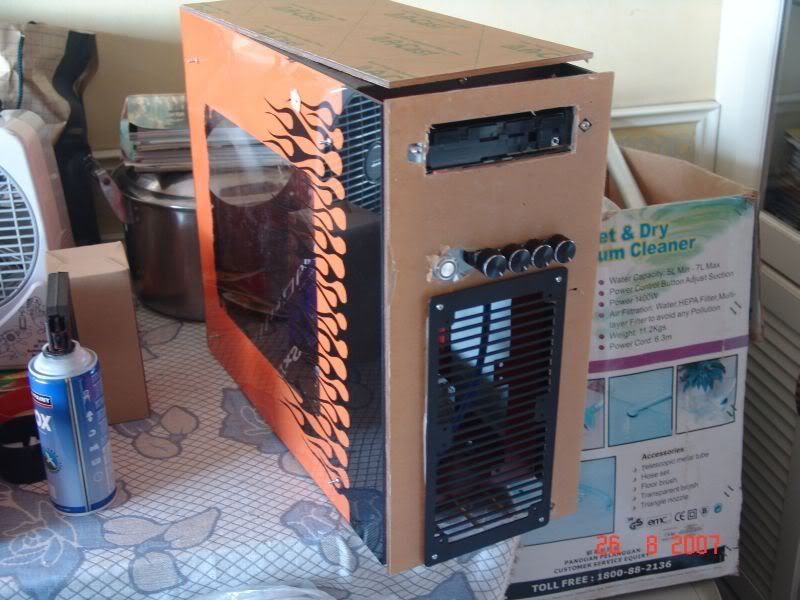
preety good fit imo... all perfect, as u can see the case will lok like a lianli a10 or a p180 depending on wat u wanna call it, also there will be a back panel as welll.
here the sound dampening thingi is getting in the way, but no worries, it wil be taken care of.
thats all this time, sorry for such short update... waiting fo rmy fame stencils to be cut by my friend, using a advertise ment cutter, for precision... anyway i purchased a dremel and will be arriving by tuesday....
updates...ok since there have been numerues requests for beter quality pictures, i have decided to ditch my usual camera for my sony cybershot.
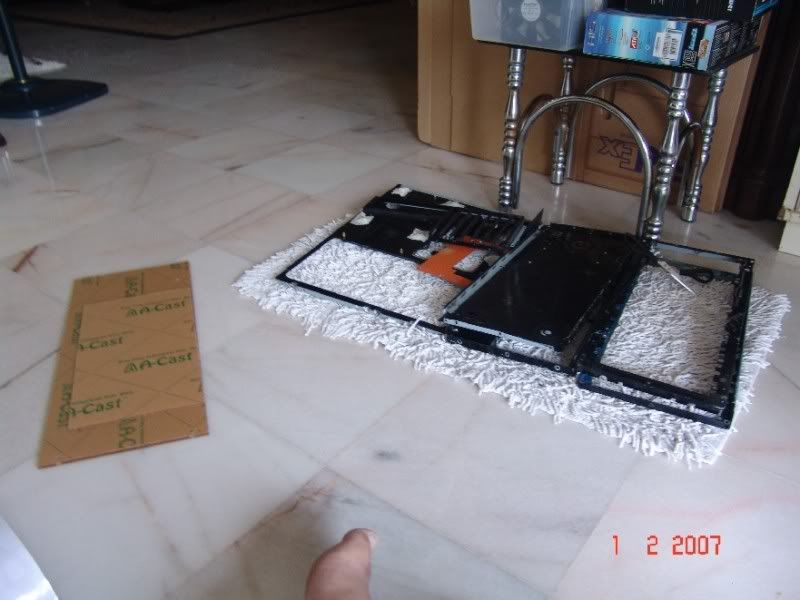
ok here you see the case as it was the last time i updated.
first thing i need to do is to remove that sound dampening thing from the top panel.
removed.
i definately don't wanna work with double sided tpe again i tell you,.. takes a long time to gt the residue off...
slowly removing the tape.
most of it off
removing all the rivets from the case ... taking it apart so it will be easier to paint and measure the panels.
top panel off.
all the other panels off.
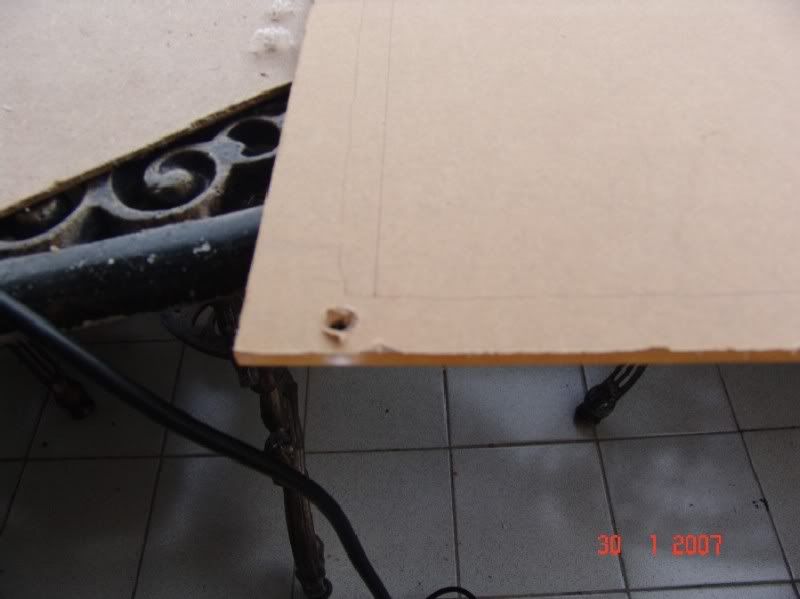
measuring the line sfor the top panel acrylic.
marked
drilled the holes for the bolts.
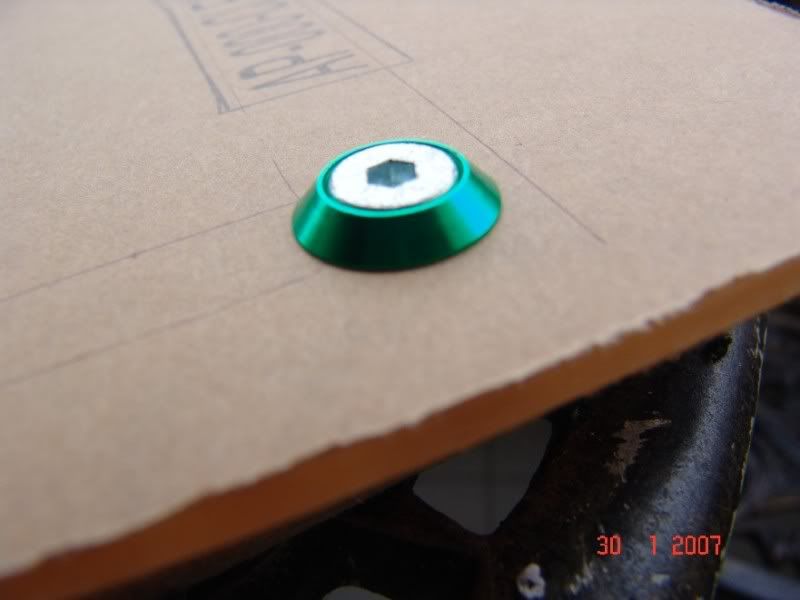
test fiteed, perfect fit. the coulour of the bolt is temporary untill i can source beter ones. these ones someof them have fitting problems.
drilled the holes on the panel. its very very hard to get the holes perfectly right. dam drill bit was jumping a lot due to the bent panel.
some shots of it fitted and how it should look.
[addedon]January 31, 2007, 3:24 pm[/addedon]
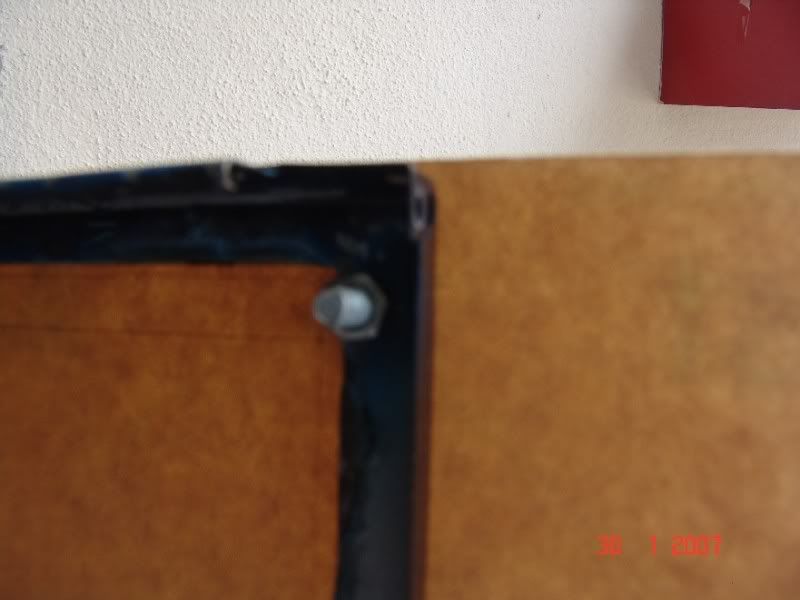
the bolt that secures it.
well thats it for now, im really tired after a full day of testing hardware for my self. but i might do something later..
bro i will measwure it tonight sorry didnt see ur post untill now, but will post it tomorow or monday if that ok with u....sorry yeah
update...
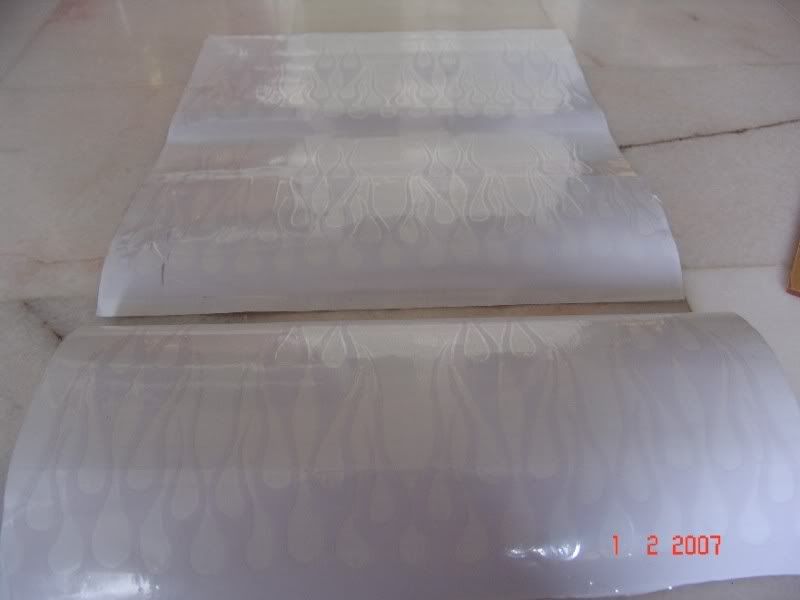
got the stencils cut by a roland sticker cutter...
the mod as it is since the last update...
 Posting Permissions
- You may not post new threads
- You may not post replies
- You may not post attachments
- You may not edit your posts
-
Forum Rules


 Reply With Quote