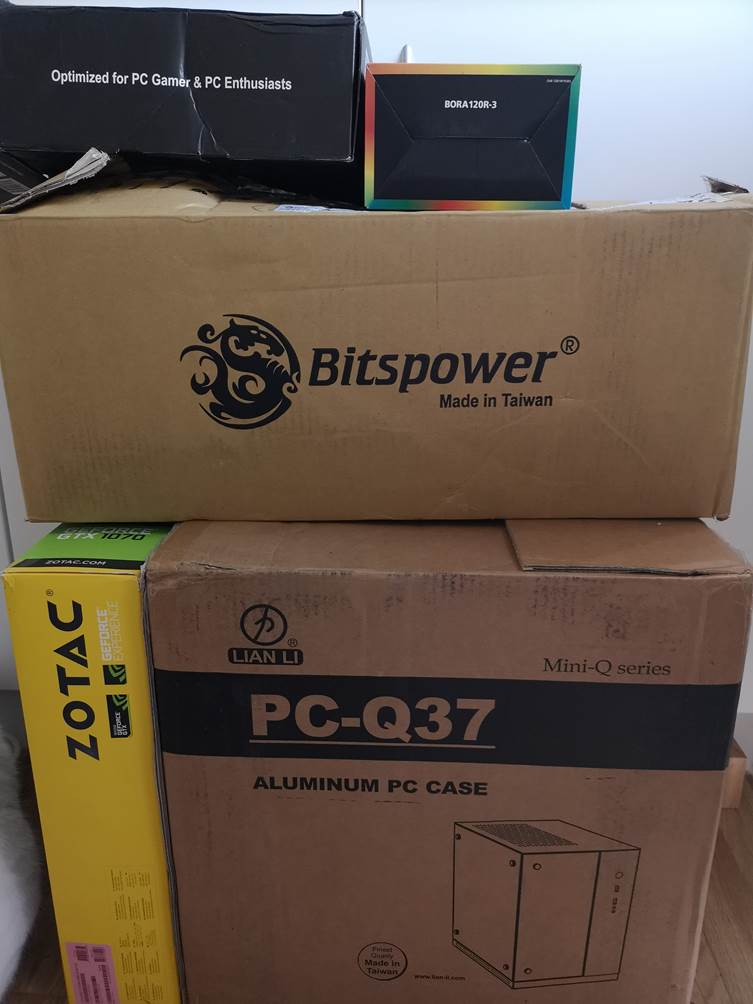
So another day and another update on the build for the kids, first off lets show off some of the goodies the sponsors sent
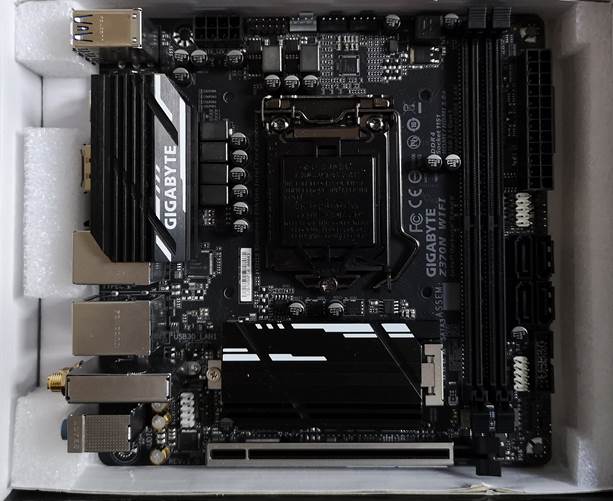
The motherboard for the project is actually quite shocking seeing as its not a gamer, or overclocker branded, not only did it come with two m2 slots, one rear and the one on the front. The front one is actually supplied with a heatsink, it also has Gigabytes RGB fusion, which supports not only rgbw strips and normal rgb strips (both of which support pin rearrangement) there is also a digital RGB strip header on board, this I found surprising especially at price point.
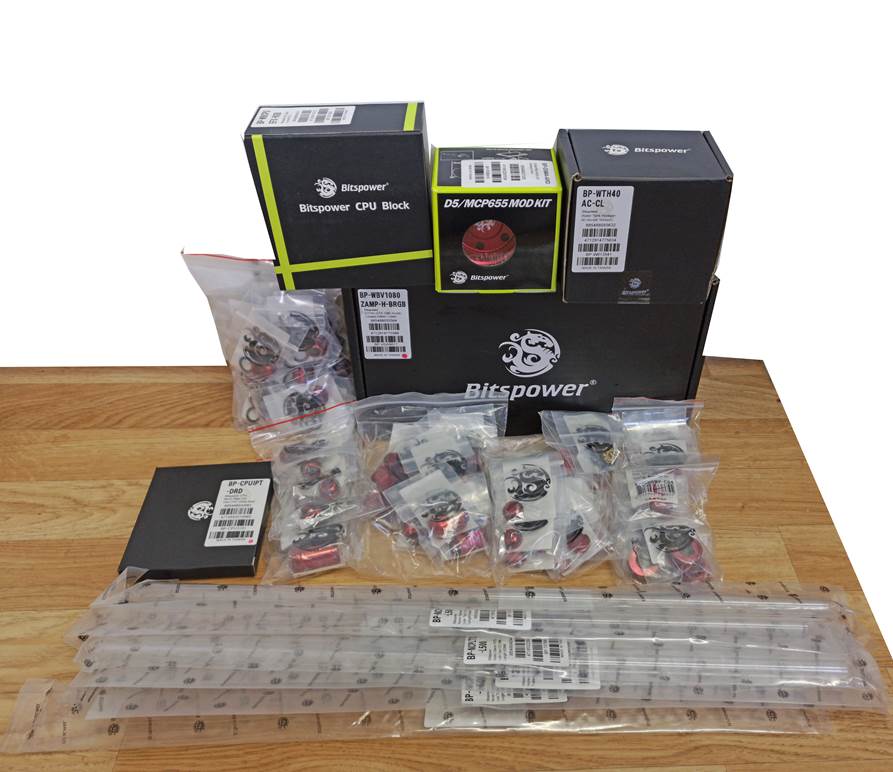
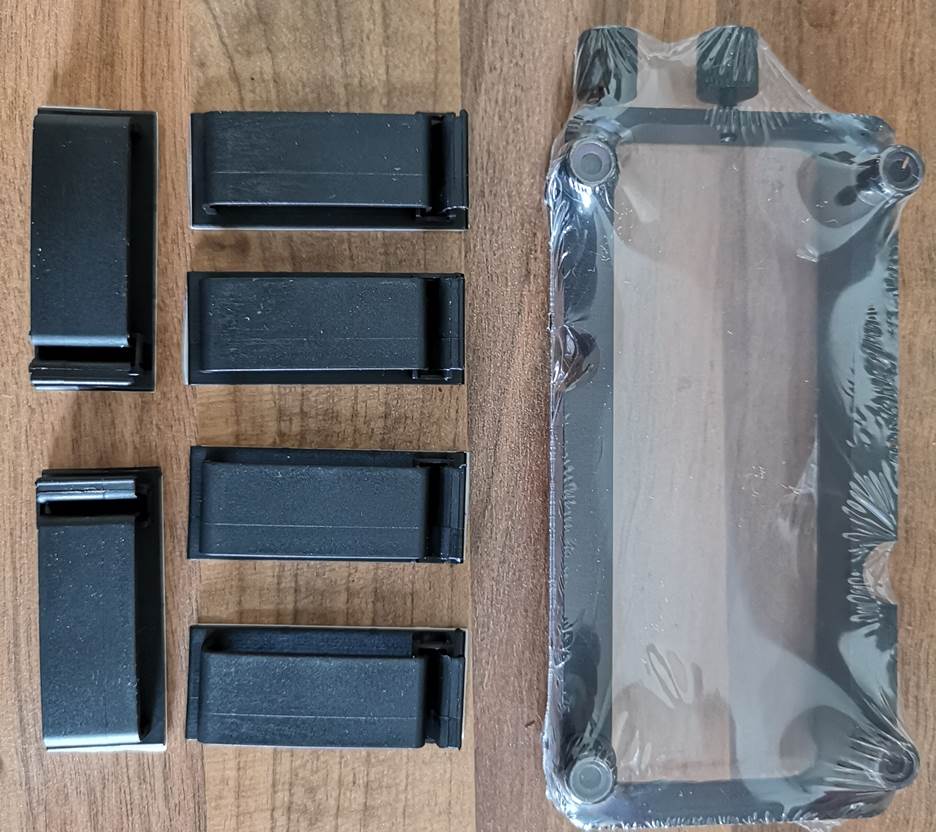
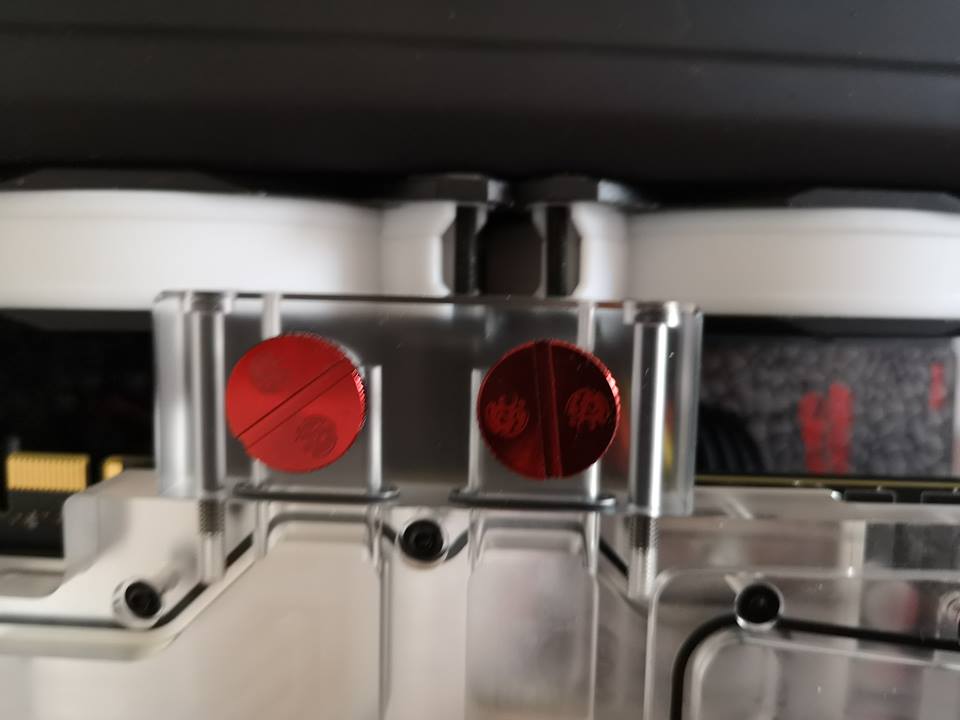
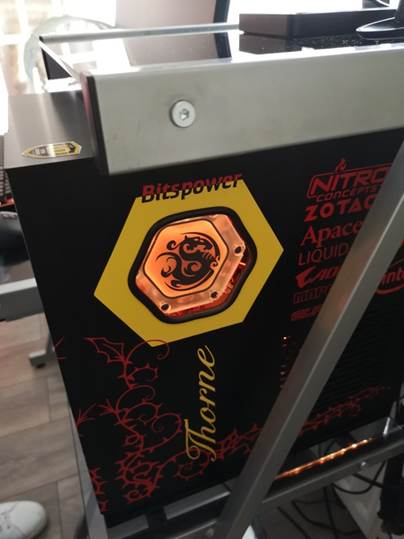
Next up we have the bitspower package which comprises, hardline fittings, Zotac AMP gpu block, CPU block with rad bracket, a hex tank (res), a mod kit for d5 pumps in red, and all the red fittings I will need for front open side of case. I will use some gold fittings in the rear that wont be seen, but I will show you guys a picture of this later on.
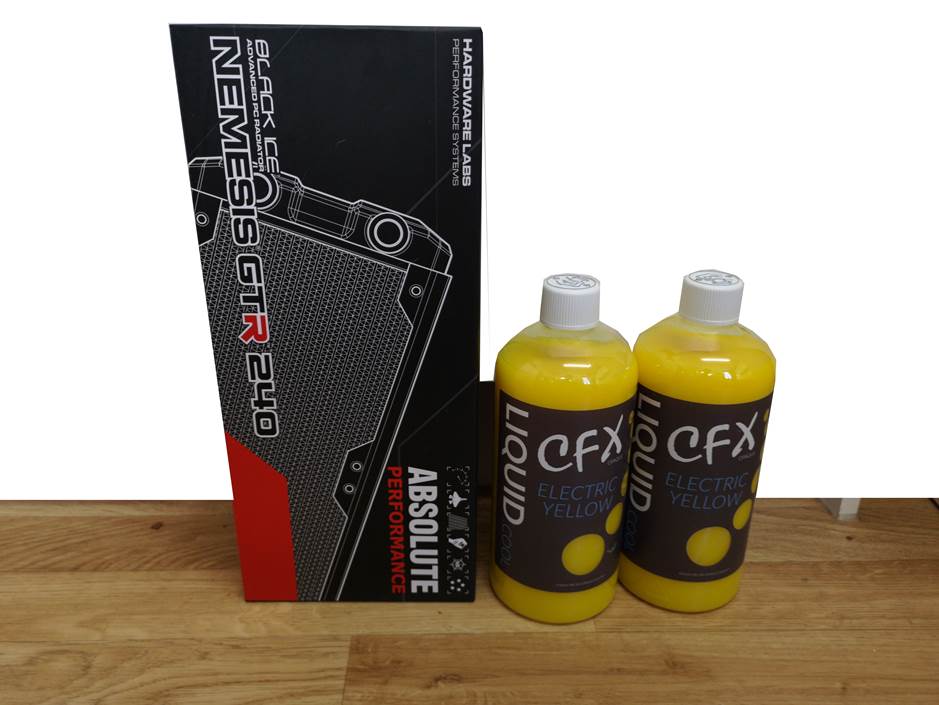
Black ice Nemesis GTR 240 radiator and yellow fluid, yes yellow and red, an unusual combination but these were Johns (the kids dads fav colours so only right I used red and yellow in the build.
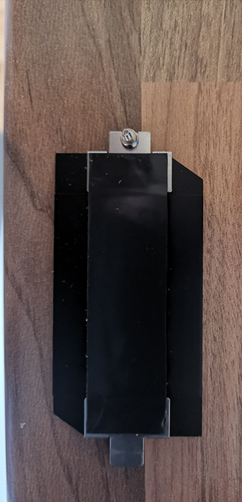
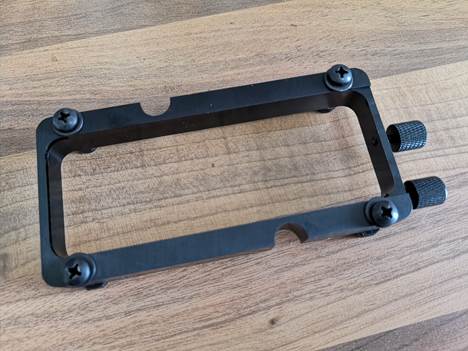
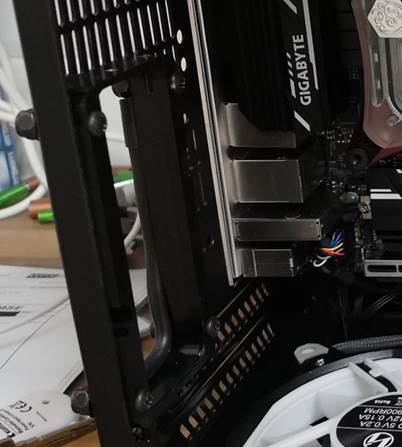
Next up we have the superb Vertical GPU mounting Bracket from MNPCTECH and some cable clips (which I did not think of really, but will come in very handy)
Mnpctech.com have various designs of these brackets and even do one that would not require any case cutting at all really as they mount to fan location.
I wont rattle on about the quality of the finished product on the vert GPU mount really as most people know anything coming from mnpctech.com is always of a high quality, but without this little baby this build would be not possible and would you like to see why.
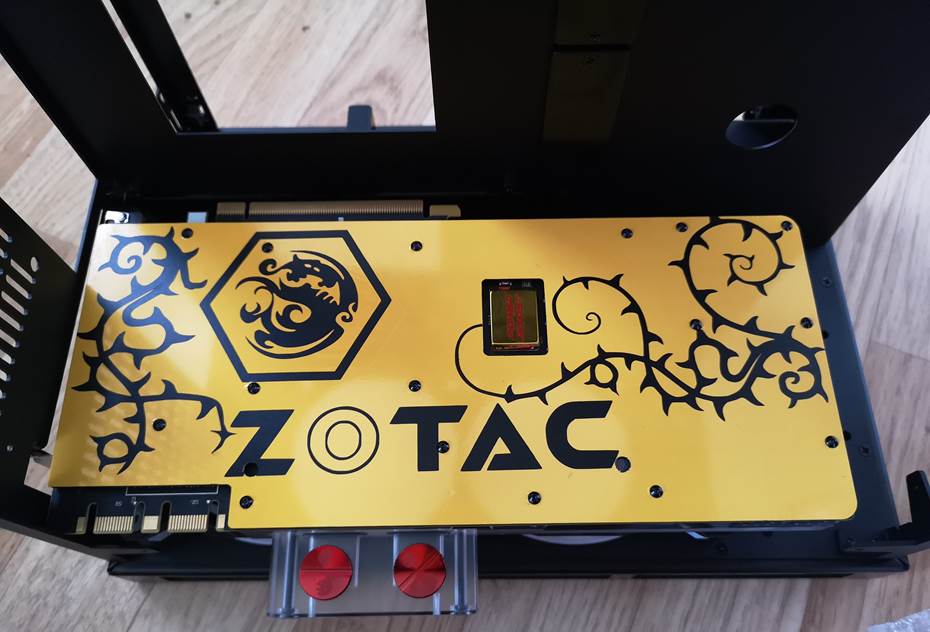
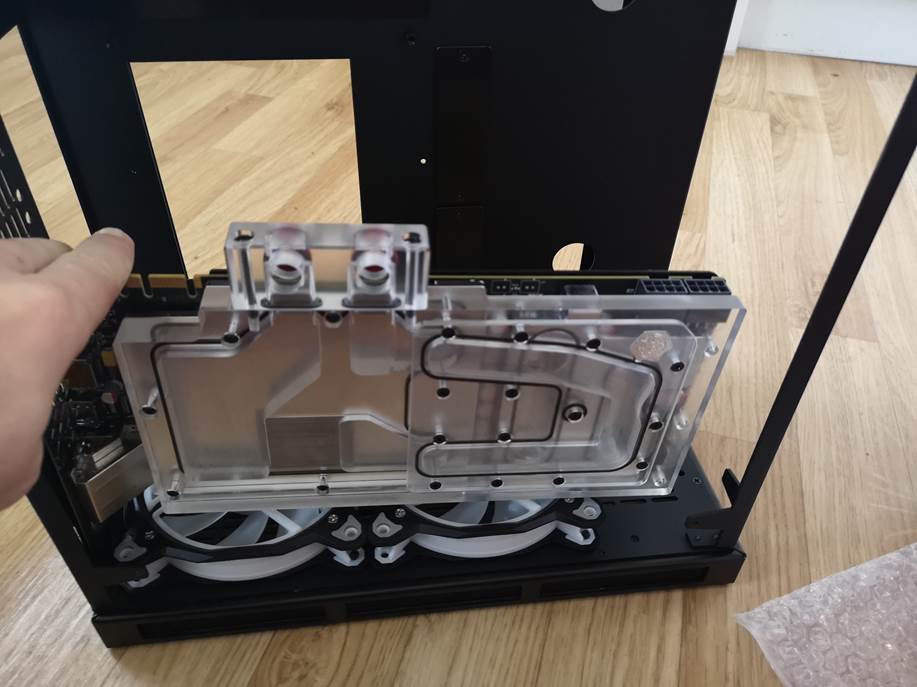
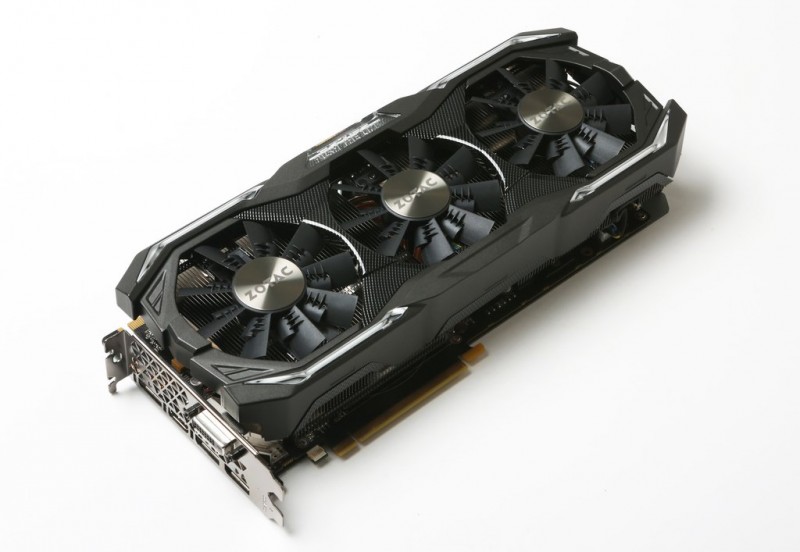
With the card in the normal location (due to it being the Zotac amp and huge width) there would be no way to put the window on, let alone the power cables either, so the Vert GPU bracket is a 100% needed.
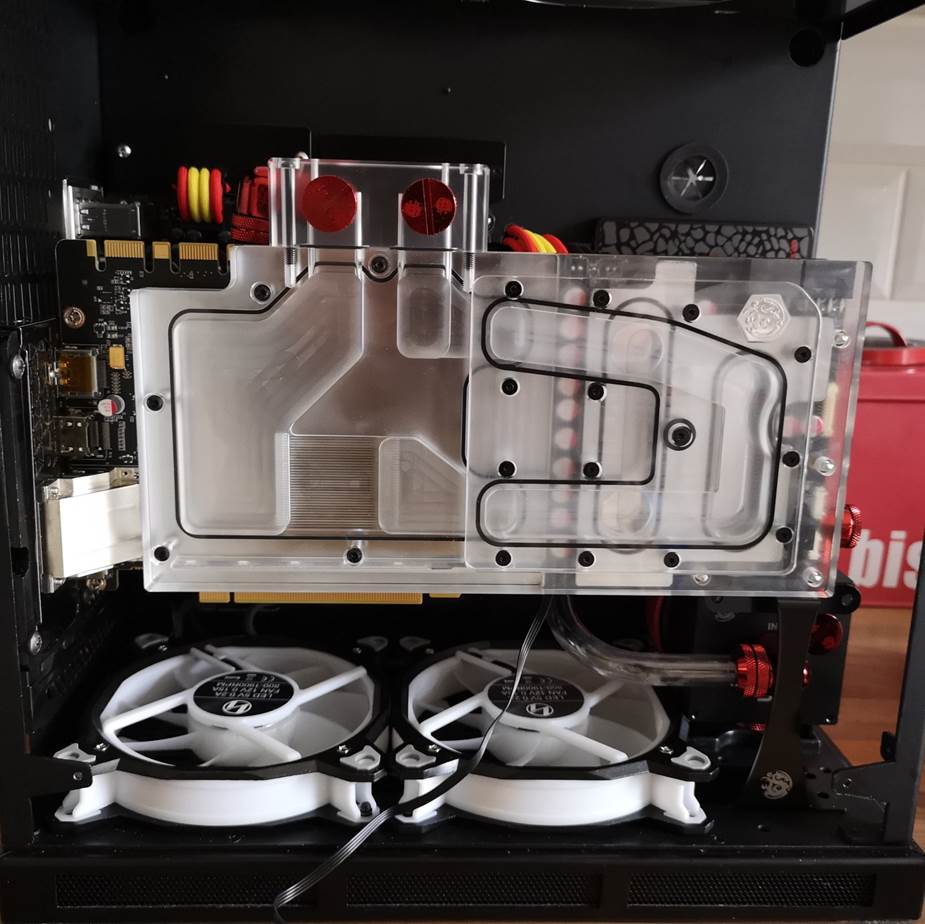
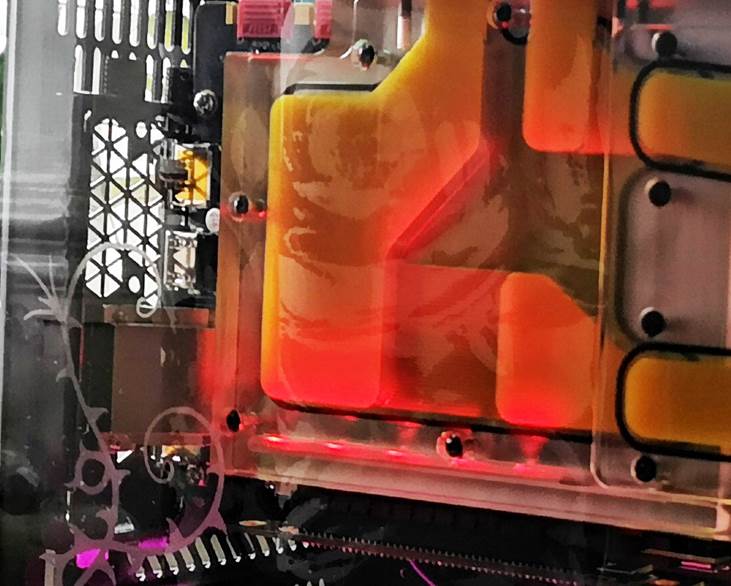
So this will be rough location of this gpu with block.
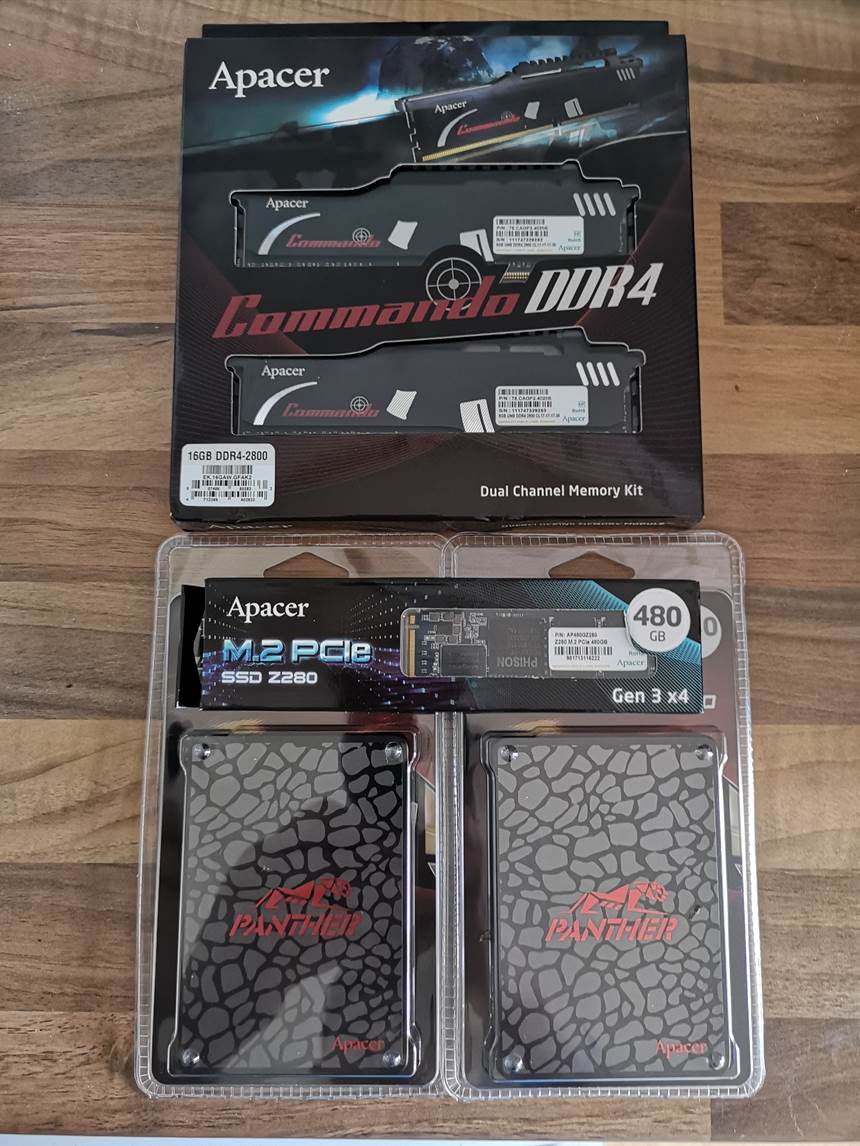
Apacer supplied two panther SSDs, a m2 PCIe SSD and a 16gb dual channel kit for the build, all with some type of red added to them apart from the m2 of course.
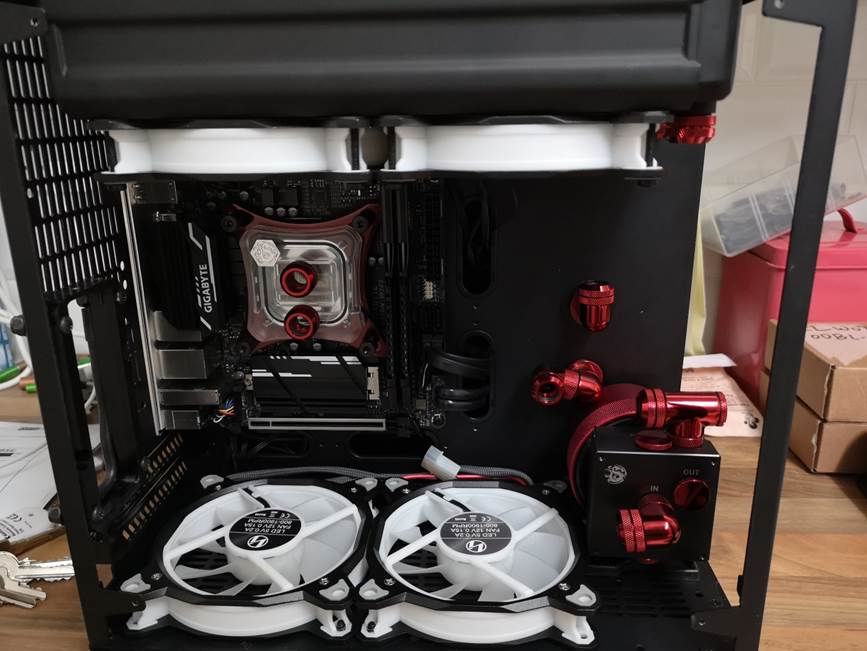
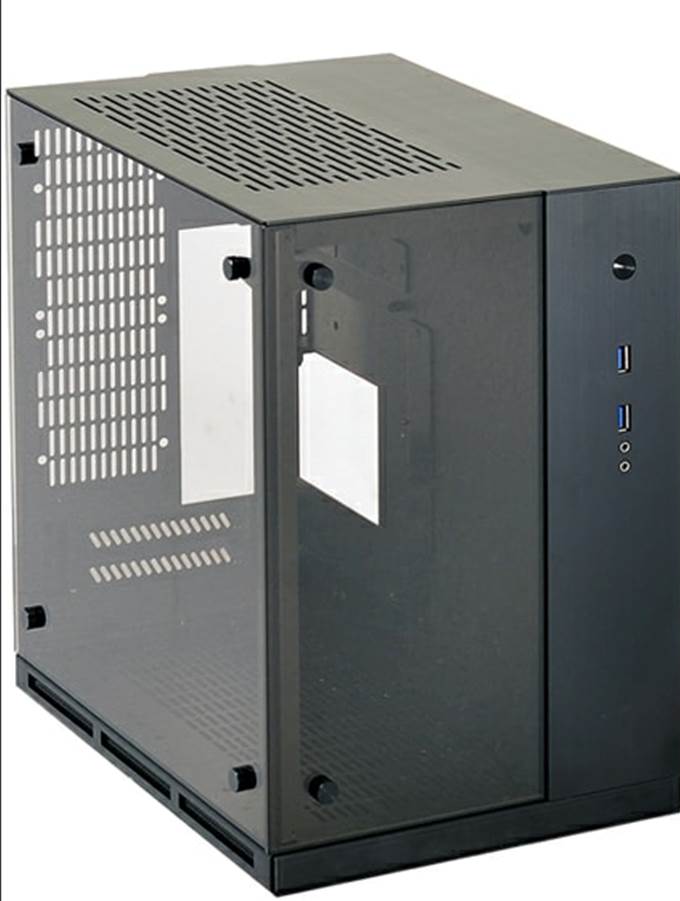
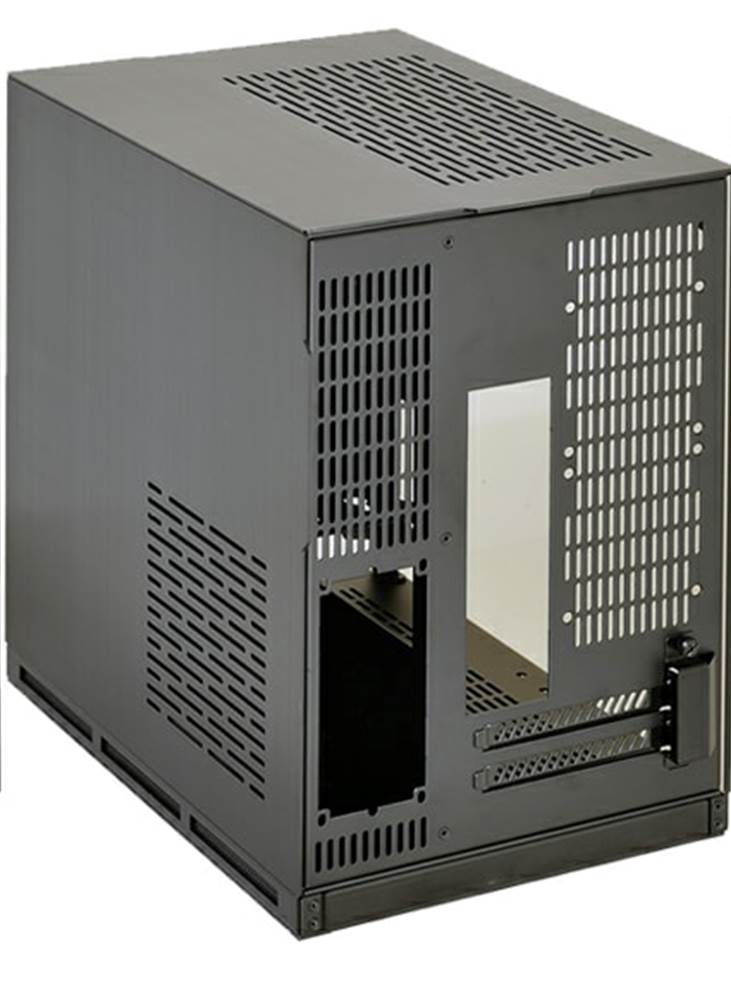
Now onto the case part of the build, as you guys no this is not going to be easy really, as you can see from the pics, the GPU wont fit normally (yes its a lot wider than most), but even so you take that into consideration, then add a radiator, 4 fans hardline, then add a d5 with mod kit into that front chamber and well, we know what to expect
a bloody hard time for me

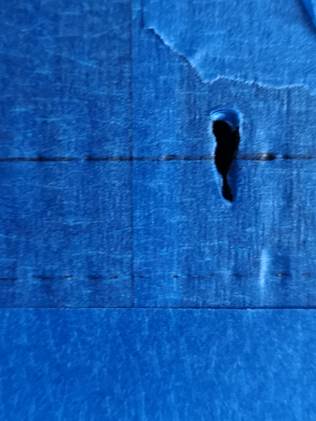
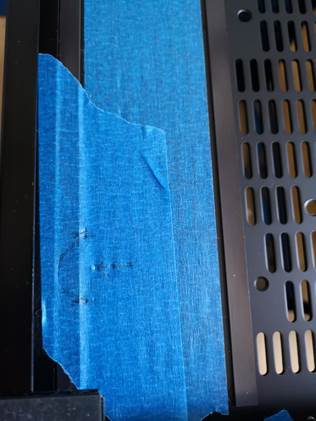
First up I had to take the measurements I needed from the planned drained port were I would locate the hex tank (res) and mark up some points for the fill and exhaust ports, no anyone that knows this case knows the top panel is removable to an extent so that was not an option for this, so above the HDD rack was really the only viable option.
Left are the lines for the fill and exhaust port and right is in the bottom of the case for the drain port.
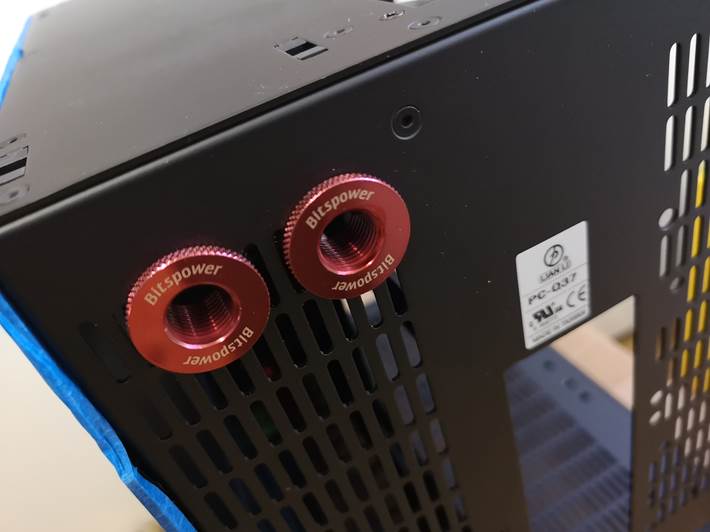
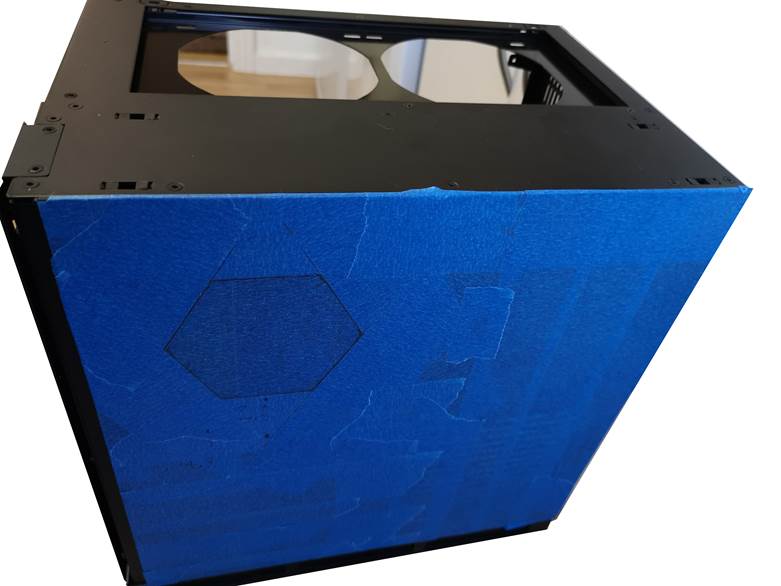
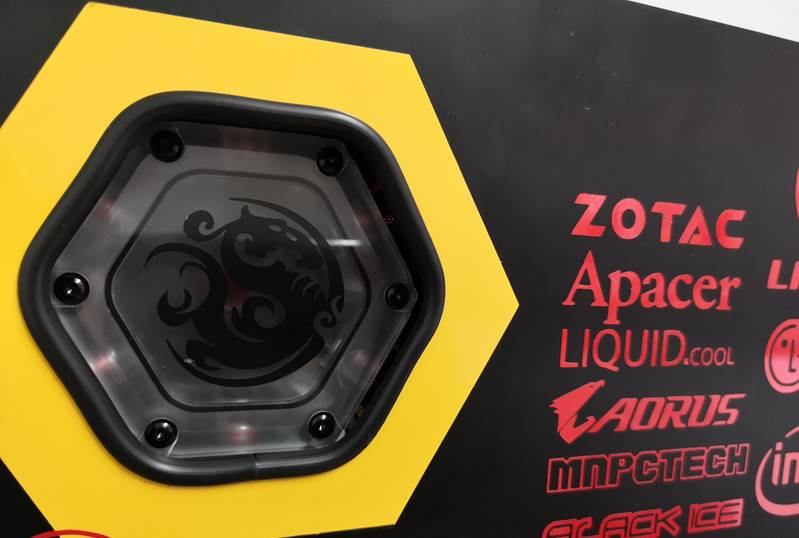
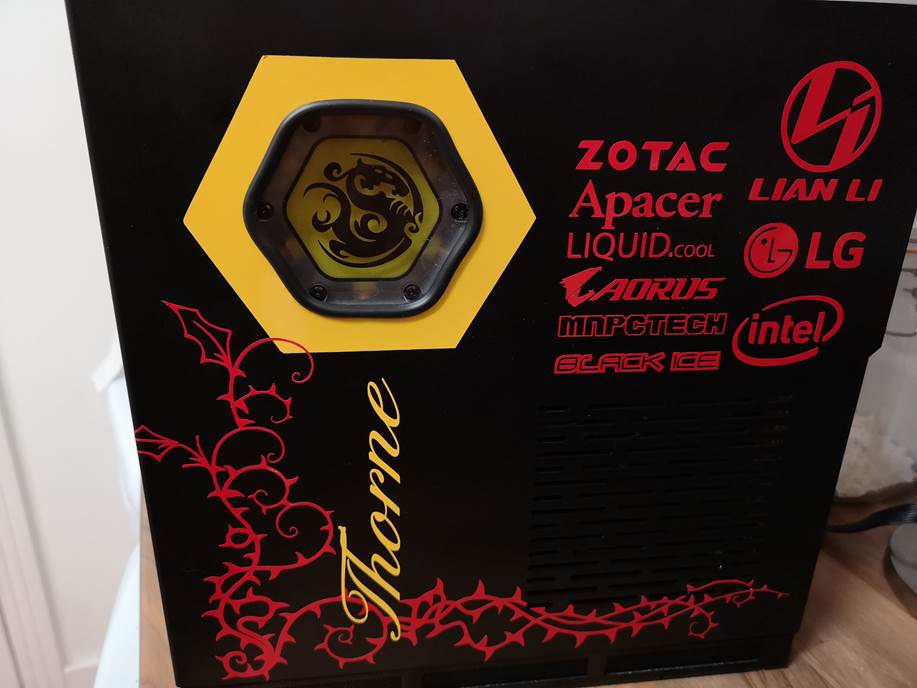
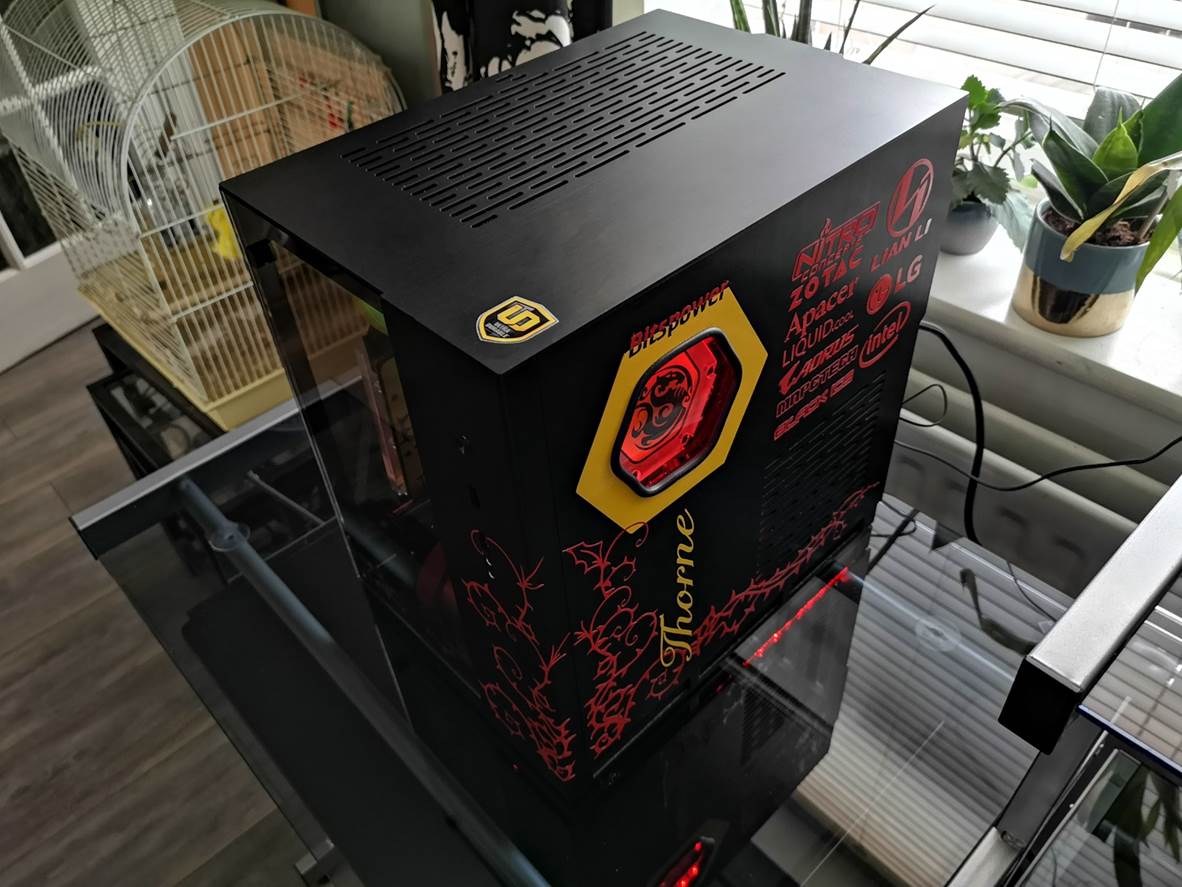
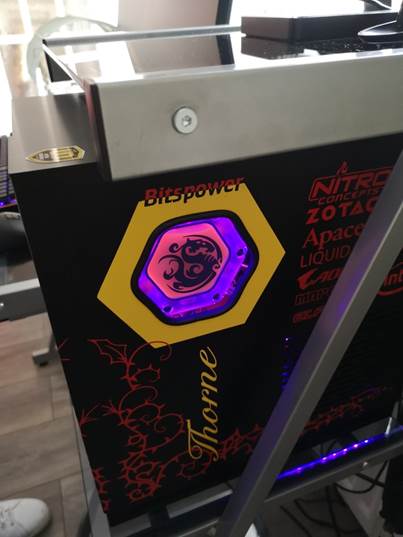
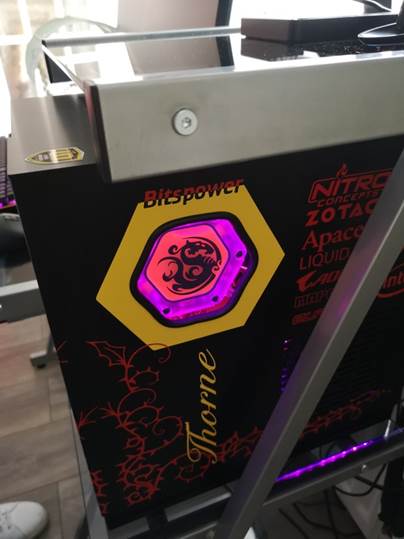
This is how it came out, the fill port on the right and exhaust on the left, know that was done it was time to measure up the side panel for placement of the hex tank so I could cut a window so it was viewable.
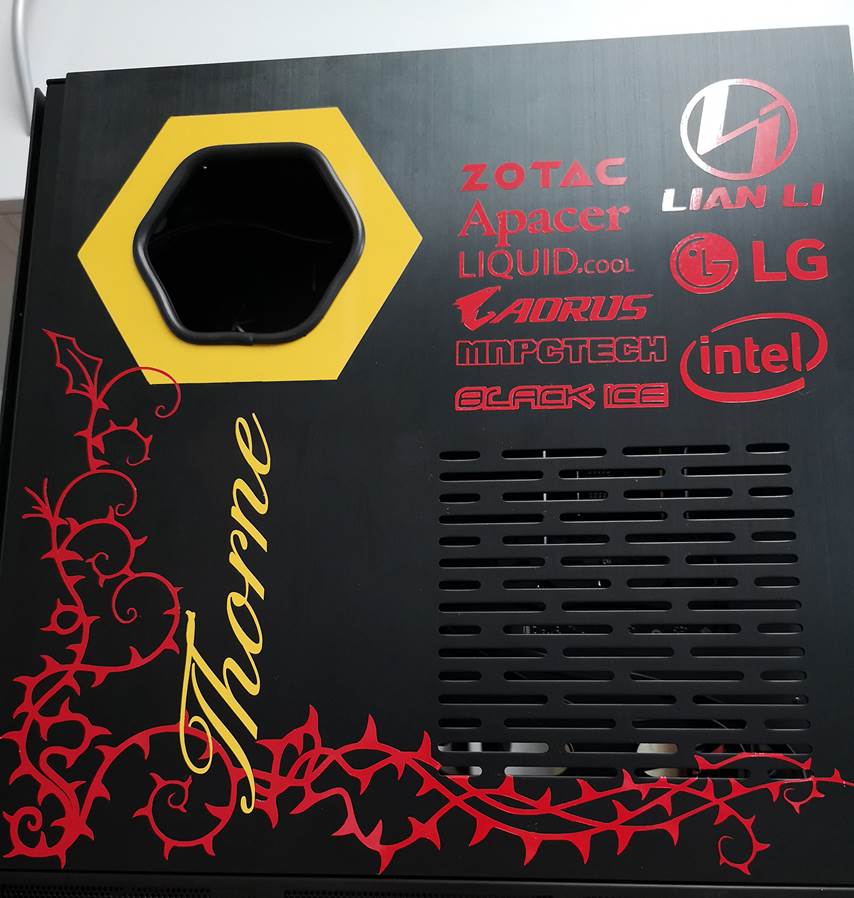
The Plan here is to make sure I get the hole just slightly smaller than the tank to hide the other fittings I will be using in order to keep the yellow and red theme going as I decided to use some left over gold ones from last project around the rear, I was also going to vinyl this panel rather than engrave to keep the yellow and red theme going, and also put all the nice sponsors logo here too.
So rear panel is done and just needs wiping down and cleaning, have mock up window rubber in place, which I always advise anyone to do before going down this route as just doing a mock up first gives you the exact length needed and also will show you were you may need to file down a bit on your cut.
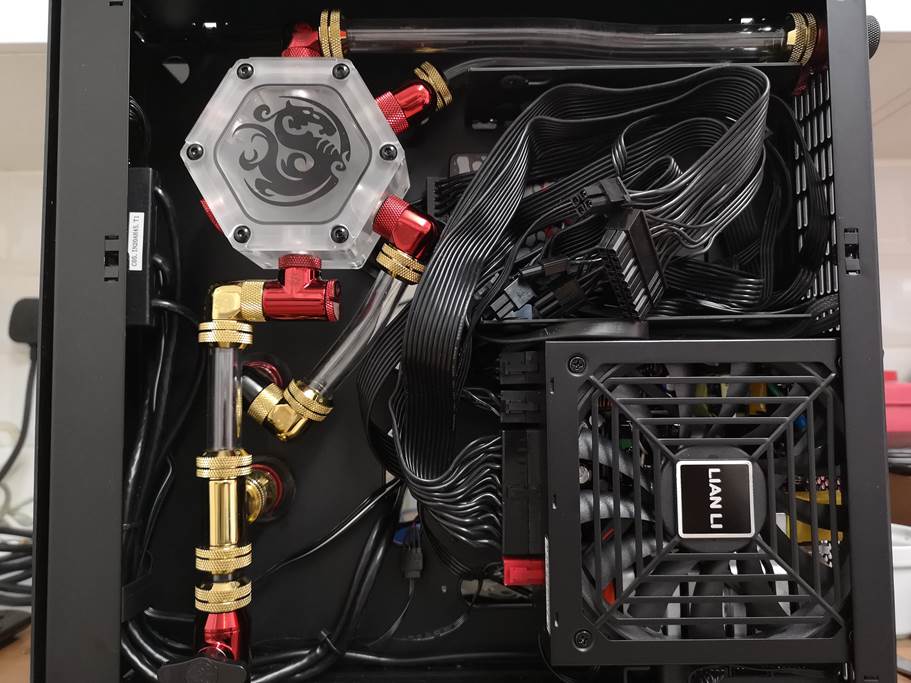
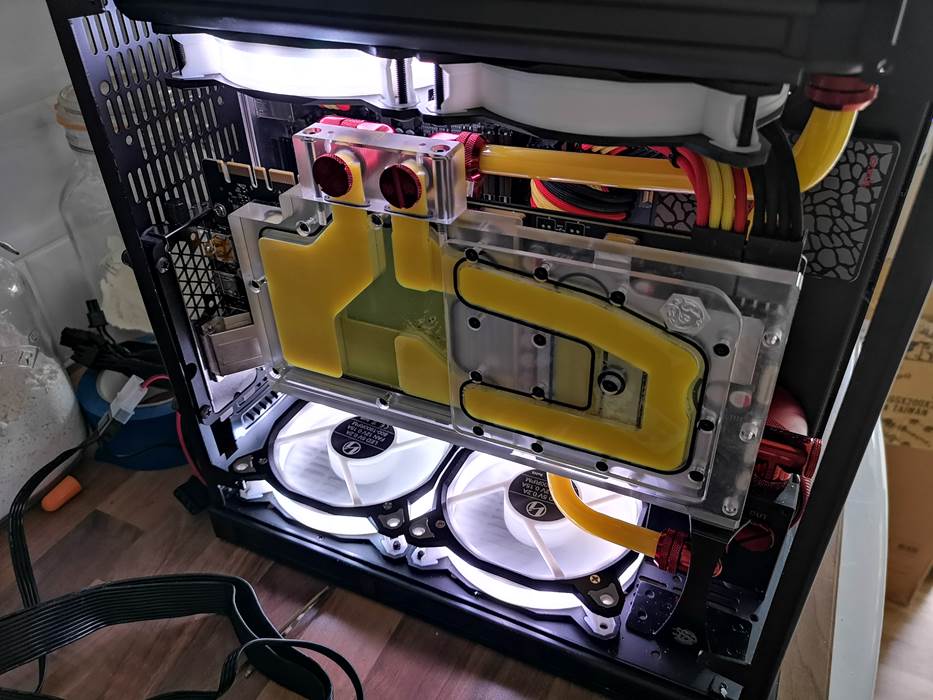
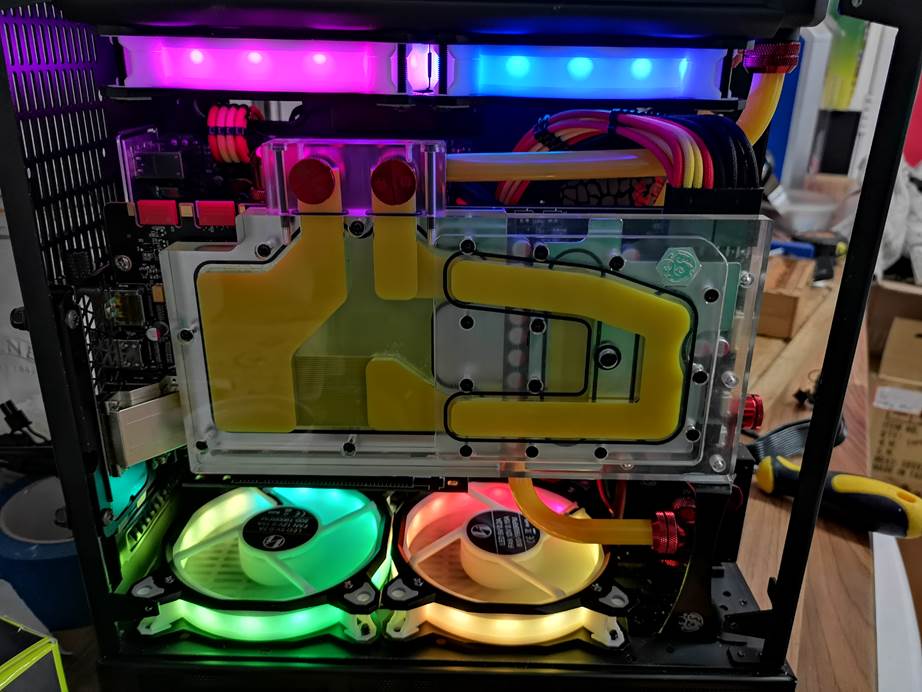
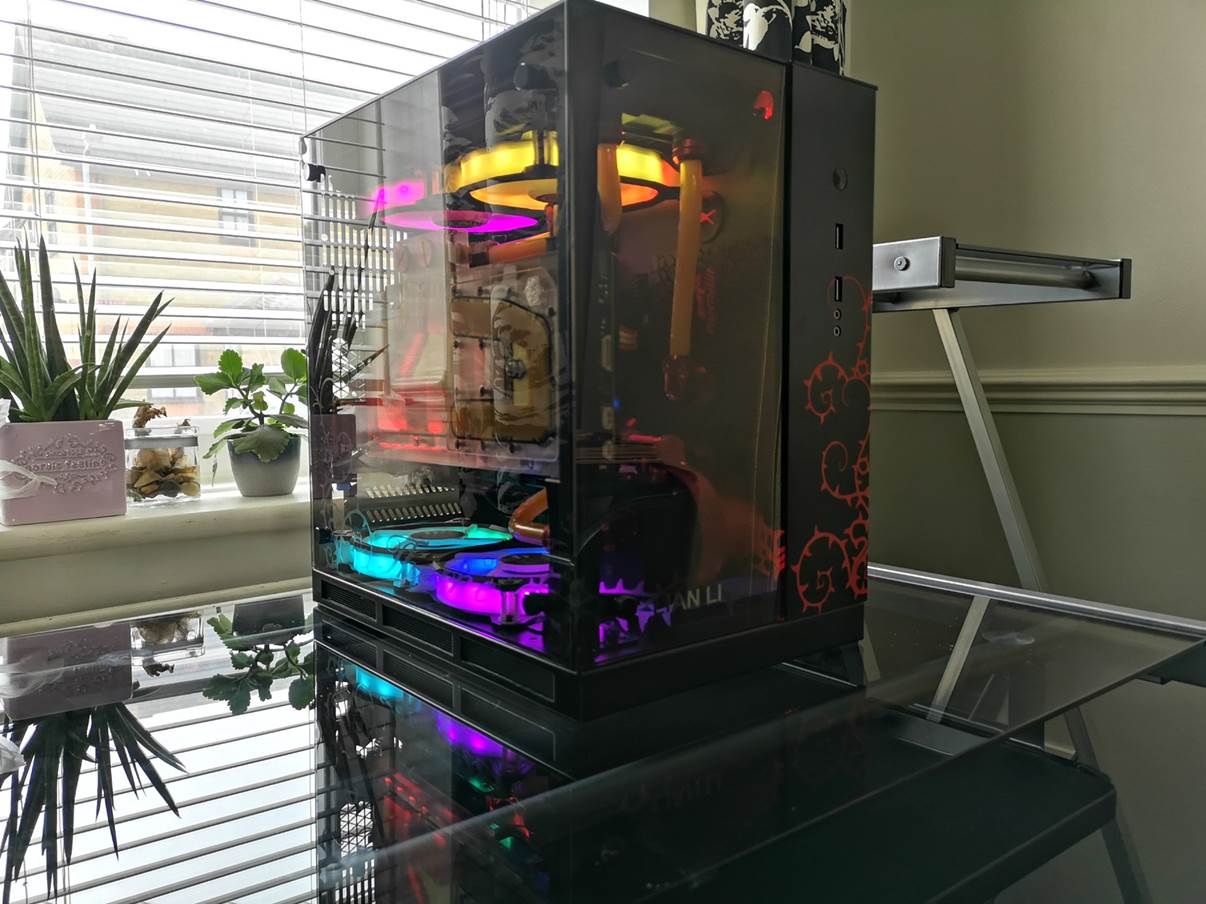
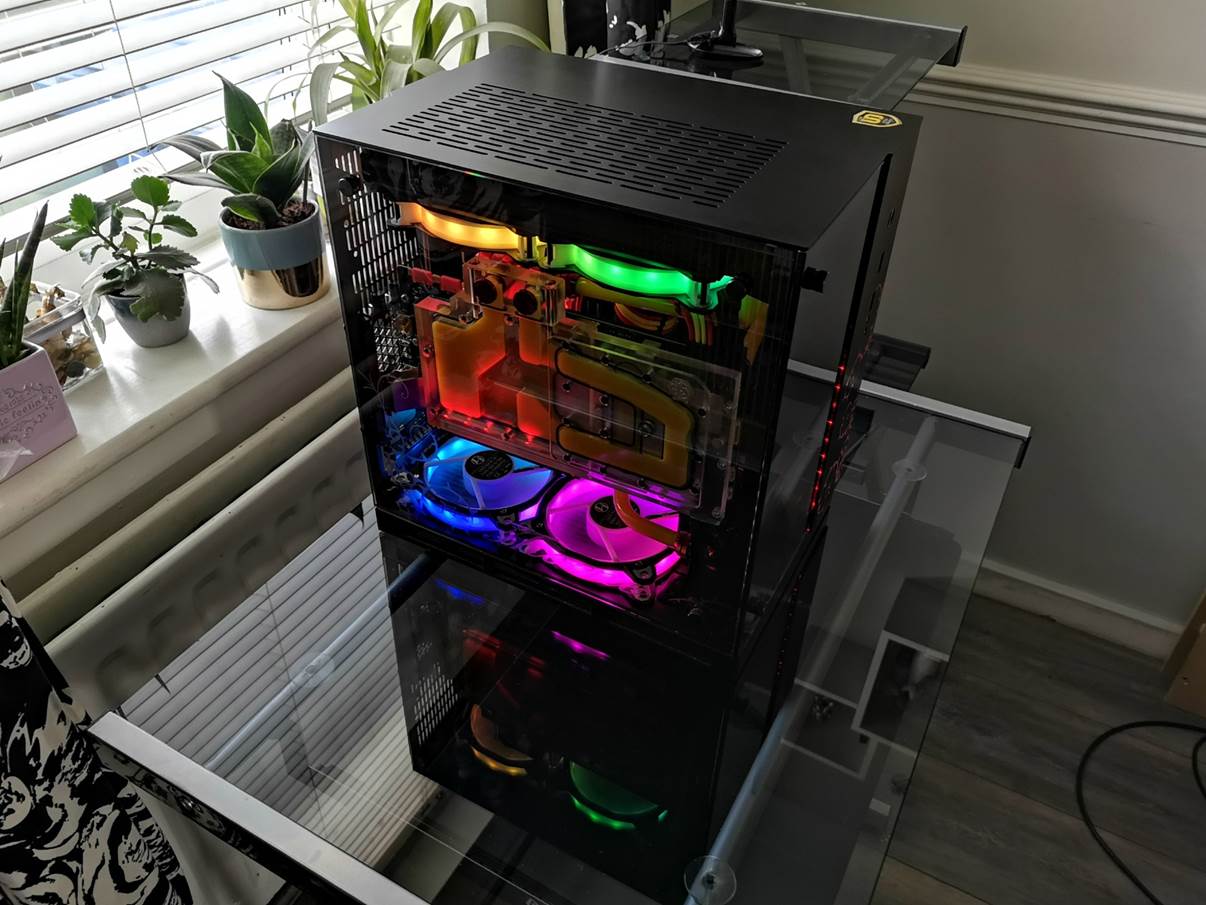
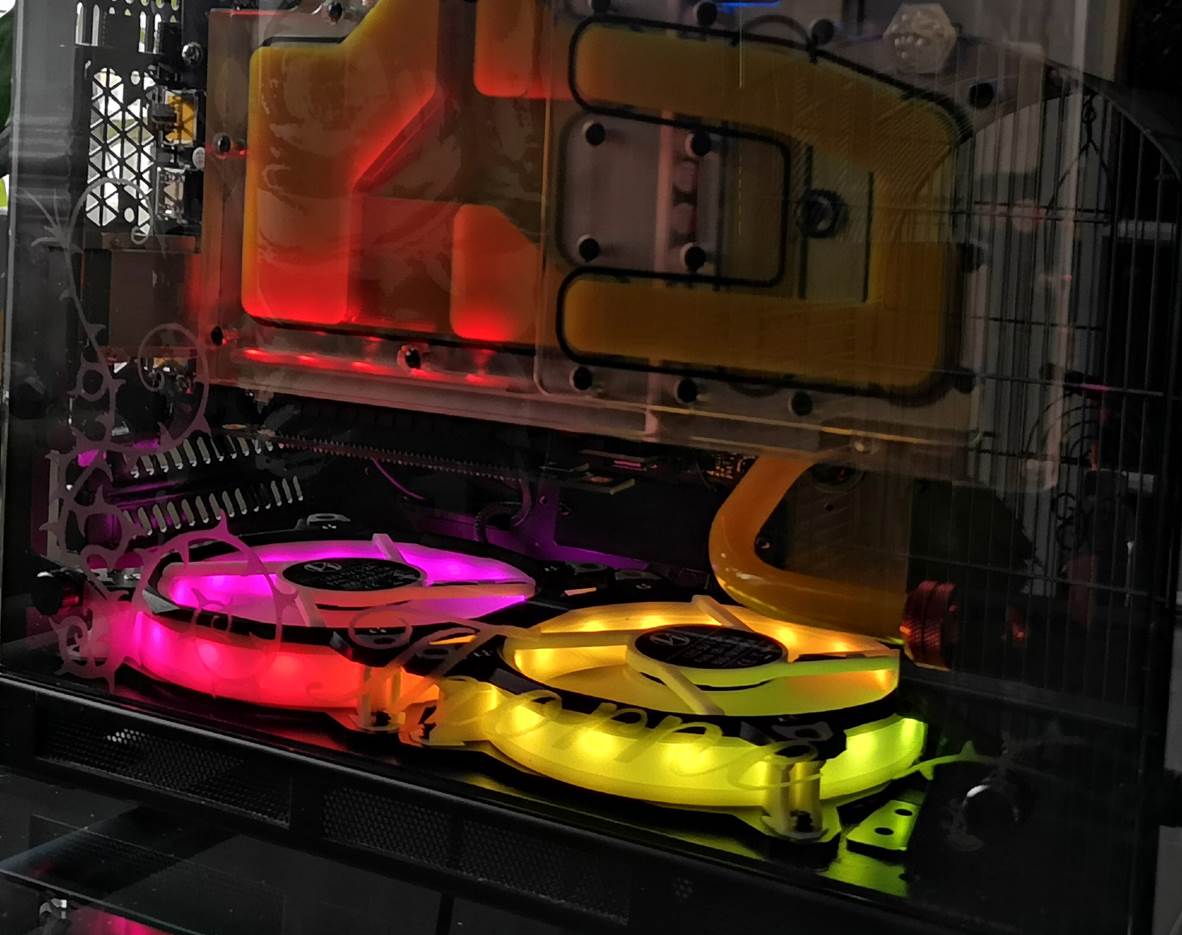
So with all that in place I moved onto mocking up some things and get ready for a complete mess to be seen cable wise.
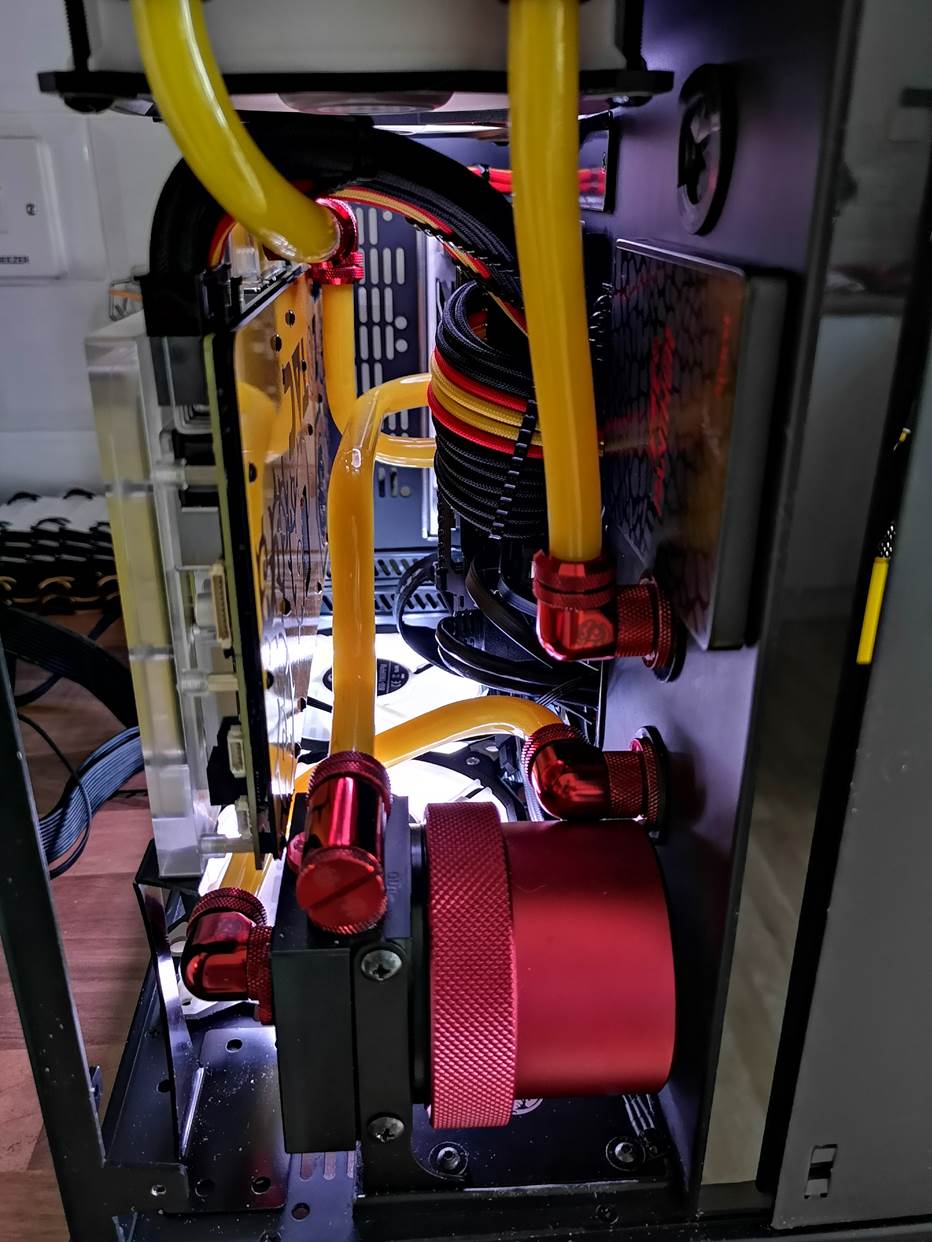
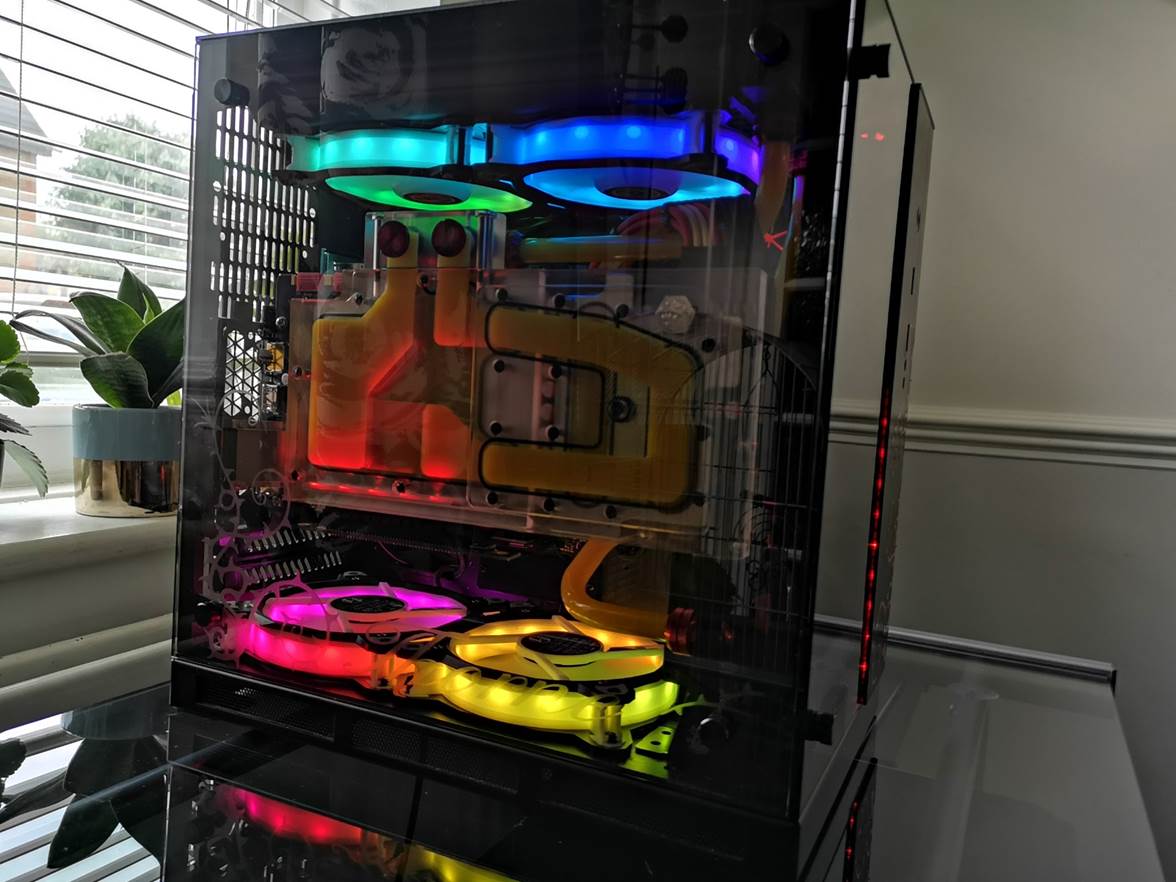
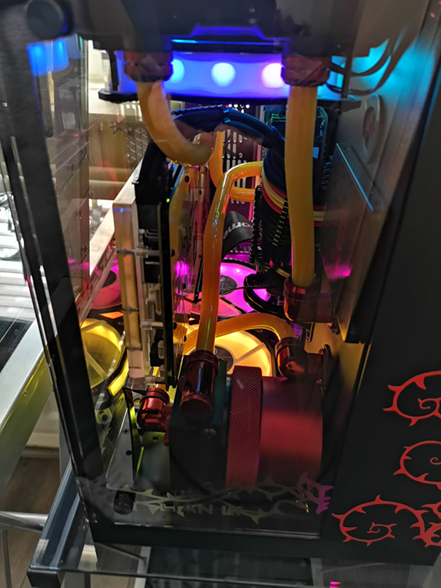
How about that for not sugar coating anything during a mock up, tubing and tank in place thought with all fittings, and god I want to cray at all them cables these are the exact about need for everything in the PC and I am going to have to tidy that up somehow lol. Anyway back on track I need to get the back panel on to see if it lines up properly.
TBH, this was quite a scary moment in the build as I was worried it would not line up, but thankfully it did, next time, I will show you what is happening round the front side of the rig.


over at MNPCTECH a big thank you and honorable bow for you sir.


 Reply With Quote