Page 1 of 17 12345611 ... LastLast
Results 1 to 10 of 166

Thread: BloodMoon

  1. #1
    ATX Mental Case Dgephri's Avatar
    Join Date
    Mar 2005
    Location
    PDX, OR
    Posts
    171

    Default BloodMoon

    I have been posting at some other forums for a while, but thought I would see what all the gang here thought of it.

    So, here is my work so far, starting from the beginning, and pasting from my other log:

    I heard about a new SFF case on the way, and started reading up on it: Qmicra by PCDesignLab.com.

    I really just liked the internal layout, the shape of the case, and the cooling design.

    They decided to sell some standalone cases to forum members, and I got on the list. It's due via UPS on Friday 5/12.

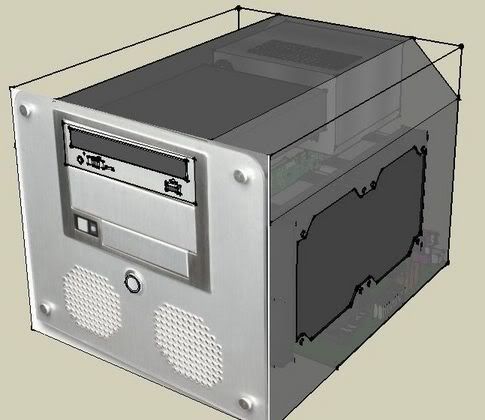
    Given the newer, free-er version of Sketchup, I got to work:

    My first draft, using the website dimensions, and some guessing--


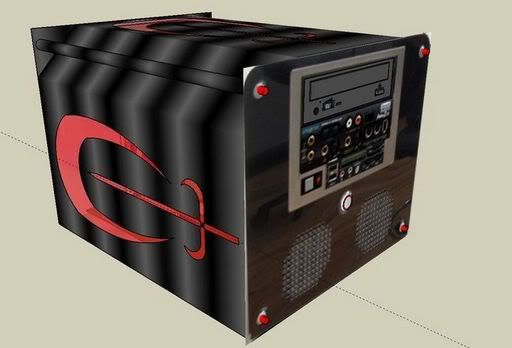
    My second draft, after I selected Black exterior with Red hardware--


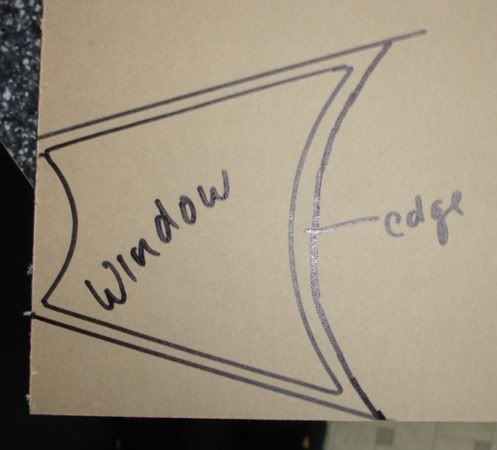
    I then added red plexi to my crescent/sword motif--


    That seemed a little flat, and I was Googling some Crescent/Moon/Blood/Sword stuff and I came across the idea of the Blood Moon: NASA on the Eclipse in 2004

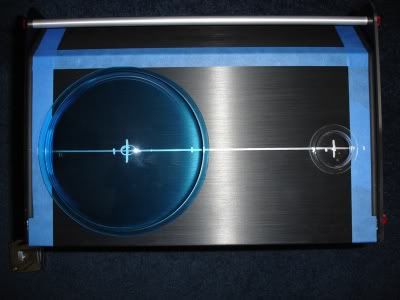
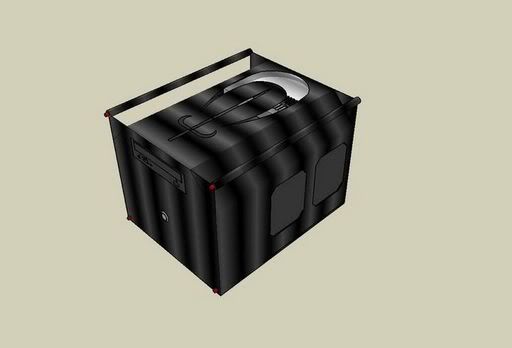
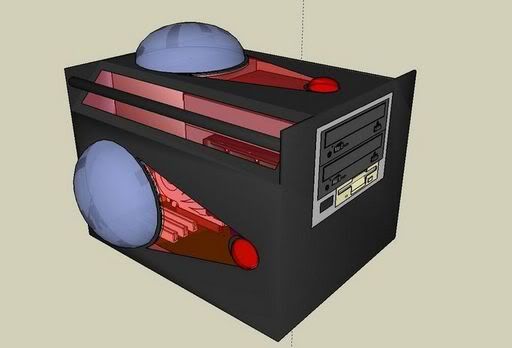
    So, after playing around for, oh, 10 hours or so (had to learn how to make spheres with the "follow me" tool), I changed to this--


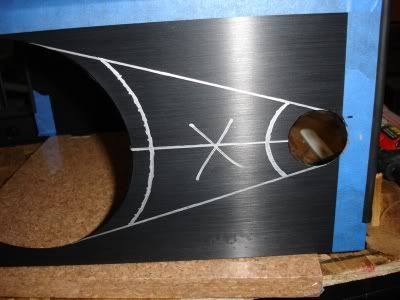
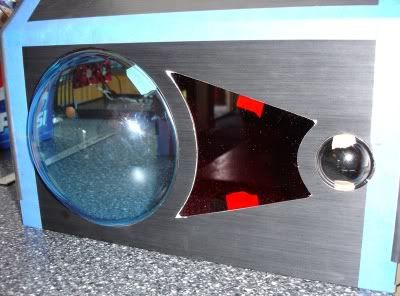
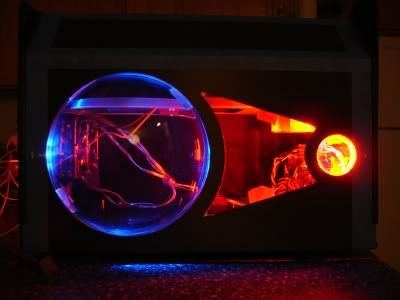
    The larger Spheroid represents the earth, and will be blue plexi, 6" across, etched and frosted to look like the planet.

    The smaller Spheroid represents the moon, 1/4 the size of the earth, and will be clear plexi, etched and cratered too look right.

    The V shape is the refracted solar light that makes the moon look reddish.

    I don't know if I will do the top one yet: it makes the case look like a warp drive, or engine of some kind...I don't know why my brain thinks that.

    Comments?

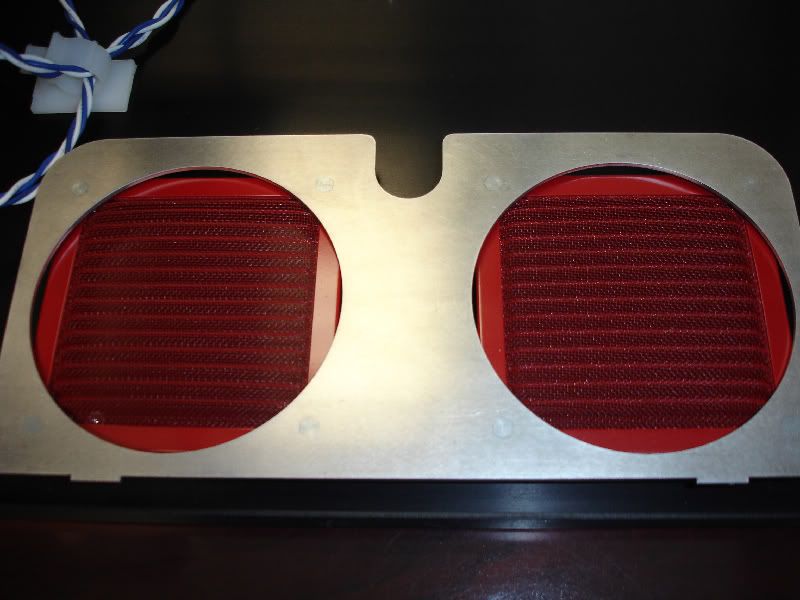
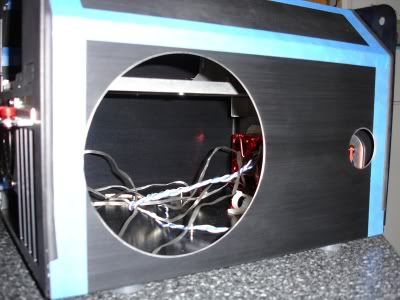
    Not a true worklog as of today, but upon arrival Friday I will be confirming internal dimensions and location for the Xflow ProII radiator and the other necessary bits.

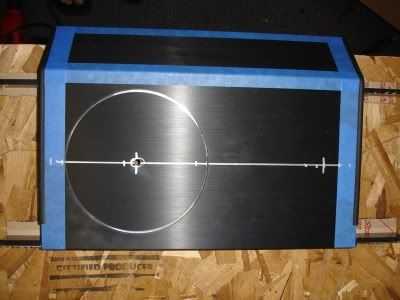
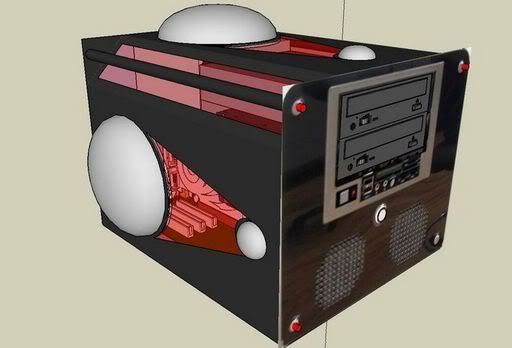
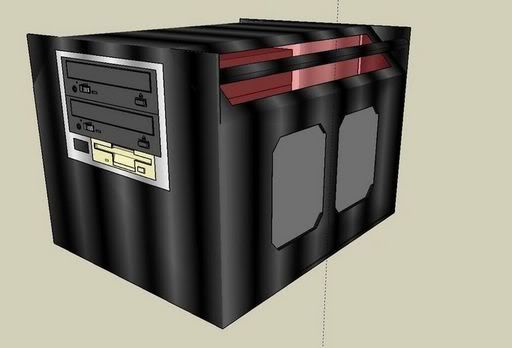
    Here it is with some materials refinement--


    The drives are only there to show the spacing that the actual case has.

    Trust me, there won't be a floppy!

    I will probably only have one Optical: a Plextor 716SATA. I know how to stealth those easily.

    This will likely have an Matrix Orbital MX6 put in it.

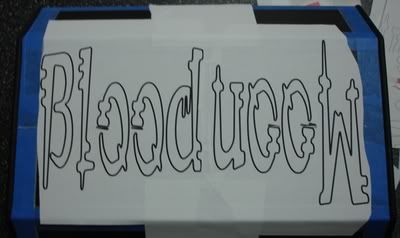
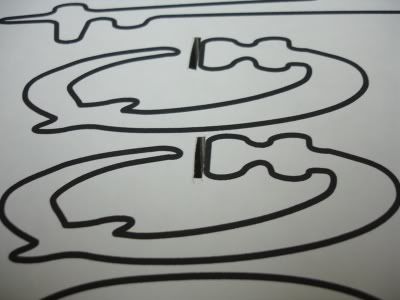
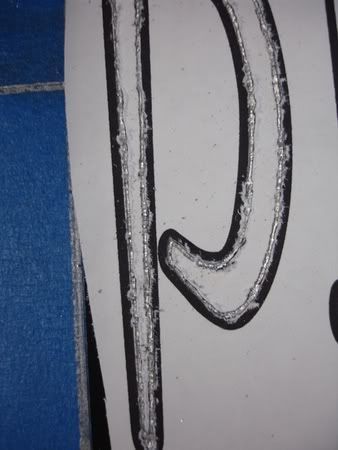
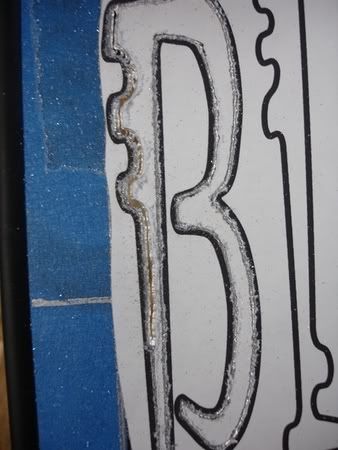
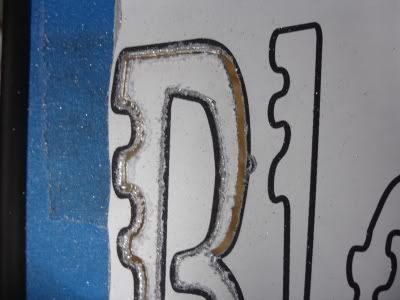
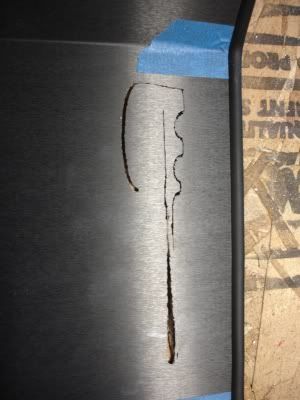
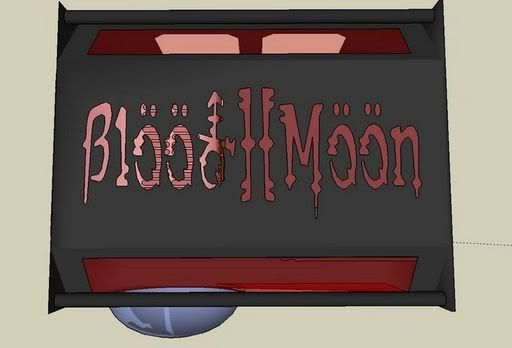
    On the top, I might do a "non-window" etch like on that AVP case: etch directly into the black anodized case to show the silver base metal. Some cool font for "BloodMoon" or such.

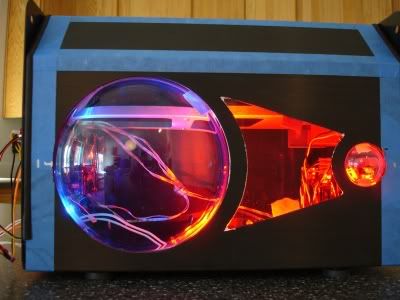
    There will be some other techy mods that I can't show in Sketchup that will bring up the "ooooh, ahhhh" factor.

    Let's just say it will have some lighting elements from both my Lubic Zen-Feng case (FiberOptic) AND my Loch Ness Case (side lighting etch in acrylic).

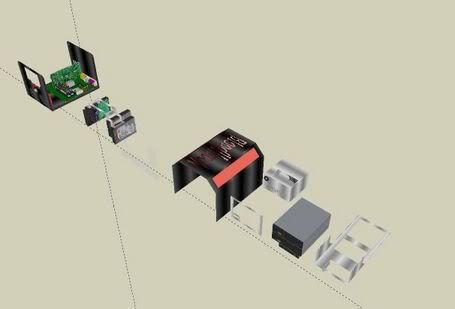
    Revised and showing the Right side location of the XFlow ProII rad:


    They don't make a red MX6, but I can get acetate films like I did on my G15 keyboard and I will test to see how the green PLED is altered.

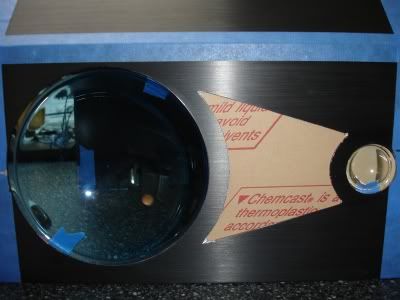
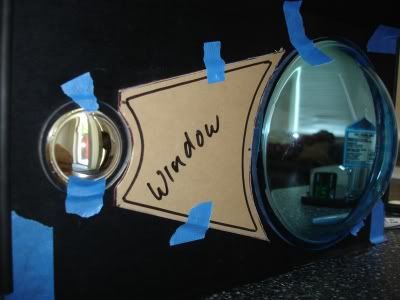
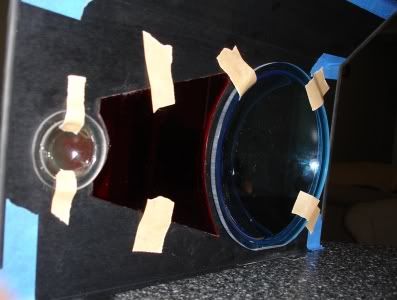
    Edit: 5/10/06 10:20am--getting confirmation of my dome specs...OUCH $37ea + shipping from Canada. Custom, 1/4 flange, one 6" diameter in blue clear acrylic 3/16" thick, and one 1.5" diameter in clear. At least I know they are attainable.

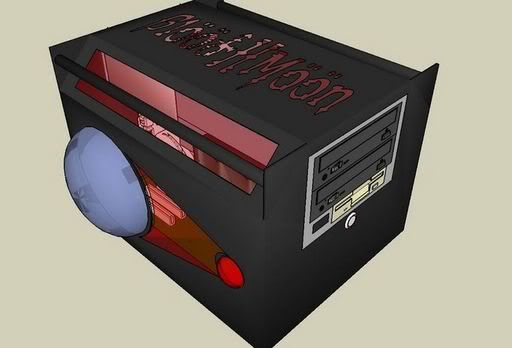
    2:30pm--revised graphics with lettering--kind of tough but with EleFont and Sketchup, and some careful intersections, I like it.


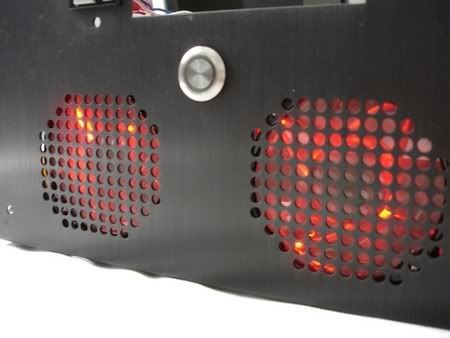
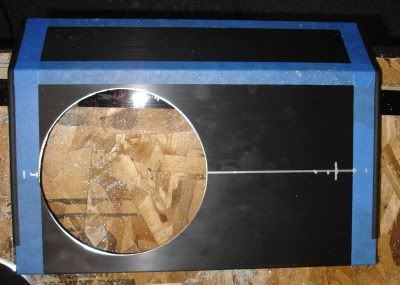
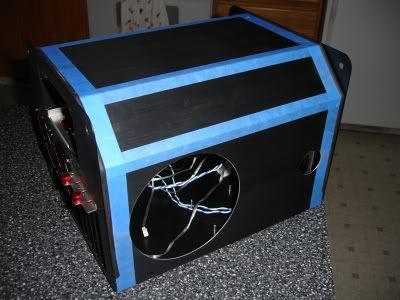
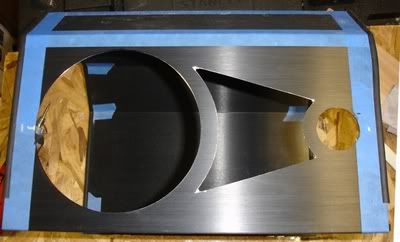
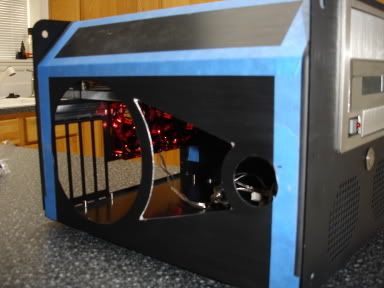
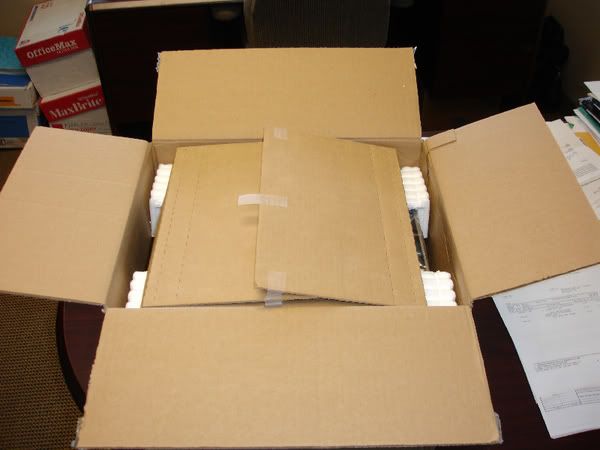
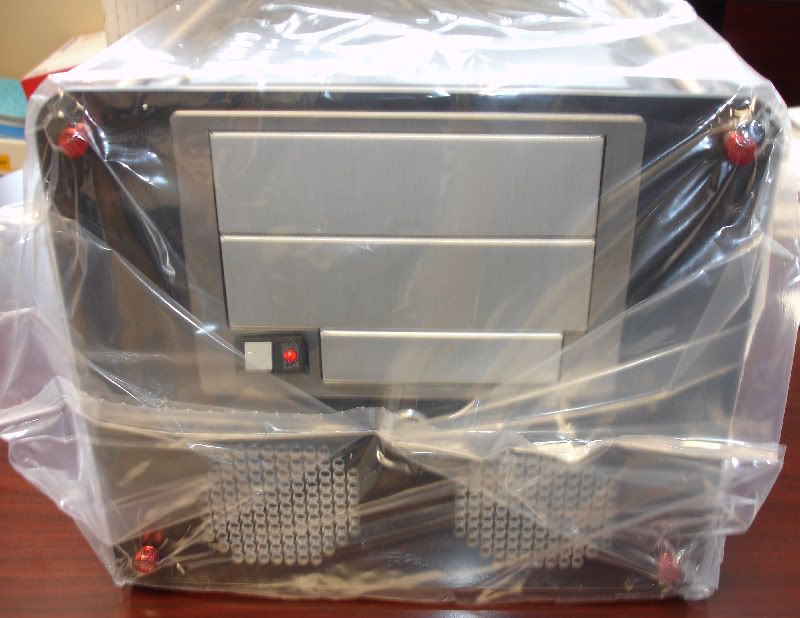
    woot, UPS arrives today!

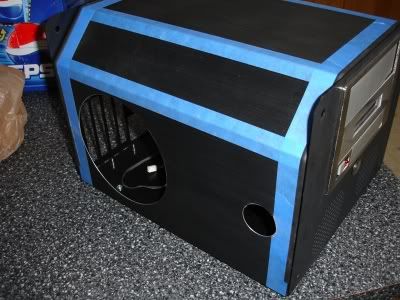
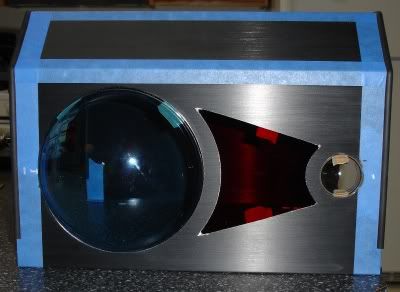
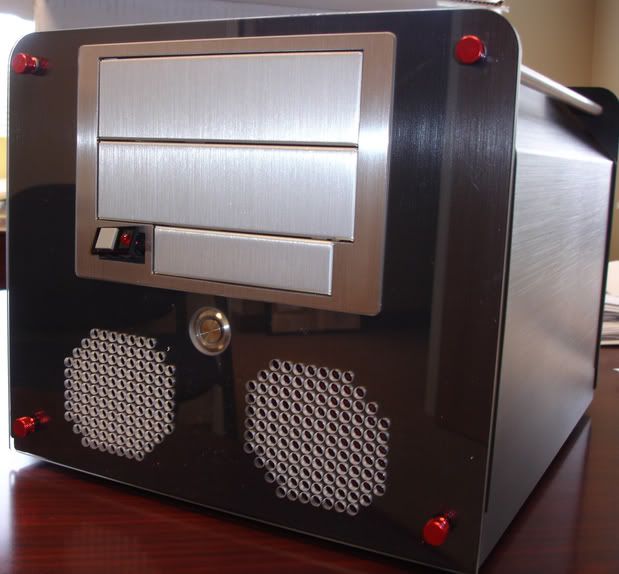
    Edit 3pm---schhhhhweeeeeeeettt!
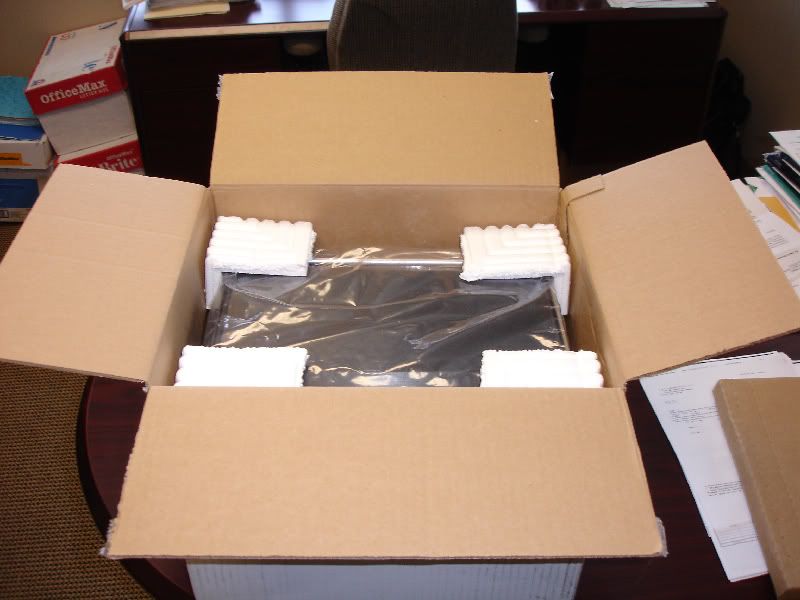
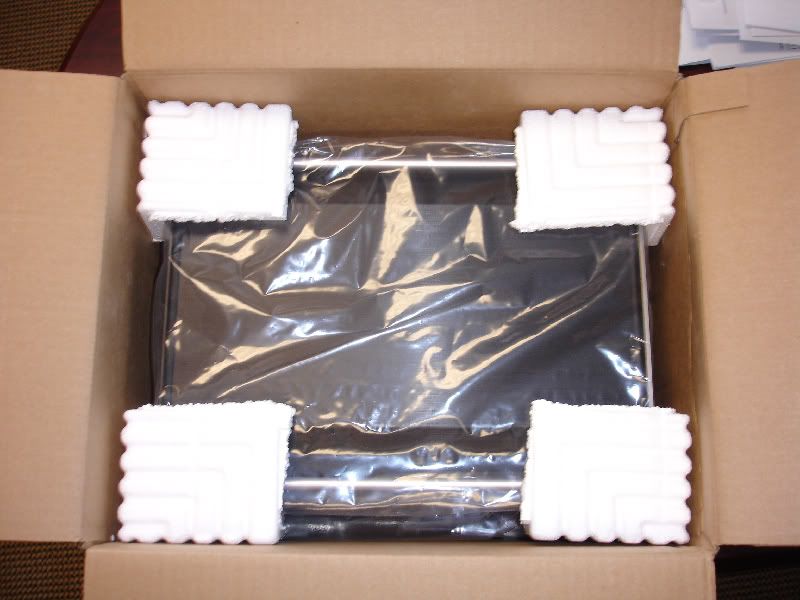
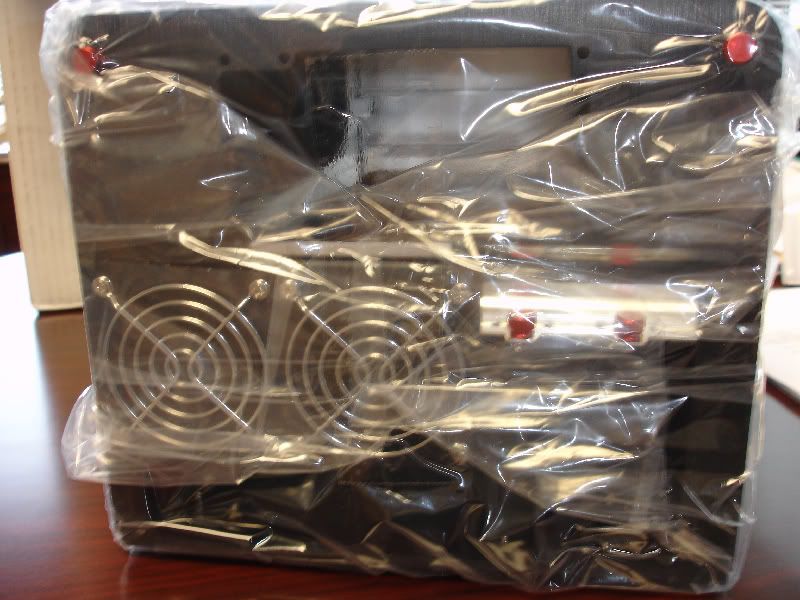
    Check it out:


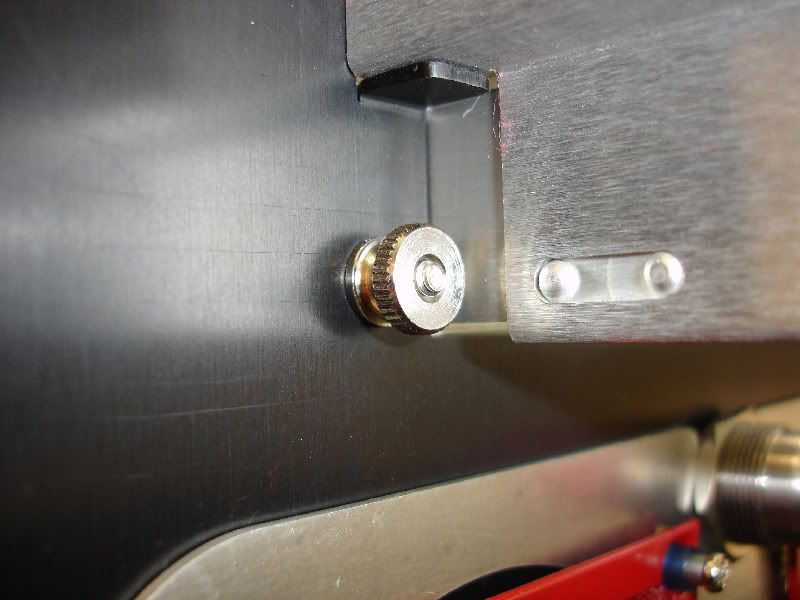
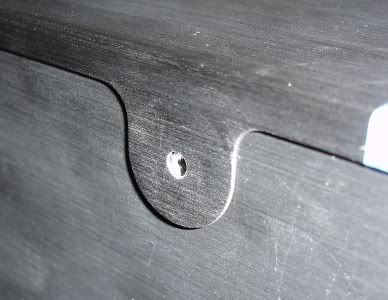
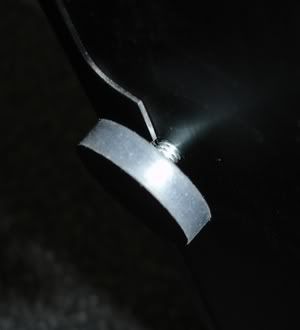
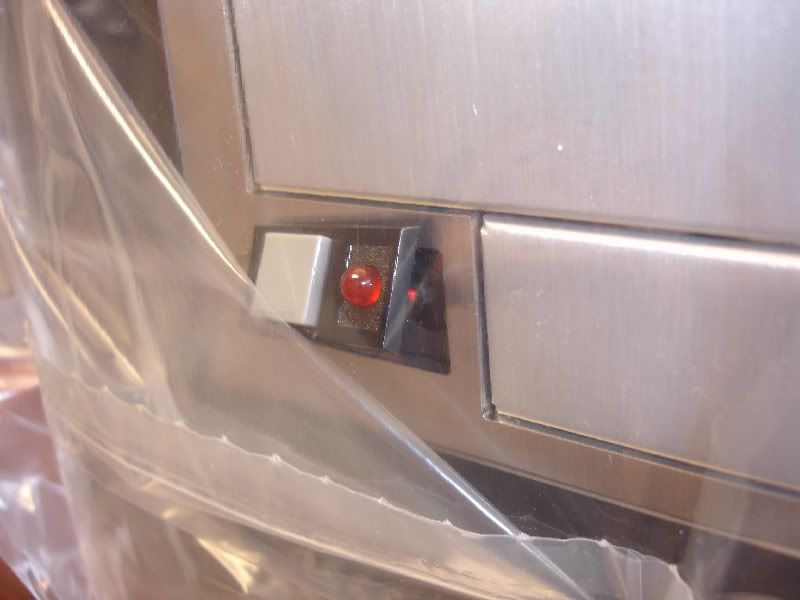
    NOTE: here you can see the reset button came loose during shipment, a later pic shows it was not damaged, just floppy.


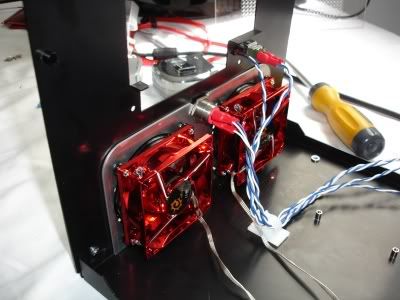
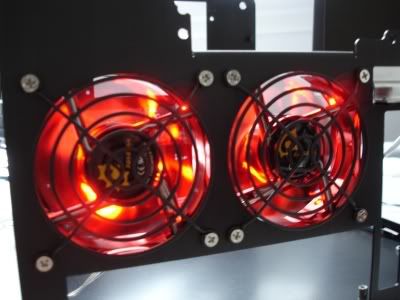
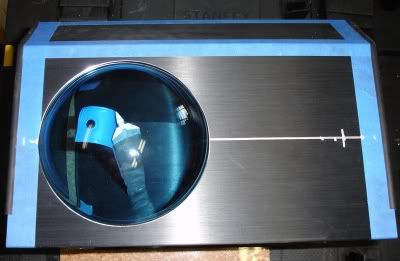
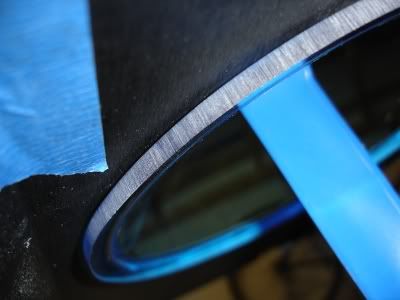
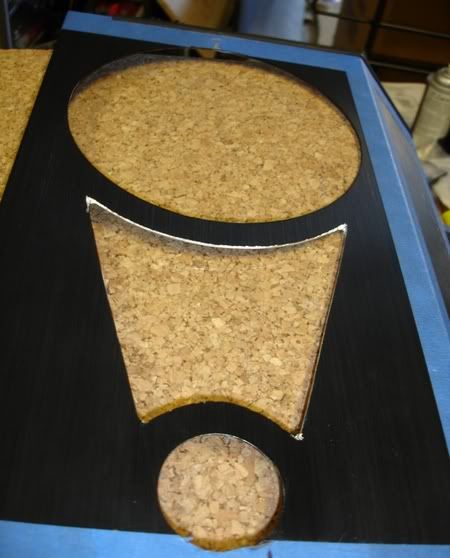
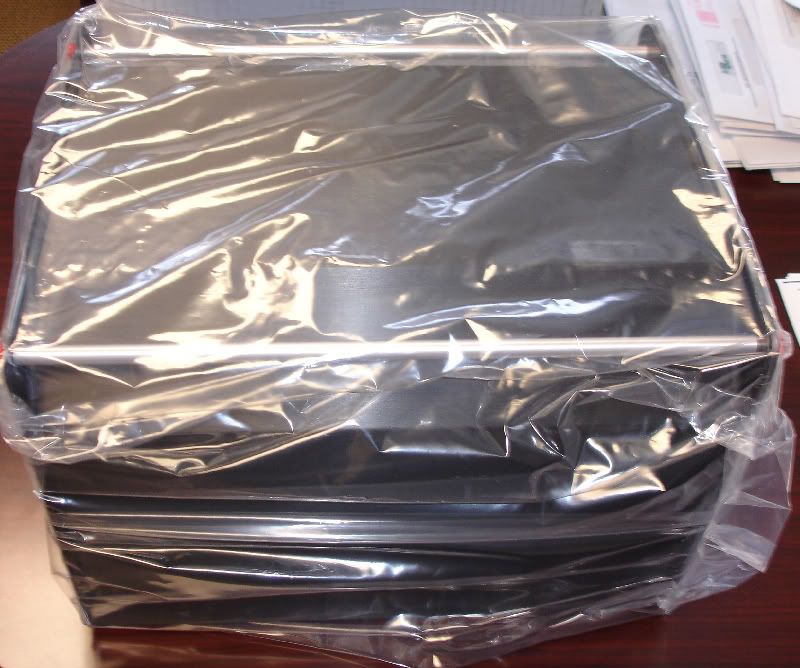
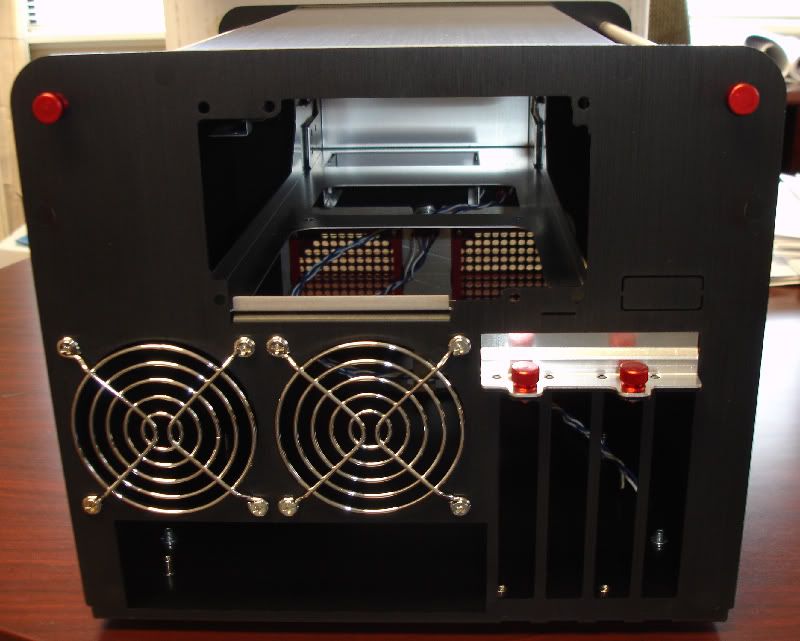
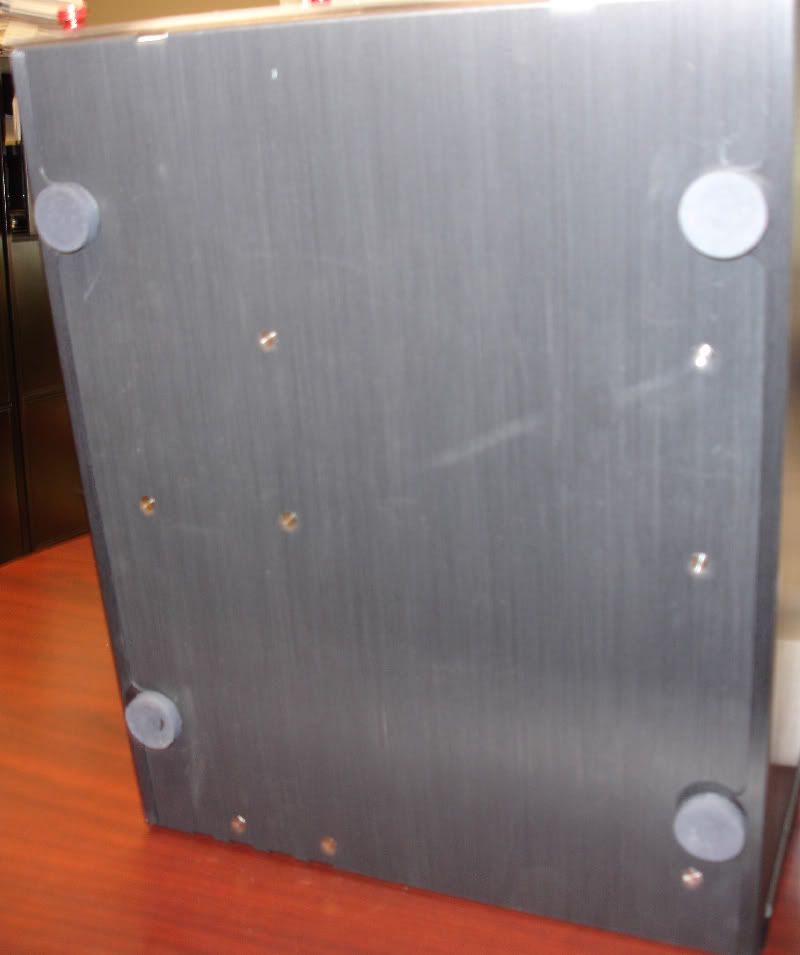
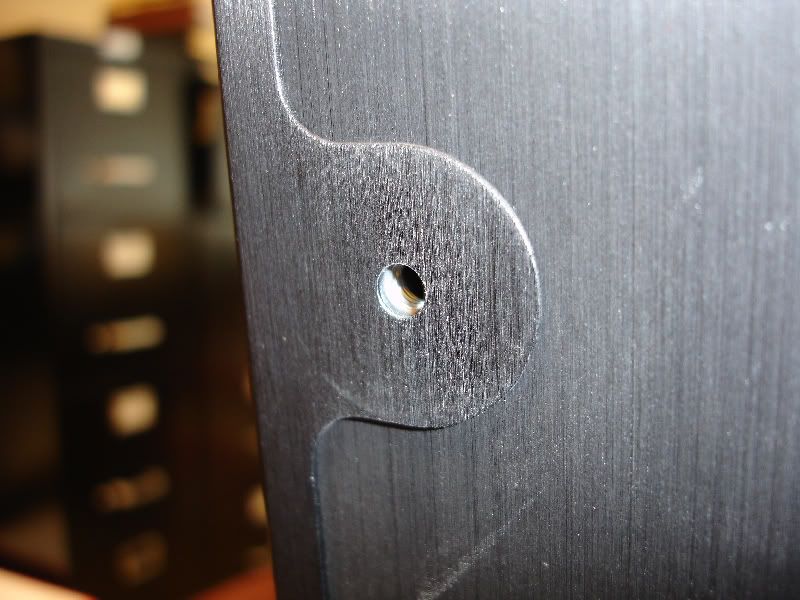
    Now out of the package:


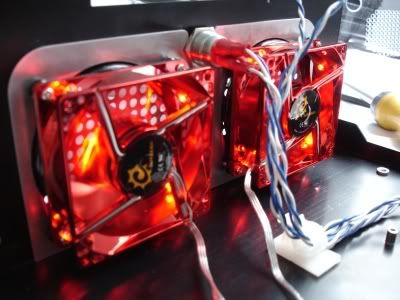
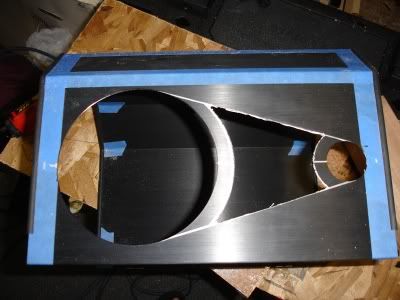
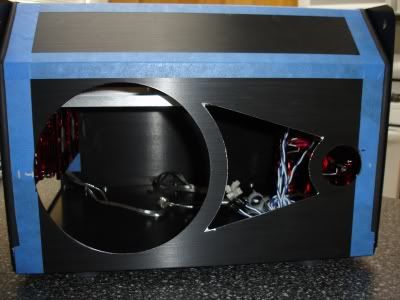
    Well, work continues.

    (more to come)--work is farther along, and I will paste more.

  2. #2
    ATX Mental Case Dgephri's Avatar
    Join Date
    Mar 2005
    Location
    PDX, OR
    Posts
    171

    Default Re: BloodMoon

    (continued)

    It's fine, just pushed it back into the clips:


    mmmm.


    I have been spending hours and hours and hours making my own, untra precise Sketchup model based on the case that I finally have in front of me.

    good learning experience too...not easy to make meshes!

    Have a look:


    Just the front panelS so far. There is a 3/16" thick clear panel over a 1/8 thick metal panel, with the drive surround laid over the top.

    Each is a separate component that I can import, edit on its own, and then lay over the rest of the components. Tedius, but nice to have it so precise for reference. It should mean, when I'm done, that I will be able to cut with a great deal of certainty about the interior hardware locations.

    well, last night I went searching for red anodized stuff for BloodMoon.

    Found SVC had more all together than going to four different sites.

    So I got 4 red LED anodized 80mm fans
    http://www.svc.com/salf-08-r.html

    And four black grills
    http://www.svc.com/fg001bk-22.html

    And four black filters
    http://www.svc.com/80mesh-blk.html

    And a pair of red 4" CCFls
    http://www.svc.com/clk4rd2.html

    My idea is that the front grills will be backlit with the red LED fans with the filters glowing red with black frames. When off, the red anodized will contrast with the black grill and filter edges much like the case and hardware. I kind of want the inside to look like the outside.

    I will update with the latest Sketchup precision later today, and I might start cutting this weekend.

    got my fans and stuff in, those red anodized LED fans are pretty slick lookin'.

    BTW, here is the latest of my Sketchup high precision model work.


    I spread all the parts out, make them individual components for later editing, and then test fit each together for alignment.

    I can't take credit for the HDD, Optical, motherboard, GPU, or PSU models.

    I just use them for reference on fit.

    The AC120mm 9 fans are a bit odd but I might make a special bracket for them.

    Here are some started shots of the lovely red anodized sunbeam LED 80mm fans. I was quite pleased and surprised at how sick they are.


    I should try to find some black fan screws, or make my black hex dome screws work. All that will come in time.

    For now I have to keep digging in my back yard...my patio stones come in monday and I'm only halfway done digging out for the base! Kind of a pain to dig a 10X15' hole all evenly 6" deep. ;P

  3. #3
    ATX Mental Case Dgephri's Avatar
    Join Date
    Mar 2005
    Location
    PDX, OR
    Posts
    171

    Default Re: BloodMoon

    (continued)

    Day 1--
    6" round hole saw


    And the interior fit...a little sanding to really seat it perfectly, but that is pretty close!


    I did the smaller bore for the Moon dome, but didn't take a picture of it yet.

    And the "foot mod" I was planning, but didn't want to show anyone yet


    should make it quite a bit easier to take the Lid off and show the internals without taking the Feet off, just leaving them threaded out a bit.

    What do you all think?

    I just did a test reassemble to check on component visibility with the new openings:


    And the feet:


    Just workin' like mad today--
    the eclipse:


    That is about the first 2 pages of my log...so I will post up more later. Let me know what you think guys!

  4. #4
    Anodized
    Join Date
    Dec 2005
    Posts
    37

    Default Re: BloodMoon

    wow, looks Clean. i like the drawings and how close they are to what was actualy made! impresive

  5. #5
    ATX Mental Case Dgephri's Avatar
    Join Date
    Mar 2005
    Location
    PDX, OR
    Posts
    171

    Default Re: BloodMoon

    thanks! Sketchup is really great for design work and visualizing my end result.

  6. #6
    Undead Pirate d_stilgar's Avatar
    Join Date
    Mar 2005
    Location
    Philadelphia, PA
    Posts
    2,987

    Default Re: BloodMoon

    Wow. I really like that you made a design and are now following through with it with little difficulty because of the work you did beforehand.

  7. #7
    AP BC Calculus = Headaches
    Join Date
    Jun 2006
    Location
    Houston, TX
    Posts
    394

    Default Re: BloodMoon

    how do u get the models of computer parts on sketch-up?

  8. #8
    ATX Mental Case Dgephri's Avatar
    Join Date
    Mar 2005
    Location
    PDX, OR
    Posts
    171

    Default Re: BloodMoon

    http://scc.jazzle.co.uk/

    very handy stuff

  9. #9
    Imma computer! isunktheship's Avatar
    Join Date
    Jul 2006
    Location
    San Diego
    Posts
    316

    Default Re: BloodMoon

    Quote Originally Posted by elbarto241
    how do u get the models of computer parts on sketch-up?
    For me, I use 3d studio max 6, but you can use the above link, or some types of CAD, whatever.

    You really don't even need to do it in 3d, cardboard is great, and posterboard (with the spongy white stuff) will do the same, for an RL model. Even though I have most of my model in 3d, I'm still might cut up some posterboard.

  10. #10
    ATX Mental Case Dgephri's Avatar
    Join Date
    Mar 2005
    Location
    PDX, OR
    Posts
    171

    Default Re: BloodMoon

    I really had to see the dome's size, scale, lettering layout, etc. Turn it around, rotate it, and such.

    The case alone is over $350 and I could start my design before it even arrived.

    And it was a great way to kill time

    I wish I had Solidworks...seen how it works and that would just rock!

    More of my work so far:
    I forgot how tough marking stuff on a black metal would be!

    I just clean up with some thinner and then a microfiber cloth to get the dust after cutting.

    Update: decided to work on the red window between the two domes--
    a quick trace gives me the shape


    have to buy new Radiosh--- needle files, I can't find my old set...so those corners will get cleaned up and painted black to hide the silver.

    just a little update...drug out my two 4" red cathodes, and a blue Lazer LED to see what I thought of preliminary lighting:


    obviously wiring will be done later, I recrimp and sleeve everything when I have decided on the final locations.

    I think I need two 4" blue ccfls on the big dome like I have red over on the small dome.

    After fiddling around to get the letters the same proportions, I printed my letters onto while full sheet label material (so its stick all over).

    I prefer full sheet adhesive since it won't move while you work with your dremel.

    I cut little marks through my sheet so I could see my centerline, and laid it down directly onto the shell of my Qmicra.


    Then I went around my first letter (I prefer to cut INSIDE the heavy black line) just to have a guide for my 1/16" carbide bit (actually meant for Grout removal, smallest I could find).


    I then went on to start the slow process of working my way through the metal, little by little.


    You can see on the backside just how narrow the cut is. I like to use nail files and such to finish the edges...this process leaves very little rough edge, and just a nice smoothing makes it look very finished.


    As I move around the edges of my first letter (B) the support I have for my hand, and the angle of my tool slightly changes how the cut is made.


    I have to consider when my center part will be free so I cut on the other edges to prevent putting weight on the most delicate section the letter.


    Here is another look at the backside. The cut track is only about 1-2mm at its widest.


    This is tedious work, but I already have one goof that I will have to adjust the shape of a letter. :x

    By moving very slowly, in areas about 3/8-1/2" at a time, I can control the cutting path precisely. I much prefer to file a little longer in finish than to scrap the whole top of my very expensive case.

    My first whole letter, cut!

Posting Permissions

  • You may not post new threads
  • You may not post replies
  • You may not post attachments
  • You may not edit your posts
  •