This is the first build I've done a work log for. My main goal is to get by with out having to spend any more than necessary. I didn't really have a plan when I started (I know this is not a good way to mod) so I'm still not sure where it's going to end. A couple of things have allowed me the chance to do this mod. First is getting laid-off again which gives me the time. Second a friend had a case laying around that I could put my system in while modding this case.
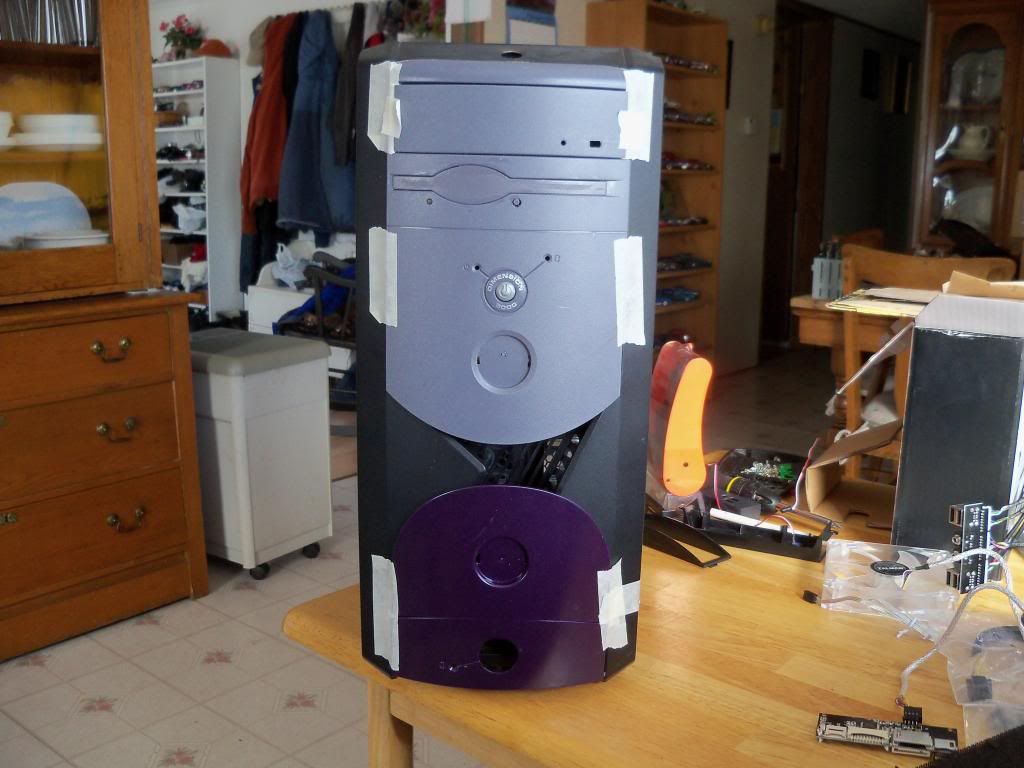
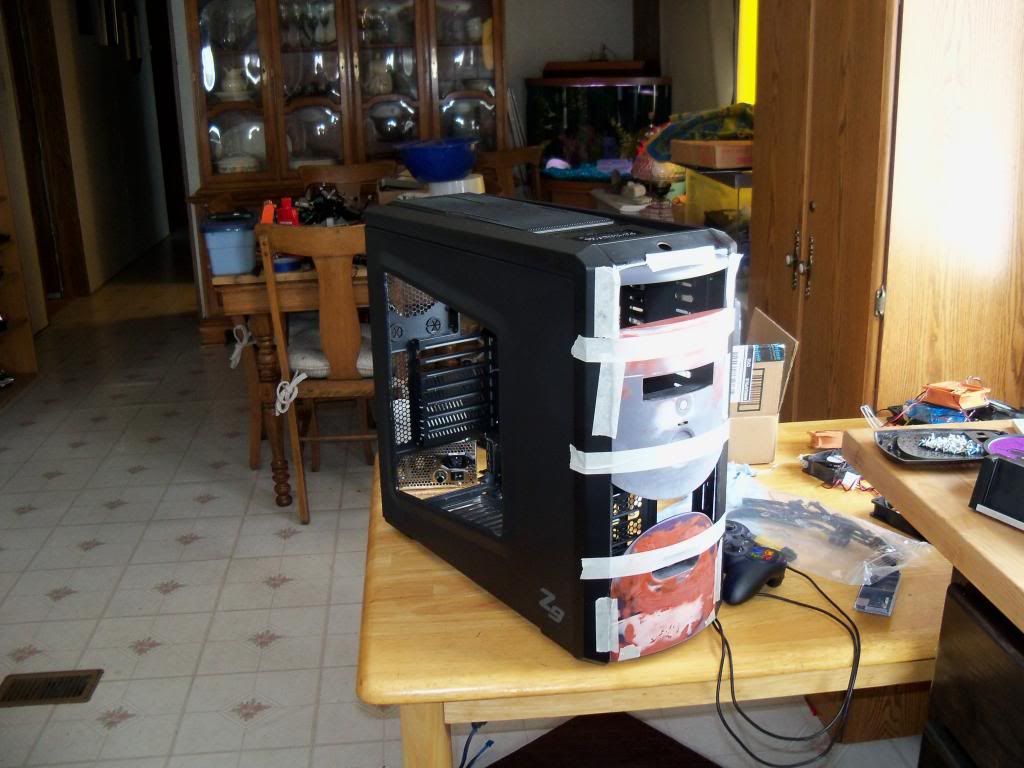
The victim. Zalman Z9 that was won from TGS.(thanks again)
[IMG]
[/IMG]
[IMG]
[/IMG]
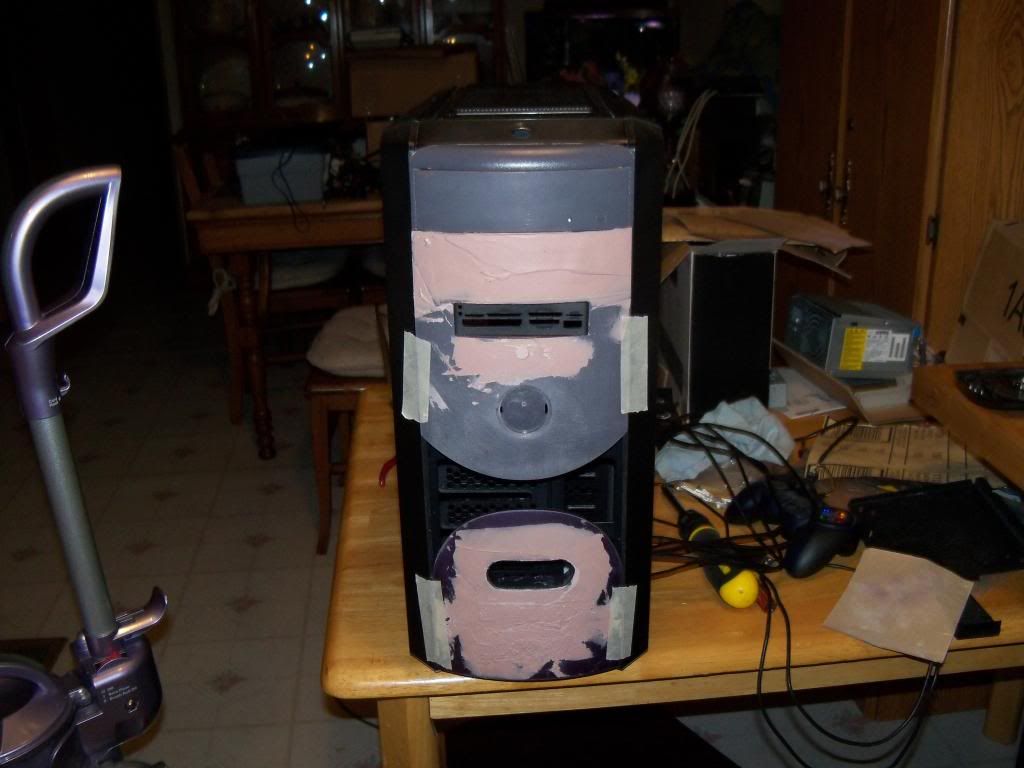
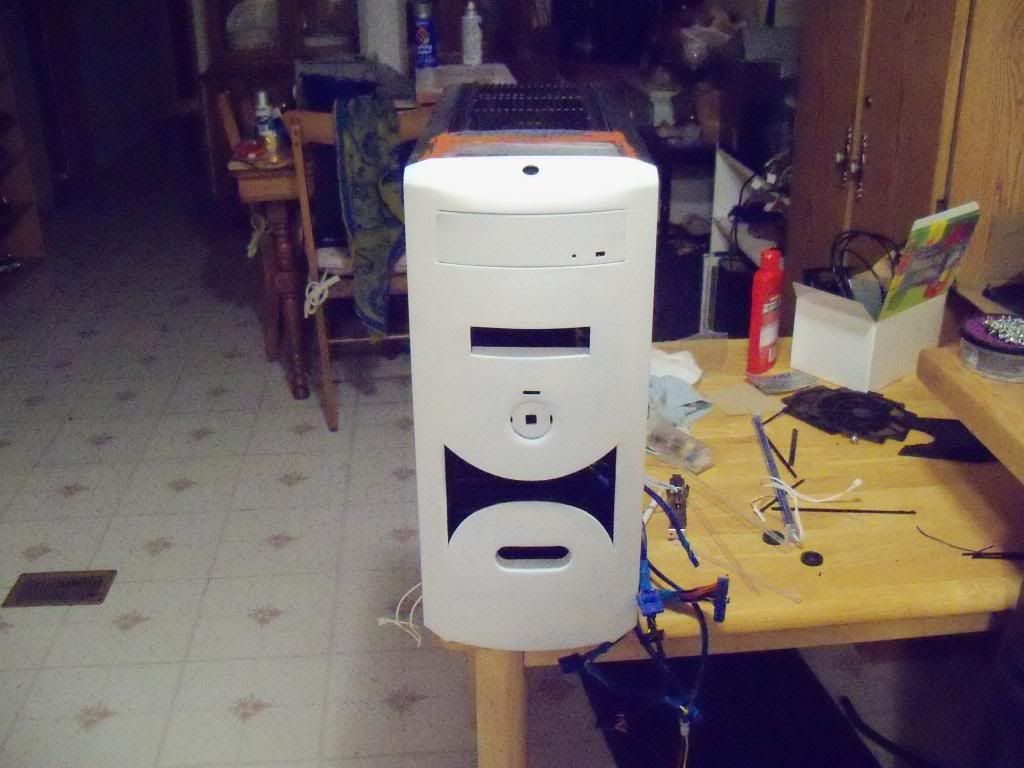
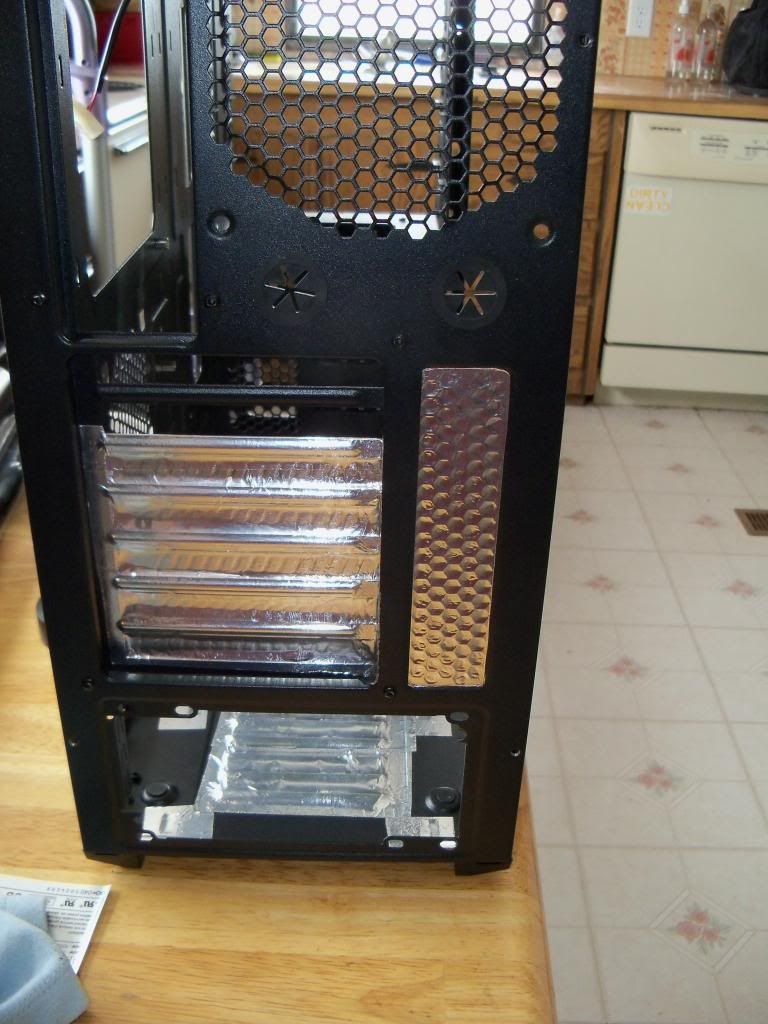
All stripped down.
[IMG]
[/IMG]
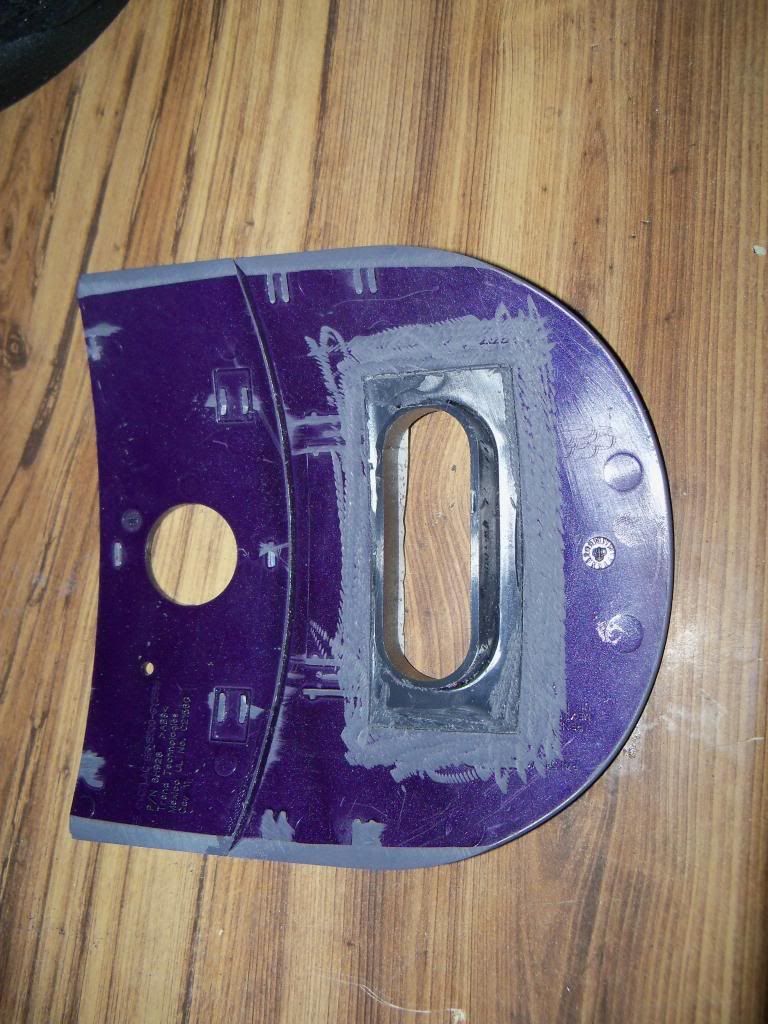
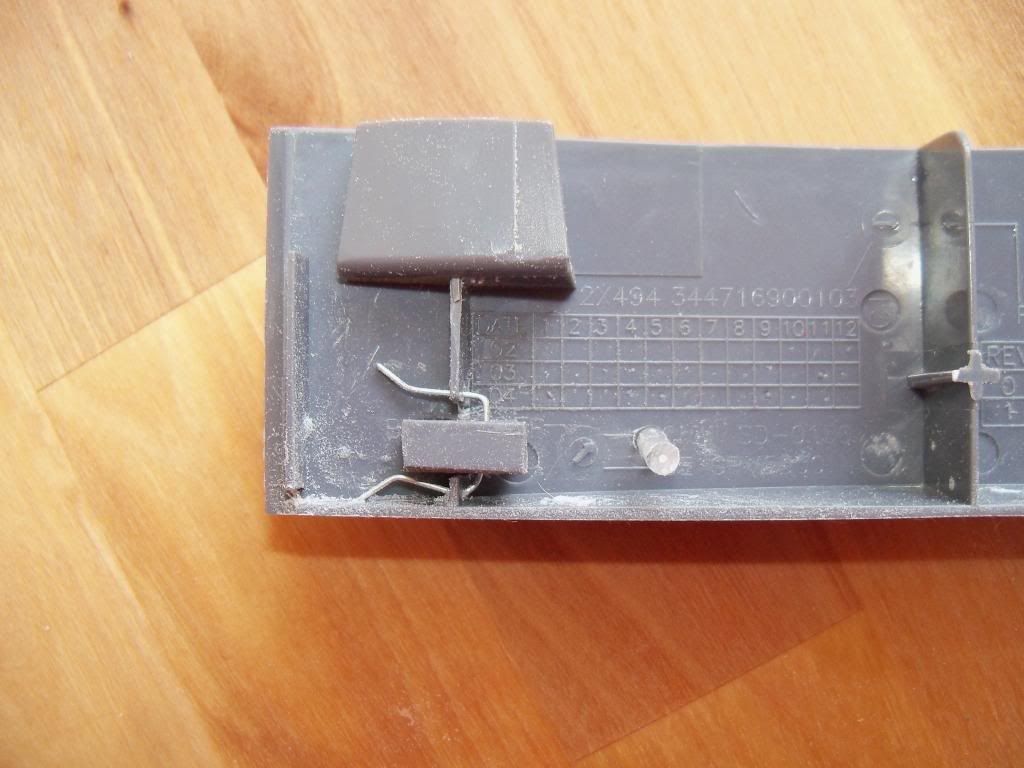
First up the power button.
[IMG]
[/IMG]
Had this laying around and it's pretty close to a perfect fit.
[IMG]
[/IMG]
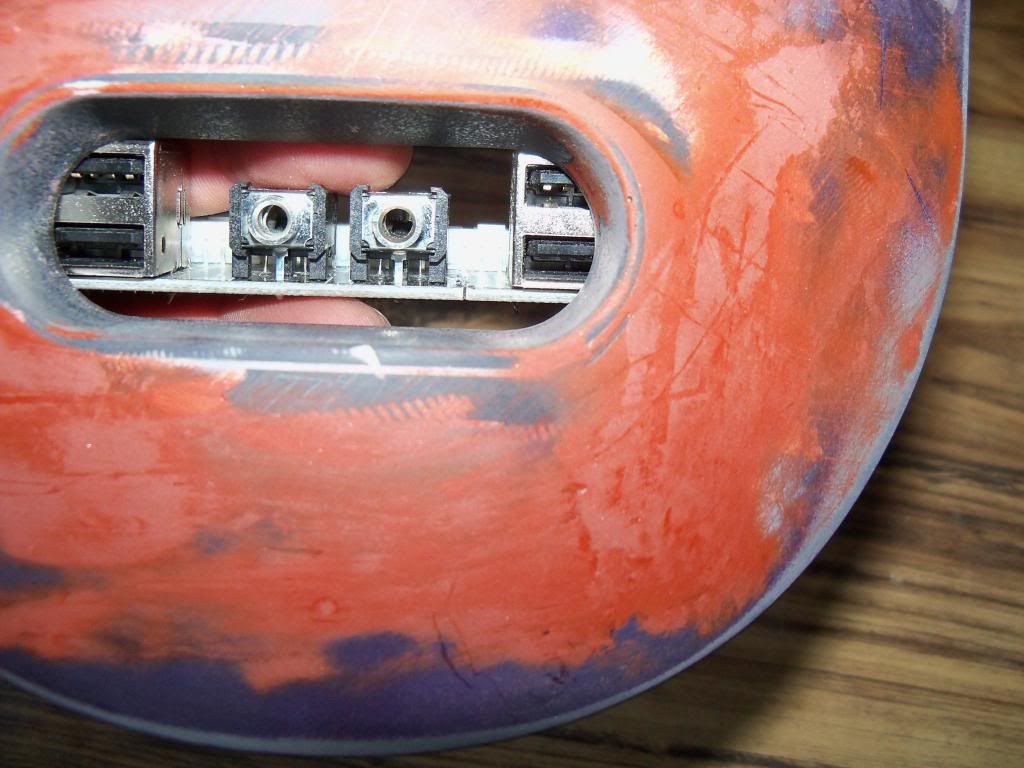
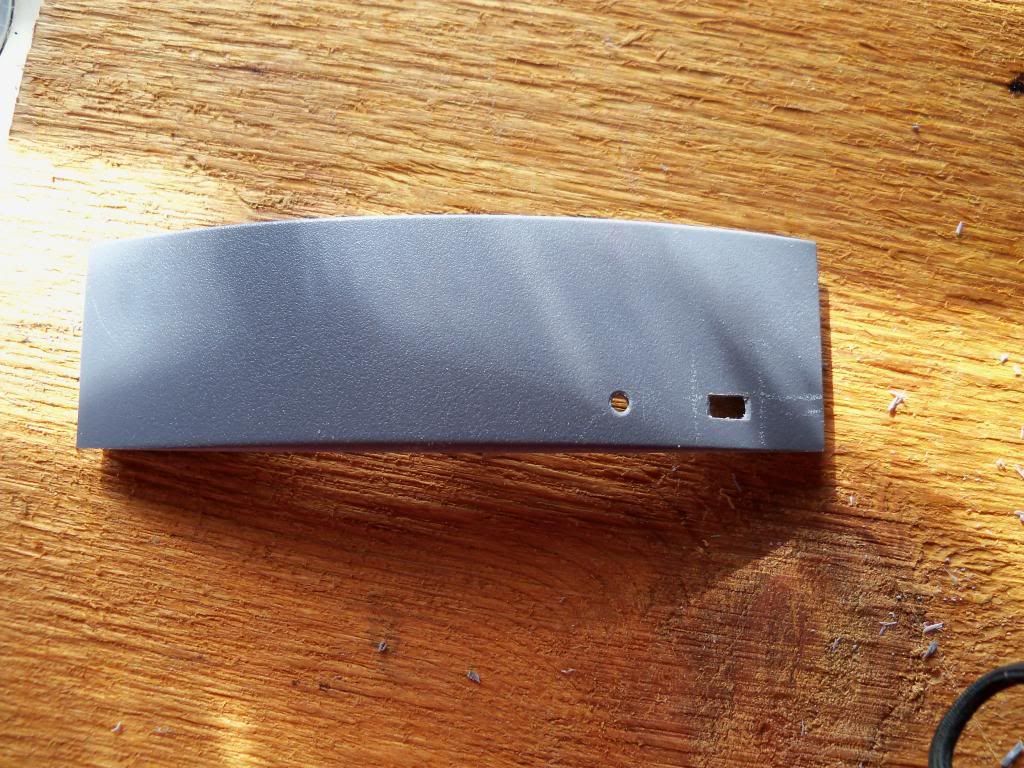
Removed the button itself from the switch assembly and glued a plastic onto the openning.
[IMG]
[/IMG]
[IMG]
[/IMG]
I'll have to change the mount a little but other than that a pretty easy new button. I don't have any photos of it lit yet but the led in the switch lights the marble up pretty good.
That's it for now. I've got more done that I'll try and post later.


 so far left of center i'm in right field
 Reply With Quote