Page 1 of 4 1234 LastLast
Results 1 to 10 of 31

Thread: Guilty

  1. #1

    Default Guilty

    Hi fellow modders,

    It was a matter of time but here it is... my first real scratch build
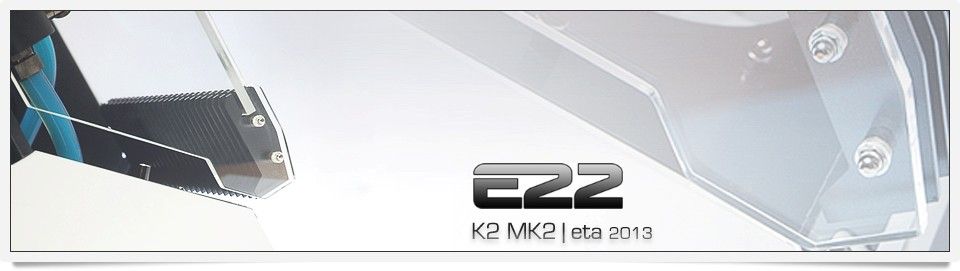
    Thanks to Nate from E22 for the design.

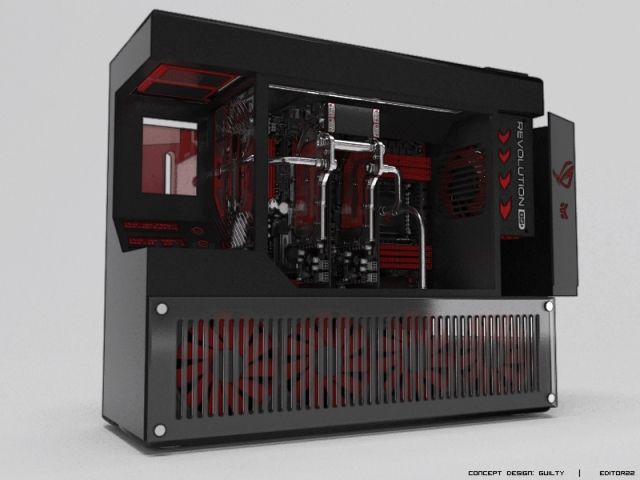
    Sometimes you see a design with a wow factor. This happend too me with this design. After some consultation we decided to try to build this design.
    Nate the design and I'm building.

    Sponsored by:


    And designed by:


    The design:


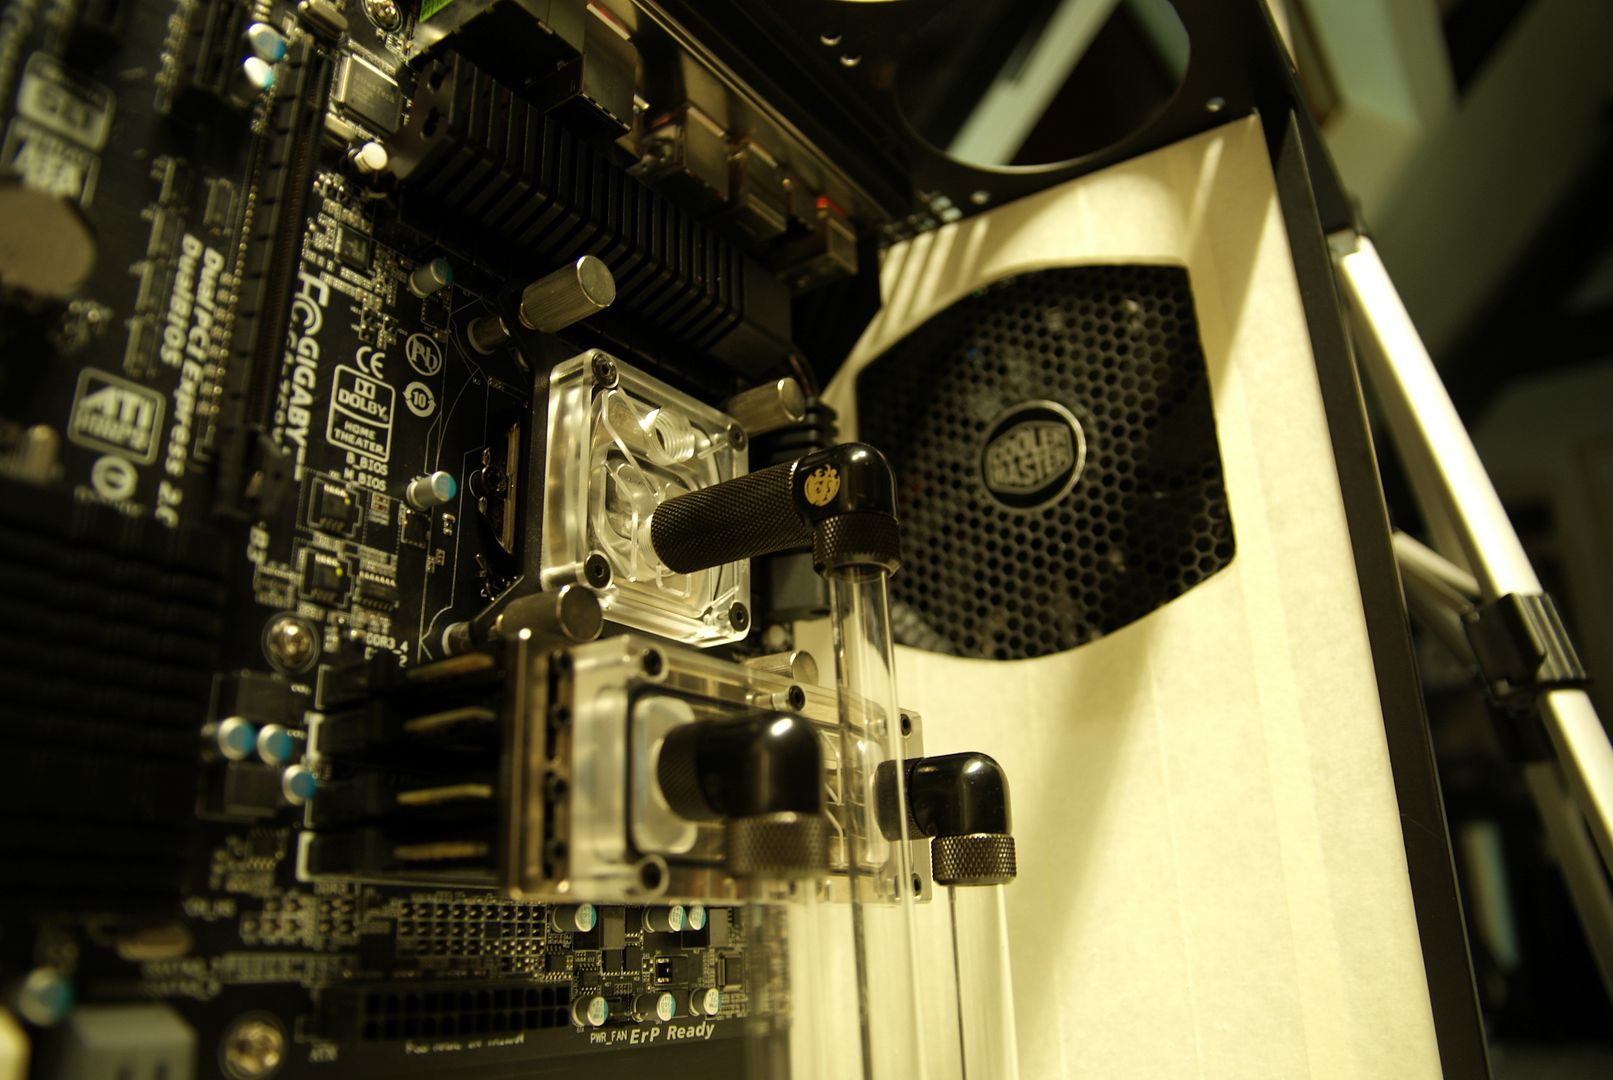
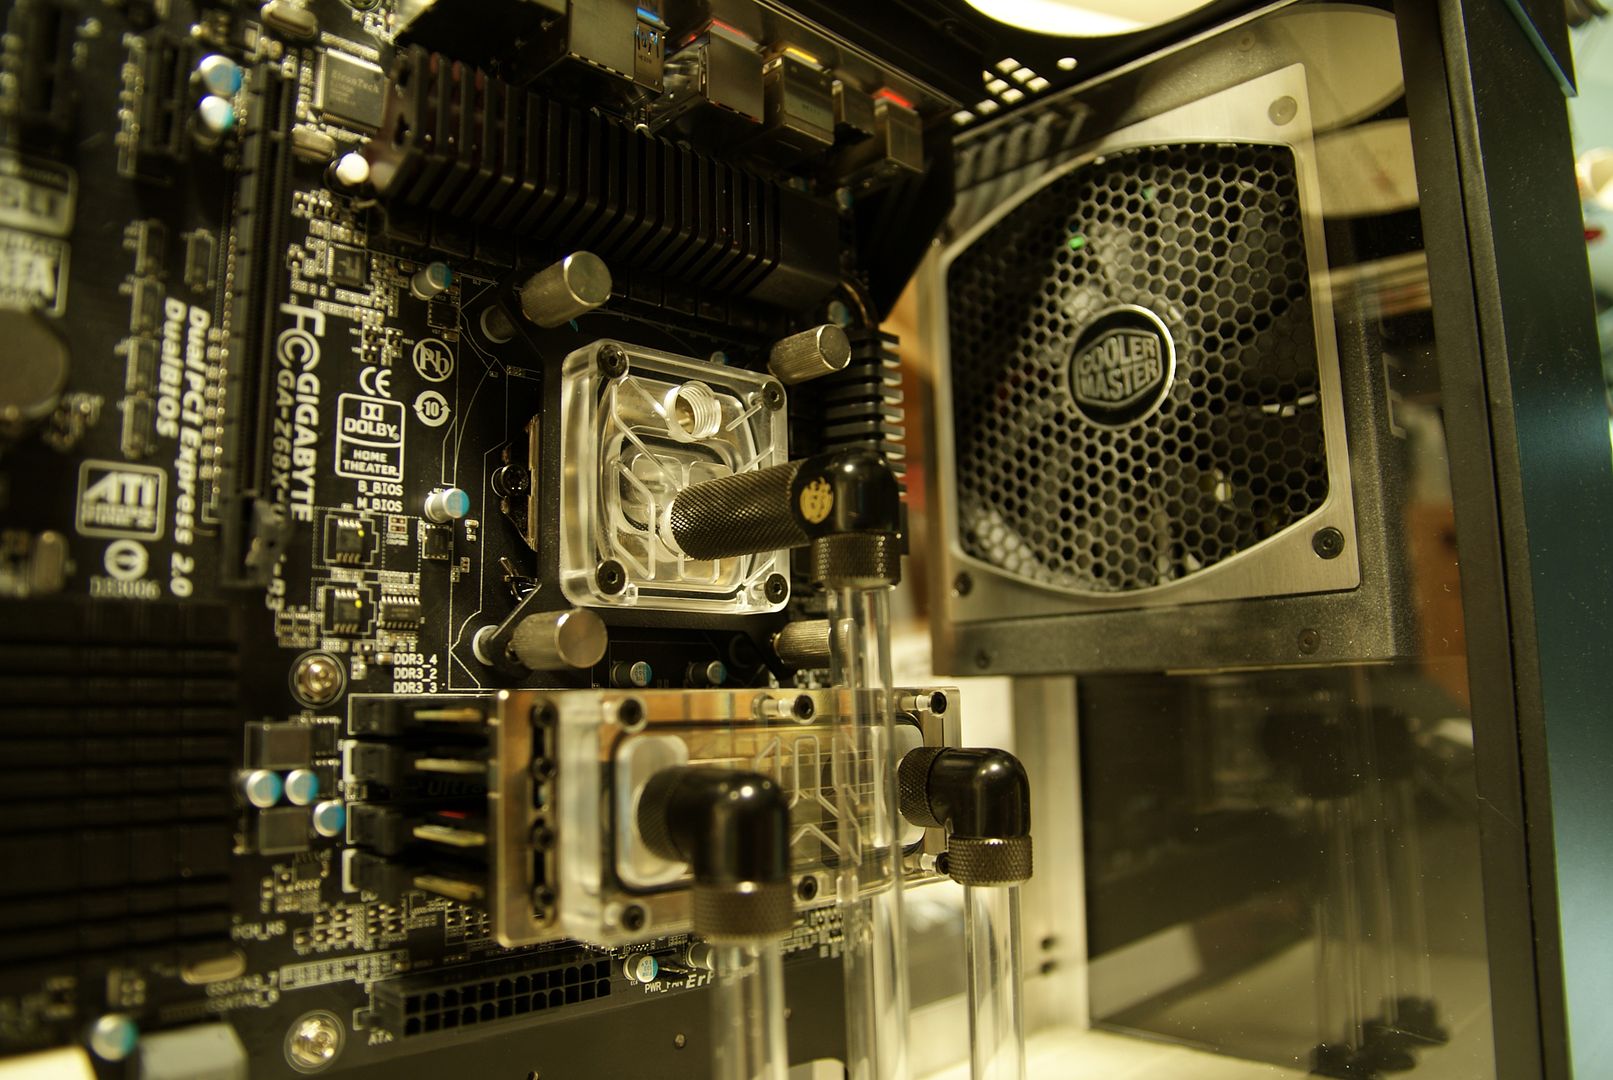
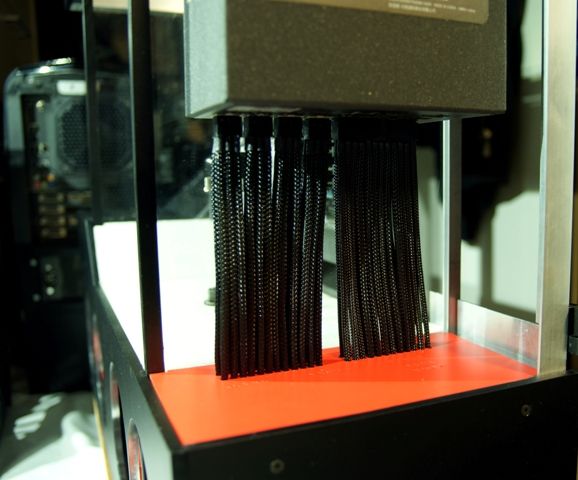
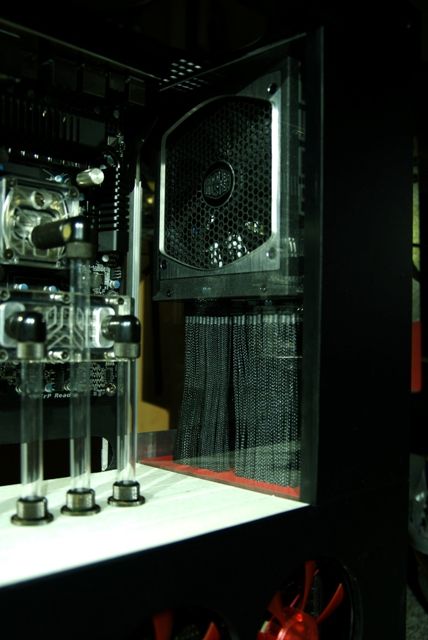
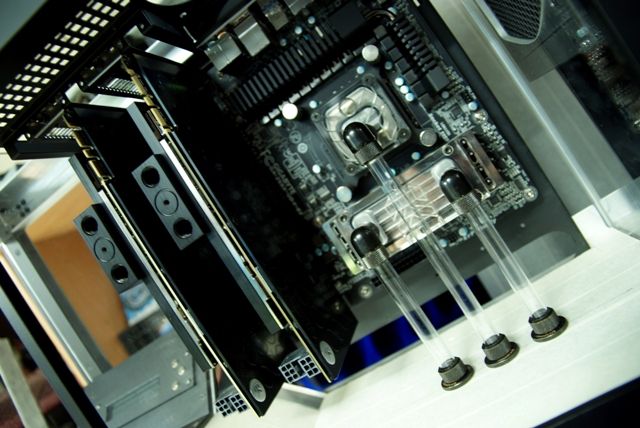
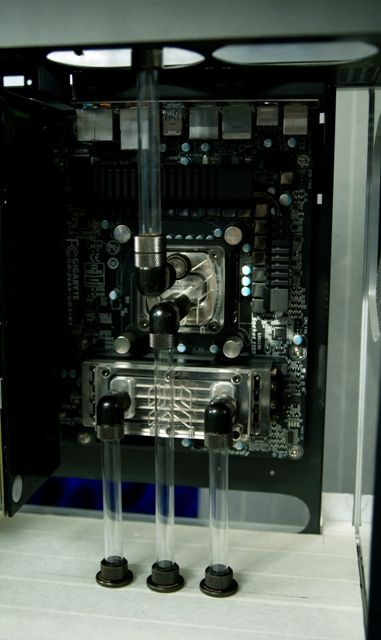
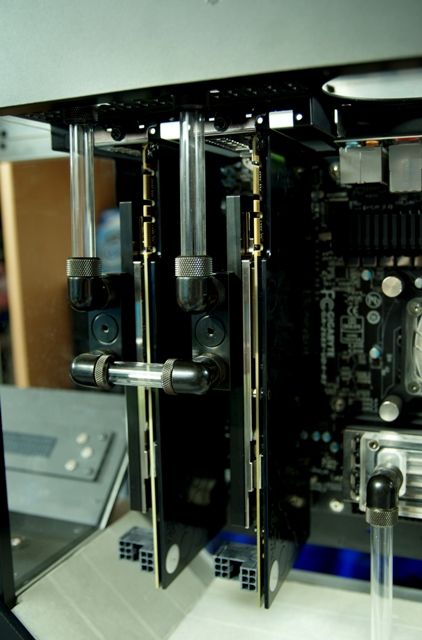
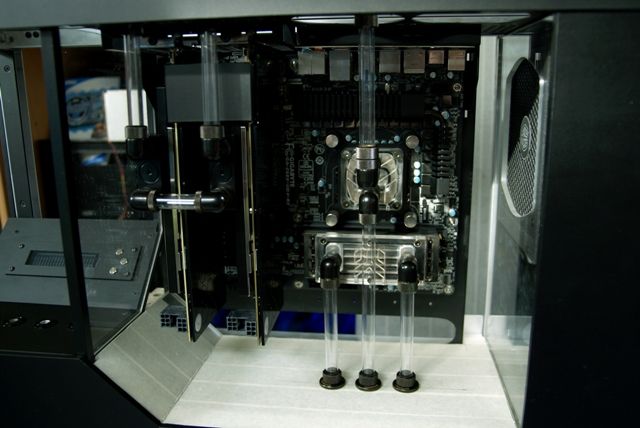
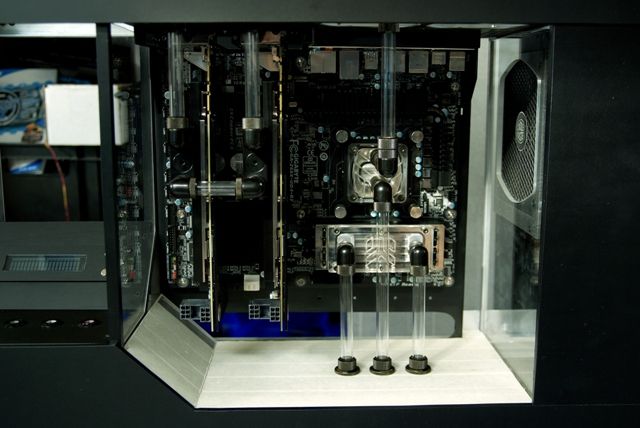
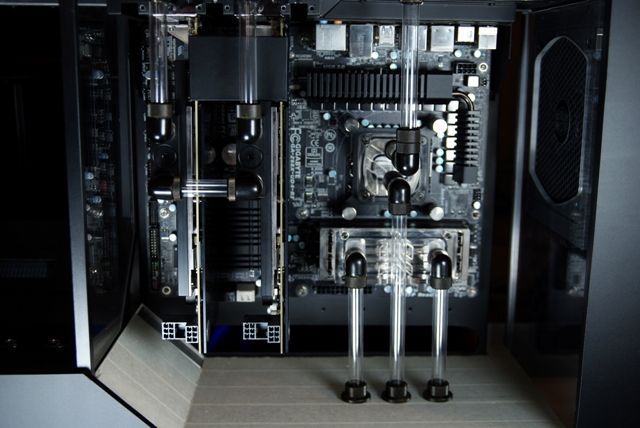
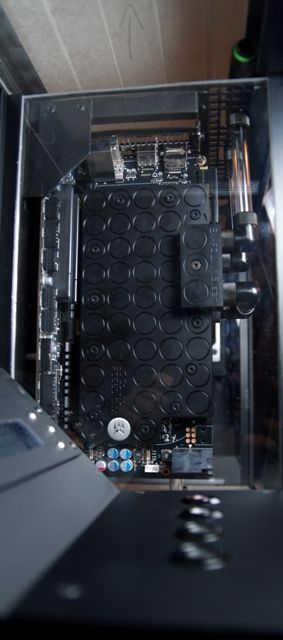
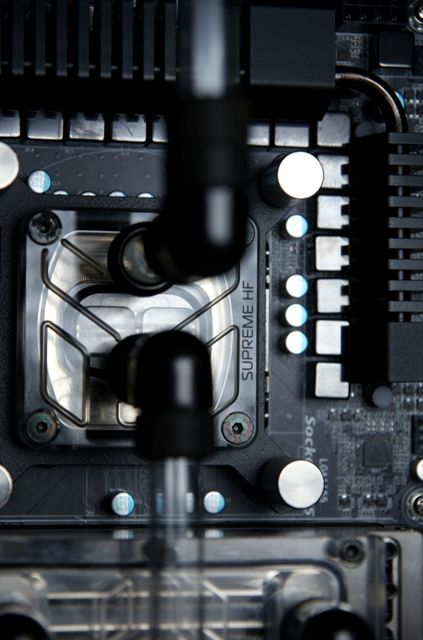
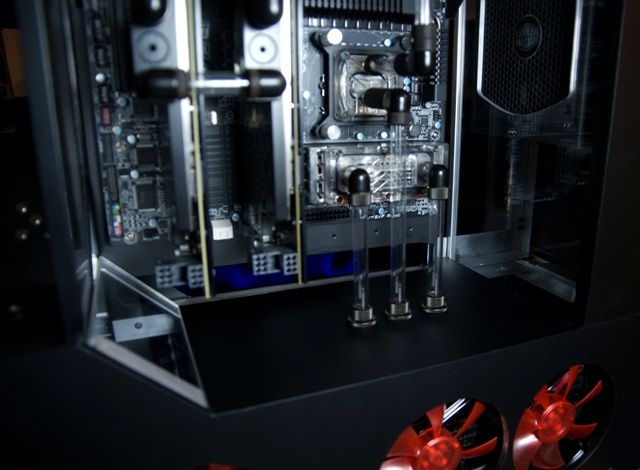
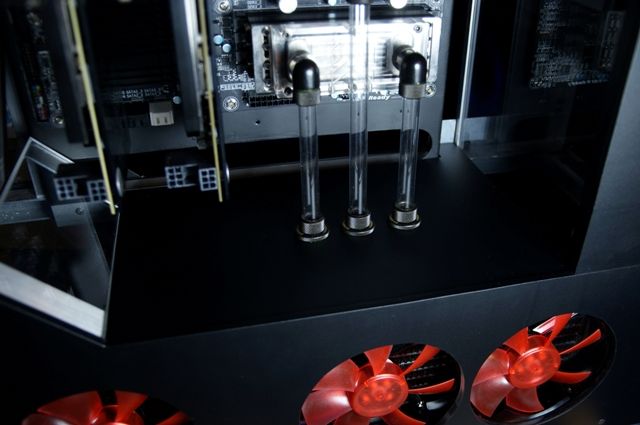
    The hardware that comes in is still a suprise...even for me , but anyway there will be an SLI set and some cool watercooling

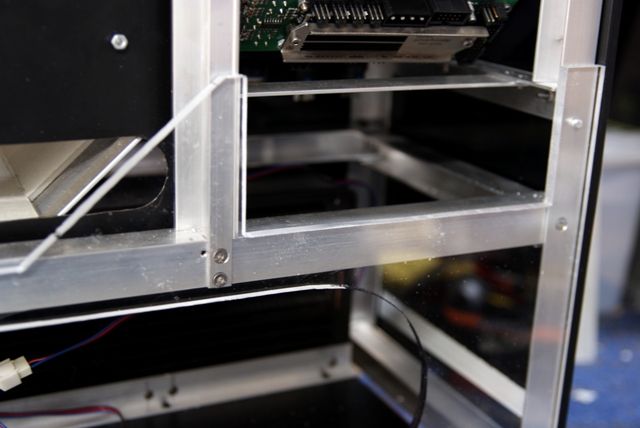
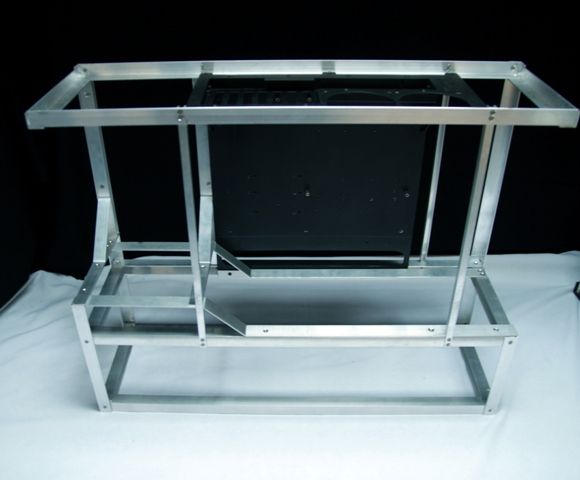
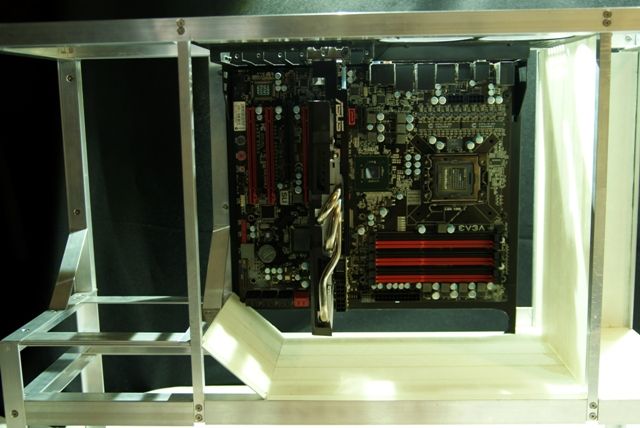
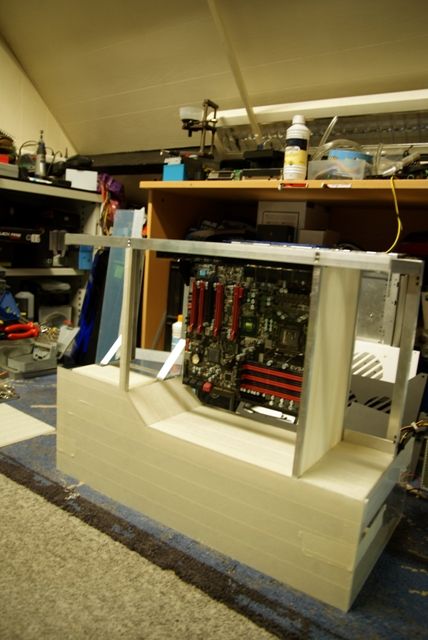
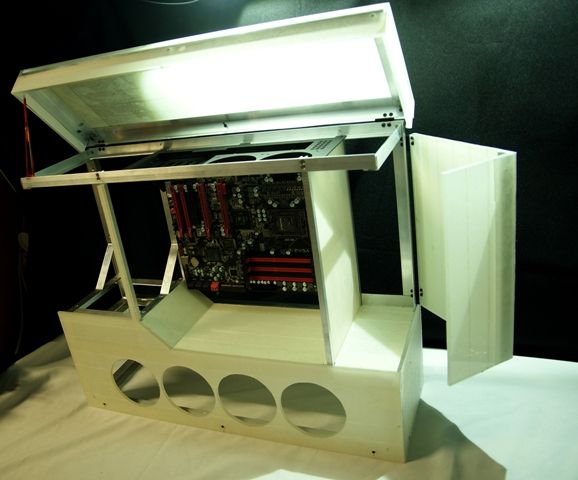
    After buying aluminum strips and other stuff at the hardware store, it was time to start building. After some fitting and measuring the frame was created. I still had an old Mobo tray from a old TJ07.


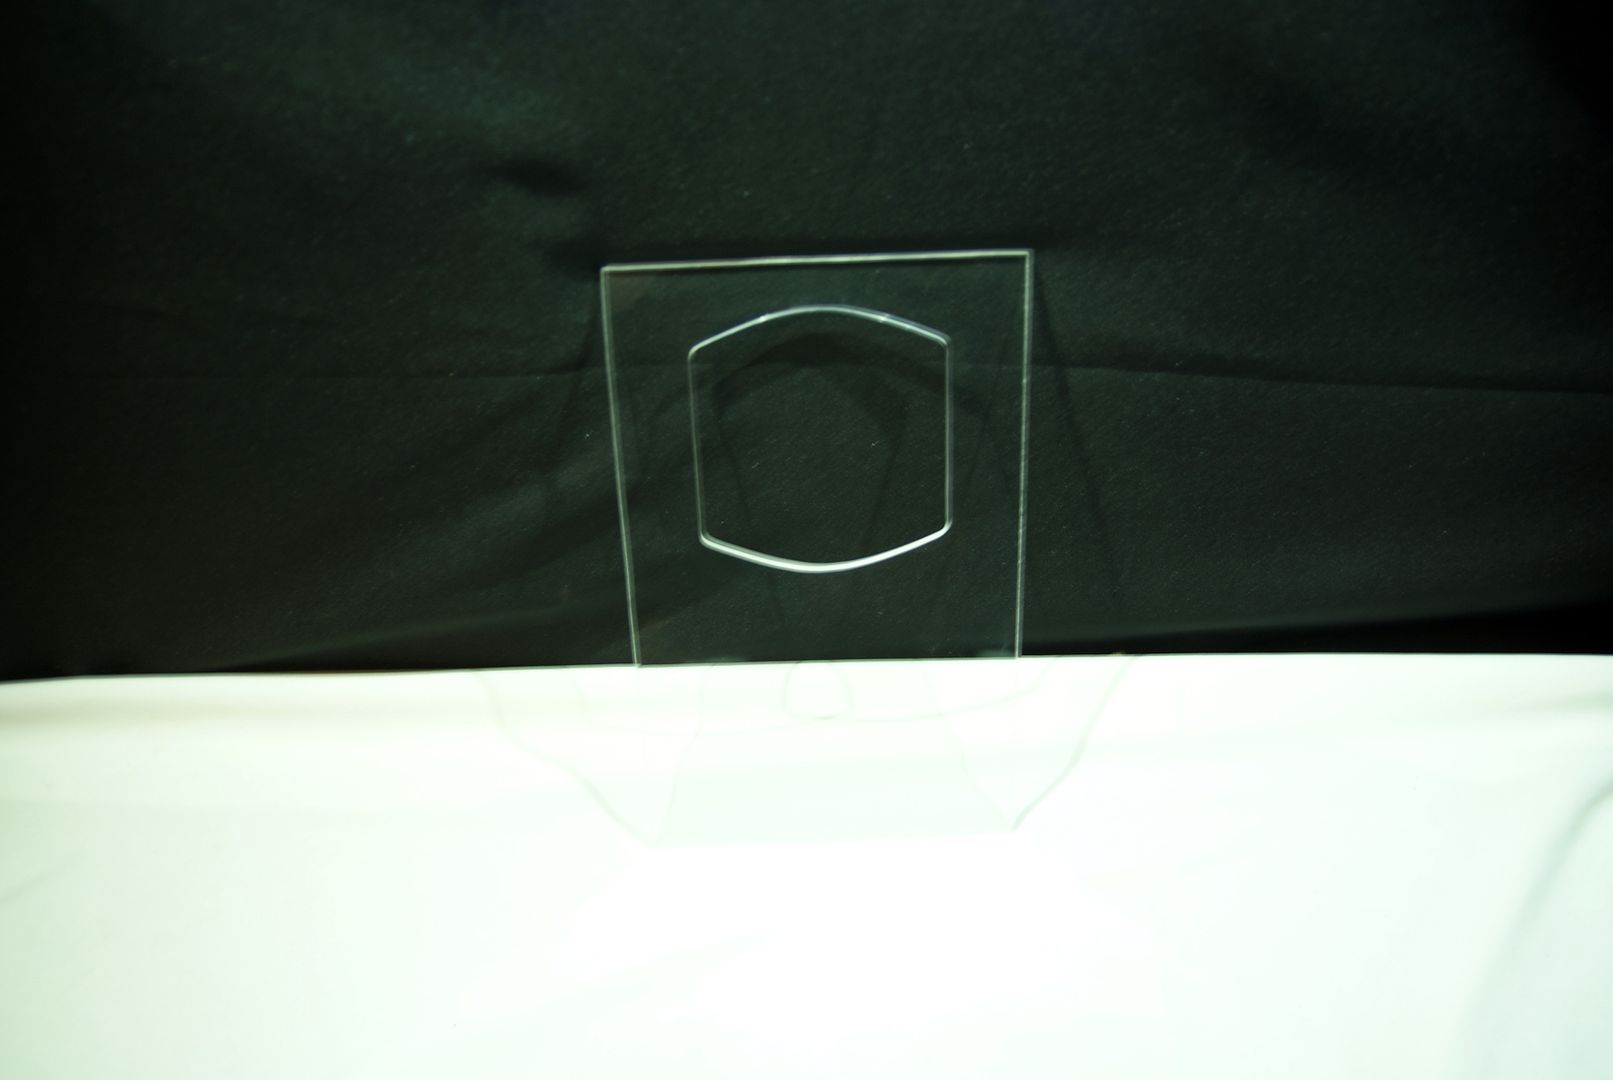
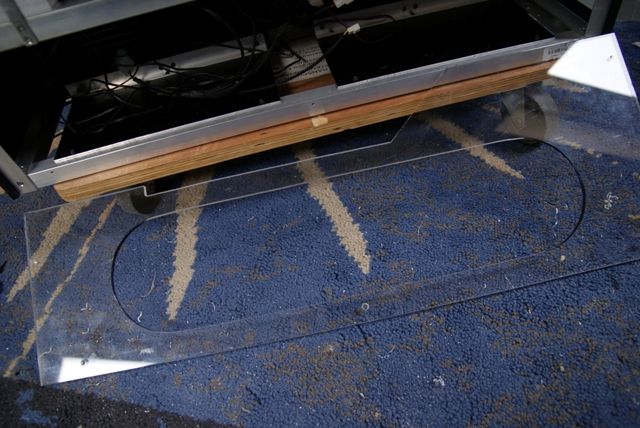
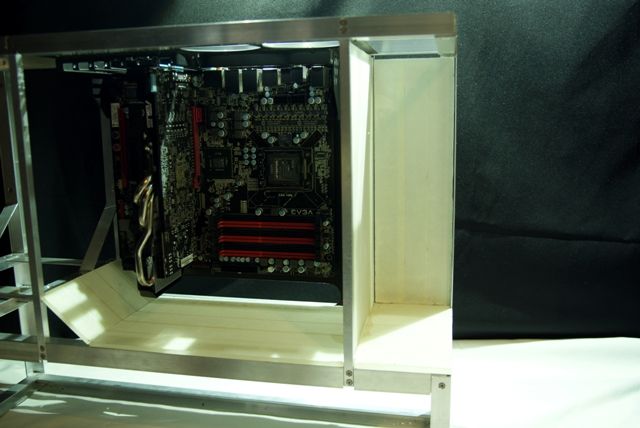
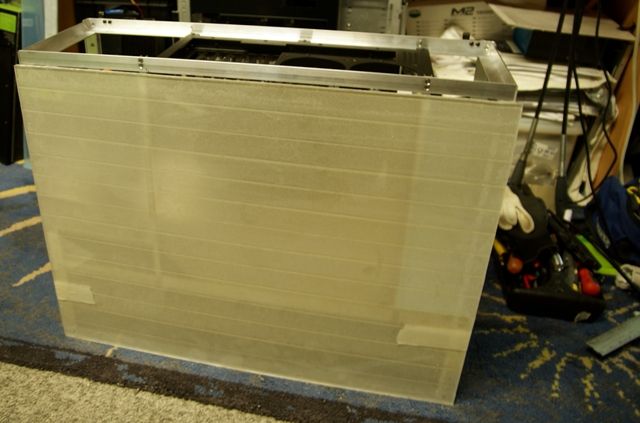
    Cut some plates of acrylic and placed it.


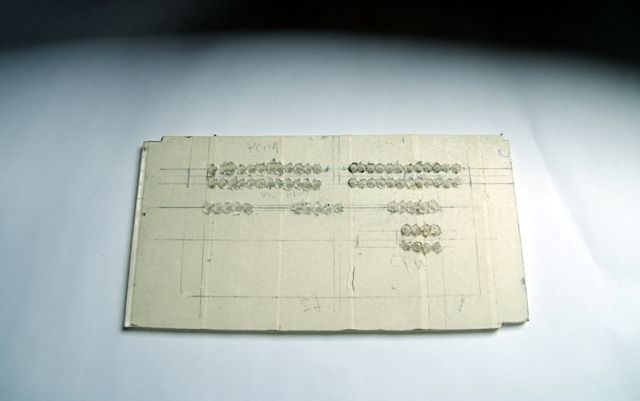
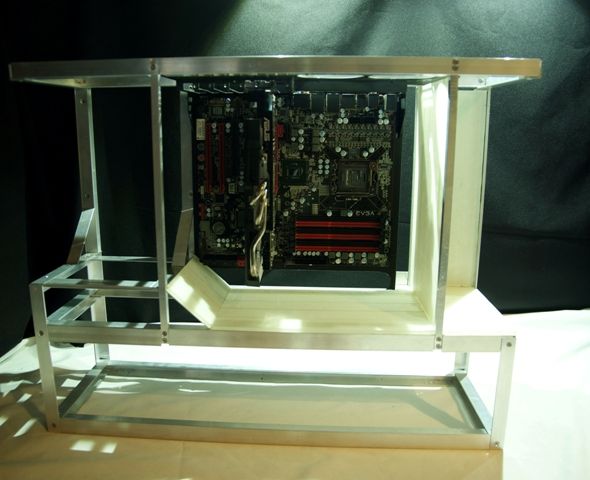
    For measuring I have an old blown up Classified.


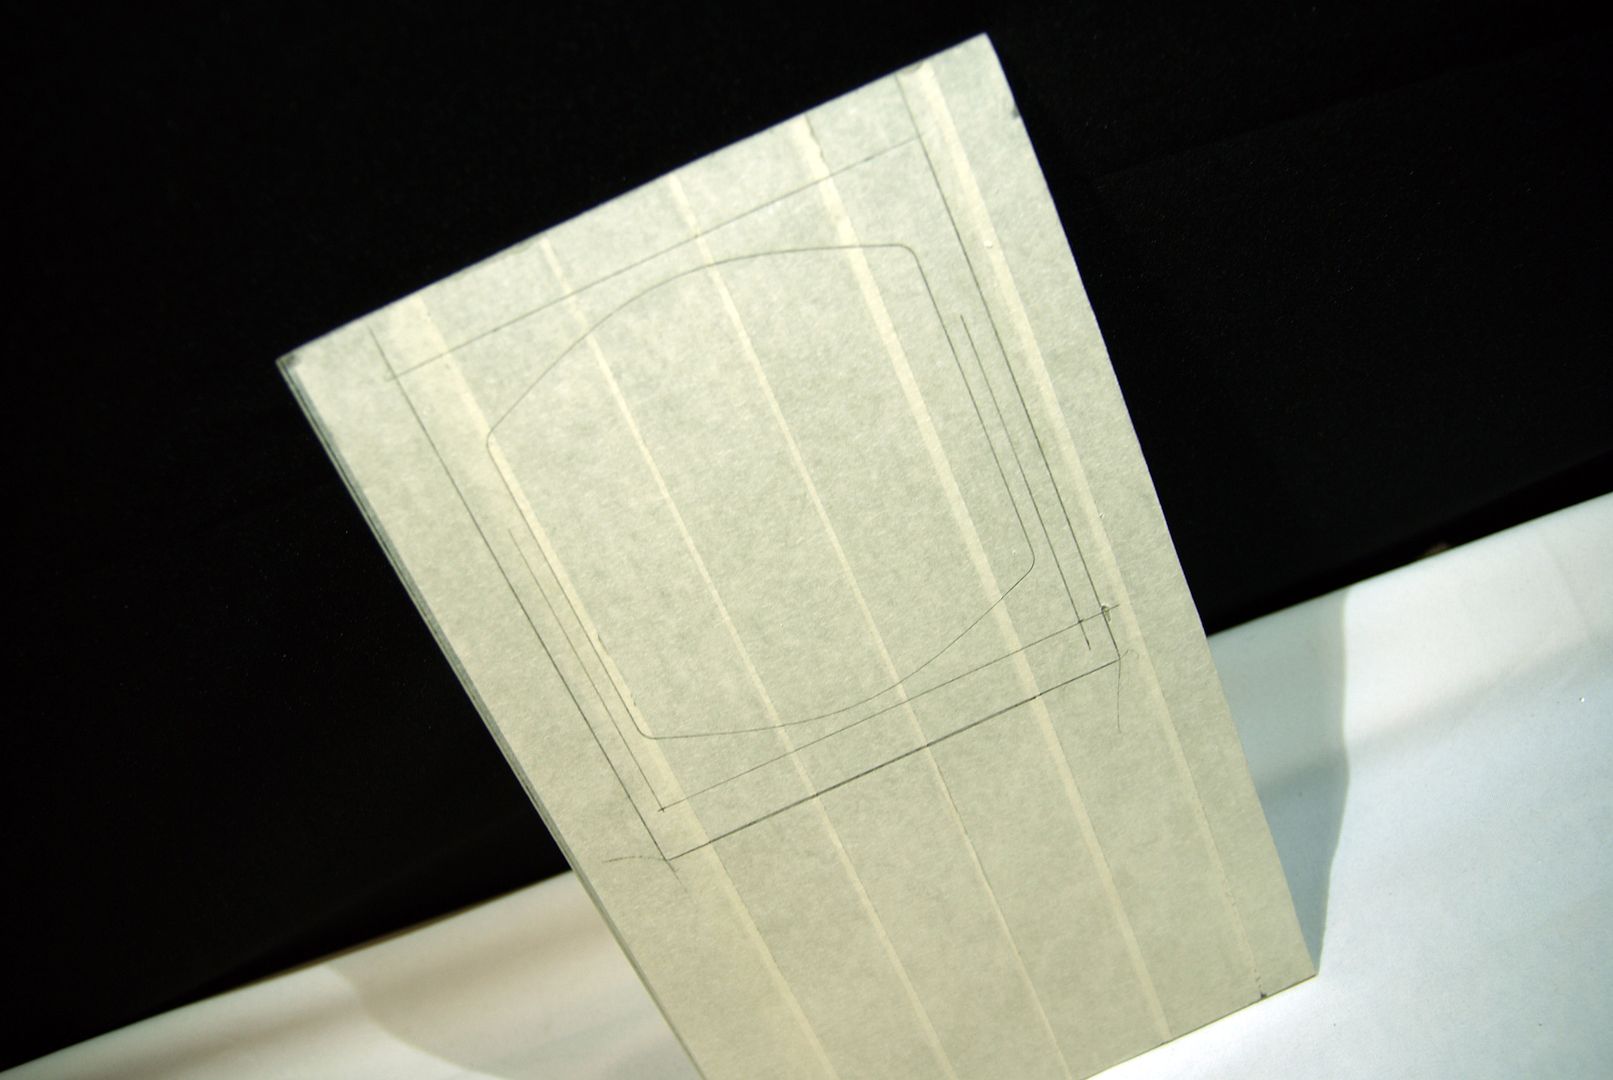
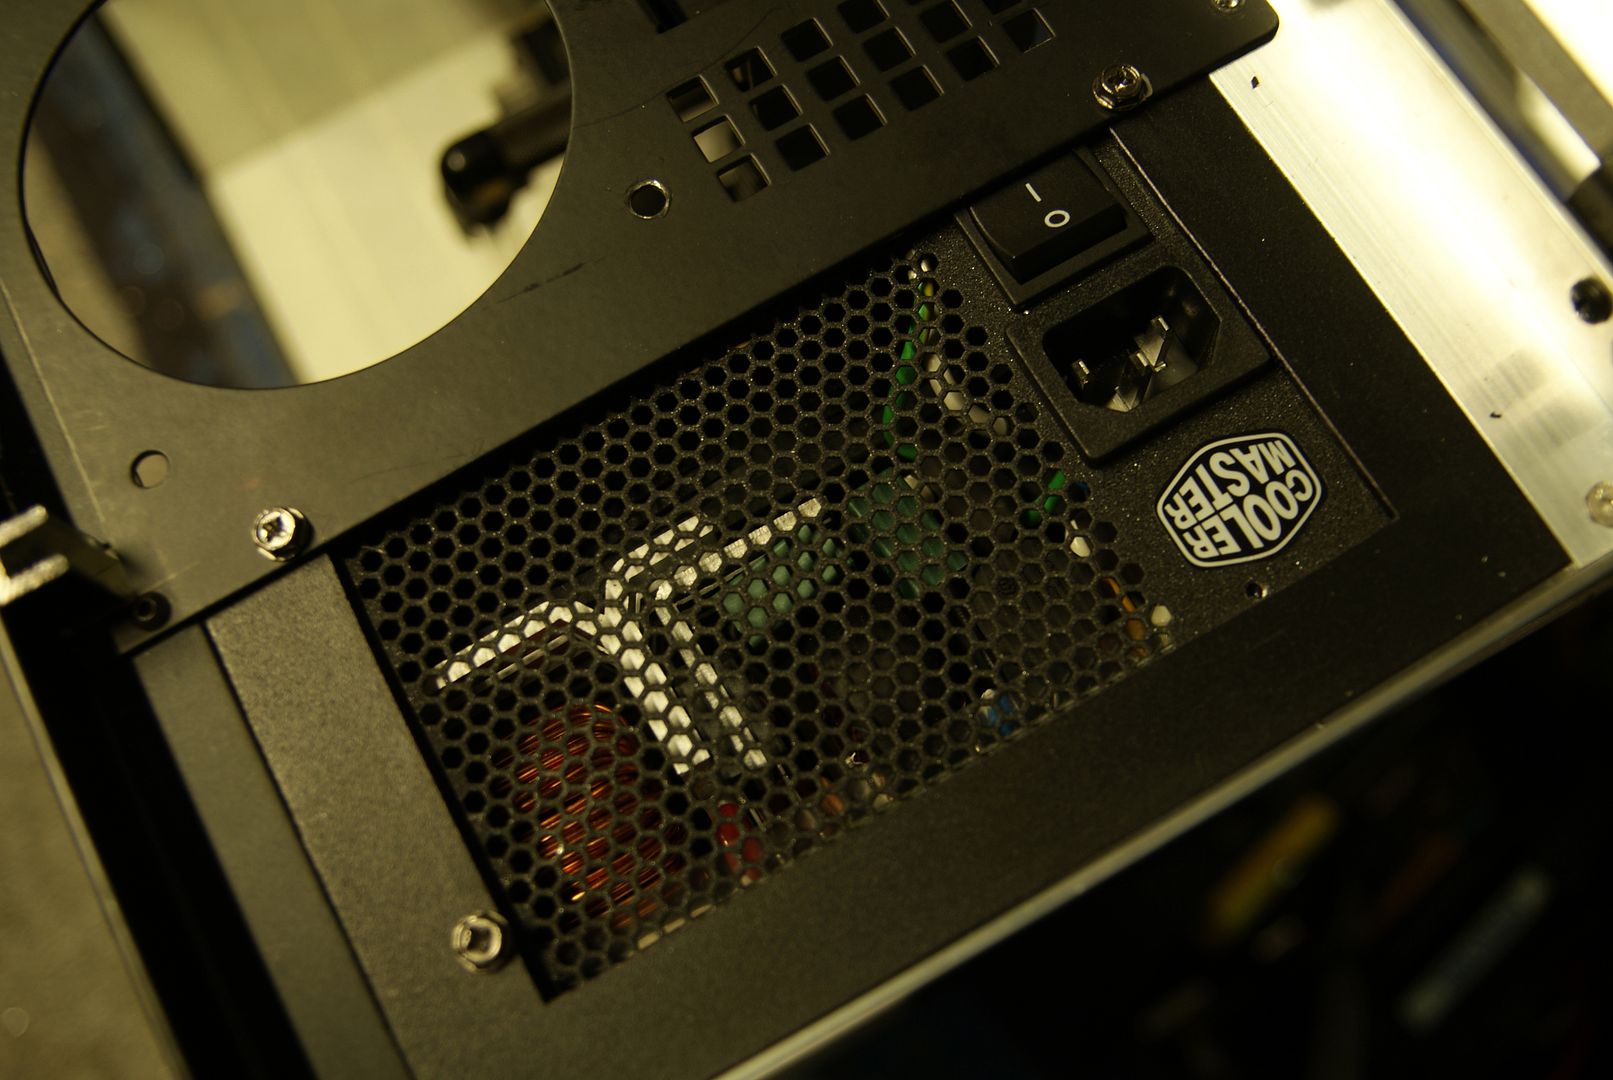
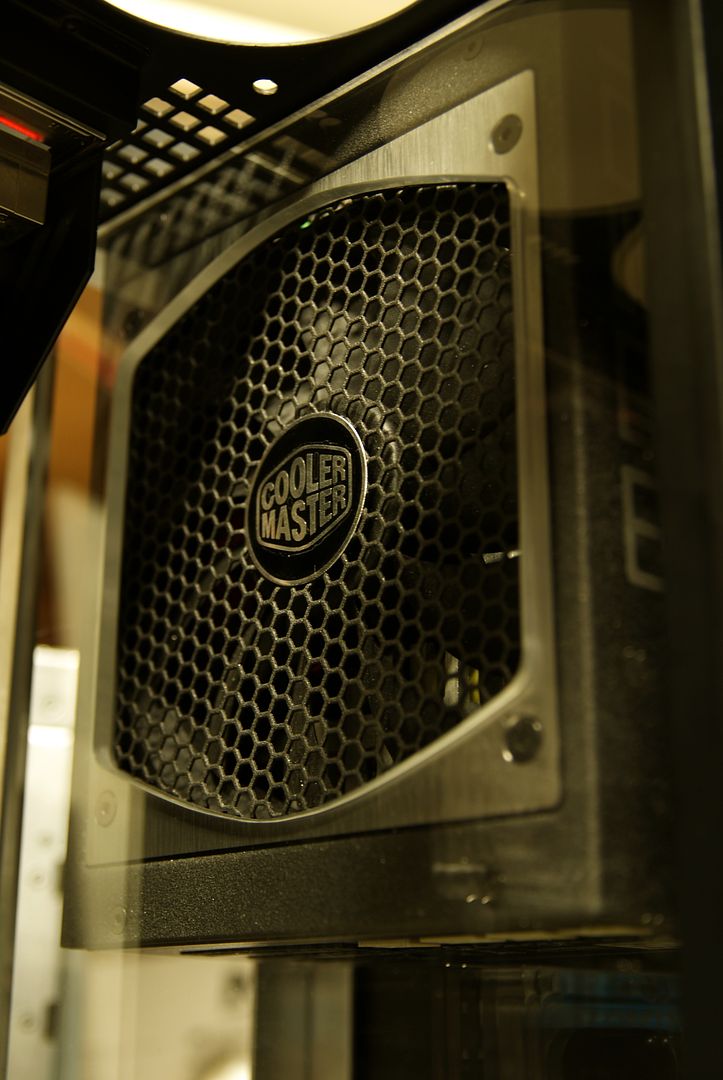
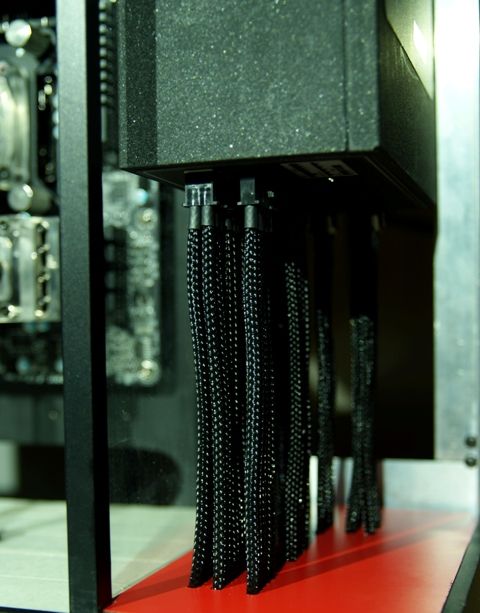
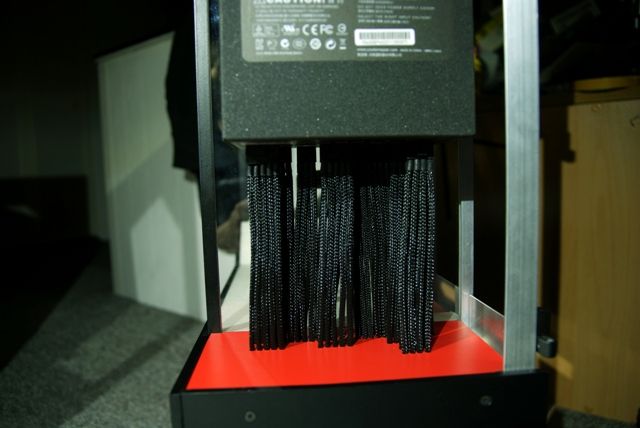
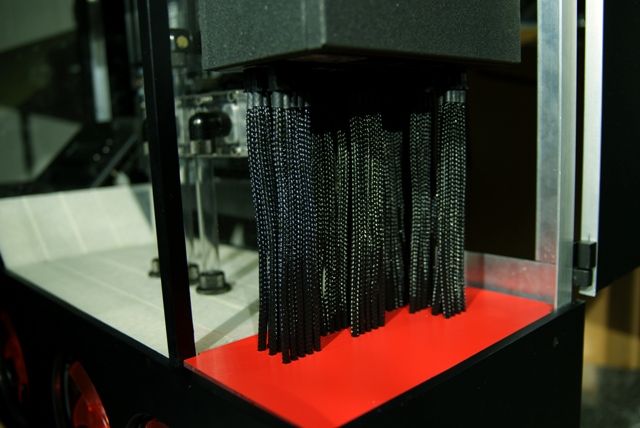
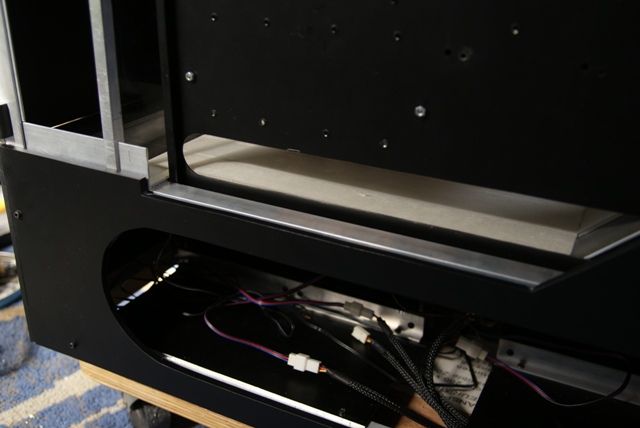
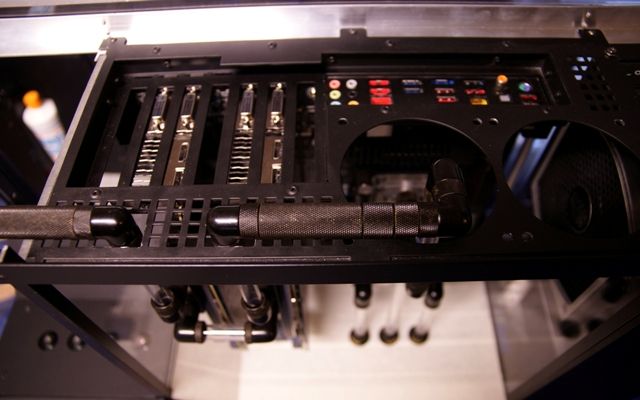
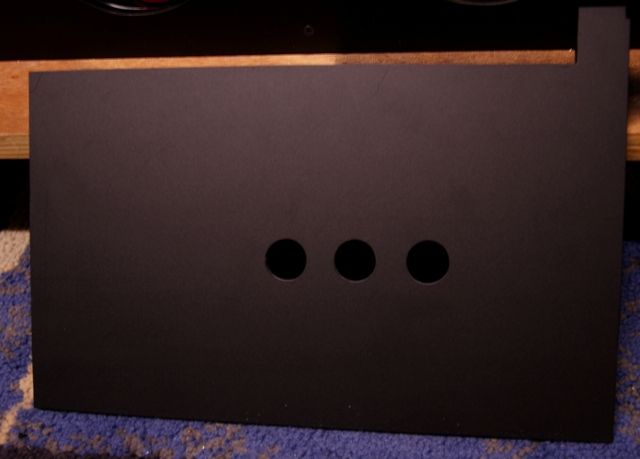
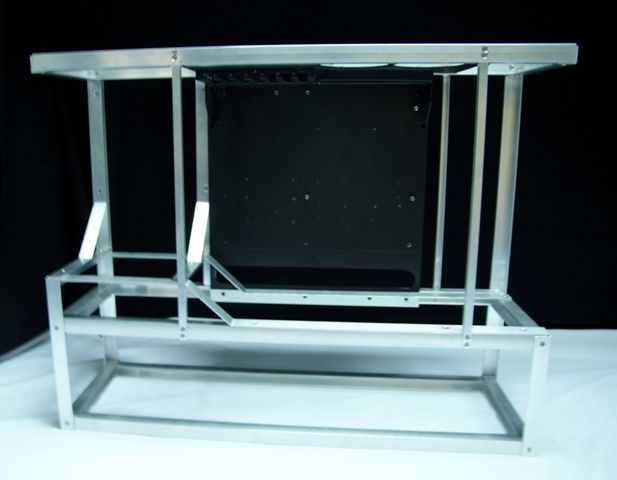
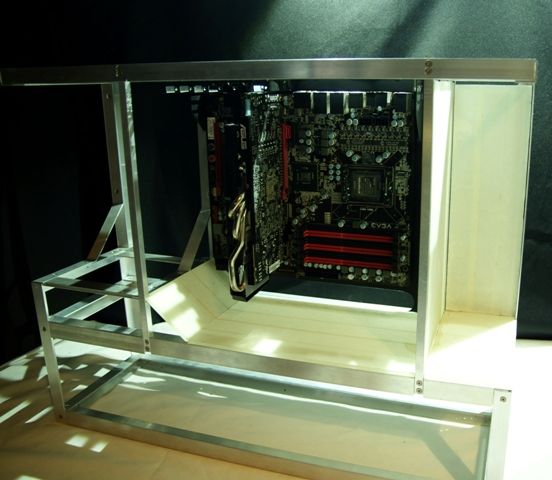
    Made the door/ cover for the PSU


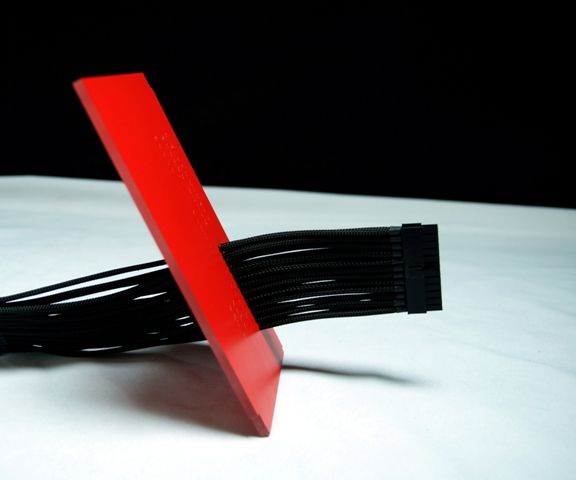
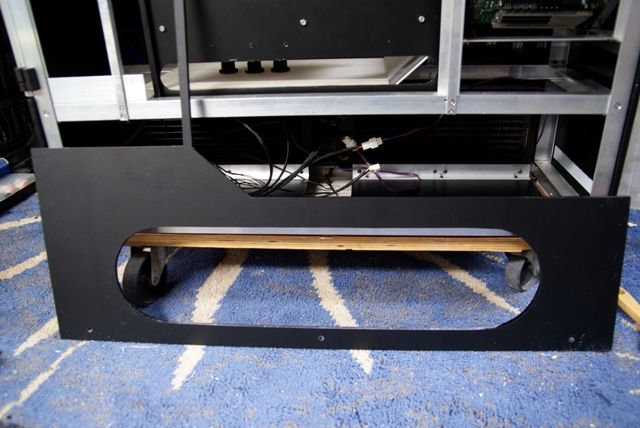
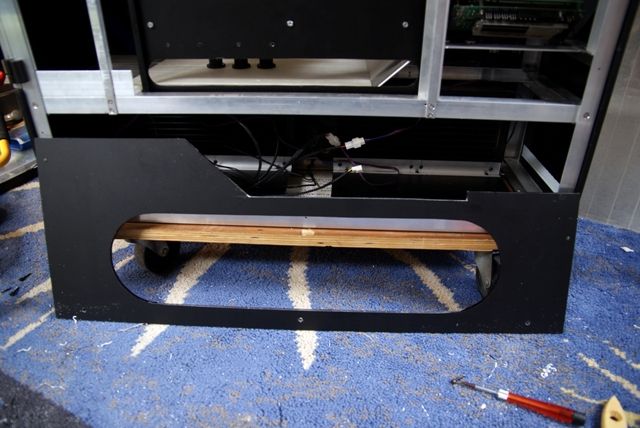
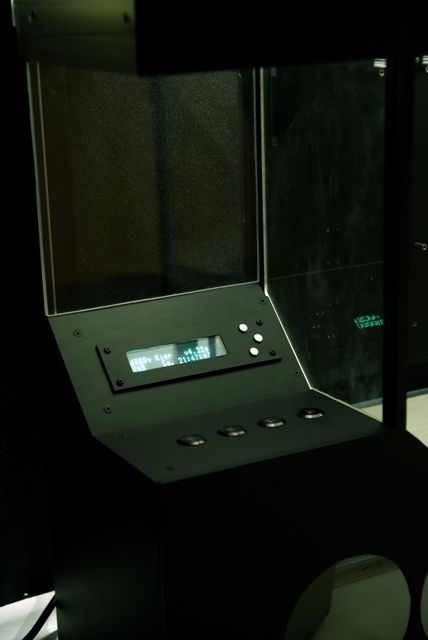
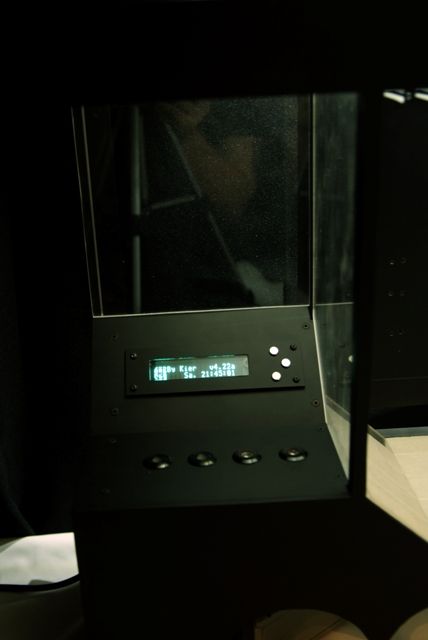
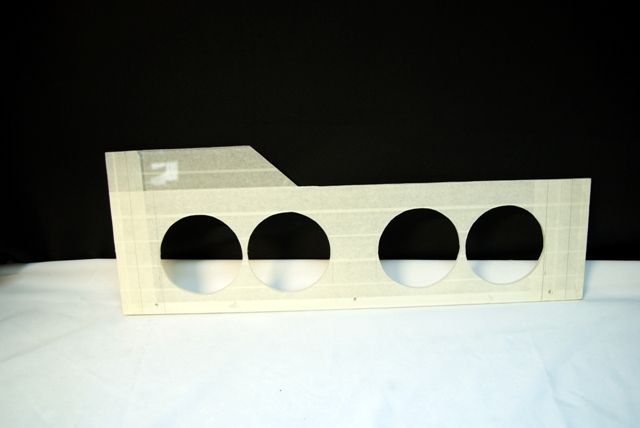
    And cut to size the front plate


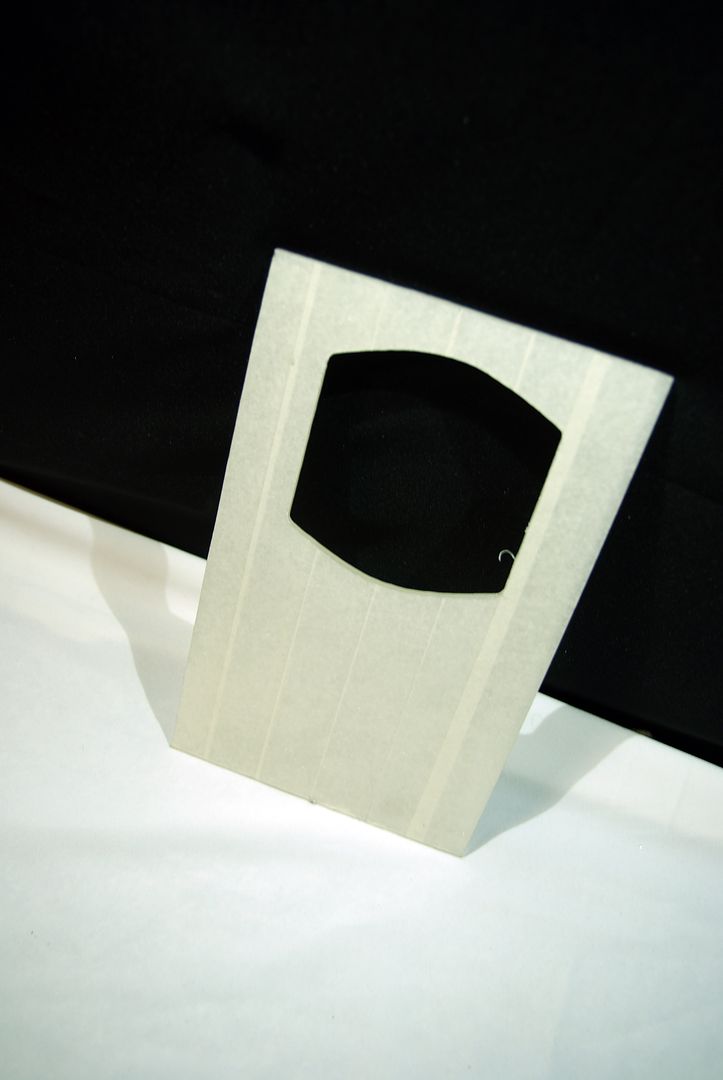
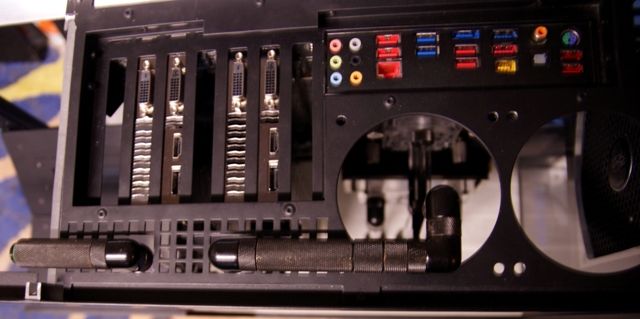
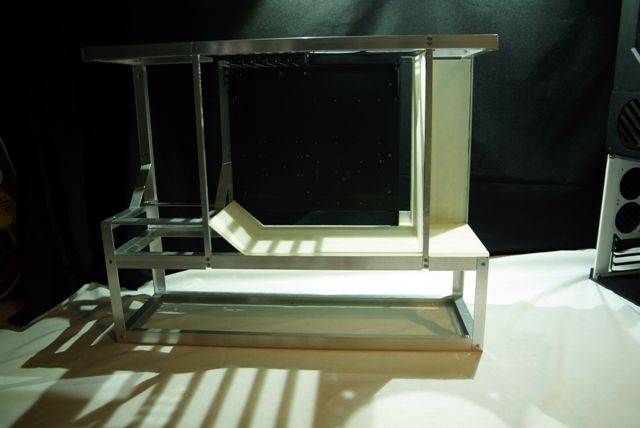
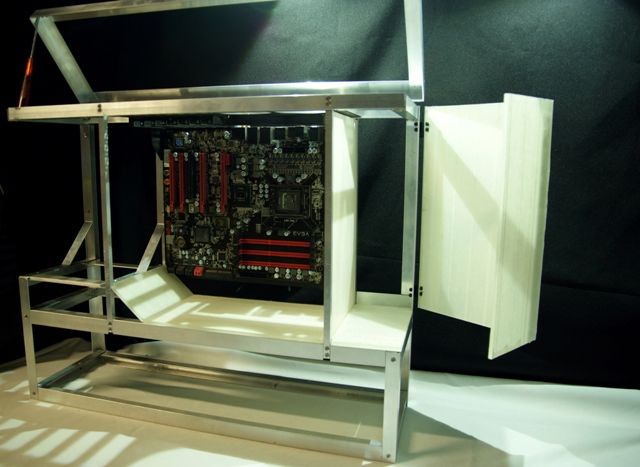
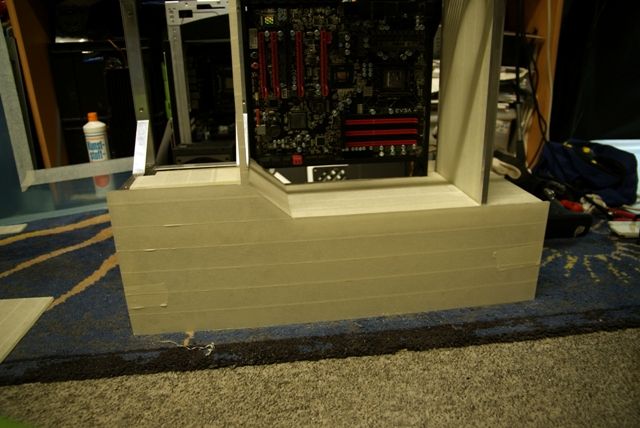
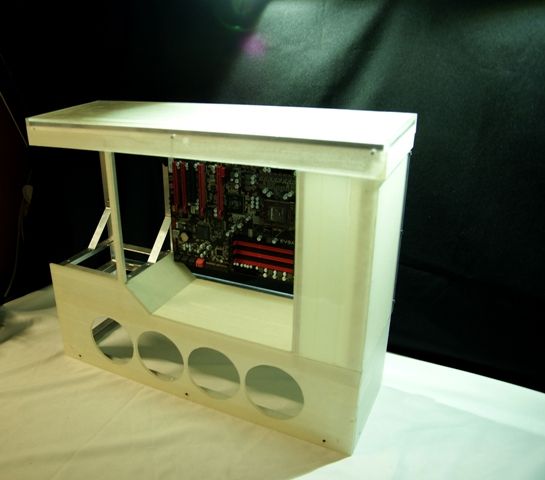
    Now it's a matter of drawing lines on the inside. The result after sawing and filing.


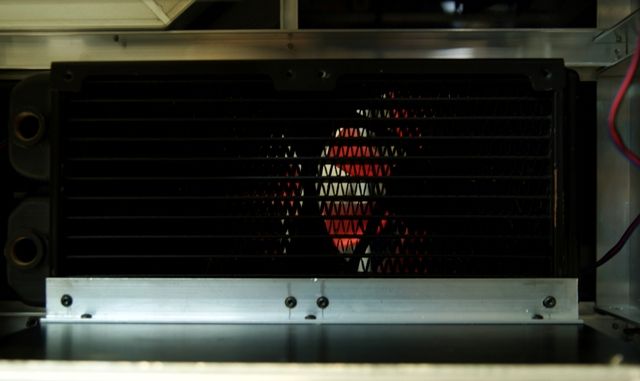
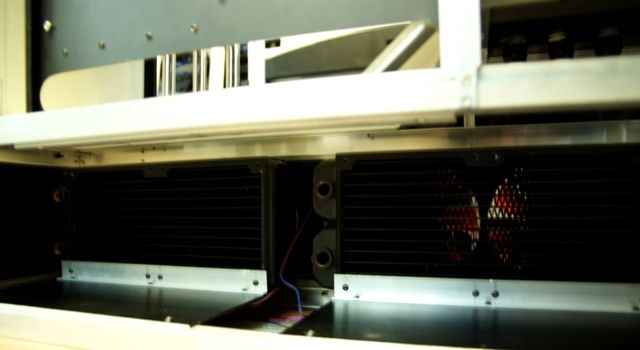
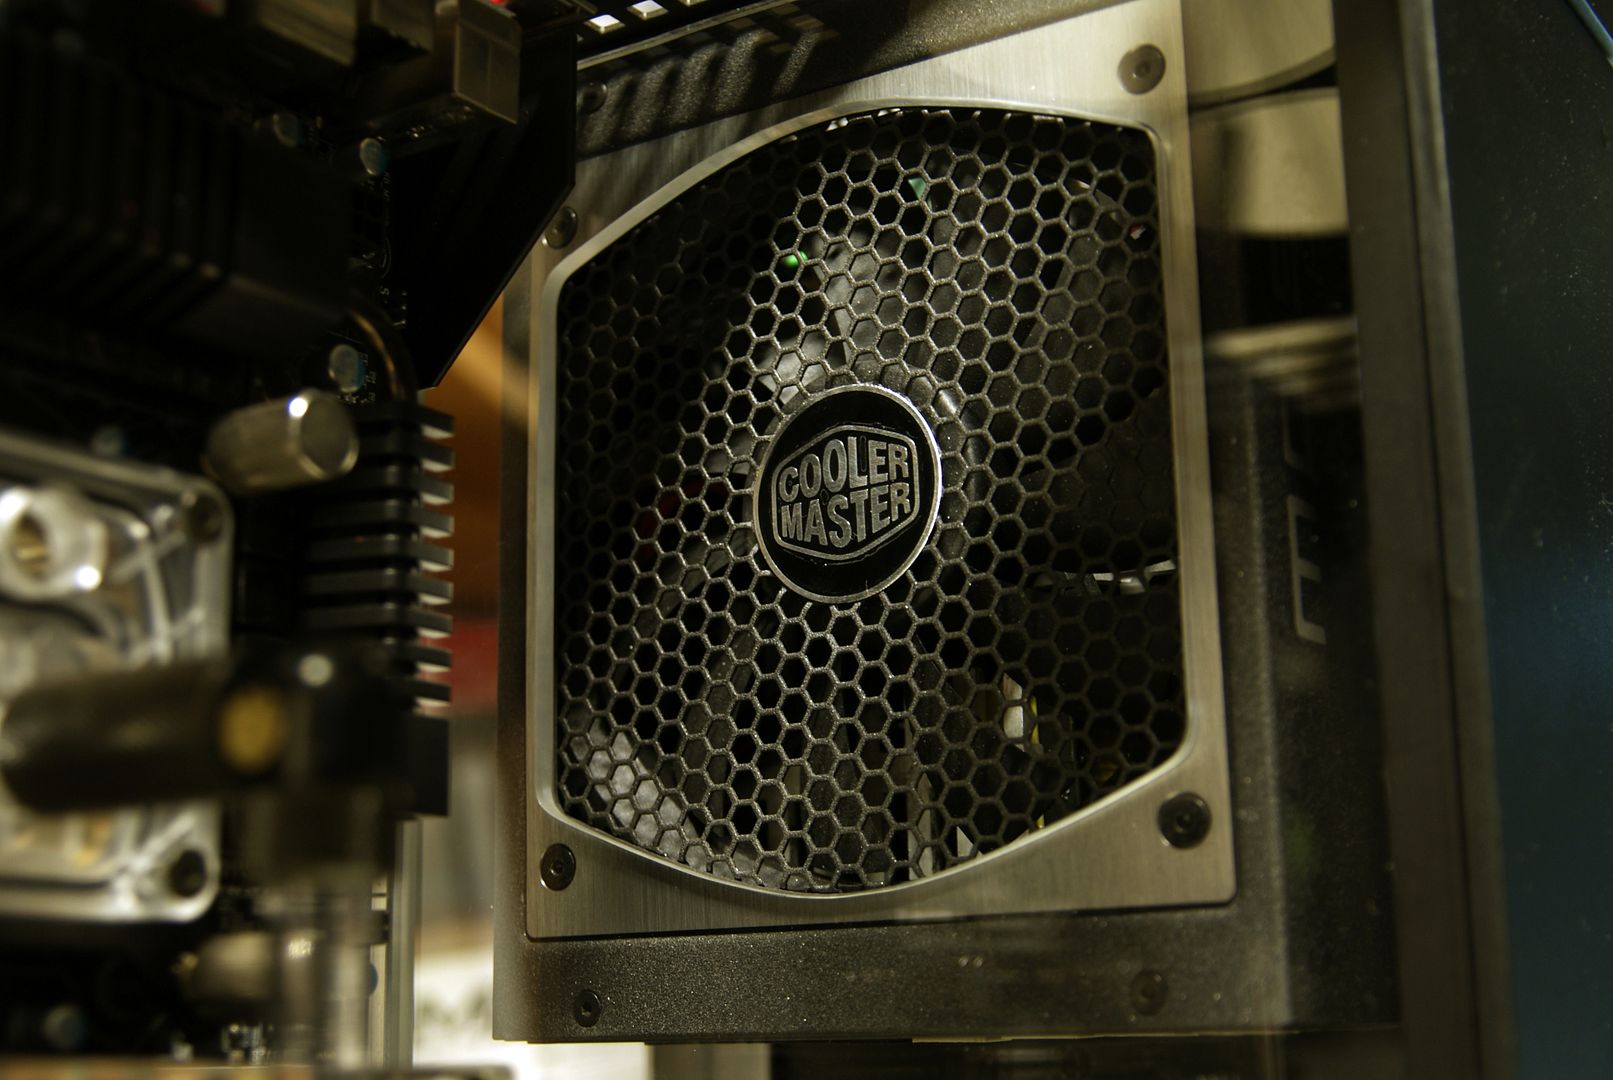
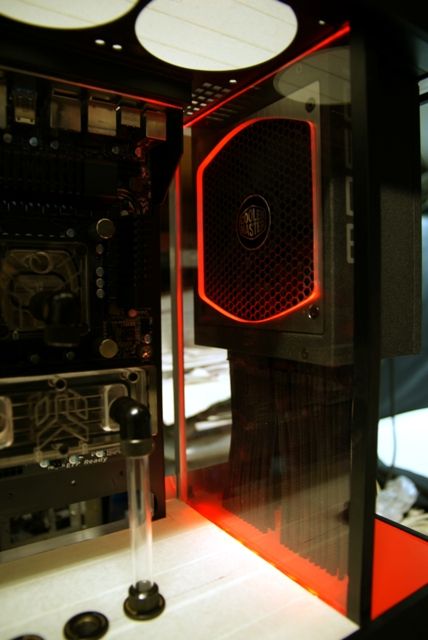
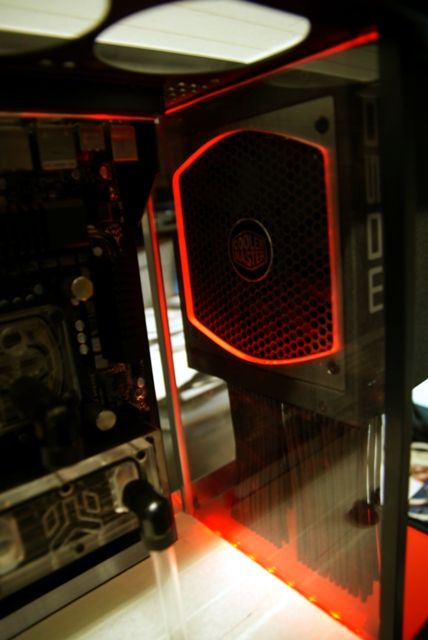
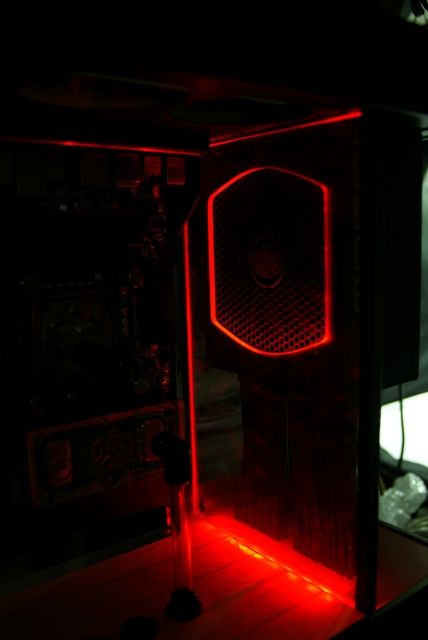
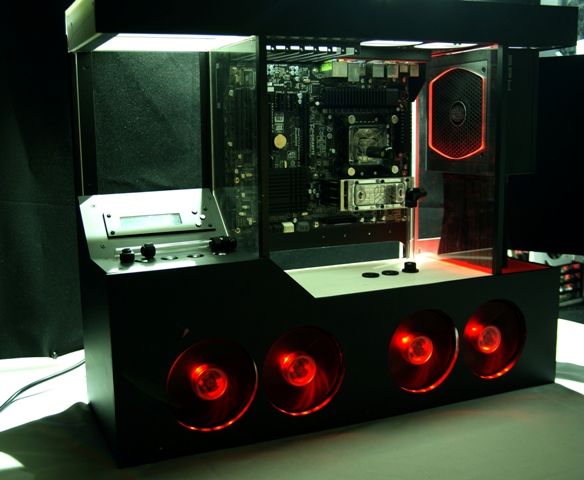
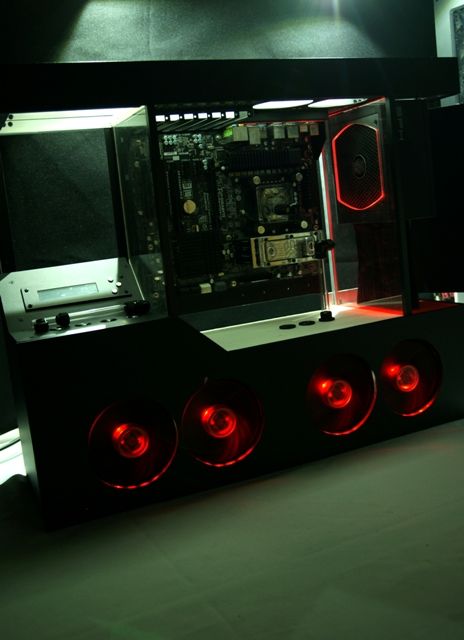
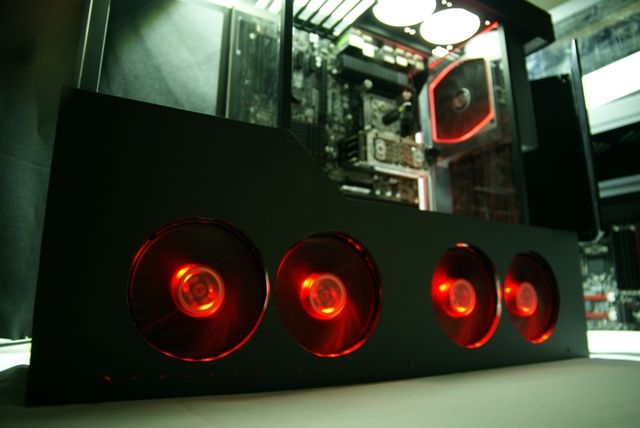
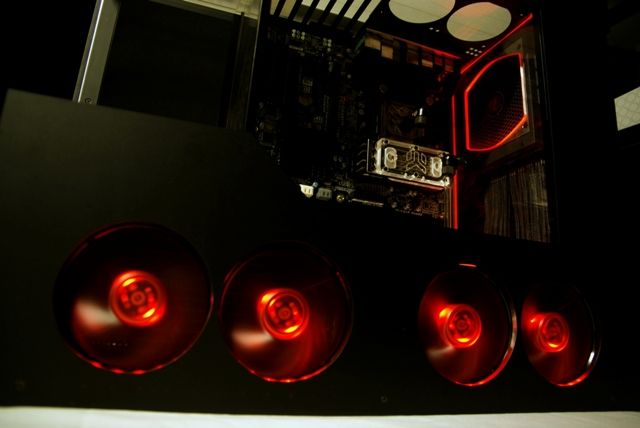
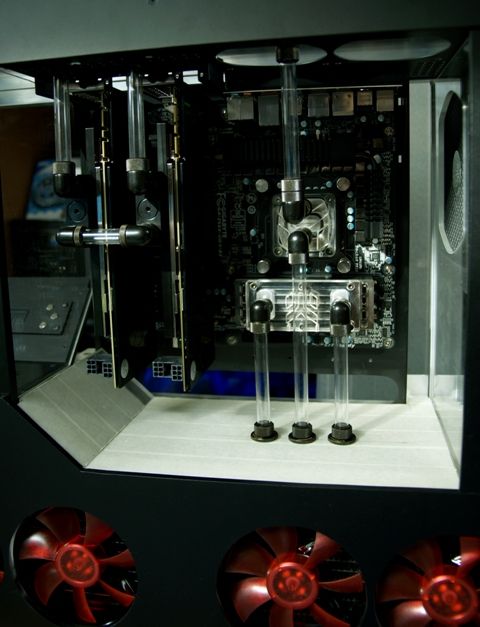
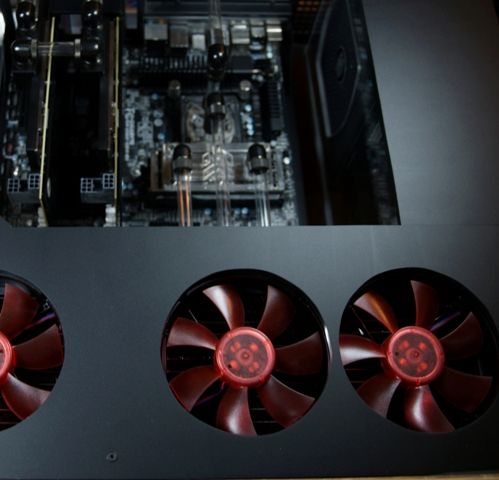
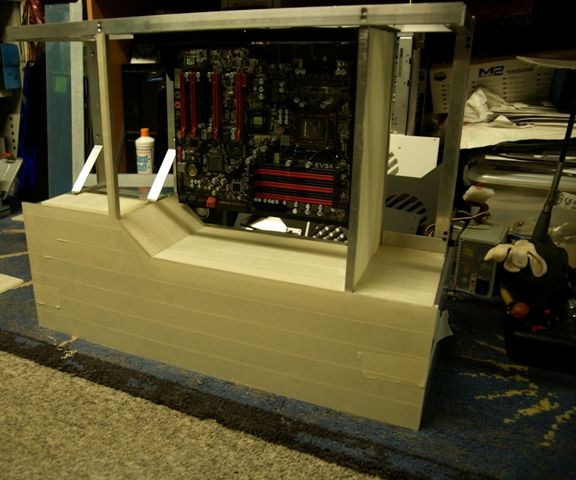
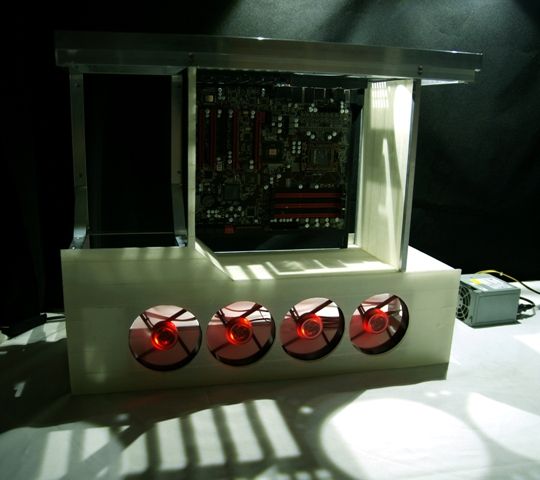
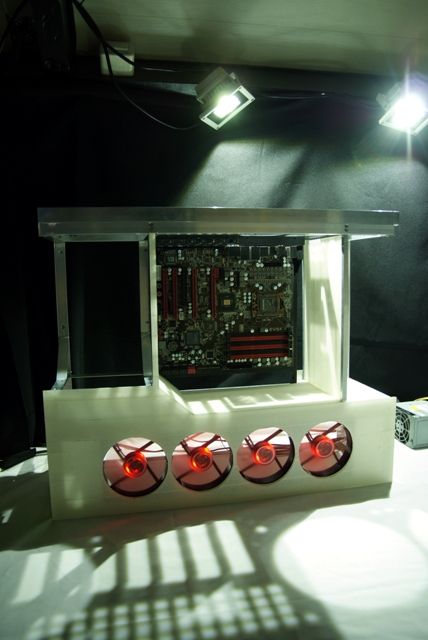
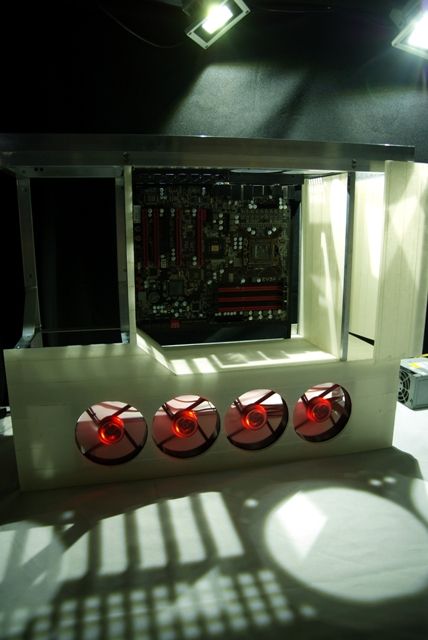
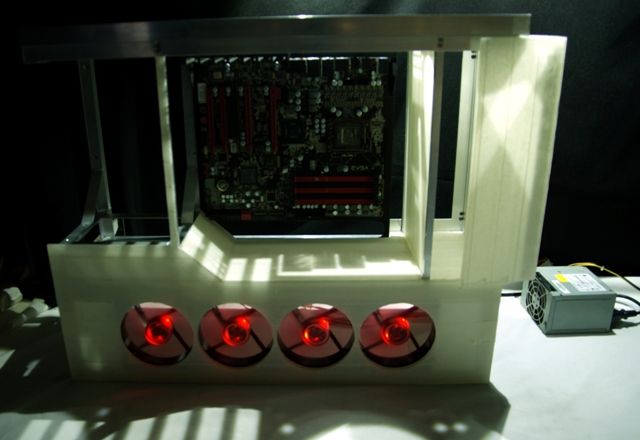
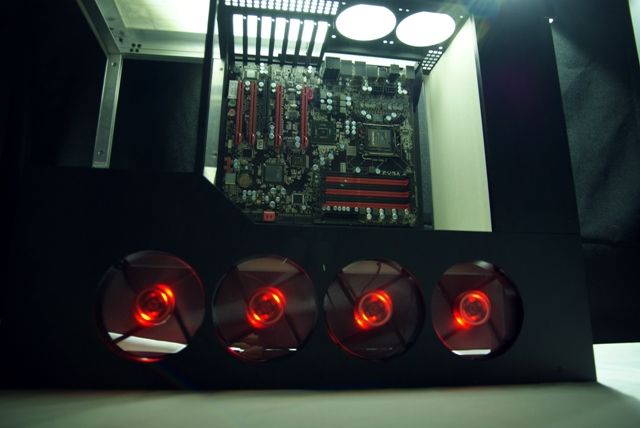
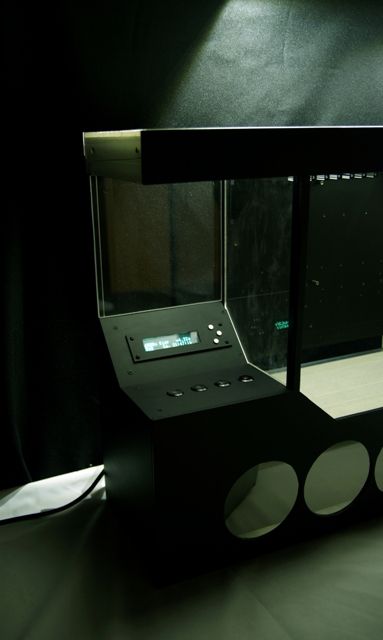
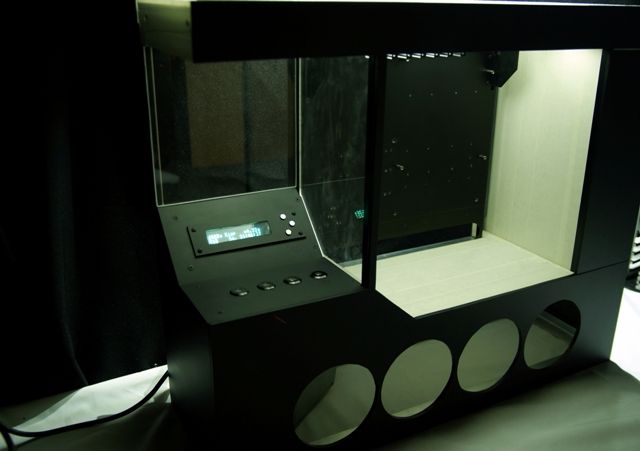
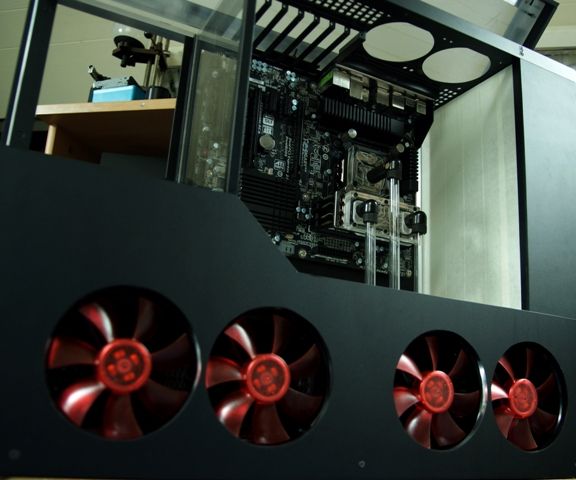
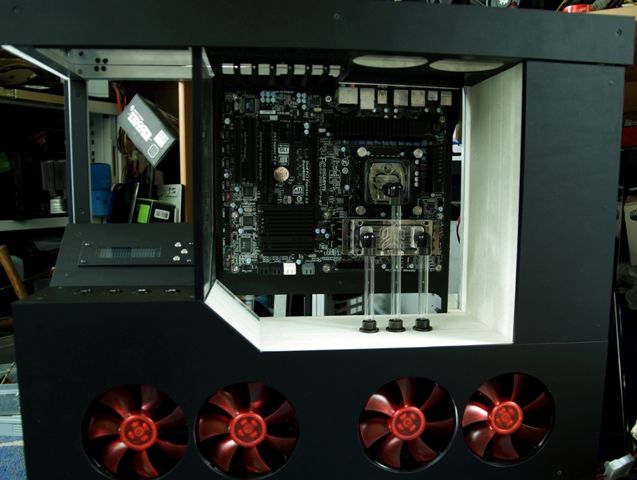
    Cut holes for the fans at the front and the lid on top covered with acrylic


    Covers closed


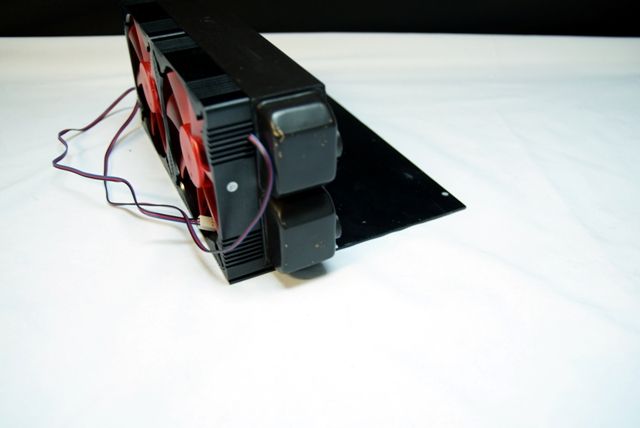
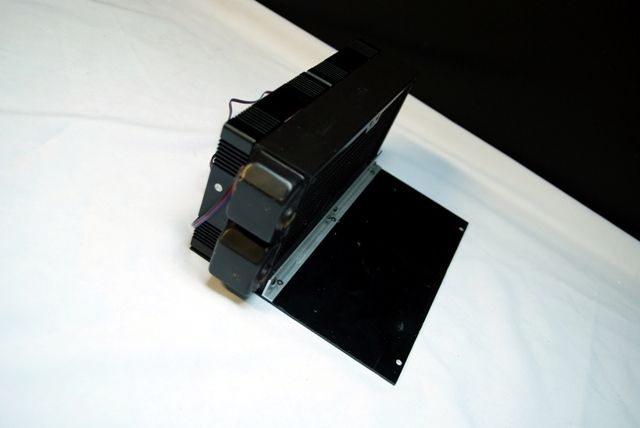
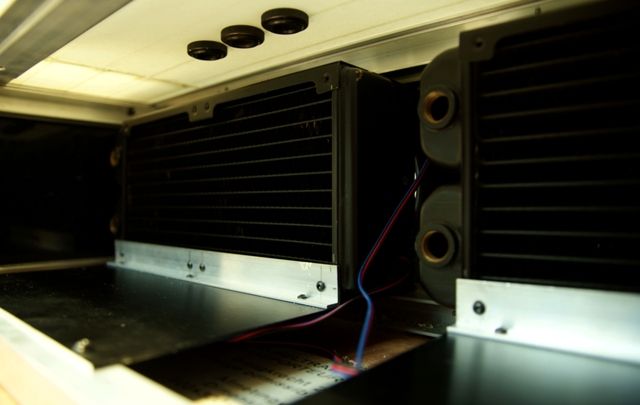
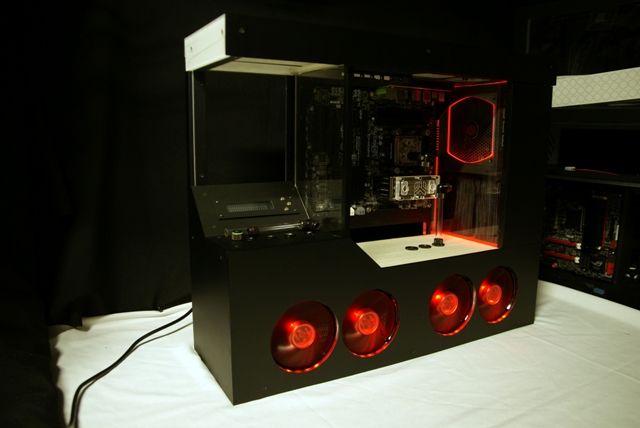
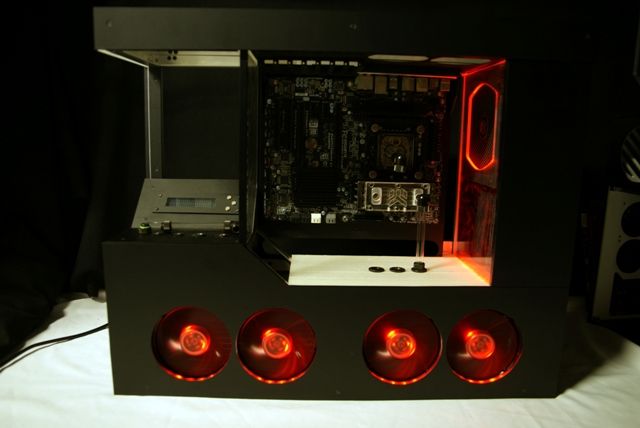
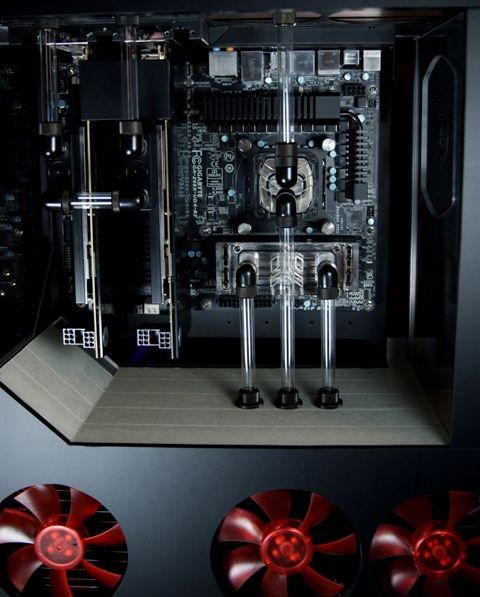
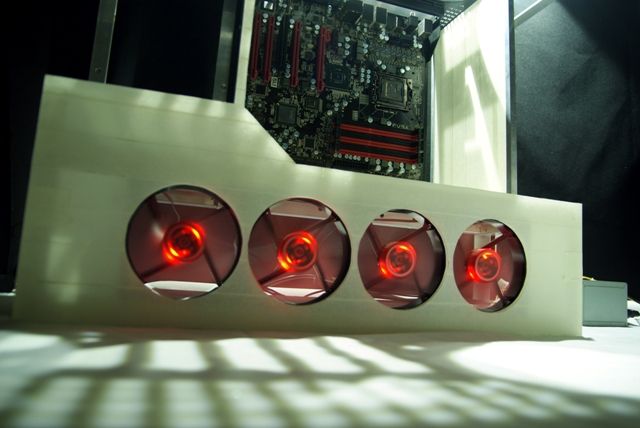
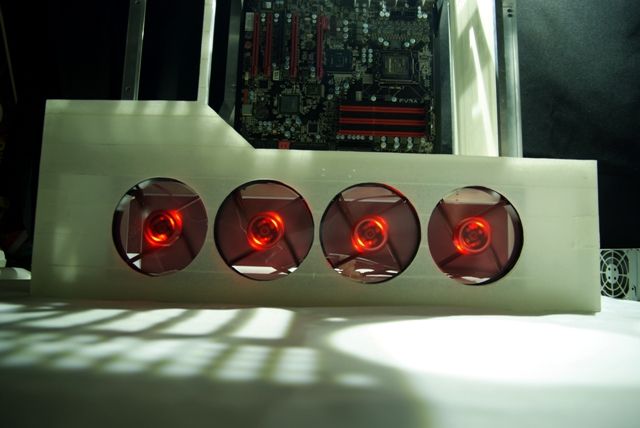
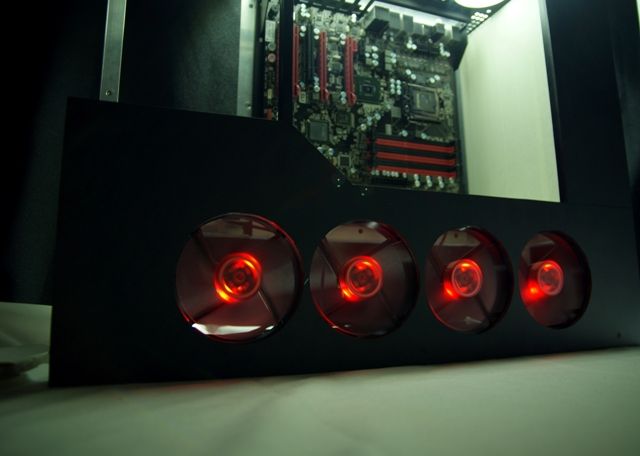
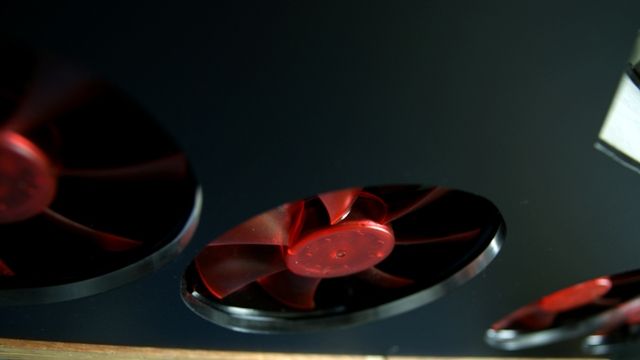
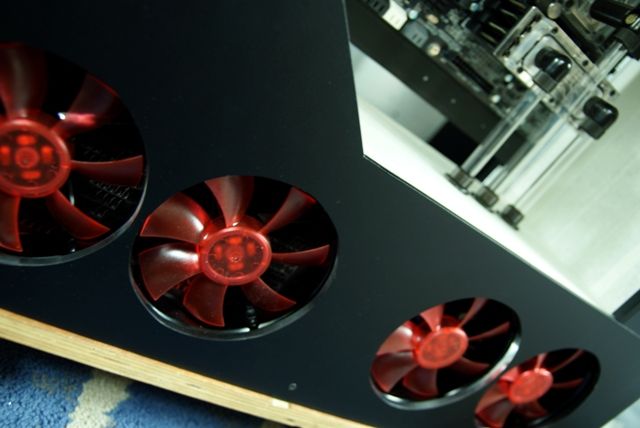
    Placed some nice 120mm NorthQ fans to see how it looks.


    More updates coming very soon

  2. #2
    Undead Pirate d_stilgar's Avatar
    Join Date
    Mar 2005
    Location
    Philadelphia, PA
    Posts
    2,987

    Default Re: Guilty

    Awesome looking design and great start. Can't wait to see more.

    Do you have any detail shots of the frame and how it's held together?

  3. #3

    Default Re: Guilty

    Quote Originally Posted by d_stilgar View Post
    Awesome looking design and great start. Can't wait to see more.

    Do you have any detail shots of the frame and how it's held together?
    Yeh, will post some detail shots later

    Update!!!

    Sponsored by:


    Designed by:


    Another update Need to catch up with my FB updates
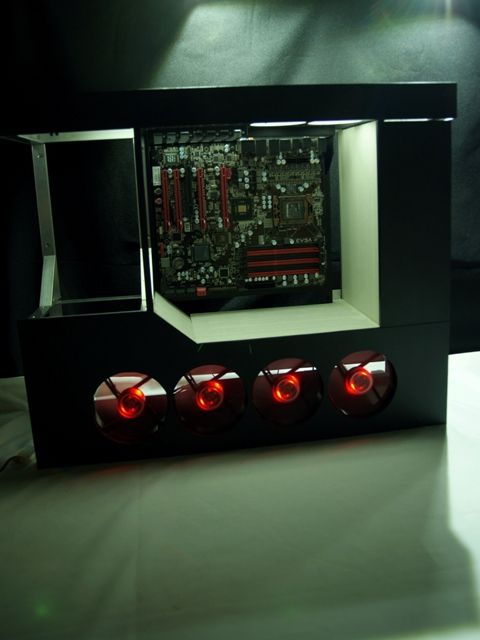
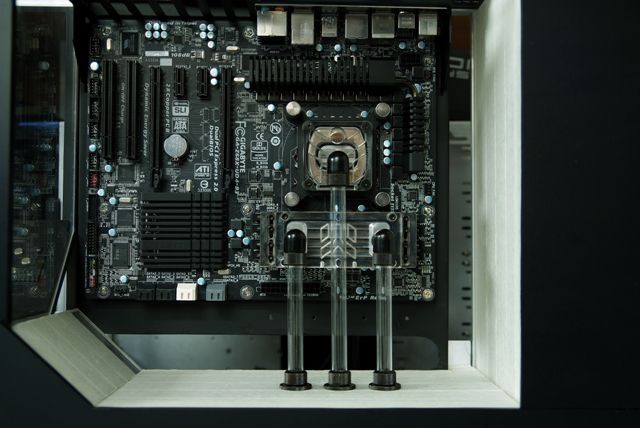
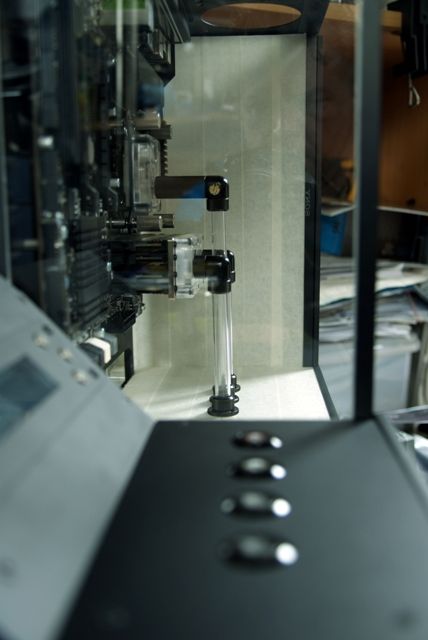
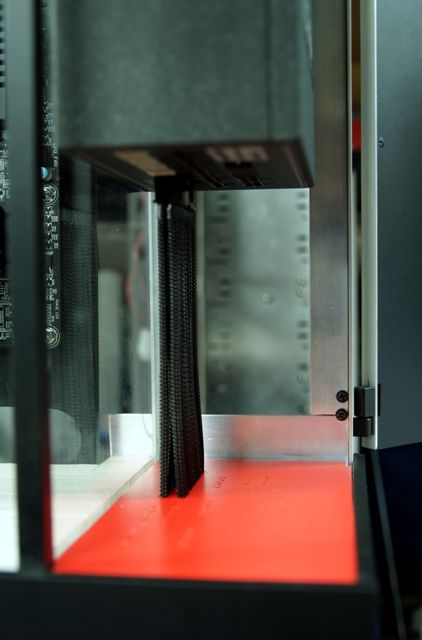
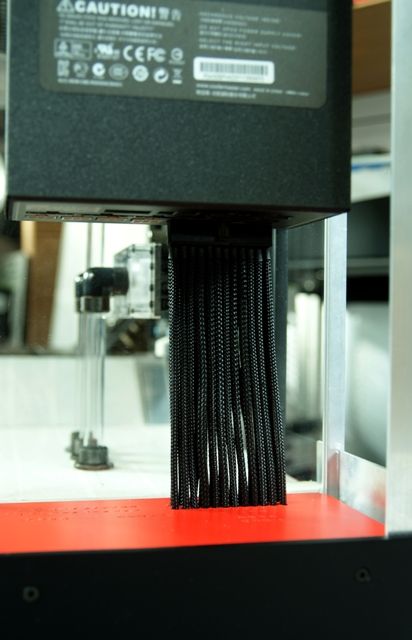
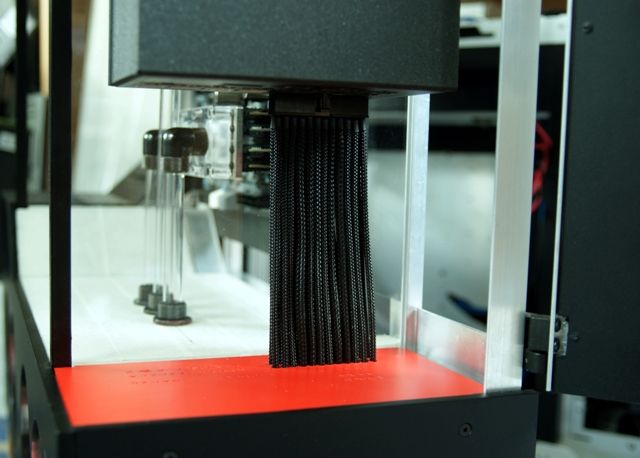
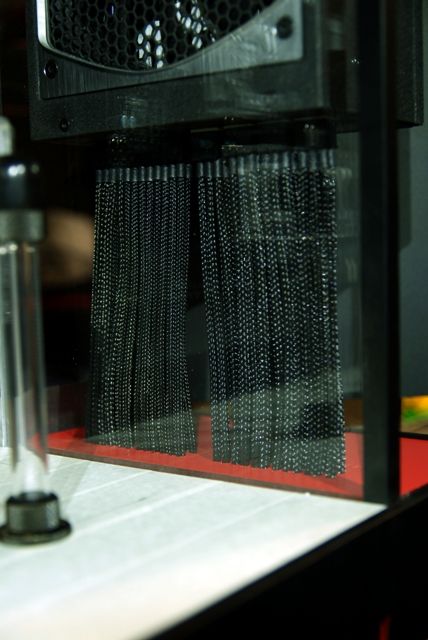
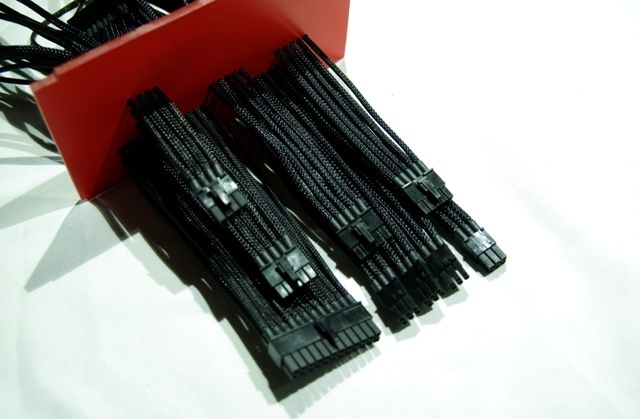
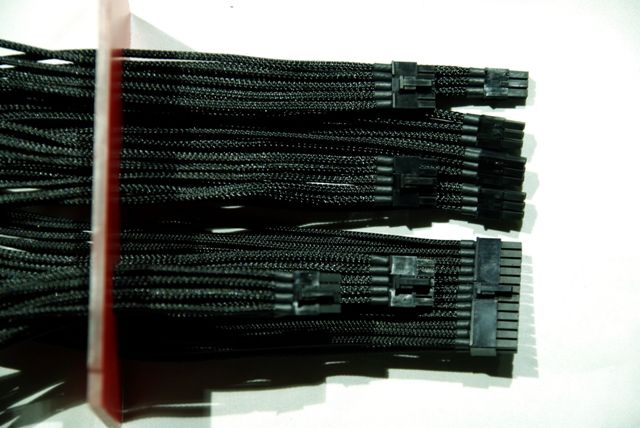
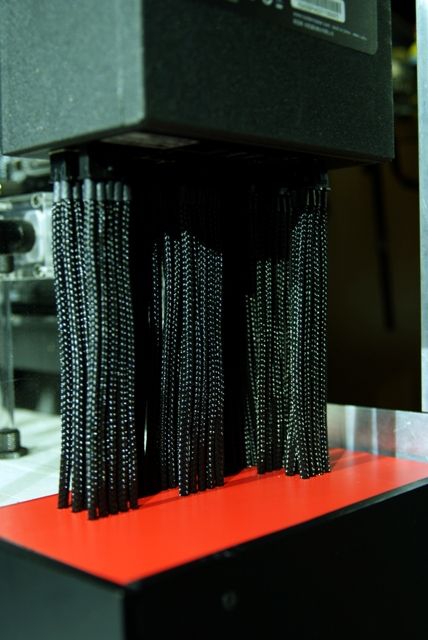
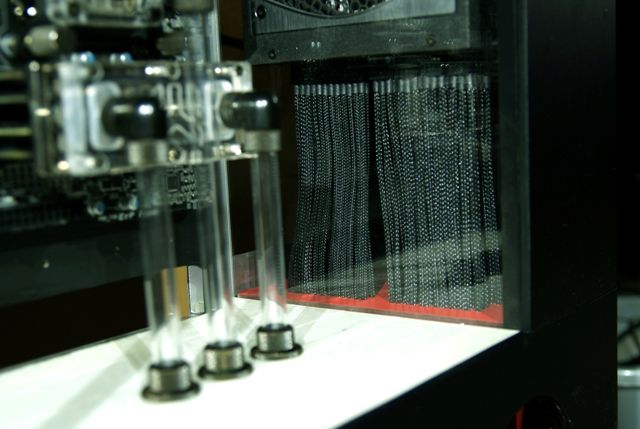
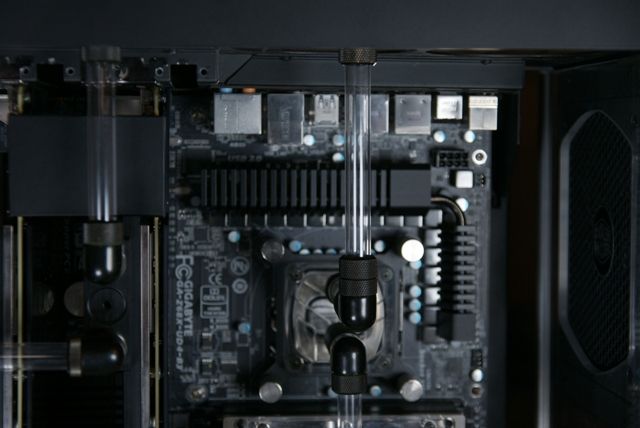
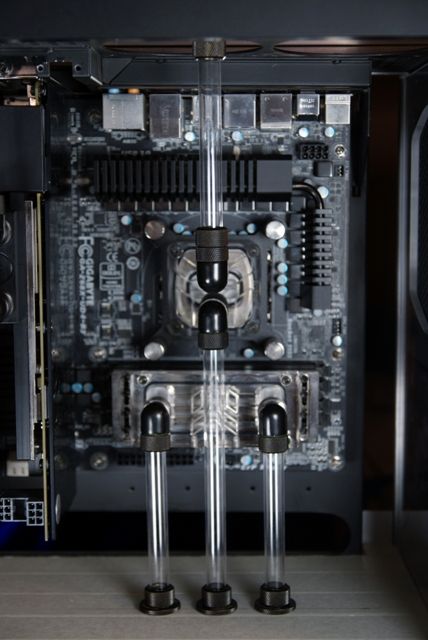
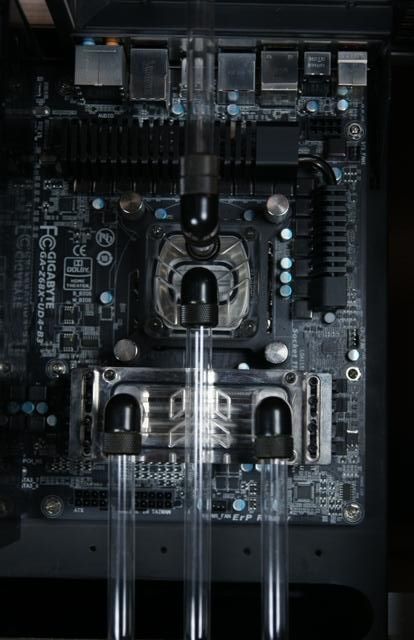
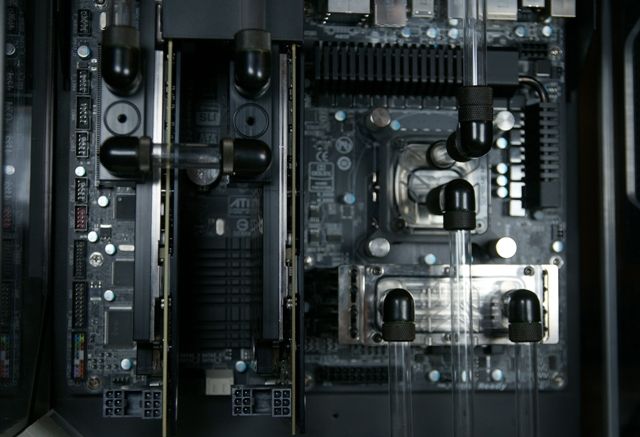
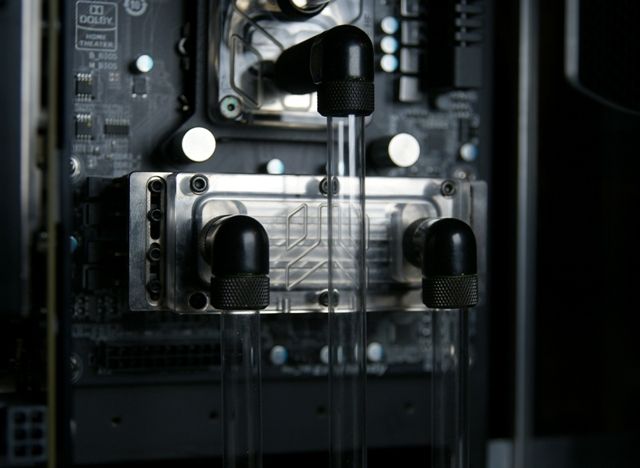
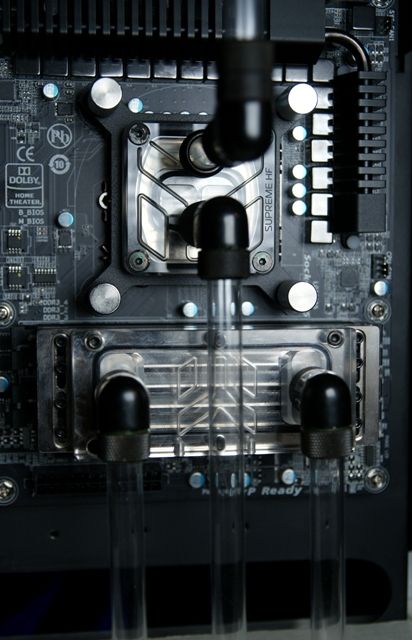
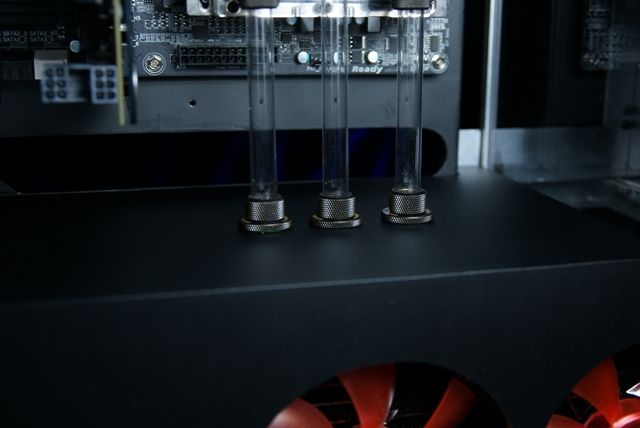
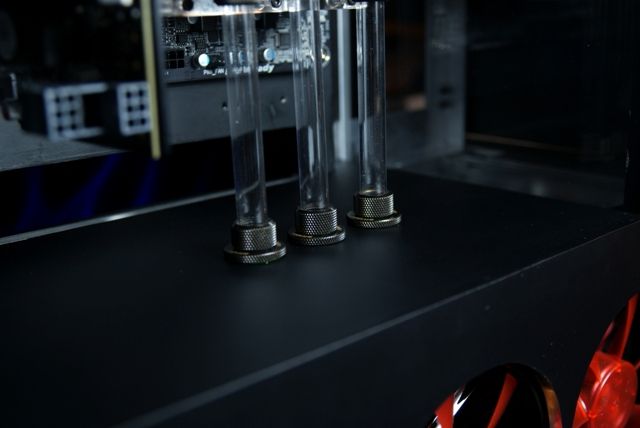
    I have covered the acrylic panels with matte black vinyl and installed some fans to see how it looks


    And cut two acrylic plates. 1 for the controller (aquaero VF) and 1 for the lamptron switches
    Also blackened with vinyl


    I want to build this one without too much cost, so in this build if possible, all kind of stuff that I allready have.
    The first idea was to purchase a 480 rad, but also overhere a bit crisis. So it's becoming two 240 rads. That's why I made ​​the front panel again with the fanholes more apart.
    Side effect is that it looks better i think, left-center-right all the same sizes between them


    This also blackened and polished the edges.


    Placed the mobo with some EKWB blocks. And naturally straight tubes


    Almost straight


  4. #4
    Water Cooled Stonerboy779's Avatar
    Join Date
    Jan 2012
    Location
    Melbourne, Australia
    Posts
    557

    Default Re: Guilty

    OMG those tubes....

  5. #5
    A.B. normal msmrx57's Avatar
    Join Date
    Jan 2008
    Location
    Western Wisconsin
    Posts
    1,602

    Default Re: Guilty

    That thing is SICK!!!!!!!!! Can hardly wait to see more.
    Quote Originally Posted by SXRguyinMA View Post
    Now, off to the basement to do some fiddling with the rods and such.
    so far left of center i'm in right field

  6. #6

    Default Re: Guilty

    Quote Originally Posted by Stonerboy779 View Post
    OMG those tubes....
    Thanks

    Quote Originally Posted by msmrx57 View Post
    That thing is SICK!!!!!!!!! Can hardly wait to see more.
    In a moment

  7. #7

    Default Re: Guilty

    Update!!!

    Sponsored by:


    And designed by:


    This time a big update.
    To start with the rad brackets. Dont want this to be too complicated because I still want enough space behind.
    Just a plate with an aluminium edge.


    And have it rest on the horizontal bars


    Next job ... a PSU cover. Measured and cut a piece of acrylic and drawn the shape of the PSU grill.


    Cut the grill shape


    Made a bracket ​​to keep the PSU in place.


    And placed it


    Removed the tape


    Polished the edges


    Now a little bit time consuming work ... in other builds I've done this before. Ie. single wires true holes.
    A piece of acrylic, take some measurements on the PSU outputs, and drill some holes


    Done by hand so not all straight but this will not be visible later on.
    Pasted red vinyl and put sleeved extensions true the holes


    Placed and plugged in


    Did the same thing to the PCI-e cables


    Nice sleeve curtain


    All is finished, 24-pins, PCI-e, CPU and molex


    A lot of work, but then you have something


    Dismantled everything again because I had a nice idea. Placed a LED strip under the edge of the acrylic cover.
    red


    Once busy with LED strips, I came up with the idea of placing some more strips underneath the fans for more red edges.


    More to come!!!

  8. #8
    Anodized
    Join Date
    Sep 2008
    Location
    Smithfield, Utah
    Posts
    62

    Default Re: Guilty

    Super work so far man. Really nice.

  9. #9
    Moderator TLHarrell's Avatar
    Join Date
    Jan 2012
    Location
    Morgan Hill, CA
    Posts
    1,143

    Default Re: Guilty

    Awesome. *drool*
    I have a hammer! I can put things together! I can knock things apart! I can alter my environment at will and make an incredible din all the while! -Calvin

  10. #10

    Default Re: Guilty

    Thanks

    Update!!!

    Sponsored by:


    And designed by:


    Last update to end the weekend.

    The first front plate I have made ​​new with different measurments for the fans, so first one was over.
    Cut the Fanholes.


    Some small changes


    Cleaned


    And made an opening for better reaching the aquaero and res


    Made it black again


    Placed 2 other GPUs for measurments. Still waiting for the hardware .... and I want to go on
    So no time for waiting


    Tubing time!!!

    Can't help it but I need to have everything straight ... think it's starting to get an obsession

    CPU going up


    And GPU's going up


    Nice and clean


    For now connected it with adapters, but soon with acrylic tubes. Still need to make nice plate for this.


    Some detail shots


    Last think I did is making ​​the midplate black. This is finished (I think) because I will run the PCI-e cables through the slanted plate.


    That's it for this weekend

Posting Permissions

  • You may not post new threads
  • You may not post replies
  • You may not post attachments
  • You may not edit your posts
  •