Page 3 of 4 FirstFirst 1234 LastLast
Results 21 to 30 of 39

Thread: "MybadOmen's" New NZXT Build ?

  1. #21
    ATX Mental Case
    Join Date
    Feb 2012
    Location
    USA
    Posts
    184

    Default Re: "MybadOmen's" New NZXT Build ?

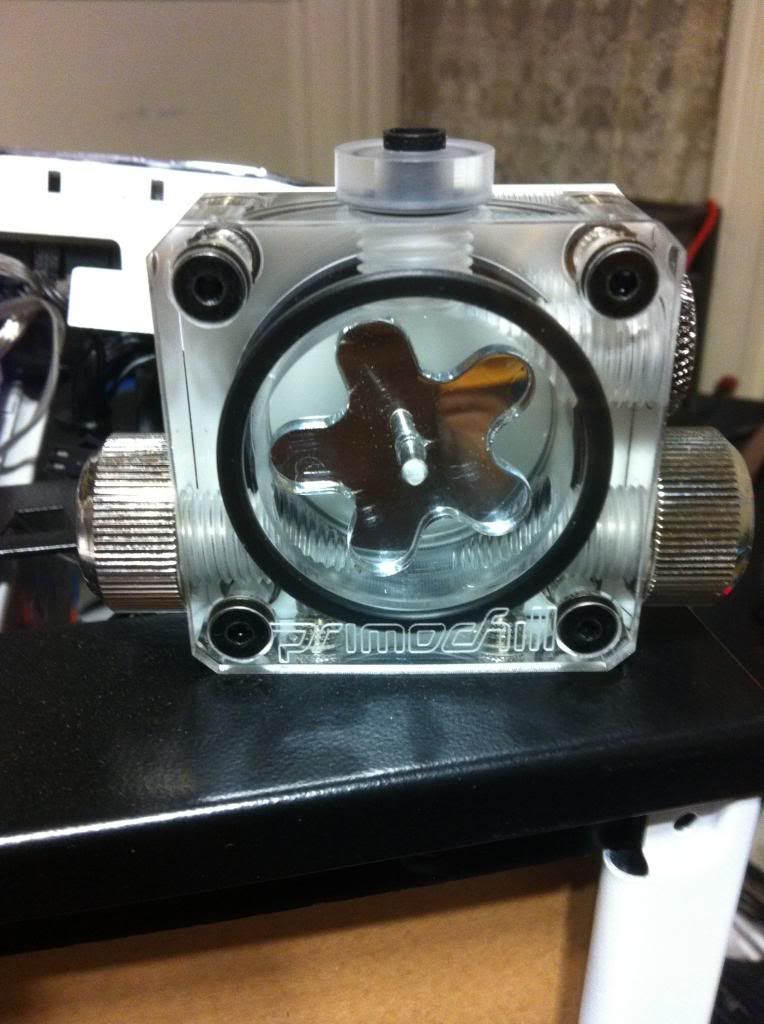
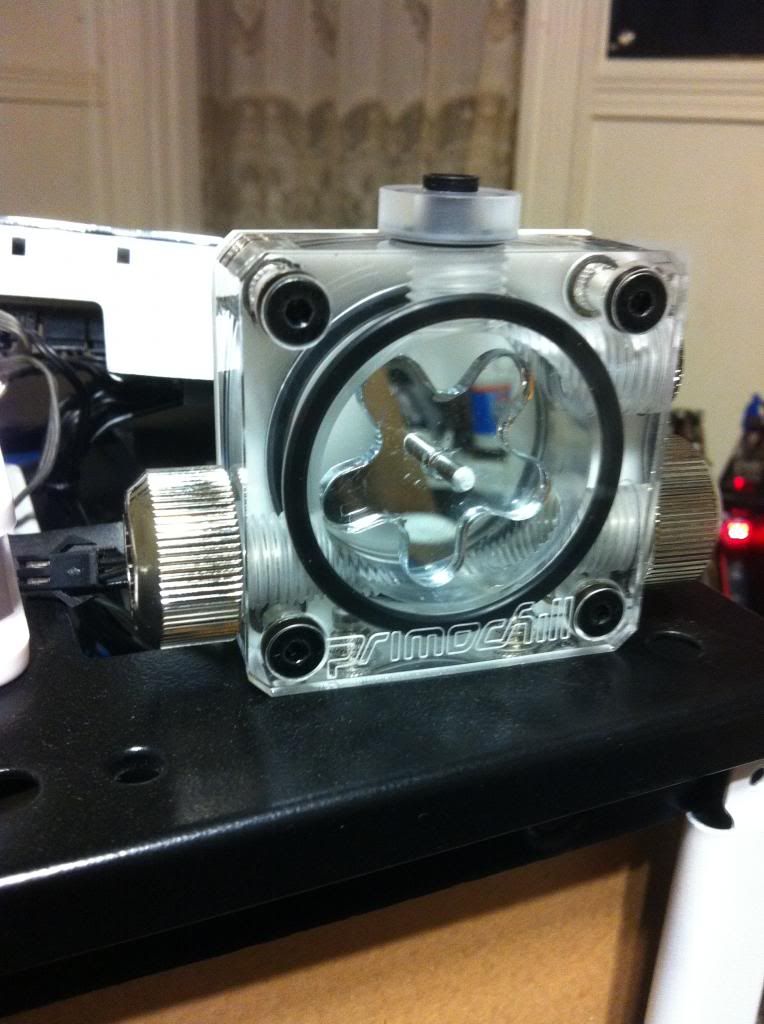
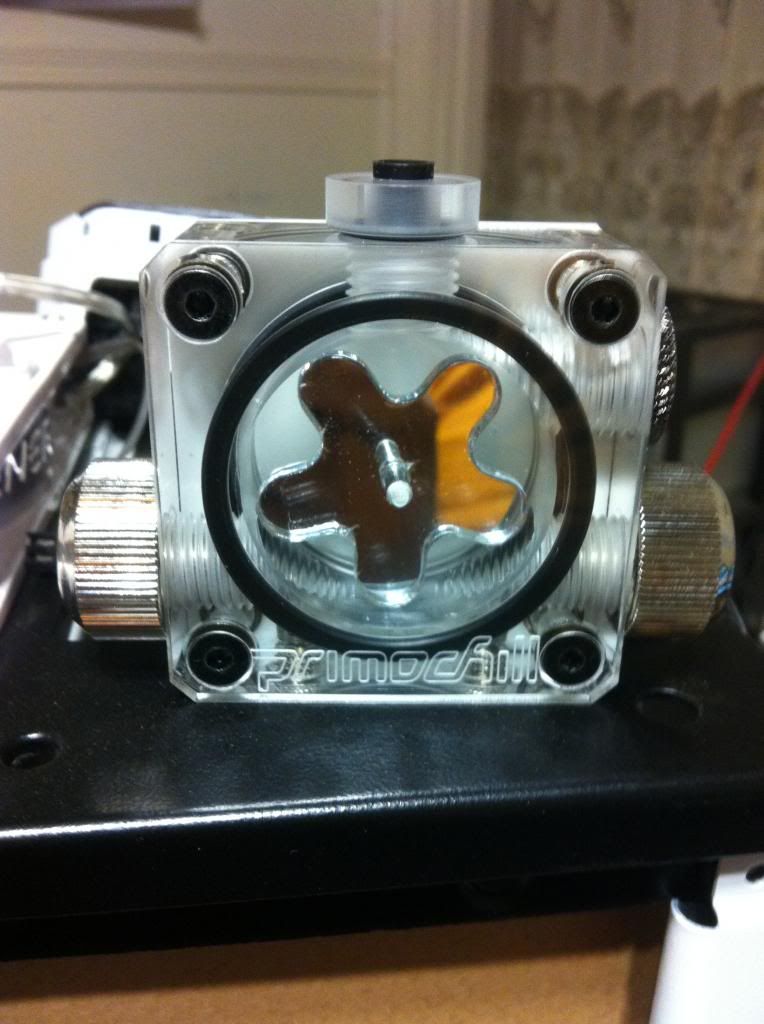
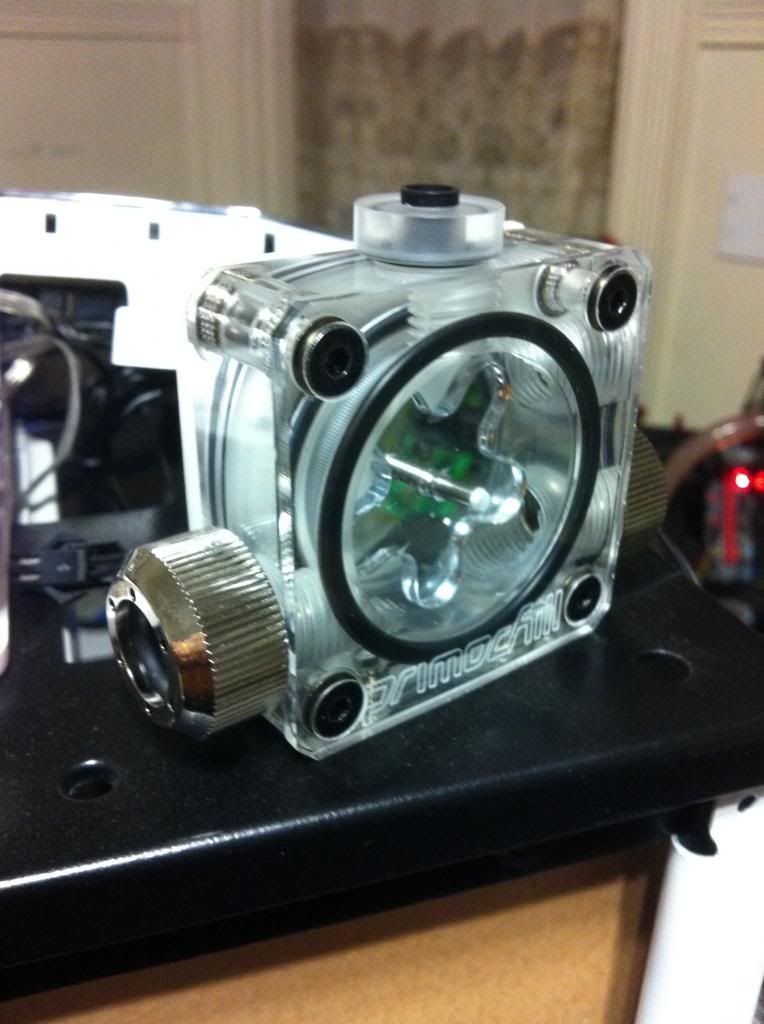
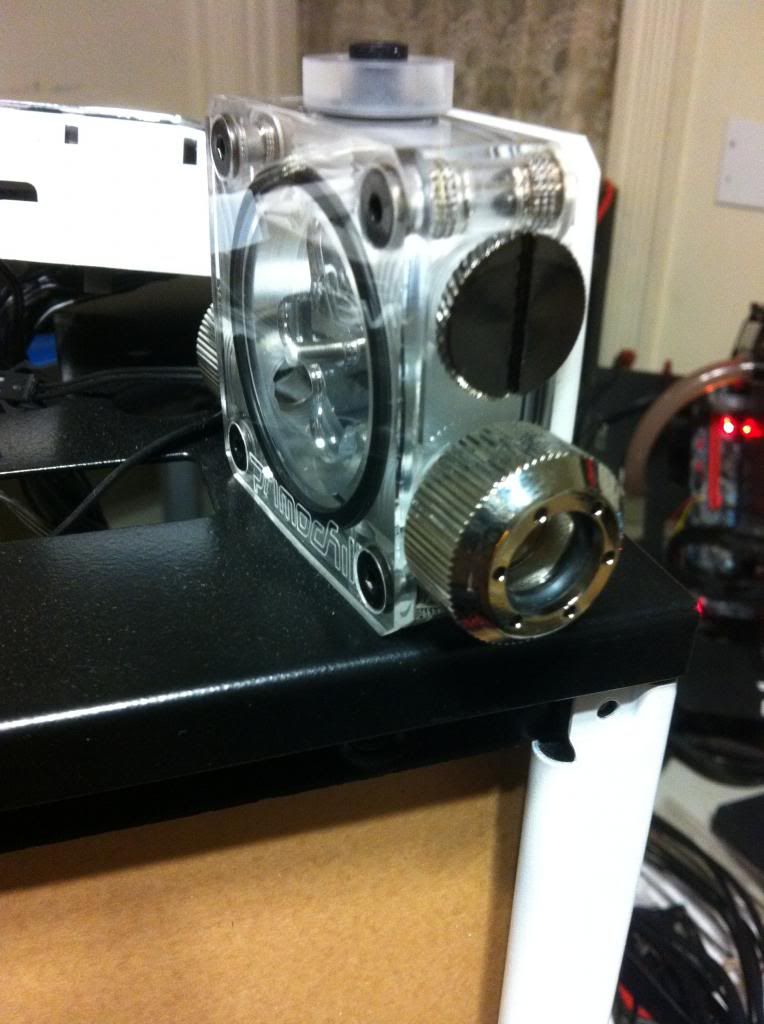
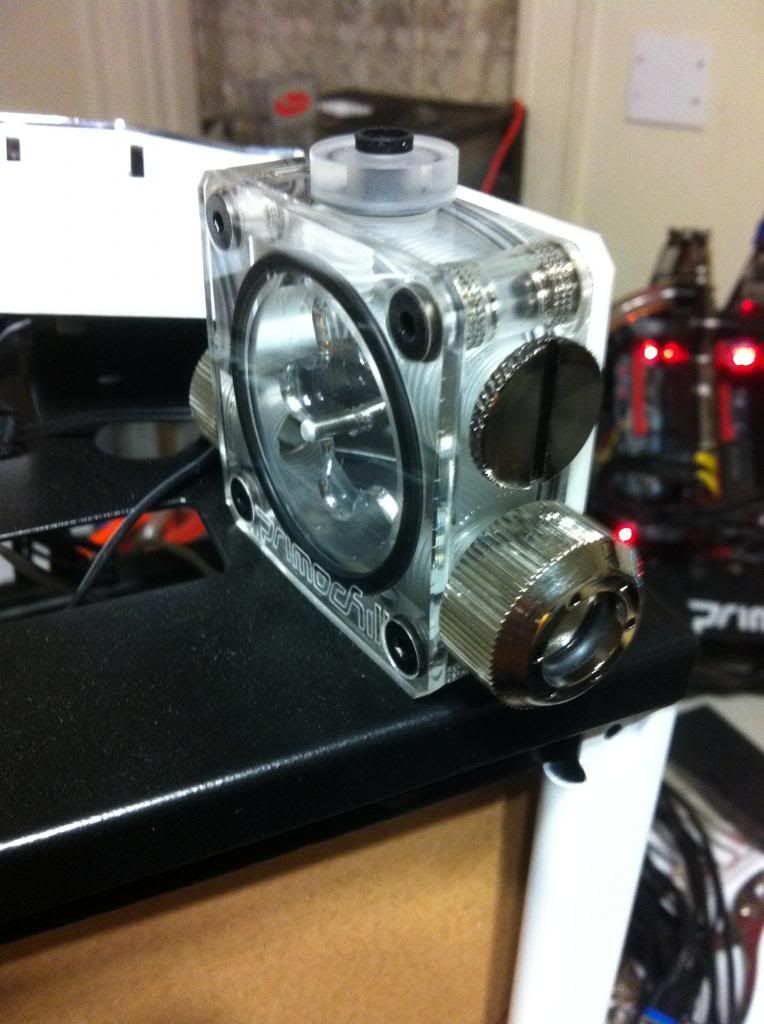
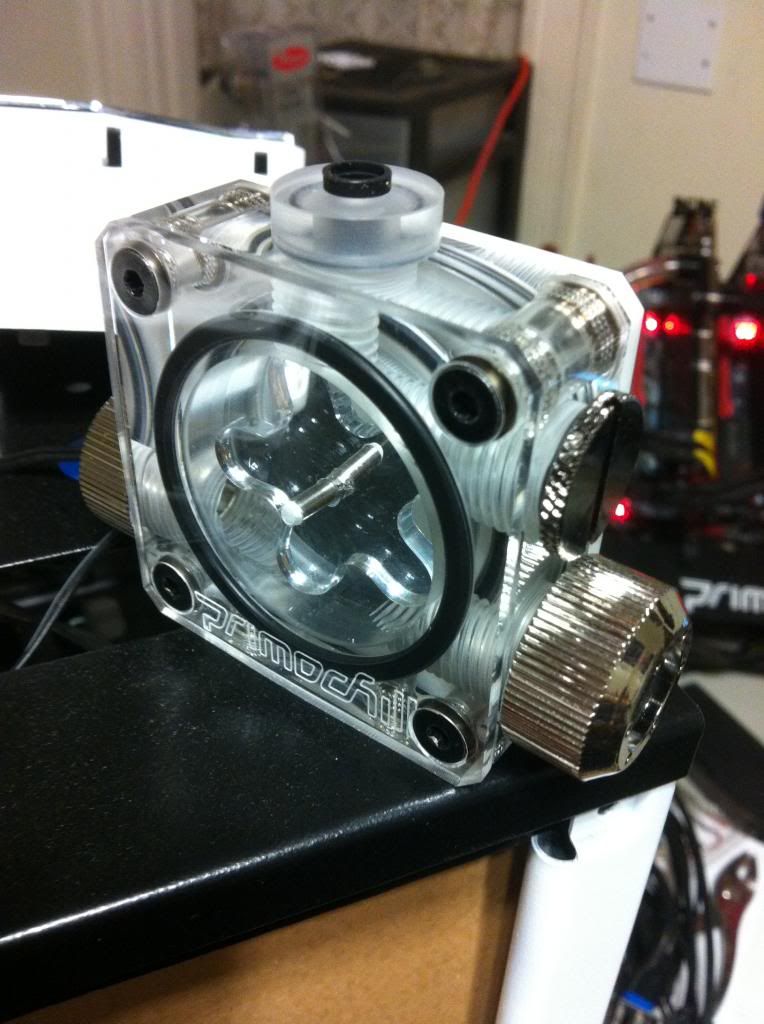
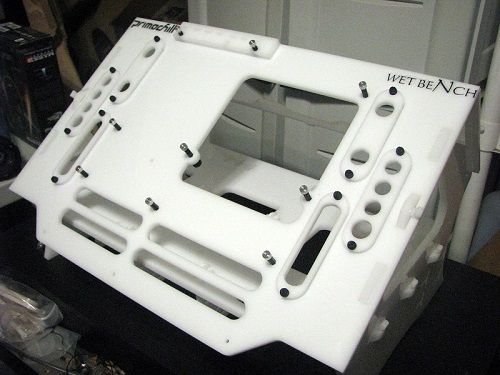
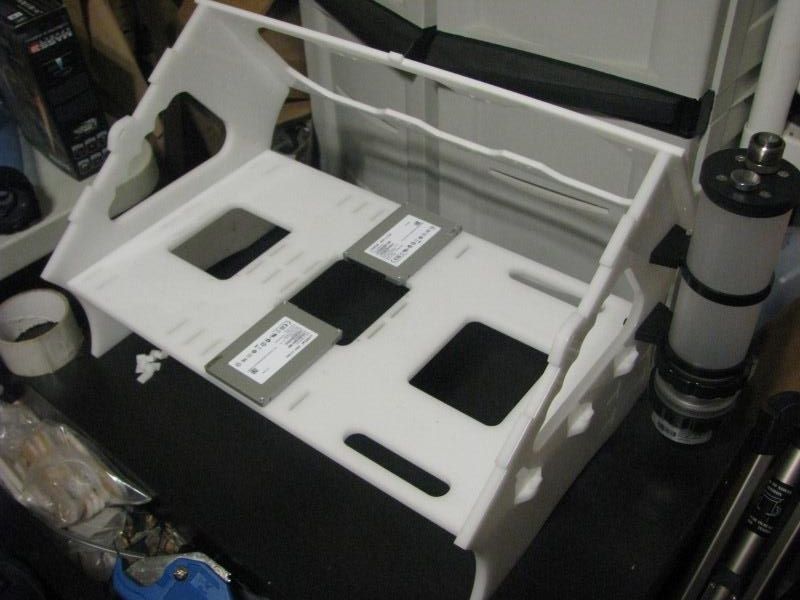
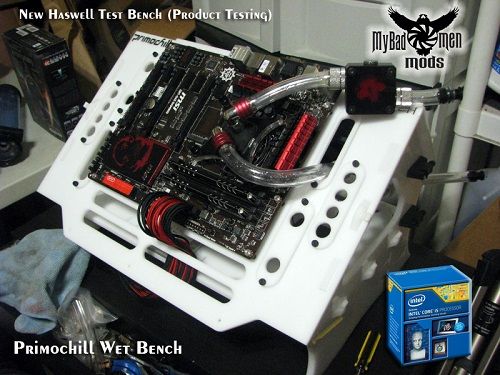
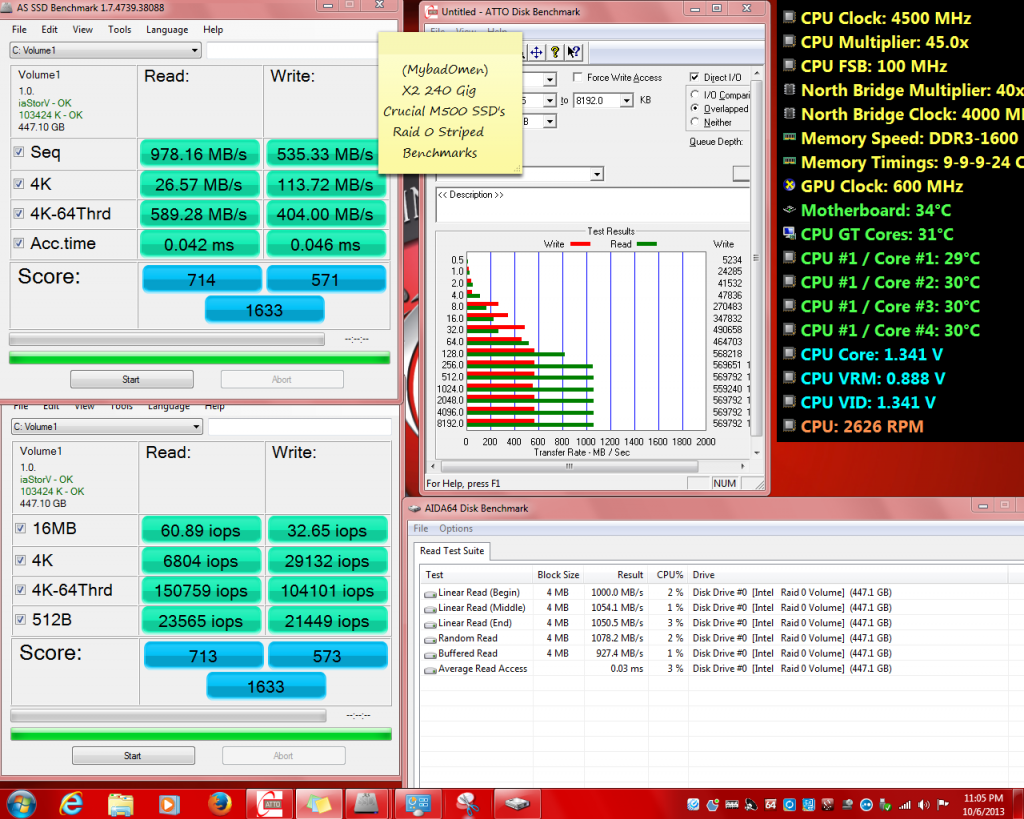
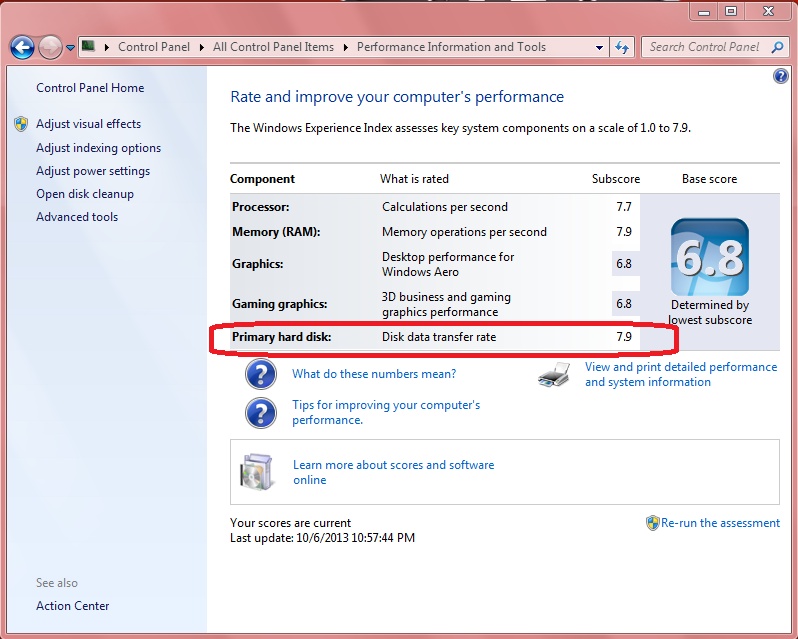
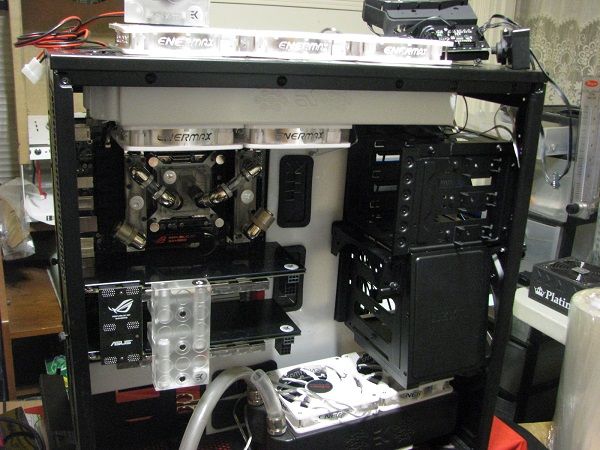
    Progress to date on "Legion" will try to add more photos of the actually Using the tools etc soon. It still has to come apart a few more times before starting the theme. But i have a vision of it now and i am on a roll.

    Hope you like were its heading:


  2. #22
    Anodized. Again. Konrad's Avatar
    Join Date
    Aug 2010
    Location
    Canada
    Posts
    1,060

    Default Re: "MybadOmen's" New NZXT Build ?

    I'm looking forward to this one, that phantom case looks sweet and almost screams "do some kinda Spartan helmet mod!" ... and +rep for the step-by-step goodness.

    Having said that ...
    Quote Originally Posted by mybadomen View Post
    Next some work to the Pump ... There are a bunch of different tops on the Market to choose from. I just happen to be using the EK CSQ Plexi Top for this pump which is a high flow top so not only do pump tops improve the looks of a D5 but also the performance.
    Er, how exactly does this piece of plastic improve the performance of the pump?
    My mind says Technic, but my body says Duplo.

  3. #23
    Resident 100HP water-cannon operator SXRguyinMA's Avatar
    Join Date
    Jun 2008
    Location
    MA
    Posts
    5,865

    Default Re: "MybadOmen's" New NZXT Build ?

    supposedly they flow better but I've never seen any tests to prove that

  4. #24
    ATX Mental Case
    Join Date
    Feb 2012
    Location
    USA
    Posts
    184

    Default Re: "MybadOmen's" New NZXT Build ?

    UPDATE!

    After a while i realised something about the build didnt seem right to me and i couldnt put my finger on it but it drove me crazy.So what did i do? I tore it all the way back down again including the Rivets.

    First off i decided there wasn't enough white inside for what i am aiming for yet i didnt want any white paint on the back off the case or anywhere on the ouside besides where i intend to put it. So first step was wash the whole case (In my Tub) with dawn Dish soap then put it outside to dry in the sun. I thing sanded the whole inside by hand with a 500 grit sandpaper since the paint i will be using has its own built in adhesion promoter i don't have to go down any more course then 500.I then washed the case again and set it out to dry again.

    Here is what i had after tearing Legion back down:


    First thing i did was used some nice Vinyl masking i have that works way better then masking tape for getting in tight places etc.


    After using a squeegee and making sure no paint could get through the masking in the back i finished masking the rest i didn't want painted.


    Next for Painting the Case, I said earlier in the logs i would not be using my Paint guns on this build as there really is no need to so i will be using Krylon Fusion White paint which is the only paint i now use when not using my guns.


    After Painting you can see how good of a job the Vinyl Masking does:


    I also drilled the rivets out on the back motherboard tray and the PCI I/O Shield holder sorry forgot the name right this second but the part you screw your GPUs etc to on the motherboard and the I/O cover sits in.Anyway i painted that as well and its time to put it back in without scratching any paint. To do that simply put masking tape over the tip of your Rivet gun and poke a hole through to place the rivets. This way if you slip you are allot more protected but still try not to slip ..lol


    Next i was weary about messing with my Motherboard and Voiding the warranty as almost everything i have the warranties have been voided and these Motherboards are not cheap. But i said screw it and started to work on the Motherboard.

    Removing the Mosfet Heatsink: (and as you can see the EK block bracket has been painted white as well)


    Naked Mosfets:


    Now prepping for Paint (all i did here was washed them down good with a 70% alcohol and masked what i didnt want painted off)


    And now for the Chipset Cooler:


    and of course since this is Pron , the naked Chipset of the Asus Rampage Formula IV X79:


    Same goes for the Chip set cooler but first i had to get the Asus aluminum plate off which sorry i forgot to take photos of. But this is how i did it. To remove the Asus Plate i used a heat gun and a razor hobby knife and carefully heated the plates while sliding the knife under the glue itself to try to keep the glue intact.You have to be very careful and take your time or you will bend the Aluminum plate.pretty basic though really if you ever modded anything.

    Here is the Chipset cooler all masked yet again only where i want the paint is showing.


    You might be asking what i painted the mosfet and chipset cooler with as i seen the question asked many times before, Or you might be asking if it will lose its heat transferring capabilities do to the paint. The answer is will i with this method no. But yes paint can def interfere with cooling capabilities of a heat sink if 1) Its the wrong kind of paint 2) Its sprayed to thick 3) I also believe a shiny gloss paint can also have a bad effect even if only be a few degrees tops.

    Anyway here is what i used and why. Krylon High Heat & Radiator Paint is the paint i chose for this project and the reason was because its semi flat but still looks bright white even using very little paint on the coolers, Plus it can run 600 degrees F forever of it can even handle temps of 1200F for short periods of time. So to me it was a no brainer and the perfect paint for the job. oh yeah and one other reason is a non gloss paint tends to breathe better or be more porous then a gloss would. Ok back to the photos


    Painted Mosfet cooler:


    Painted Chipset Cooler:

    http://i1324.photobucket.com/albums/...ps60d78411.jpg

    Motherboard back together: (used ICDiamond for TIM if anyone was wondering)


    And some Final shots of what i have done so far:


    Hope you guys like it still tons to do but im starting to be happier with it now.


    Take Care and keep Modding guys,
    MybadOmen

  5. #25
    ATX Mental Case
    Join Date
    Feb 2012
    Location
    USA
    Posts
    184

    Default Re: "MybadOmen's" New NZXT Build ?

    Quote Originally Posted by Konrad View Post
    I'm looking forward to this one, that phantom case looks sweet and almost screams "do some kinda Spartan helmet mod!" ... and +rep for the step-by-step goodness.

    Having said that ...
    Er, how exactly does this piece of plastic improve the performance of the pump?
    I can do some tests to show you guys if you like as i have been working for a water cooling company for many years now in R&D so i have most of the test equipment here but i can give you one i know for sure as i just tested it a few days ago.

    GPM = Gallon per Minute. Flowrate

    Stock D5 Pump out of the box new: 1 to 1.4 GPM
    Same Pump with EK HF Top: 2.7 to 2.9 GPM

    Most don't realize a D5 pump is a very low pressure and flow pump most i seen and currently have 6 here are new out of the box closer to 1GPM to get a 1.4Gpm chances are like 1 in 6 as far as my lucks gone lol.

    Hope this helps some.
    MybadOmen

  6. #26
    Resident 100HP water-cannon operator SXRguyinMA's Avatar
    Join Date
    Jun 2008
    Location
    MA
    Posts
    5,865

    Default Re: "MybadOmen's" New NZXT Build ?

    nice work, love the white insides

  7. #27
    A.B. normal msmrx57's Avatar
    Join Date
    Jan 2008
    Location
    Western Wisconsin
    Posts
    1,602

    Default Re: "MybadOmen's" New NZXT Build ?

    The paint really makes your work and attention to detail stand out quite nicely.
    Quote Originally Posted by SXRguyinMA View Post
    Now, off to the basement to do some fiddling with the rods and such.
    so far left of center i'm in right field

  8. #28
    ATX Mental Case
    Join Date
    Feb 2012
    Location
    USA
    Posts
    184

    Default Re: "MybadOmen's" New NZXT Build ?

    Tiny Update:

    Not a Huge update but just something i am happy to have been able to get the parts to make. Here is the Custom Primochill Vortex Flow Indicator going into Legion. Like i said nothing huge its just a stock Vortex that i had the company make me a chrome/mirrored wheel and new white back plate for.Also if you look close you can see Primochill's brand new Revolver series Rigid Compression fittings which i had the pleasure of getting first before they were sent out to resellers.Huge Thanks to Primochill for their support on this build and hope you guys like this tiny update.

    Just had to share it as i think it came out beautiful. (Bunch of different views)


    Hope you like the Photos and i will post some more soon as i got a bunch of new parts to get some more sleeving and making cables up done. Plus some other modding materials i want to keep secret until those updates come.Seeing camp is over in a couple weeks for the winter you'll be seeing allot more of me soon.

    Take Care My Friends and Keep Modding,

    MybadOmen

  9. #29
    Resident 100HP water-cannon operator SXRguyinMA's Avatar
    Join Date
    Jun 2008
    Location
    MA
    Posts
    5,865

    Default Re: "MybadOmen's" New NZXT Build ?

    looks nice

  10. #30
    ATX Mental Case
    Join Date
    Feb 2012
    Location
    USA
    Posts
    184

    Default Re: "MybadOmen's" New NZXT Build ?

    Update!

    This Update i would like to Thank Crucial for coming on board and helping to make this build possible by their Sponsorship of 2 Crucial 240Gig SSD's for me to Mod and run Raid 0 Striped in Legion for superior performance when shes finished.I have always loved Crucial Products not only for their blazing fast yet reliable SSD's but also for their Great Ram! (Also like to Thank Primochill for use of their New Wet Bench to Benchmark these Drives for you guys.

    Huge Thanks to Crucial !

    http://www.crucial.com/store/ssd.aspx

    First off i would like to say the M500 Series SSD's are just as fast as they say they are but i find it incredible you can get from 120Gig drive all the way to a 940Gig! And at a reasonable price to top it all off.

    Anyway my point isn't to advertize the SSD's but rather to show you them and the benchmarks and explain how i will be Modding them. (As much as possible at this point in time)

    Here is What Arrived from Crucial for the Legion Build:


    Here is the Bench i will be Benchmarking on.


    First i will show you the drives ,then give you the bench Specs and lastly the benchmarks.

    Opening the M500 box you dont find much beyond a Quality SSD:


    And a spacer to make the 7mm SSD fit in a 9.5mm space.


    And that's about it for whats in the box. (A sticker would of been cool but performance and reliable are all i care about)

    Next i mount the M500's on the Wet Bench and get ready to start benching:


    And here is the setup i will be using for these benchmarks today:


    I have no need to drop GPU's on the setup and i swapped the ram out from whats in the photo.Which i will explain in the Specs.


    Test Bench Setup for the Crucial M500 Benchmarks Running Raid 0 Striped.

    Test Bench: Primochill Wet Bench white/white
    Cpu: Intel i5-4670k @ 4.5Ghz 1.34v
    Motherboard: MSI G-45 Z87 Gaming Board 1150 Socket.
    Memory: 8 Gigs Xtreme Team 2400 Mhz C10
    Drives: 2 Crucial 240Gig M500 SSD's Raid 0 Striped.
    PSU: Cougar 850 watt
    Random Watercooling

    And to save on Picture space i added all Benchmarks in 1 Photo:


    As you can See in Atto the drives easy Break 1,000Mbs Read and all other tests show the drives to be pretty much close across the boards just showing that these drives do perform extremely well.Also installing in Windows 7 64bit was a walk in the park.

    For any of those Interested i also added the Windows Experience Index score for you as well:


    The Modding Part: These drives will be Modded in White and Chrome yet still carry the Crucial M500 name on them when done.

    Thank You for watching this update and the benchmarks and keep an eye out for the actual Modding of the SSD's to come shortly.

    MybadOmen

Posting Permissions

  • You may not post new threads
  • You may not post replies
  • You may not post attachments
  • You may not edit your posts
  •