Ok, I got a crap-ton of work done on this case over the weekend.
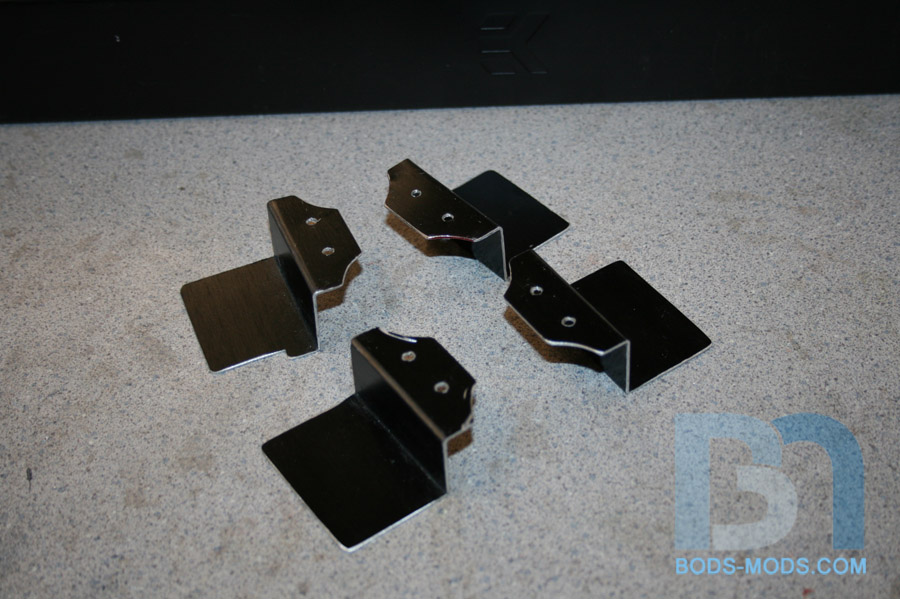
Firstly, I got the top radiator mounts made. After measuring how far the rad could go, I cut and bent these four mounts.
These will mount to the center fan holes on each side of the rad.
And it fits into the case thusly. I still have to add holes to the brackets where they will be fastened to the case.
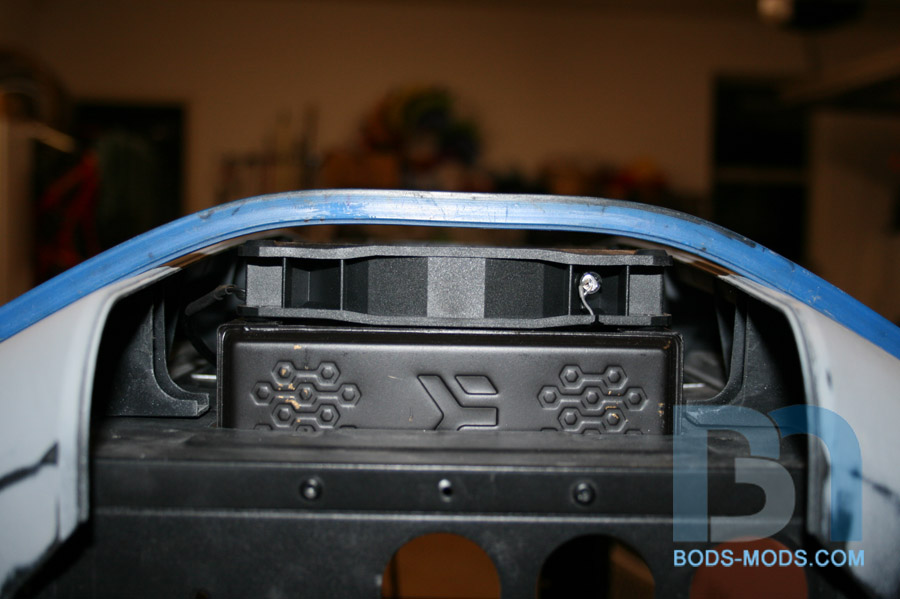
Using my flexible curve to simulate where the top piece will be, you can see how much clearance I will have over the fans once it's all said and done.
Here's a front shot of the rad & fans.
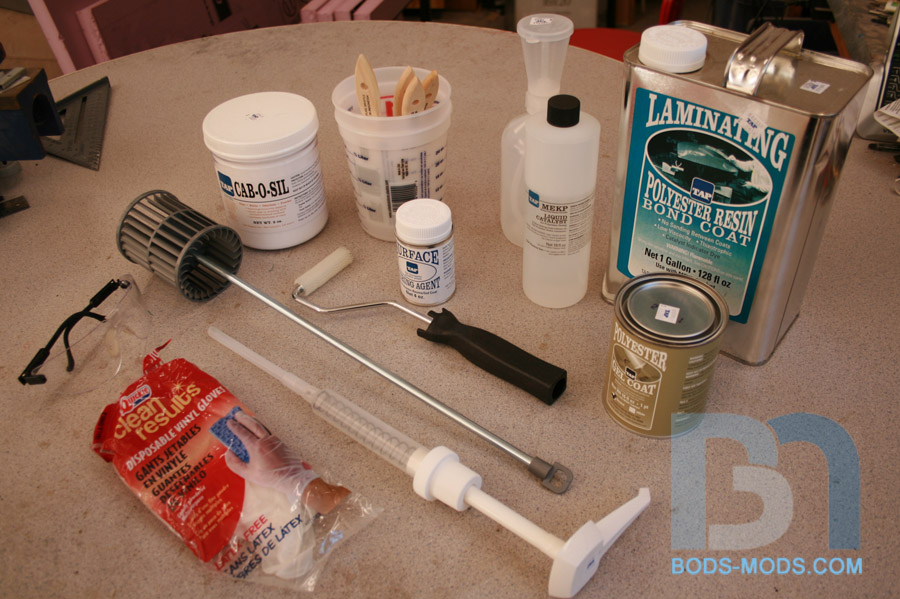
Now comes the major part of the update. I took the plunge and got the side panel laid up with fiberglass today. It was pretty warm the whole weekend, so I figured I'd give it a go. Here's a shot of all the materials I had to acquire: Resin, catalyst, gel coat, curing agent, cabosil (a thickener), assorted brushes, mixing cups, roller, dispersing pump, measuring squeeze bottle, mixer, gloves, and not shown are the paste wax and PVA mold release.
And of course, the fiberglass cloth. I got some heavy duty strand mat and 4oz cloth.
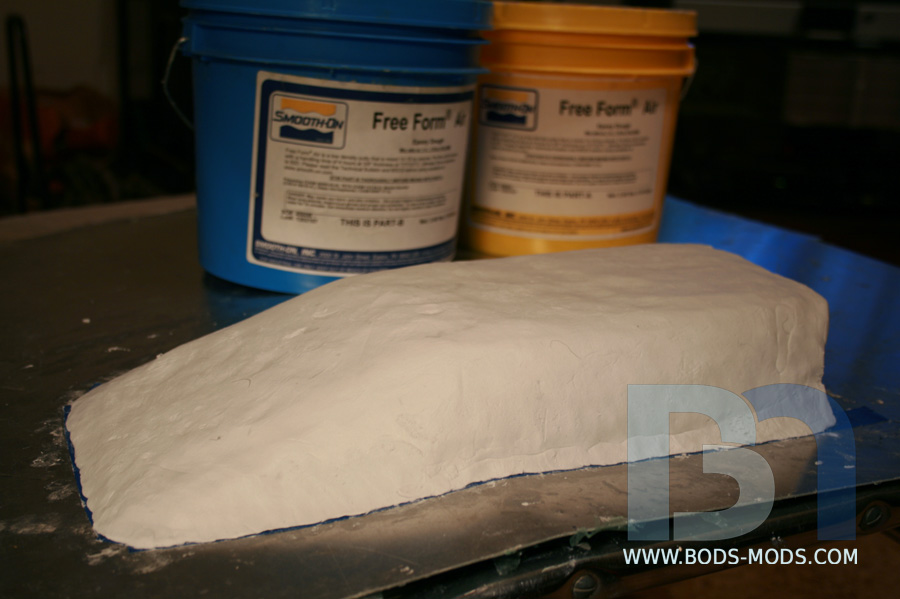
Before I could start any of this, I had to prep the form. After sanding up to 1000 grit, I used some meguire's car polish on it. Then I waxed the whole thing four times. After that, I sprayed it with 2 coats of PVA mold release. That was Saturday.
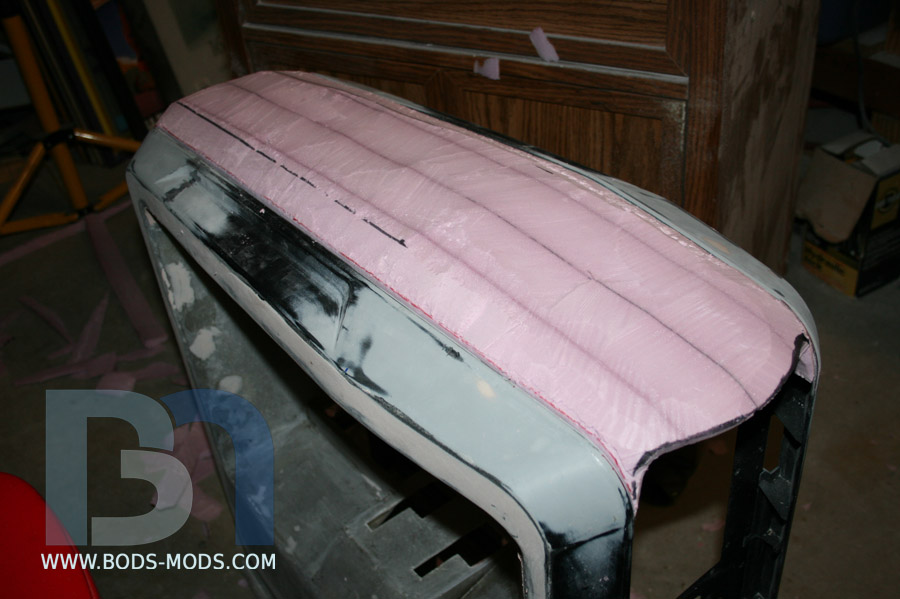
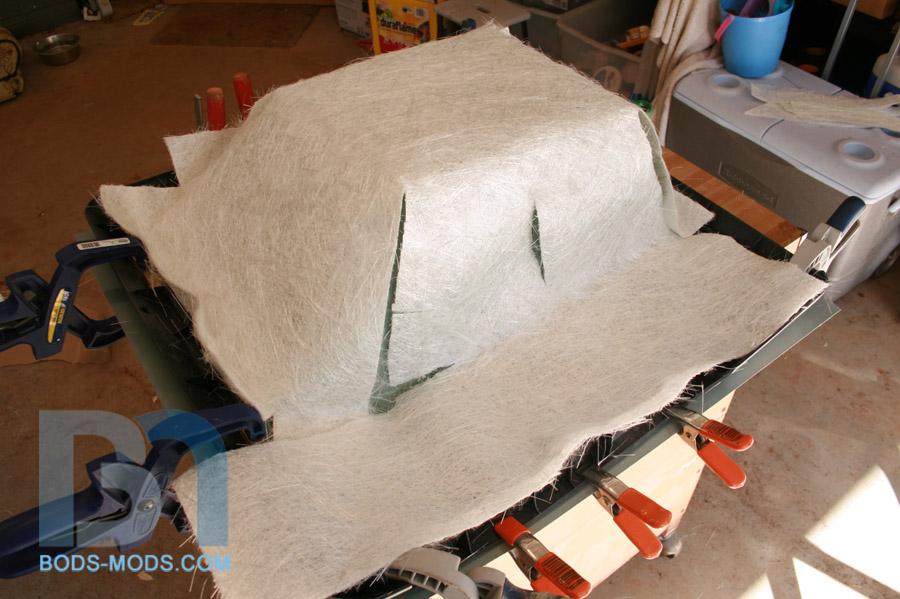
Sunday morning I got the fiberglass cloth pre-cut and clamped the side bezel down around the form.
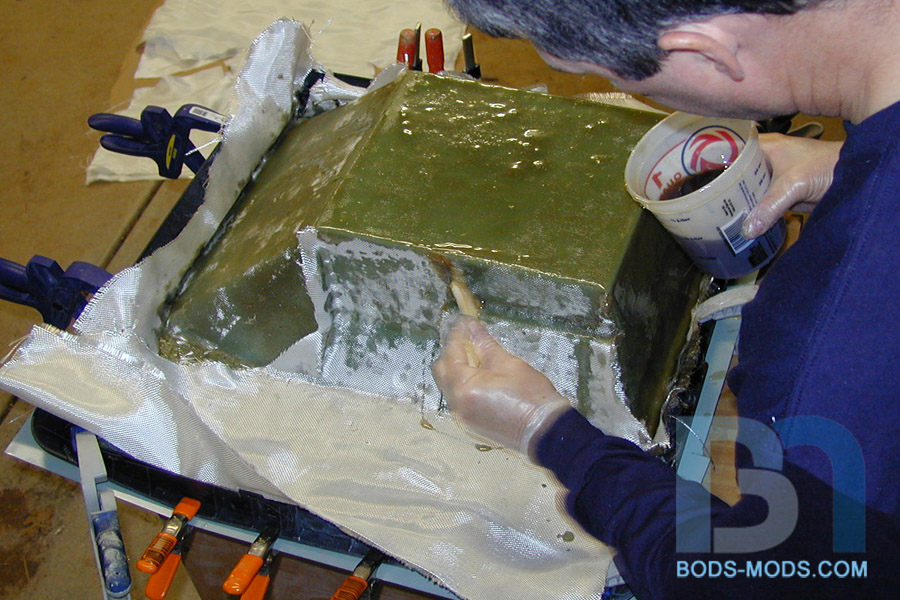
After everything was set up and ready, I started brushing on the gel-coat. This was the point of no return, since the cloth had to go on as soon as the gel-coat was tack-free. Then each subsequent layer of cloth had to follow non-stop until it was finished.
After the gel-coat set up, I mixed up some resin with the cabosil thickener to make a paste, then worked it into the tight corners and overhangs where air bubbles were sure to form.
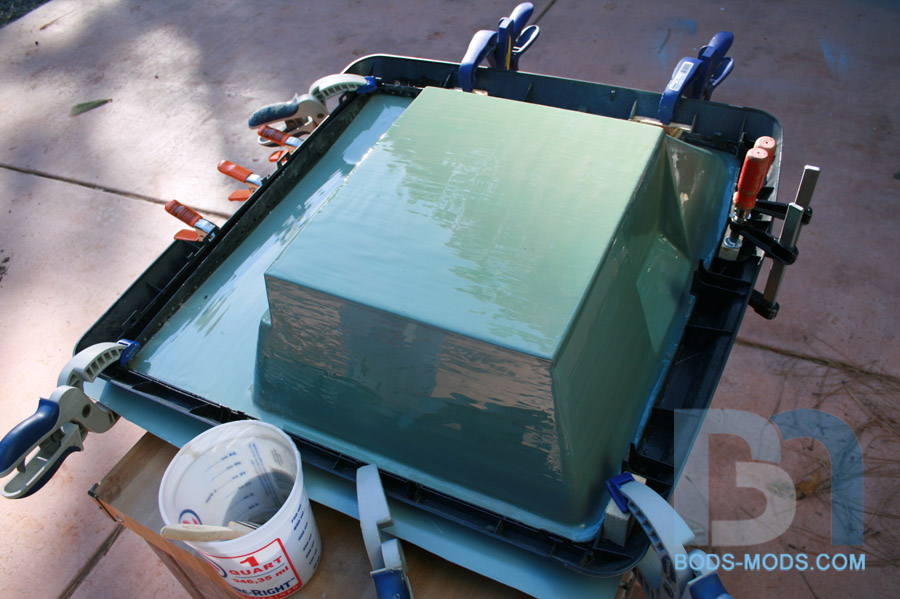
After the paste, it was time for the first layer of fiberglass. Starting with the heavy duty strand mat, I layed it over the form and added the resin.
This took a good two cups of resin to saturate the mat.
Next layer was the 4oz cloth. Procedure was the same, adding resin where needed, saturating the cloth.
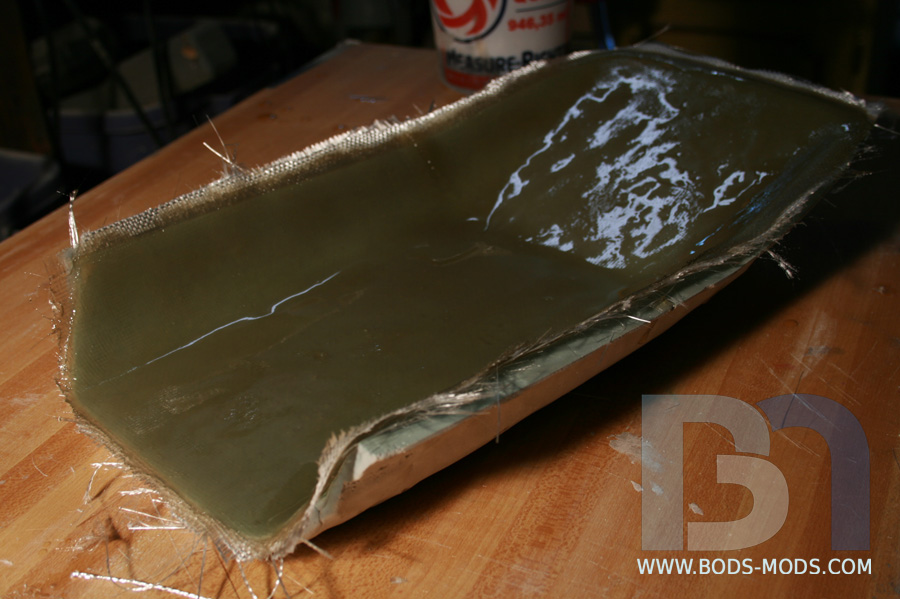
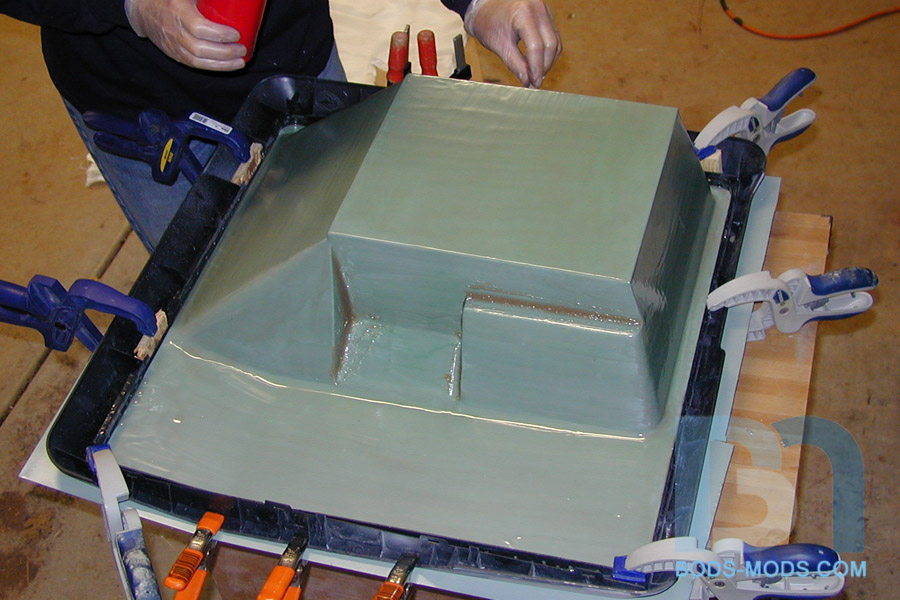
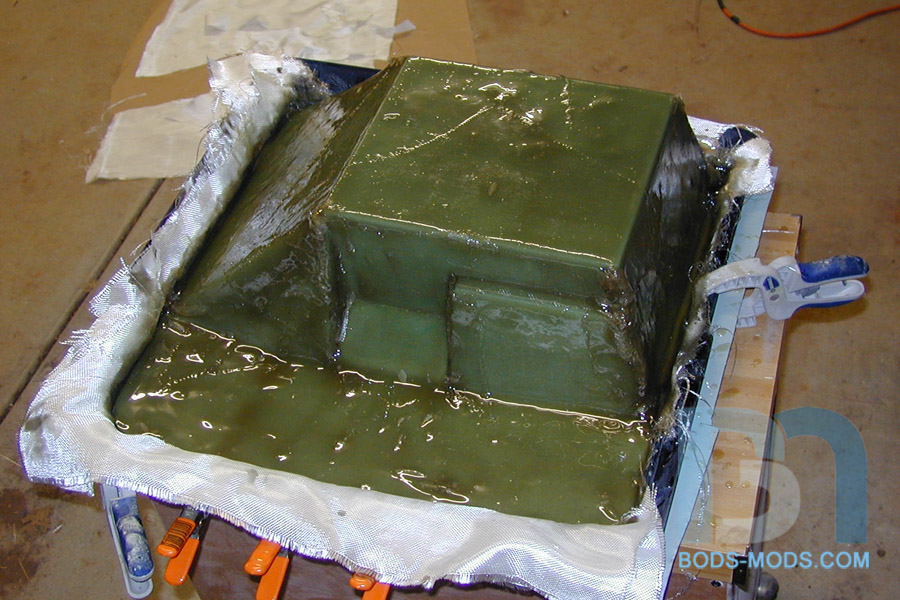
After three layers of cloth, I added a few scrap pieces to reinforce the corners and overlap the joints. Then I mixed up one last small batch of resin, this time with the curing agent, which helps the final surface cure without being tacky.
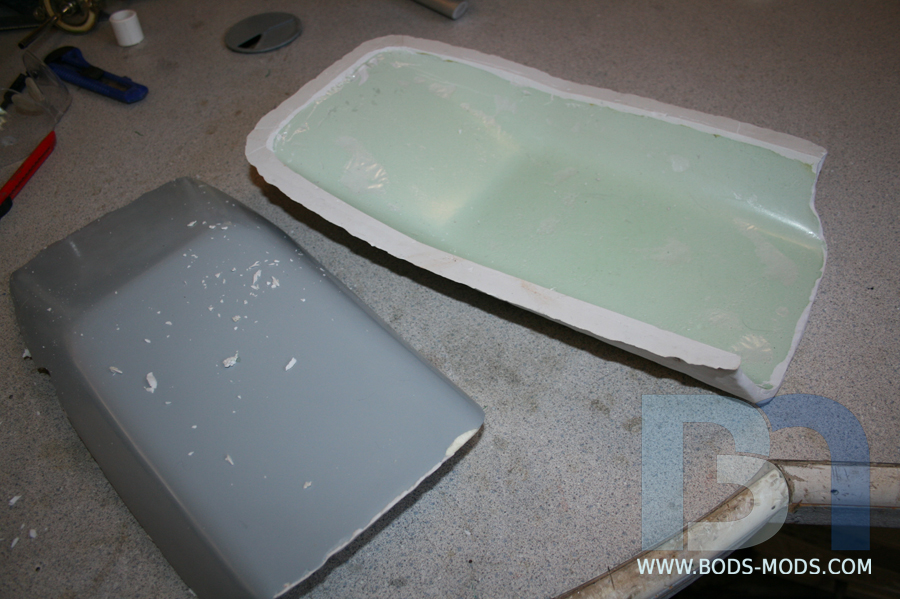
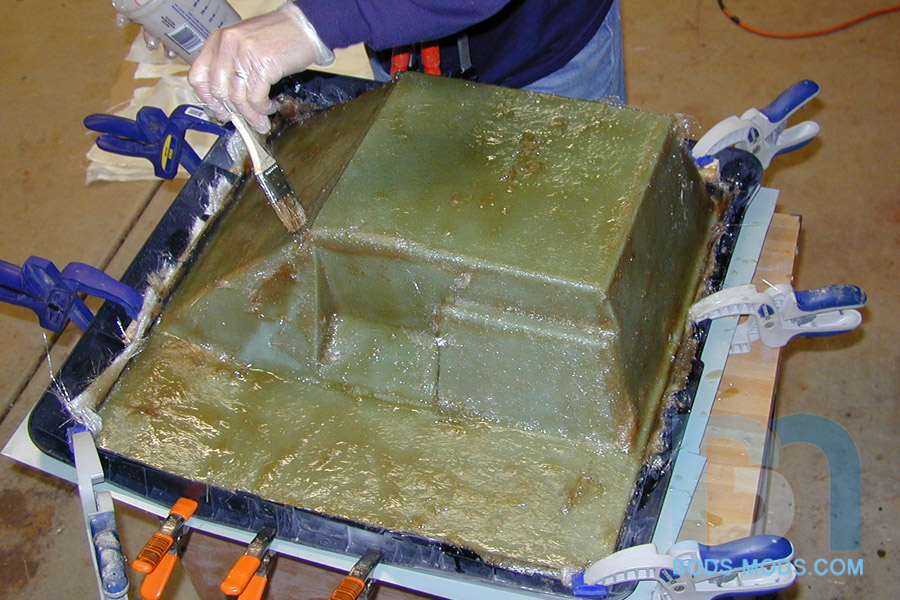
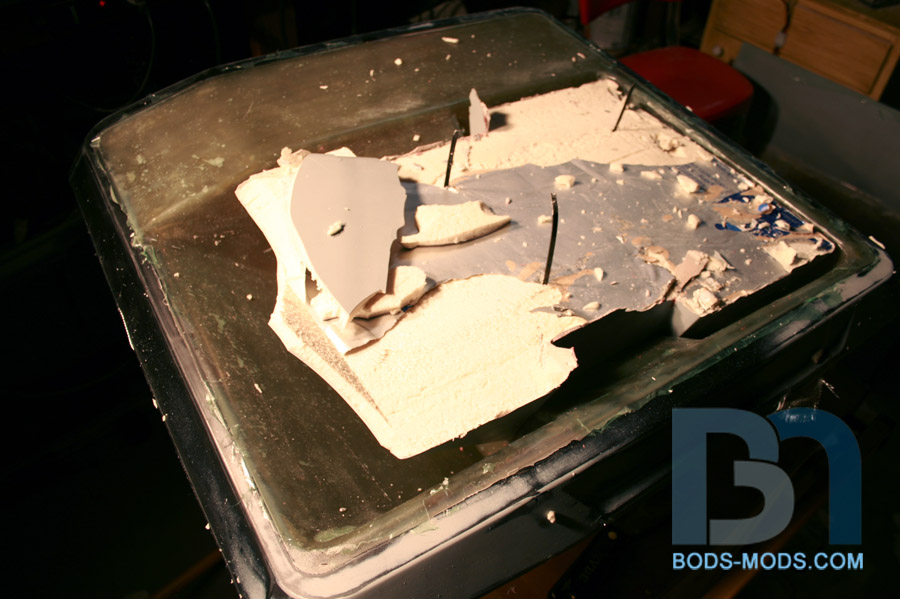
After a few hours under the heat lamps, it was rock hard and smooth. Time to demold! I turned the form upside down and removed the aluminum sheet, exposing the layered foam.
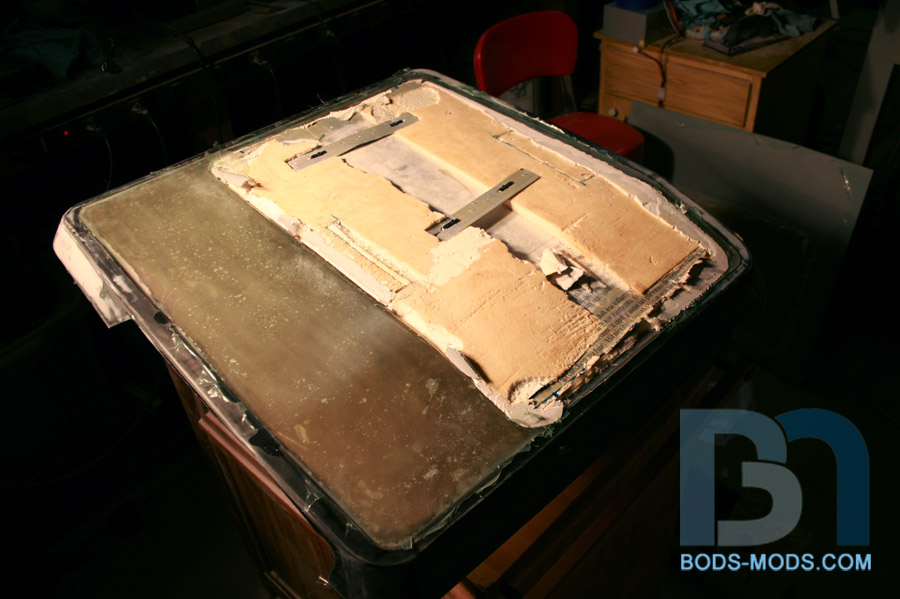
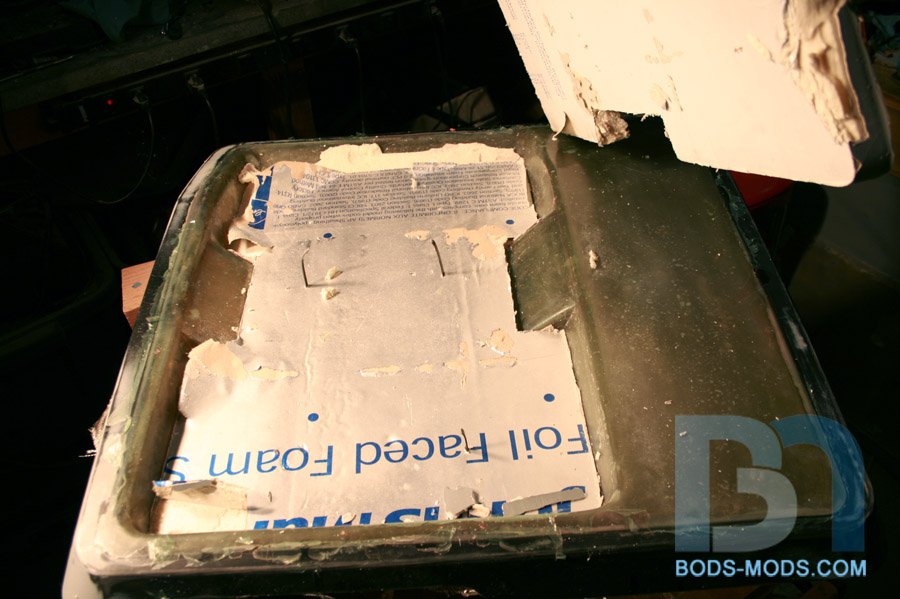
After working the edges, it became apparent I was not going to be able to save the form, so I proceeded to remove it one foam layer at a time.
After two layers of foam, I was able to pop the remaining piece of the form out of the fiberglass.
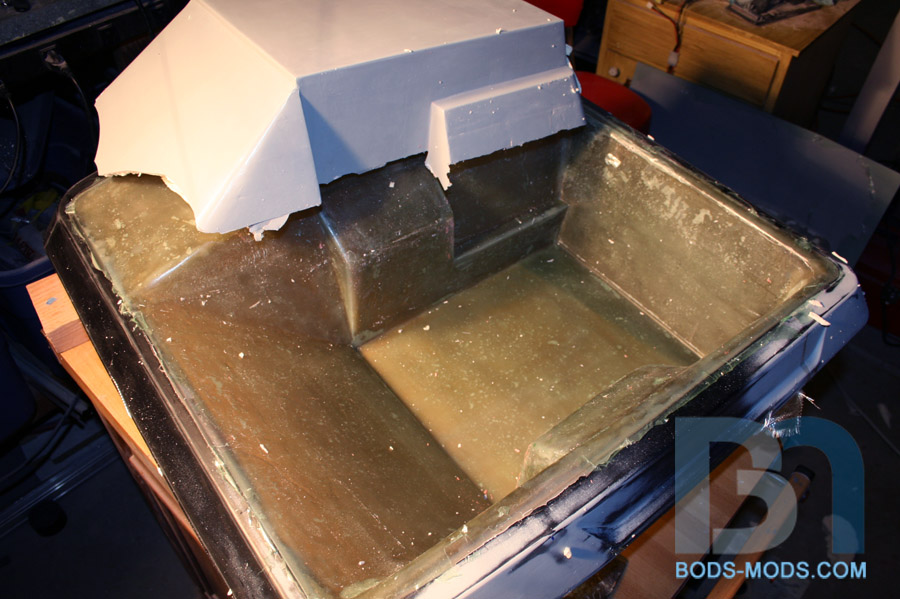
And there ya go. Thanks to the 4 coats of wax and 2 coats of PVA, I had no trouble with sticking.
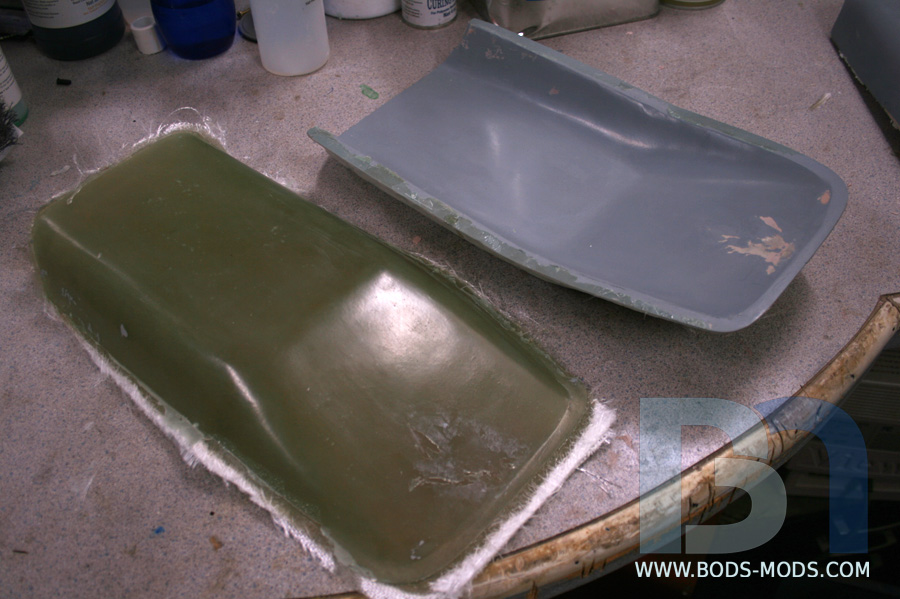
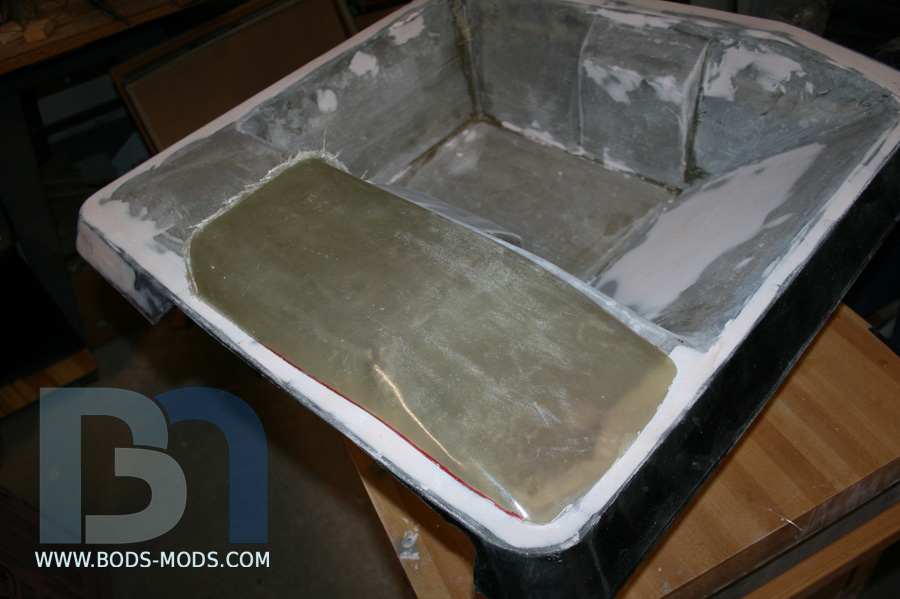
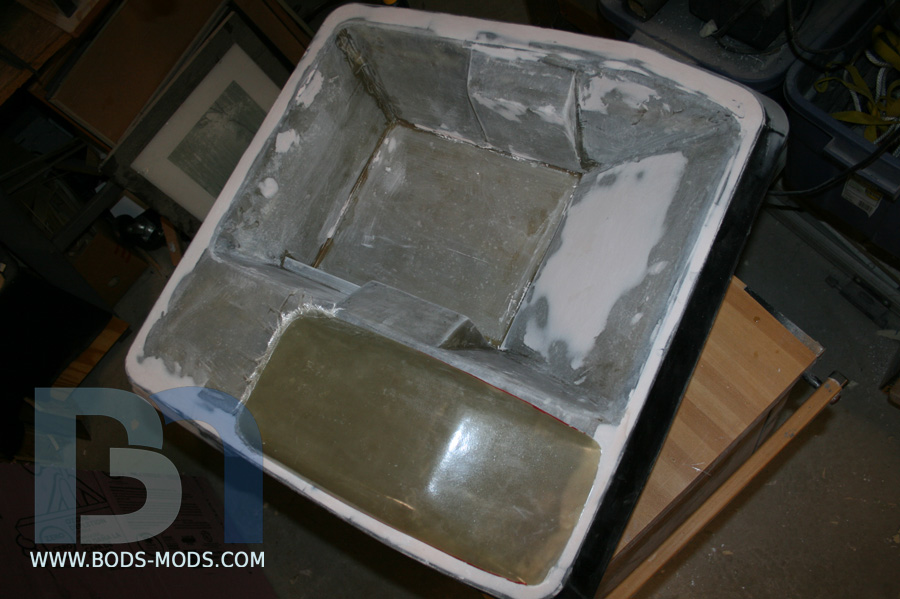
behold! A one-piece fiberglass side panel!
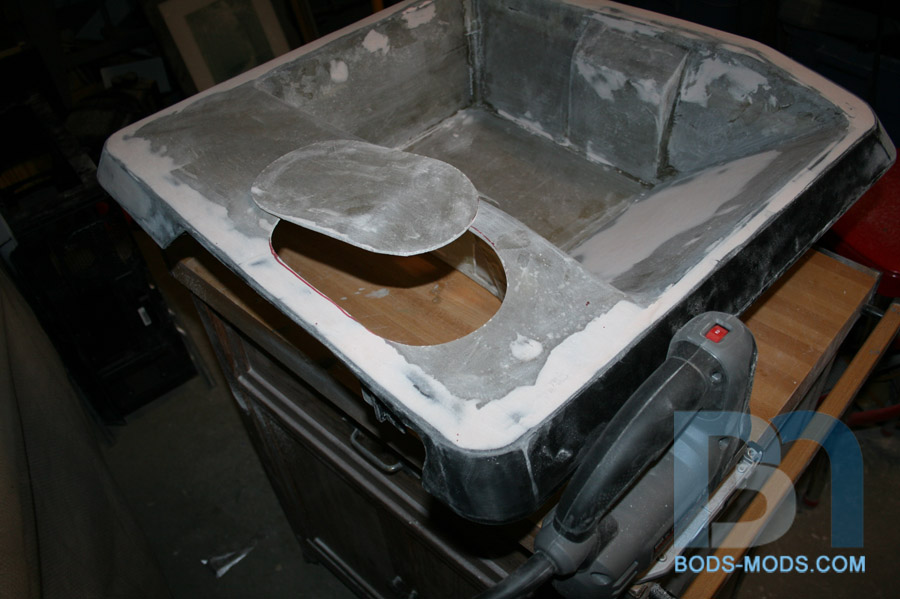
Now this thing is not totally without its flaws. Upon closer inspection, there are countless air bubbles and a few spots where the gel-coat was too thin. But I can mix up some more of the resin paste and fill those areas back in. And I will undoubtedly have a bunch of bodywork to do before this thing is ready for paint.
But I think for the most part, it came out really well considering this was my first fiberglassing adventure.


 Reply With Quote