HOLY CARP!!!!! This just keeps getting more awesome.


Originally Posted by SXRguyinMA

so far left of center i'm in right field


Thanks msmrx57!
So while I continue on the flame grill bending spree, here are a few other pieces I made up.
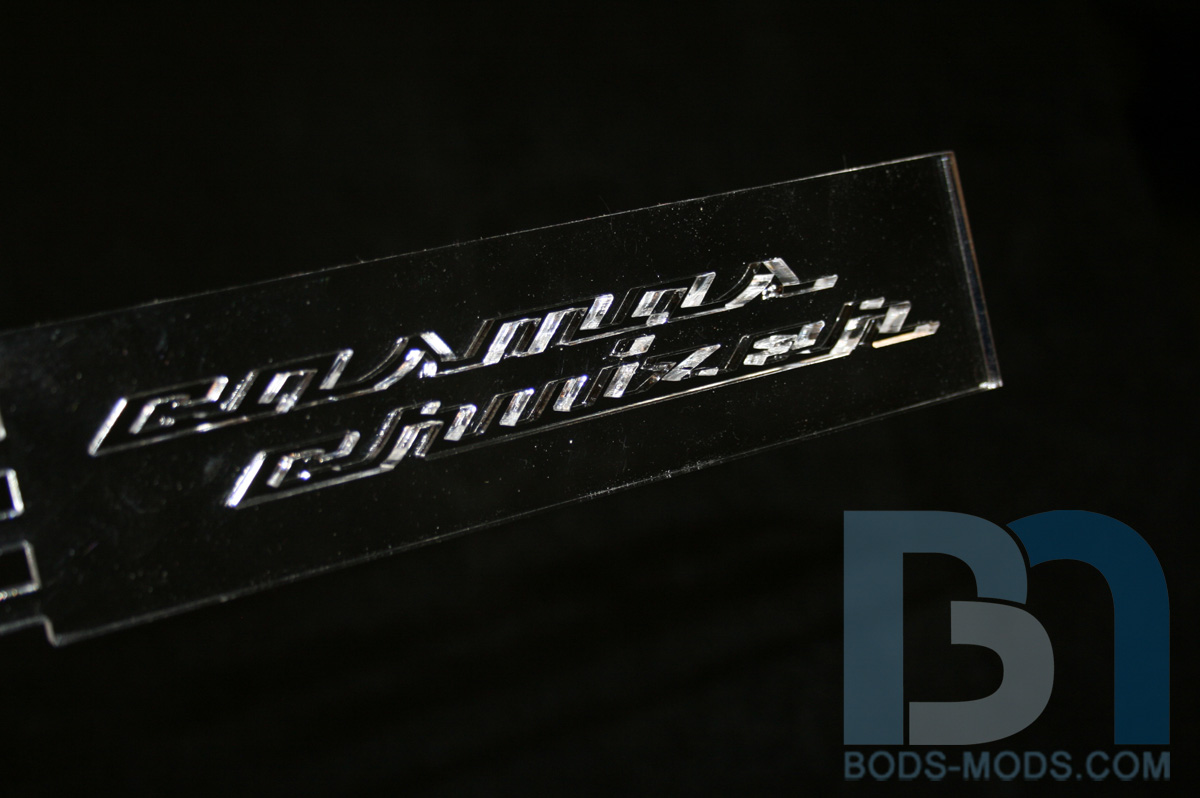
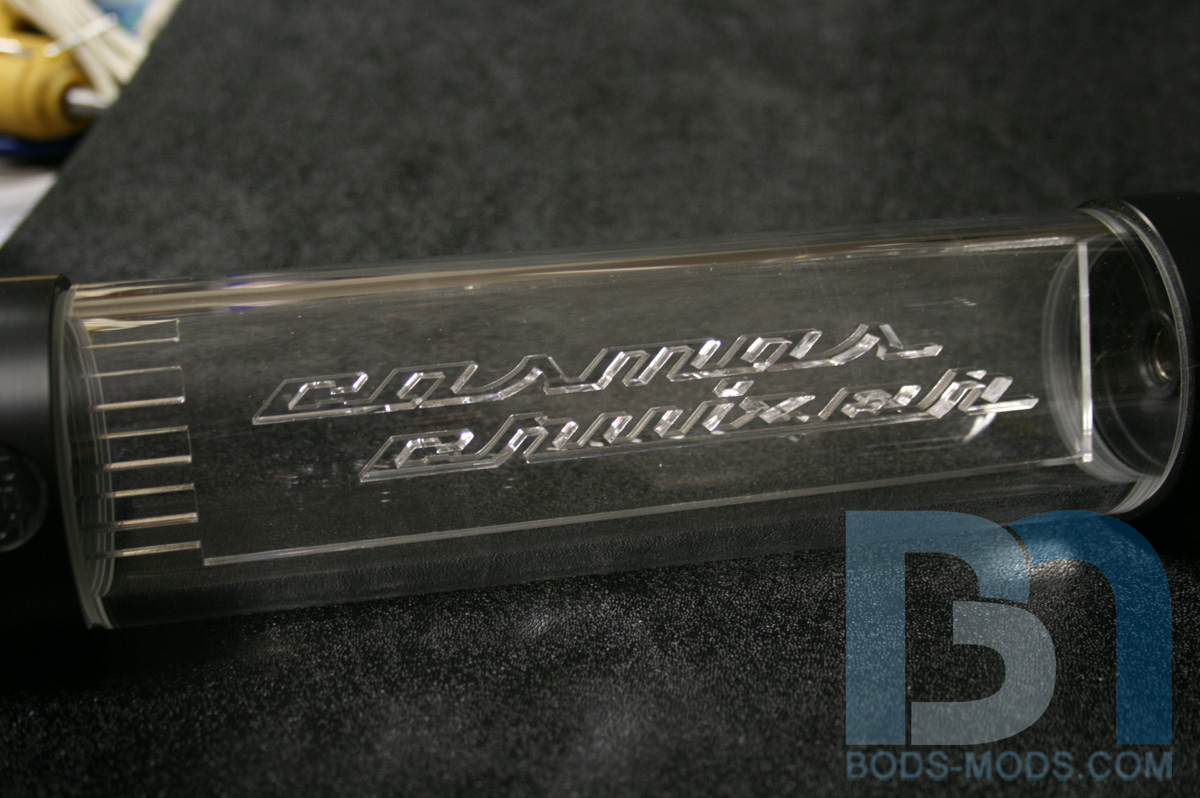
The EK reservoir comes with an acrylic insert with their logo, but it seemed kind of piddly inside this long tube res.
So I designed a custom insert more appropriate to this case and size of the res...
Installed...
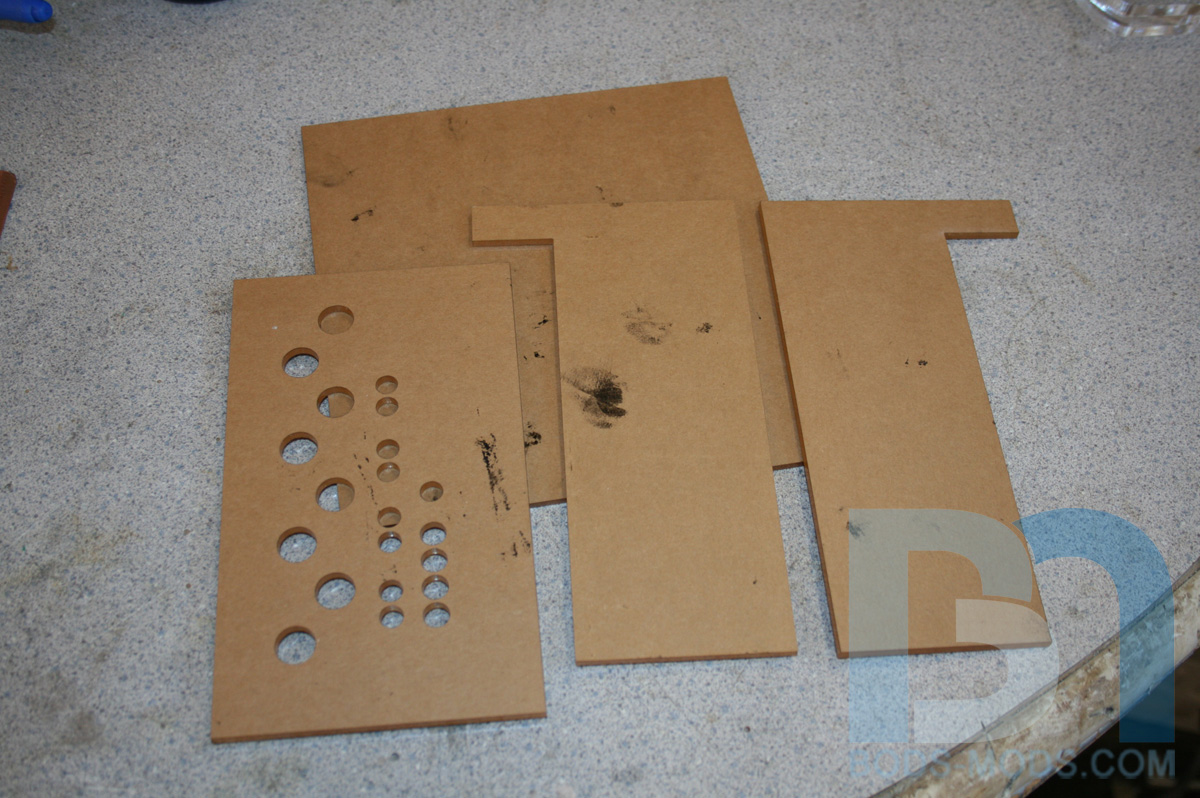
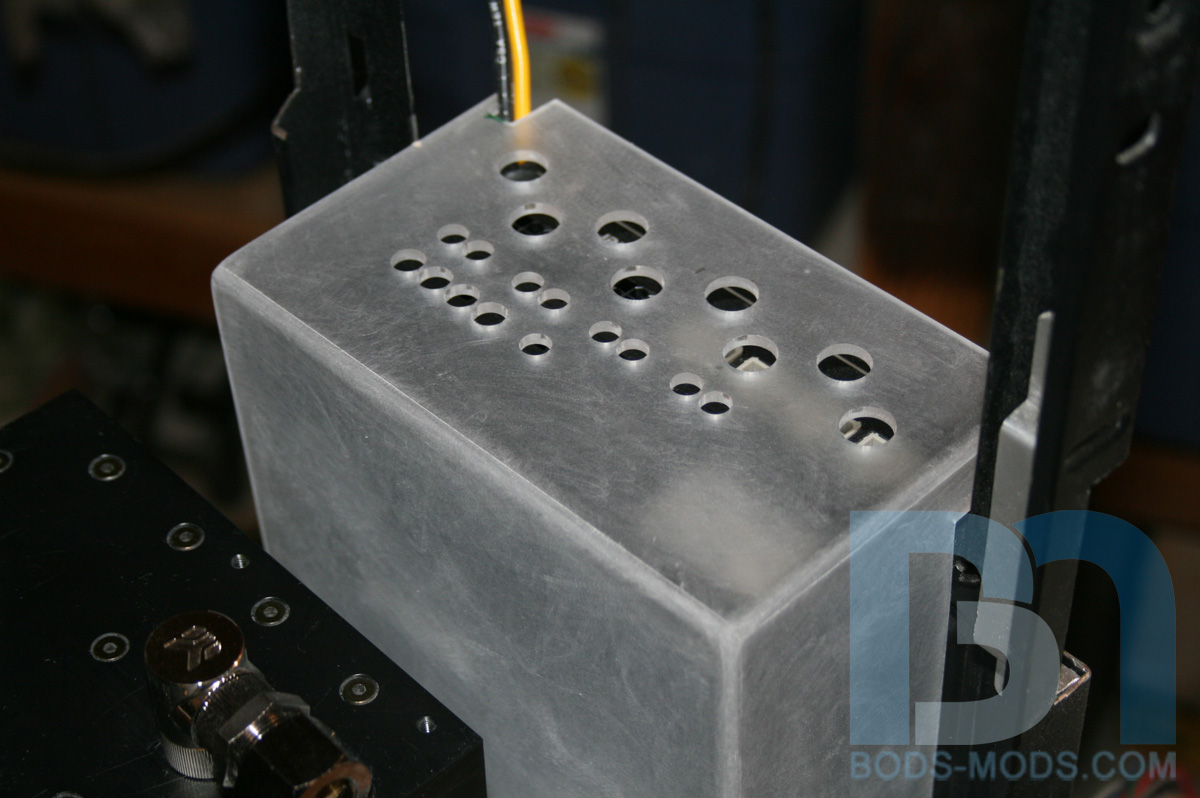
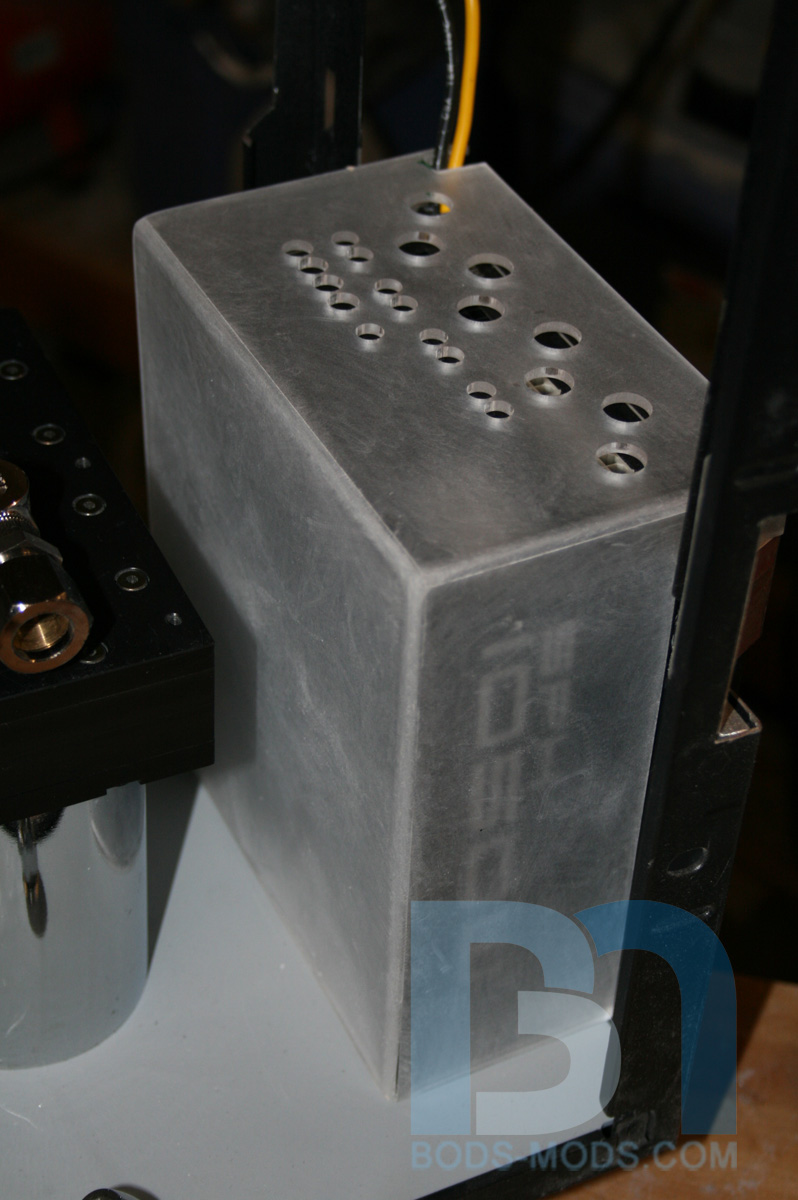
Also made a cover for the PSU. Another simple 4-piece box with some holes in the top for cabling.
Glued, sanded, and in place...
No fasteners required! Some double-stick tape should be enough to hold it in place, along with the cables going through the holes up top.
The large holes are for the 24pin and 6pin PCI cables, while the smaller holes are positioned over the 12v power and molex cables. I'll explain my cabling scheme in more detail a bit later when I have more to show.
:wink:
Honey Roasted Peanuts Ingredients: Salt; Artificial honey roasting agents; Pressed peanut sweepings.
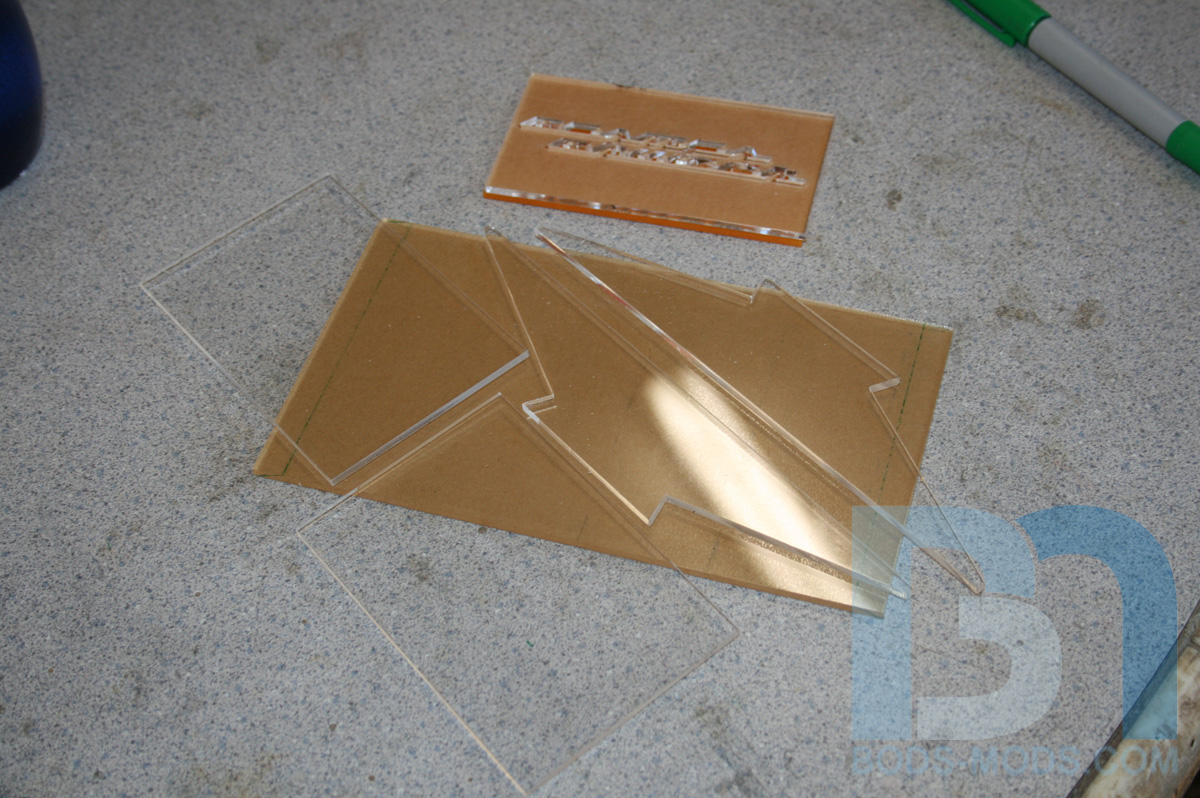
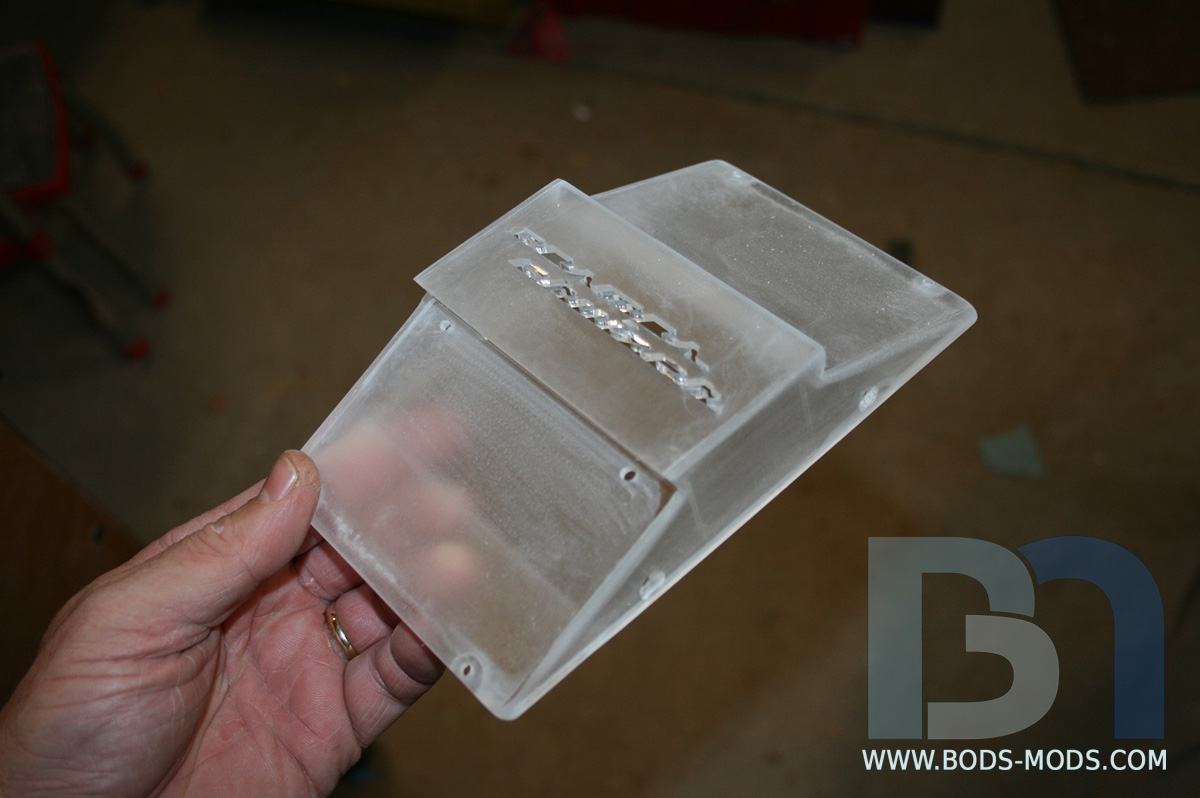
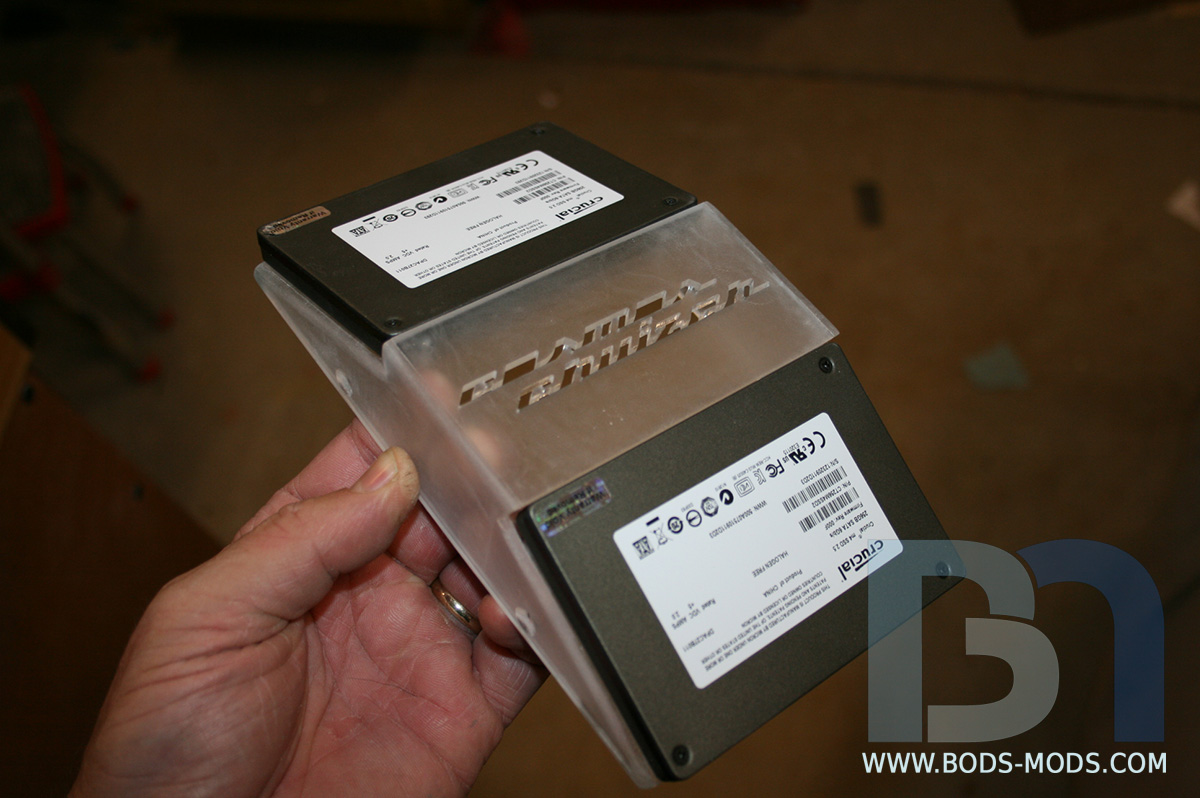
Small update: Yet another mounting piece I designed and had laser-cut...
This part will be for mounting the Crucial SSD's on the back of the fiberglass panel, next to the EK res.
All pieces glued together, with the drives set in place. "Cosmos Cruizer" logo cutout in the center will have UV orange behind it.
Soon I will show how this piece will be mounted to the fiberglass panel...
Honey Roasted Peanuts Ingredients: Salt; Artificial honey roasting agents; Pressed peanut sweepings.
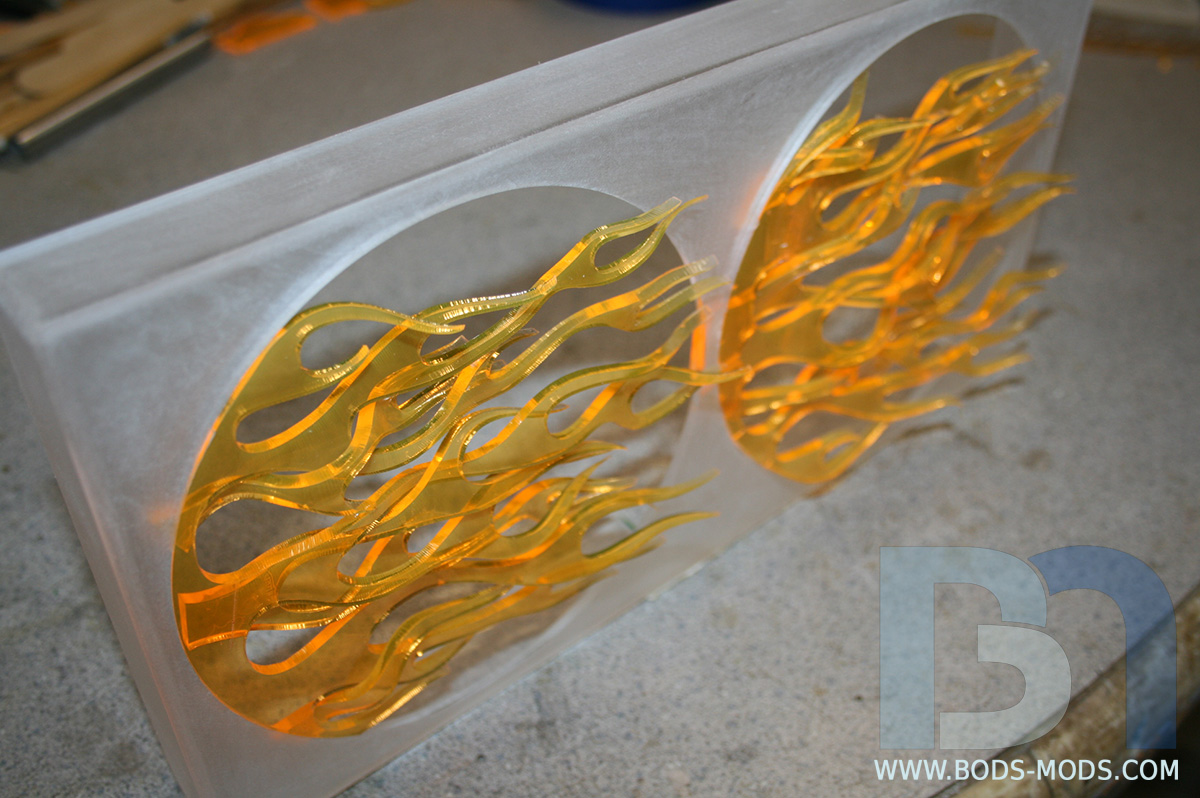
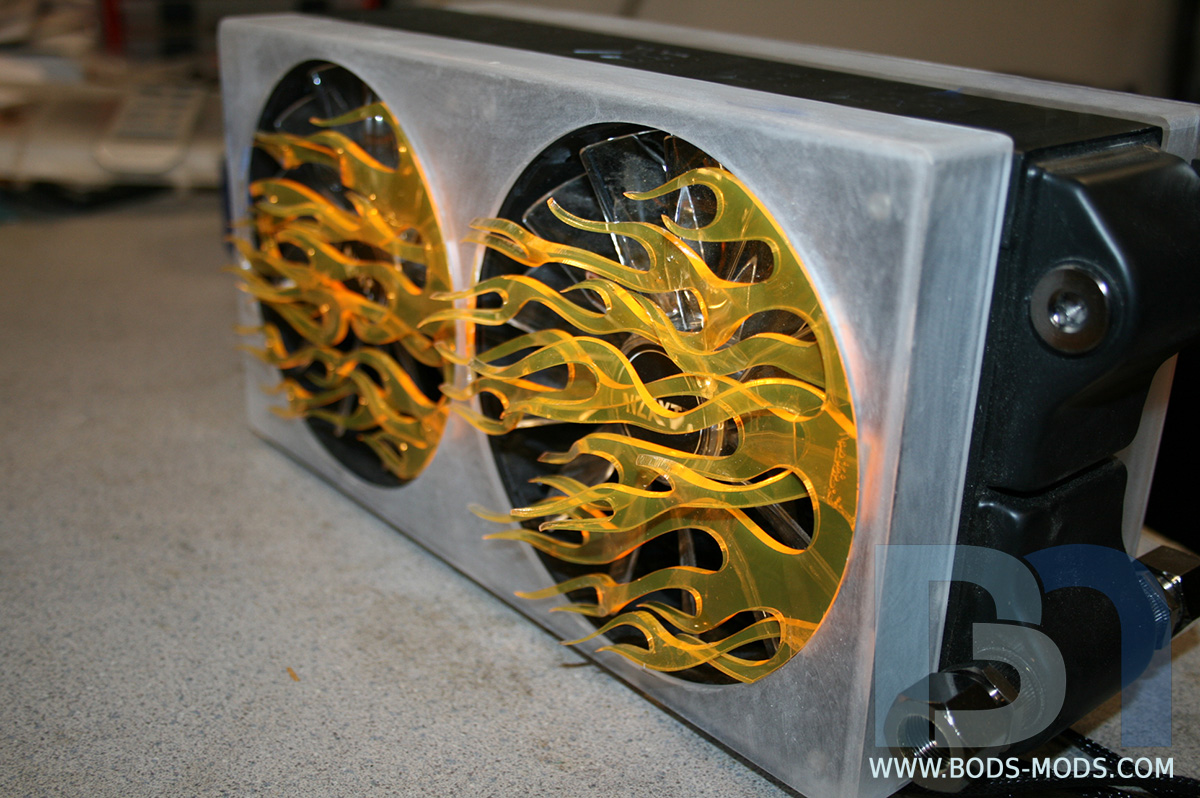
Finished heat-bending all the flame grills over the weekend.
Here's one of the shrouds with the grills in place. Haven't glued them in yet.
Placed both shrouds on the 240mm rad for a look-see...
Other side...
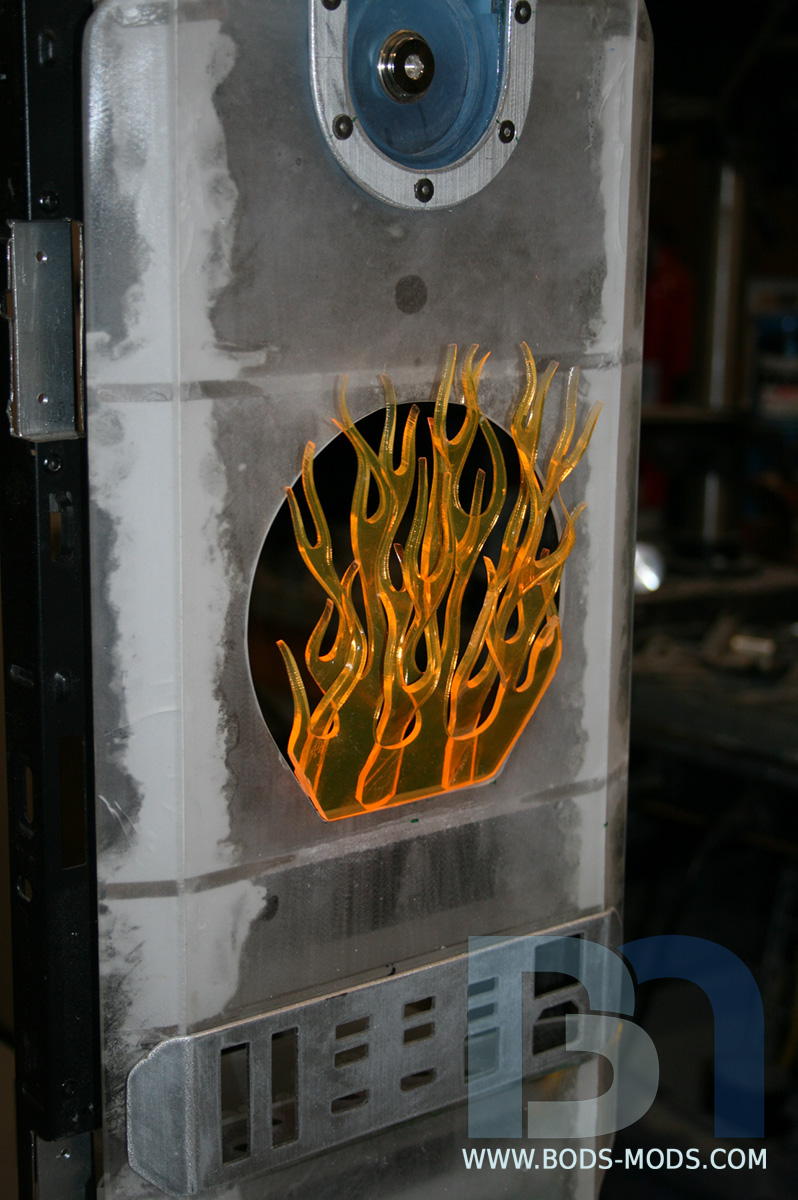
I also made a flame grill for the back panel..
The idea is to have these grills integrated into the shrouds/panel so there will be no seams. Should look pretty cool after everything's painted.
Honey Roasted Peanuts Ingredients: Salt; Artificial honey roasting agents; Pressed peanut sweepings.

Those flames are crazy
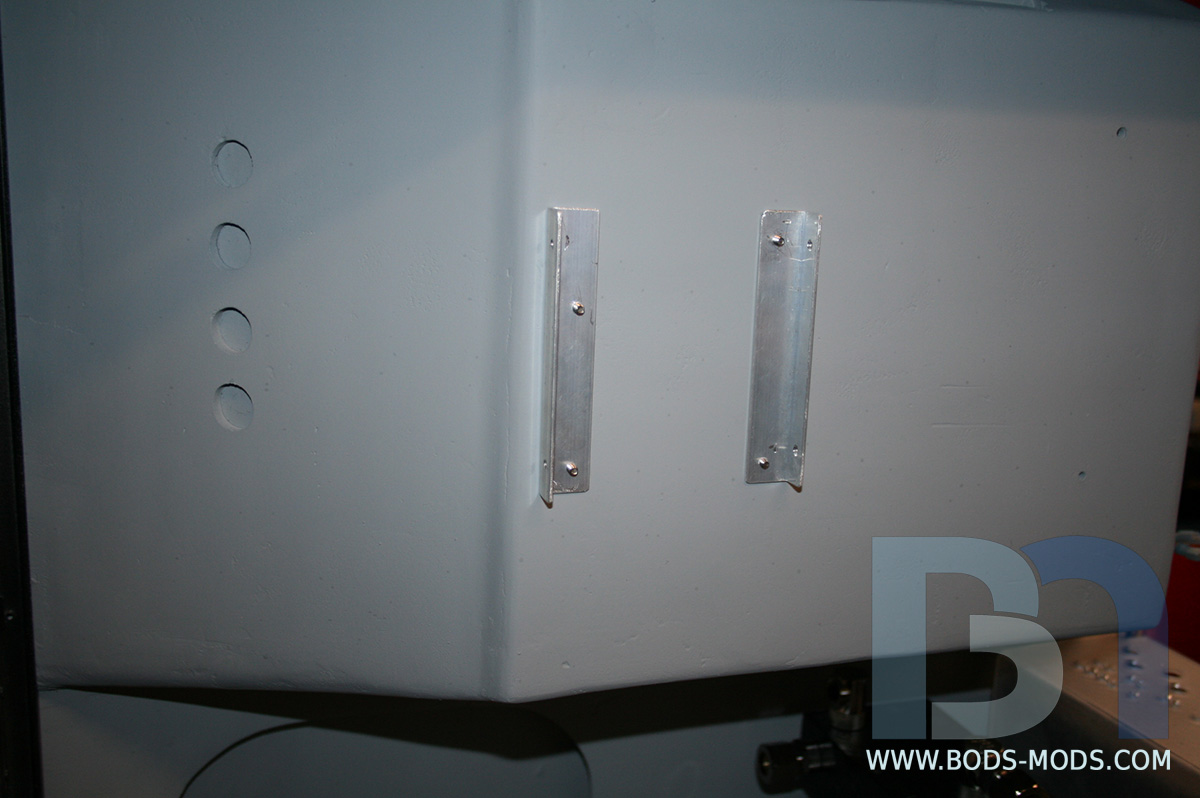
Been doing a lot of little piddly things over the last week, including some wiring, more sanding, radiator tab mounting, and remaking the rear IO panel trim piece. Yep, once again I have to re-do something I already did. This time, due to spacial concerns, I had to revise the port positioning, which meant cutting a whole new trim piece. :x
But enough of that, let's show something I did get accomplished...
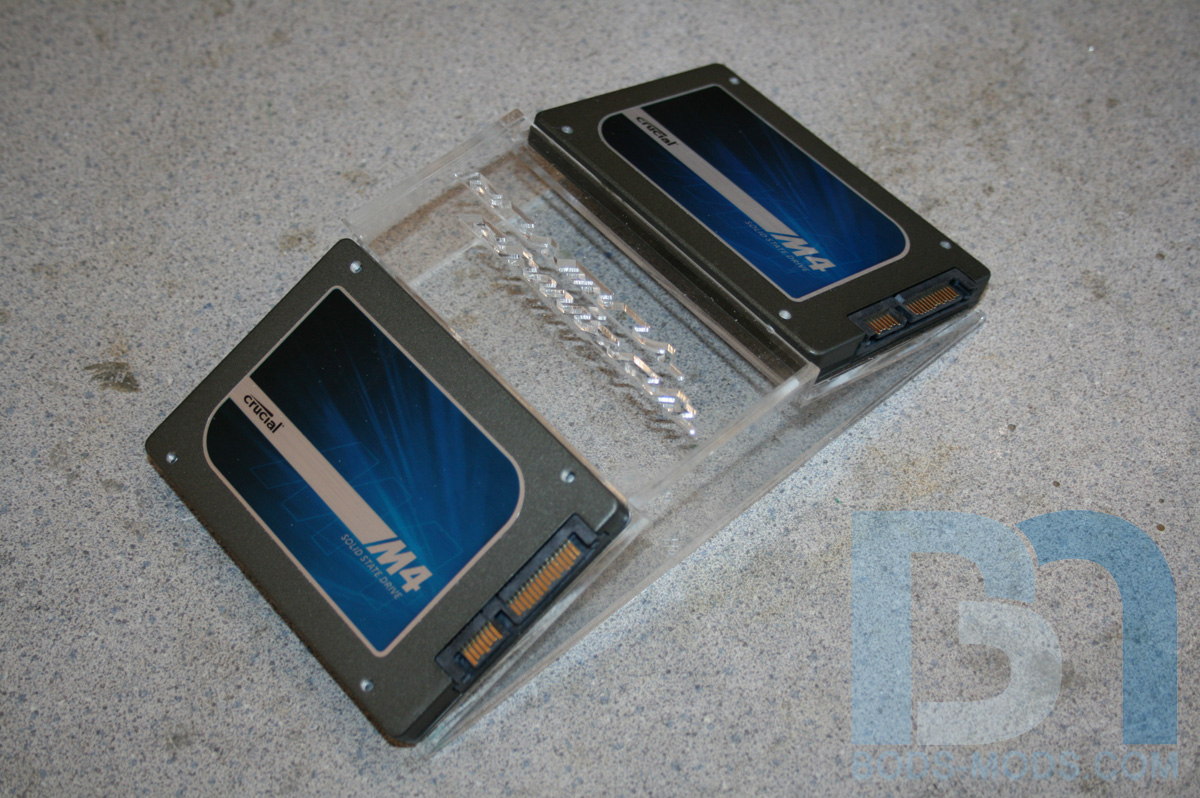
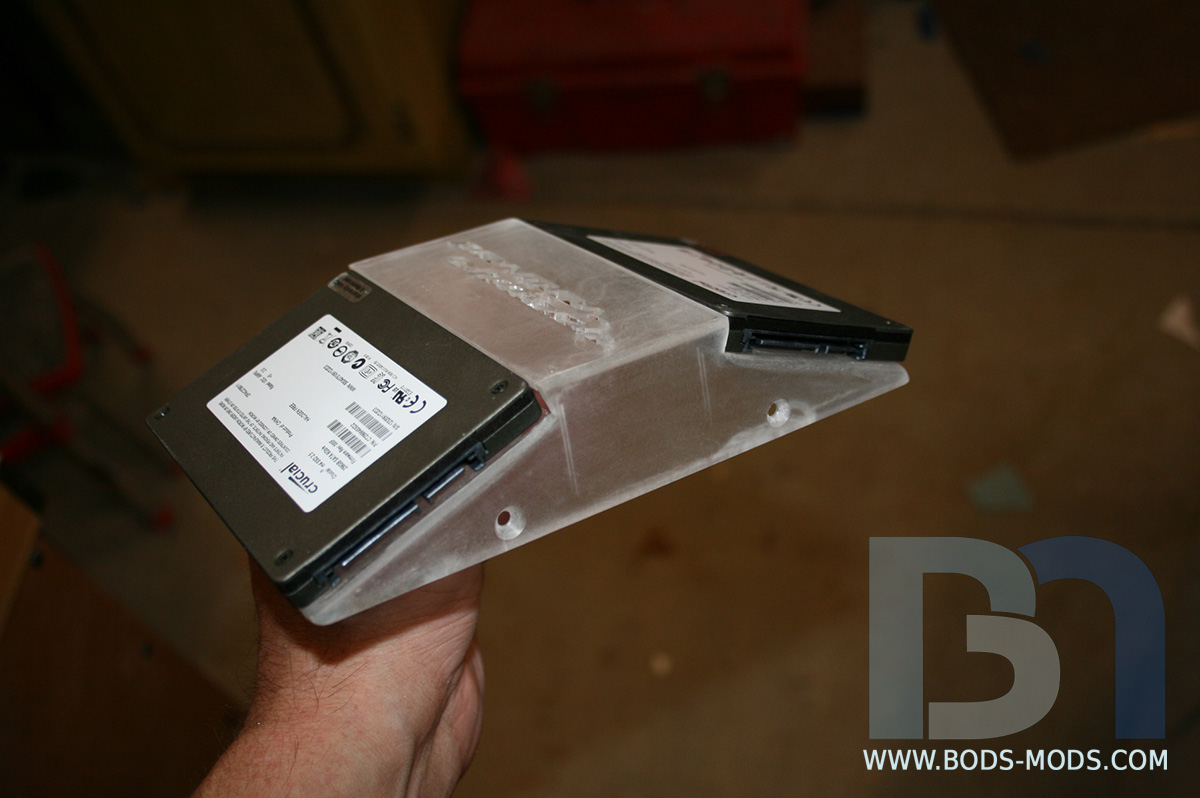
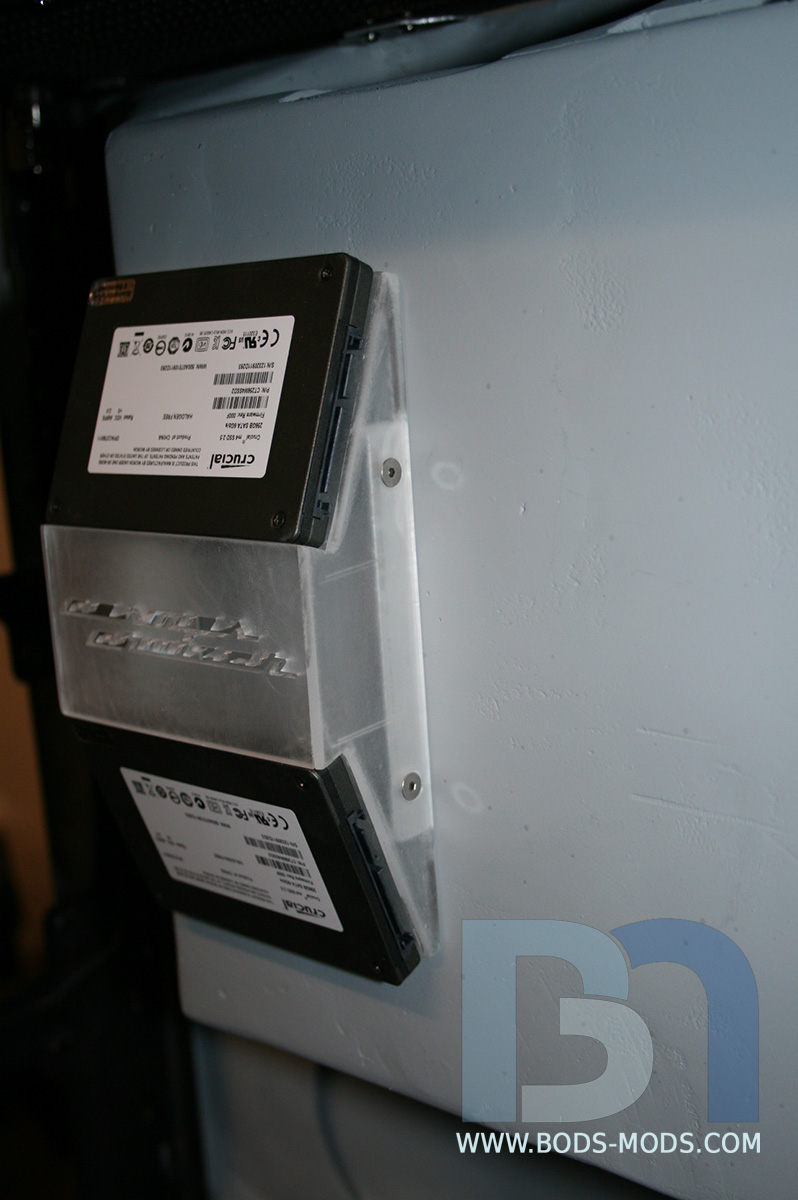
I posted earlier about the SSD mounting system I came up with...
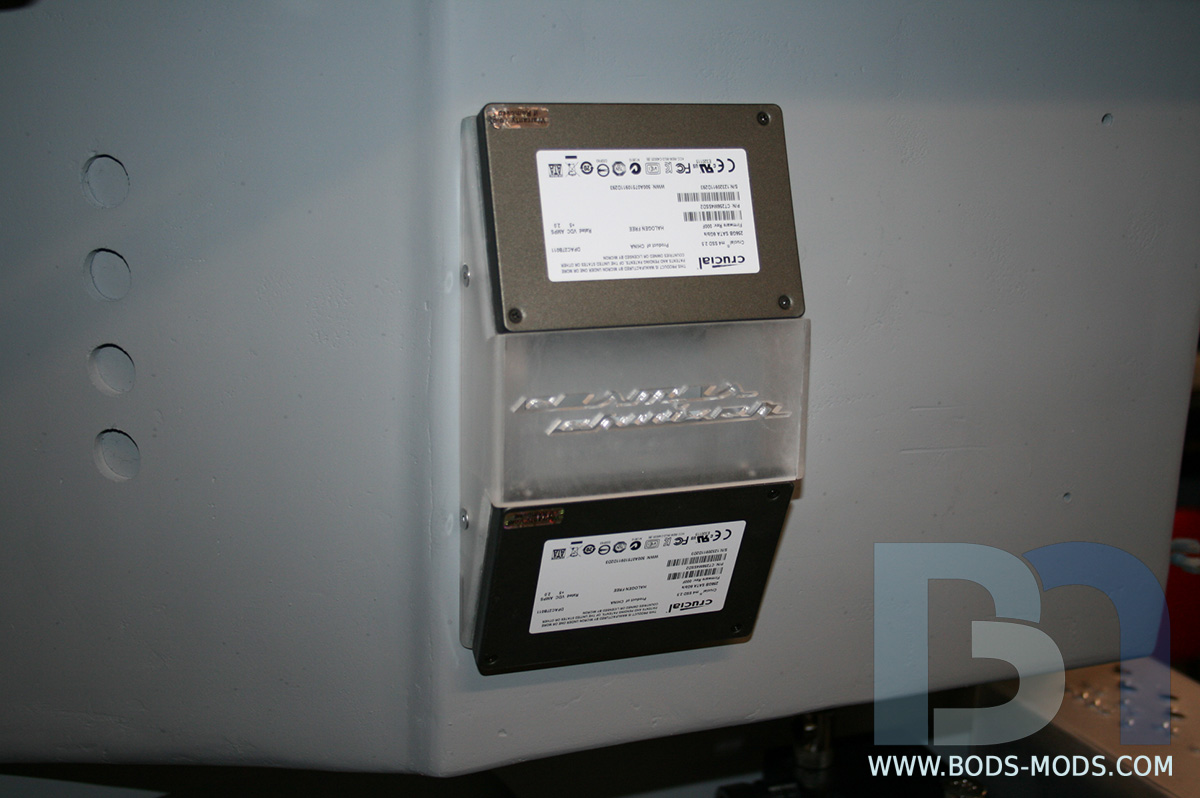
Here is the bracketry that will hold the mount to the fiberglass panel. I'm using flush-mount alan socket screws from the other side that screw into the threaded brackets.
I sanded down the mounting piece, as it will be painted to match the case.
The SSD drives are fastened on utilizing their top-face mounting holes.
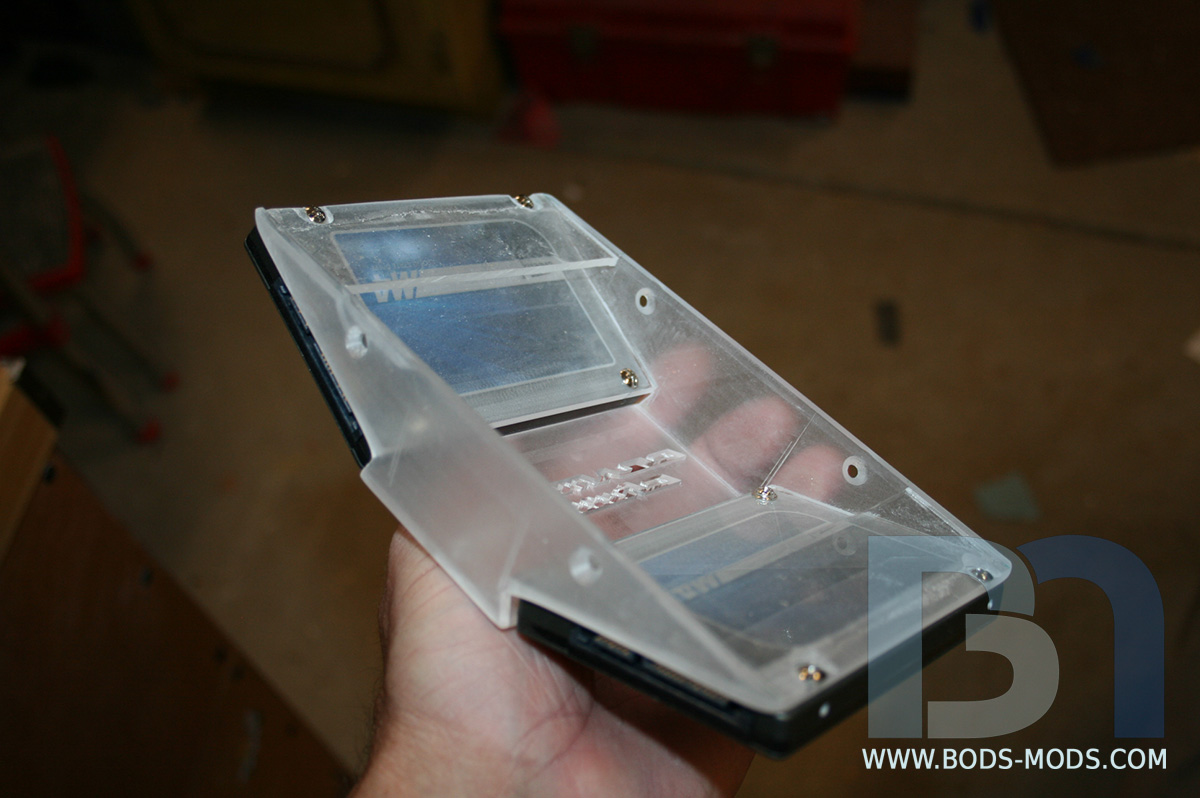
A look from underneath shows the mounting screws for the SSD's.
The whole mounting assembly is screwed to the brackets via two flush mount screws on each side.
The cutout lettering in the center will have a UV orange backing, and it will be lit from inside.
Now back to the cabling debacle...
Honey Roasted Peanuts Ingredients: Salt; Artificial honey roasting agents; Pressed peanut sweepings.

Wait, Crucial put the logo sticker on the bottom of the drive and the specs on the top? That seems really strange to me. Bummer IMHO as the shape of the sticker and the graphics are similar to the hot rod curves you have in your design.
The mount looks great by the way
TheMainMan
I thought maybe they just put the decals on the wrong sides, but doing a Google image search shows that pretty much all the M4's are like this. No matter, because I'm making some SSD covers to go over the drives.
Honey Roasted Peanuts Ingredients: Salt; Artificial honey roasting agents; Pressed peanut sweepings.
Getting all the cable routing sorted. I ran into an issue involving the cables from the power supply and the IO port cables. It seems they both want to occupy the same space. Of course I brought this on myself back when I relocated the power supply and mounted it vertically, then positioned the IO port where I thought it looked the best on the back panel, which just happened to be directly above the PSU. So now I get to figure out a way to make it work, while still looking decent.
Well, first thing I did was simplify the IO port. There were just too many things to deal with. Of course, removing things that had corresponding holes in the IO plate meant that I had to make another one with less holes. I'll show a before/after shot of the face plates later.
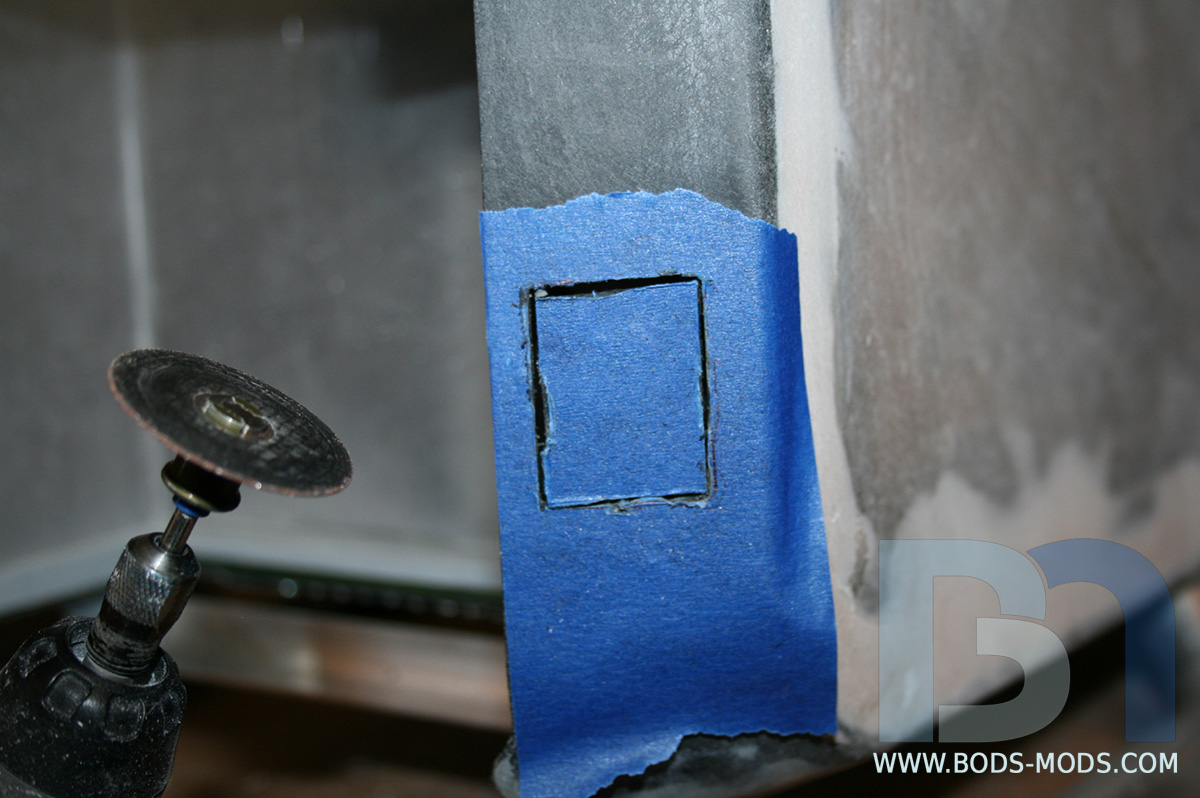
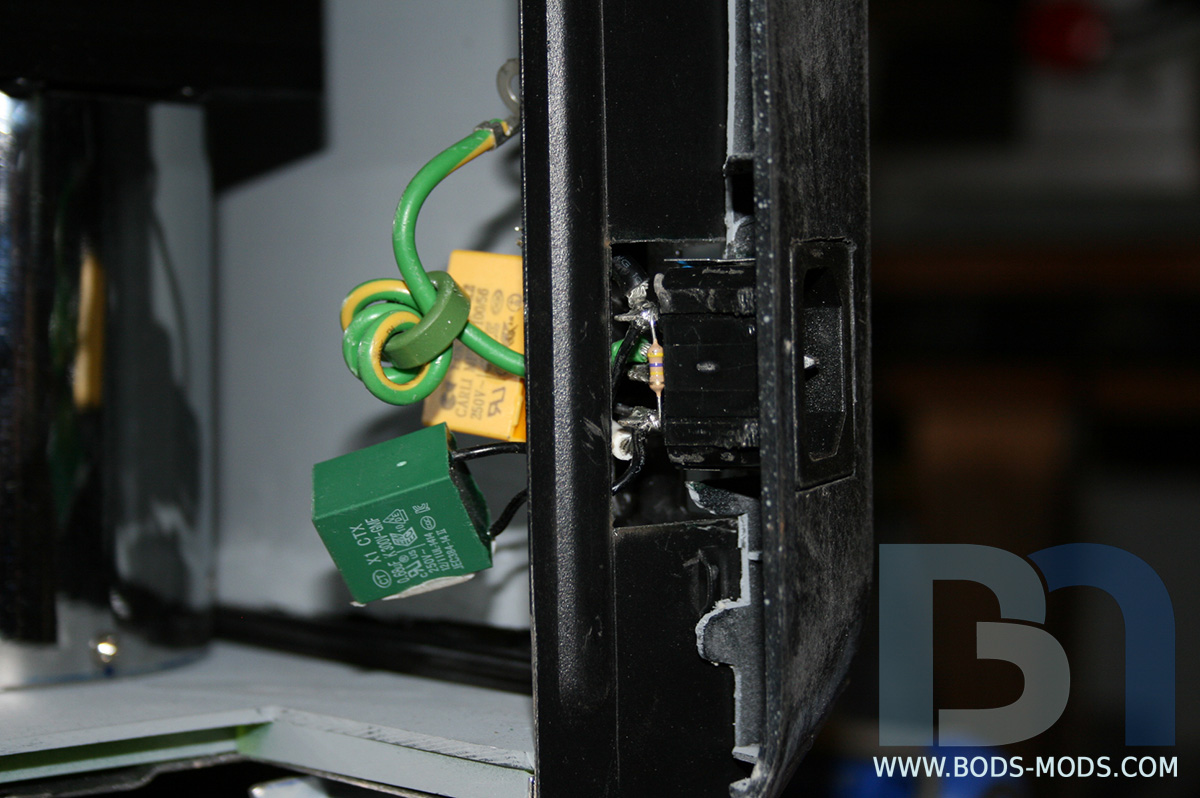
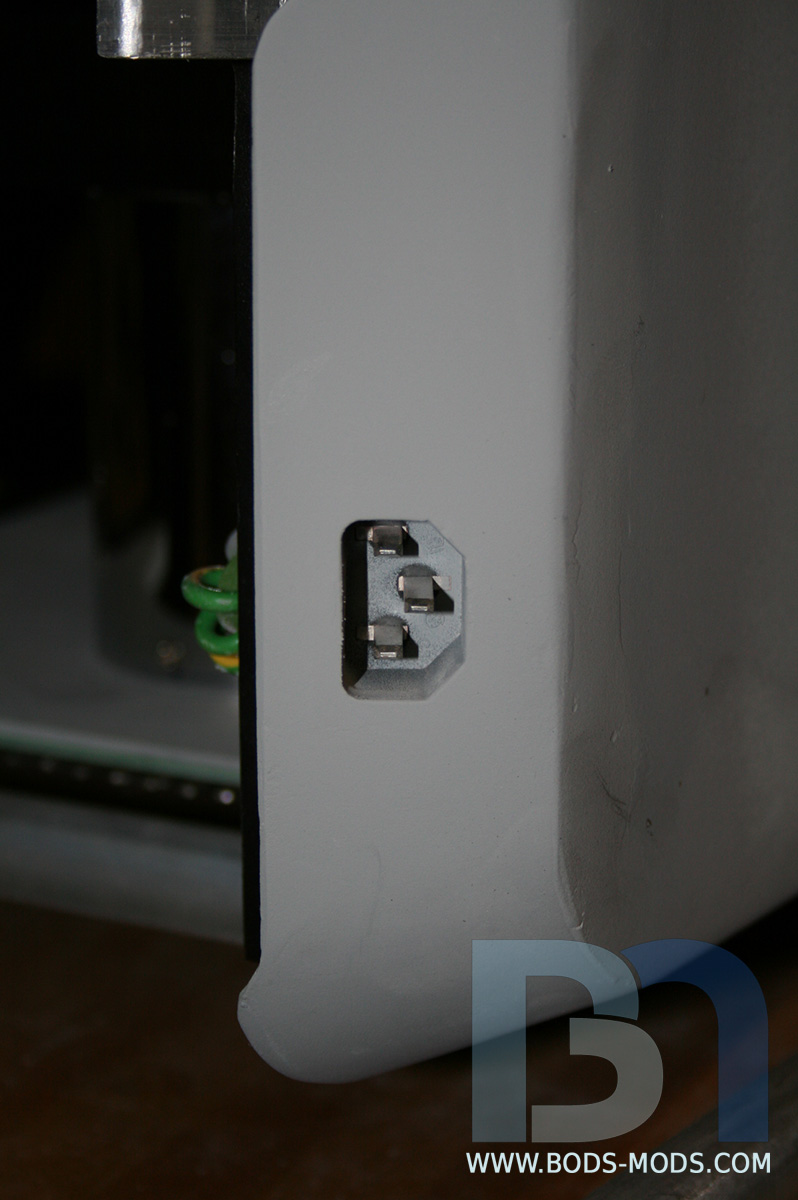
One of the things I omitted from the IO plate was the psu's power plug. It has a lot of wiring and electrical do-dads stuck to it that I just don't have room for. So I re-relocated it...
The power plug should be as low as possible on the back of the case anyway, so I found a suitable spot to flush-mount it into the back of the side panel.
After tracing the plug onto the panel, I cut it out and worked the edges until the plug fit nice and snug.
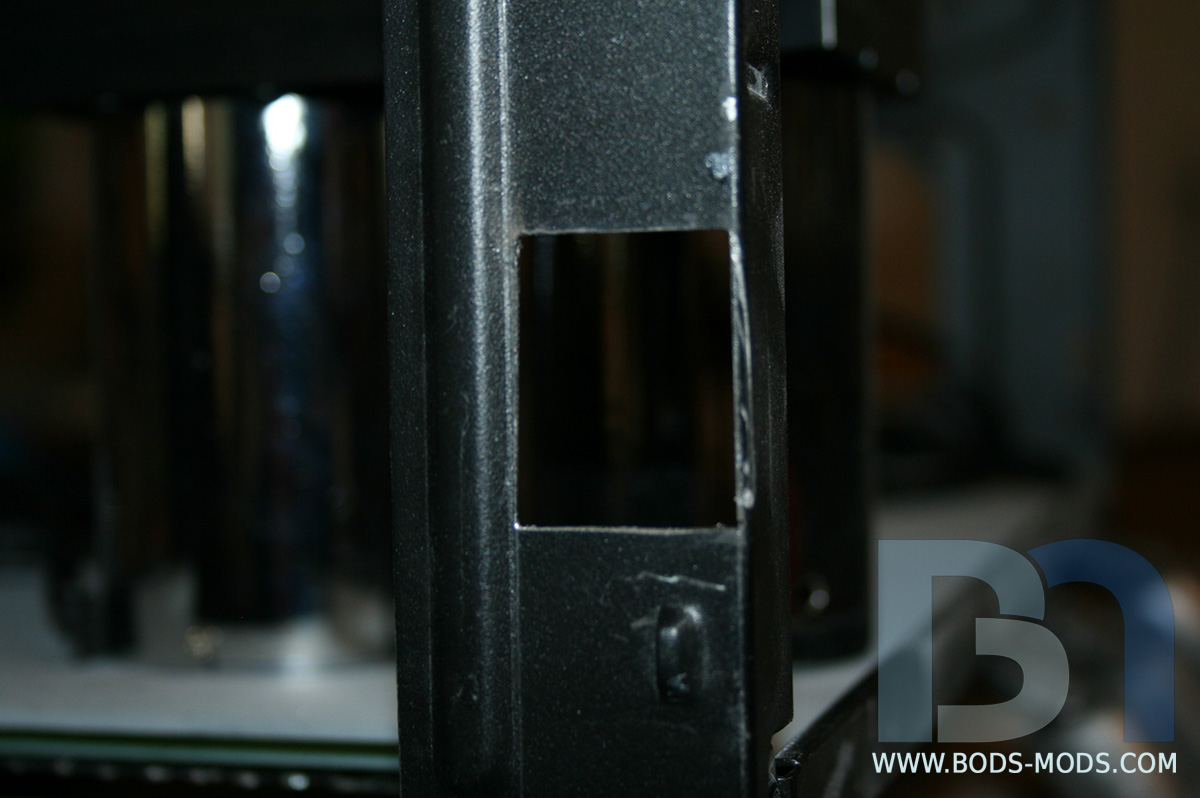
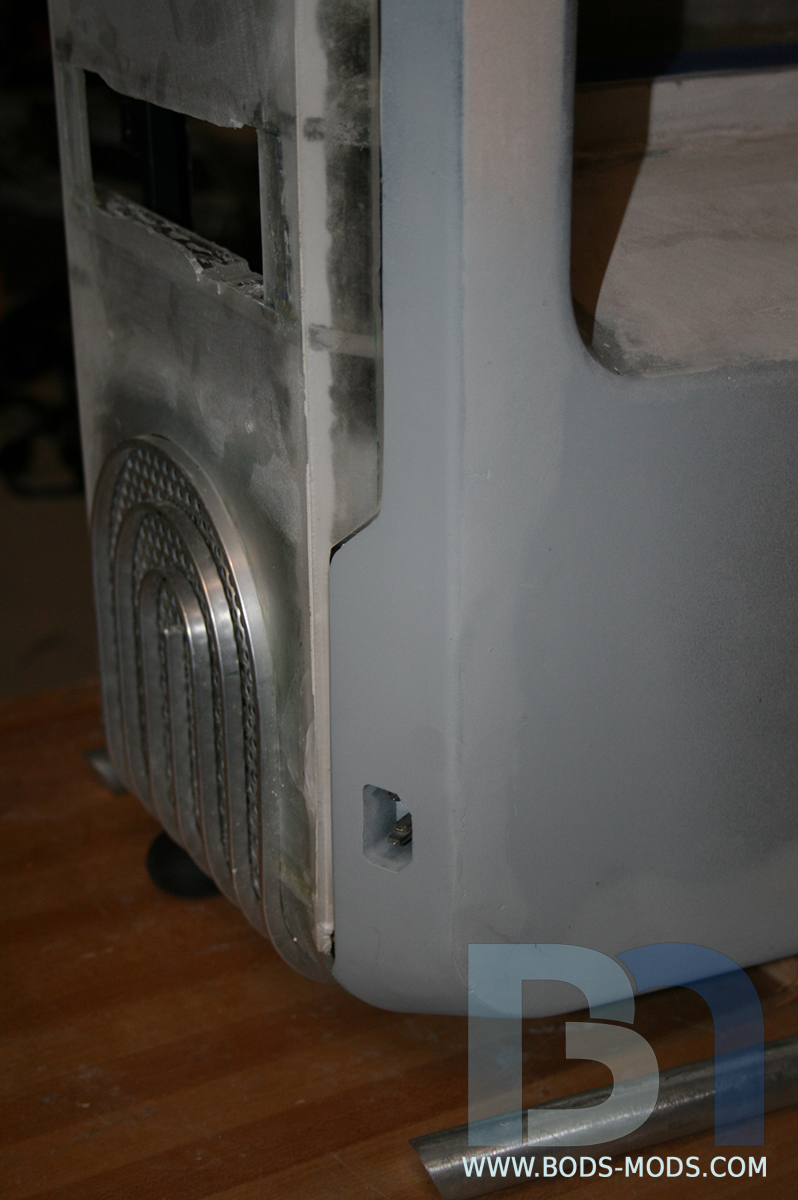
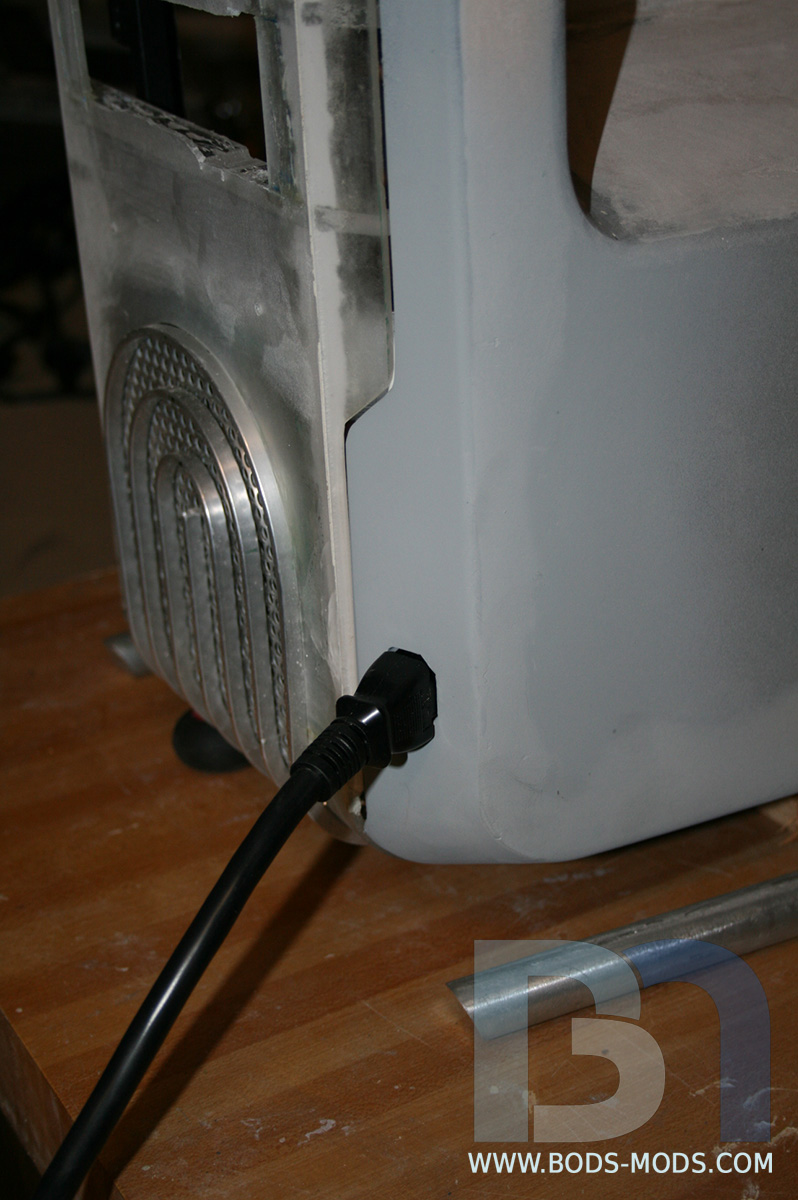
Then I cut a corresponding hole in the frame so all the attachments clear.
Now there's room for everything. And I can easily mount the grounding wire to the frame.
Fast forward past all the gluing, drying, bondoing, sanding, and priming...
Next up I'll show the rest of the IO cabling and the simplified plate.
Honey Roasted Peanuts Ingredients: Salt; Artificial honey roasting agents; Pressed peanut sweepings.


looking good!
Arctic Cat * Maximum Security * Cribbage Board * Rockin Case * Armor Redux
Tempest SXR * Power House * Red Comet * ICHIWZ * Acrylic Headphone Hook
Continuing sponsorship support from PCBoard.ca
 Posting Permissions

 Reply With Quote