Page 7 of 8 FirstFirst ... 2345678 LastLast
Results 61 to 70 of 72

Thread: ASPHIAX - VENATOR Class Republic Star Destroyer

  1. #61
    " Will I Dream .. " ASPHIAX's Avatar
    Join Date
    Feb 2011
    Location
    Boxtel - The Netherlands
    Posts
    264

    Default Re: ASPHIAX - VENATOR Class Republic Star Destroyer

    In the meantime ...

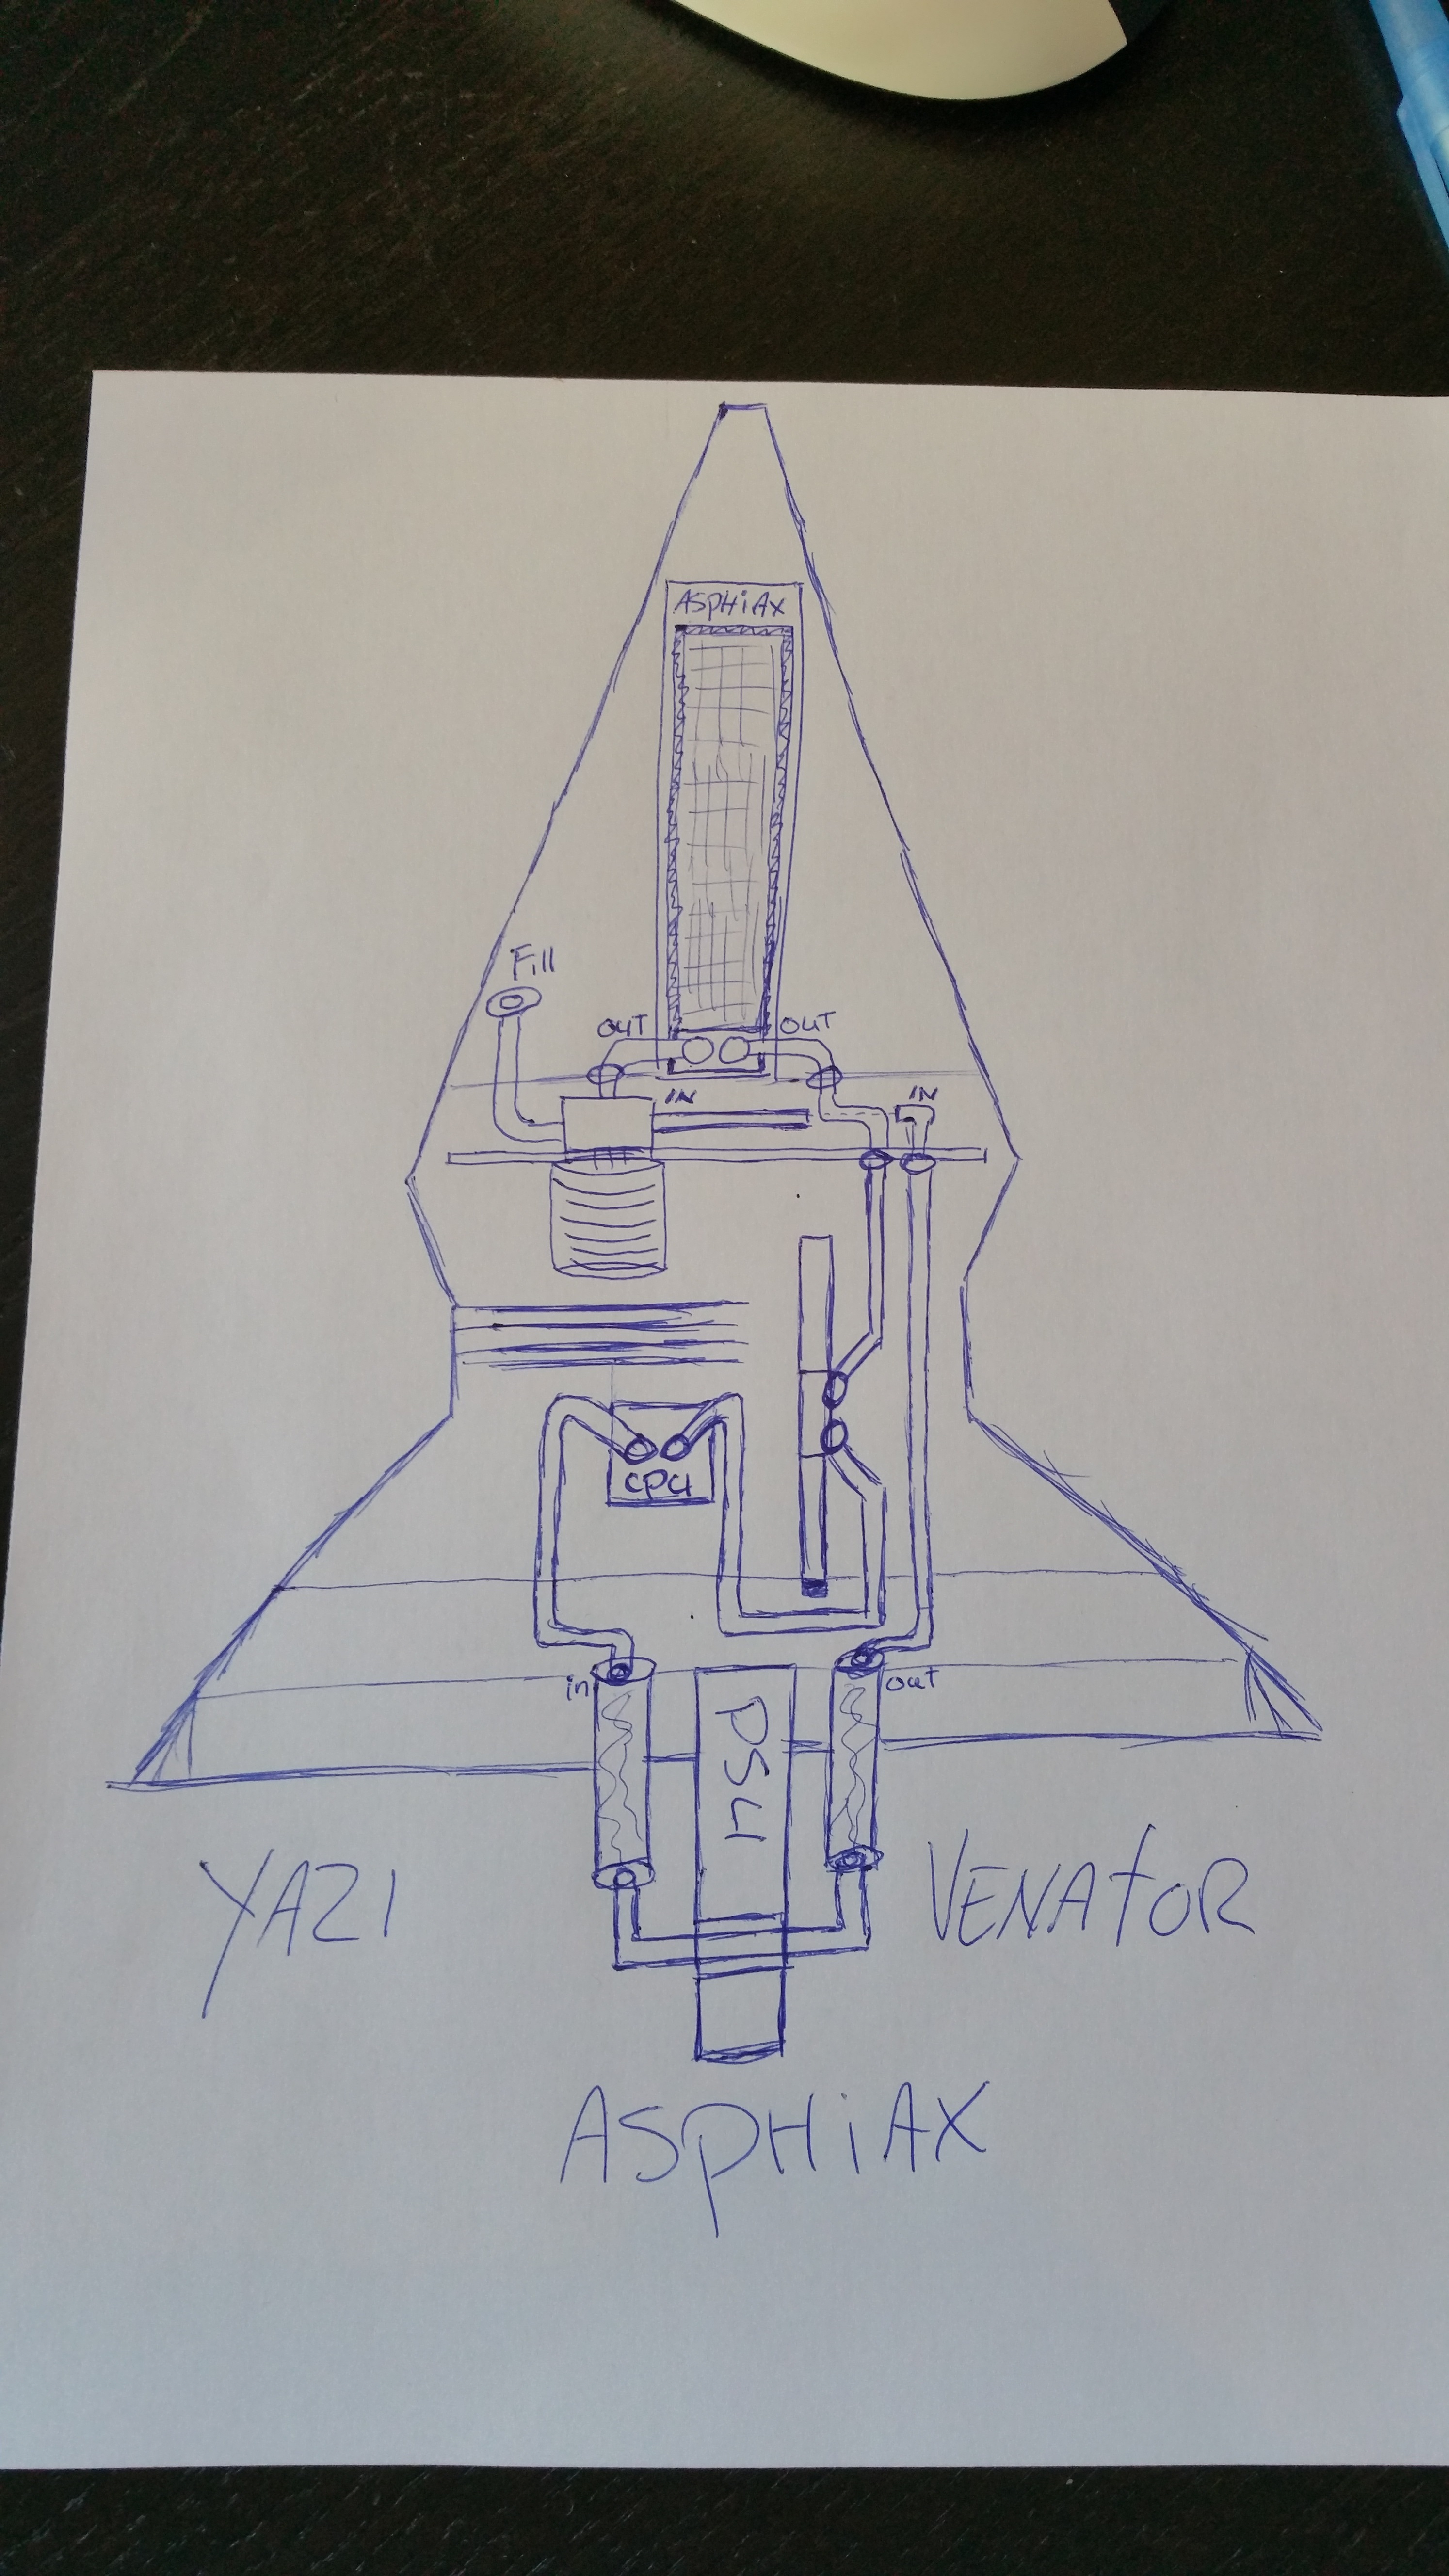
    The final loop has been found!


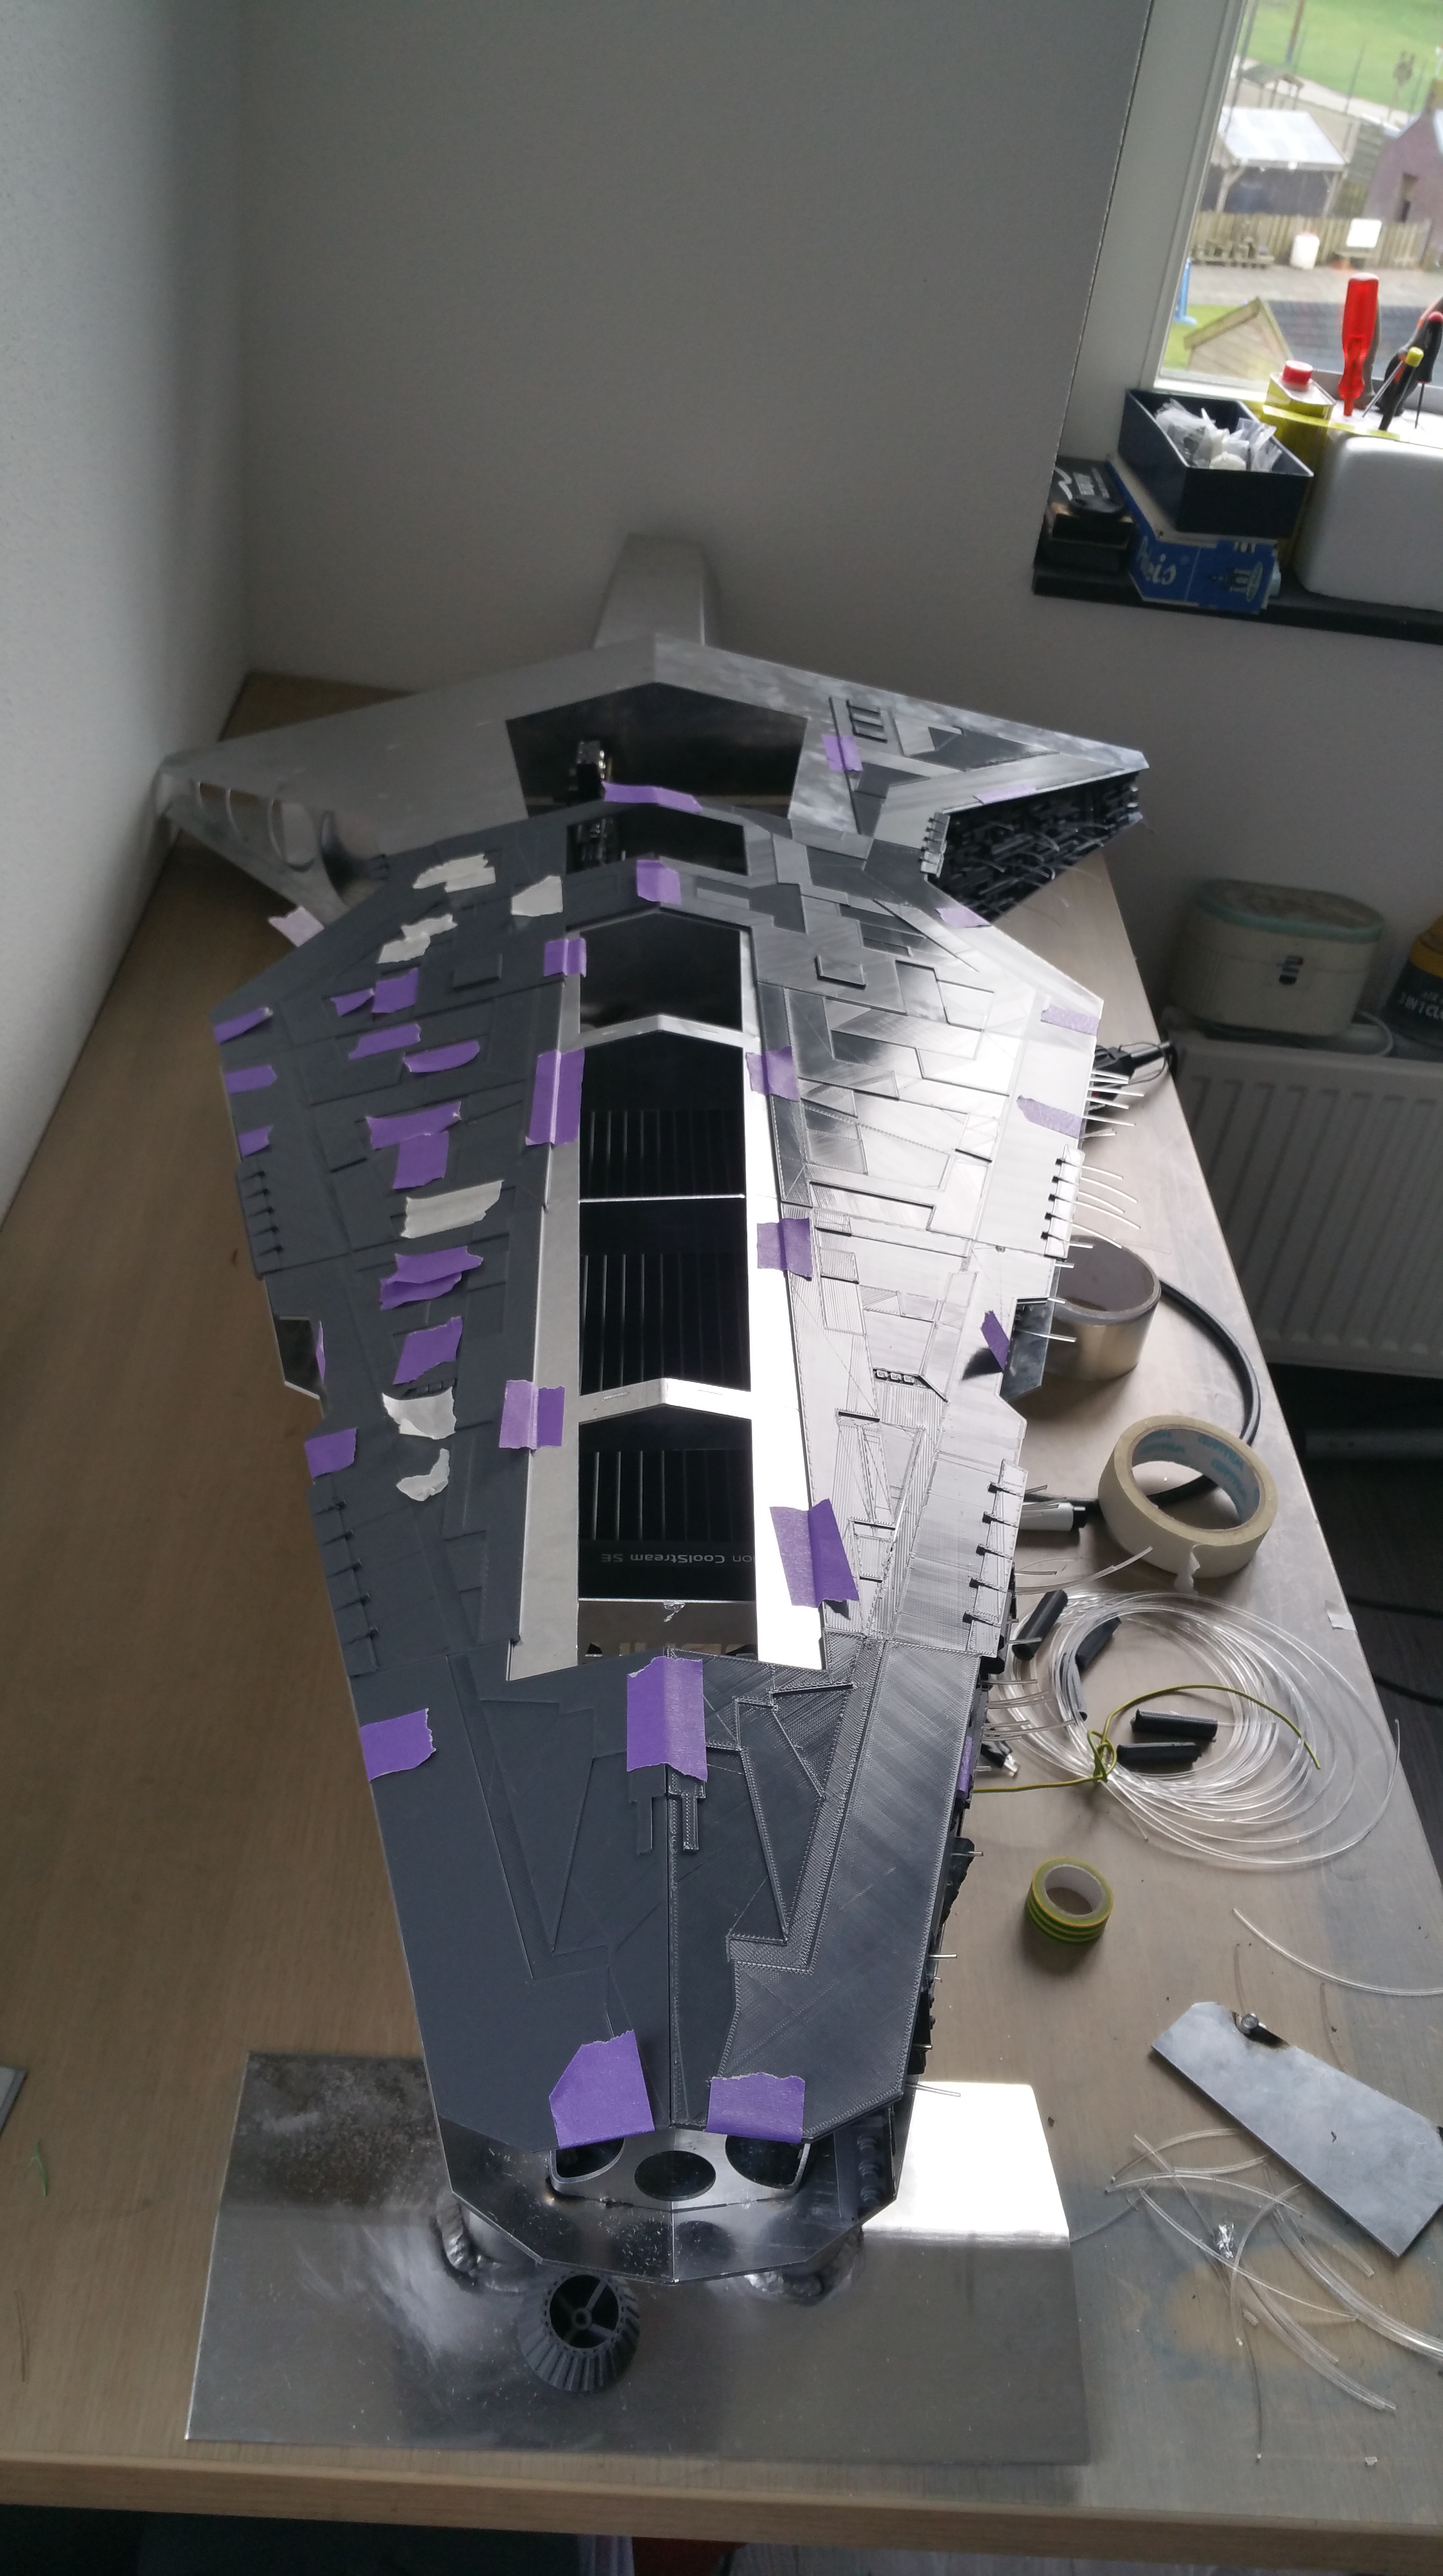
    Inside the case I will be mounting several 3d printed PETG coolant tube guiders and supports, VGA and I/O space and some decoration.
    You know when you have spent to much time in 3D when you start sketching it only also.


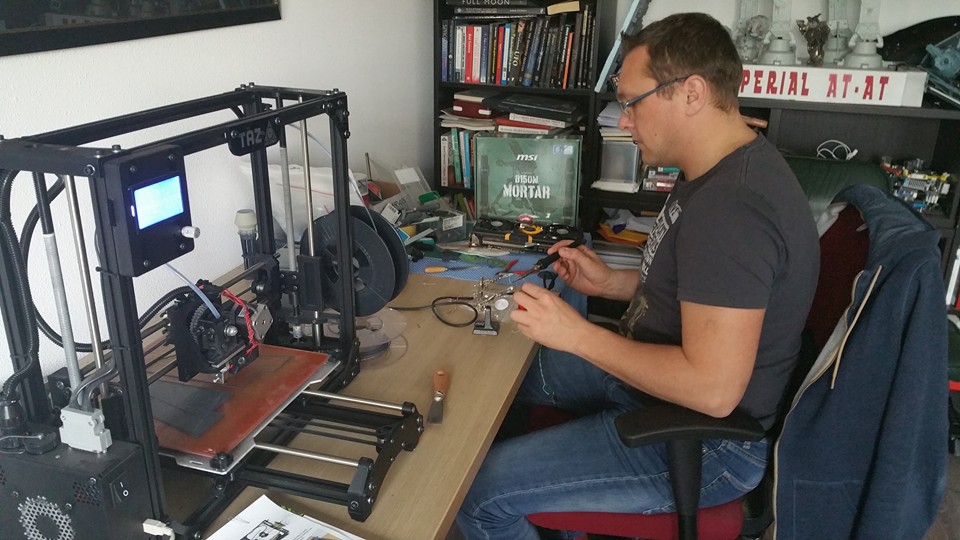
    Only 300 left to solder Sander ... Pfew ...

  2. #62
    " Will I Dream .. " ASPHIAX's Avatar
    Join Date
    Feb 2011
    Location
    Boxtel - The Netherlands
    Posts
    264

    Default Re: ASPHIAX - VENATOR Class Republic Star Destroyer

    First light ...


    Lightning !

  3. #63
    " Will I Dream .. " ASPHIAX's Avatar
    Join Date
    Feb 2011
    Location
    Boxtel - The Netherlands
    Posts
    264

    Default Re: ASPHIAX - VENATOR Class Republic Star Destroyer


  4. #64
    Administrator OvRiDe's Avatar
    Join Date
    Dec 2005
    Location
    Tulsa, OK
    Posts
    4,586

    Default Re: ASPHIAX - VENATOR Class Republic Star Destroyer

    Looking fantastic. I was thinking about the lighting. It looks great. My thoughts are if you split up your fiber groups so they are more evenly dispersed along the sides, you could use an arduino to randomly turn or fade led's off and on. Might give it a more dynamic look. Technically you could do it with just blinking leds, but then it would probably look more like the side of the WOPR. With an Arduino you could have long intervals and fades that would be quite as jarring. Just an idea, either way its going to look amazing for the progress pics.

  5. #65
    " Will I Dream .. " ASPHIAX's Avatar
    Join Date
    Feb 2011
    Location
    Boxtel - The Netherlands
    Posts
    264

    Default Re: ASPHIAX - VENATOR Class Republic Star Destroyer

    Good suggestion man!
    I can hook up a pretty good daisy chanied TLC5940 circuit that has 4k fades per channel. 16 channels per TLC so I would need at least 3 . Easily done, I think I already have a circuit like that layinga round somewhere actually.
    4k fades per minute or so. With some important pieces lit all the time.

  6. #66
    ATX Mental Case
    Join Date
    Jun 2015
    Posts
    116

    Default Re: ASPHIAX - VENATOR Class Republic Star Destroyer

    Its looking grate ASPHIAX. I'm hanging to get a 3D printer.

  7. #67
    " Will I Dream .. " ASPHIAX's Avatar
    Join Date
    Feb 2011
    Location
    Boxtel - The Netherlands
    Posts
    264

    Default Re: ASPHIAX - VENATOR Class Republic Star Destroyer

    Quote Originally Posted by Zenator View Post
    Its looking grate ASPHIAX. I'm hanging to get a 3D printer.
    Thanks man! Yeah a good printer can do so much these days.

  8. #68
    Undead Pirate d_stilgar's Avatar
    Join Date
    Mar 2005
    Location
    Philadelphia, PA
    Posts
    2,987

    Default Re: ASPHIAX - VENATOR Class Republic Star Destroyer

    This gets better every time I see it. The finished quality of this is going to be incredible.

  9. #69
    " Will I Dream .. " ASPHIAX's Avatar
    Join Date
    Feb 2011
    Location
    Boxtel - The Netherlands
    Posts
    264

    Default Re: ASPHIAX - VENATOR Class Republic Star Destroyer

    Quote Originally Posted by d_stilgar View Post
    This gets better every time I see it. The finished quality of this is going to be incredible.
    Thanks man!

  10. #70
    " Will I Dream .. " ASPHIAX's Avatar
    Join Date
    Feb 2011
    Location
    Boxtel - The Netherlands
    Posts
    264

    Default Re: ASPHIAX - VENATOR Class Republic Star Destroyer

    "YAZI" - Venator Class Star Destroyer The BIG finale part 1
    Ok so here is the big finale (wel part 1 of it at least)
    Due to the fact that MSI asked if they could showcase the YAZI at the International CES 2016 in Las Vegas the whole time table changed.
    I am very strict op planning, its the only way to get stuff done fast, but this was ridiculous. The call came in about a week before the cutting of the aluminum, hence the reason why Pascal and I worked untill 3 am to get it sorted.
    I proved not to be the last day I was up untill late !
    Here we go:
    Started with the always nice smelling epoxy work on the tower


    Then it was off to the dirty room for paint, got a nice anthracit paint. The pictures dont do it justice, its darker and less brown.


    Quick test fitting


    And finally the last of the about 300 holes!


    With the holes done, it was time for the greeble basecoat.
    The detail just popps out with this coat.


    And a quick test fitting, sure looks good in aluminum


    But thats not the plan. So gave it a healthy coat


    And then a good black matte paintjob


    With the black coat on I could finally start to epoxy the greebles onto the side hull


    Meanwhile : That was the first box of 8 kg PLA, onto the next one!


    Decision time, should i paint the greebles also in the anthracit coat?


    So happy with the anthracit, it really has excellent licht action properties


    I love doing test sessions lol


    Houston we have a problem! That was the last of the 50 meters of fiberoptic cabling ...


    Waiting for the fiber, I put myself to the next design challenge the motherboard tray and I/O backwall.


    I just love waking up to fresh new custom parts


    Ahh the joys of fiberoptic cabling. It wants to go in any way but the way you want it ..


    But ... the force is strong ...


    Poor mans glue clamp, well actually you can buy a lot of clamps for this grand 1200 watt powerhouse by Thermaltake!


    Also installed the rest of the lighting for the tower.


    Someone asked my what happened to my old build the USS EURISKO.
    Well its standing next to my work pc acting as a side table lol


    This looks just too cool not to share


    Working 12 to 16 hours a day takes it toll ..


    Installed the fans back into their housing. These are the original fans for the build 2 years ago. Try finding a decent 92mm fan these days ...


    I discovered a neat trick while glueing the 3D printed PLA. You can cut into just one or 2 of the layers and bend it precisely


    Me working the very last of the fibers, will be glad when this part is over ..


    The hull needed a little old fashioned styrene love


    I wish I still had my workshop, space runs out quick with my builds!


    Me working the epoxy ..


    Darth practising his one-liners ..


    And there you have it, the result of the small ModMarathon ...

    Post Project Carnage ..


    And that was it for part 1 , stay tuned for part 2 and 3!

    Have a good one!

Posting Permissions

  • You may not post new threads
  • You may not post replies
  • You may not post attachments
  • You may not edit your posts
  •