Saw that at Maker Faire Bay Area. It's always a crowd pleaser.


Saw that at Maker Faire Bay Area. It's always a crowd pleaser.
I have a hammer! I can put things together! I can knock things apart! I can alter my environment at will and make an incredible din all the while! -Calvin


So I'm back at this. We were going to wait but I scored a 47" TV box made of wood. (From America!) I may need some help figuring out spacing for the holes. I'll have to have it all laser cut.
To keep a log for myself...
I have figured out:
Amount of Acrylic needed
Light Switch
Plug
How to stabilize the acrylic sheets (Well kind of, I know how to stabilize them on the edges. Need to figure out how to do it in the middle.
Rubber backing needed to cover the holes
Need to figure out:
Lights (2 or 3 sets) (Black light for florescent)
Fans (2 in the bottom only or 2 top 2 bottom)
Acrylic Vendor
Size of Acrylic Rods (1/2"OD, 3/4"OD or 1" OD)
Spacing for holes (Depends on the size of rod)
Wire Terminals (Sold out online at a few stores)
Cable Management (Probably going to use P-Clips)
Moulding (this will hold in the top layer of acrylic and make it look clean)
I'd add a black felt layer behind the holes with little + shaped holes that will block light until the rods are put in. Have that also laser cut.
For supporting the plexiglass in the middle, you might look at using some aluminum L and drilling it out where it covers any holes. You only need to support against forces inward on the panel. Withdrawing the rods should not move the panel at all.
I have a hammer! I can put things together! I can knock things apart! I can alter my environment at will and make an incredible din all the while! -Calvin
The rubber is for behind the holes. Felt will not hold its original shape well.
I'm thinking of making 1x1 stand offs to support thy plexi.
Here are some pictures of what I have done so far.
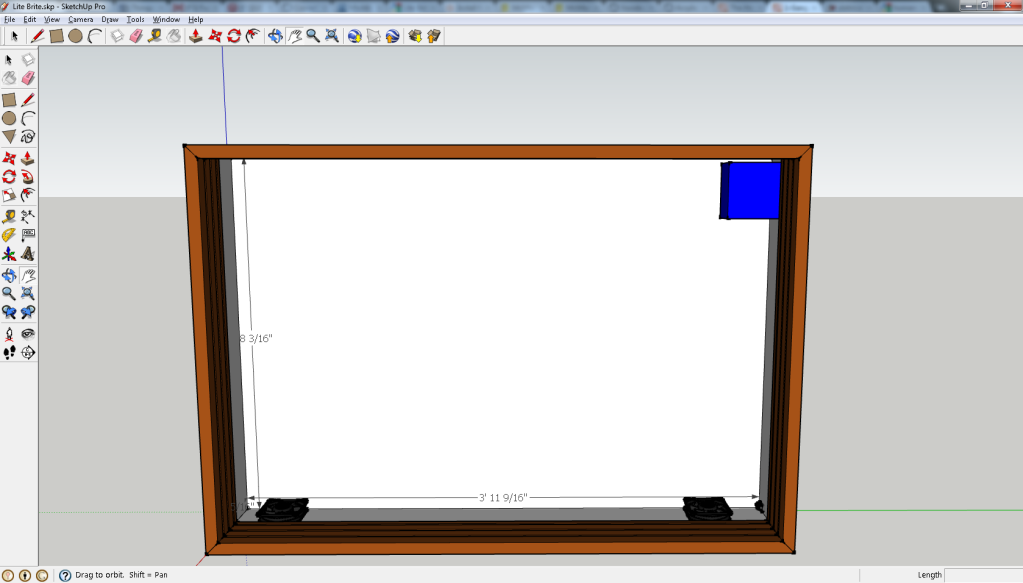
Front
The blue box in the top right is the wire box for the switch
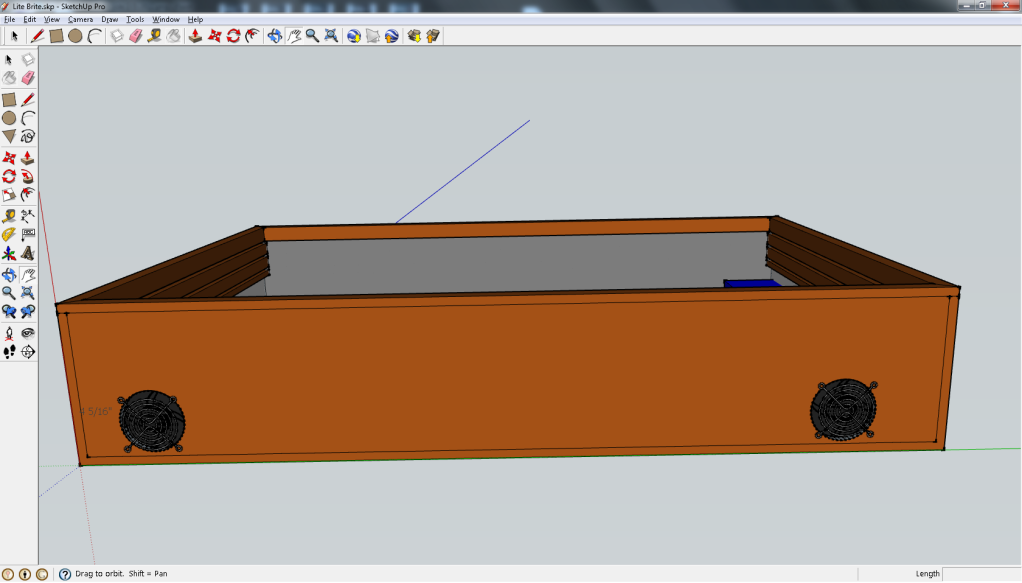
Inside bottom
You can see the 2 92mm fans that will pull air into the box.
Bottom
The fans have grills over them so my daughter doesn't get her finger in there.
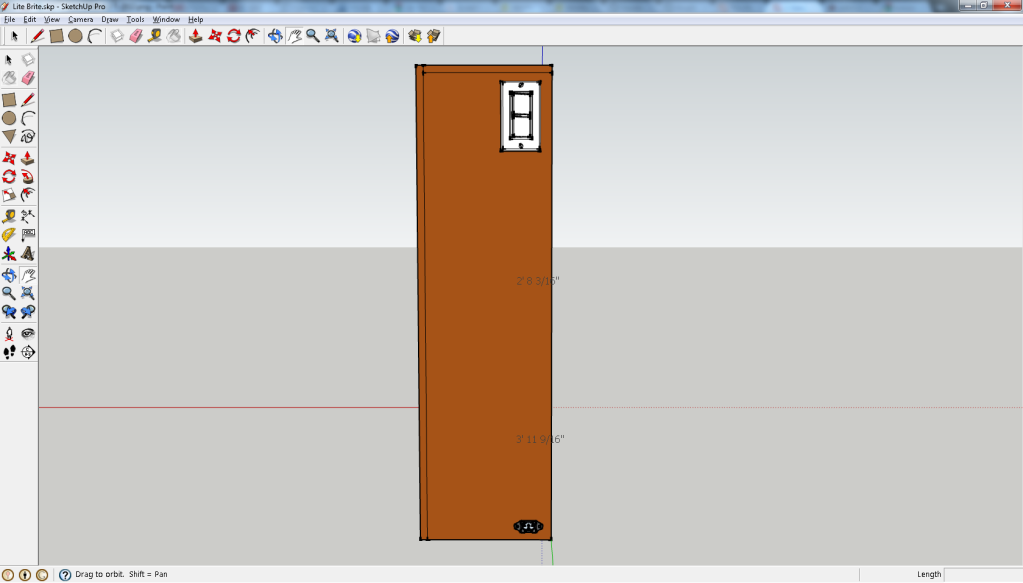
Switch Side
Single Pole Double switch at the top and the IEC plug
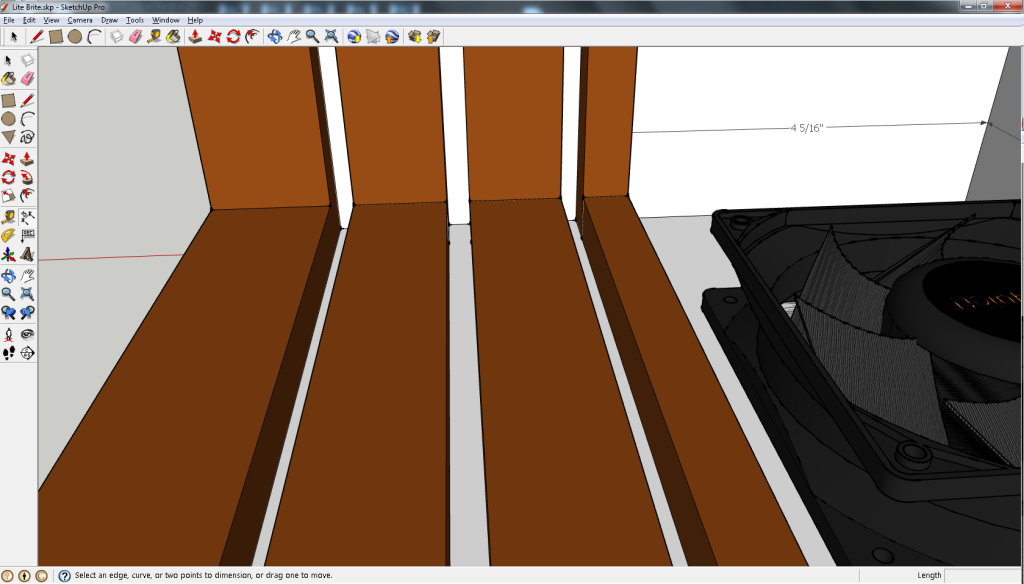
Channeling
These channels are 1/4" wide which is enough to get the plexi in. The 2 front pieces will have the holes it it and be spaced 1" apart. Then 1" back will be a solid clear piece of plexi as the backstop.
Still loads more work to come.
 Posting Permissions

 Reply With Quote