-
-
-
 Re: Project: Tempest SXR
alright I got an email from NZXT today saying they shipped my new Sentry 2 and it will be here thursday! 
So hopefully this weekend I can get it all installed and prettied up and get some nice pics taken!
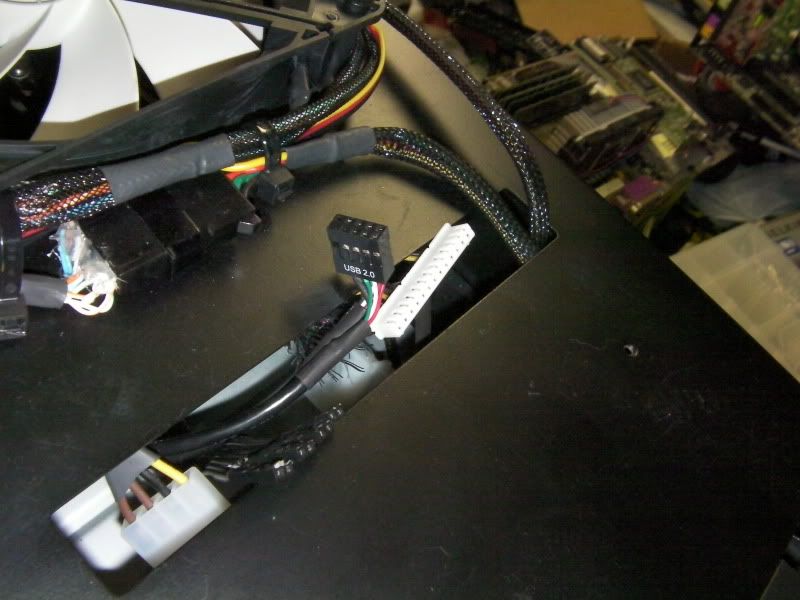
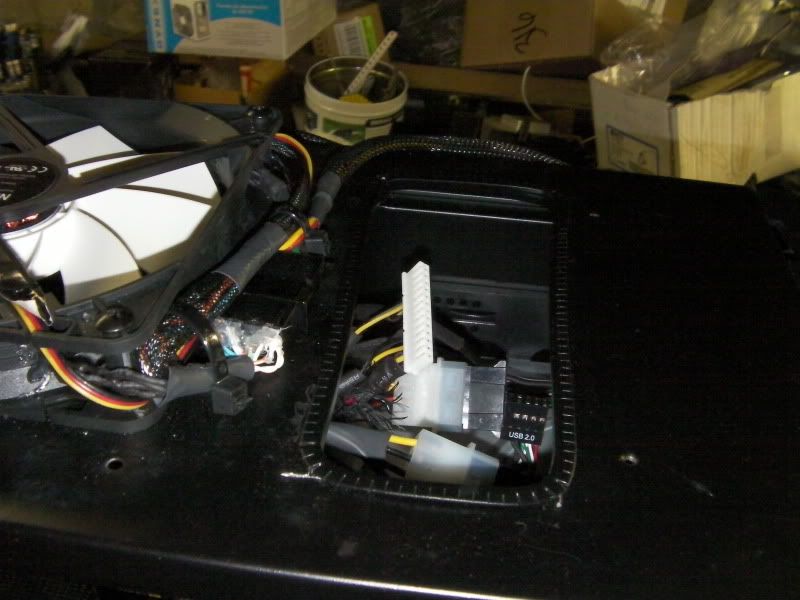
I have to do some unplanned trimming to the top panel. I say unplanned because I hadn't originally planned to put the Sentry 2 in the top panel, and some of the wiring for the USB, etc hits the top panel, so I'll need to hit it with some tin snips and make the hole bigger so everything clears properly.
Stay tuned!
-
Re: Project: Tempest SXR
Update time!
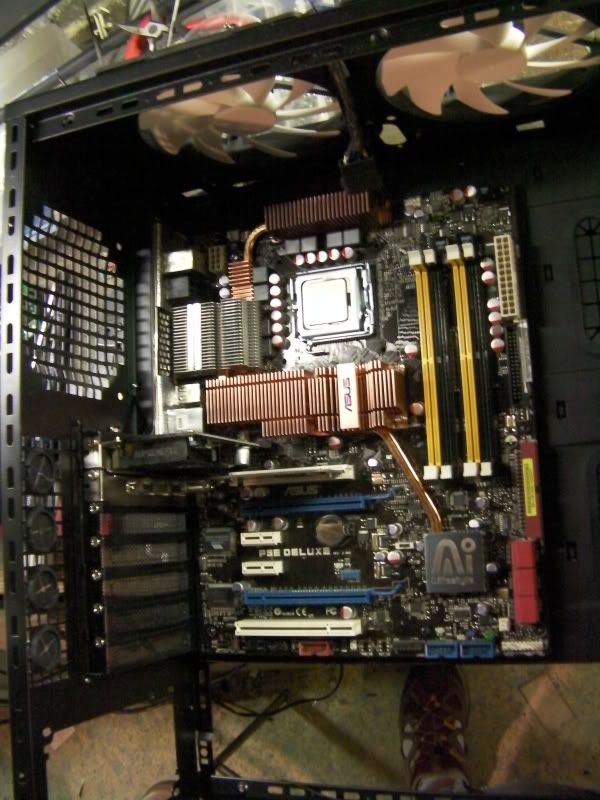
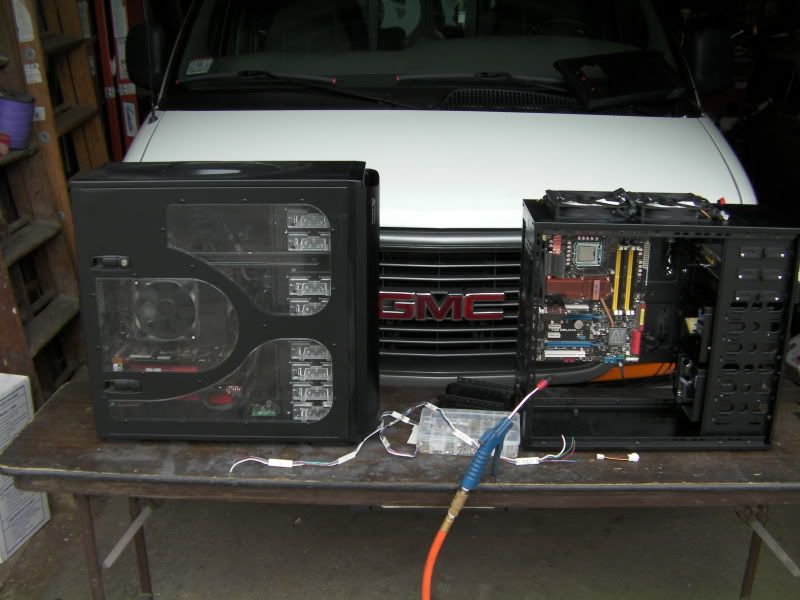
A shot from a couple weeks ago when I was doing the hardware transfer:
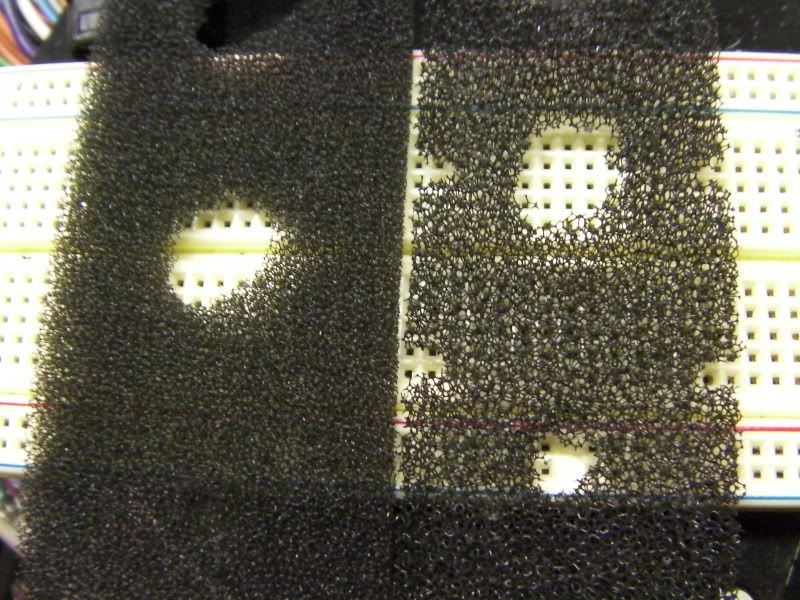
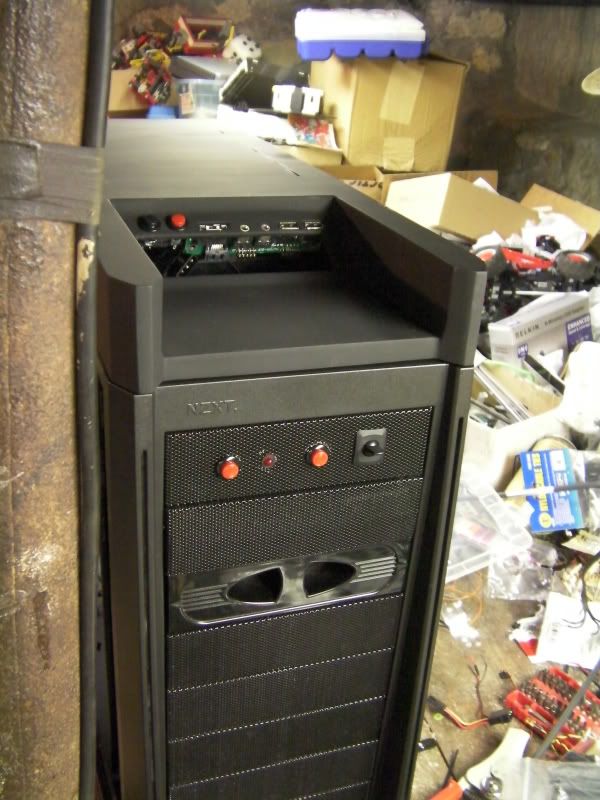
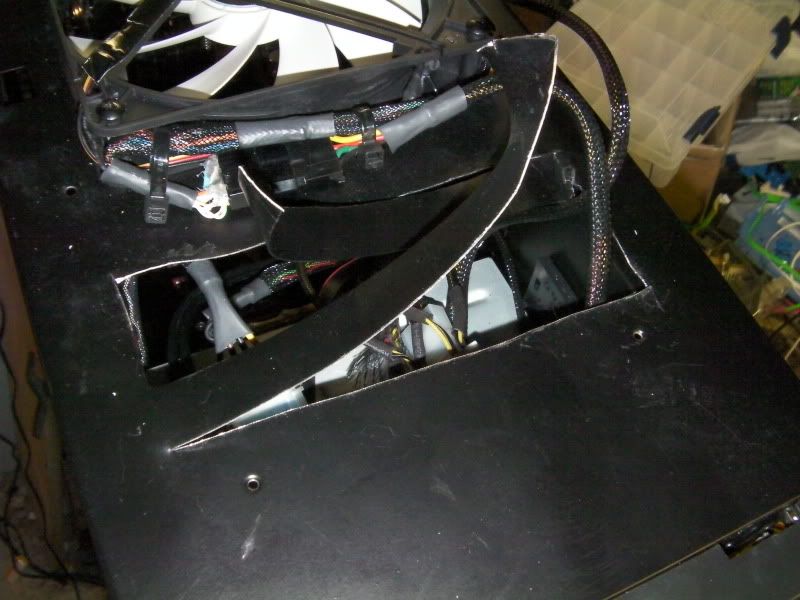
Here is how the hole in the top of the case comes:
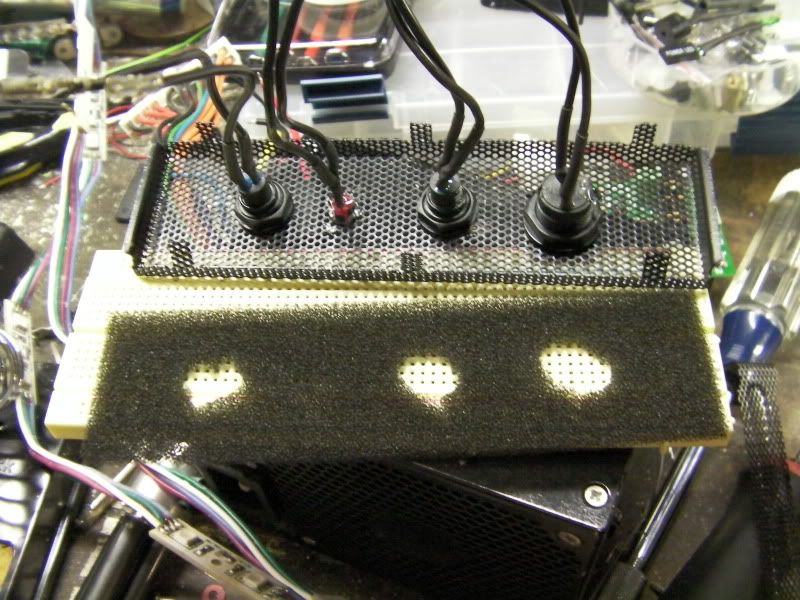
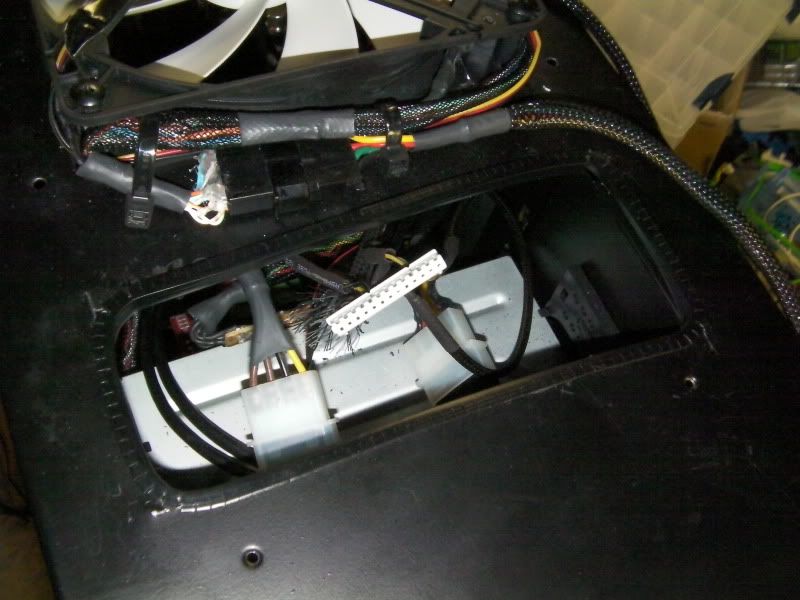
Now I needed to open this up more to the front and rear to allow room for the cables that go to the i/o panel.
I used regular tin snips and cut a piece out of the front and the rear
Then used some plastic trim I had to cover up the sharp edges:
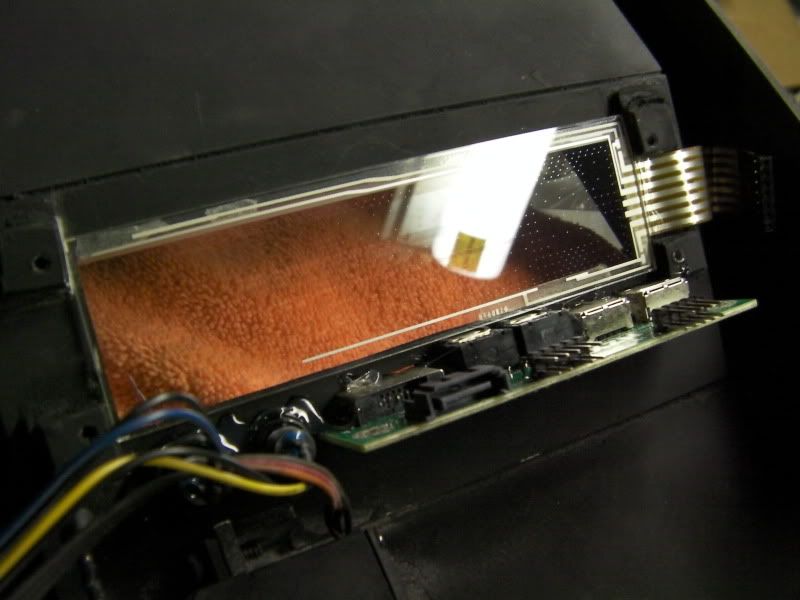
A HUGE thanks goes out to NZXT for this next part! I broke my touch panel to my Sentry 2 in a freak modding accident. I shot an email to NZXT asking them if there was any way I could purchase a replacement screen, as I didn't want to buy a whole second Sentry 2 just to take it's touch panel. They replied back and said they'd send me a whole new unit for free!
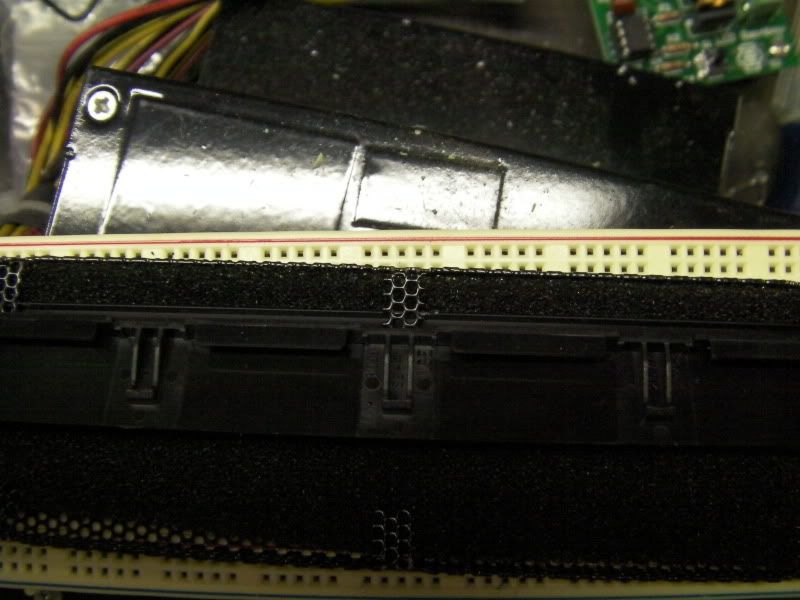
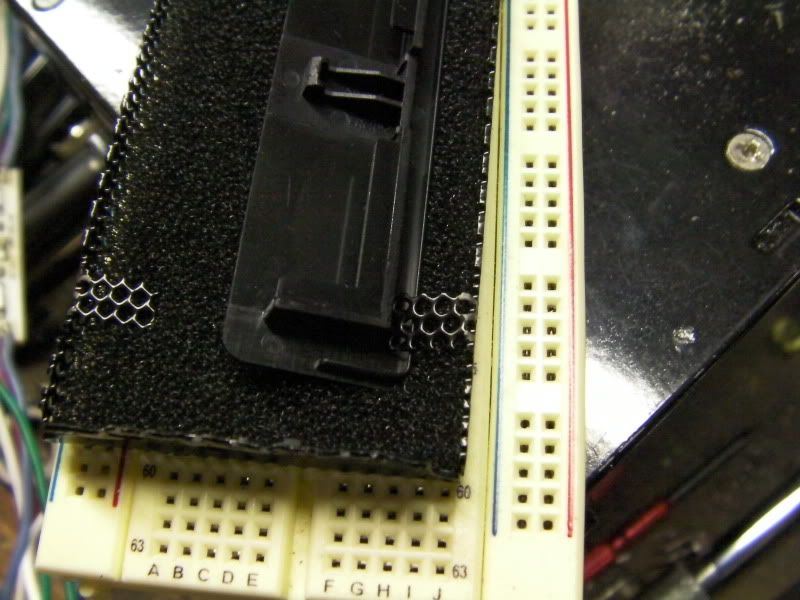
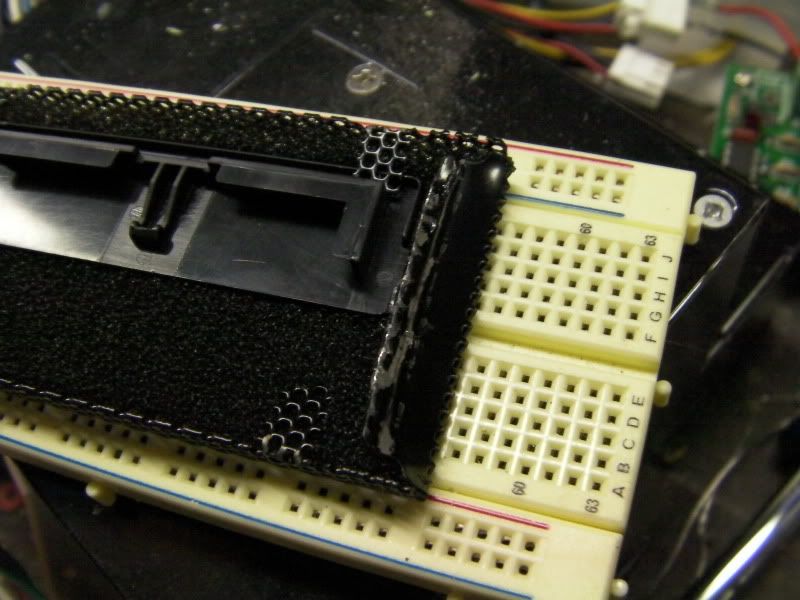
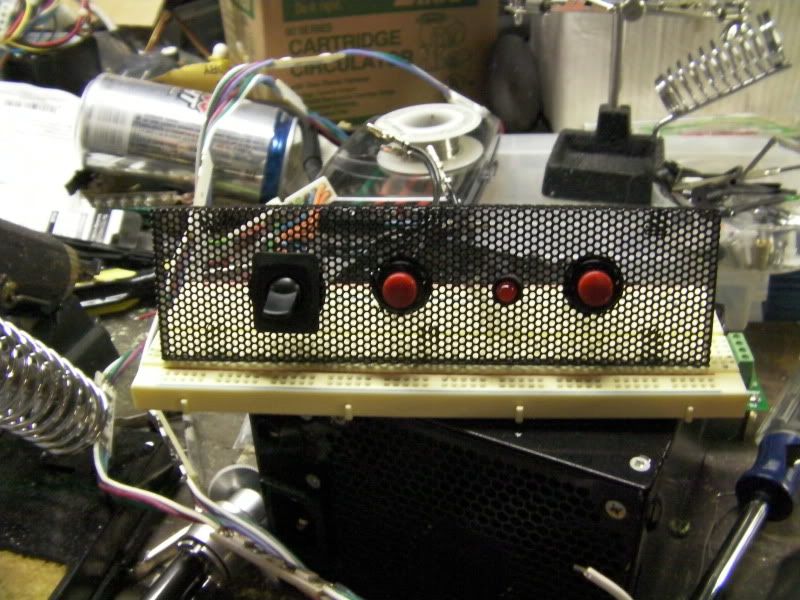
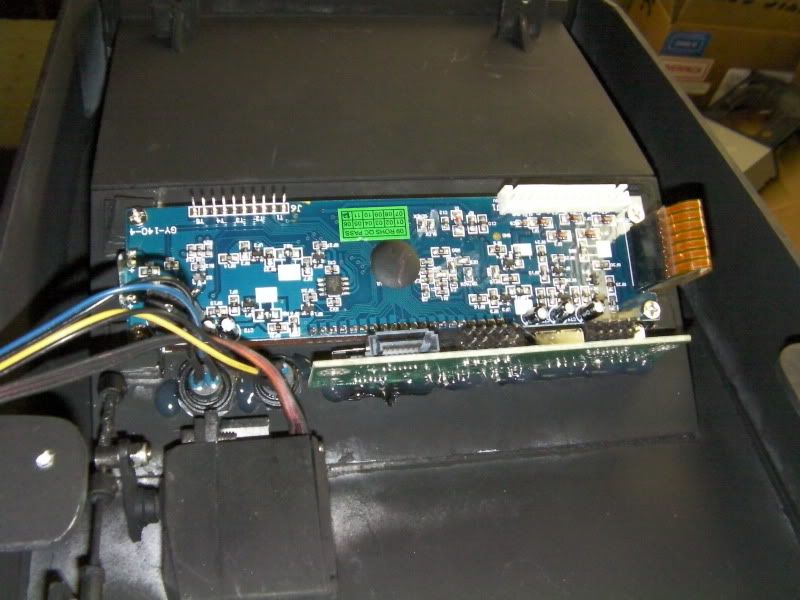
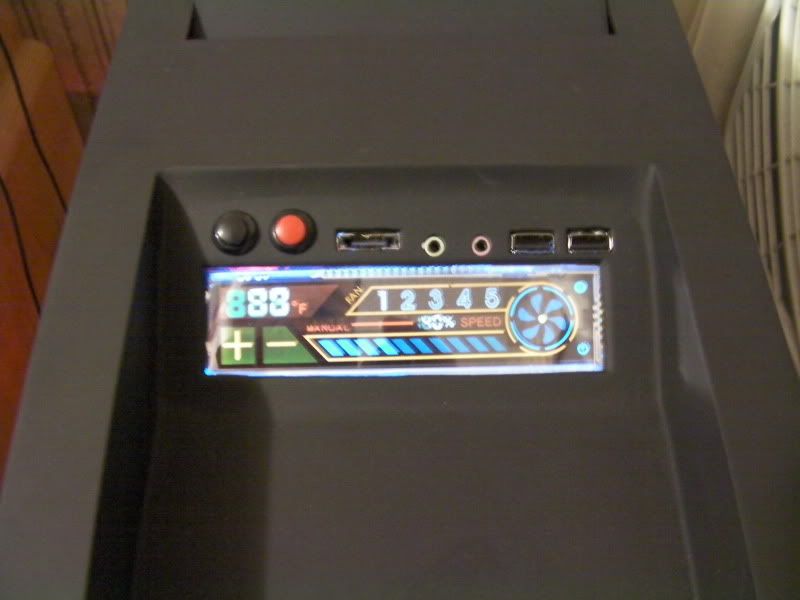
I got it in the other day and tore it down. Here is the touch screen mounted:
Then the LCD mounted on top of it:
I then re-attached the top panel. I'm saving pics of this for later when it's 100% done 
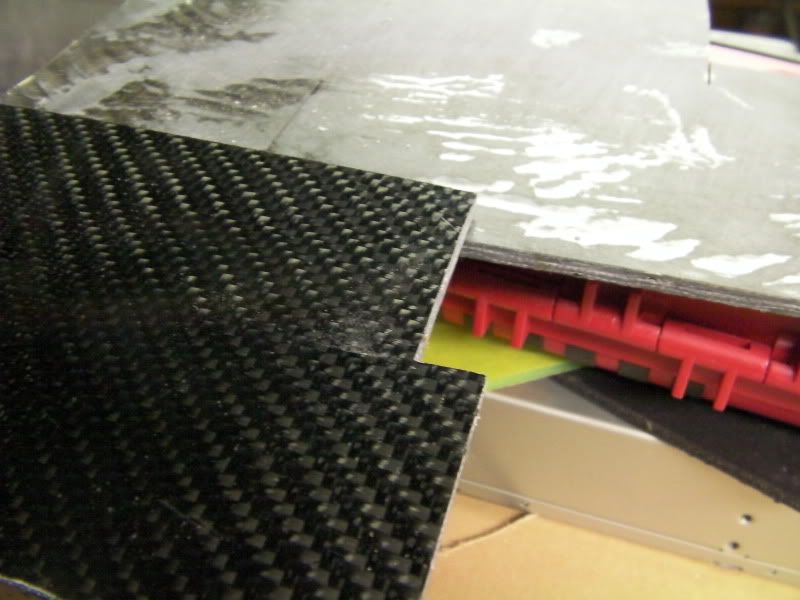
I was in the process of finishing up my cable management when I realized I still had a mess of wires in front of the PSU, so I came up with an idea to make a partial false bottom.
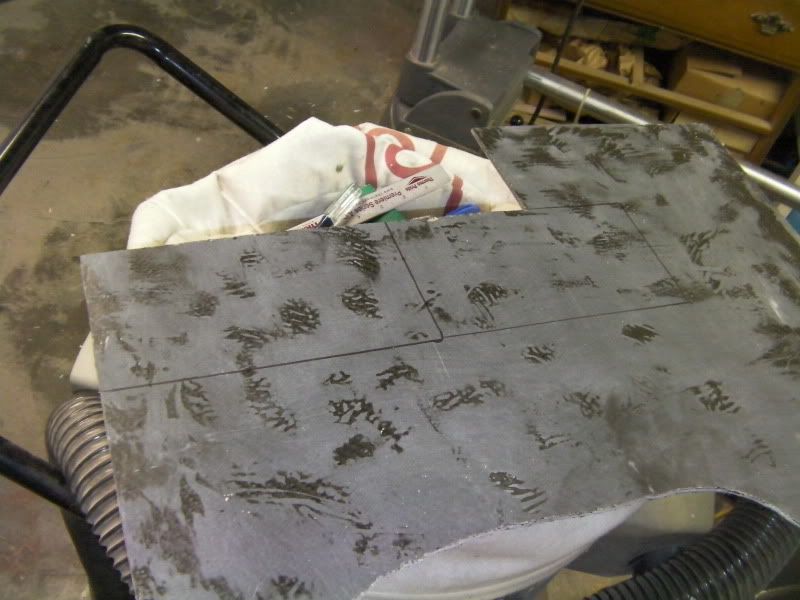
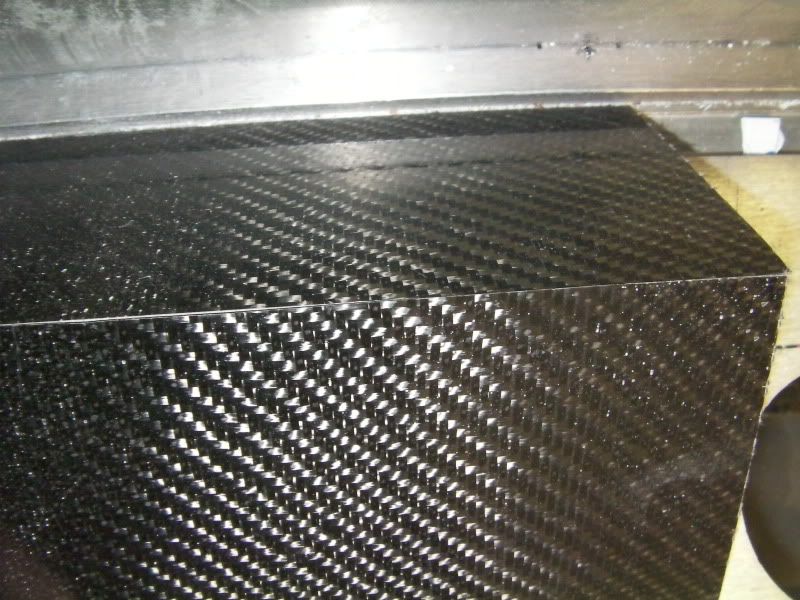
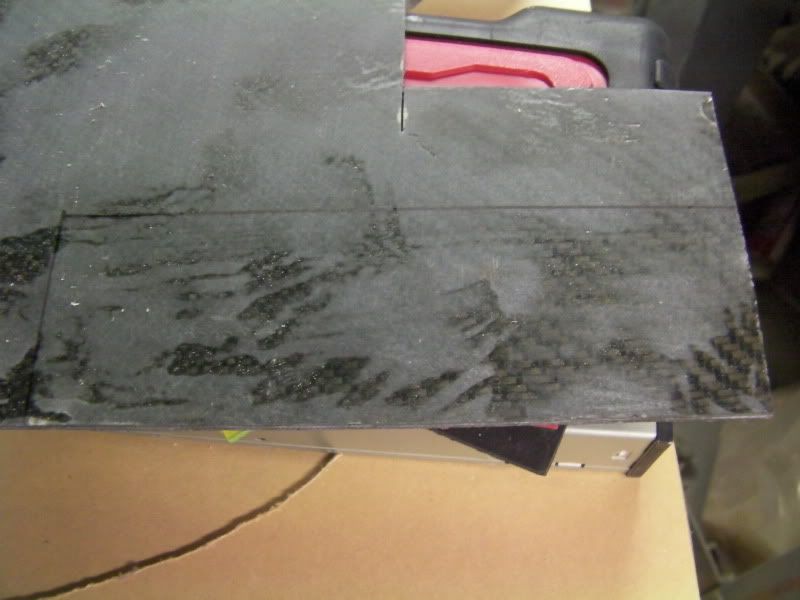
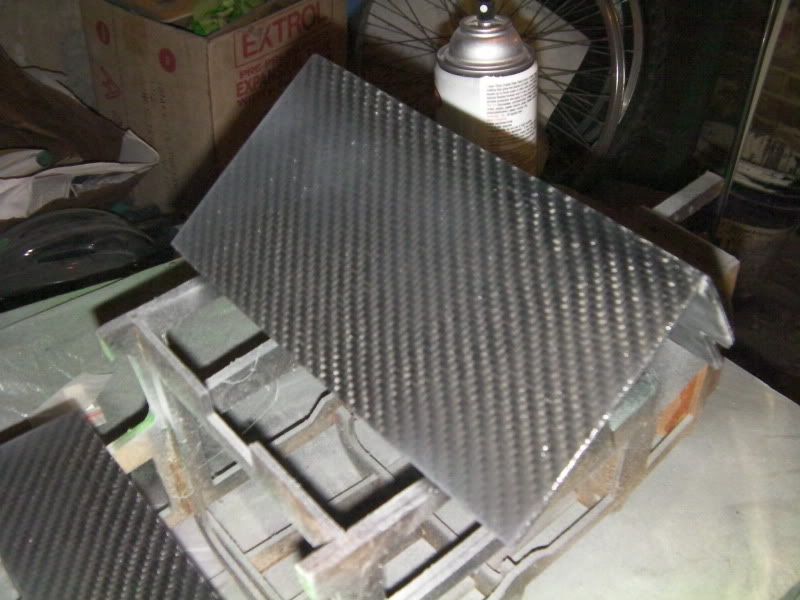
I started by marking 2 rectangles on some carbon leftover from Rockin Case:
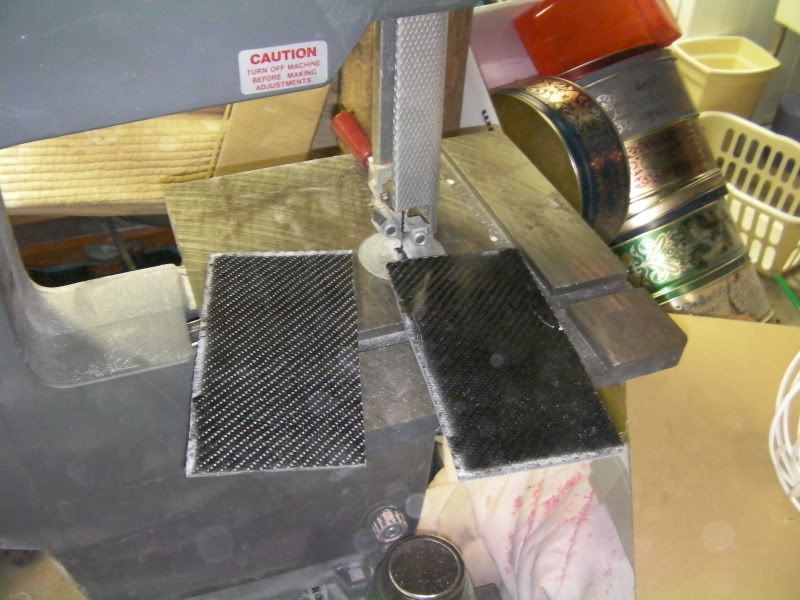
Then a few mins later with the band saw and we have 2 pieces:
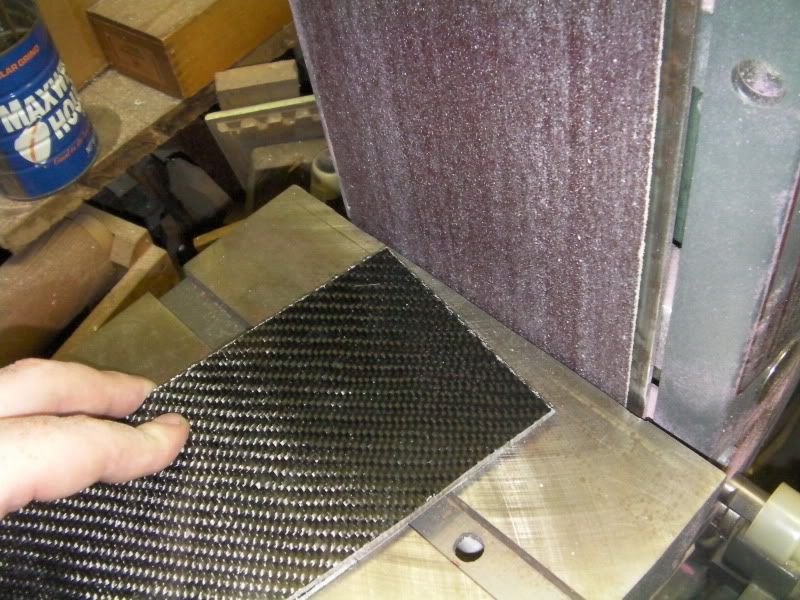
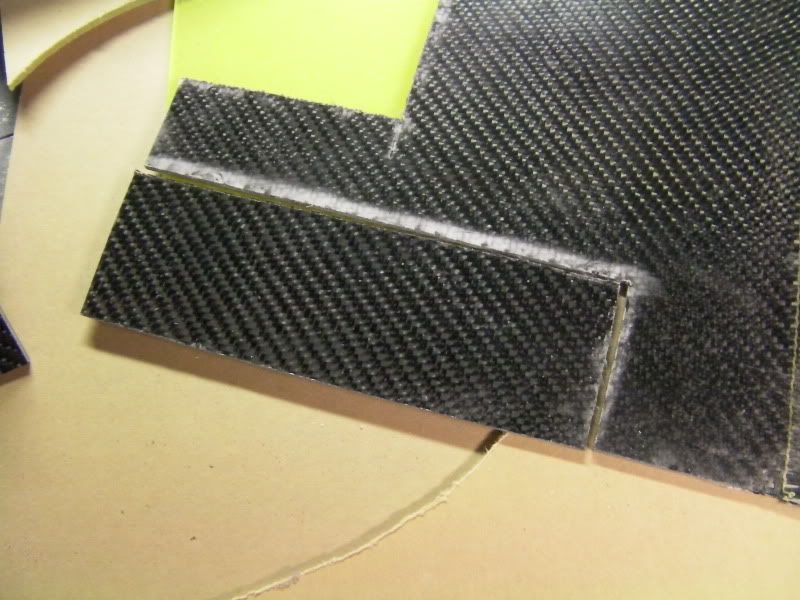
I then hit them with the belt sander to make all the edges a perfect 90º and straight:
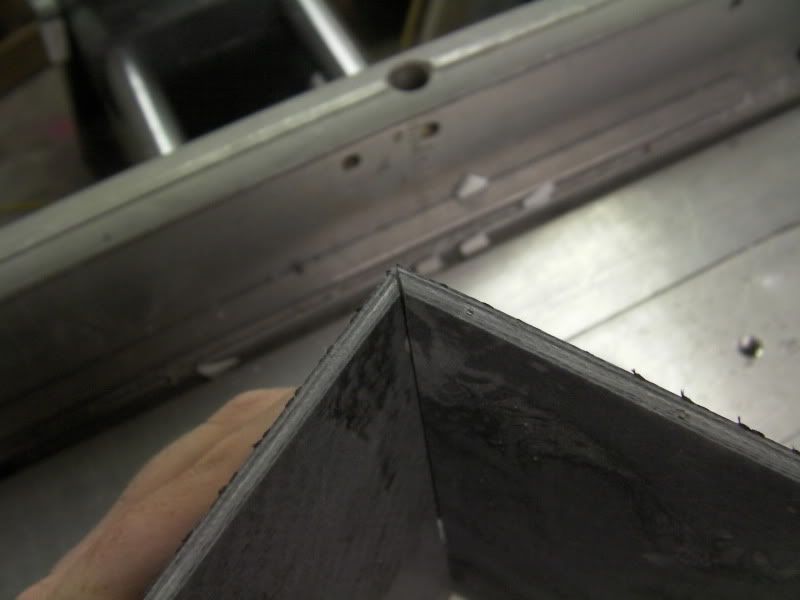
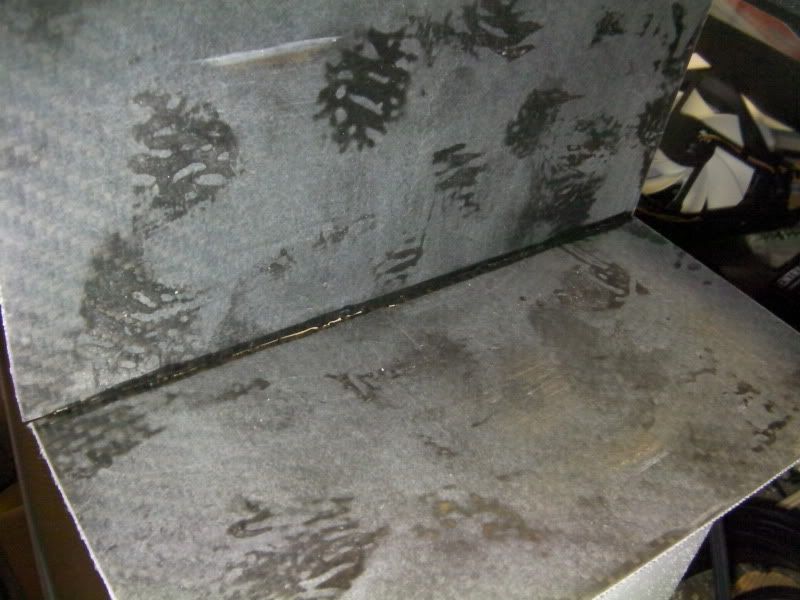
Then I tilted the sander deck 45º and beveled one edge on each piece. When fitted together it looks like this:
I then got my super thick CA glue and glued the two pieces together:
It's currently drying. Tomorrow after work I'll wet sand the outside of it and then hit it with some clearcoat!
That's it for now. I hope to have this 100% finished by the end of this weekend!
-
Re: Project: Tempest SXR
small update tonight
I cut a small notch in the side where it rests again the HDD to give it some clearance.
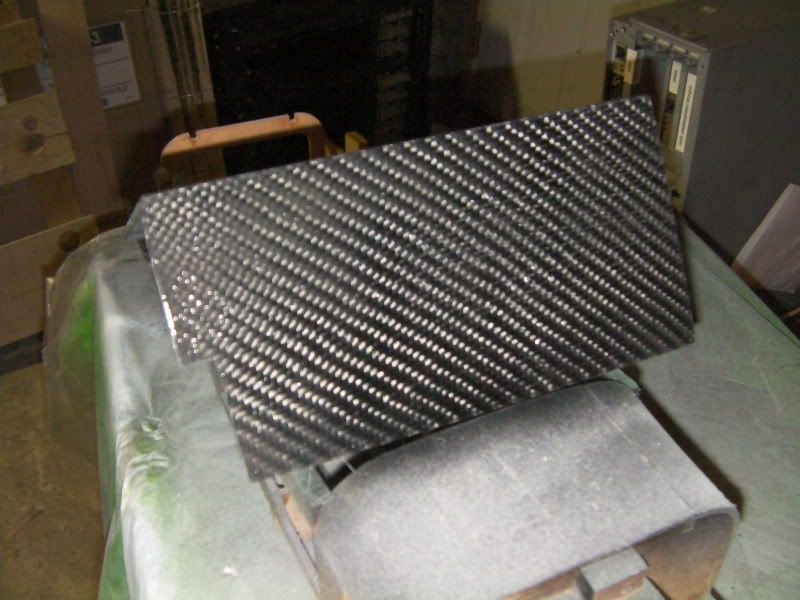
Then I noticed a spot on the case that was just open and not particularly useful to me at this point, so I measured it up and made a piece to cover it as well:
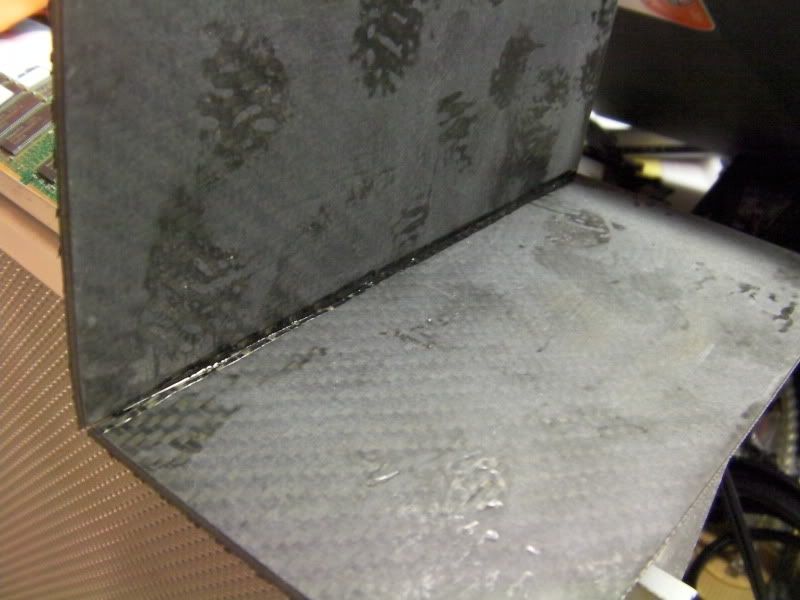
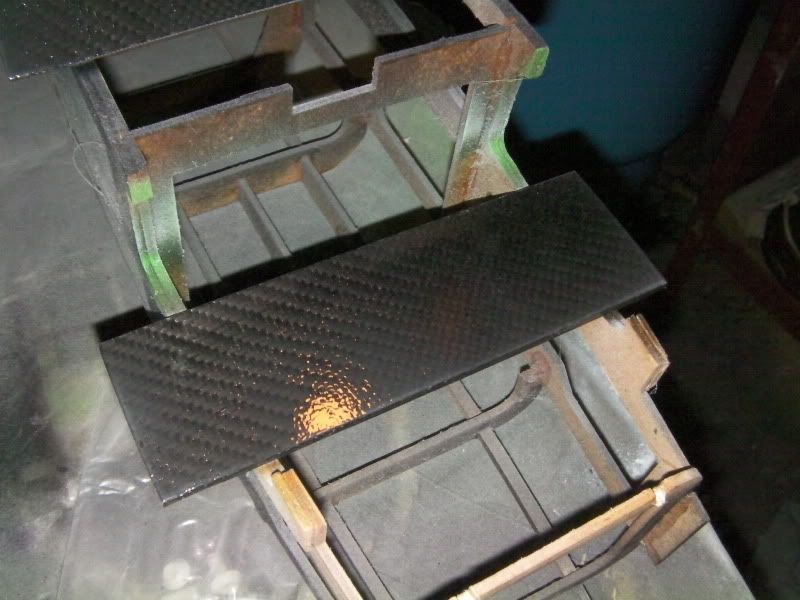
Then after sanding the sides all flush and smooth, I wet sanded the faces and hit them with some clearcoat:
That's it for tonight. These parts will be dry tomorrow afternoon, then I'll install them, then it'll be ready for final pics!!!
-
Re: Project: Tempest SXR
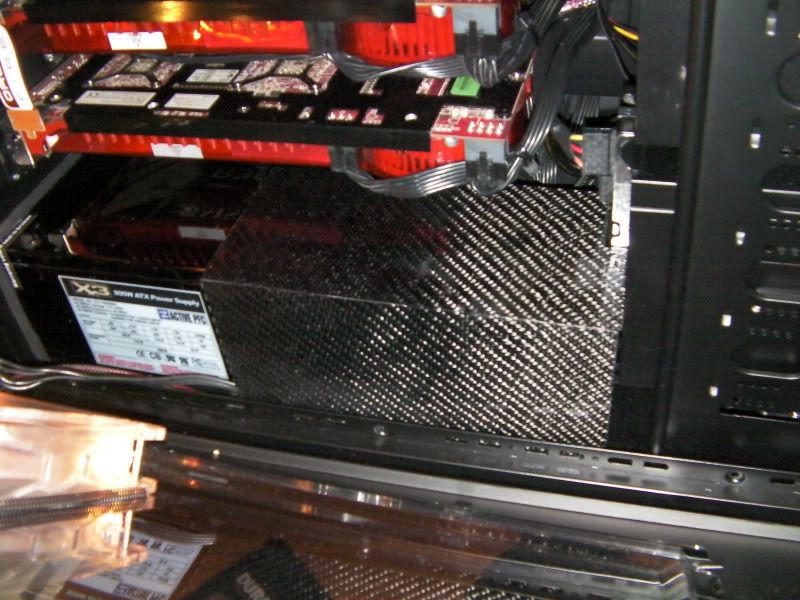
alright so I got the 2 carbon pieces in tonight
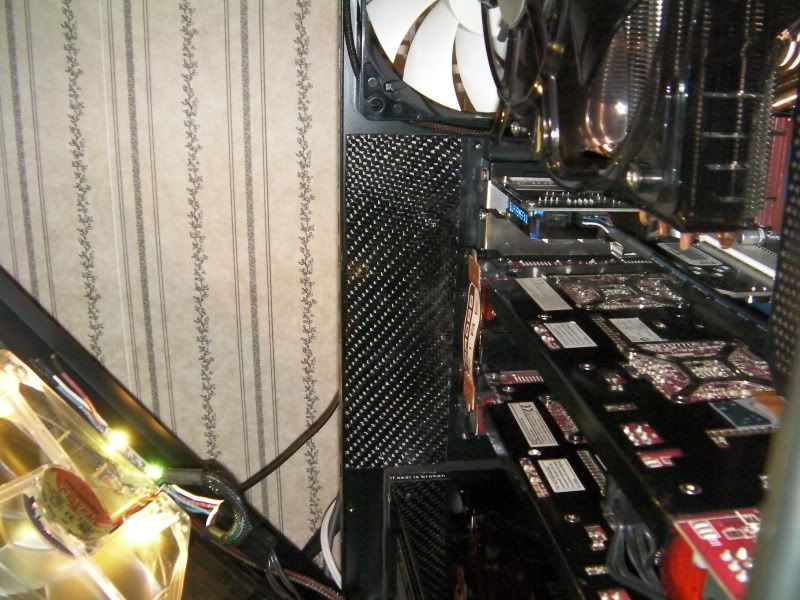
The first 90º piece fits over the PSU like so to cover us any cable clutter that couldn't be managed normally:
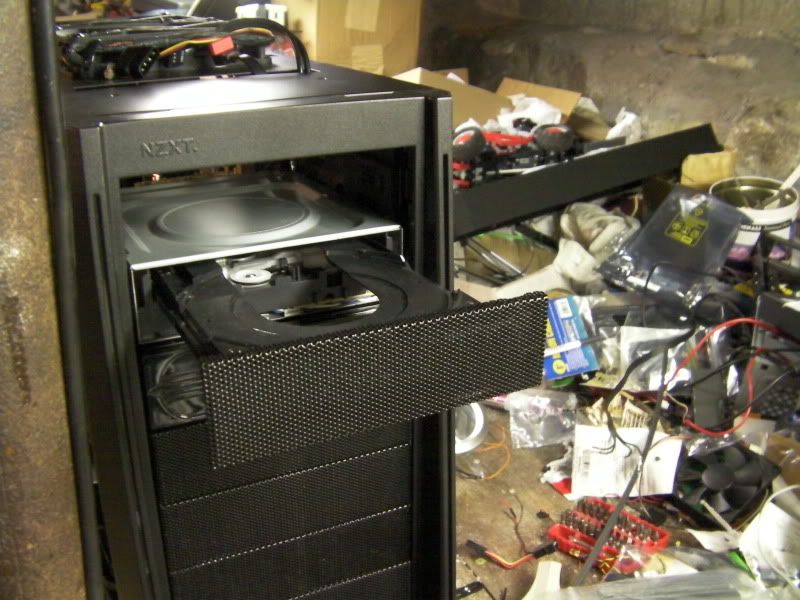
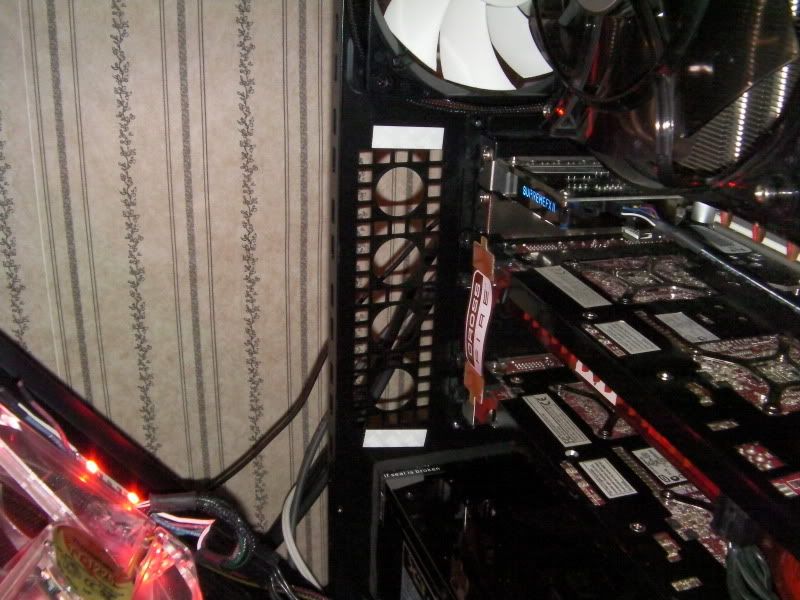
Then I had this mesh area at the back of the case with wc grommets that I wasn't using. So I took 2 pieces of double-sided tape and stuck on the other piece I made to dress it up a tad:
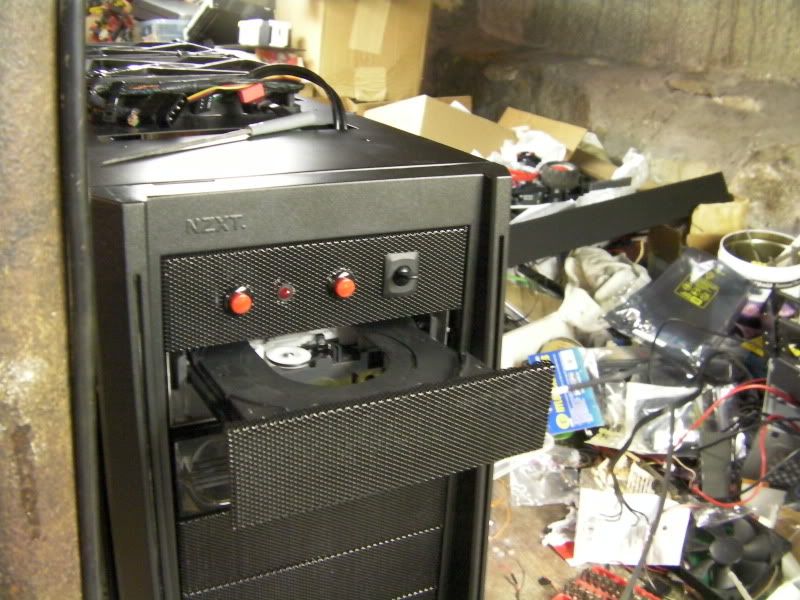
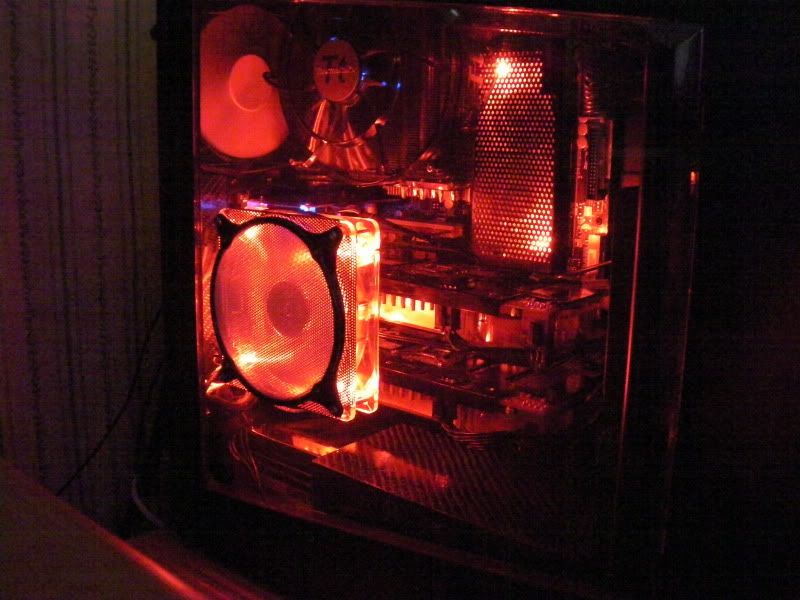
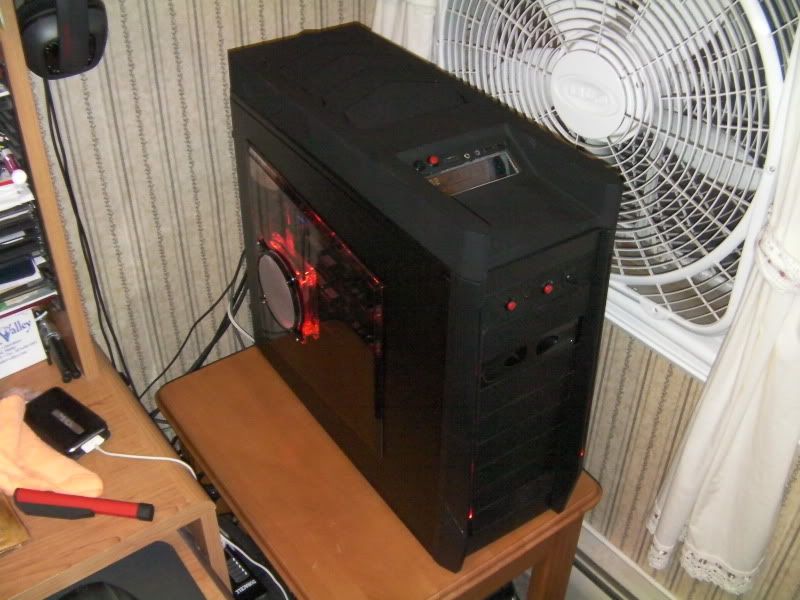
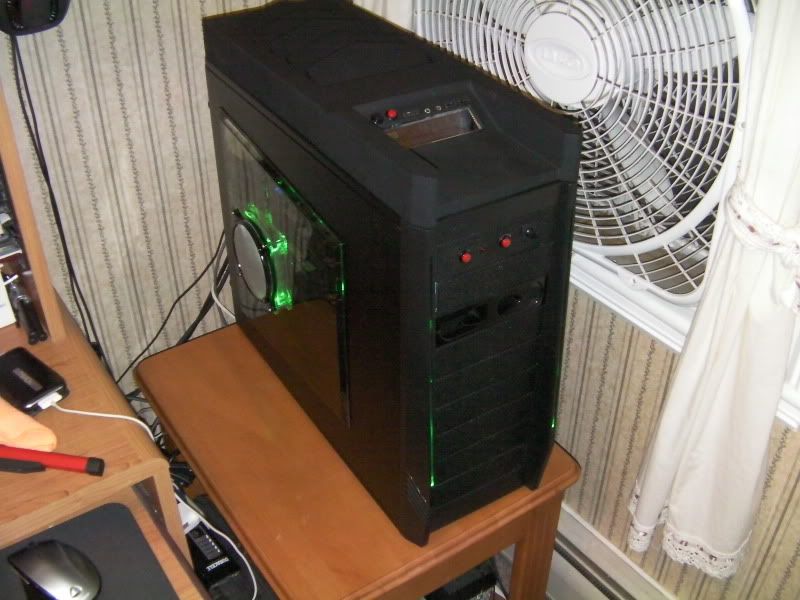
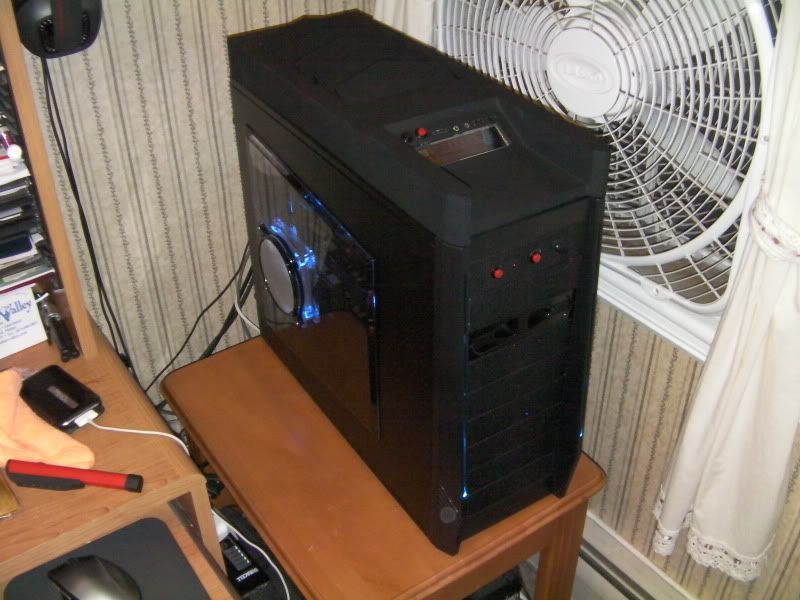
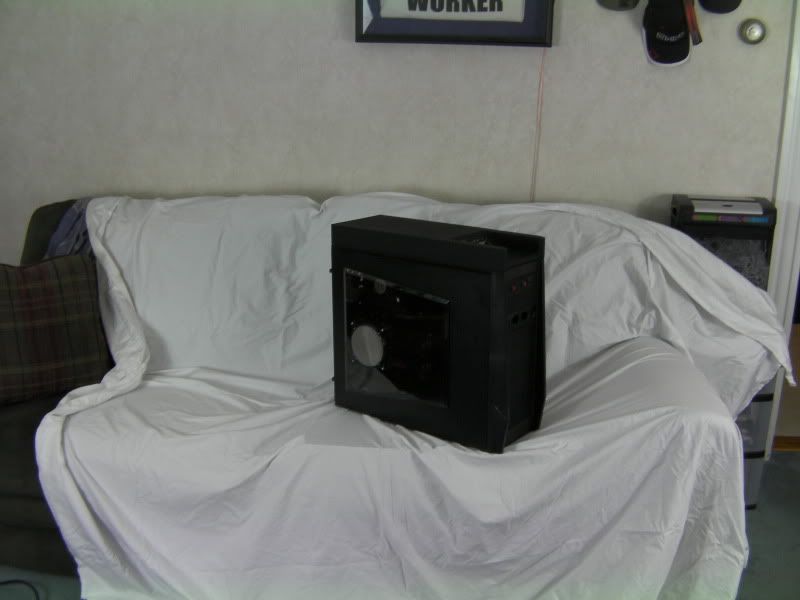
And with those final parts in it's done! Enjoy some so-so completed shots for now until I can get my father-in-law's D3000 and get some nice shots!!! Should hopefully be this week sometime.
-
-
Re: Project: Tempest SXR
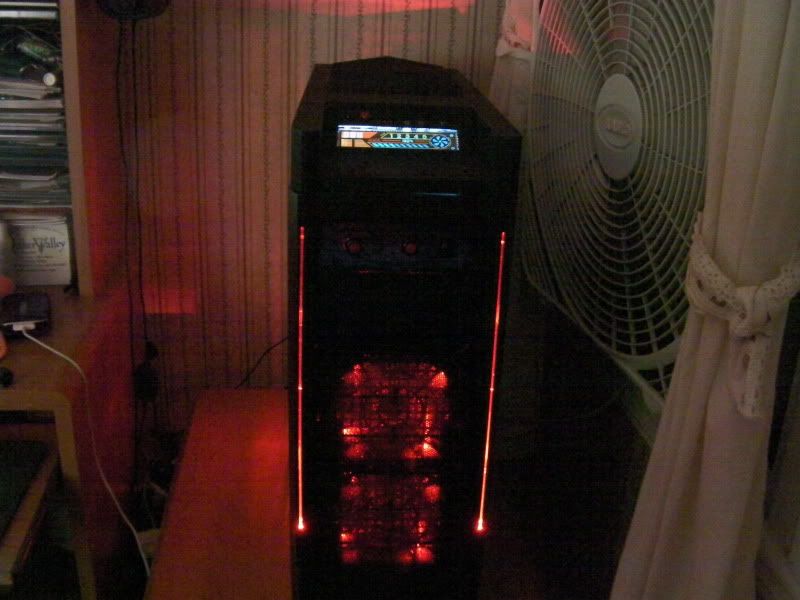
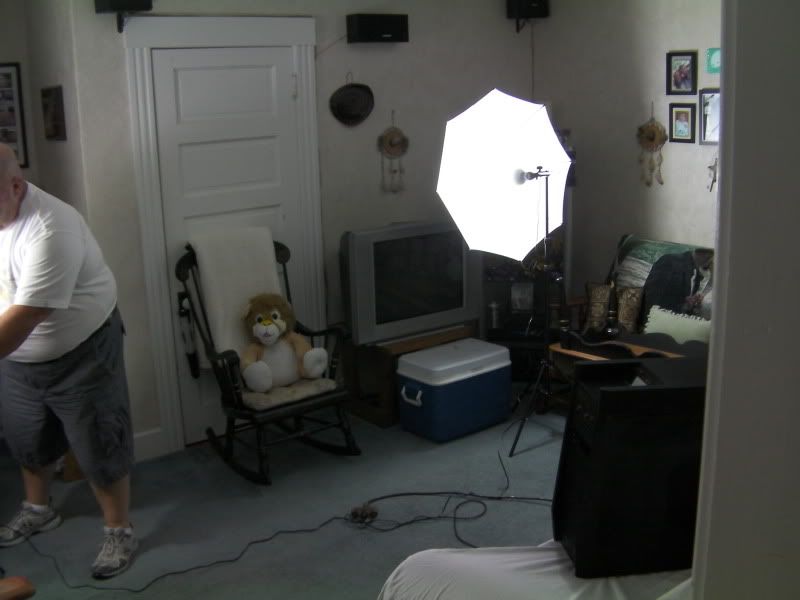
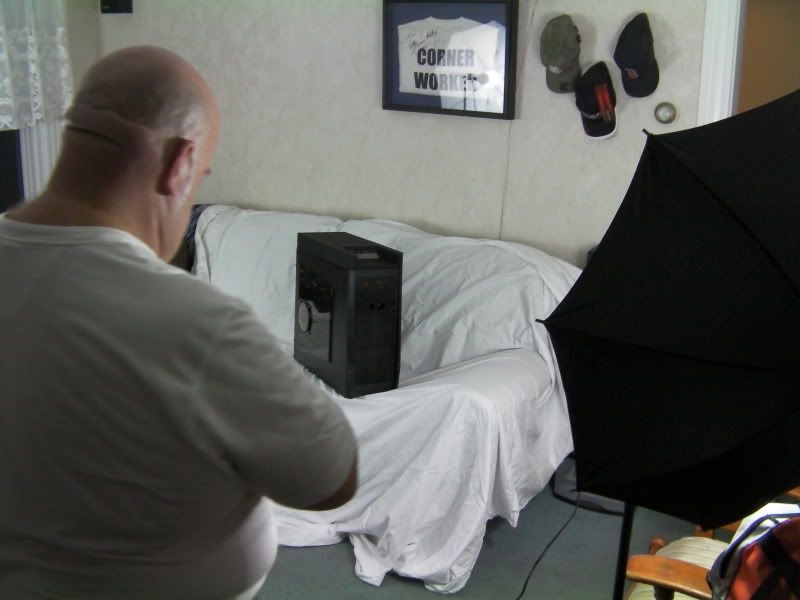
Alright my father-in-law left about 30 mins ago, here's a teaser
(Oh and it was a Pentax, coulda sworn it was a Nikon though)
I should have the pics in raw format on a DVD from him withing the next few days! He also took some nice pics of Rockin Case (FINALLY!)
-
Re: Project: Tempest SXR
-
Re: Project: Tempest SXR
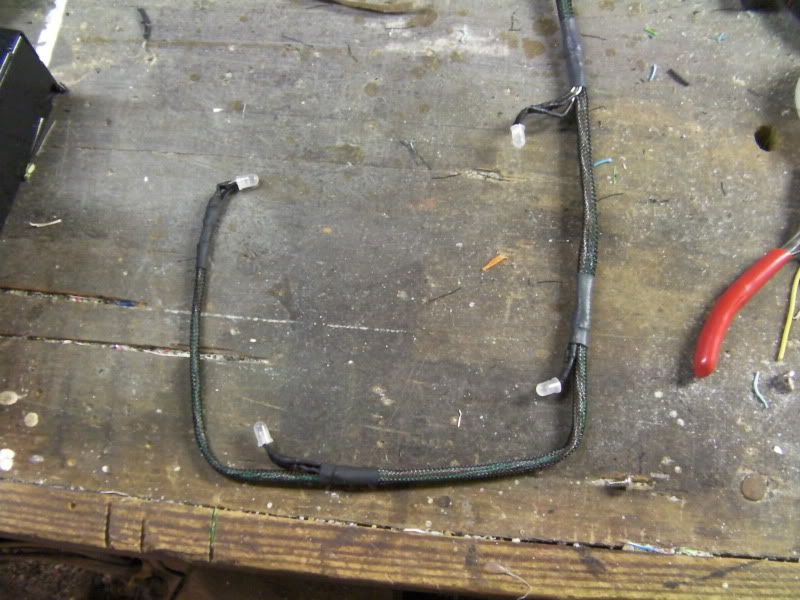
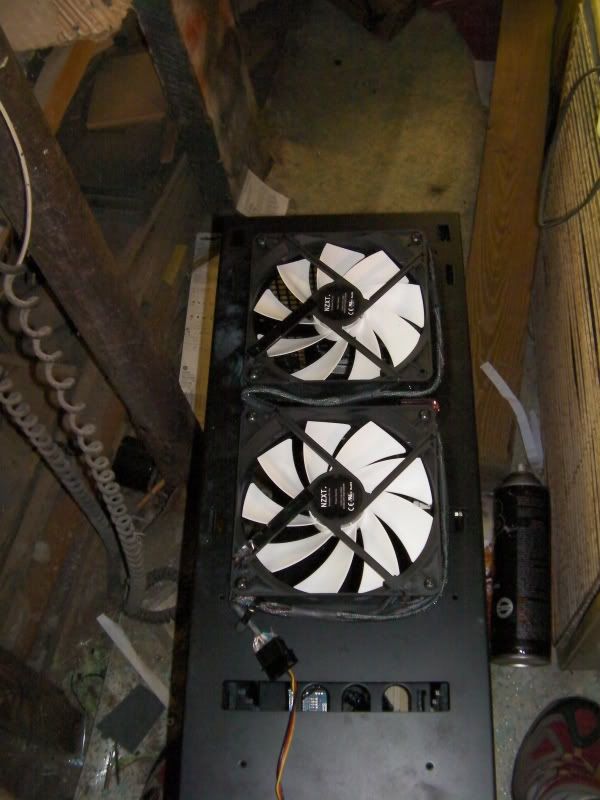
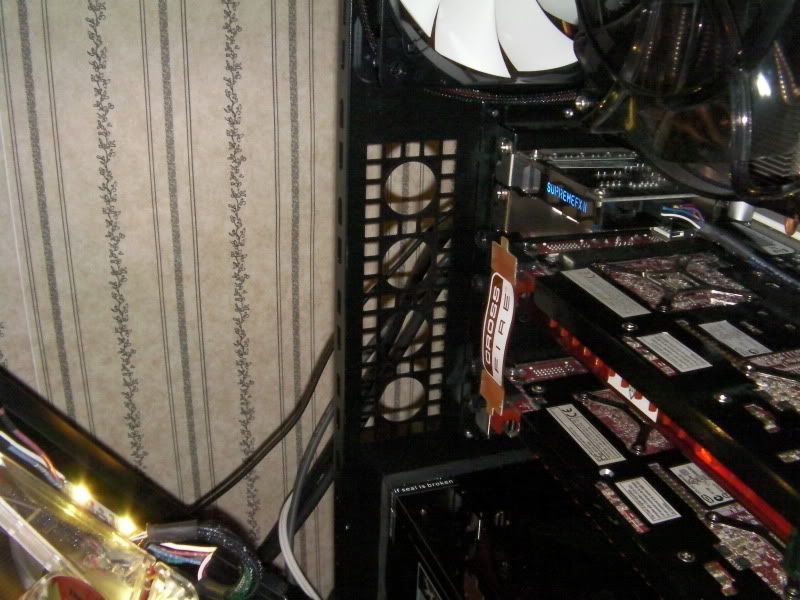
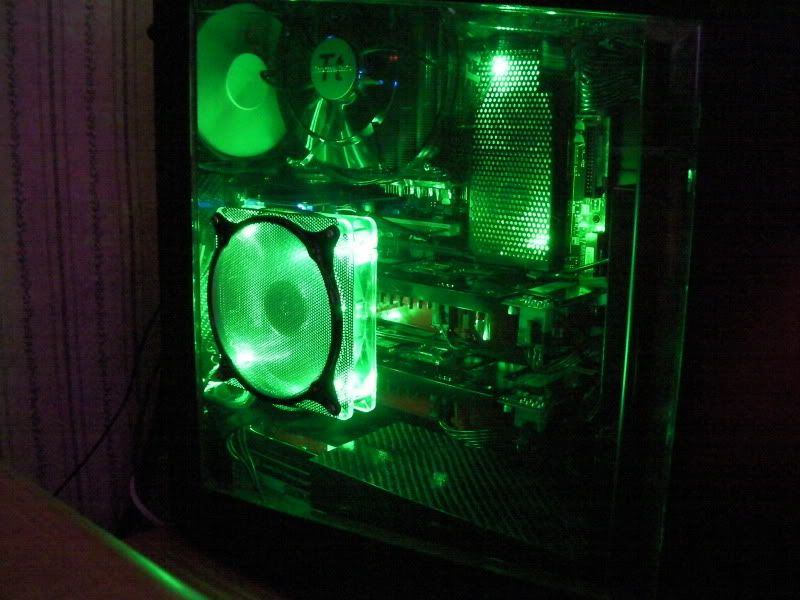
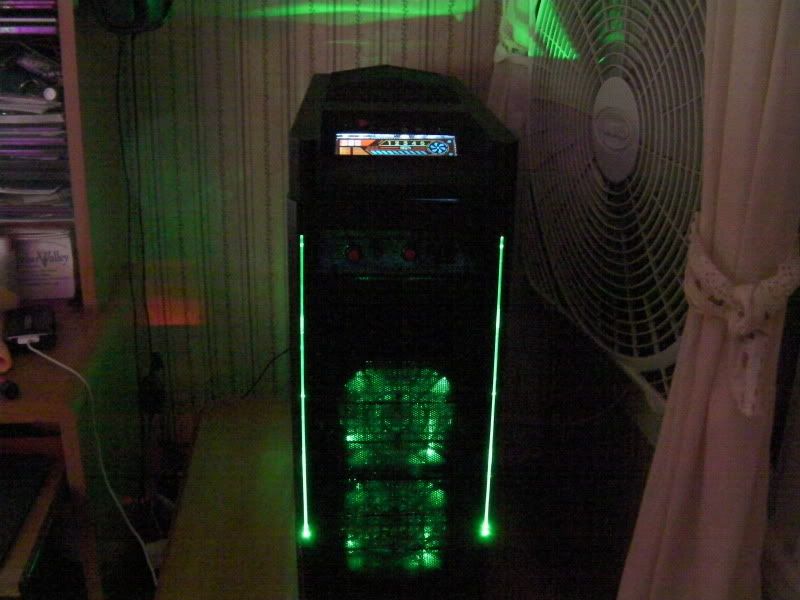
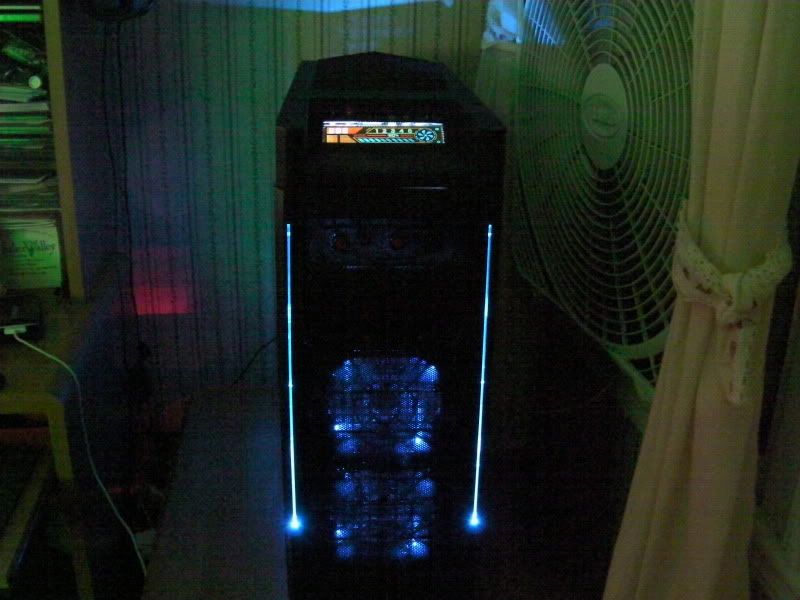
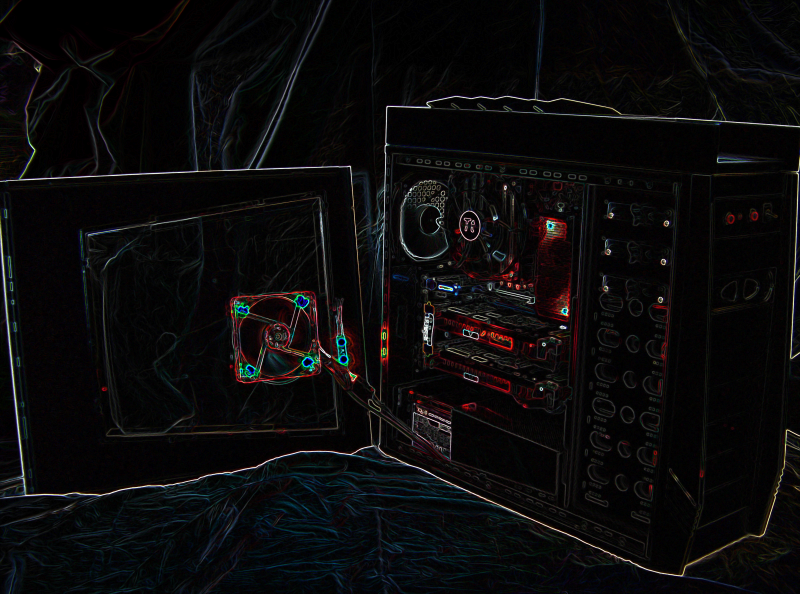
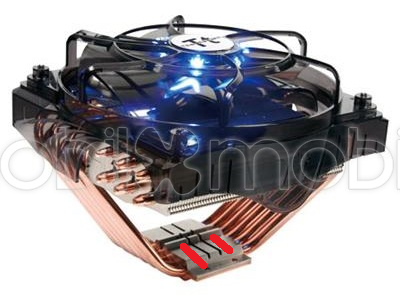
they're controlled by a single temp sensor, and it is taped to the topside of the base of my CPU cooler
The two red lines are where the temp sensors are. one for the louvers and the other for the sentry 2 fan controller for the CPU fan. it reads about 10ºC less than what Core Temp says in that position, but part of that may be due to the fan blowing air directly onto the sensors. I may move them, but that seemed like the best place for now. I may put them under the CPU retention bracket like that in that one vid someone posted on here a while back
 Posting Permissions
- You may not post new threads
- You may not post replies
- You may not post attachments
- You may not edit your posts
-
Forum Rules