CoolIT VANTAGE ALC
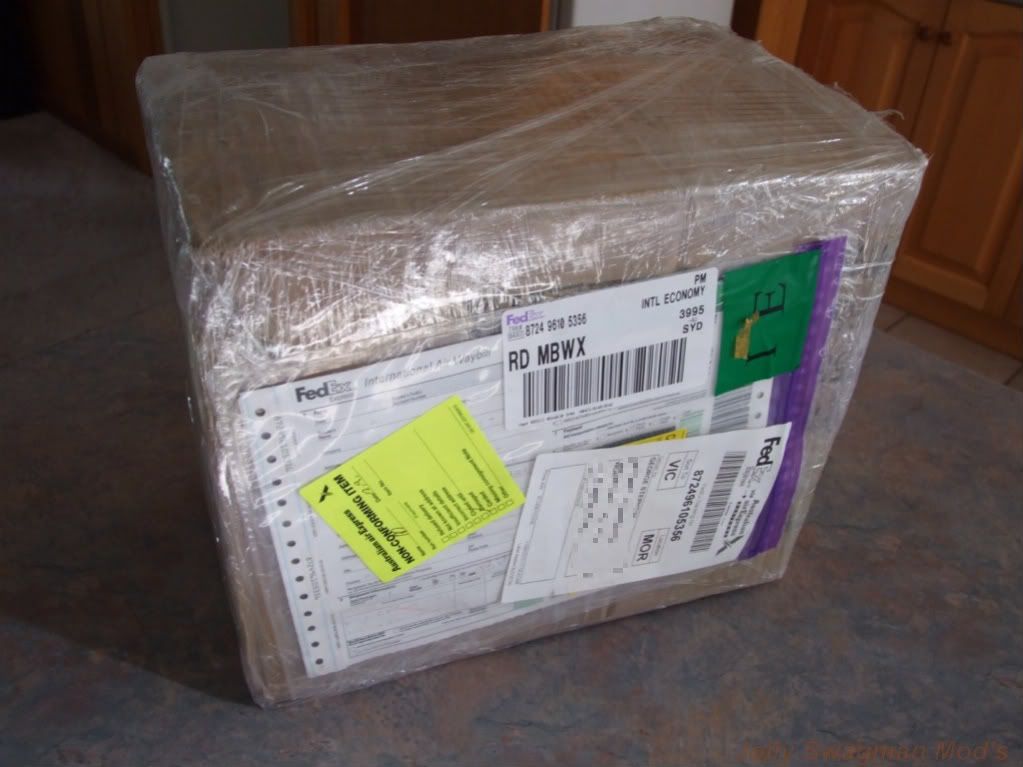
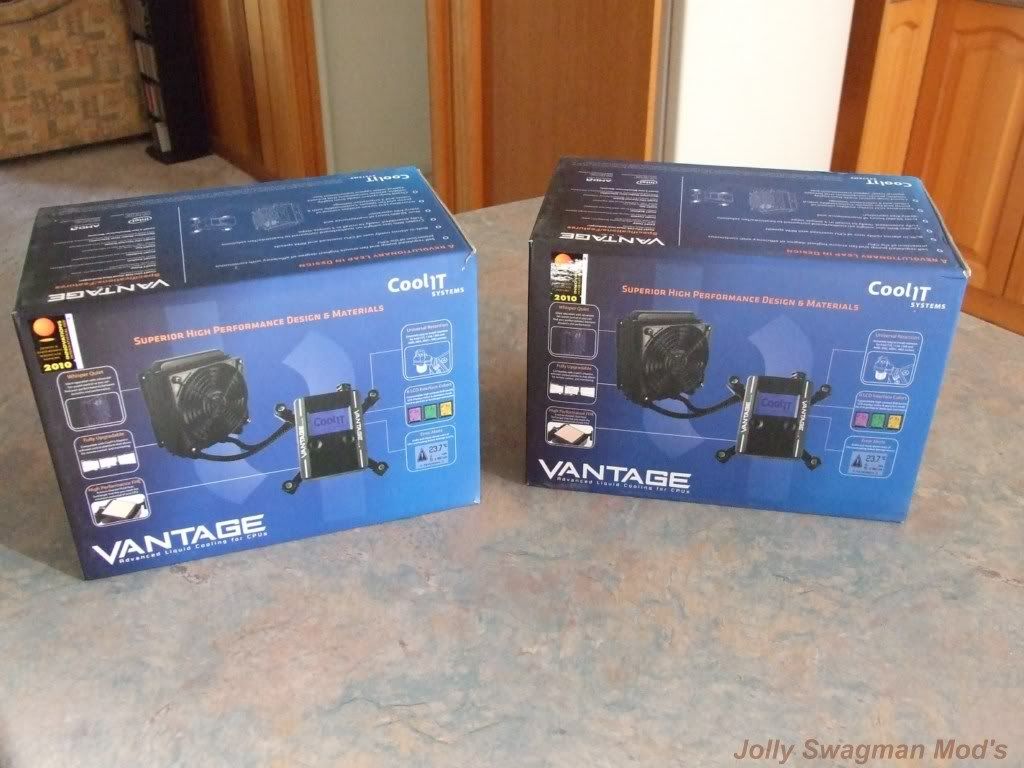
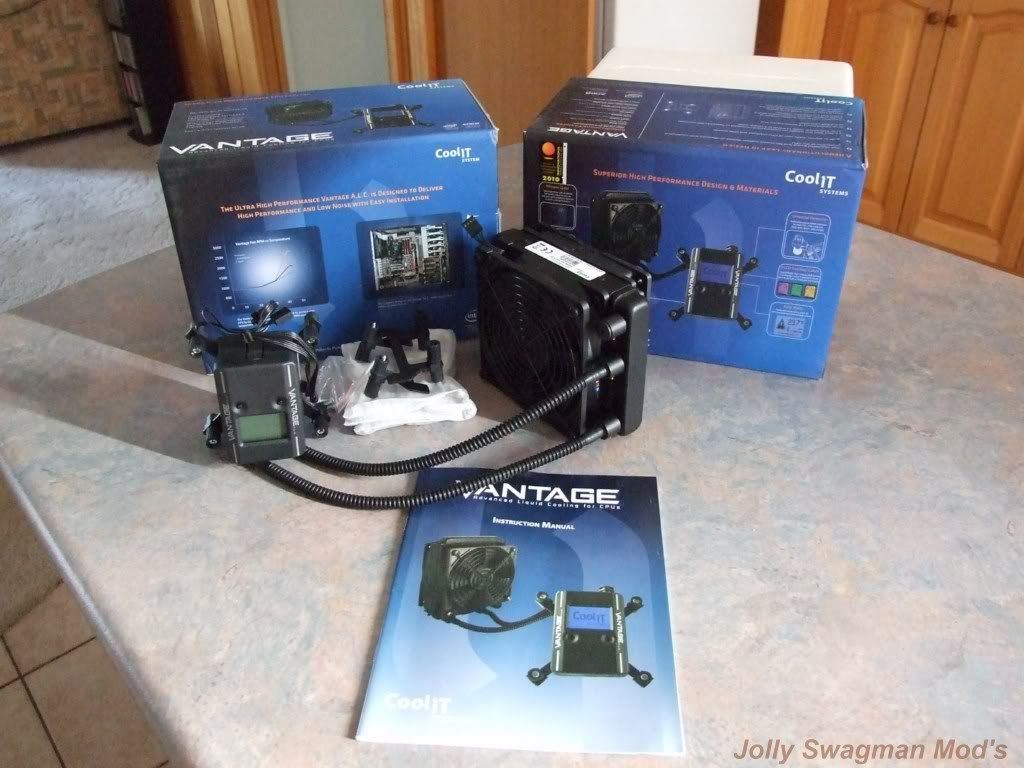
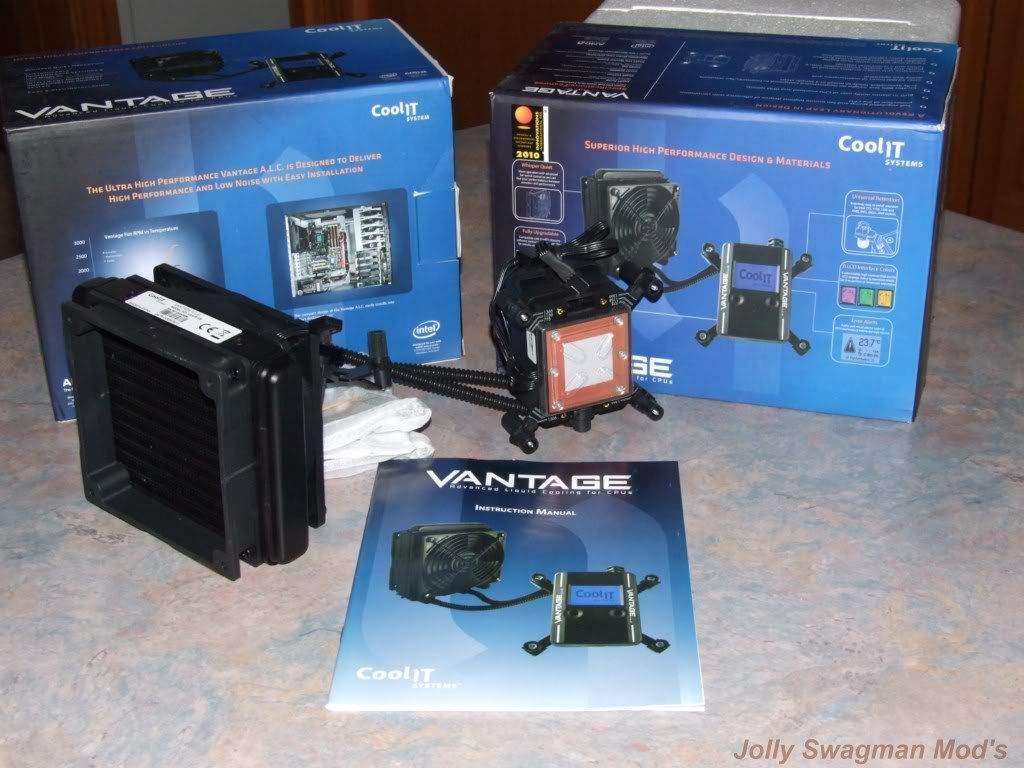
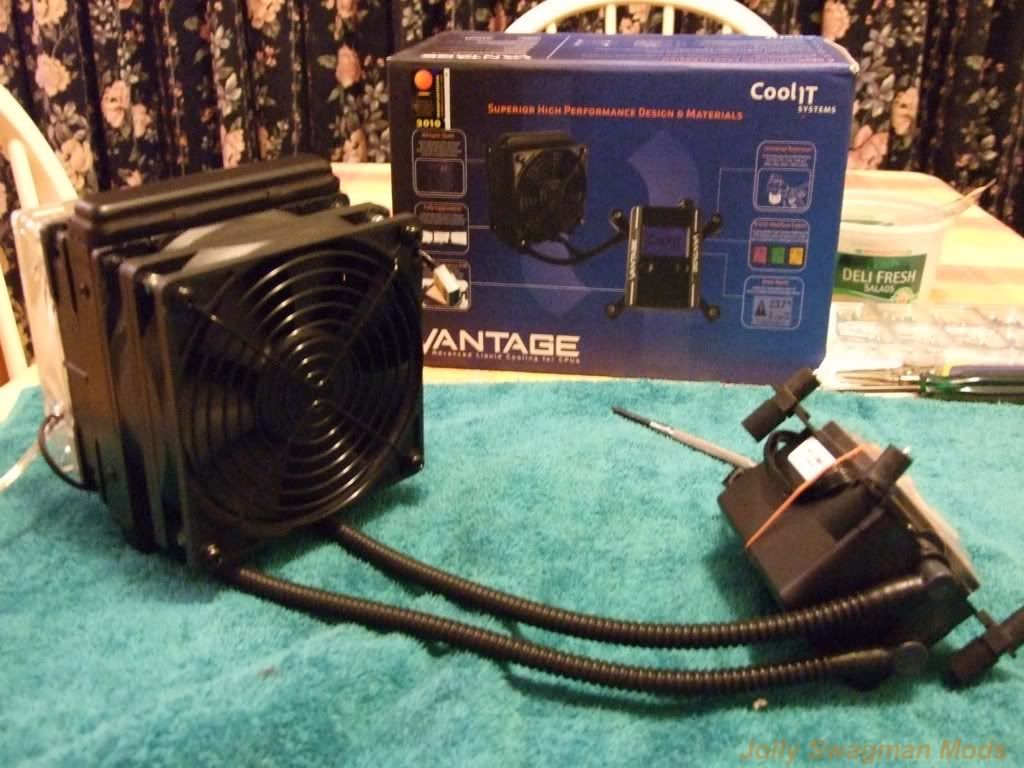
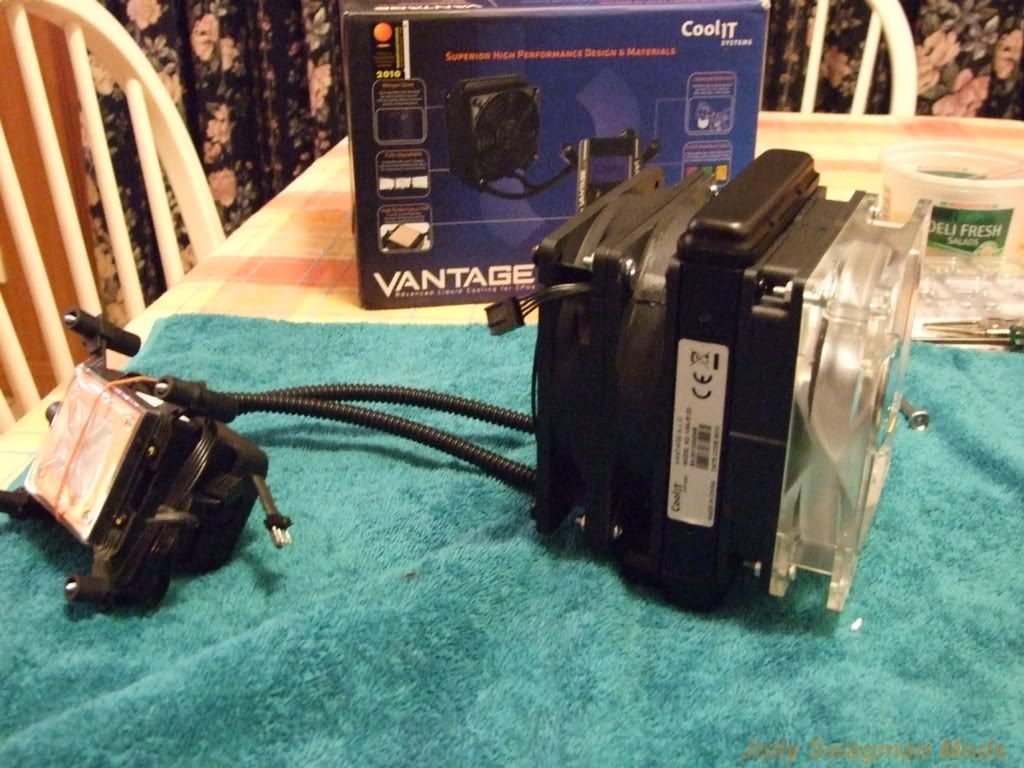
Received my Package from CoolIT Systems, containing 2 x CoolIT VANTAGE-ALC Cooler's
Now looking forward to Installing and Testing on a Couple of my Rigs,
One will go into Jolly's CM-690 Case Mod v2.0 and the other will be Tested on Jolly's Tech Bench 2010
,
Then one will eventually find its home in my Wife's Storm Scout Rig
A very Big Thank You to Barry Reicker (CoolIT Systems)
For supplying these Wonderful Cooling Systems
I am the First International and the First in Australia to recieve these CoolIT VANTAGE ALC units.
Also mdcomp has one of these too so will be hopefully seeing some results from him!
So Stay Tuned for some Testing and a Review of the CoolIT VANTAGE ALC
Update Sun 15th August 2010
Installing the CoolIT VANTAGE ALC
in Jolly's CM-690 Case - Acentos de Cobre
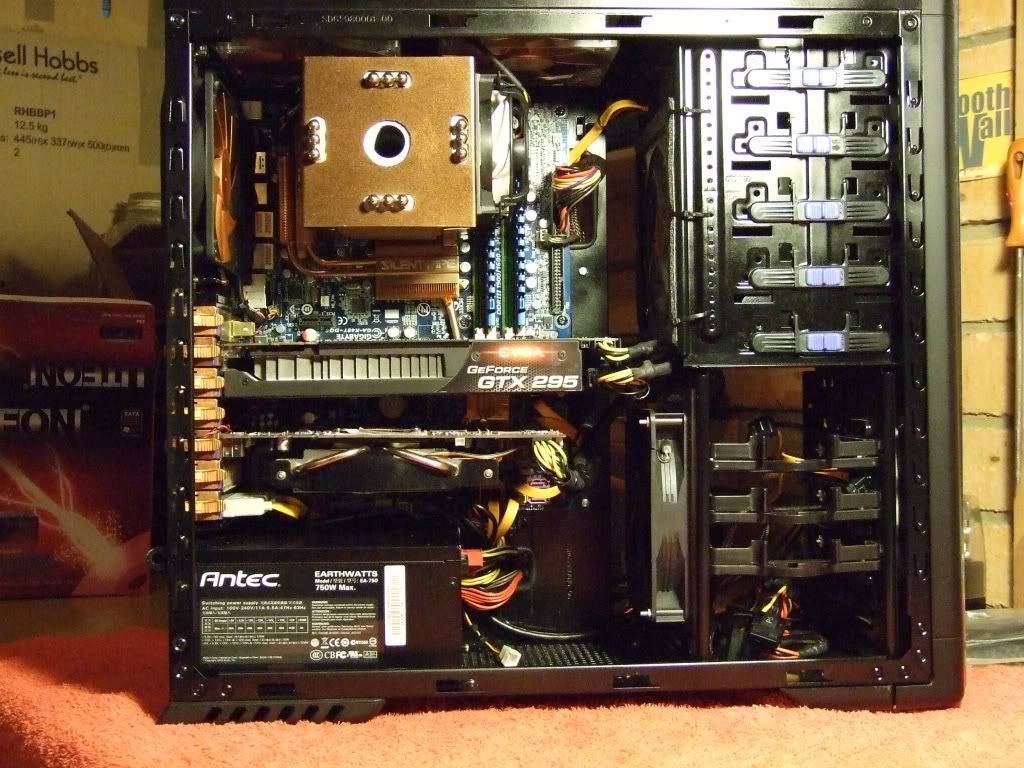
This is what Jolly's CM-690 Case - Acentos de Cobre with the current Modded Scythe Ninja current configuration.
First up we remove the Scythe Ninja
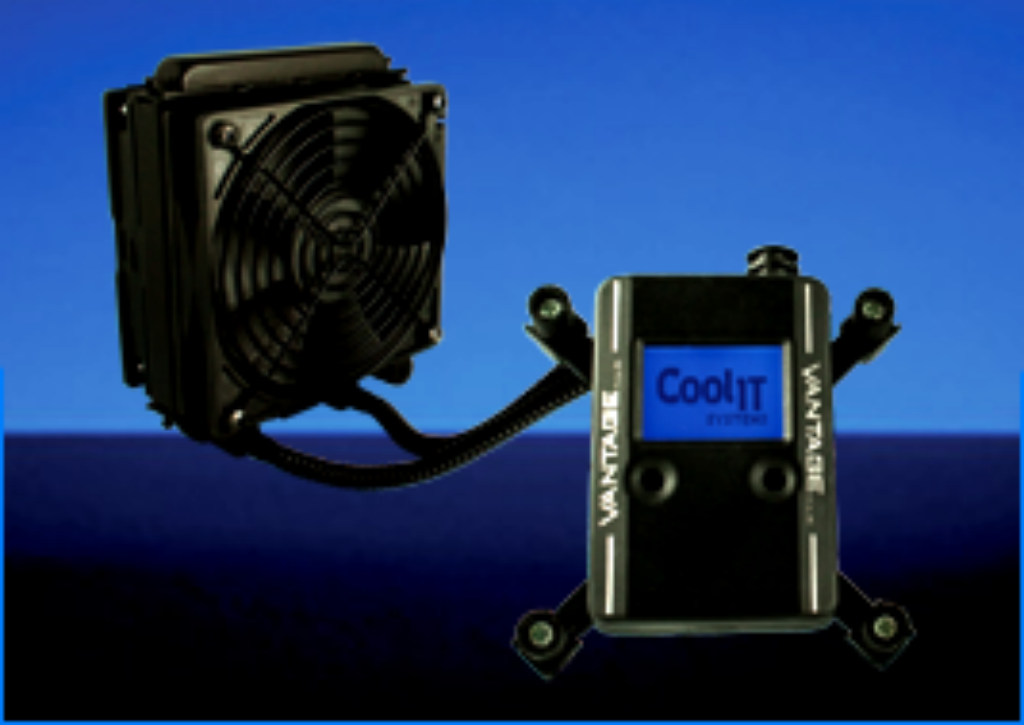
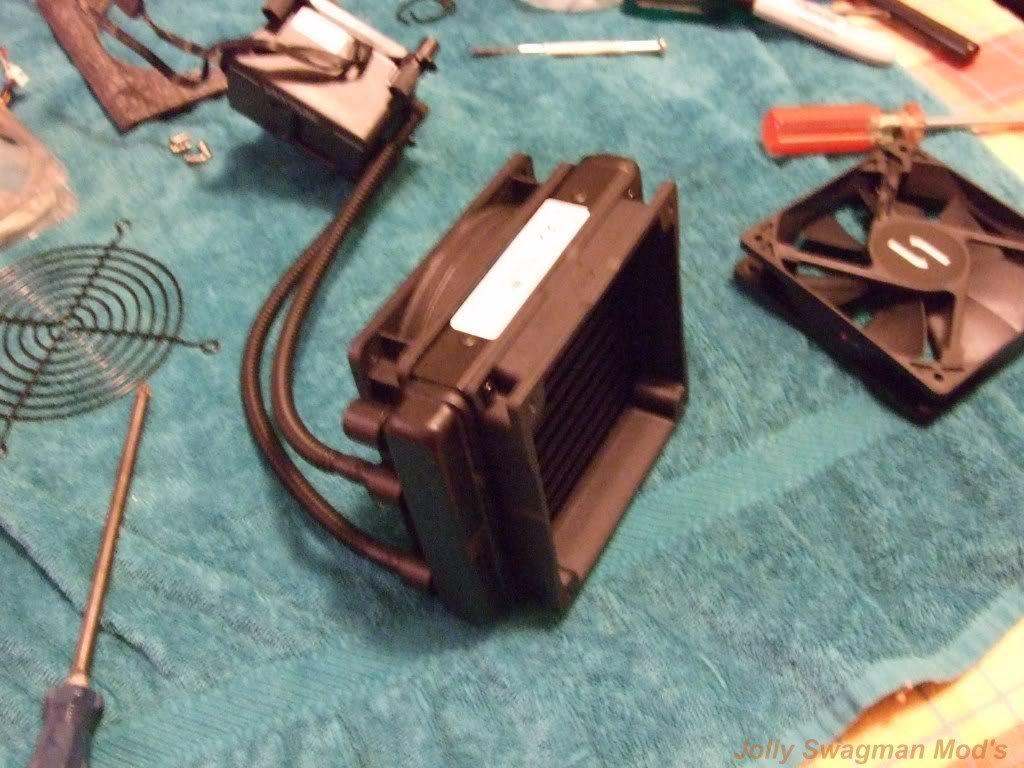
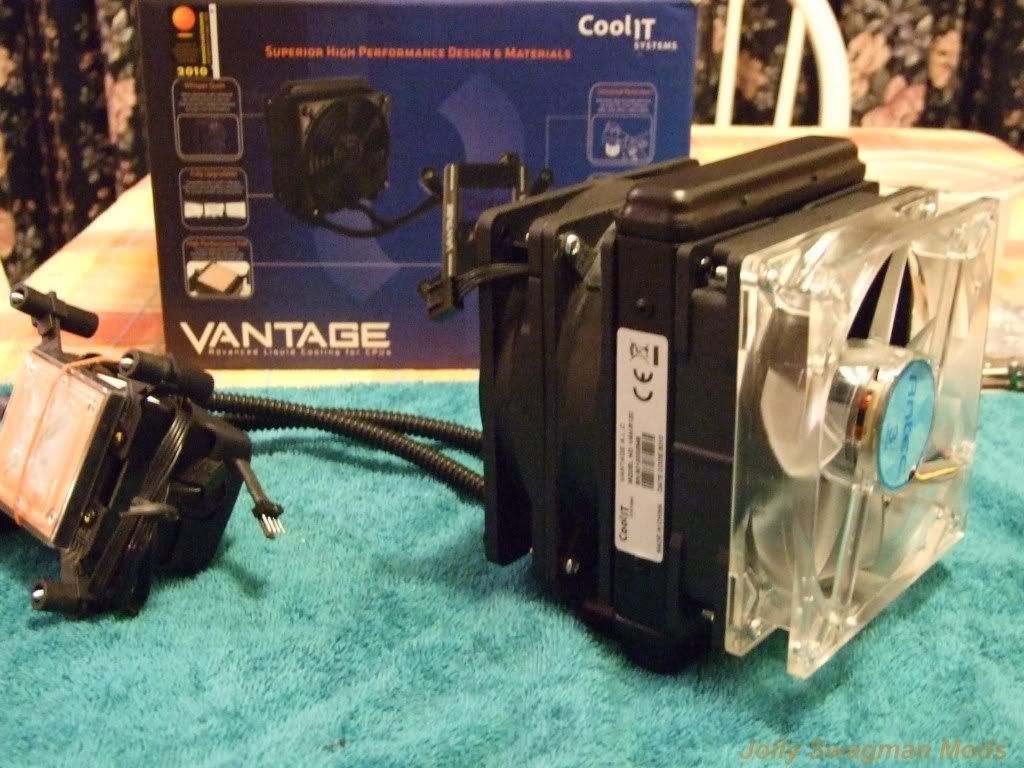
As seen in the previous Update the CoolIT VANTAGE ALC comes with one 120mm x 25mm PWM Fan and on the other side of Rad is a 120mm x 20mm Shroud.
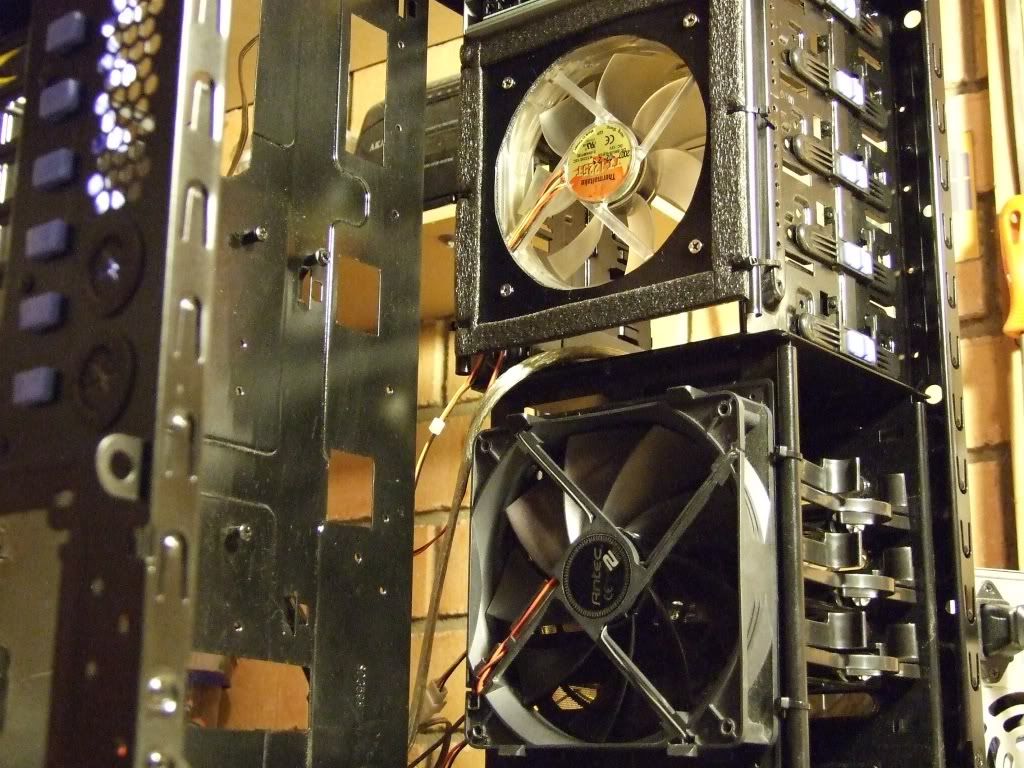
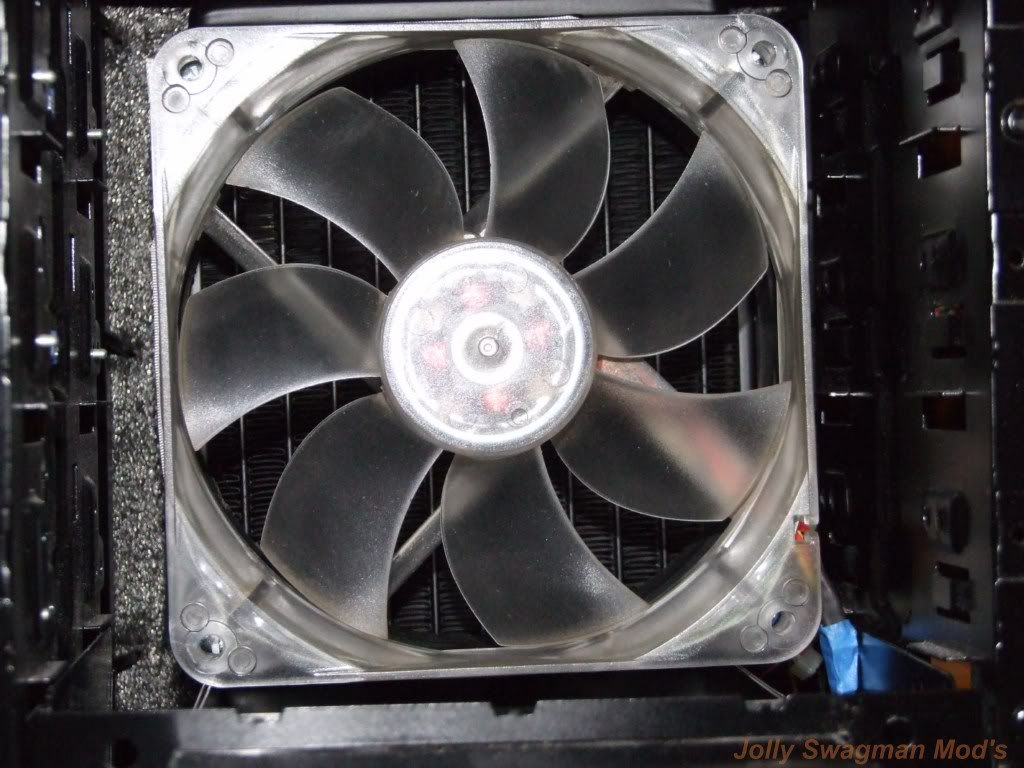
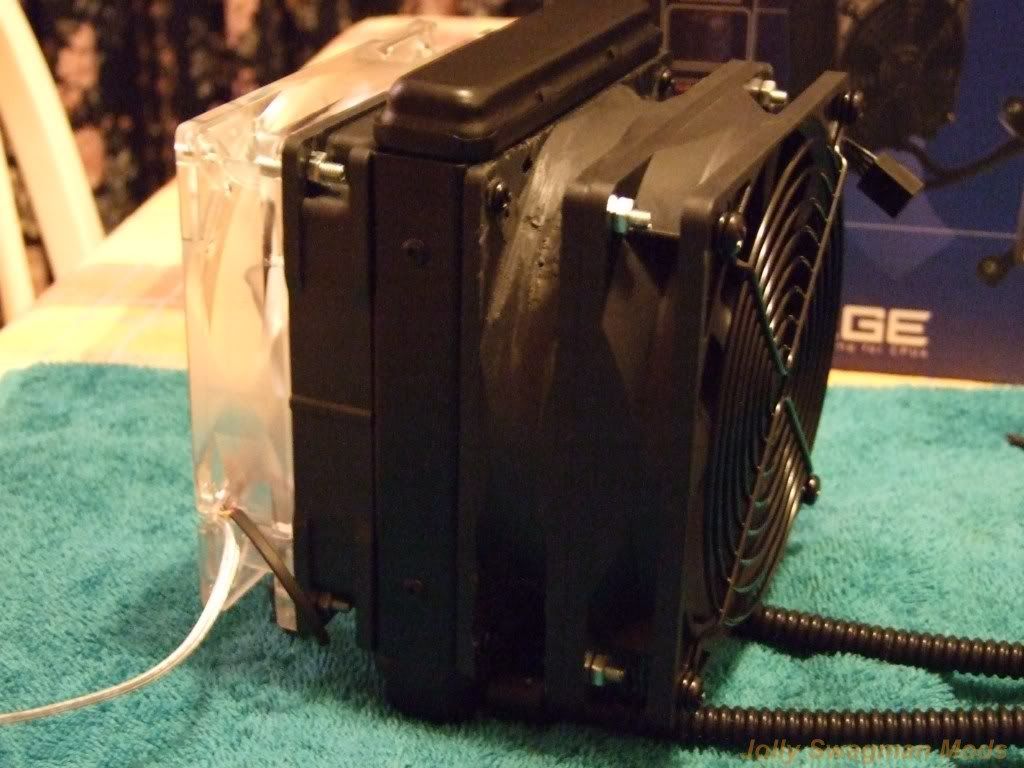
I am going to be making another Fan Shroud from and old coolermaster fan and adding second ThermalTake 120mm x 25mm Blue LED SmartFan2 to the Rad Shroud.
So the configuration will be Push Pull,,, ( <<<< Airflow) Drawing cool air from front of case
<<<< 120mm PWM Fan | Mount Plate |120mmx20mm Shroud |CoolIT RAD |120mmx 25mm Shroud | TT 120mm x 25mm Fan <<<<
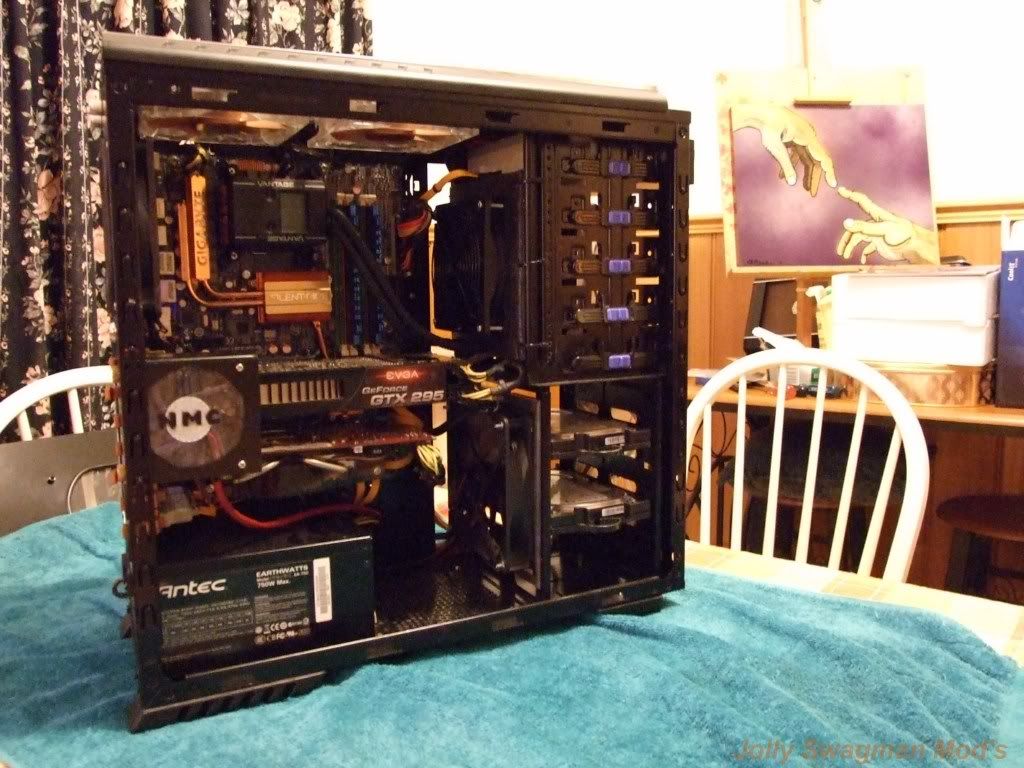
This will be mounted in the 5.25 Drive bay area as see here in pic below
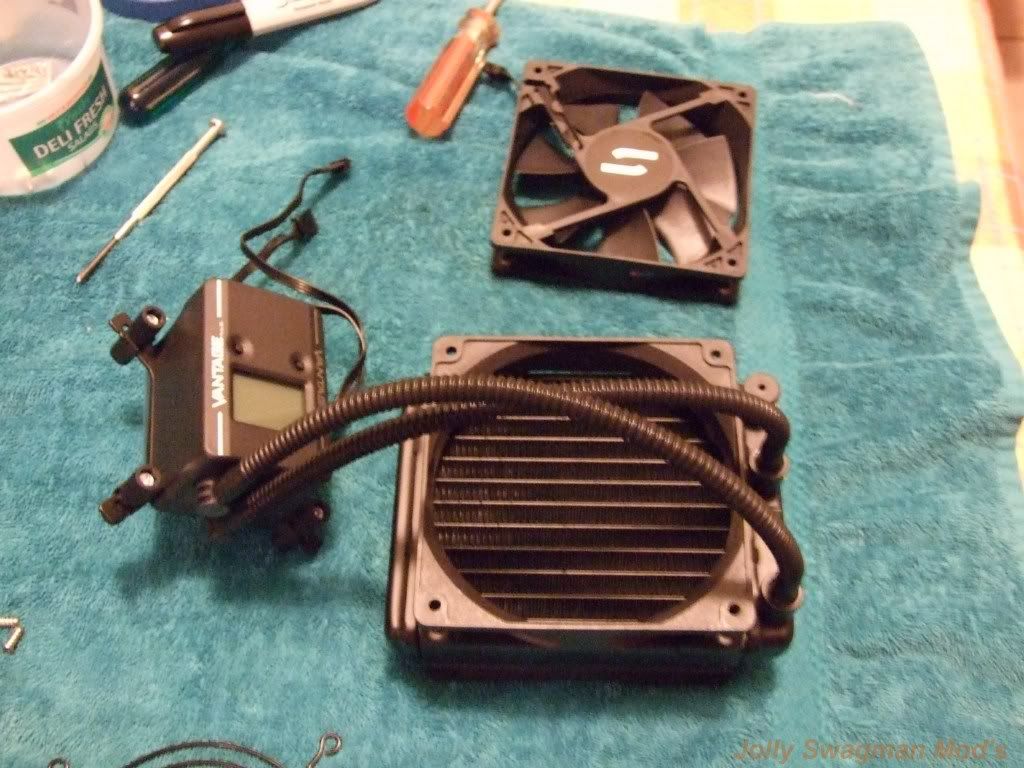
First we take the CoolIT 120mm PWM fan and grill off the RAD
Then attached second 120mm x 25 Shroud I made to RAD
Next we attach the Intake Fan (TT Blue LED 120mm fan) to the 120mm x 25mm Shroud, then the Mounting plate and CoolIT 120mm PWM fan &Grill to the 120mm x 20mm Shroud
Unfortunately dont have a pic of all put together as dint save to Camera Compact Flash, think it was full,
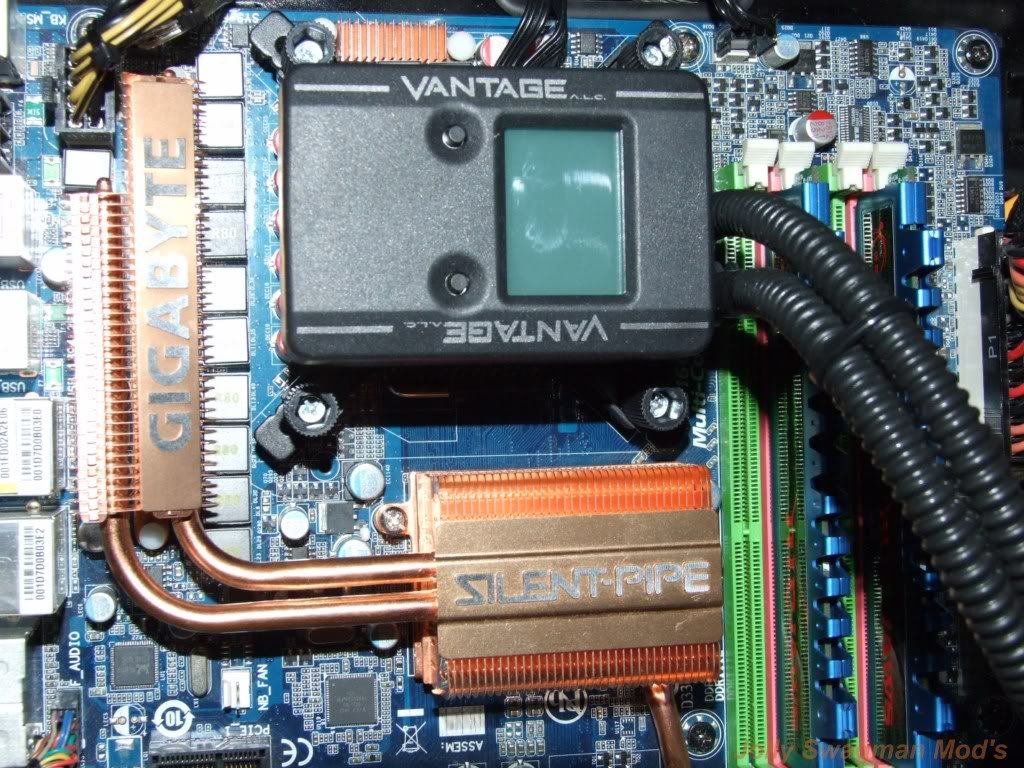
Next we install the Coolit RAD into position in 5.25 Drive bay, then the CoolIT Pump block to Mobo.
Man you need to be a Octopus to do this, need more hands,lol
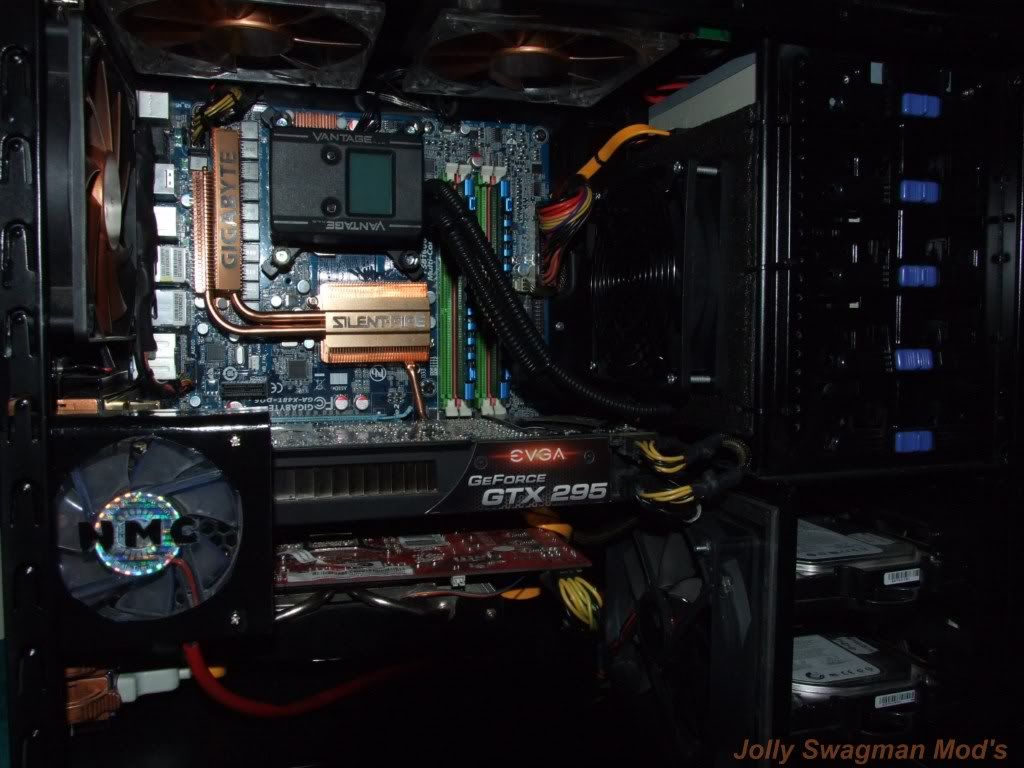
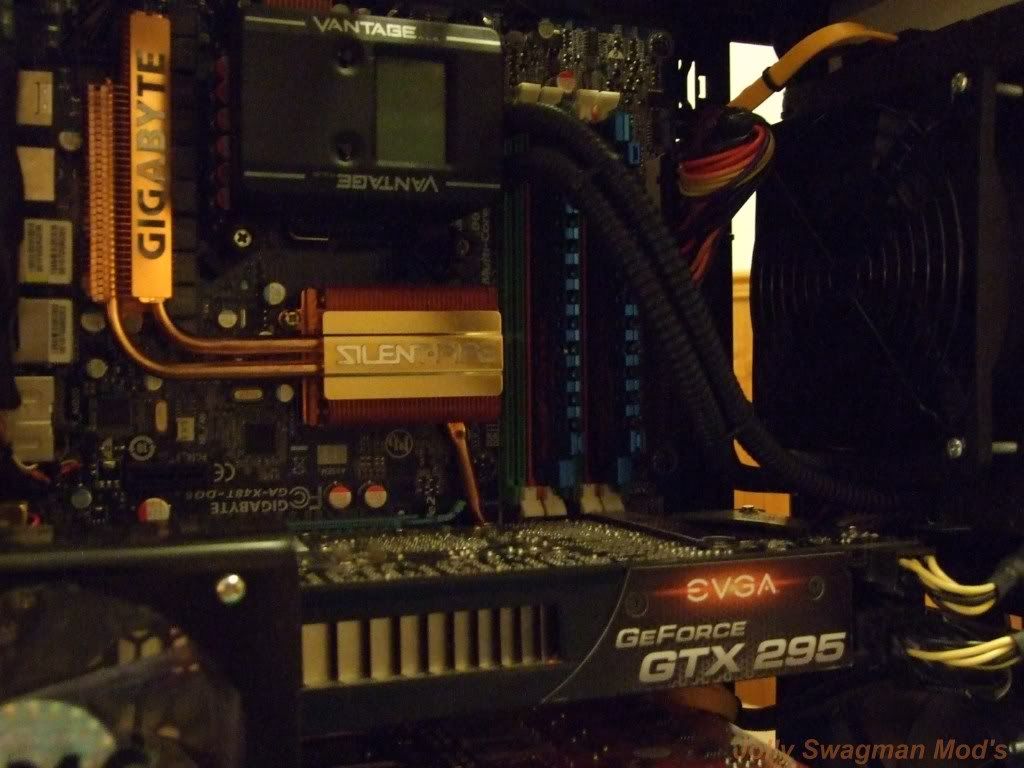
CoolIT VANTAGE Pump Bock Installed
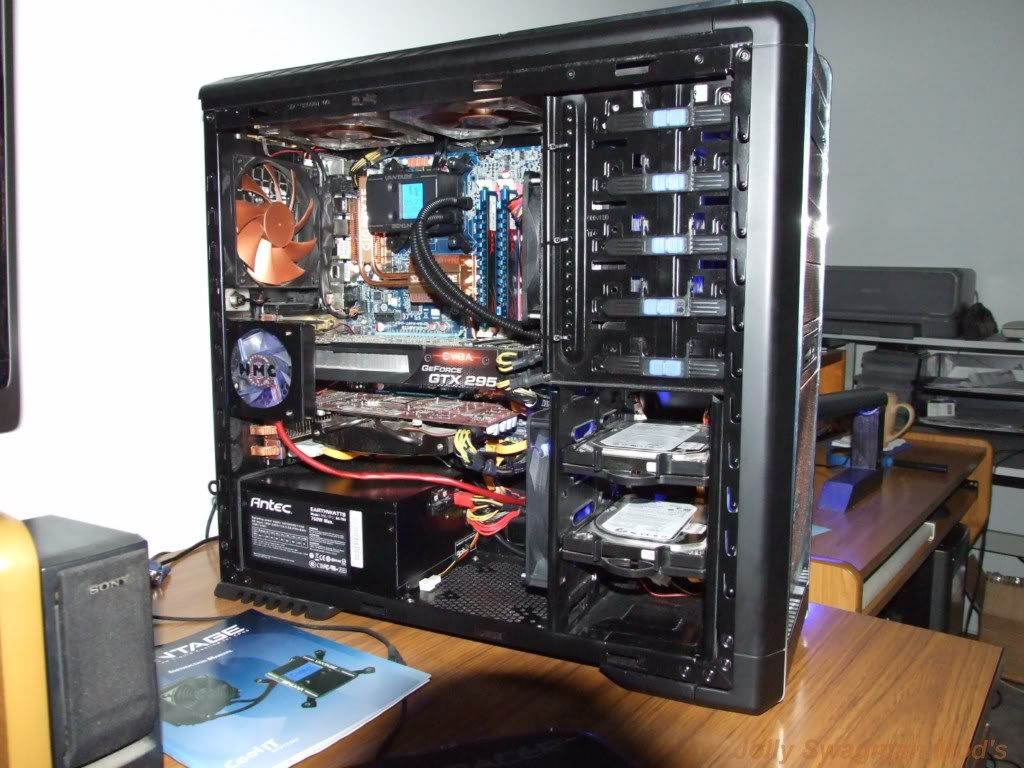
CooLIT VANTAGE Installed
Installation Completed
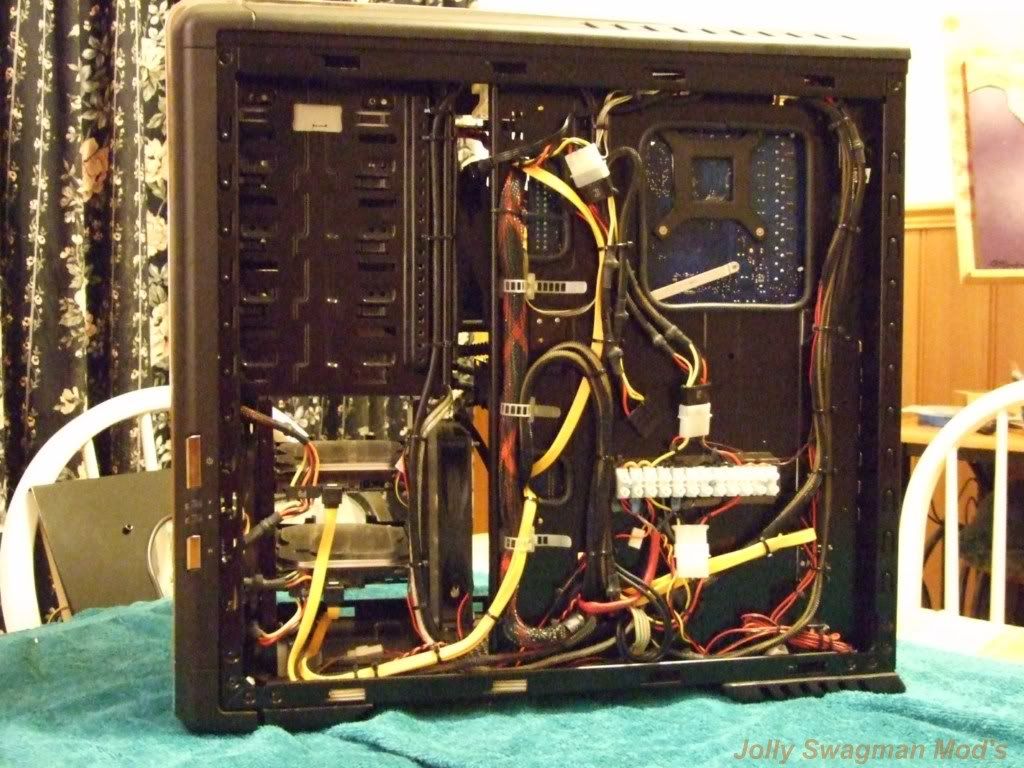
Rear Case Cable Management
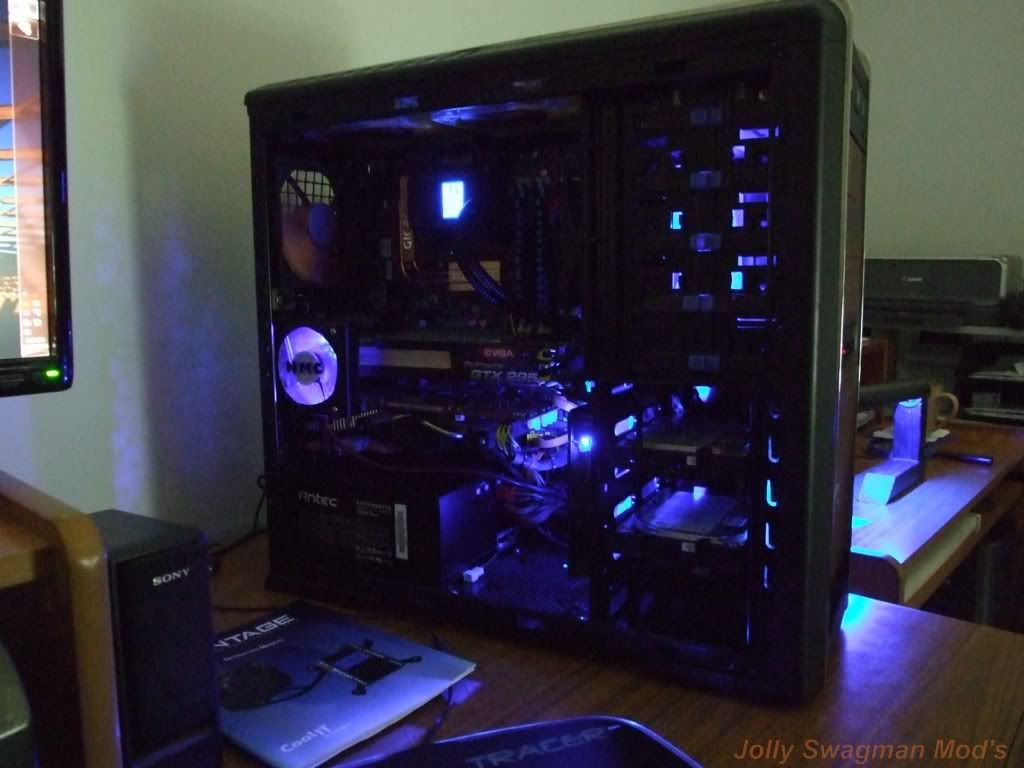
Now connected everything back to PC on my desk and testing also setup the Menu for the CoolIT VANTAGE
MENU's
With the CoolIT VANTAGE ALC there are various Menu's for Set-up from changing the Colour output of the LCD Screen,
from White, Amber, Green, Red, Blue, OFF or have on TEMP where the colour changes according to Temperature rise
and fall, also PULSE where the LCD Pulse's like a heartbeat.
Other setting are for the Fan Speeds - Quite - Performance -Extreme
Also Display orientation, so it doesnt matter which way you have the CoolIT Pump Block mounted you can rotate the LCD
screen to suit Landscape or Portrait and change screen angle to 0, 90, 180, 270 Degrees
VANTAGE ALARMS
When Either Pump, Fan or Temperatures sensor fails or the Coolant temp goes above 99C/210F the VANTAGE will provide
visual and auditory alarms
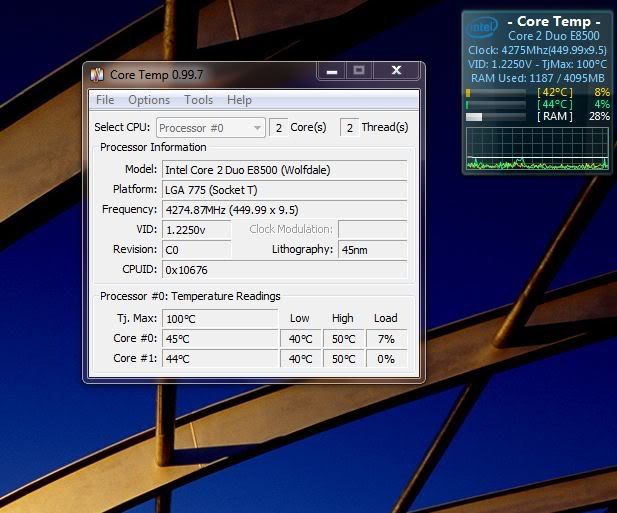
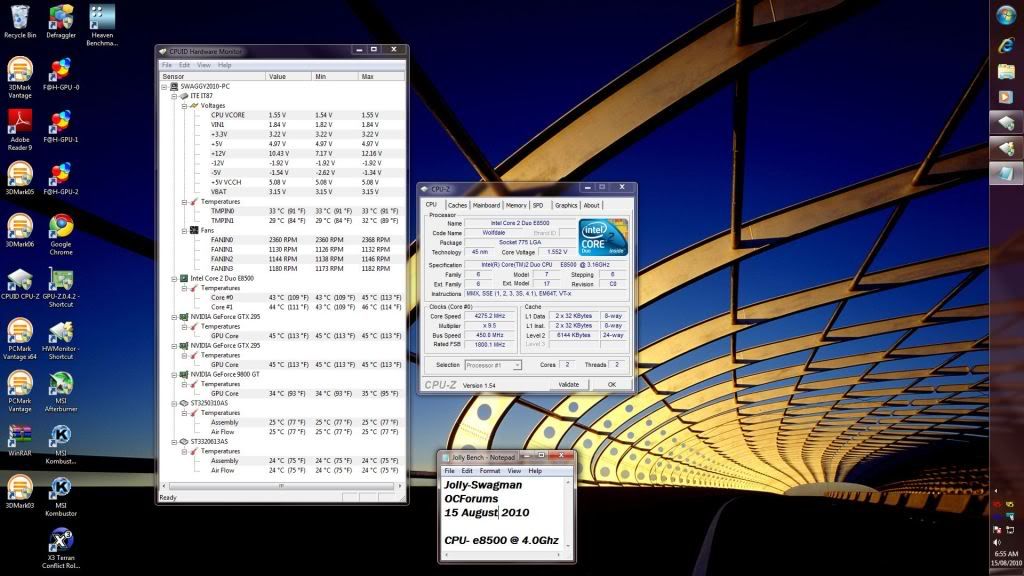
With my System currently OC'd @ 4.275 Ghz CoreTemp Reading 44C and CollIT VANTAGE ALC coolant Temp @25.6C
CPU-z Validation
CoreTemp
Hardware Monitor
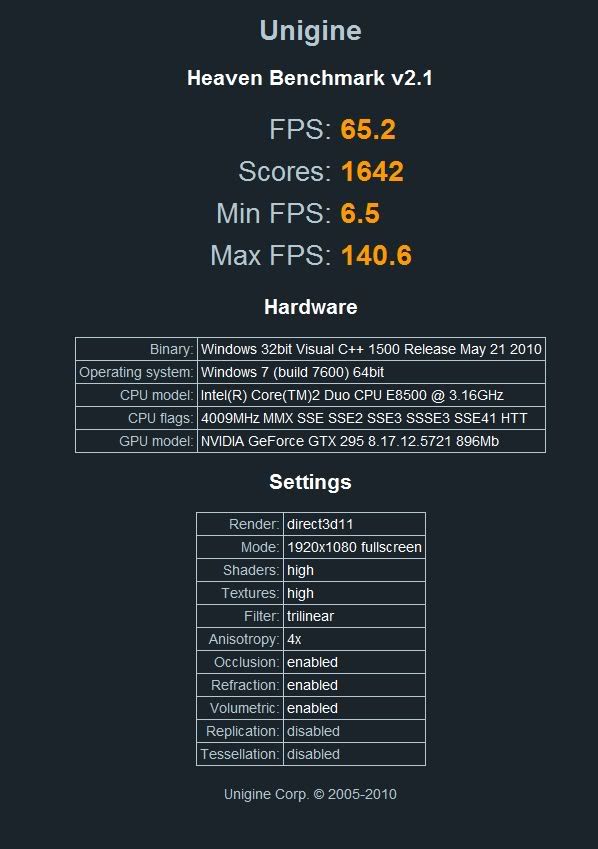
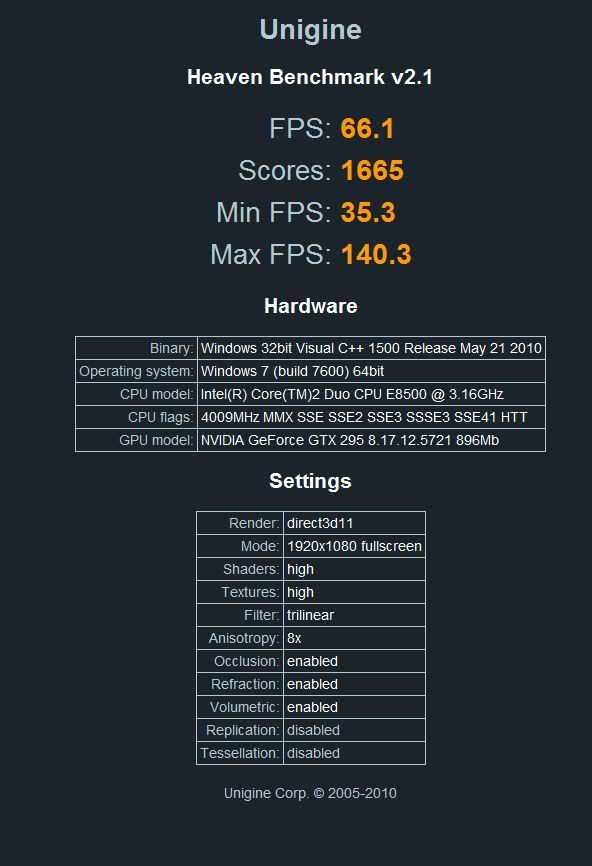
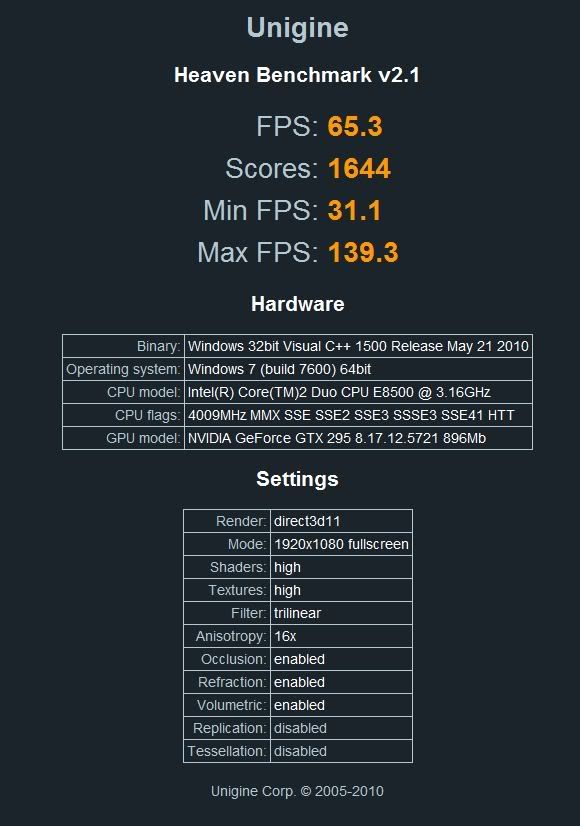
Some Unigine Heaven Benchmarks v2.1 @ 4000Mhz
Anisotropy 4x
Anisotropy 8x
Anisotropy 16x
So far I can report I,m happy with the CoolIT VANTAGE ALC cooler,
That's all for now, will do some more testing and Benchmarks soon,
On the Jolly's Tech Bench too as soon as I get another HDD , as I was doing some benchmarks over the weekend
and the Dam HDD crapped out on me,
Update Wed 18th August 2010
Installing the CoolIT VANTAGE ALC
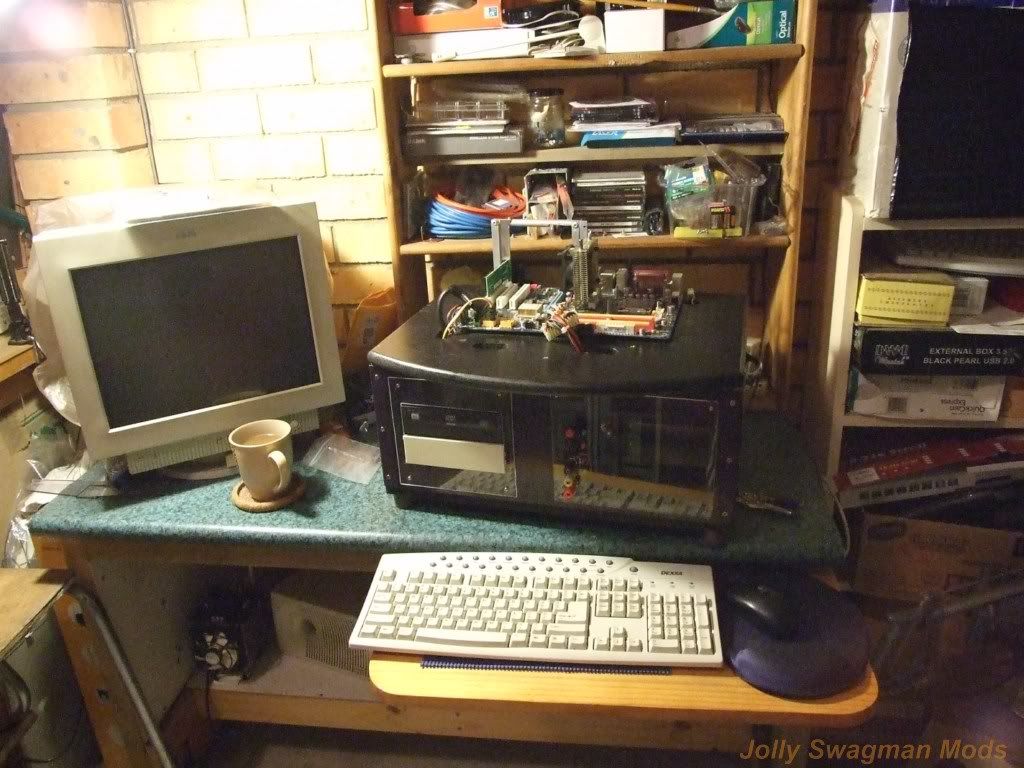
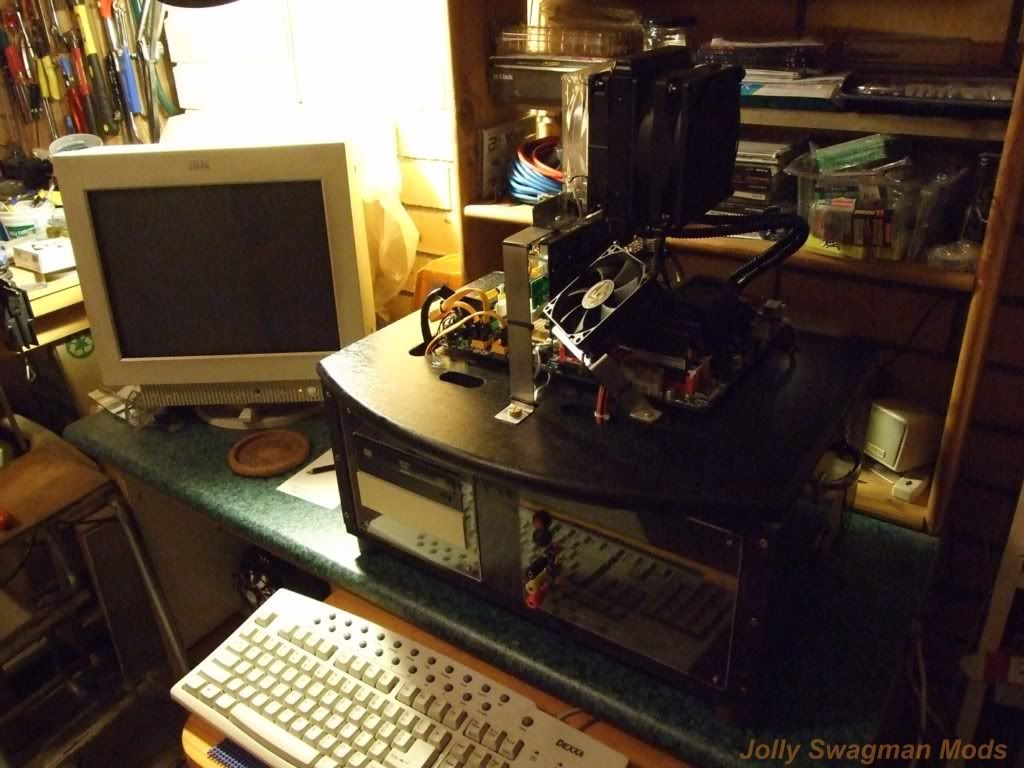
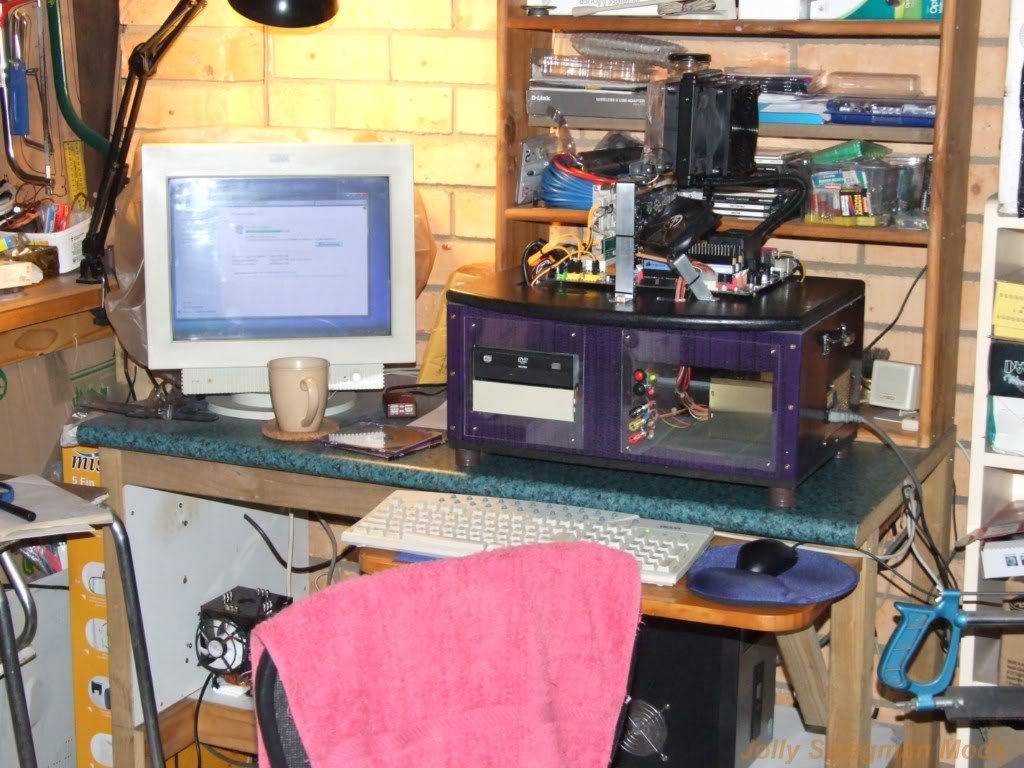
in Jolly's Tech Bench 2010
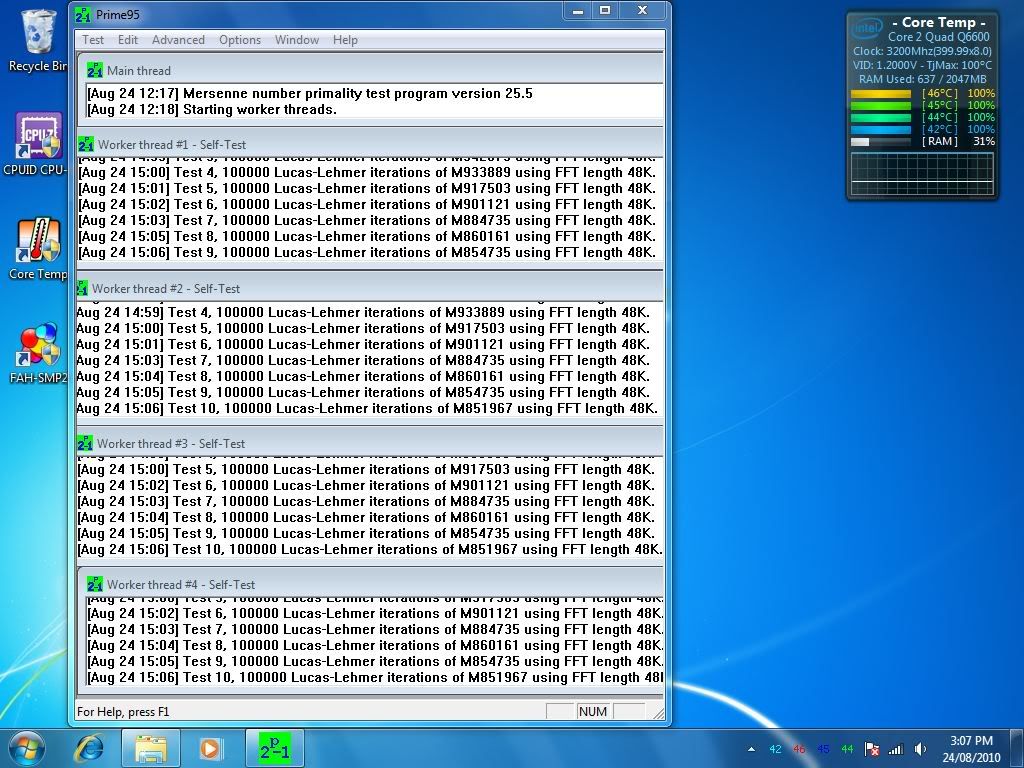
Current Set-Up on Jolly's Tech Bench 2010 with the Q6600 @ 3.2Ghz and cooled with Vendetta 2 HSF,
There are some Screen shots in above Post for Core Temps ect, and also since being so cold here lately the Temp,s are even better than above with Q6600 @ Full Load sitting nice @ 30C -35C across all 4 cores
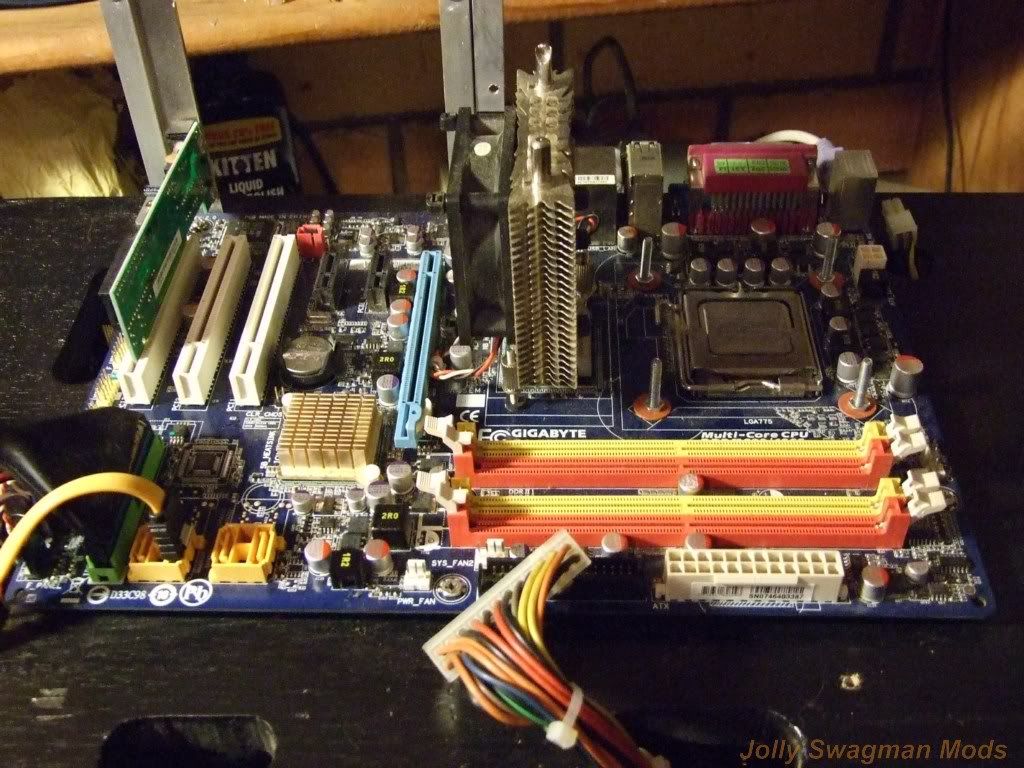
So on to Dismantling Jolly's Tech Bench to make ready fro CoolIT VANTAGE ALC Installation
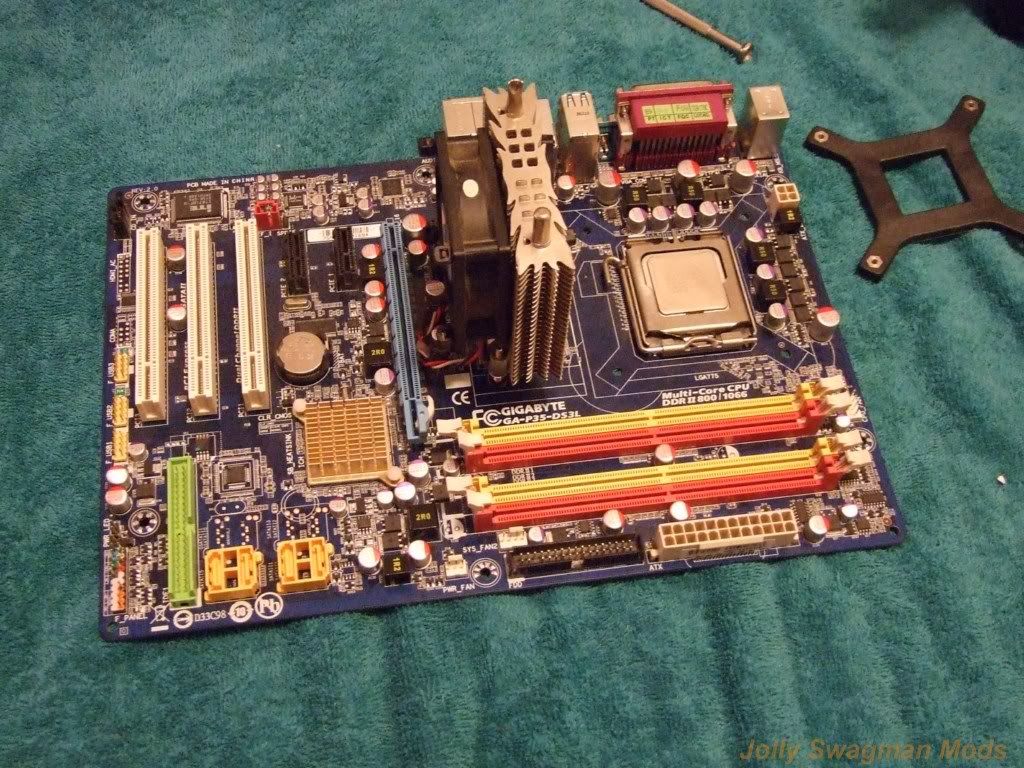
Dismantling Jolly's Tech Bench
With Mobo off and Vendetta 2 Removed, just leaving the HR-05 NB HSF, it was now onto making another Fan Shroud for the Coolit VANTAGE ALC
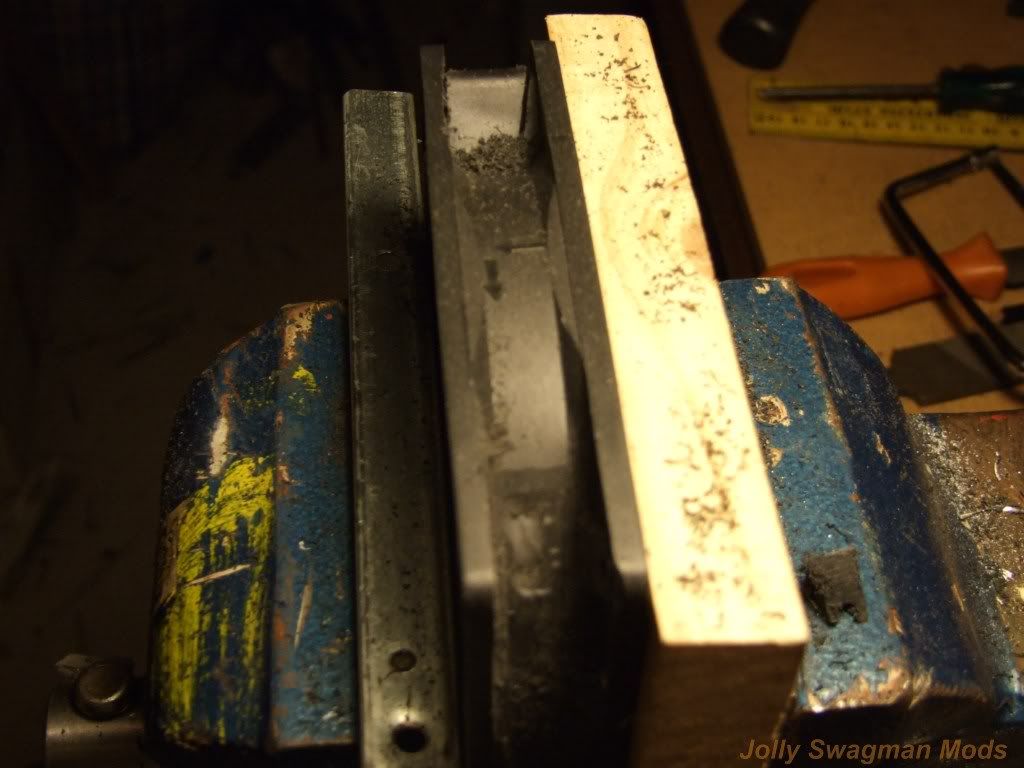
Now the last one was simple , but this one needed some modding to be done to it, as where the screw holes go it was the solid closed type,
As seen in pice below, with one corner done
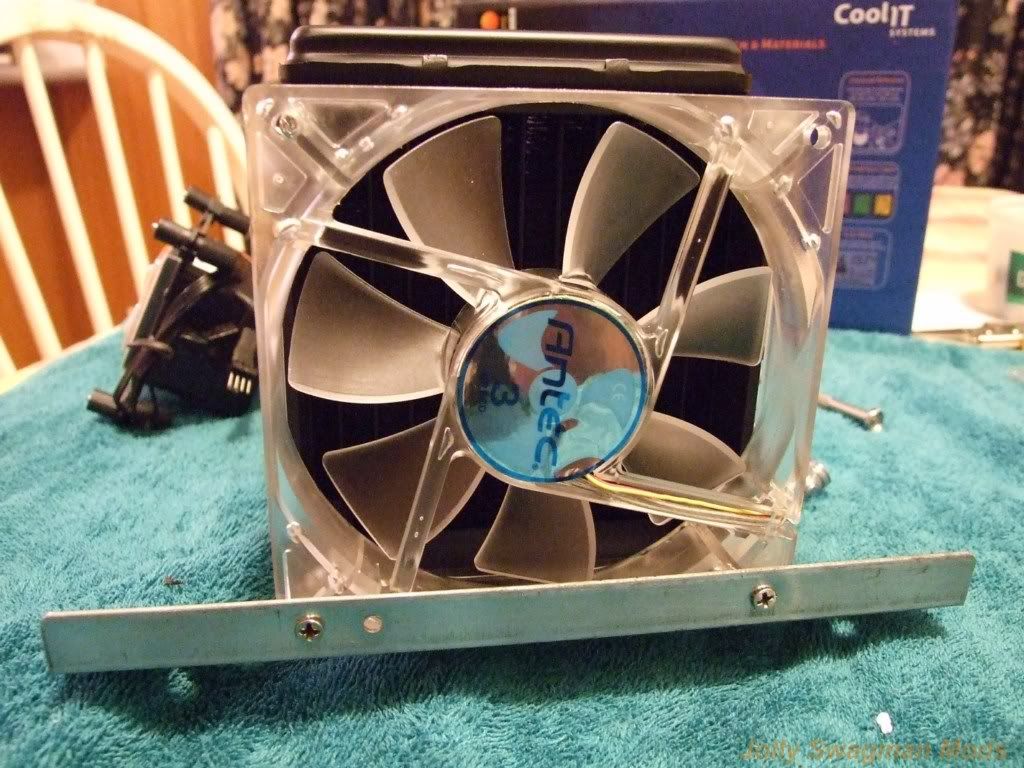
Now with the 120mm Fan shroud made its on to installing them on the CoolIT VANTAGE ALC with a second 120mm x 25mm Antec Tri-Cool Fan
So the configuration will be Push Pull,,, ( <<<< Airflow) Drawing cool air
<<<< | Antec 120mm x 25mm Fan |120mmx 20mm Shroud |CoolIT RAD|120mm x 25mm Shroud |120mm PWM Fan | Black fan grill <<<<
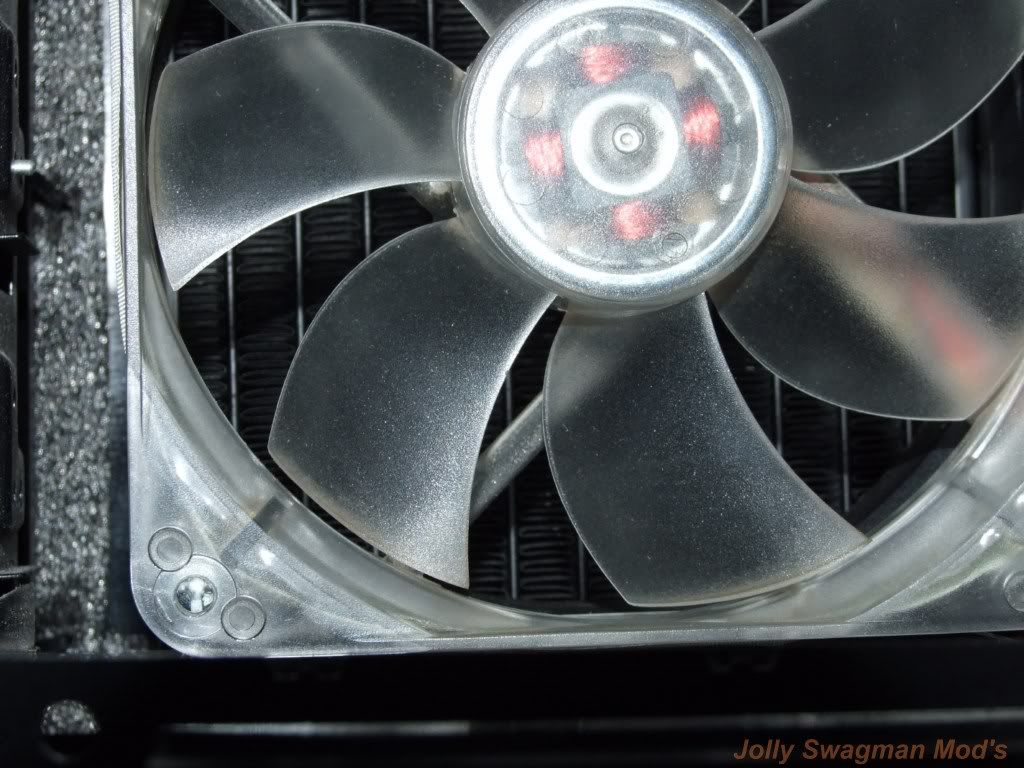
Close-Up of the Shroud Set-Up
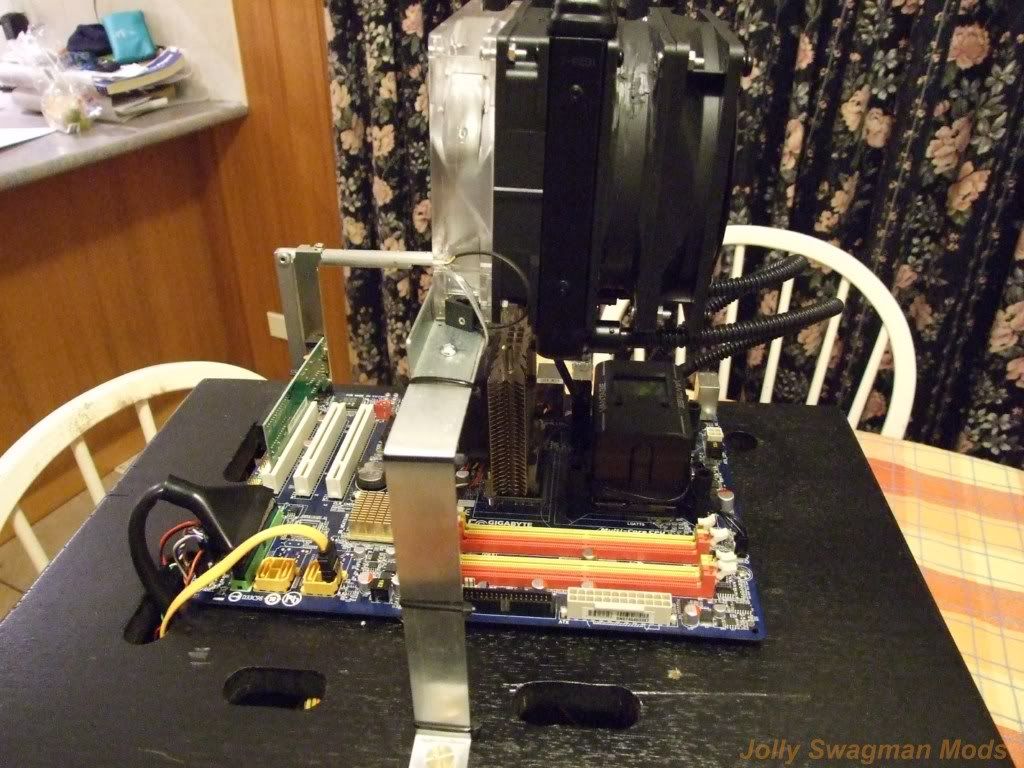
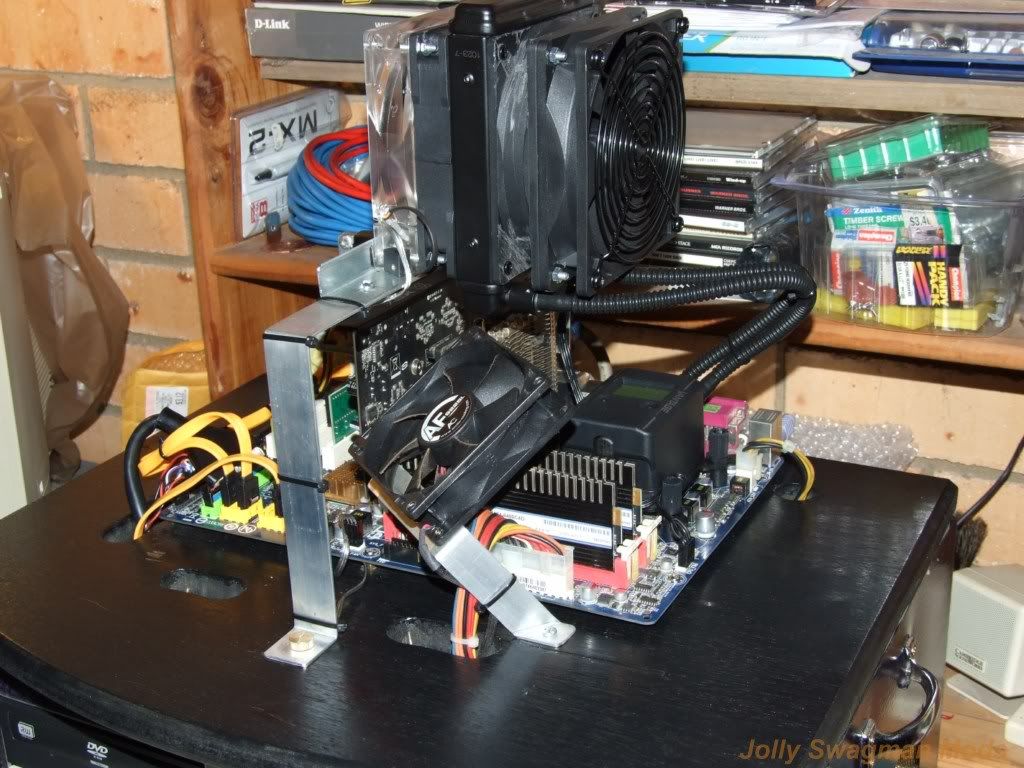
Then made a Bracket to mount the CoolIT VANTAGE ALC on the Cooling Gantry of Jolly's Tech Bench,
Installation to Jolly's Tech Bench
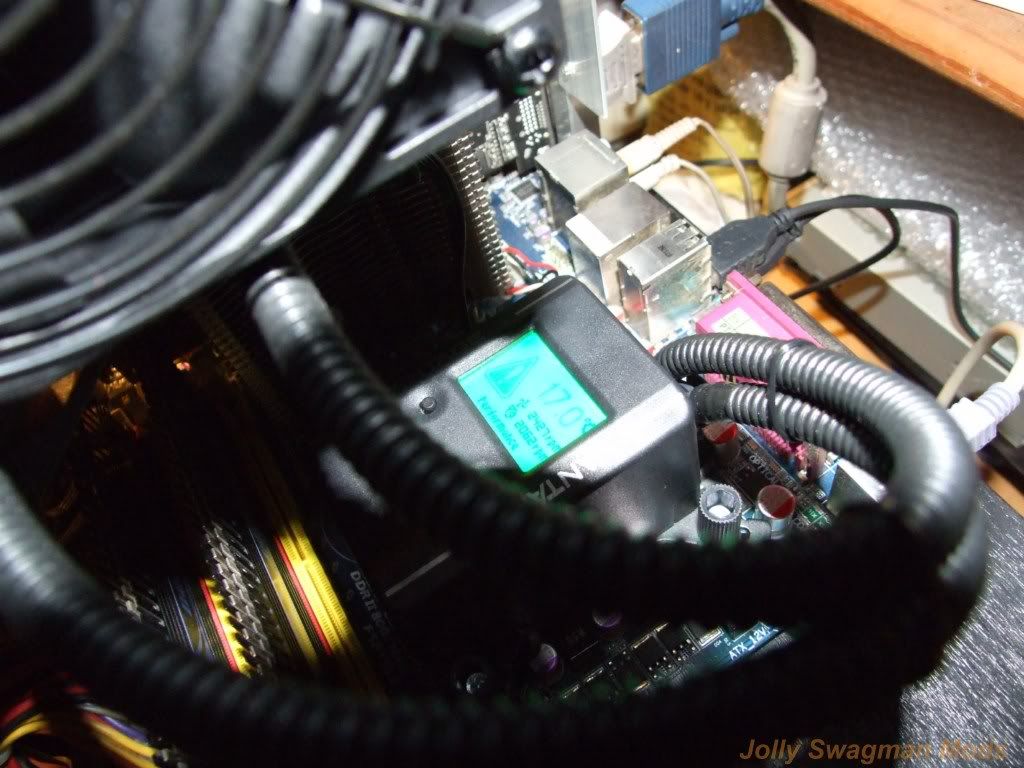
CoolIT VANTAGE ALC Coolant Temp Alarm @ 17C
All installed Ready for some testing and Loading Newly Replaced HDD with Win7 Pro x64 OS
Installing Wn 7 Pro x64
Testing and OC
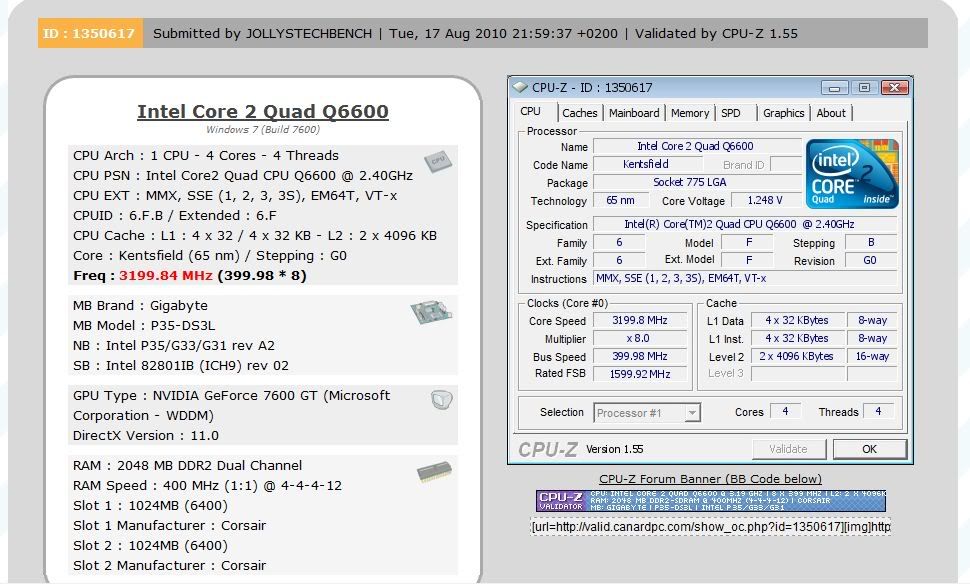
CPU-z Validation
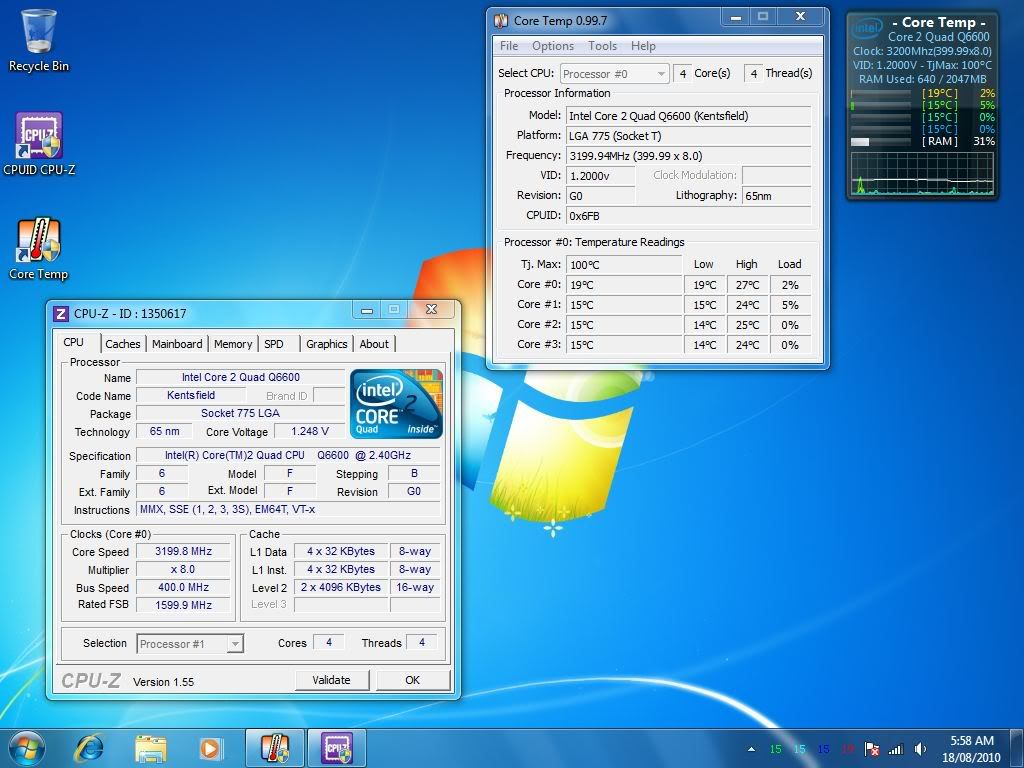
CPU-z & CoreTemp
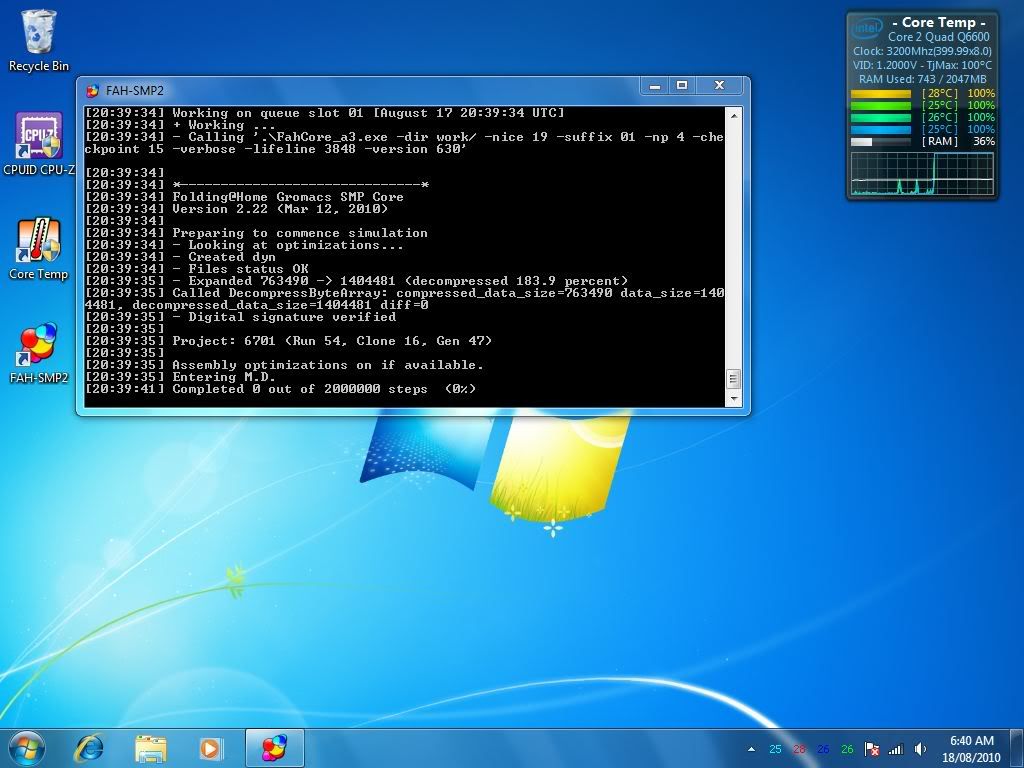
Folding@Home SMP -4
Very Happy with the Results of Temps on Par with the Vendetta 2 HSF,
The only Quibble I have is that it took some time for the Dam Beeping Alarm on the CoolIT VANTAGE ALC to stop as when the Coolant is below 19C it beeps,
So when the system was Idle Coolant Temp was @ 15C then after a while Folding @ 100% Coolant slowly raised to above 21.5C Beeping Alarm stopped
Q6600 Cores Temps were around 25C-29C but have since settled to 22C-25C across the Cores
Ambient Temps when installing were 6C-8C that Night!
So overall the Set-up Configuration I have is Pretty good and fairly Quiet too!
Very Impressed!


 Reply With Quote