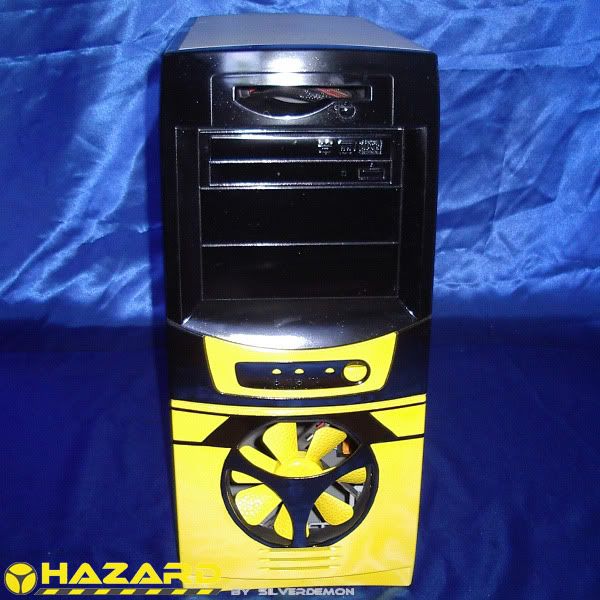
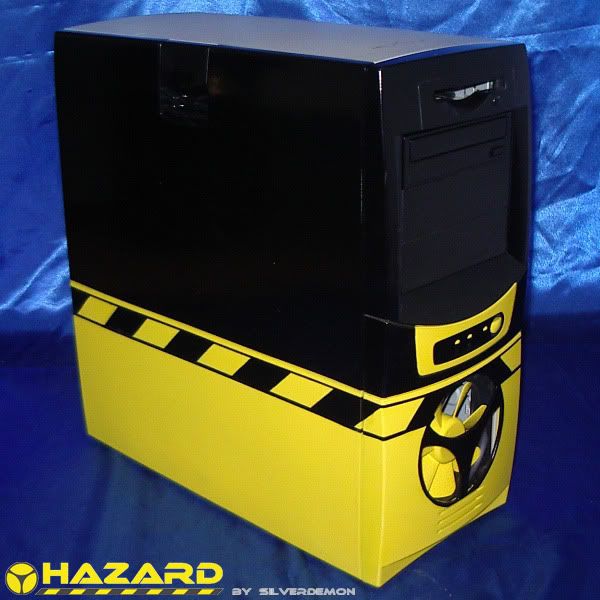
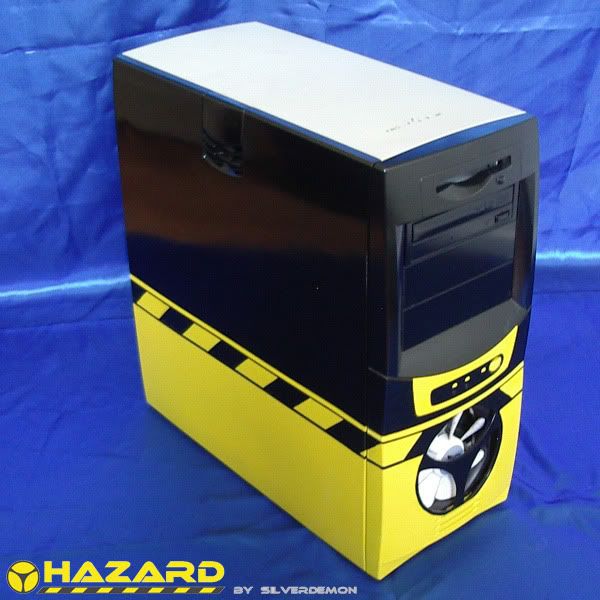
Wow this is really cool. The old beige box can be cool after all!
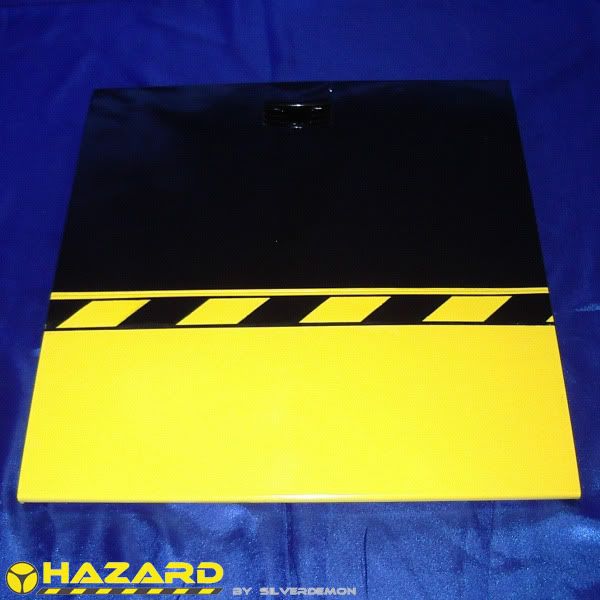
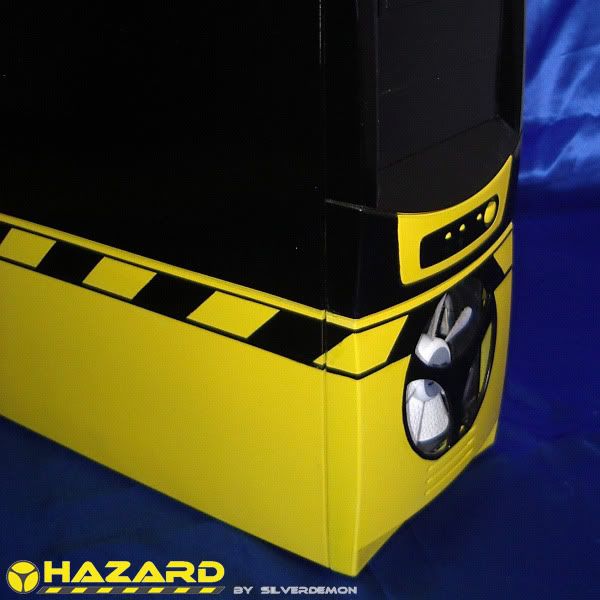
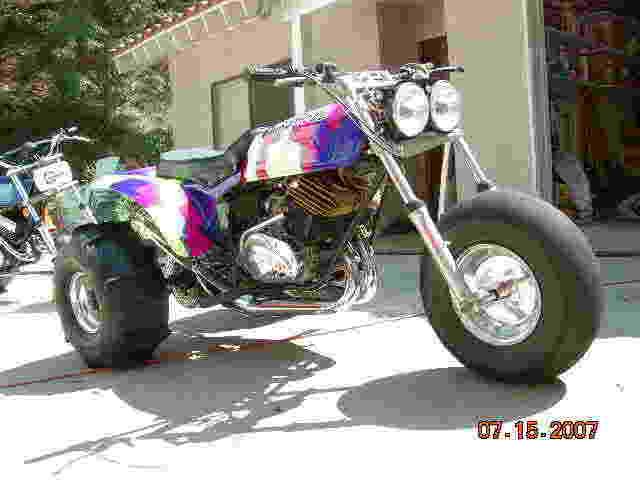
I love the paint color scheme.
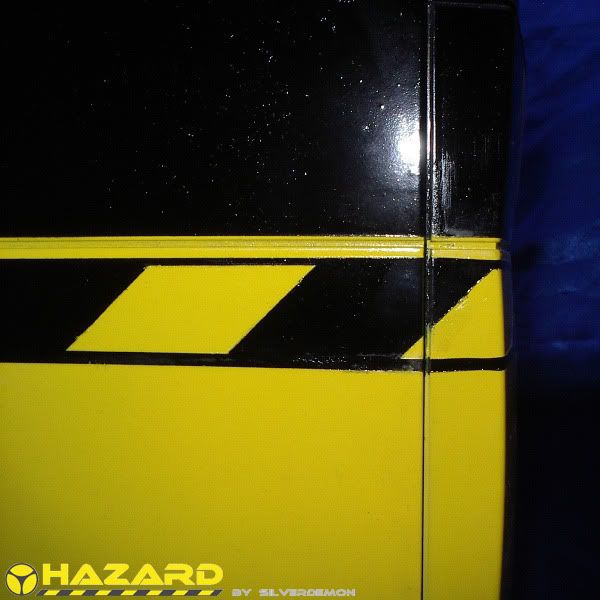
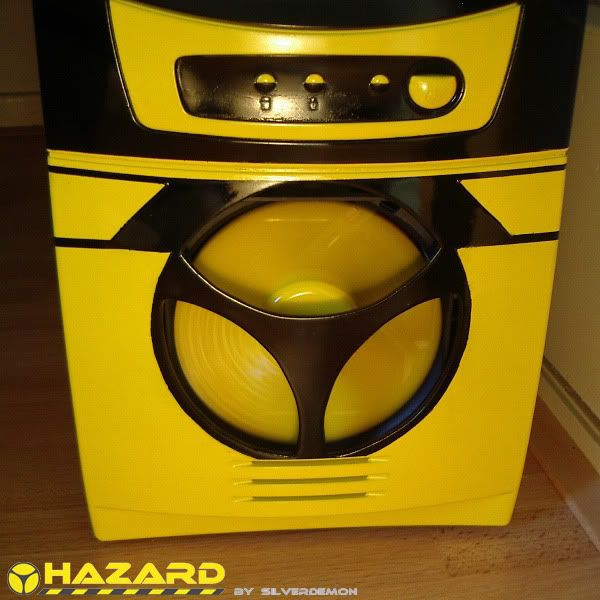
Paint can be a real pain. I have a real paint booth but even I get specs of dirt once in a while so don't feel bad. It happens. That's why you always wet sand then buff. These guys were right about clear coating it too. It helps hide dirt and once wet sanded will look amazing.
Keep up the good work.

 Reply With Quote


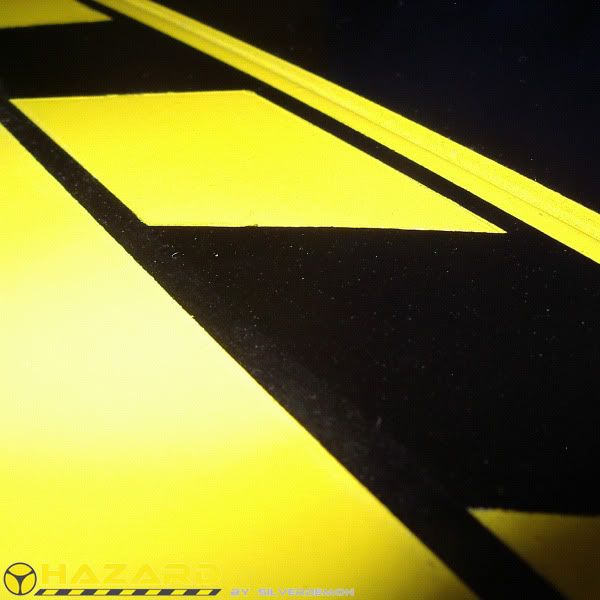
 So I had to touch that up, but the yellow doesn't cover all that well so I had to lay down a couple of new layers.


 so far left of center i'm in right field


 RD400s did have pretty crap carbs tho.