Page 1 of 2 12 LastLast
Results 1 to 10 of 11

Thread: Project: M2 (Matriarch Rebuild)

  1. #1
    Caffeined Acey's Avatar
    Join Date
    Sep 2006
    Location
    Malaysia
    Posts
    588

    Default Project: M2 (Matriarch Rebuild)

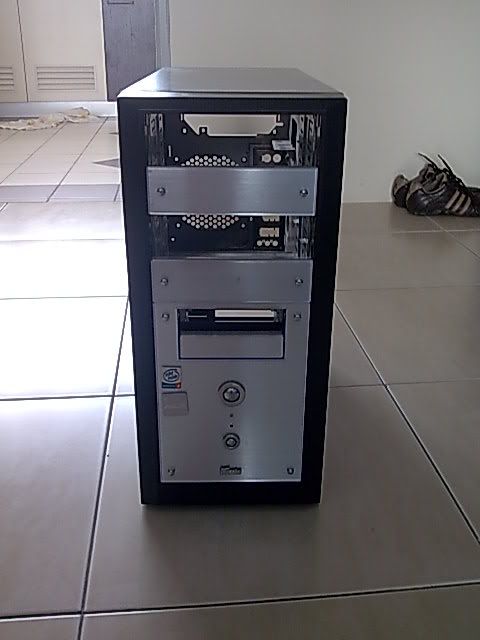
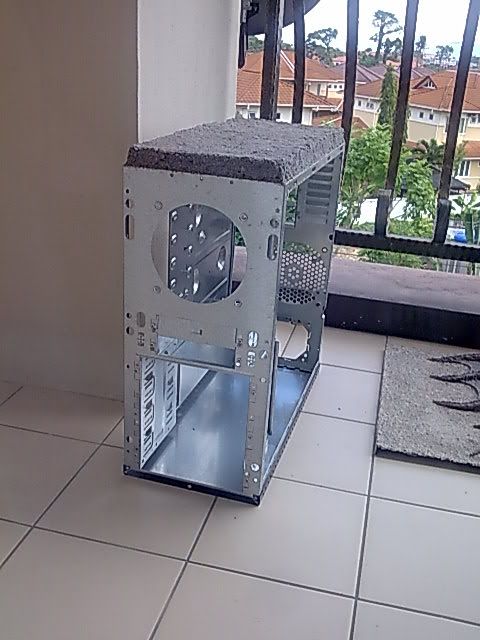
    From Matriarch to M2, here's the rebuild in progress. Been working on it since last Thursday after getting the cheap case. This time I expect the cost to beat Pprz even with the casing counted. Grabbed one of the worse brand in casing, iCute. Its a 2nd hand and paid only RM25 (approx US$7). Lemme try to reorganize the way my worklog goes.

    Since I now have one whole apartment to myself, that means more space = more panels to be worked at once. So work's gone pretty effin fast as I know more or less what to build and how to start molding.
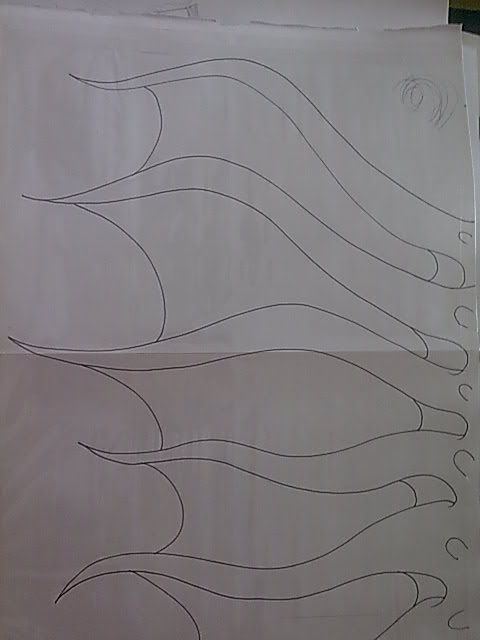
    Theme

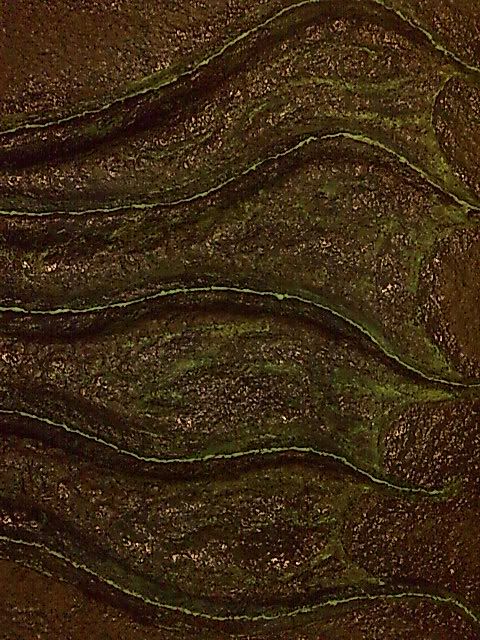
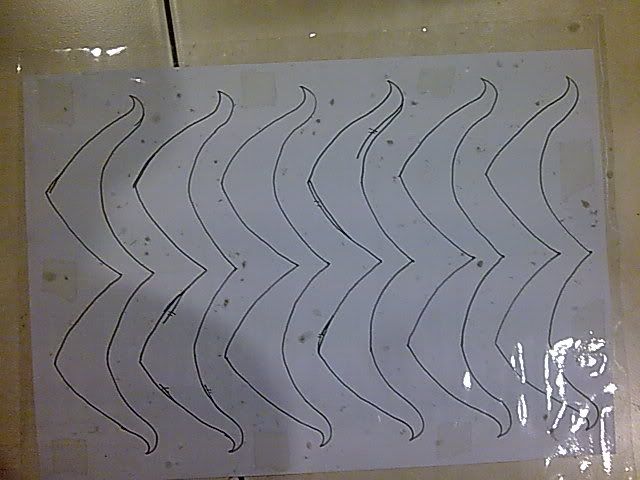
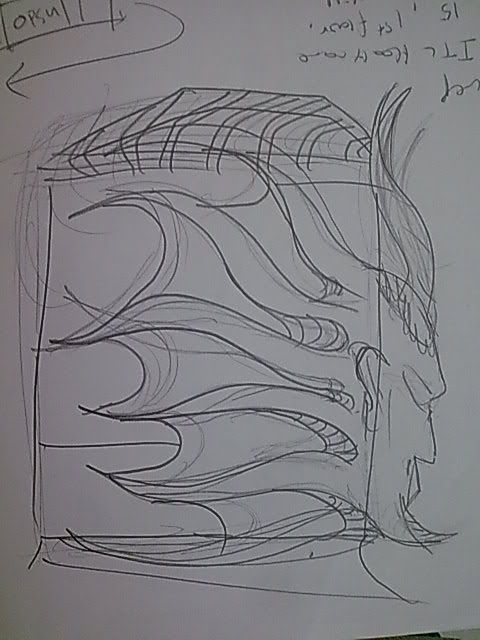
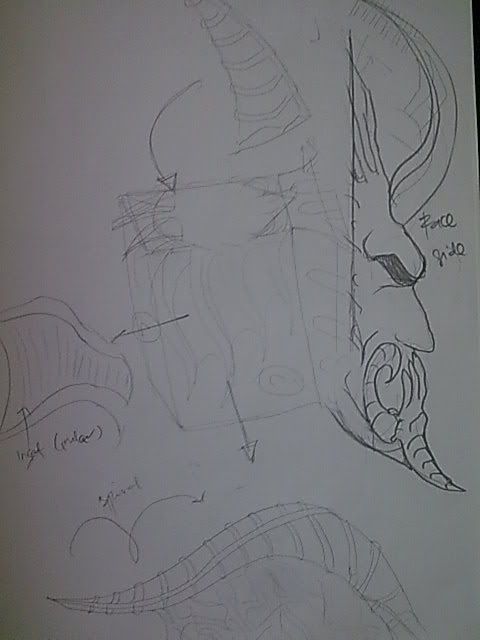
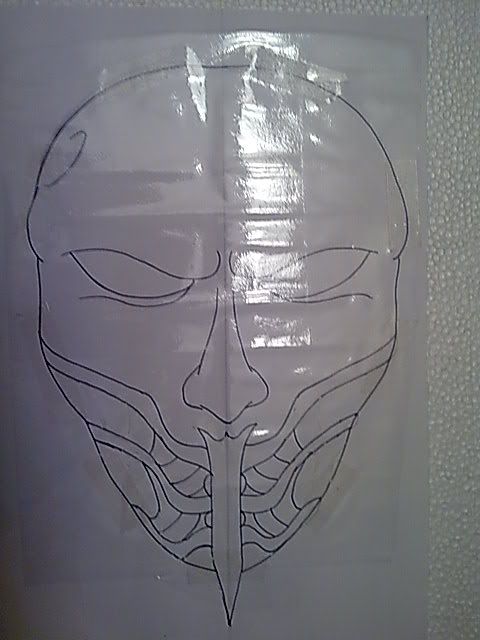
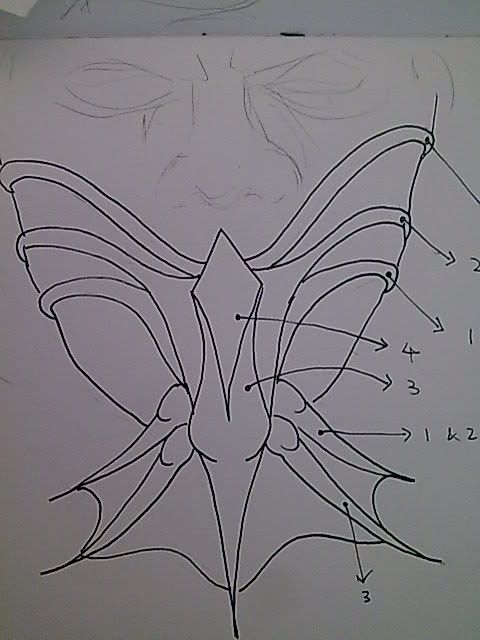
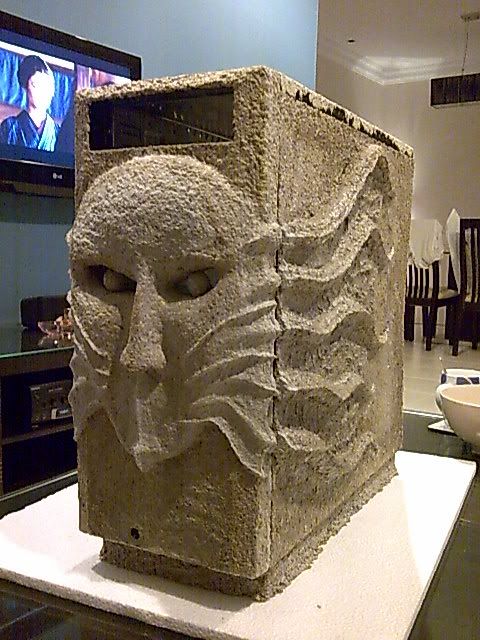
    I don't wanna stray too far from the original Matriarch itself, so this time I'm going for a half human half dragon grotesque theme that wraps around the case except for the top panel. Here are some sketches.


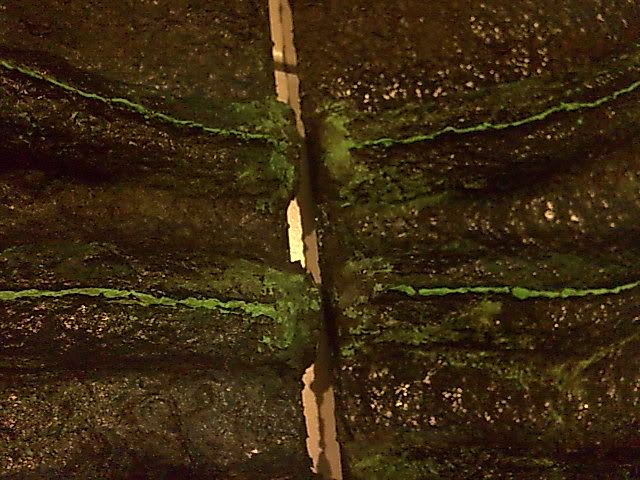
    Color combi will be black base, blue shades with green highlights.


    Materials

    Cheap case and a lot of paper
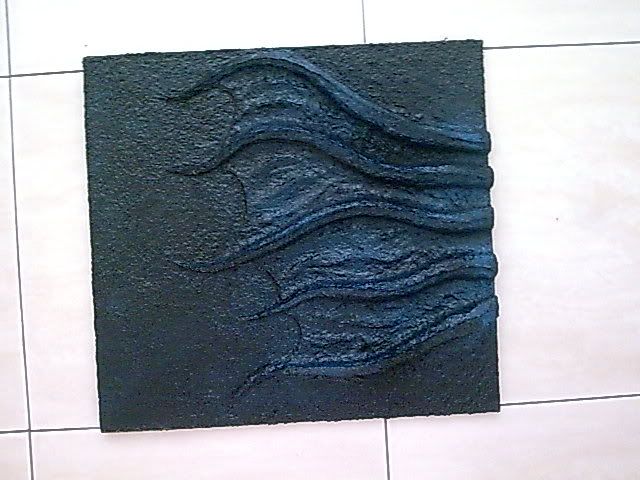
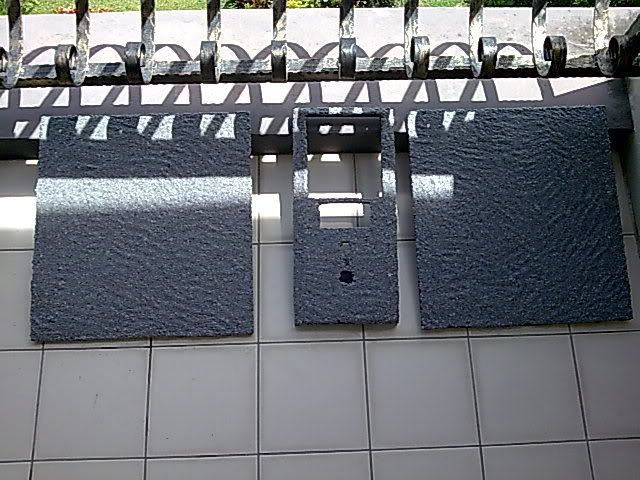
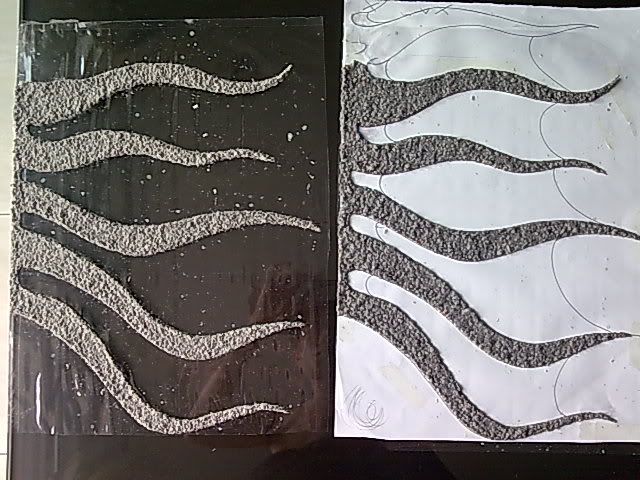
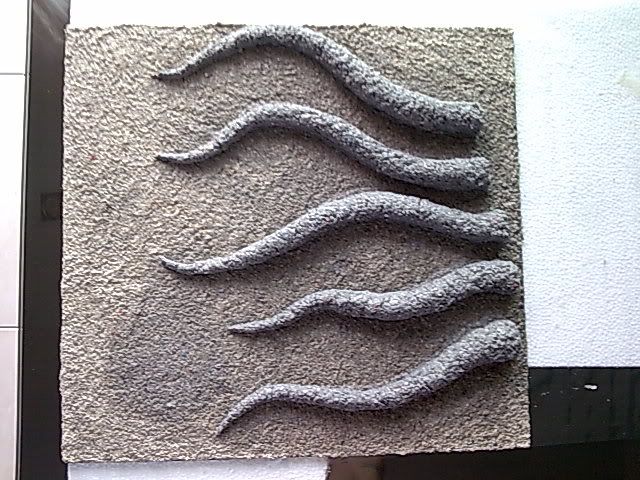
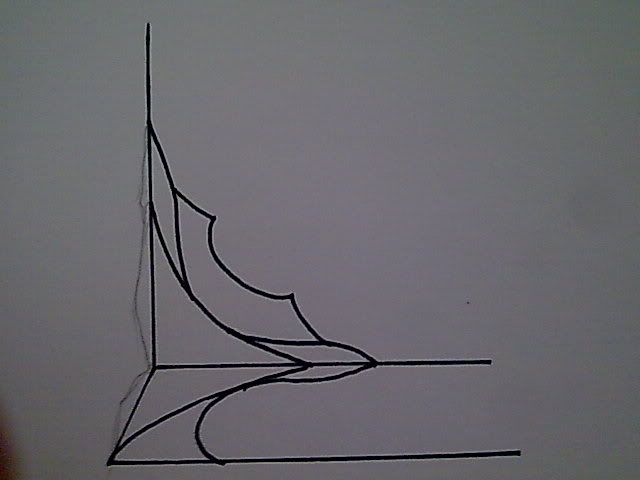
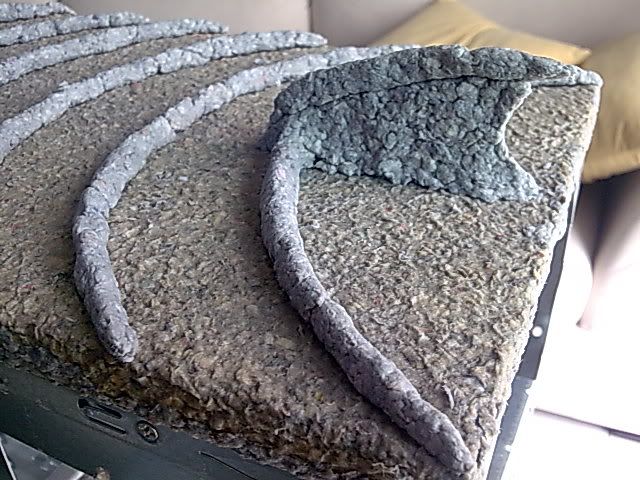
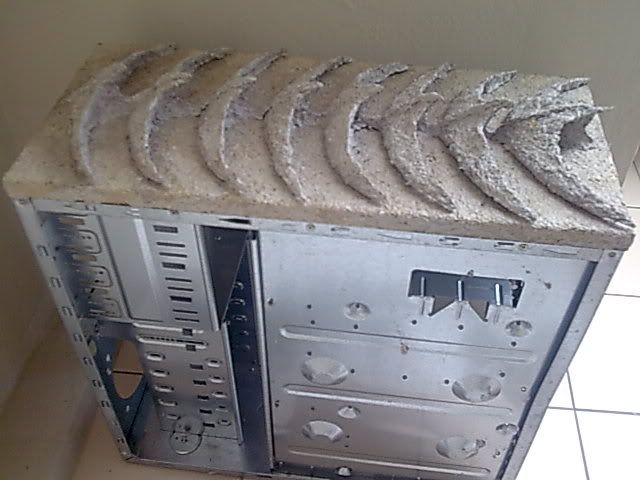
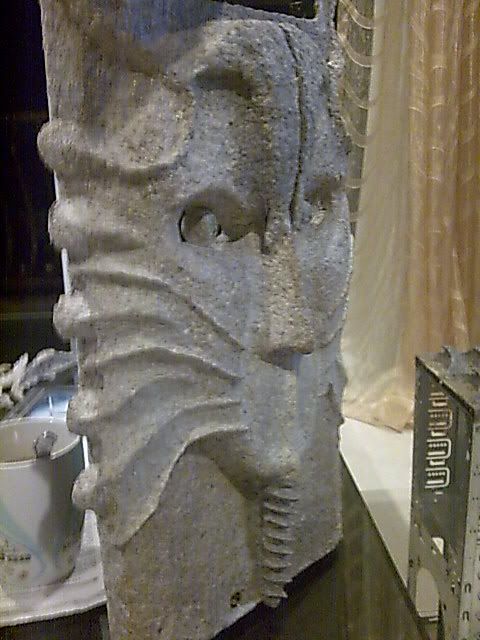


    Side Panels

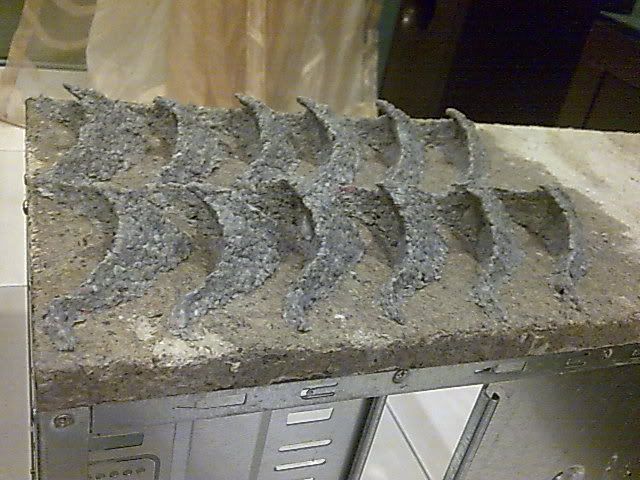
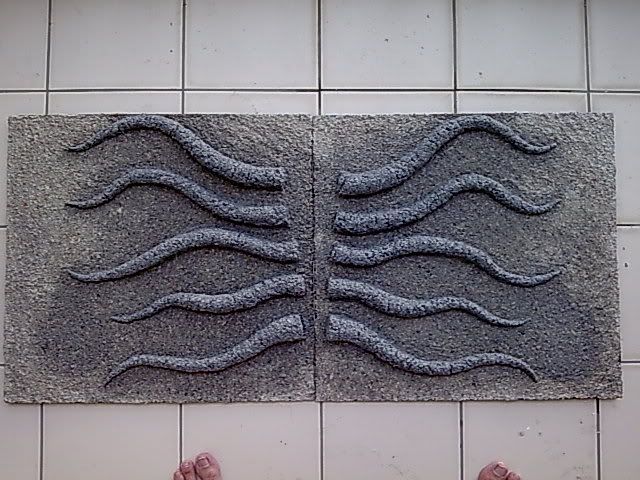
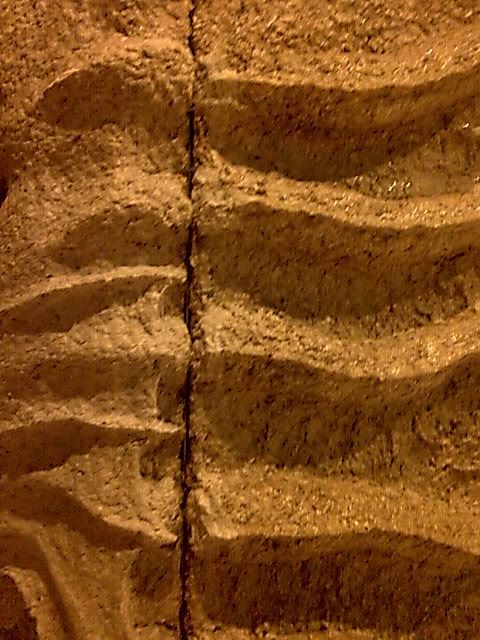
    I'm trying to get the case to look more of a whole instead of each panels having their own different designs as in Pprz. So in this WL both panels will look the same.


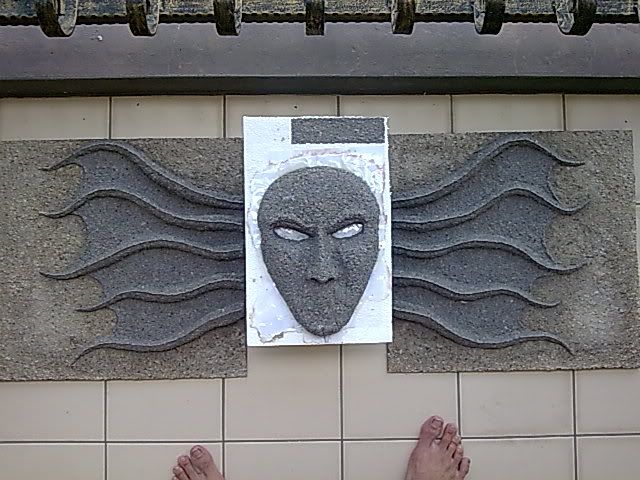
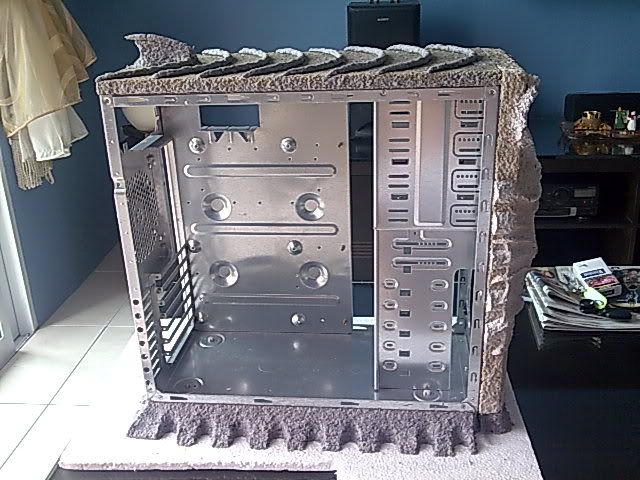
    To get an idea how it should be aligned with the face at the front


    Now you get a better idea of the whole thing on sides and front.


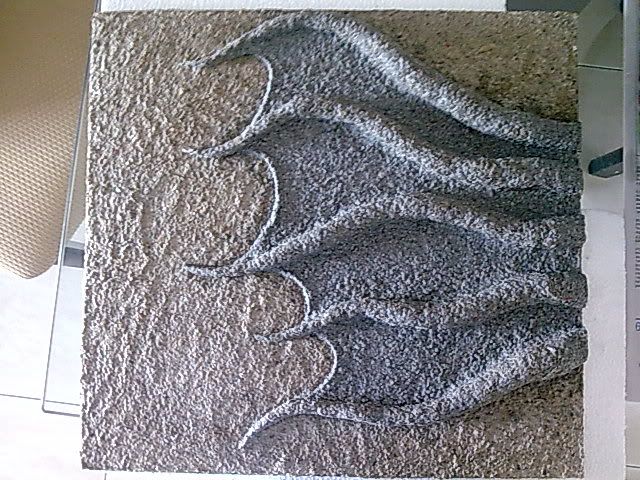
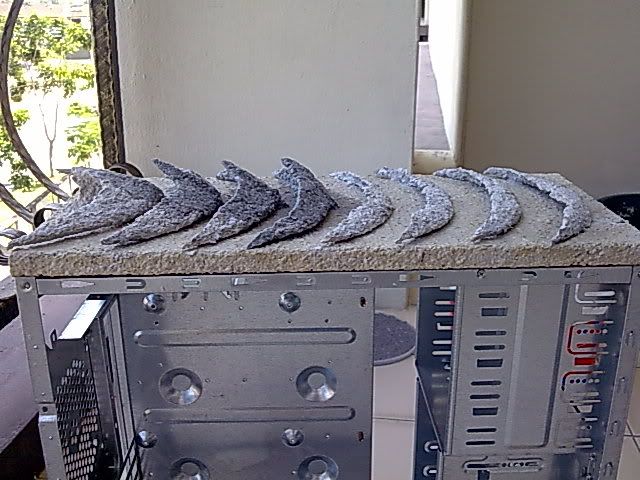
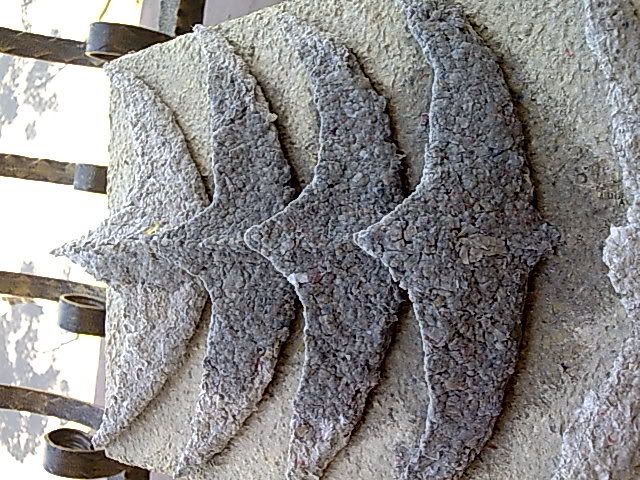
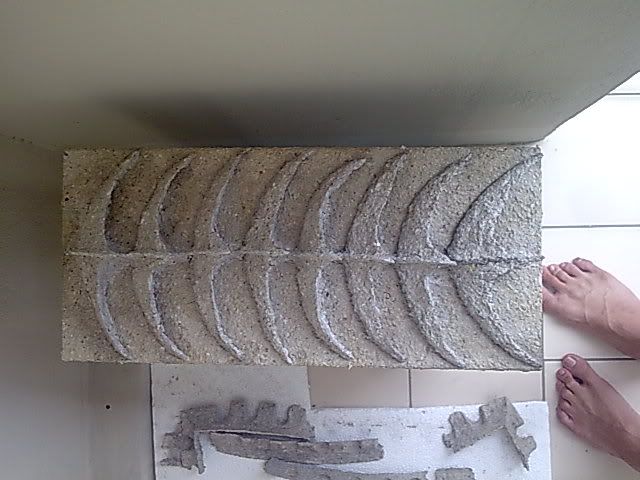
    Haggling if I should add ribs to the curves. Keeping it low profile for now.
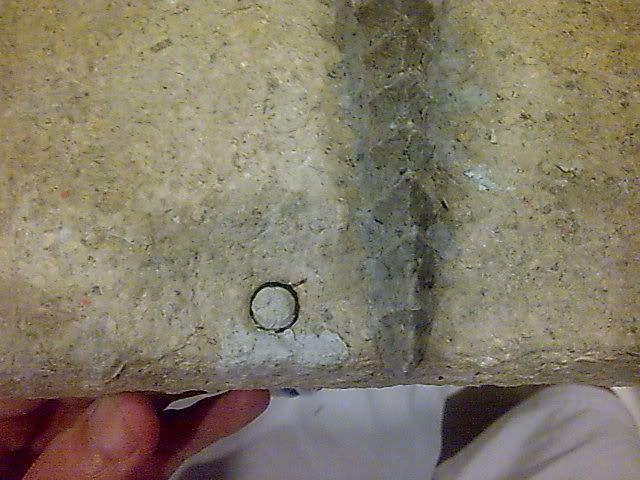
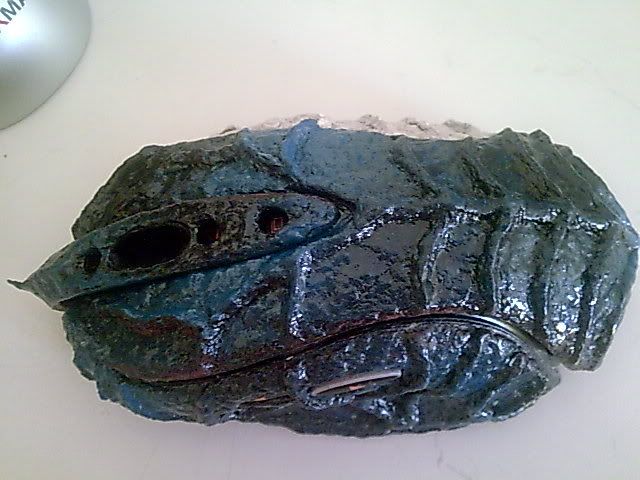
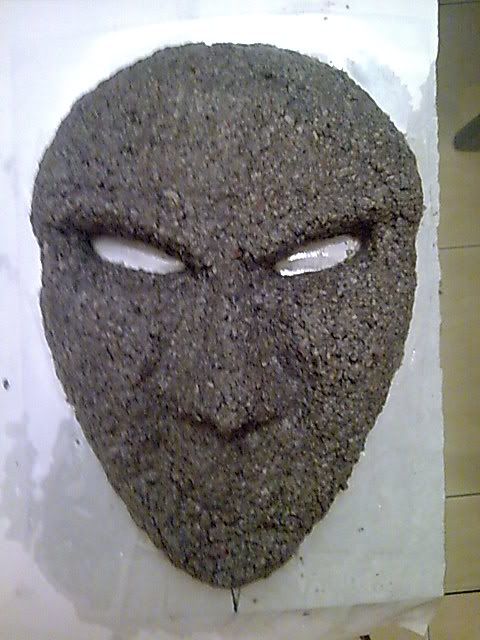
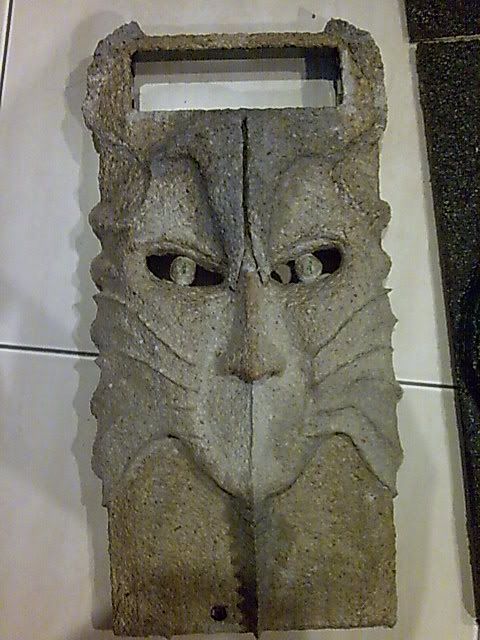

    Front Panel

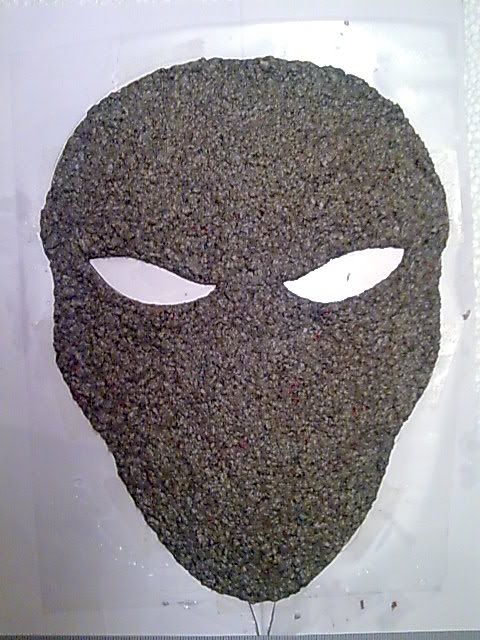
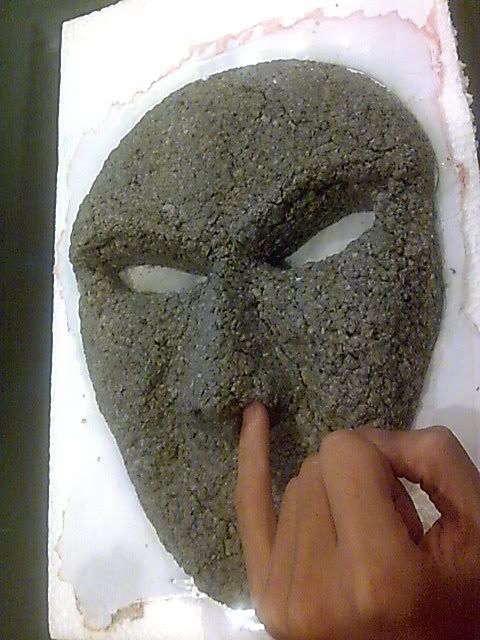
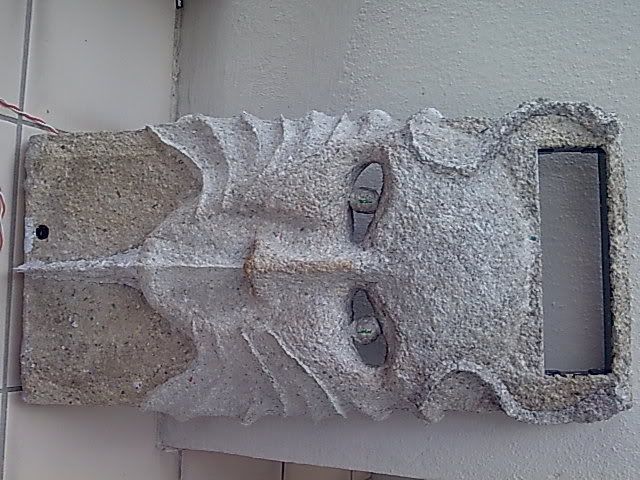
    This is a headache as everything else revolves around it. If the face doesn't get completed/dried, no work goes on until it is. Still halfway working on it as its still damp, probably detailing by tomorrow.


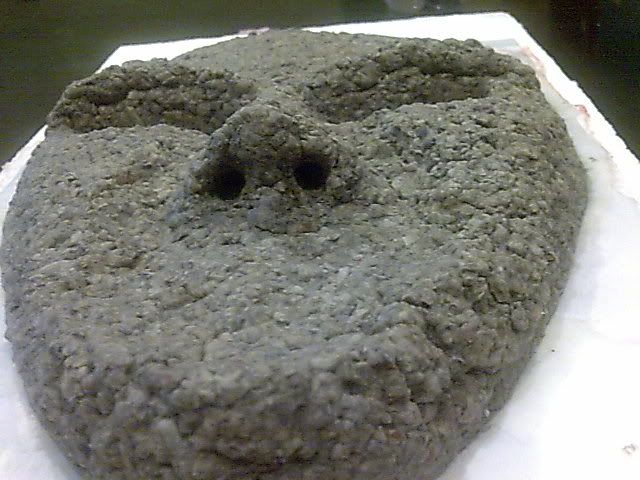
    Nostrils... LOL, so it can do something like below in its free time


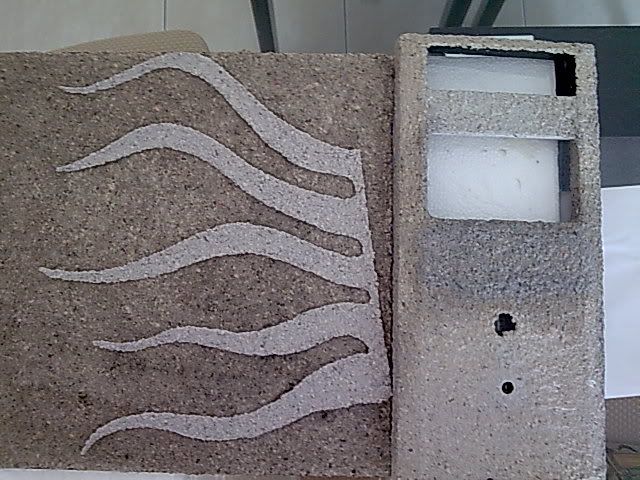
    Keeping a bezel on the 2nd column to support the top of the head.


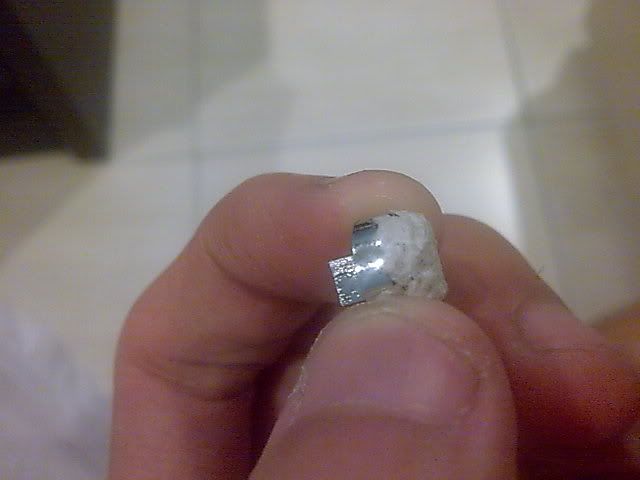
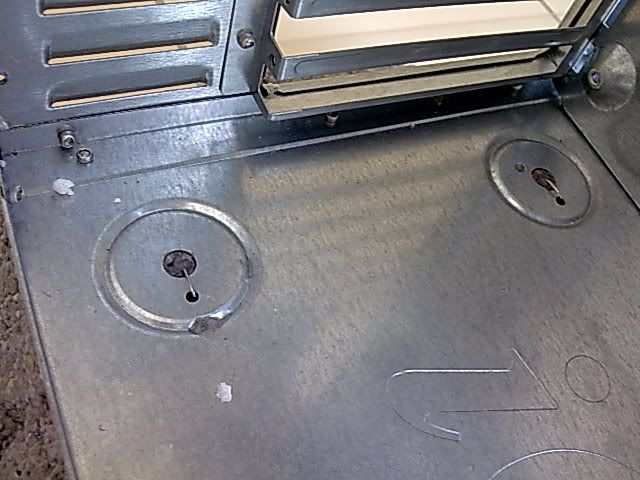
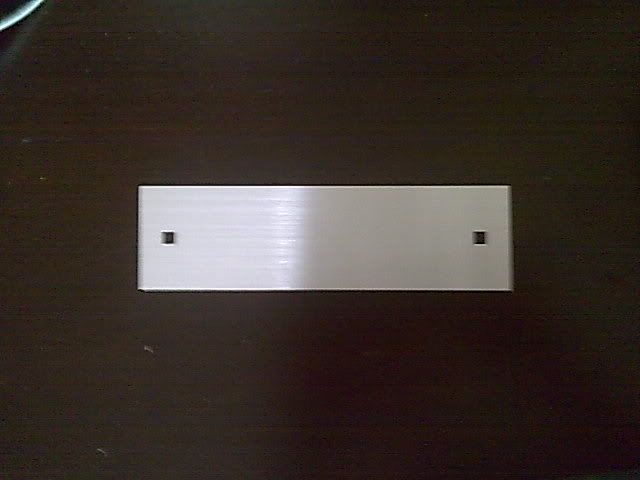
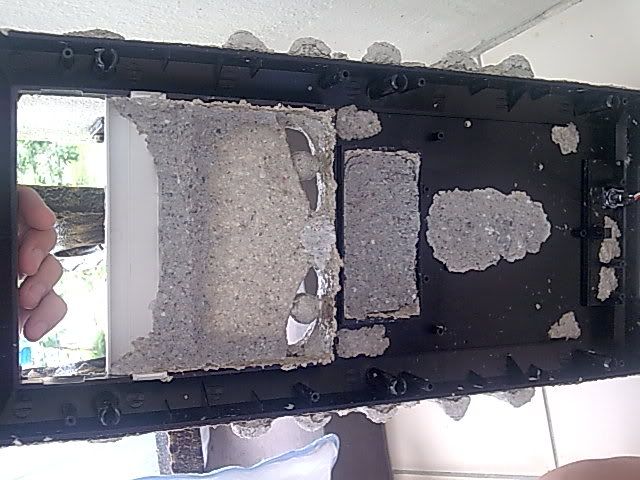
    For ROM stealthing, xtremely thin

    Still need to work a lot on the cracks in between and the size. Then detailing as well. The cheek looks kinda small and the eyes a lot bigger than it should be.
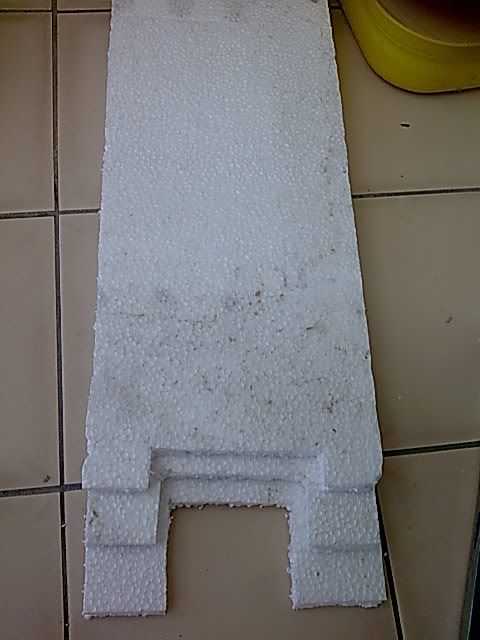
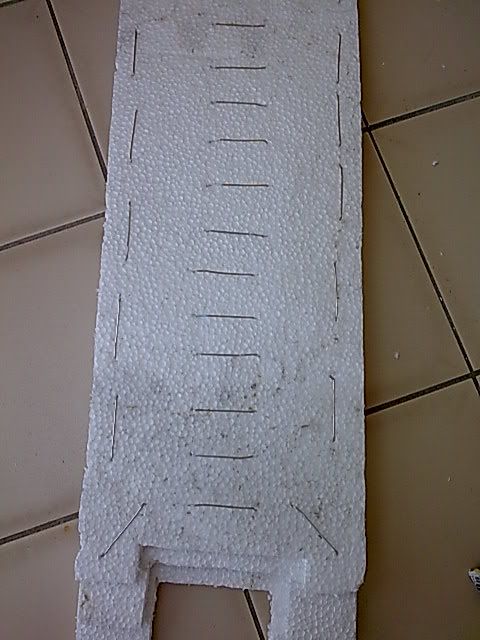
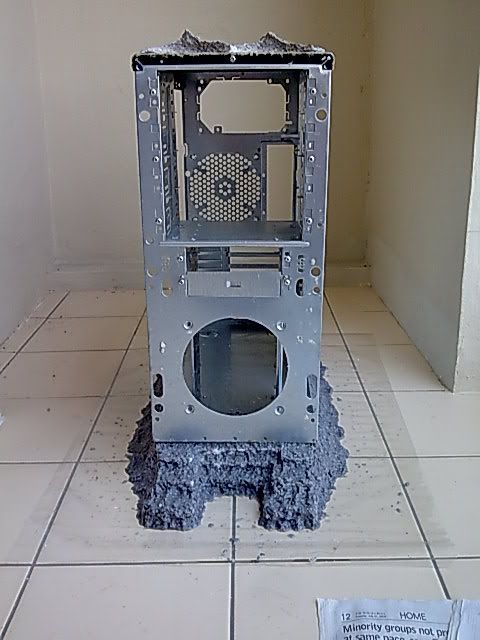
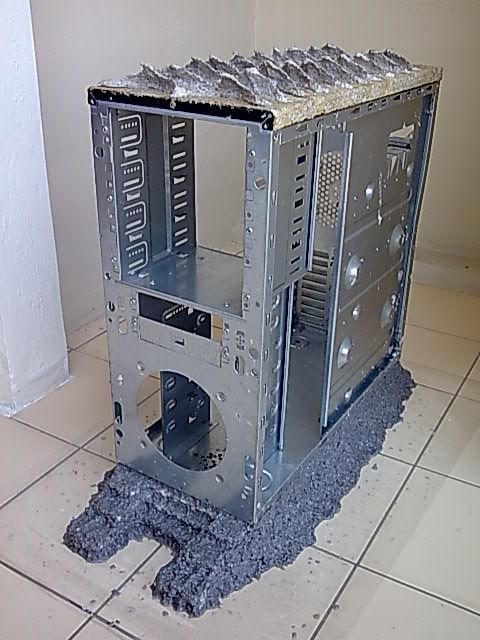
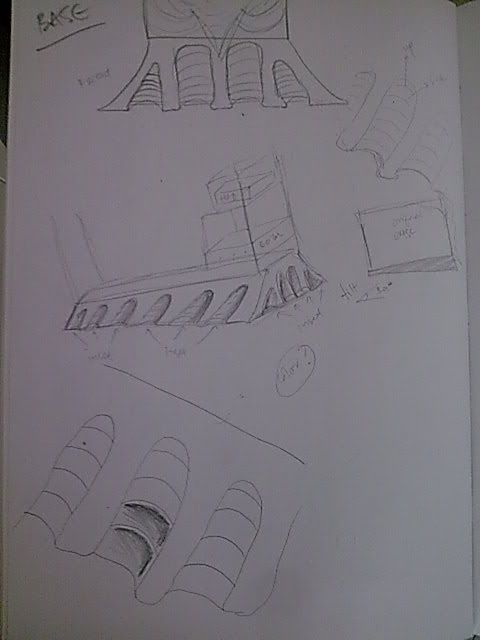
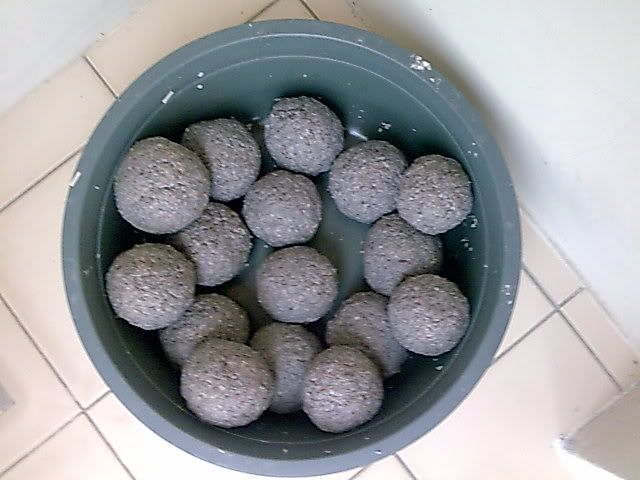
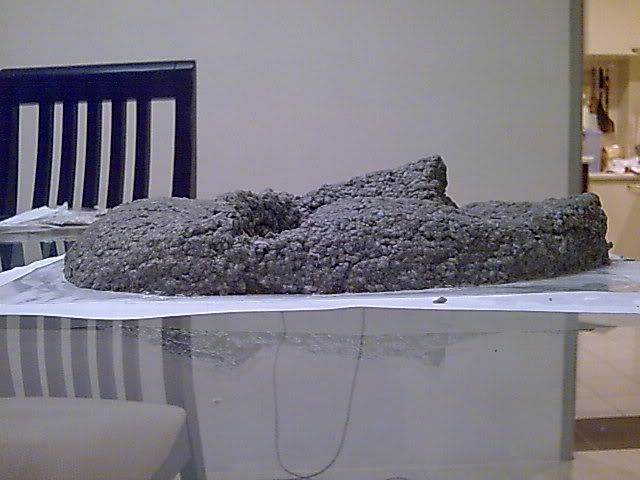
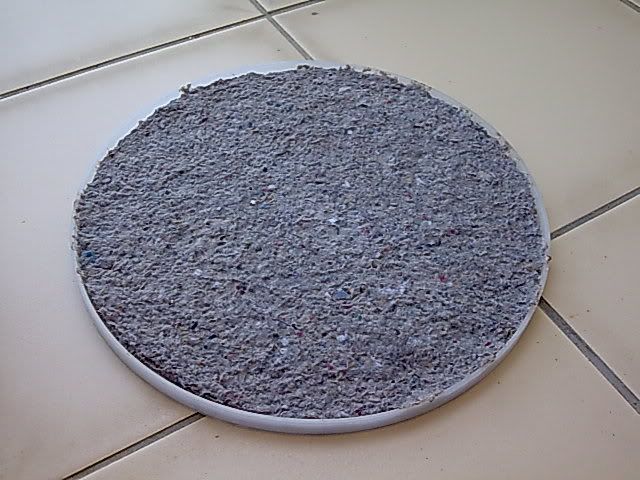
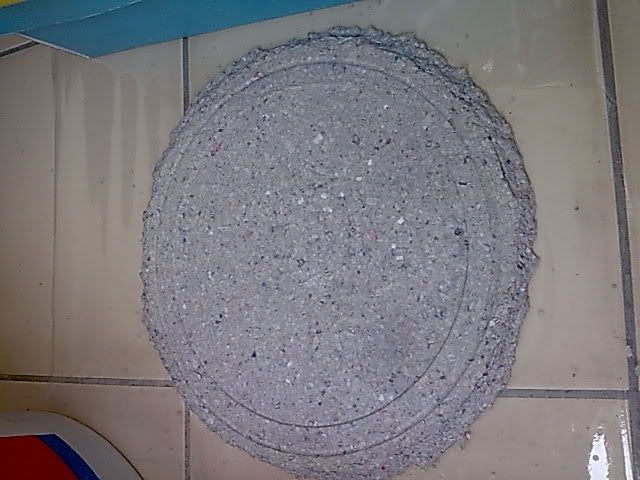
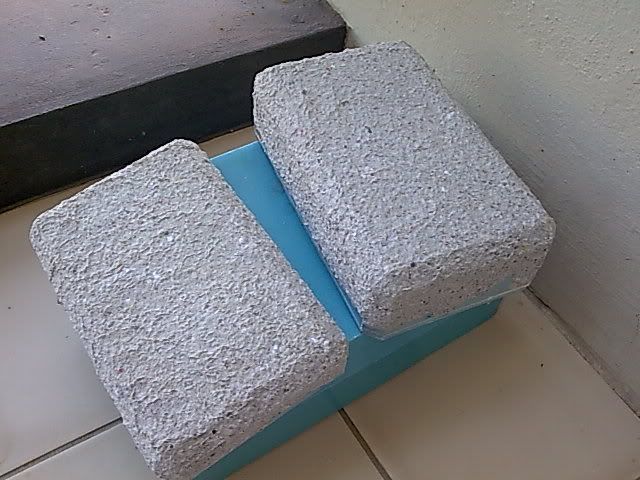
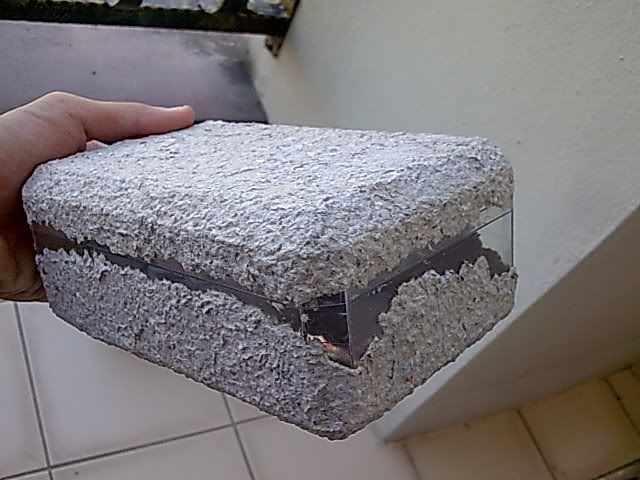

    Base

    Yessur, an extension to the base. Nothing will be in it, just a solid block of paper (as I don't have any tools with me, again). Kinda hard to wait on it, the thickness made the sun looks useless as well.
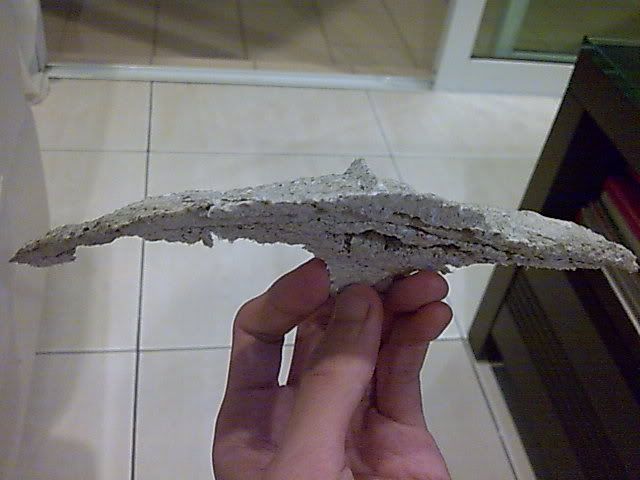


    Dumped stuffs


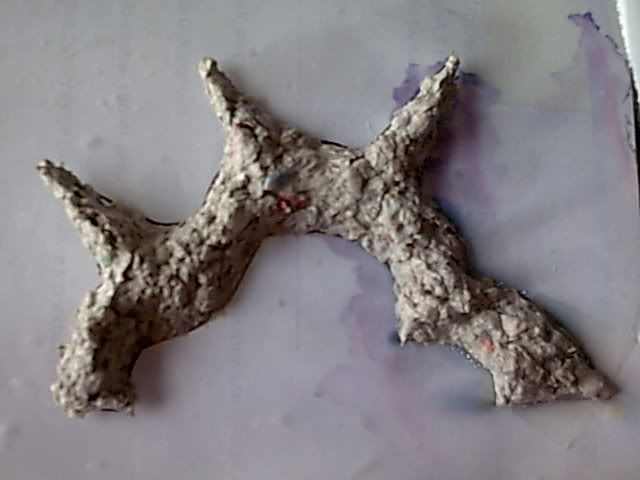
    Some random thing at first for the top panel. Scraped.


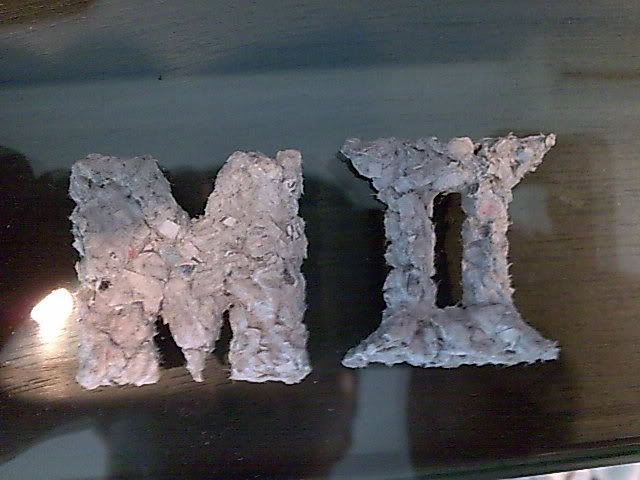
    Letters which IDK where to place. Scraped.


    Top panel hasn't been touched yet as I leave the case upside down to finish the base first. That's all for this week. Be back next week. Oh, about to start a new job, finally after 1.5 years of "retirement" lol.

  2. #2
    Caffeined Acey's Avatar
    Join Date
    Sep 2006
    Location
    Malaysia
    Posts
    588

    Default Re: Project M2 (Matriarch Rebuild)

    Didn't really work much on it this week. Weather's crazy. Real crazy, I think someone just released Calypso again.

    Side Panels

    Keeping it simple. Consider both of them done so far. Patching up holes and then adding some waves to the thing in between the things. IDK what they're supposed to be called LOL.


    Hate it when this happens. Cracks between joints.Took about 30 mins to fill up all of them and numb the hell out of me legs.


    Everything glued and re-glued so they're good to go for the paint job once I align the 'things' with the front panels.


    Front Panel

    Moved the face to the panel when its 80% done and nearly collapsed. Cracks between the nose-eye gap. Seems like the bezel didn't hold too well or the wet pulp in between the surface and mold is the culprit.


    This is the initial build according to the sketch (some parts off)... WTH are you doing between me legs????


    Looked too much like G-strings hanging off the face so took it off and now here's something more like what I want.


    Pop eyeballs in..


    Before and after shots of the forehead patching.


    Top Panel

    Just a sketch at the moment. Cant make up my mind if I wanna have 3 rows or just 1


    Scrapped

    First top panel design/sketch... Dumped


    Corner for panels.. Dumped


    Base

    Doubled the thickness of the base. Taking extremely long to dry.. about 70% dried now so probably can flip it back by tomorrow


    DEATHHH BY PULPPP


    Alrite, gotta go now, very rushed. Be back next week. Oh ya, say hi to David Beckham. He's somewhere in the pix. Good luck finding him.

  3. #3
    Caffeined Acey's Avatar
    Join Date
    Sep 2006
    Location
    Malaysia
    Posts
    588

    Default Re: Project M2 (Matriarch Rebuild)

    Quote Originally Posted by madd0ct0r View Post
    Is that base solid paper pulp?
    surely some holes would help it dry faster?
    100% paper. Thought of paper-coated styrofoam but spray paint eat through this thing like rat on cheese.

    Quote Originally Posted by The boy 4rm oz View Post
    Looking seriously good my friend.
    Thx mate. Anymore new stuffs? Haven't really got time to go through any worklogs nowadays till I get my own line (again).

    Quote Originally Posted by p0Pe View Post
    another one!?! yeah you got some wicked skills with that paper boy. truly unique
    LOL. I got another 2 in my head hahahah but gonna take a break from modding after this one, probably a scratch-build end of this year once I get more $ from work.


    There won't be any photos this week. Back in my hometown (about 7 hours' drive) to do some last minute packing before I start work at the new city next Wednesday. Come back to grab my hardwares and ransack the house to see if there's any stuffs to scavange for the case. So far found a soon-to-be mousepad.

    A lil' progress on the case since I only worked on it 3 days this week. But once I get back there's a lot of work to commence. Got these few days to go off mode from modding and decided what to continue when I get back. Here's the progress (text only :wallbash: ) and what other stuffs I need to do.

    Top: layered and laid the 'frame' for the stacked design on top. Something like Pprz's top panel but single-lined, much larger and taller.

    Sides: finished and aligned with the front panel. I'll probably re-do the "MII" lettering into smaller size, a base for the letters, frame. Then stick it to the lower bottom corner of the panels.

    Front: did some curves on the top part linking the face. With my ROM in hand when I get back tomorrow, can start working on the thickness of the drive frame and stealthing bezel. Need another UV-Green VIZO 120mm for bottom intake, I got only 1 so far. Will fill in the bottom part of the front (too empty) and merge with the base.

    Base: the curves have been 'carved' just like in the sketch. Cut off under the front panel so the front is one piece with the base. Once all dried time for detailing.

    Mousepad: going the easy way this time. Got a milk-can plastic cover and will fill it up to the brim and then the other side, that way both sides will be smooth. Keeping it simple in the middle and wings designs on the sides. So its gonna be pretty large once done.

    Mouse: re-using the MX150 from Pprz, same design, different paintjob. I just can't leave that mouse alone since most mouse in the market can't even fit nicely when you have the fingers as long as a circus freak.

    Keyboard: getting a new one once I get my first paycheck in 1.5 years (lmfao) end of this month. Aiming towards smaller sized k/b to give offset the size of the mousepad. Gonna hand paint the letters in.

    Mouse case: somewhere to keep the MX150 and keep the design intact if I can find/afford a newer design soon. Using a Ferrero Rocher medium-sized choc box (clear thin plastic) that I scavenged from home.

    LCD: leaving the back panel alone, gonna try to disassemble the front cover. Most job will be done on the stand and span wings all the way out and curve it into the frame itself.


    So that's basically all that's left to do for this one. Gonna leave the speakers alone. Took it apart and noticed both top and bottom part are soldered together so can't really take the insides out and work on the box. See you guys next week

    p/s: can't log-out from this bloody pc in the internet cafe so any posts from this onwards ain't from me.

  4. #4
    Caffeined Acey's Avatar
    Join Date
    Sep 2006
    Location
    Malaysia
    Posts
    588

    Default Re: Project M2 (Matriarch Rebuild)

    Quote Originally Posted by Eclecticos View Post
    A truly incredible project. Its like the Frankenstein of pc cases.
    May even come to life and fly away. +Rep
    If 1 day I go missing from every forum you'll know what happen hahaha

    update time...

    Front Panel

    Did the alignment and some touch ups on the cracks.


    Patched some holes at the back to hold both sides


    Top Panel

    I got a BMW


    Looks really horrible, once it dried everything bent...


    Be tearing them up tomorrow and redo them


    Mousepad

    Little indent from the plastic cover itself. Drying it now and should have both surface extremely smooth compared to last one.


    Box

    Still yet to work on the detailing.


    Base

    Lol the base fell off while still drying (I flipped it around). Too heavy while its still wet, just like Rosie O'Donnell hanging on to a string on the 7th floor. Gonna rebuild it with 2 layers of styrofoam.

    That's all for now. In a rush again. See yall next week

  5. #5
    Caffeined Acey's Avatar
    Join Date
    Sep 2006
    Location
    Malaysia
    Posts
    588

    Default Re: Project M2 (Matriarch Rebuild)

    Quote Originally Posted by DonT-FeaR View Post
    oh very cool!

    loving it
    Thx mate


    Quote Originally Posted by The boy 4rm oz View Post
    Any progress on LEXA? I finished her, the mobo died, the CPU block corroded and I built her again lol, just got some final touches to do and I am doing another photo shoot. I will throw you a link when I do.

    This whole thing is looking great. I really liked your original design but I must say that your revision is much better, excellent work.
    GL with LEXA.. a lot have changed for the front panel


    Quote Originally Posted by si-skyline View Post
    Looking great

    you got sweet line up with side and front panels, good job
    Thx mate. Re-aligning the FP and sides. Somehow newspaper is of poor quality compared to white A4s. It shrinks


    Quote Originally Posted by DonT-FeaR View Post
    my case.. vento massive update soon


    Will update in 2 days.. a lot different now. Could say its 80% complete and some test-paint done on the sides. Probably will spray it with all the panels slapped on together.

    After this one's done I might go AWOL for a couple of months and try out plastering. Should be back in action early next year... Next mod might be this


  6. #6
    Caffeined Acey's Avatar
    Join Date
    Sep 2006
    Location
    Malaysia
    Posts
    588

    Default Re: Project M2 (Matriarch Rebuild)

    Quote Originally Posted by Waynio View Post
    Cool, a paper mache artist modding pc's, looking awesome m8 . +Rep
    Thx mate updates below...


    Front Panel - Done

    The forehead looked kinda empty. Stripped the original top panel off and didn't really plan to mod that night till I fool around with the scraped designs.


    Hammerhead lol... then broke them into halves and just place them on the forehead. Looks good, green light. Waste not...


    Looks like certain body part 
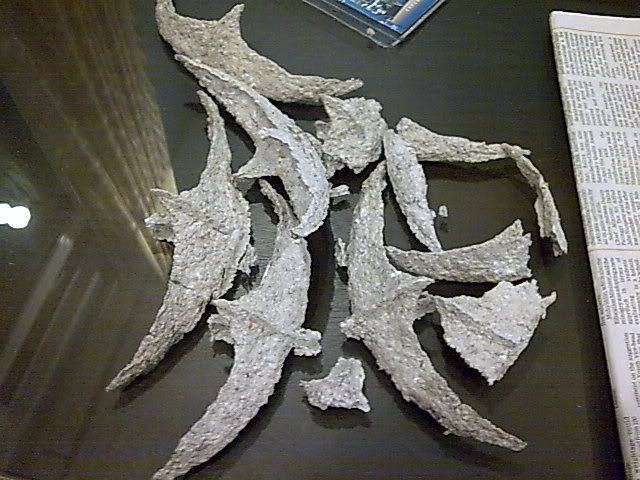
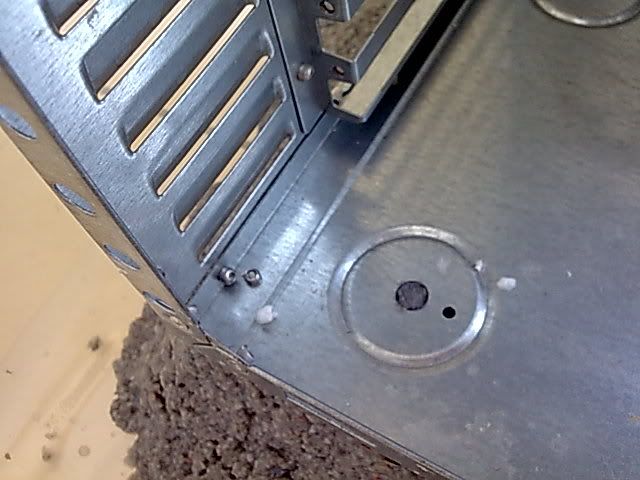
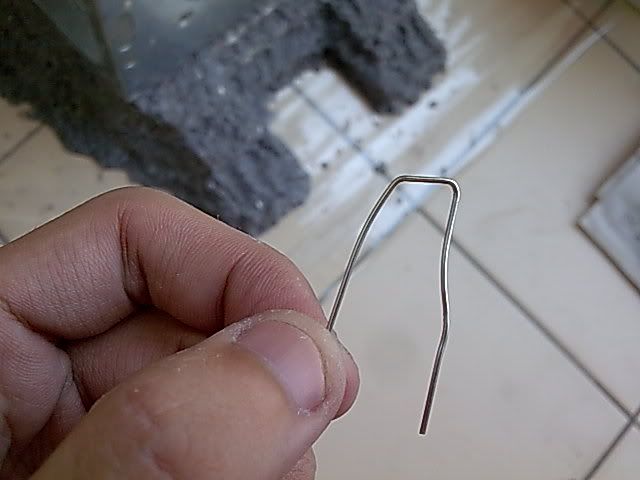
lol.. And the power switch (don't use the reset button at all)


    Done...


    Side Panels - Test Paint

    Some test paint on Tuesday to see what it looks like...


    Here you can see its bluish, but then off the sun it's hardly visible so gonna re-do it. Chuck in some lime green and cobalt blue, randomly mixed and painted


    Still missing the bluish effect.. nvm, test phase hehe


    Top Panel - Done

    Scrapped the last one.. now its done. Keeping it low profile so this is the only thing I can come up with for "low profile"


    Those are some big-ass bras to fill...


    Base

    Re-built. Cut out 3 pieces of styrofoam and glued them together using UHU glue instead of super glue (eats into the thing). Then hold them together using bent paper clips.


    Layered some paper between the bottom of the case and the foam, and another layer below the foam. Coat everything up at the side.


    Take out the extra and this is what we have.


    On the inside since I took out the feet, there are holes so gave it a lil grip..


    Hopefully this should dry much faster than the previous all-paper build. And since I'm working wouldn't really have to touch it as I only get home after sunset.


    Mouse

    Same one from the previous mod, only changing the color. One side got wrecked while being in the box that was shipped back when I moved home.


    That's more or less the type of blue-ish highlight I want for the whole case. Just need to get the other side sprayed and then in comes the green.


    That's all for this week... 80% near completion for the case itself. Just paint, a lil bit of the insides worked, and the 120mm bracket below the ROM. After that its keyboard and the LCD.

  7. #7
    Caffeined Acey's Avatar
    Join Date
    Sep 2006
    Location
    Malaysia
    Posts
    588

    Default Re: Project M2 (Matriarch Rebuild)

    Quote Originally Posted by DonT-FeaR View Post
    base looks wicked..
    well it all does... great work mate!
    Thanks mate, now stop bumming around and go work on your mods


    Quote Originally Posted by billygoat333 View Post
    wow this thing is sick! I LOVE the mouse. sweet ass.
    Thanks The mouse was from my previous project (somewhere far down in the WIP section). Just give it a fresh coat of paint since can't afford to get another 100+ mouse rite now.


    Quote Originally Posted by p0Pe View Post
    still wicked looking! the face on the front looks a bit... "flat" though. but i imagin you arent done putting details on it yet
    Thanks. Lol I was wondering where were you. The face is actually done, too much details will spoil it I guess since the sides are all compact.

    Another morning in the office.. and now I gotta give this PC back to my colleague and the chair back to another... dayumm

  8. #8
    Caffeined Acey's Avatar
    Join Date
    Sep 2006
    Location
    Malaysia
    Posts
    588

    Default Re: Project M2 (Matriarch Rebuild)

    Quote Originally Posted by Mark_Hardware View Post
    truly impressive work my friend. Lot of skill that I don't possess. +rep
    Thanks mate. But you got cutting skills that I don't even have the basics lol


    Updates: Won't have any updates on the project this week. Still waiting for the base to dry before painting.

  9. #9
    Caffeined Acey's Avatar
    Join Date
    Sep 2006
    Location
    Malaysia
    Posts
    588

    Default Re: Project M2 (Matriarch Rebuild)

    OK i gotta be runnin in a while so i'll make this update short. Seems like the green doesn't really work well as part of the theme so I'll just do with black and blue shades.

    All plastered up


    Pray and Spray


    Missed some spots =/


    With the green in


    So I re-spray the thing last night. Photo doesn't show much of the shade since the apartment is using yellow bulbs. I'll need to re-take in the morning


    That's all for now. Gotta run to see clients. Another bum ass long drive =/

  10. #10
    Caffeined Acey's Avatar
    Join Date
    Sep 2006
    Location
    Malaysia
    Posts
    588

    Default Re: Project M2 (Matriarch Rebuild)

    Quote Originally Posted by The boy 4rm oz View Post
    Man that looks awesome, the paint really goes well with the theme.
    Quote Originally Posted by DonT-FeaR View Post
    yeah that looks wicked!
    Thx mates. Now trying to redo and get the balance for the green. Contrast is too uh.. "unblendable" lol

Posting Permissions

  • You may not post new threads
  • You may not post replies
  • You may not post attachments
  • You may not edit your posts
  •