Parts Needed
1x Fuel Gauge
1x Oil Pressure Gauge (Or gauge of your choice...)
2x 1/8" Rivets
Tools Needed
1x Can of Brake Cleaner
1x Cotton Rag
1x Rivet Gun
1x 1/16" Drill Bit
1x 1/8" Drill Bit
1x 3/8" Drill Bit
1x Drill...
2x Jewelers Screw Driver
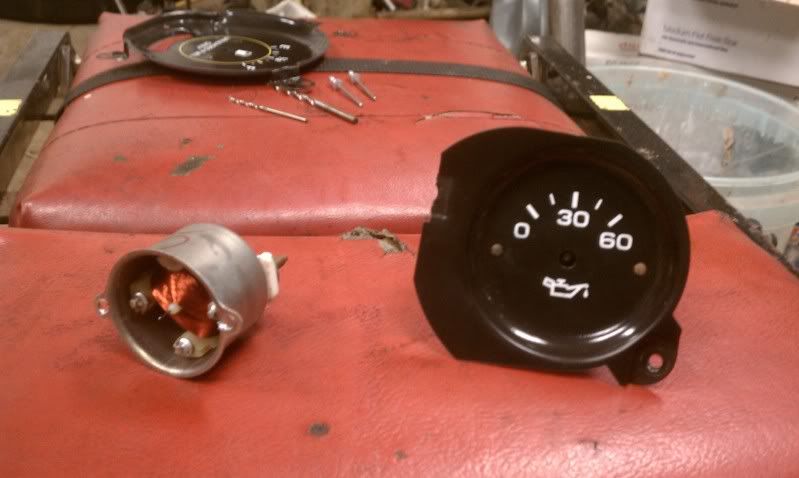
First thing I did was take a square and made sure the marks on both gauges matched. As far as I can tell, they do. Next I set the needle of the fuel gauge at 1/2 tank and used the two screw drivers to gently pull the needle off. Making sure not to move the needle from the 1/2 position. After this I repeated this process on the oil pressure gauge.
Next I took the fuel gauge and laid it face down on a cloth. Using the 1/16" drill bit I drill out the old rivets. Then using the 1/8" drill bit I enlarged the holes on the mechanism it self. Followed by the 3/8" drill bit to "bump" the holes to knock off the burs.
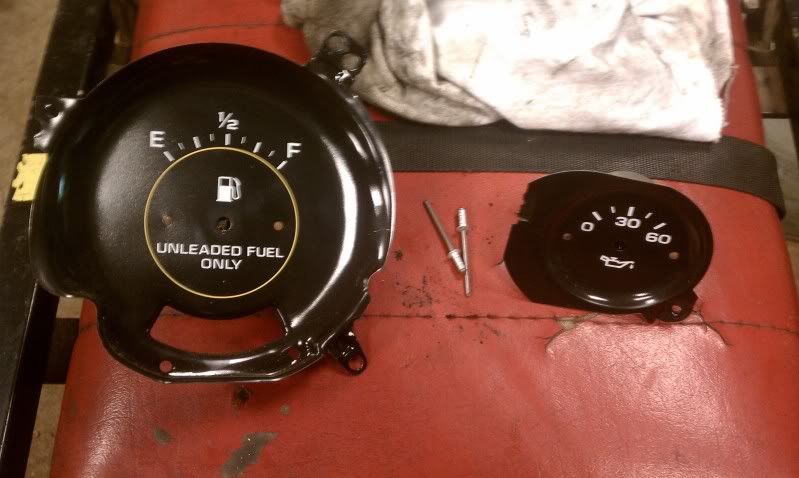
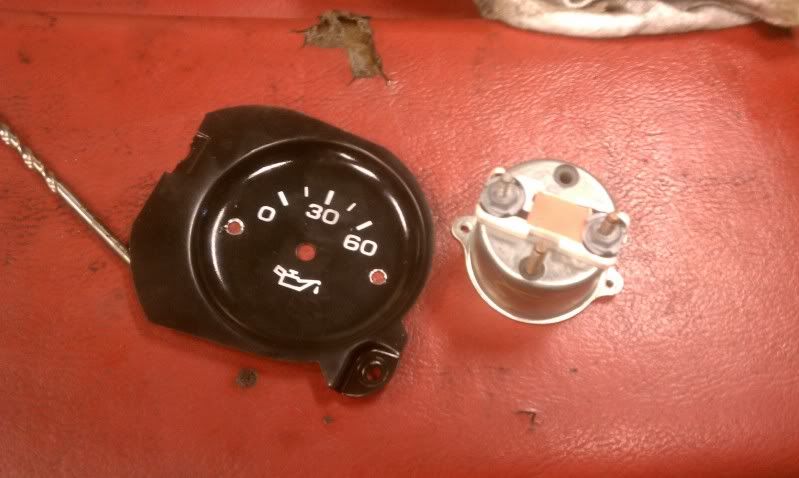
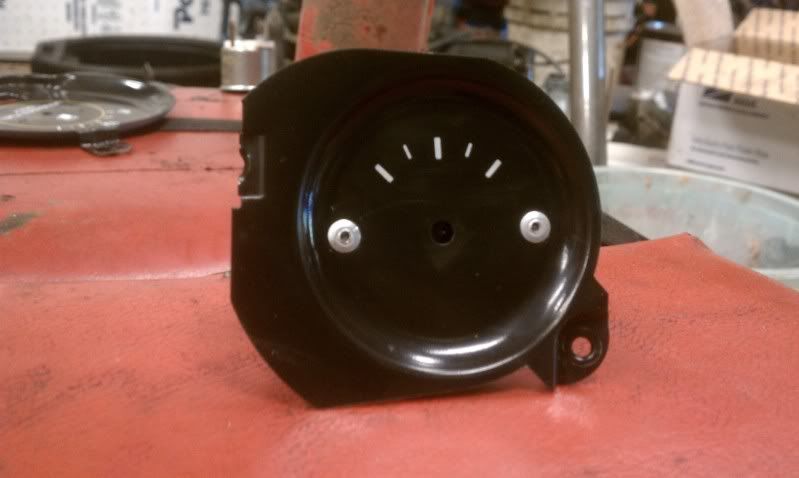
Fuel Gauge mechanism (left) next to the oil pressure gauge (right).
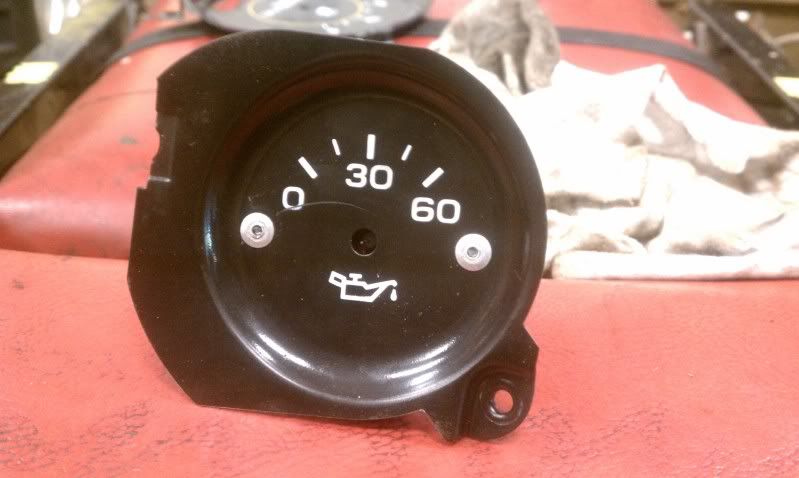
Repeated the last step on the oil pressure gauge, but instead of enlarging the holes on the mechanism, I enlarged the holes on the gauge face.
Taking the fuel gauge mechanism, and the oil pressure gauge face I stuck the rivets through and tightened both the rivets to make sure it is lined up right. The "popped" the rivets.
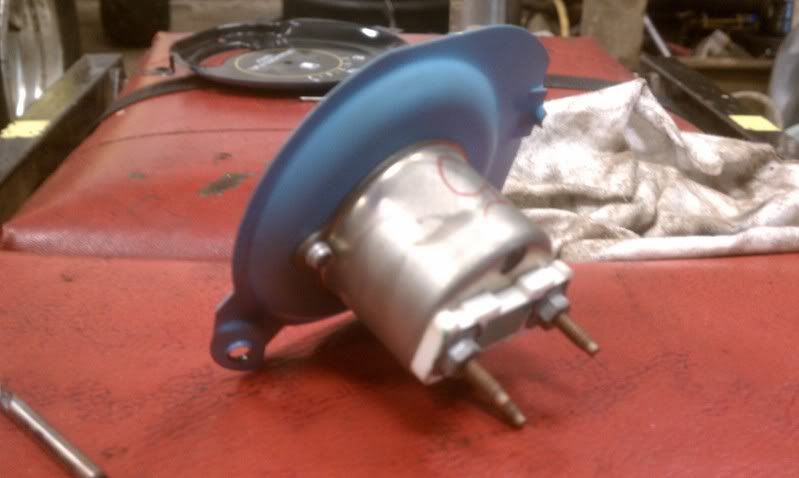
Now because oil pressure reading aren't going to look right I took some brake cleaner, and a rag to rub the numbers off. At this point you could use water slide decals, or whatever you prefer to add proper fuel level marks.
And finally add the needle from the oil pressure gauge. Making sure to set it at 1/2 liked you pulled the old needle off.
That is the easy part, now I gotta figure out what to do for a tach...


 Reply With Quote


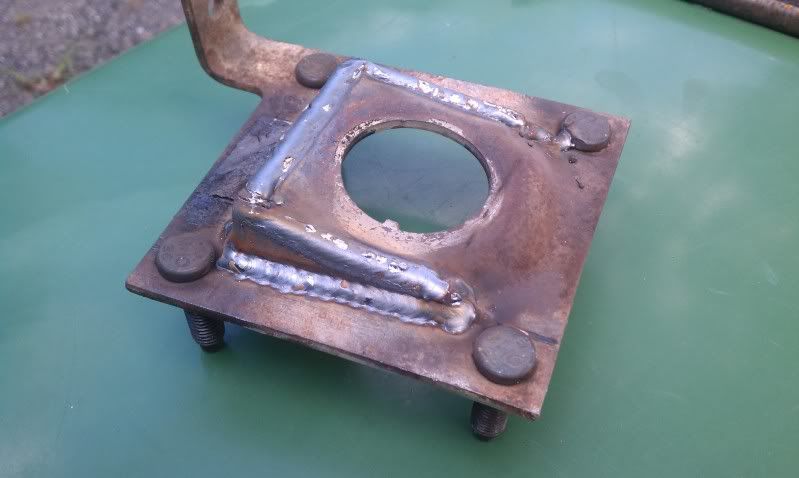


 He volunteered himself to weld it. At least I knew he'd do a good job. You should see him Arc weld!


