-
 Re: My RepRap Build. (3d printer for those not in the know)
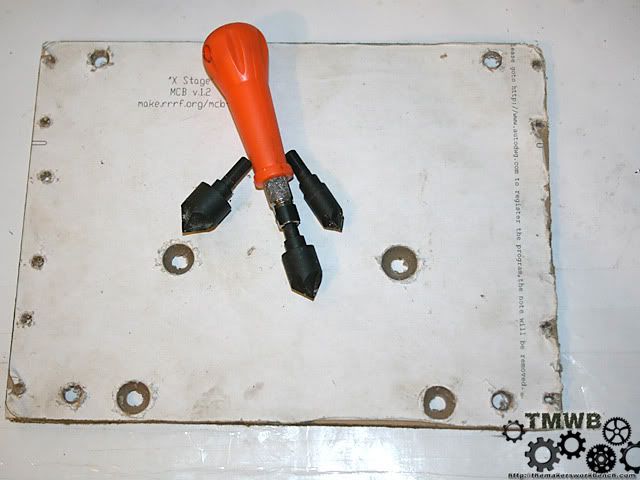
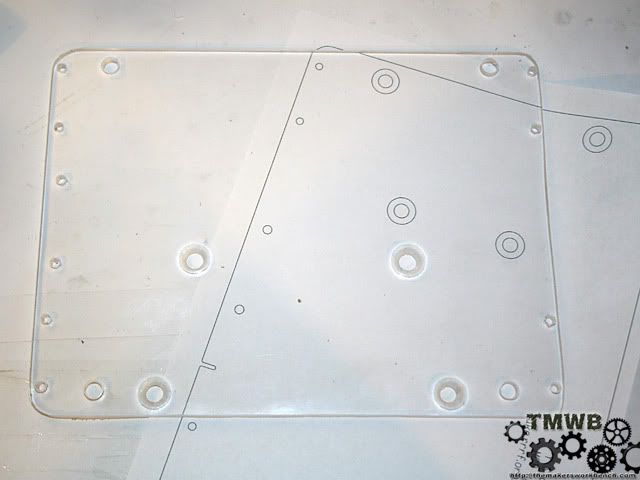
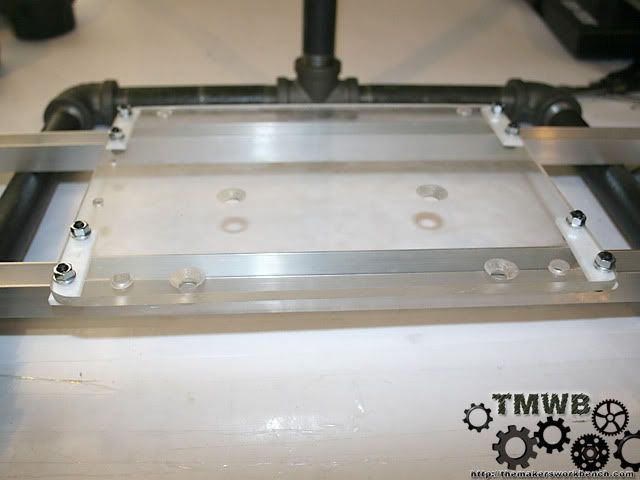
Small update. Yesterday I cut the plexi out for the X stage. I lost my jigsaw (i think it may have grew legs and walked off) so I did things the hard way and cut the x stage out with a hacksaw. The cut was a little crooked but I straightened it up with a drum sander. I did decide to go with the printed guides rather than trying to do it all from scratch. This was mainly due to lack of information that I needed to start the drawings.
So I printed out the drill guide and glued it to the protective paper on the plexi, then cut it out.
Next I drilled and counter sunk the holes. The counter sunk was done with an 11/16 bit and I stopped just shy of the full depth. This let the 5/8" flat head machine screws sit nice and flush. Note that I also drilled out the PTFE bearing mounting holes out to fit the M5 Cap screws. This made more sense than using the self tapping 10-24 screws.
Then I pulled the paper backing off and inspected my work. Everything looks great.
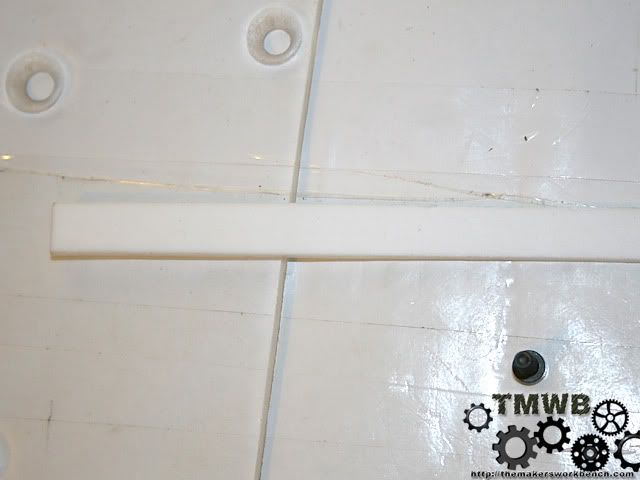
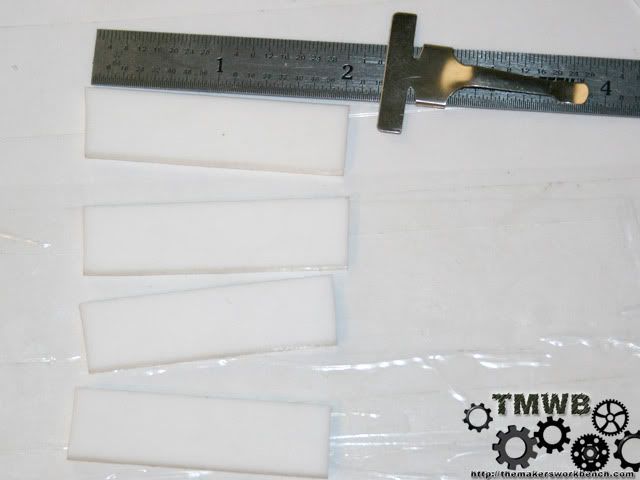
Now we need to cut 1/2" x 1/8" PTFE strip.
I cut these at roughly 2 inches long. We need 4 for the X stage. To cut them I used a ordinary box cutter.
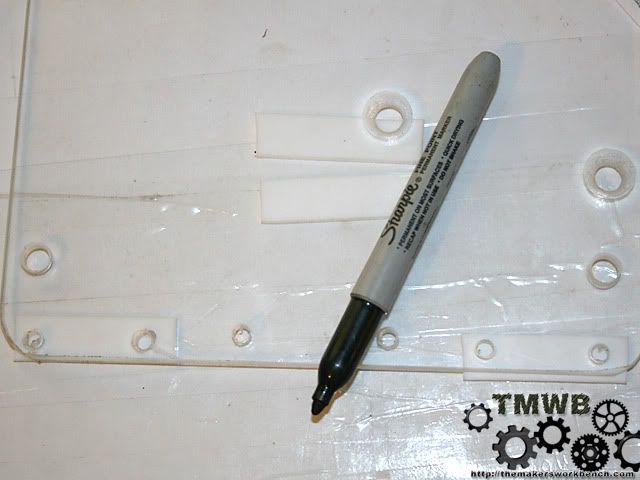
Now we need to mark the hole placements. This is easy to do by just laying them under the plexi and making a dot.
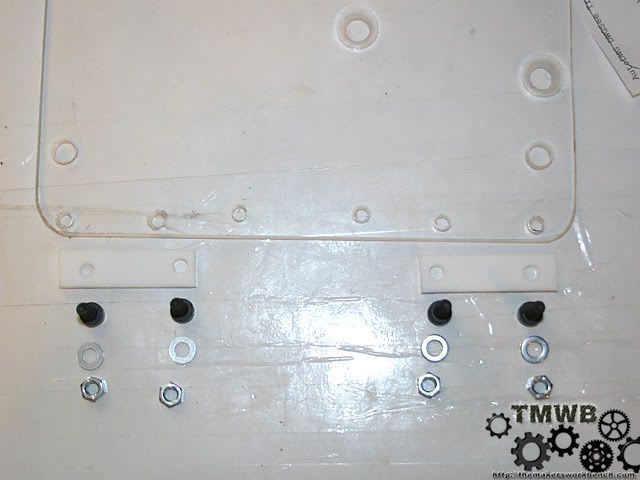
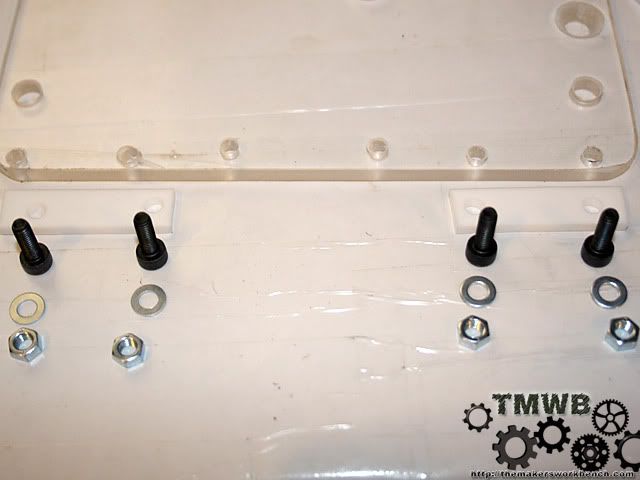
Then drill out the holes with a 13/64" drill bit. The same one we used to drill out the holes in the plexi. Grab 4 M5 cap screws, 4 M5 washers, and 4 M5 hex nuts.
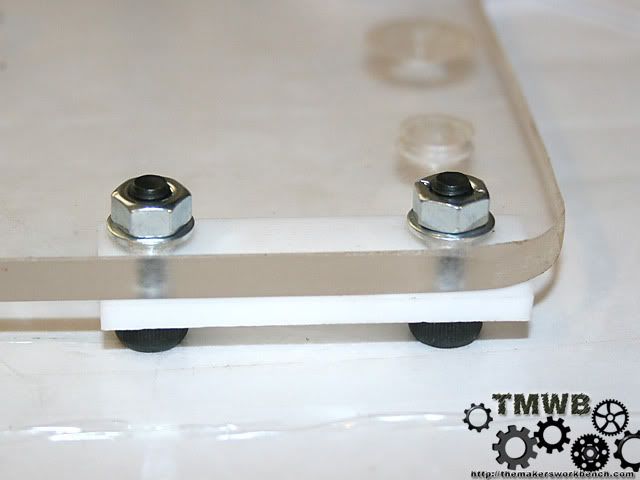
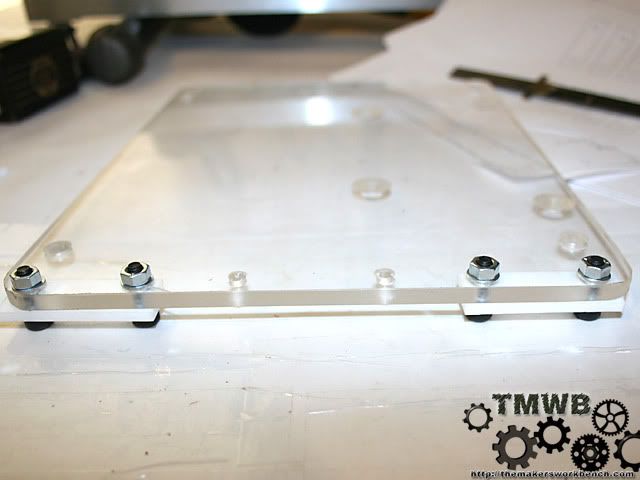
Now secure the PTFE bearings to the plexi with the M5 hardware.
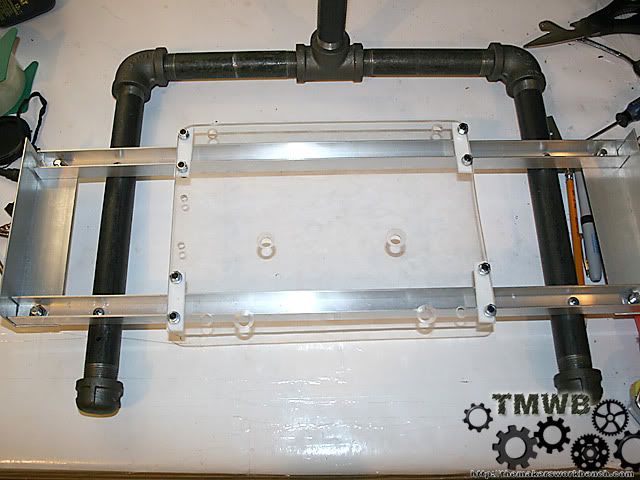
Now place the x stage onto the rails. IF it fits right you should have a 1/16"- 1/8" gap between the M5 screw heads and the rails. A little more or little less wont hurt anything. What we are looking for is that nothing is binding. Move the stage all the way from one end of the rails to the other. In my case I had to elongate 1 of the M5 screw holes in my stage plexi and ptfe bearing about "1/32 of an inch. It was not binding but was too close for my taste.
I was hoping to include the skate bearings install in this update but UPS has not delivered them yet. I also need to go out to my shop and cut the bearing arms out on the band saw. So they will be saved for the next update.
-
Re: My RepRap Build. (3d printer for those not in the know)

Originally Posted by
Drum Thumper

you tease!
-
Re: My RepRap Build. (3d printer for those not in the know)
Thanks man. I am still waiting on UPS to deliver my 608 size skate bearings. They finally admitted that they are lost. So who knows when I will get them.
-
Re: My RepRap Build. (3d printer for those not in the know)
Looks like your well under way on this. Keep it up!
-
Re: My RepRap Build. (3d printer for those not in the know)
-
Re: My RepRap Build. (3d printer for those not in the know)
lookin good man, cant wait to see it come together!
-
Re: My RepRap Build. (3d printer for those not in the know)
Thanks SXR.
The bearings arrived today. A UPS manager delivered them in her personal car with an apology and told me that my shipping $$ will be refunded to the shipper and they will send it to me. I am happy and I have 32 608 sized skate bearings just waiting for projects.
-
Re: My RepRap Build. (3d printer for those not in the know)
Well thats badass!
-CollinstheClown
-
Re: My RepRap Build. (3d printer for those not in the know)
Thanks Collins
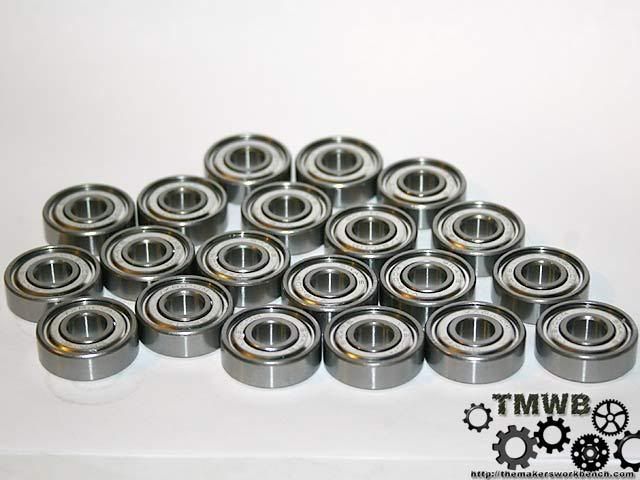
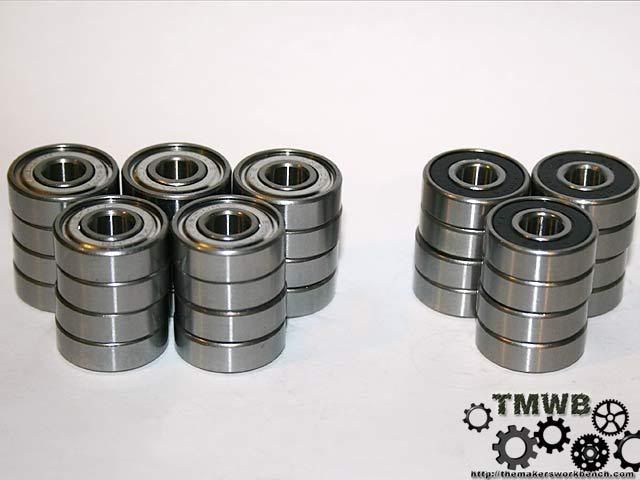
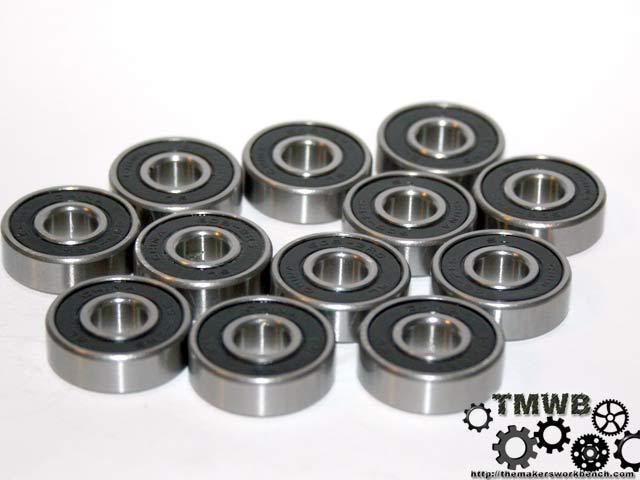
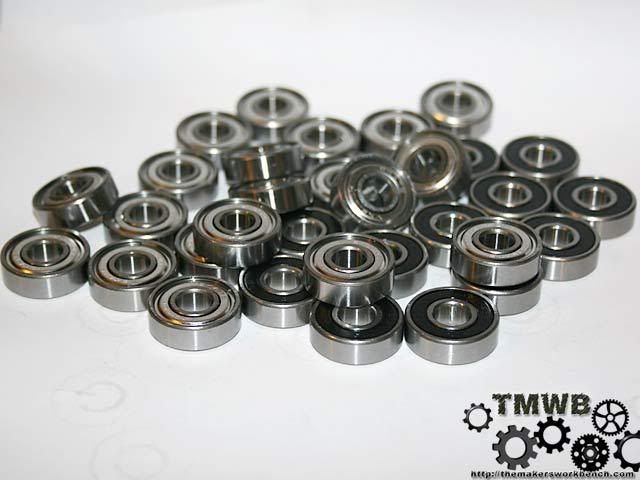
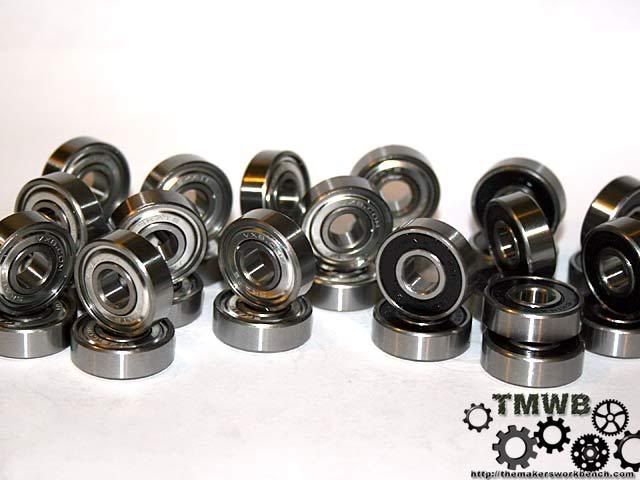
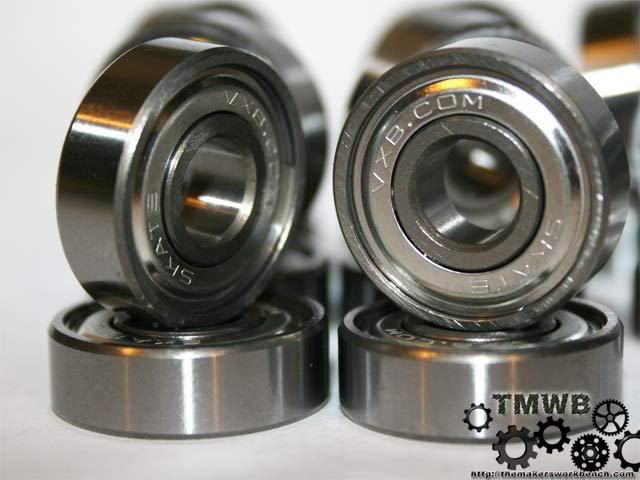
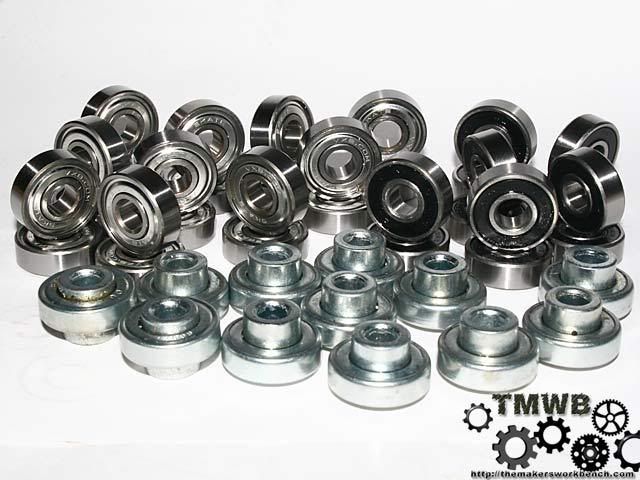
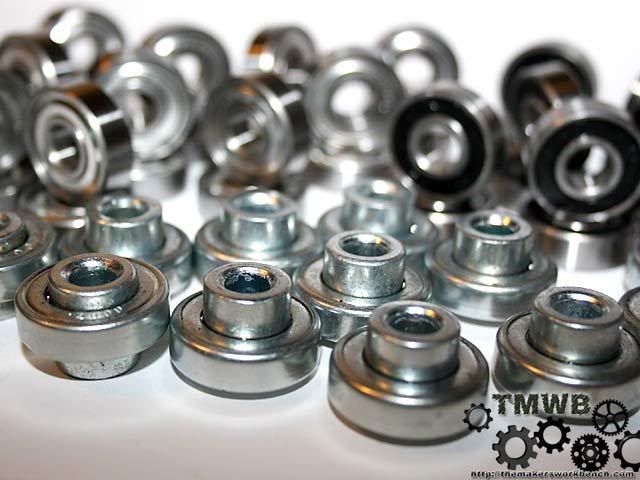
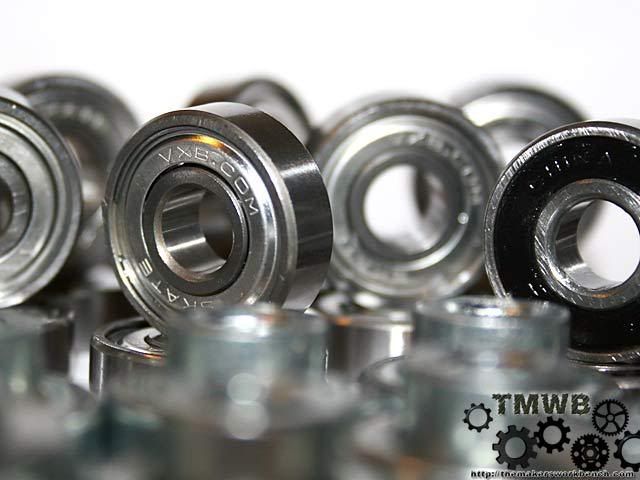
Time for photos...... Ok so I may have went overboard with the bearing photos... Enjoy
The ones with silver shields were ordered from VXB Bearings. The ones with black rubber shields were bought locally from a bike shop for $5. The ones with the large center were salvaged from an old pair of roller blades.
-
Re: My RepRap Build. (3d printer for those not in the know)
Well it seems I have hit a wall head on with the pedal on the floor. The reprap project recommends printing out the design of the x,y,z stages and gluing it to the plexi and using that as a cutting / drilling guide. The alternative is to buy the laser cut parts for about $100. It's literally $10 worth of plexi scrap from your local glass shop and straight cuts. The holes can easily be done with a hand drill or a drill press like I am using. It takes about 10 minutes to cut and drill the plexi per stage. So being a the cheap man I am, there is no way I could justify spending $100 on a total of about $10 and an hours worth of work. That is the reason I ran into problems. (well that and the fact that the build log / instructions for the reprap McWire are very unorganized and full of misinformation.)
This is where I ran into my first big problem. When researching for technical drawings of the X,Y,Z, stage drawings I never found anything. So I had no choice but to print the design out (as recommended by the reprap project) and glue it to the plexi. The problem with that is that the genius designer drew them to "fit" onto an 8.5" x 11" sheet of paper. Which is the standard sheet that anyone who owns a printer has. This would be fine and dandy if the printer would actually print to the edges of the paper. Unfortunately this is not possible with most printers. The second problem is the files are available in 2 forms: PDF, and DXF. I printed both and they were identical in dimensions. Note that I did print at full size and they were not scaled to fit the paper. I took this to mean that the size was right and everything would fit. WRONG!!!!!
My x stage fit my rails fine after a small modification where I had to move 2 of the ptfe slide bearings mounting screws by about 2mm. This should have been a sign that something was wrong. Upon trying to fit the 2 fixed position bearings onto the front of the x stage I found that the provided hole location was about 1/4 shy of being in the right position for the bearing to properly ride against the rail. I can only attribute this to the printer scaling the image to fit the sheet by default. I know I turned scaling off in both autocad and acrobat. So I printed the x stage drawing on my photo printer which prints up to 11x14. I did this on a piece of 11x14 card stock. Guess what? The drawing was the same size as before.
So the reprap site states that the drawings were designed to fit on an 8.5x11 sheet. Unfortunately this design does not fit. So I sent an email to someone with the laser cut parts which obviously work because there are plenty of photos of them in action. It turns out that for the drawing to be perfectly sized it would have to be 8.5" x 10.25" While the length is capable with a standard printer the 8.5" is not. This still does not explain why the drawing printed to the same size I originally used on my larger format printer. The only conclusion I can come up with is that some one altered the files on sourceforge and "scaled" them down to fit a new design and forgot to update the rest of the info across whole build.
So with my few dimensions I now have I have no choice but to create technical drawings of the stages. This will slow the build down by a few days but by no means stop me. I will first be creating these the old fashion way... by hand. This will allow me to check fitment directly. Once they are done I will then recreate them in autocad and post all the files here and on The Makers Workbench This way people have an accurate set of drawings to use. IMO this is how it should have been in the first place.
So today I went and bought some drafting supplies. A t square, circle guide, and some triangles for checking square. I also picked up 2 cool large circle drawing aids which will be used on future projects.
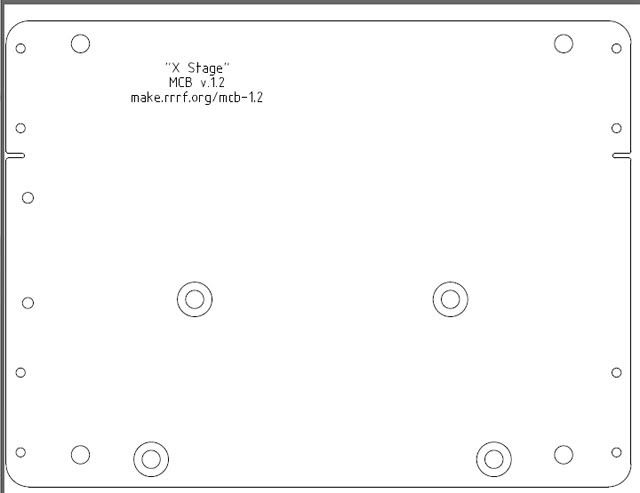
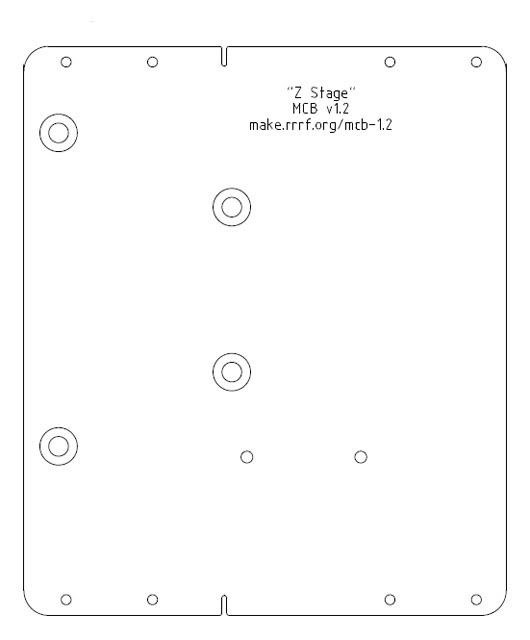
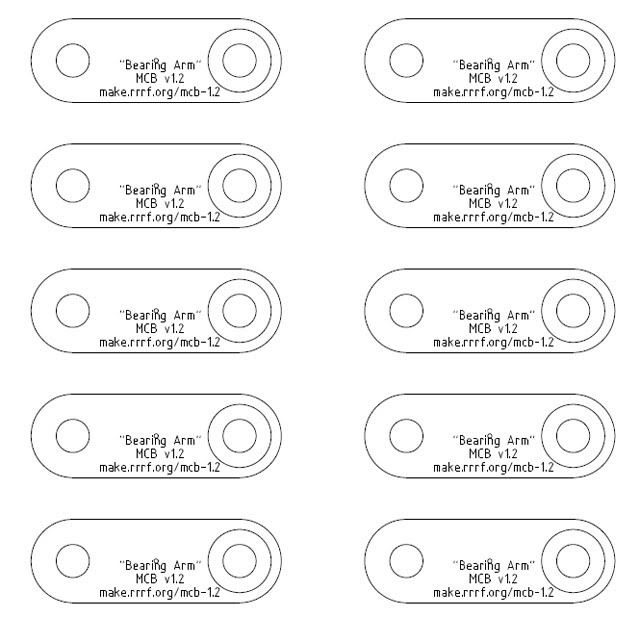
While typing this I realized that I have not posted the original drawings that your supposed to print out. I have saved them as .jpg and re sized them for better viewing here. If you are following this build log with the intent of building your own McWire please note that these are not the right size.
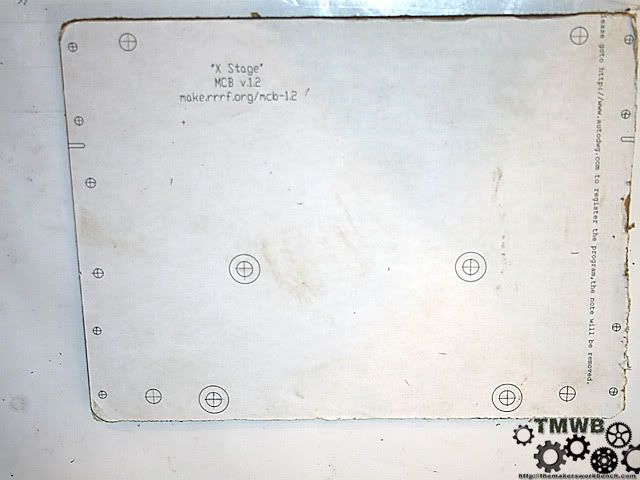
X stage- The large circles with a circle in the middle is the ones that must be countersunk so the 5/16" machine screws sit flush with the surface of the plexi.
Y stage
Z stage
Vertical base. This is what mounts to the 4" flange. The rails and z stage mount to this.
Bearing arms for the non fixed position bearings. X and Y stage only. Only 4 are needed.
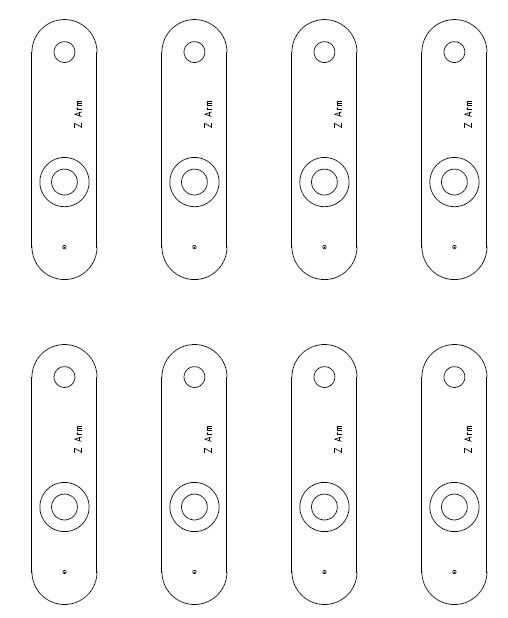
Bearing arms for the Z stage. Only 4 are needed.
 Posting Permissions
- You may not post new threads
- You may not post replies
- You may not post attachments
- You may not edit your posts
-
Forum Rules


 Reply With Quote