yea thats what i thought it look weird looks petrolium covered thats the words i wanted
still looks killer


yea thats what i thought it look weird looks petrolium covered thats the words i wanted
still looks killer
Originally Posted by Drum Thumper


I found something, uber cheap, kinda tough considering the demand of Paperazzi, and I can finally ditch my paper-molded fan grill... Will post pix tomorrow, bloody Nokia's batt died on me again.
Oooooh.. excited & can't wait to try it out. No, its not a new girlfriend.


Could have had me fooled lol.
Project: Elegant-Li *NEW*
Project: Alpha FINISHED
Project: LEXA Revival FINISHED
Project: LEXA FINISHED Bit-Tech MOTM Nominee October 08
Mate, the speed of your replies had me wondering if you glued your forehead to the LCD or youve got a built in pc in you. Haha.
Haha, na man, just clicked up on my CP just after you posted I guess.
Project: Elegant-Li *NEW*
Project: Alpha FINISHED
Project: LEXA Revival FINISHED
Project: LEXA FINISHED Bit-Tech MOTM Nominee October 08

tell ya what... the effect may not be what you wanted, but i think it looks pretty cool... least from what we have seen so far. totally highlights the texture of the paper. almost like scales. very kewl.
Every passing hour brings the Solar System forty-three thousand miles closer to Globular Cluster M13 in Hercules and still there are some misfits who insist that there is no such thing as progress.
Kurt Vonnegut - Sirens of Titan
...File found: cable "square tubes"
...Copy: Tried as fan slider
...Warning: custom LED on fan
...Result: LED blocking ROM slot
...Final result: Phailed
...Total damage: Excitement died
Meh... I don't know whats the thing called generally, its those white square tubes that u hide cables, usually nailed onto the wall and has a cover that can slide off? Time for new alternatives..
@Dane: Yeah, it highlighted teh texture, but I need brown shades now to make the base looks better.
Top Panel Part 5
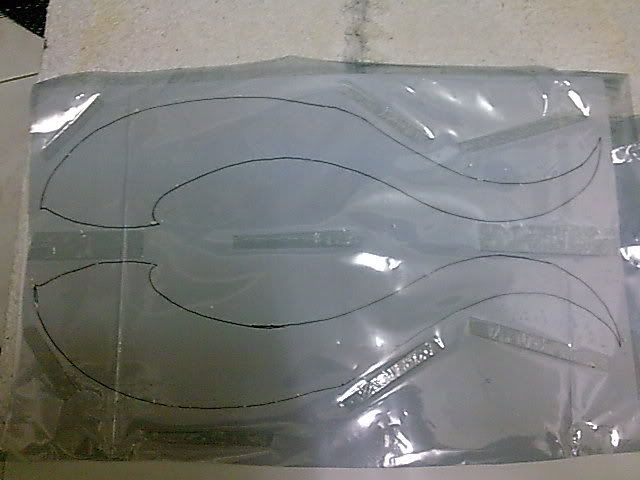
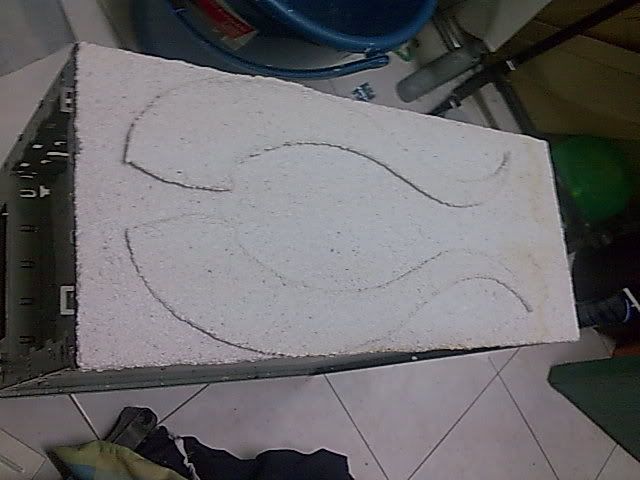
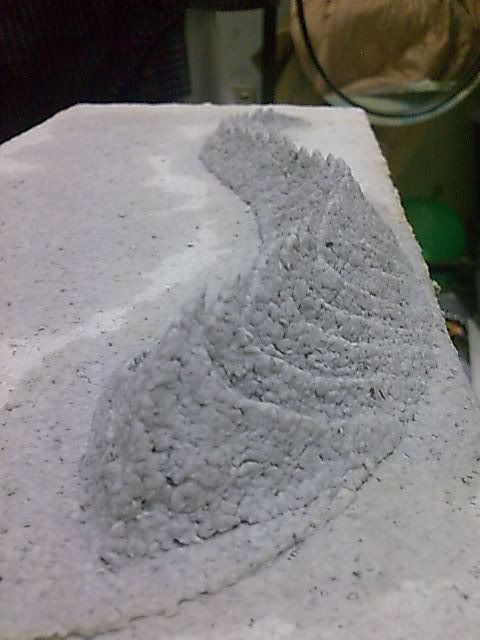
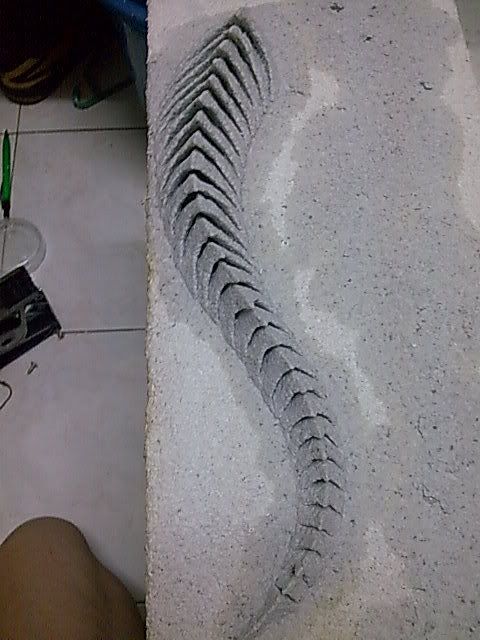
Did a bit here and there for last nite. I'm more or less that type of guy, when I have sorta new vision on how to go on molding the shapes n angles, I work on it first. Spent 3 hours on HALF of the top panel last night. Couldn't go on with the other half cos my back's killing me. Got home at 10pm, finished around 1.30am. Sketched what was intended to be a horn (which eventually turned out to be something of a crocodile's tail in the end, which I like more than my initial idea). When it comes to a larger shaped scale, I don't do freehand molding like the front panel. I use these base first to get the area n gap right.
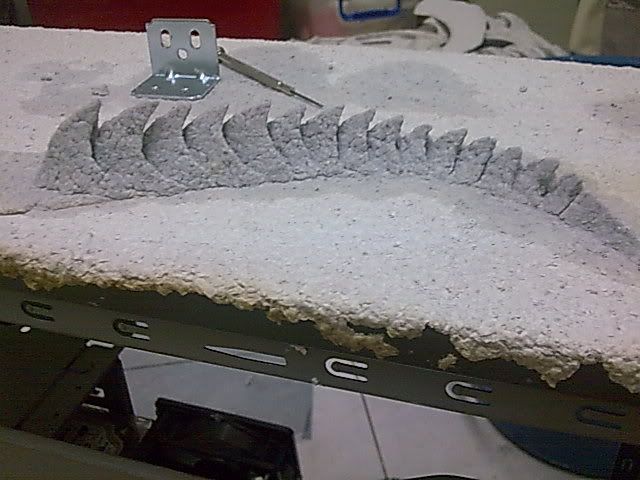
1/3 of the tail is up by around 30-40 minutes. I need to mold it away from the base before placing it on the panel, as I'll risk tearing the base causing it running out of shape if I do it on top. Its sorta like the front panel curves except its more vertically curved. Those 2 lil fellas at the side are used to shape them around the edges. The L shape holder works pretty well considering how it can be held. And the small sdriver do good at chipping out excessive paper that causes bulges.
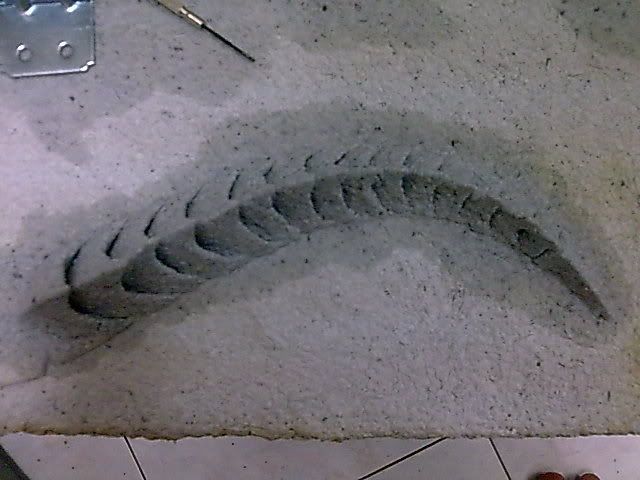
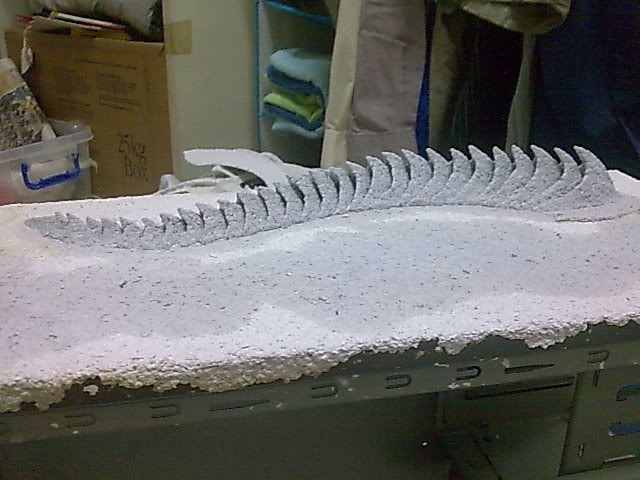
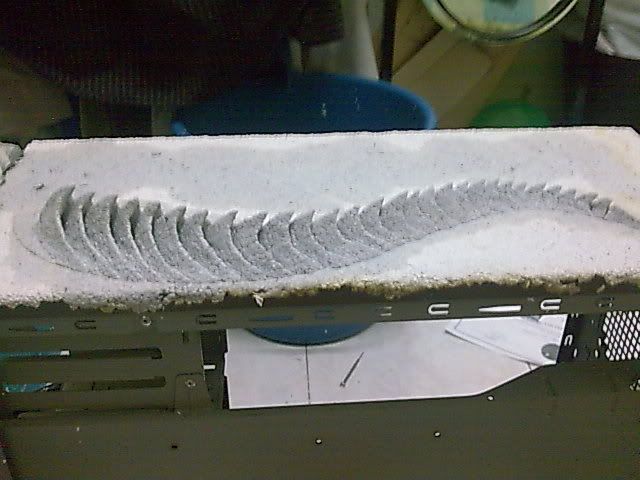
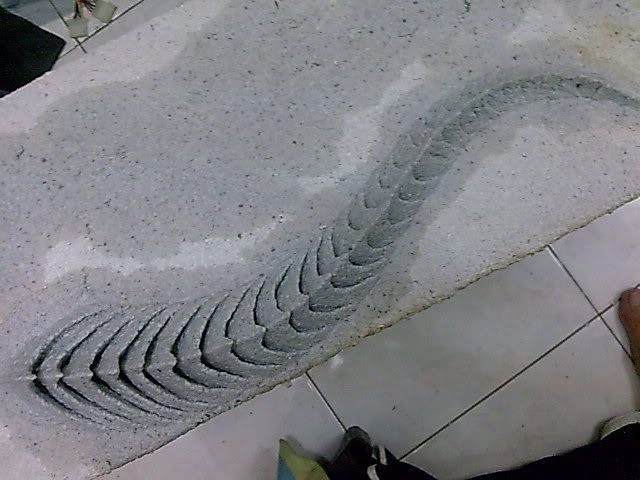
After 3 hours, we're finally done. With legs numb as being short circuited by a PSU, and a back that felt like I've just been sleeping for 72 hours, I finished half of it. The other half will be done tonight when I get home. I'm loving it
Side view
My fav shots. Top where I can see the curves
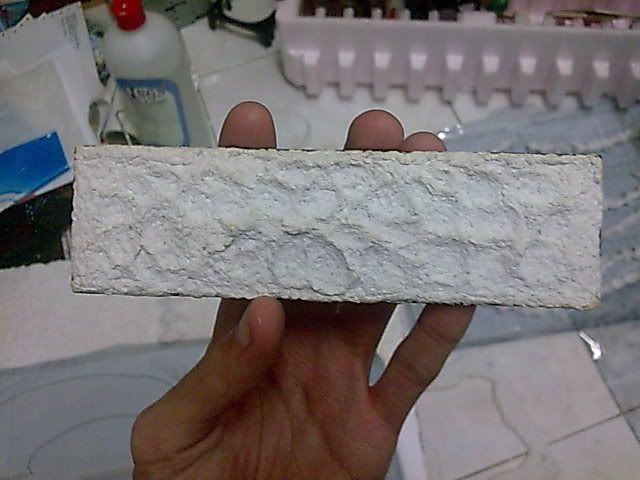
Front Panel Part 6
The bezel for the stealth is done patched up. Gave it a lil bumpy surface so I can slime it from above making it sorta drip downwards (yet to make the slime, I don't want it to harden up cos won't be using it now).
Sits snugly into the slot. Carved out all the excessive paper from the sides to make sure it doesn't hold tight.
Will continue with the bottom part for the bezel tonight. Not sure if I still have enough pulp in the bucket for both the bezel and the other half of the top panel.
Misc
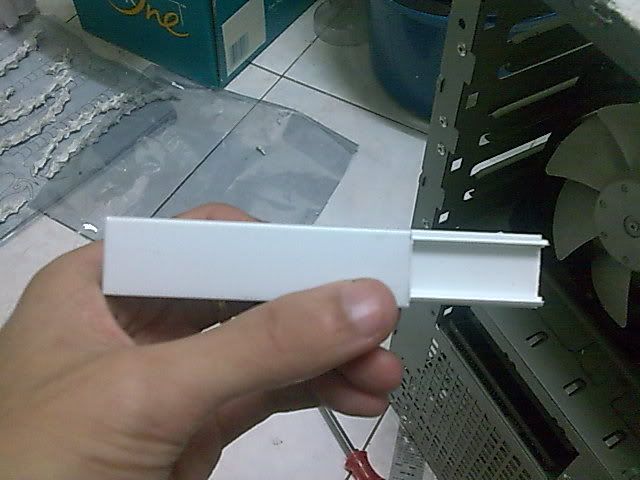
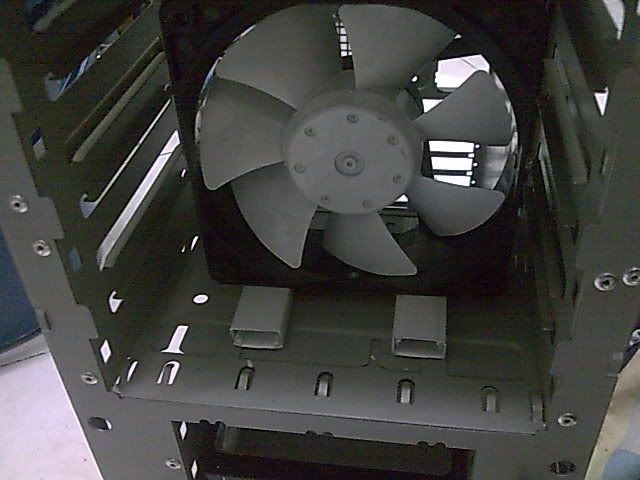
Found this thing at my friend's pc shop. Sometimes they do cabling work for offices. Thought I can use it as a fan slider. You know, sticking one half to the bottom part of the fan, the other half to the case, L-shape the front and back of each half to make sure the fan don't slide off when tilted.
Cut off 2 pieces each of 3 inches long. Tucked em under the fan to see how it looks. Looks fine in white but I haven't patch n paint the inside of the case so if I'm using it I'll patch them up to match the black-brown colors as well.
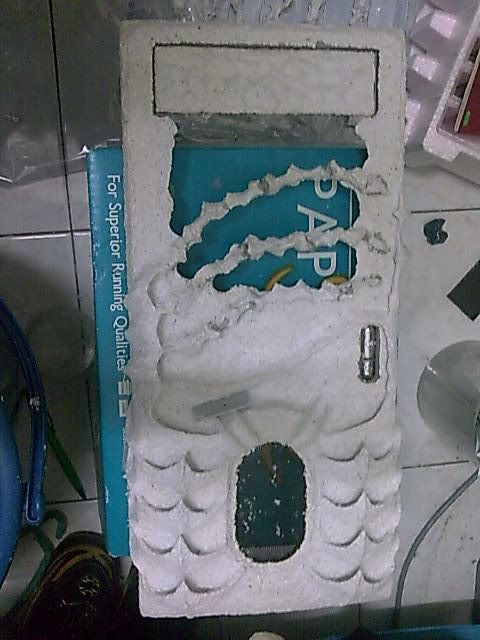
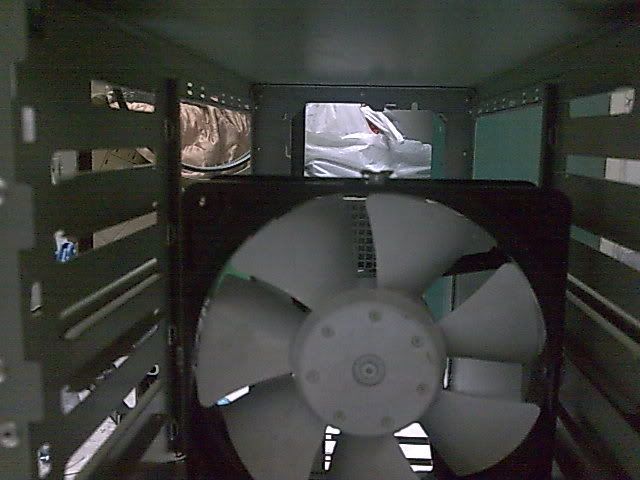
Well, in the end, that "if" in the previous line is a BIG IF. This monster fan (gave me black n blue thumb on a couple of occasions before, cut into my index finger tearing the skin once) is modded by the seller with red LEDs that I asked for during the previous project. I have 2 left, one red lighted, and one normal black. Here's the BIG IF factor.
The LED; it totally gone a bit higher and I wasn't able to slide my mock ROM in. Damn. Easier solution will be plexi, cut drill and superglued to the steel and then patch n paint. Still yet to get a single piece of plexi. With petrol price hike over here, not sure how much does it cost for 1 ft sq rite now. Nevermind, I'll continue with the remaining panels first before moving to the interior. Still need to un-rivet the top panel after I'm done.
That's all for yesterday night
That top panel looks awesome. Nice work.
Project: Elegant-Li *NEW*
Project: Alpha FINISHED
Project: LEXA Revival FINISHED
Project: LEXA FINISHED Bit-Tech MOTM Nominee October 08
ok... i love that tail may just that is worth a rep....
+rep
 Posting Permissions

 Reply With Quote