Page 1 of 24 12345611 ... LastLast
Results 1 to 10 of 234

Thread: Project: Paperazzi

  1. #1
    Caffeined Acey's Avatar
    Join Date
    Sep 2006
    Location
    Malaysia
    Posts
    588

    Default Project Paperazzi - Keyboard Painting :)


    Been a long time since I touched any casings. Most of these are done during night time, so pardon the pictures.

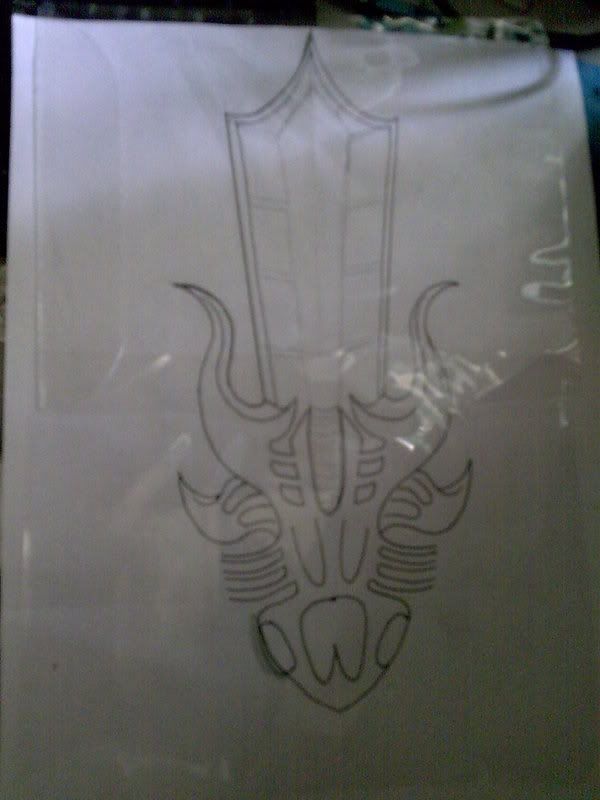
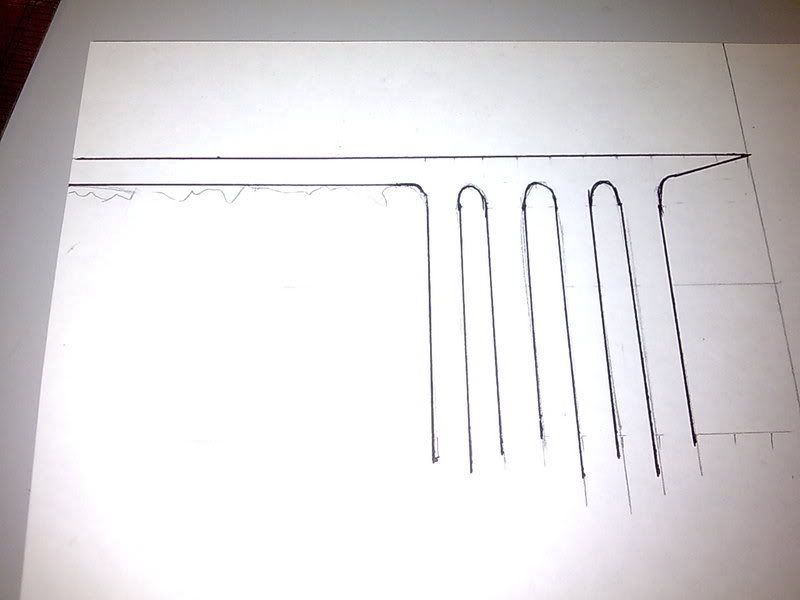
    This is a project that involves no or very few planning (dude, when ideas pop out of your head the moment you open your eyes waking up). I do sketch more or less what I "see", but then since the material is so flexible I can recycle it a gazillion time I want if the design doesn't come out as I like and I can re-mold them however I want. Damn, I feel like Sam Winchester, I got "visions" lol...

    Some details to cut things short. Paperazzi involves:

    1. An ultra heavyweight case (server-like case) thats why it involves paper not Bondo

    2. Tools: scissors, gripping glue, spray paint, poster color, a bit of acrylic, water

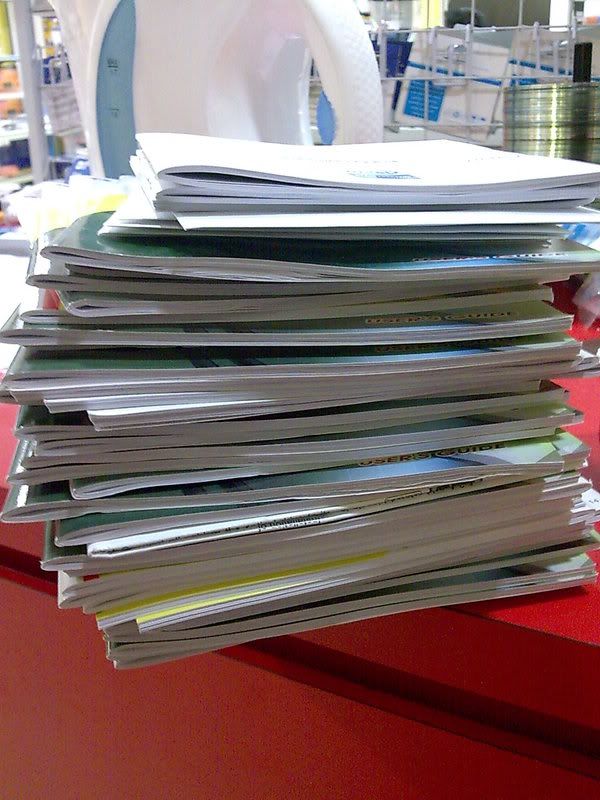
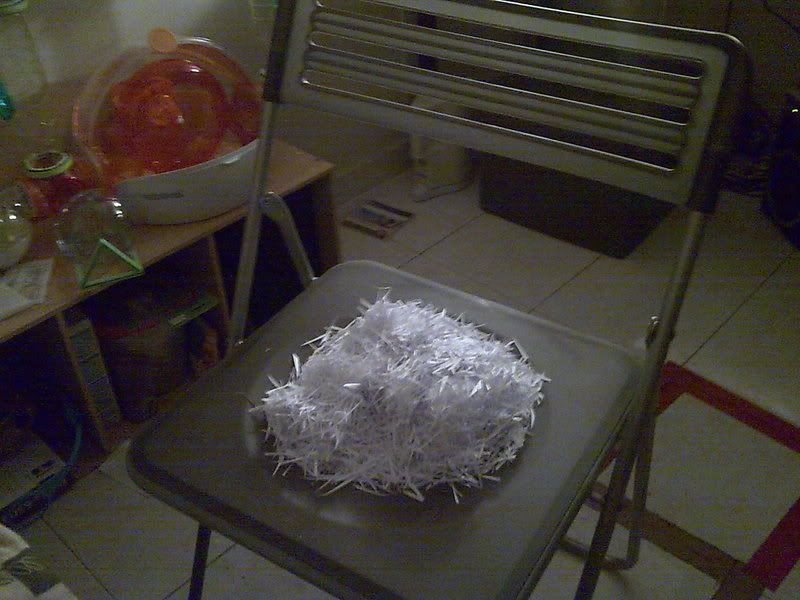
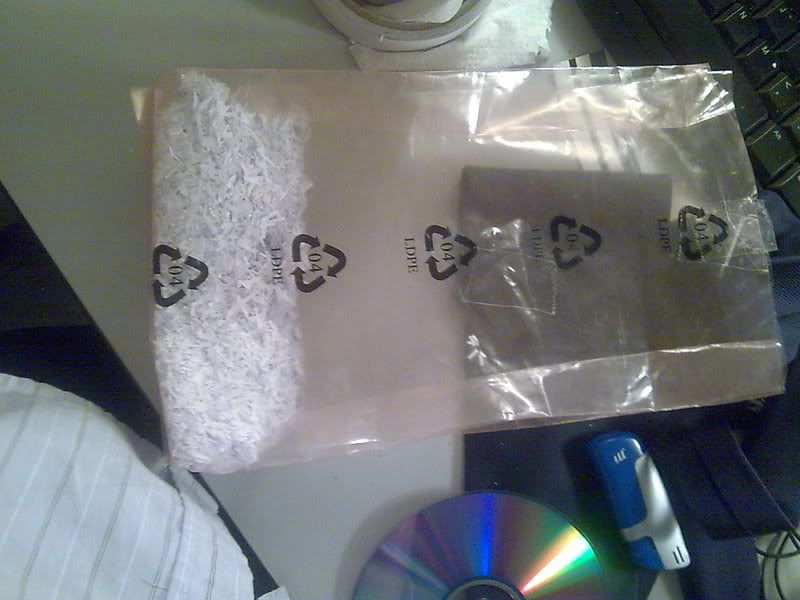
    3. Material: A4 paper, new or old all become my victims (count in buckets)

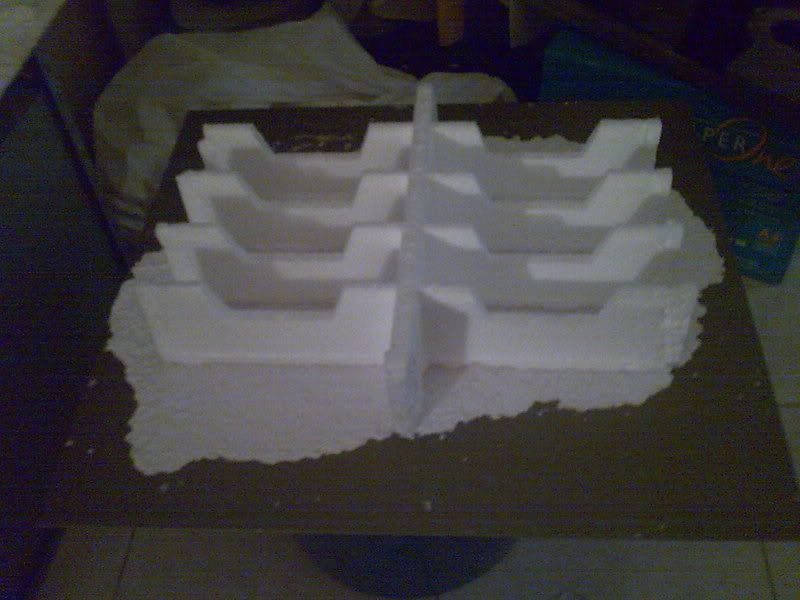
    So far one side panel is 70% thru molding. Plunked remaining material on 2nd side panel but aint enough.

    Preparing the materials

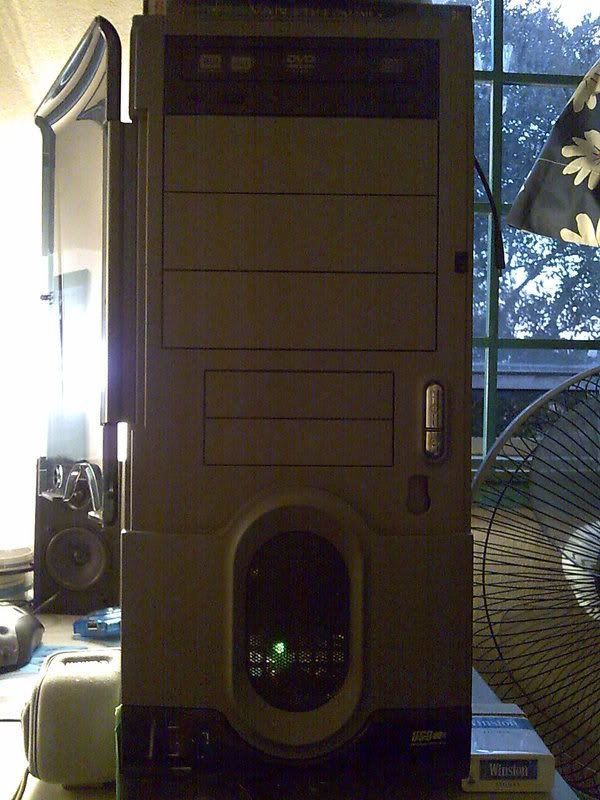
    Won't dwell on the case too much so here's the front panel shot. Side panels.. well, all of them looks the same: piece of steel.


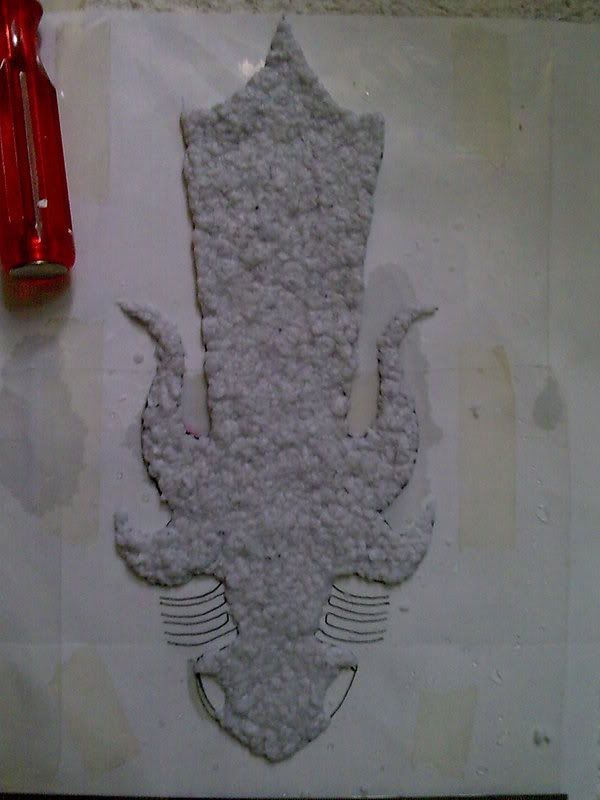
    One night after quitting my job, I started cutting again.


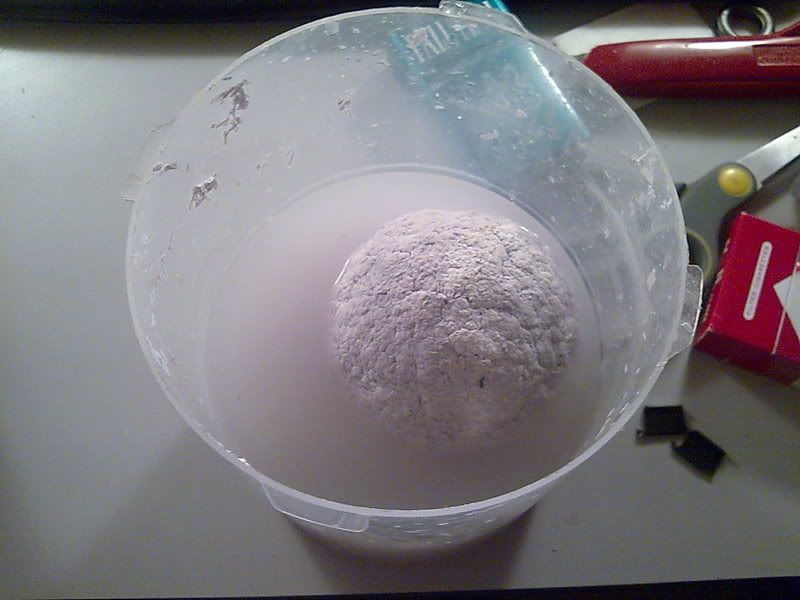
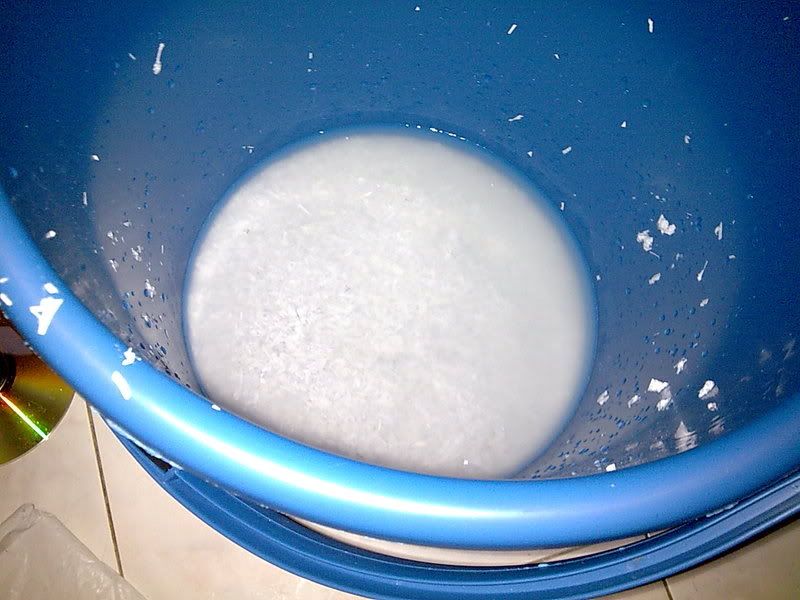
    After refining.. time to soak it up. I first used the bucket.


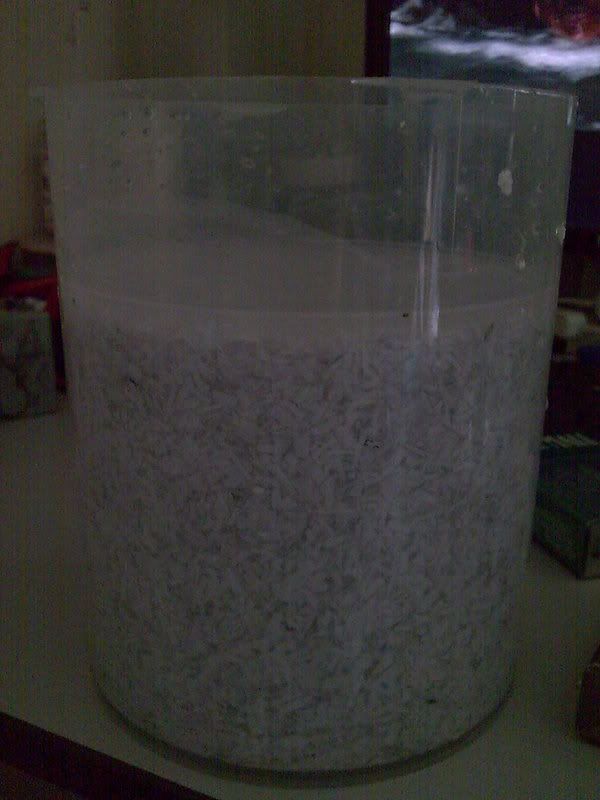
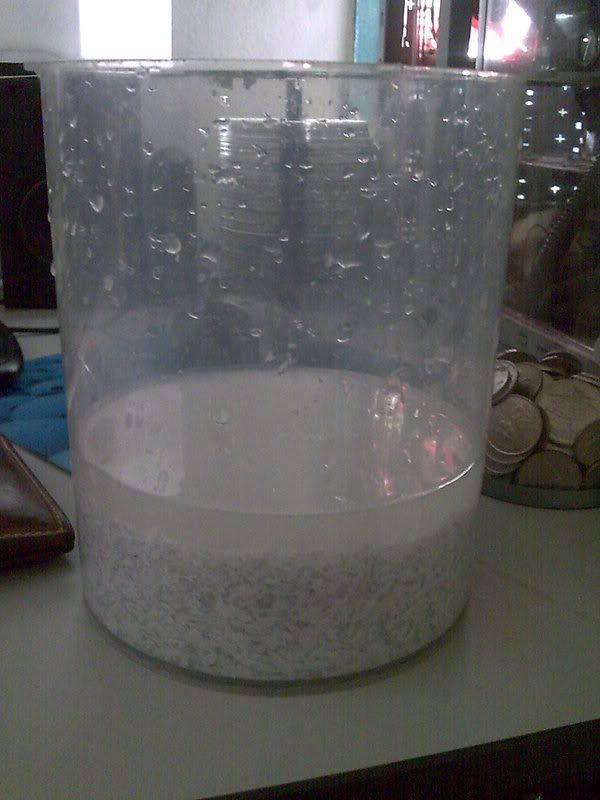
    Eventually I moved to a 100-disc container cover


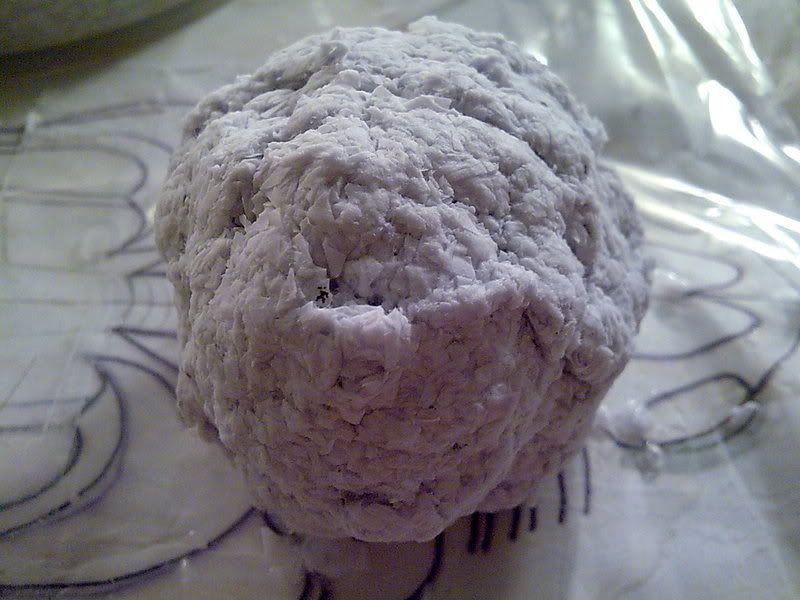
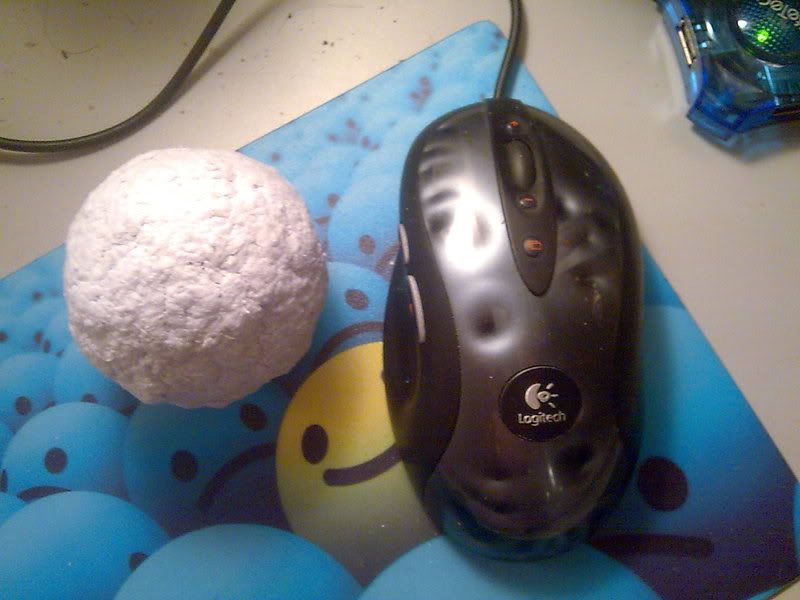
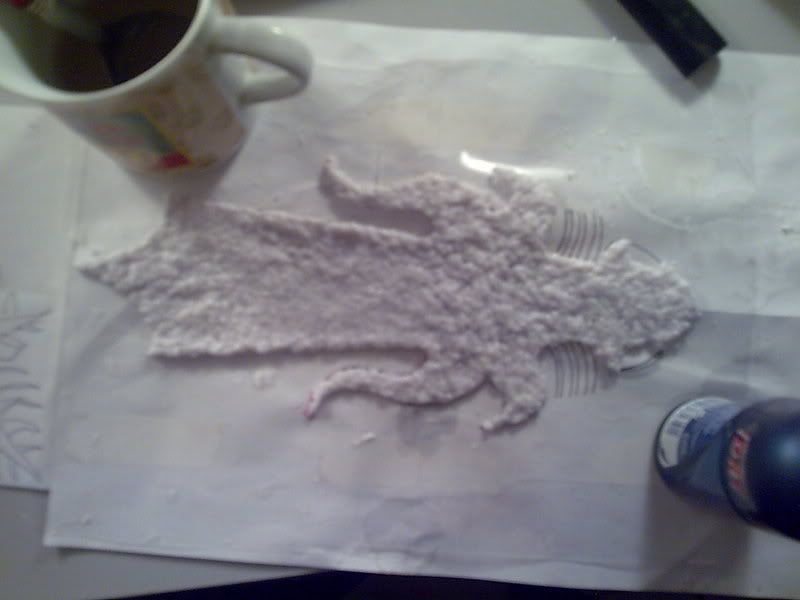
    You dont just soak the paper wait 2 days and start molding, it wont be soft enough. And when the paper's either not fine or soft enough it tends to leave reptile-like skin when it dries you can actually see the flakes of paper. So, once soaked just pick up what you have and mold it into a ball.


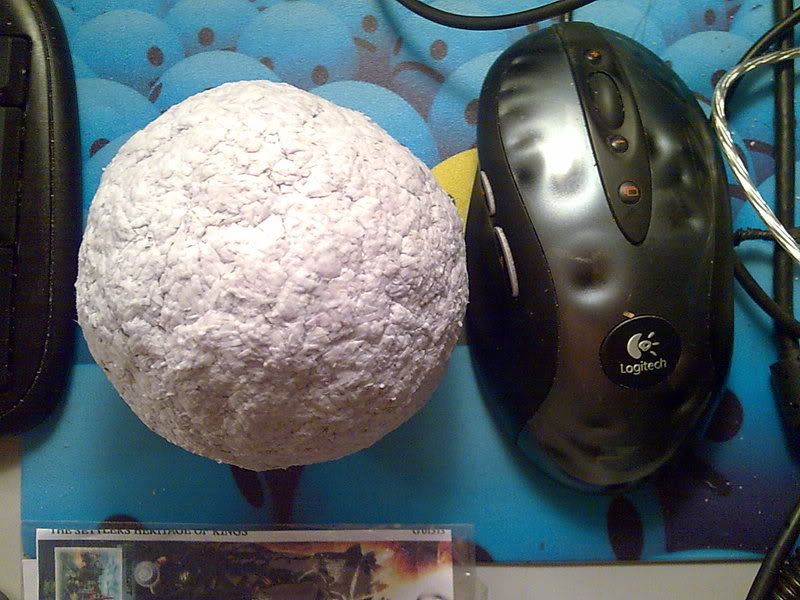
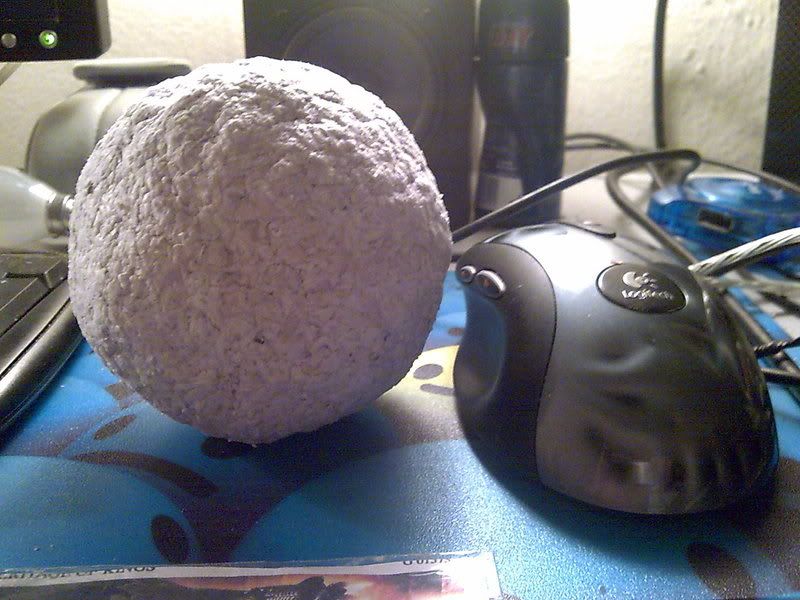
    How big is it? Well, go figure it out yourself


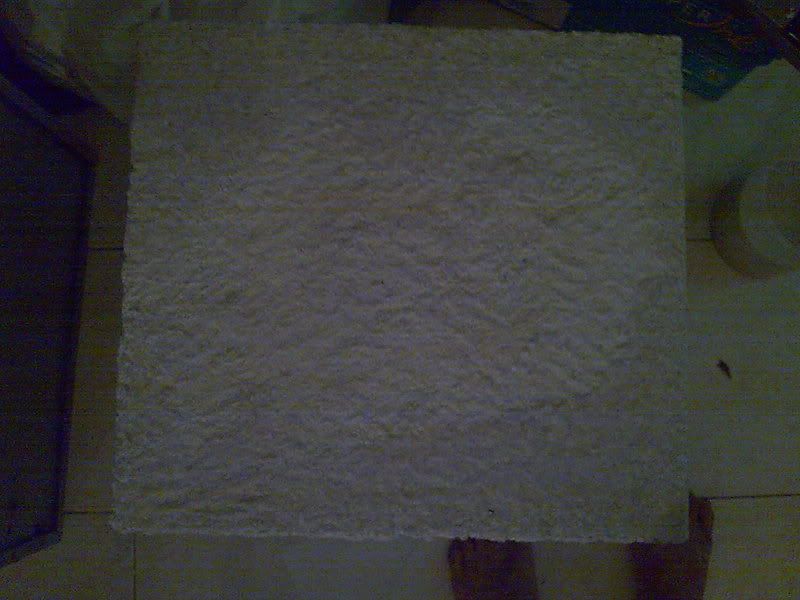
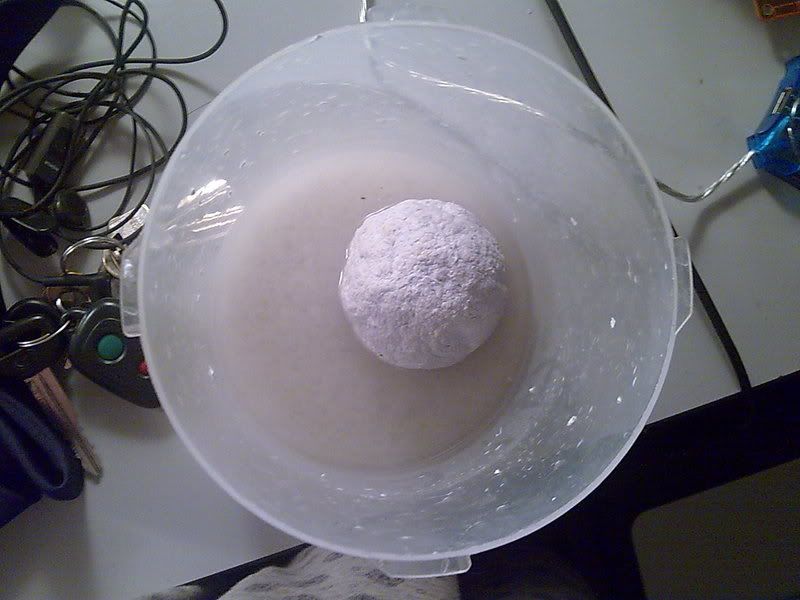
    Then once its dried, after 2 days without the help of the sun, time to drown it. This is when its all bonded together and the paper tends to be smooth after a re-soak


    White bull's testicle soaked in porridge anyone?

    Testing

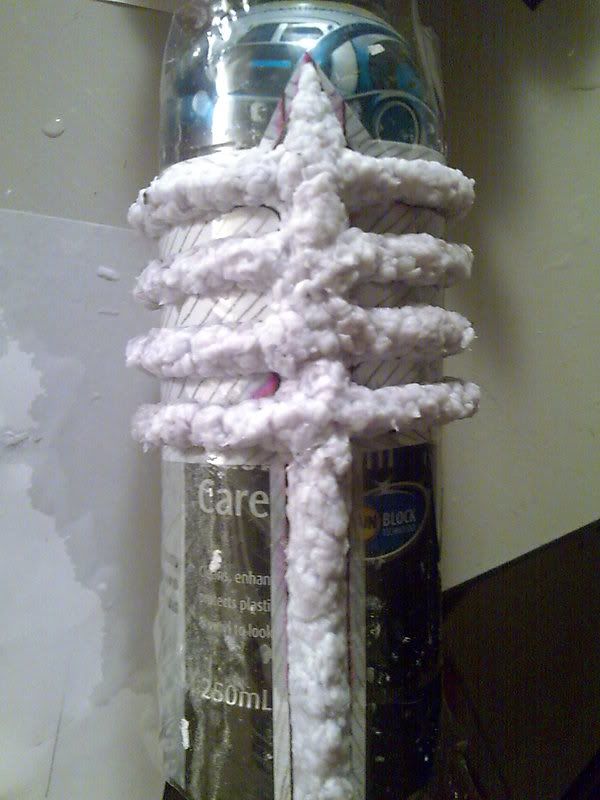
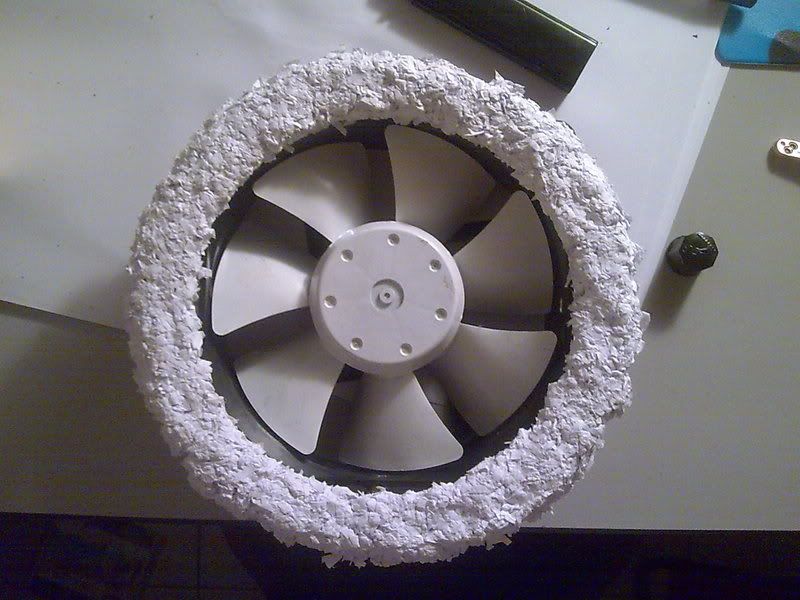
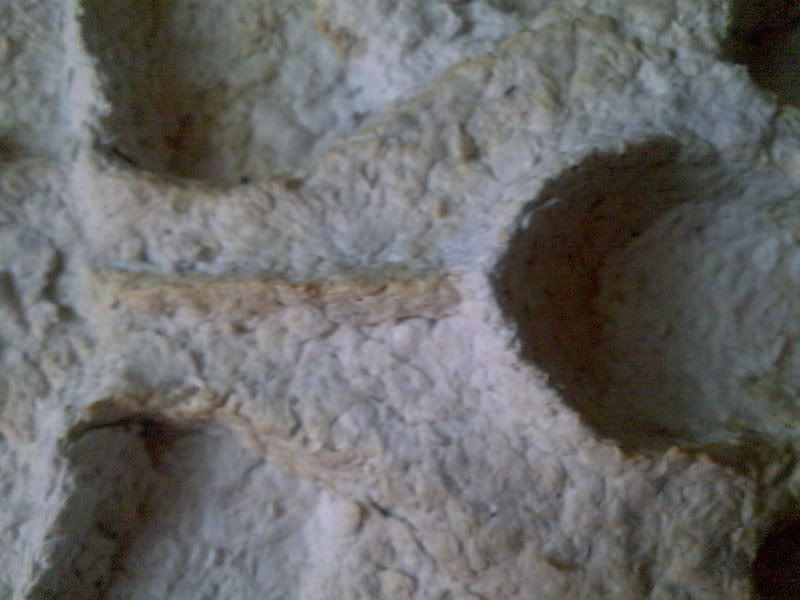
    Did a few tests with different containers. Firstly curves and circles.


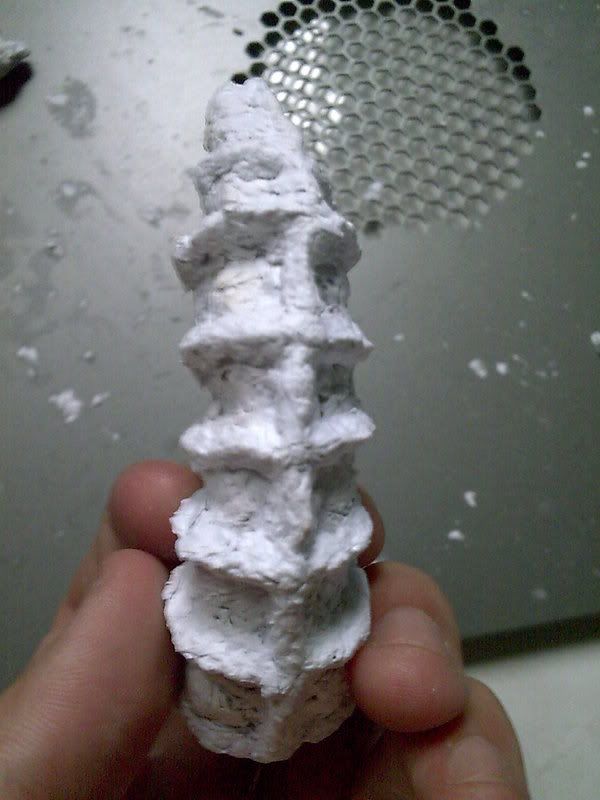
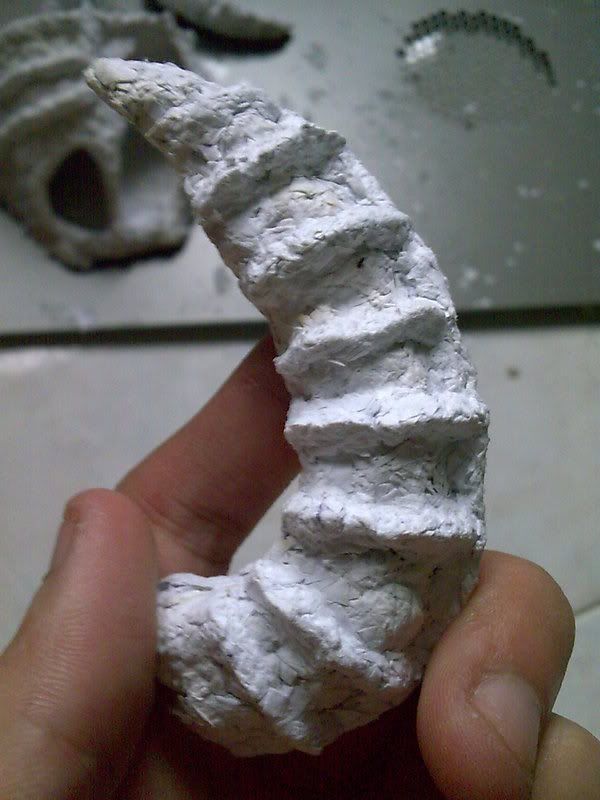
    Circles are done by just molding it around a disc. Here you can see the paper's rough n not well soaked (first few buckets). Made some horns out of it, or spikes, or.. whatever.


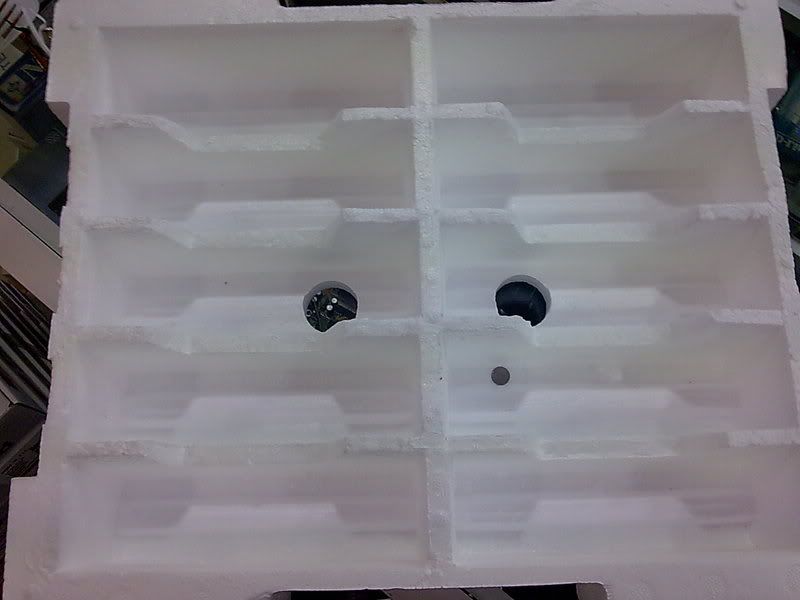
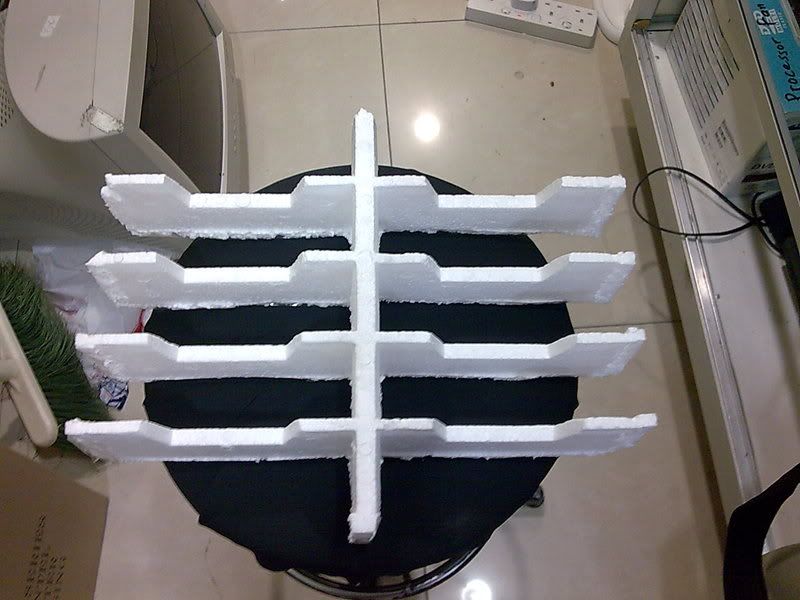
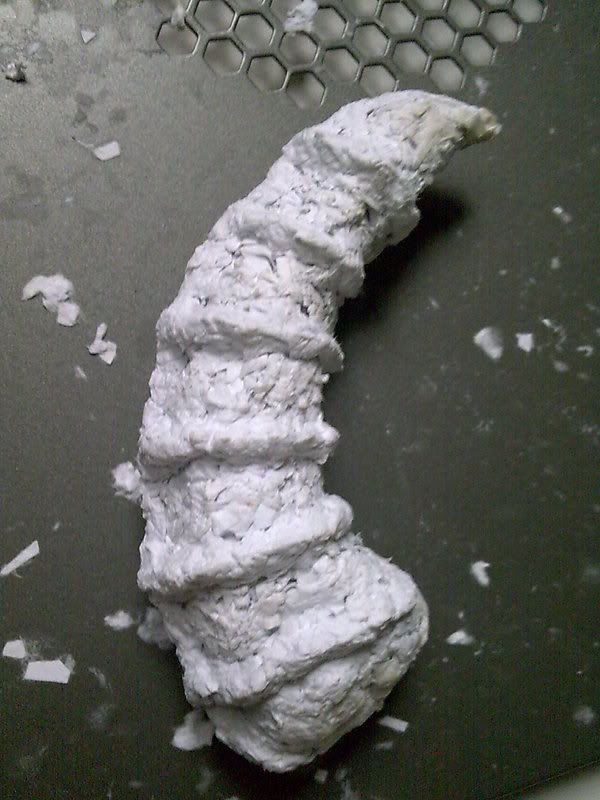
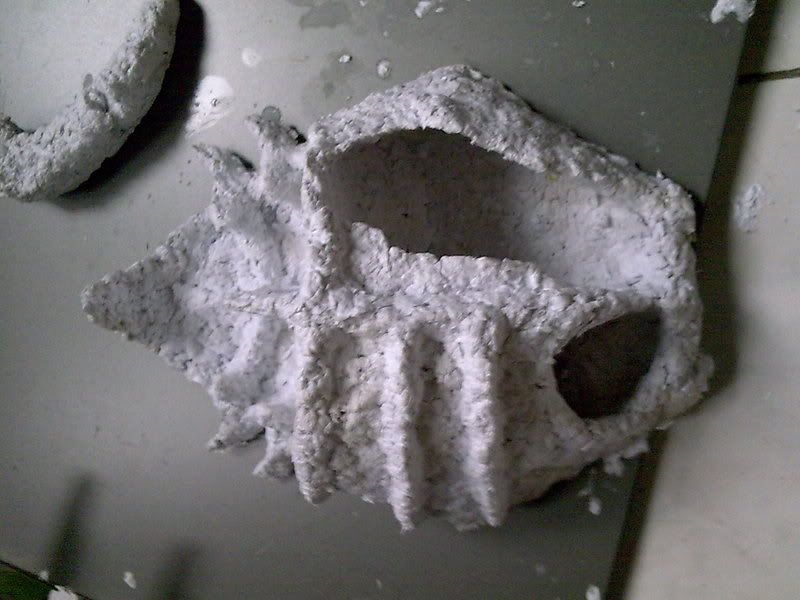
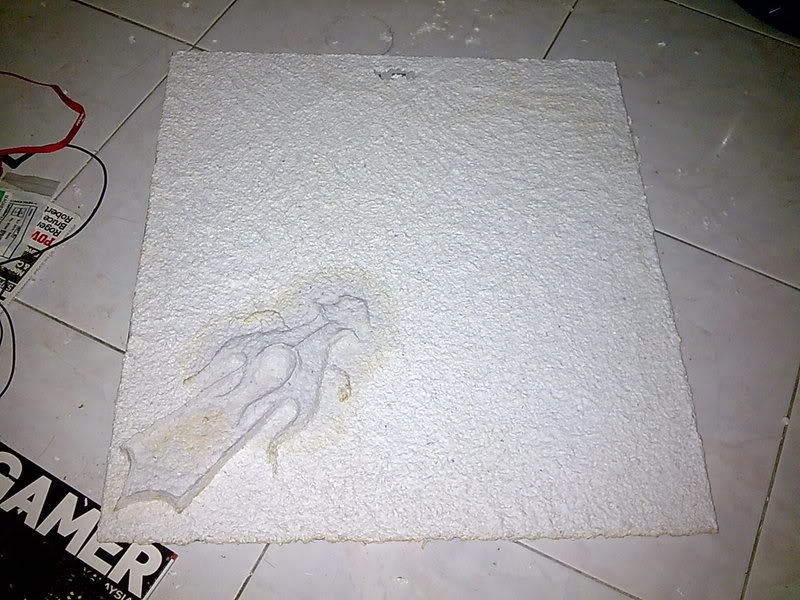
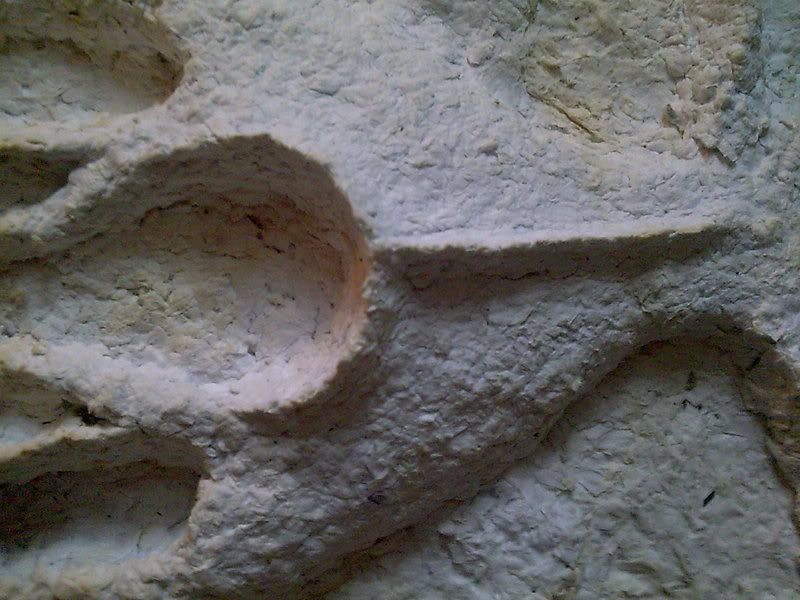
    After testing, its a test mold. Eventually I molded it for a few nights for something like this.


    Scraped it though cos it looks like and old lady's shoes, minus the smell. So chucked everything I've tested and made into the container for re-soak.


    Soak it up...
    Last edited by jdbnsn; 08-05-2008 at 08:50 PM.

  2. #2
    Caffeined Acey's Avatar
    Join Date
    Sep 2006
    Location
    Malaysia
    Posts
    588

    Default Re: Project: Paperazzi

    Side Panel Part 1

    With vision comes the sketch. I have to, before I start forgetting. Then wrap it up in some plastic for reuse


    Looks easy aint it? All I have to do is plop some paper pulp on it and its done. Not. Had a very un-fun fun with mr steel ruler for about 10-15 minutes. Not once, but 4 times dammit


    Then to lay them up on the side panel one by one to determine the shape and position. Mold up the top part which absurdly looks different from the sketch as I didnt realize how hard it is to mold around tight ass areas which really are a pain in the ass


    Here.. compare reptile-skin paper with smooth pulp. I basically have to refine most of the molds.


    Went up to this few days ago


    Went up to this yesterday morning before I leave the house and created this worklog


    Side Panel Part 2

    Since its too bare and the thing at the sides looks like
    - duck's feet
    - stumpy dwarf's sword

    I need something on top that sorta extend the 3D thing or uh.. well I don't know how to put it in words. Just another vision I had while waking up. OK, ribcage.


    Now, I have to pick something of the right size to mold it on. Modding Idol...


    Some plastic, tape... SM the idol, chuck in some paper pulp and further it with an even more un-fun fun with mr ruler


    Resources running low. Dammit. And luckily some back up, which is just... "some"... for the scale of the mod


    I just left the house few hours ago with about 10 pieces of paper snipped into fine pieces in the bucket. I'll wait for the water to clear up before letting them go for a dip as its coffee-colored now due to some pipe fixing in Subang from 12-6am yesterday. Sonowabeetch.

    Updates: Have a big load, ok not really, 100-piece CD/DVD container's cover filled with soaked paper. Prolly another 2-3 days before mod continues again.

  3. #3
    Banned Eclecticos's Avatar
    Join Date
    Apr 2007
    Location
    Florida
    Posts
    3,137

    Default Re: Project: Paperazzi

    I had no idea intricate designs could be made with papermichet.
    Really neat, and creative. Can't wait to see more. +Rep

  4. #4
    Sunshine Flavored Lollipops Zephik's Avatar
    Join Date
    Oct 2006
    Location
    Spokane, Washington
    Posts
    5,145

    Default Re: Project: Paperazzi

    Thats pretty cool!

    I wonder if you could spray it down with something to make it hard, or soak it in something where when it dries it becomes hard? You could probably then spray it with paint and sand it and repeat until you got it perfectly smooth. Although I got to admit, I actually think it looks really cool as it is!

    +rep for showing me something new and cool!
    People are stupid; given proper motivation, almost anyone will believe almost anything. Because people are stupid, they will believe a lie because they want to believe it's true, or because they are afraid it might be true. People’s heads are full of knowledge, facts, and beliefs, and most of it is false, yet they think it all true. People are stupid; they can only rarely tell the difference between a lie and the truth, and yet they are confident they can, and so are all the easier to fool.

  5. #5
    GIVE ME THE CAKE!!! p0Pe's Avatar
    Join Date
    Aug 2007
    Location
    proud dane!
    Posts
    1,645

    Default Re: Project: Paperazzi

    you just blew my mind 
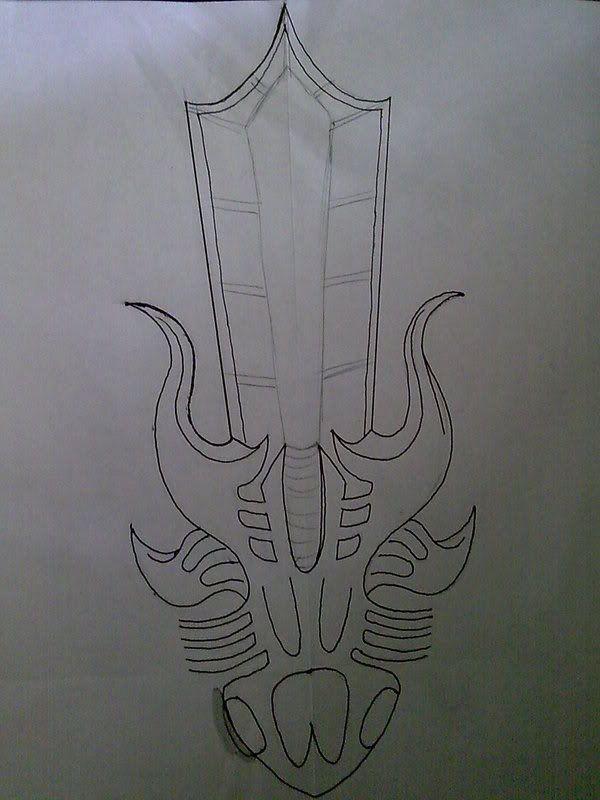
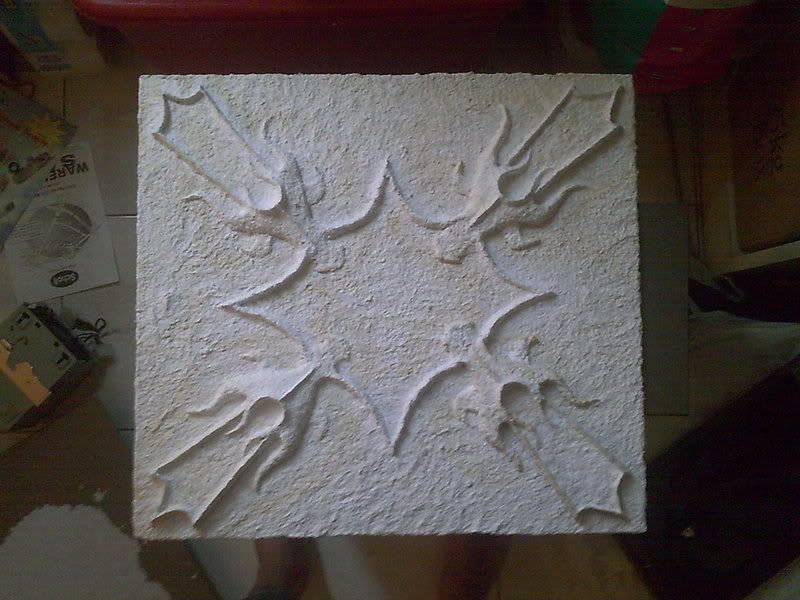
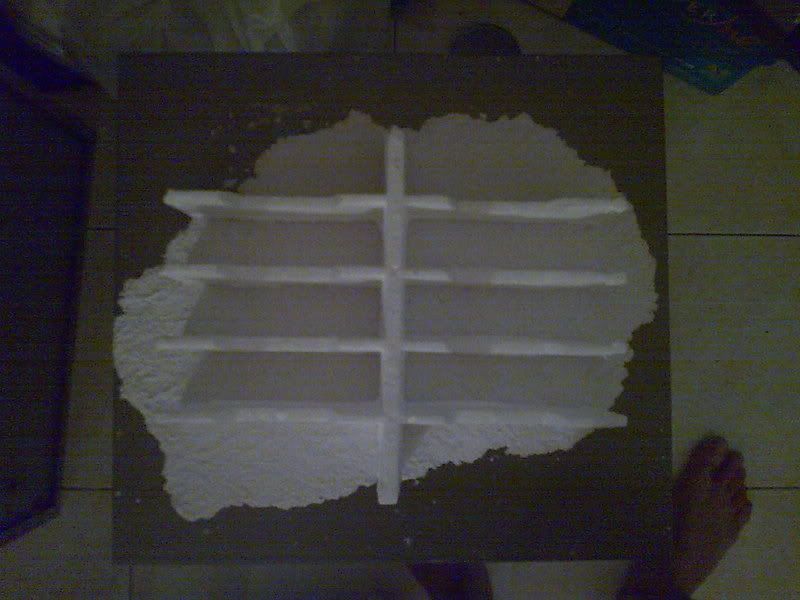
something that awsome can be done that simply..

    +rep for this dude thinkin outside the box
    is that a 120.9 raddy on your case, or are you just happy to see me?

    METO V.1
    METO V.2
    METO V.3
    PC-Beto
    Project M8 [WIP]

  6. #6
    Caffeined Acey's Avatar
    Join Date
    Sep 2006
    Location
    Malaysia
    Posts
    588

    Default Re: Project: Paperazzi

    Thanks ppl.. hope I can finish this case this time since I'm jobless now. Yeah I intend to spray paint it and a bit of poster color work on it before one final clear spray layer. But need to figure out and test if i should go with one layer of clear on top first to see if it'll smoothen it out. There's still plenty to do with that panel, and once its all done gripping glue goes in first Its pretty hard actually, doesnt come off the side panel unless you pour some water on it.

  7. #7
    Project: Elegant-Li The boy 4rm oz's Avatar
    Join Date
    Mar 2006
    Location
    Balhannah, South Australia
    Posts
    6,411

    Default Re: Project: Paperazzi

    Best use of paper mache I have ever seen lol.
    Project: Elegant-Li *NEW*
    Project: Alpha FINISHED
    Project: LEXA Revival FINISHED
    Project: LEXA FINISHED Bit-Tech MOTM Nominee October 08

  8. #8
    Caffeined Acey's Avatar
    Join Date
    Sep 2006
    Location
    Malaysia
    Posts
    588

    Default Re: Project: Paperazzi

    Side Panel Part 3

    Finally the big ass ball is hardened and spent a couple of minutes killing it. It floats actually, which caught me offguard cos I thought it'll take in the water and "drown" lol.


    Now I have almost a full bucket of paper to work with.


    Decided to scrap the original rib sketch and mold cos its kinda waste of time to do it both sides and then to combine them. So a new sketch which makes both sides into one, currently one is up, getting another tonight after work.


    Found this foam at the shop during re-stock of HDDs, which another "vision" came lmao while i was smoking.


    So took a knife and cut it to get the shape, took it home and place it on top of my other side panel. Ok it works, now I need a drawing block to trace it cos I don't wanna use the foam.


    Spend about 1/2 hour to paste up the other side panel


    Thats about all for yesterday. More tonight cos I need to do another sketch for the main side panel. Still a long way to go for that panel.

    Updates: Hmm, my friend just donated a lot of material for me... look at this stash of ECS instruction booklet lol...


  9. #9
    How much faster can you render the bsod? Ap1thy's Avatar
    Join Date
    Jun 2007
    Location
    New York
    Posts
    244

    Default Re: Project: Paperazzi

    you think all that paper would aid in noise dampening? no more hard drive noise from that thing lol

    looks good mate, like the bones theme to the panels so far

  10. #10
    Project: Elegant-Li The boy 4rm oz's Avatar
    Join Date
    Mar 2006
    Location
    Balhannah, South Australia
    Posts
    6,411

    Default Re: Project: Paperazzi

    Lots of detail. I like.
    Project: Elegant-Li *NEW*
    Project: Alpha FINISHED
    Project: LEXA Revival FINISHED
    Project: LEXA FINISHED Bit-Tech MOTM Nominee October 08

Posting Permissions

  • You may not post new threads
  • You may not post replies
  • You may not post attachments
  • You may not edit your posts
  •