-
 Re: The Orb
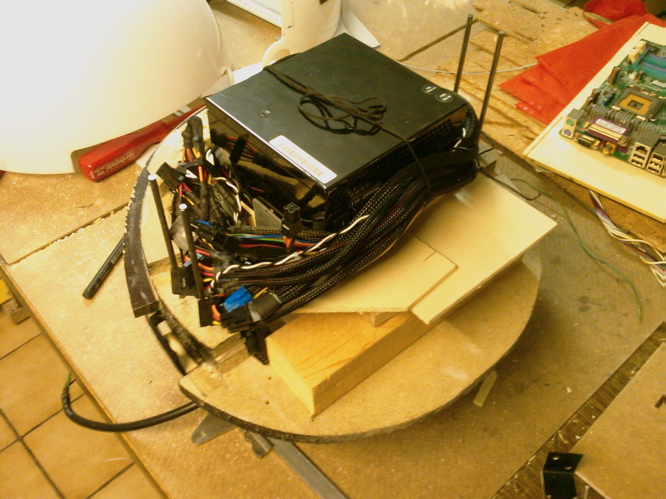
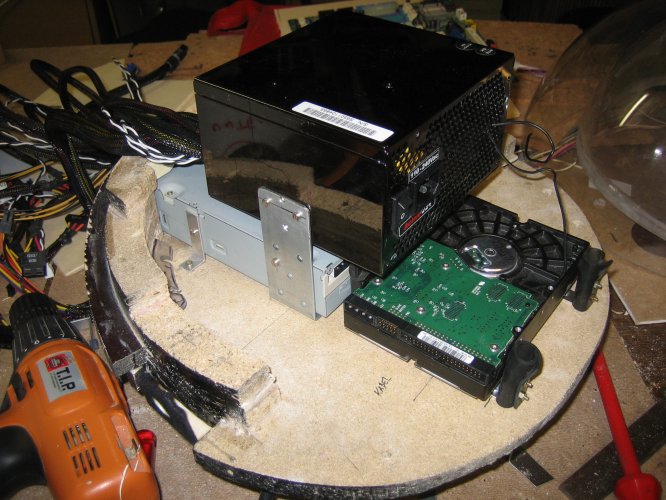
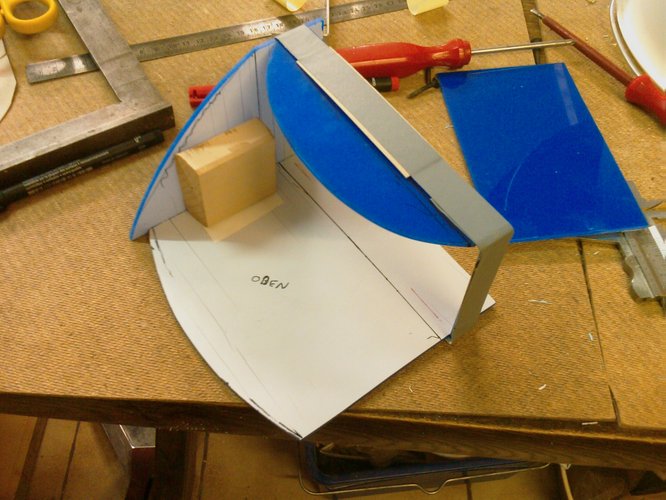
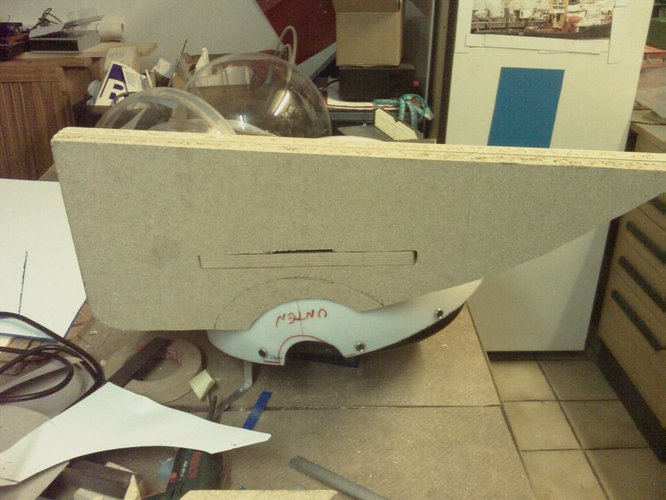
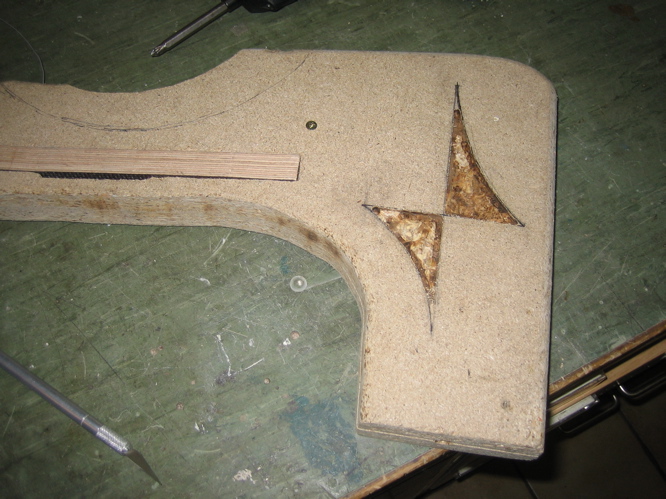
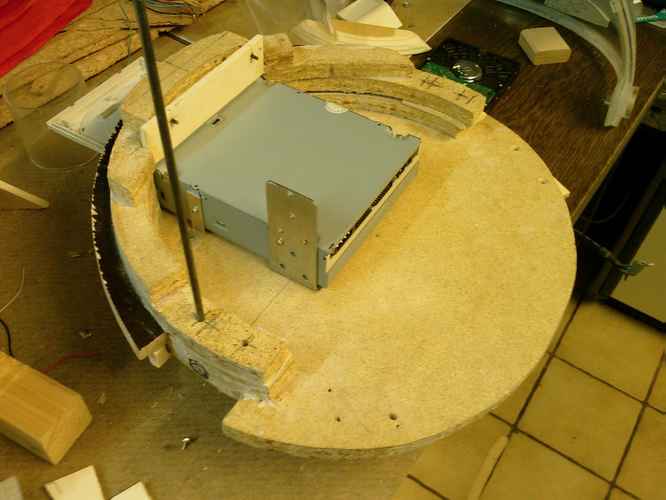
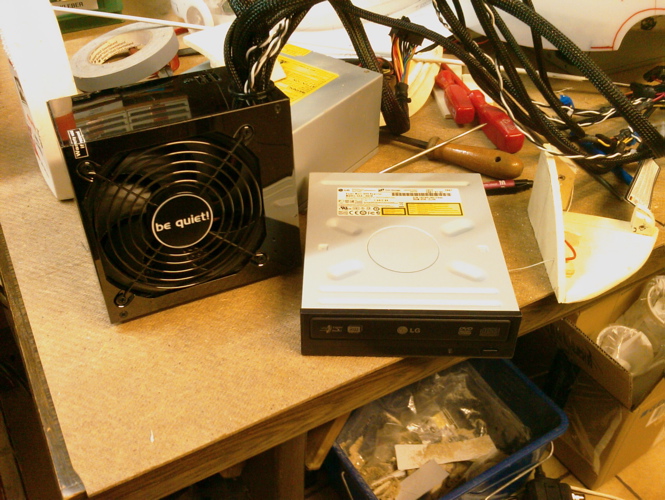
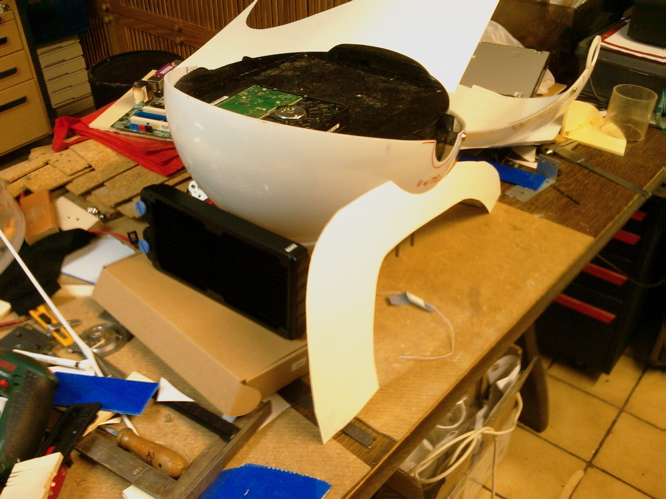
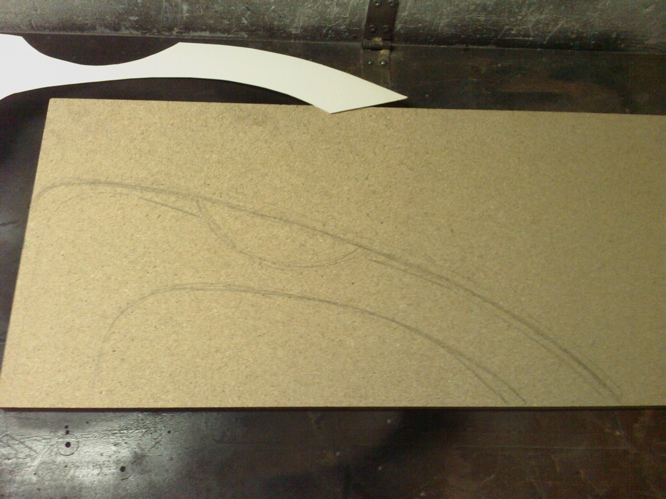
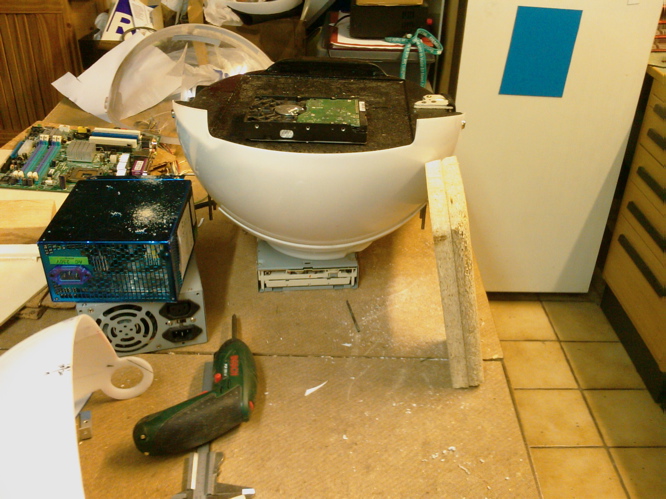
I found some more pics on my mobile. They show my progress on the hardware-mounting. The parts are quite the opposite to my CUBE 2 project. While stuff had to look smoth in my CUBE 2, the interiour of the lower hemisphere is absolutely pragmatic as there wont be any window.
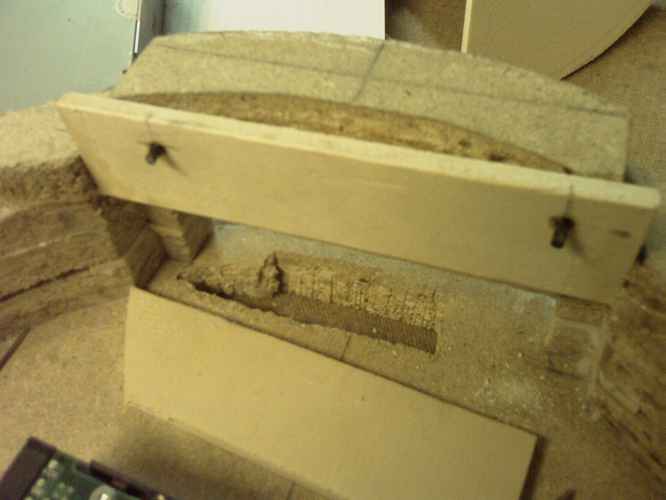
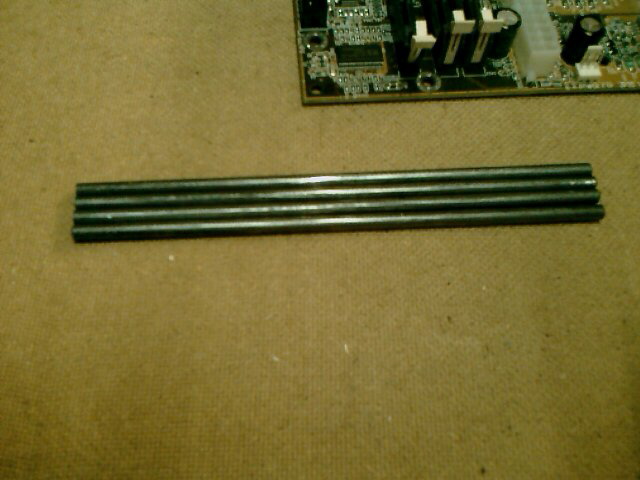
This is the counter-part of the harddrive fix. But I think I will change this for a better vibration absorbability.
I am quite sure, that the wood would transport the HDD vibration if I keep it the way, that the disk will be plugged onto the black sticks:
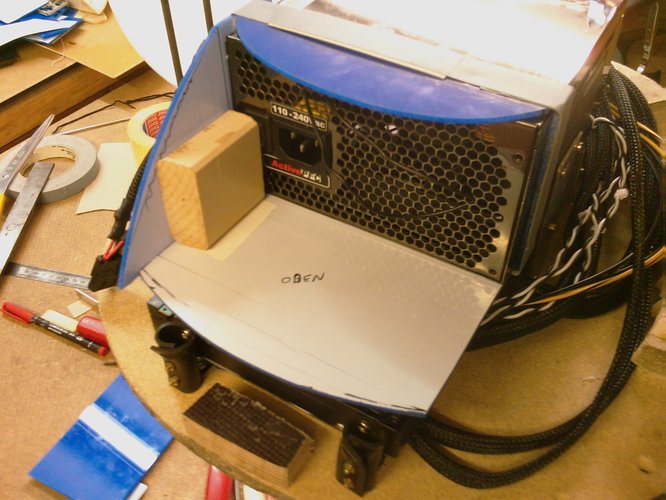
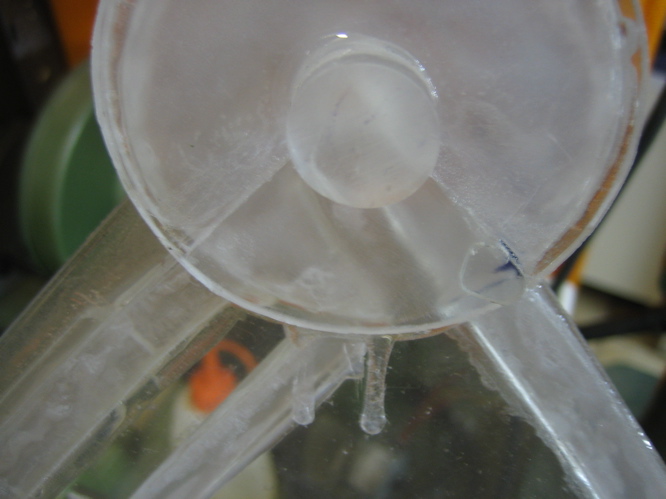
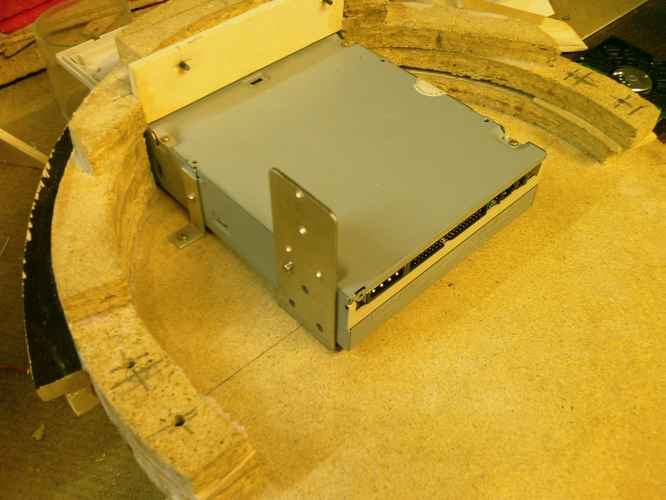
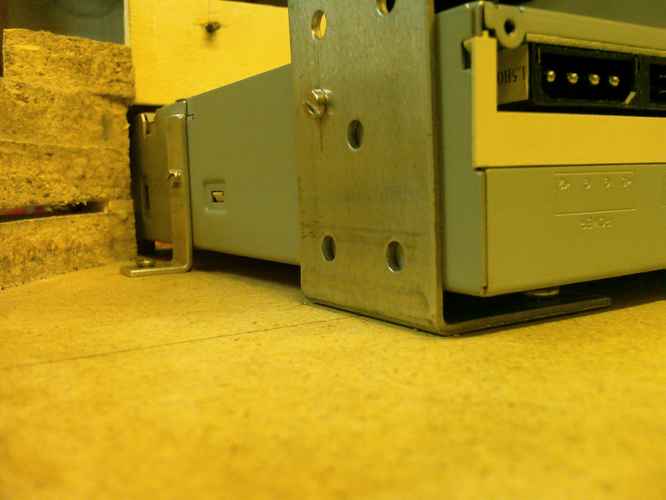
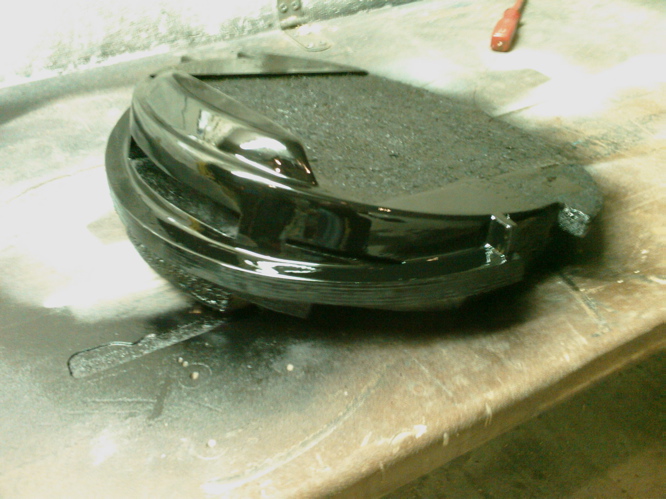
Here are two pics of the DVD-Mounting. You can see the gap between wood and DVD. This is for the cables coming from the MoBo.
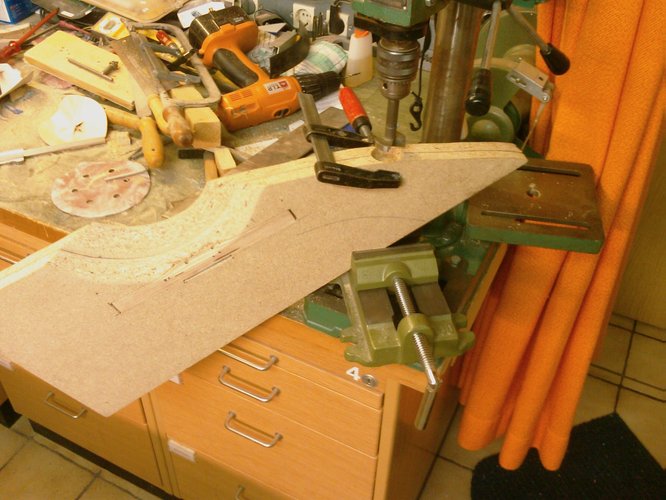
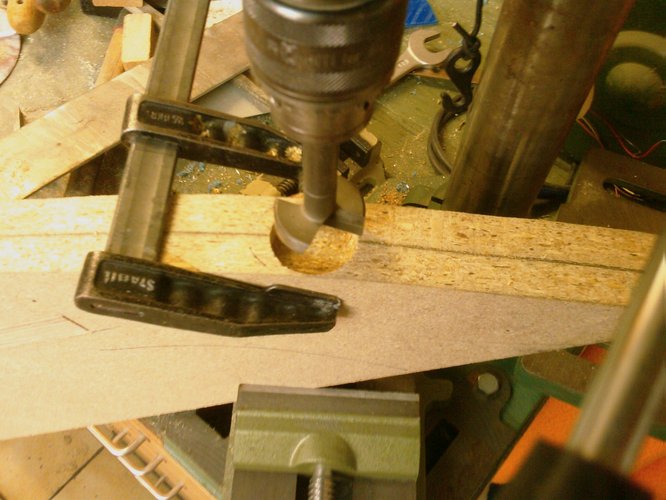
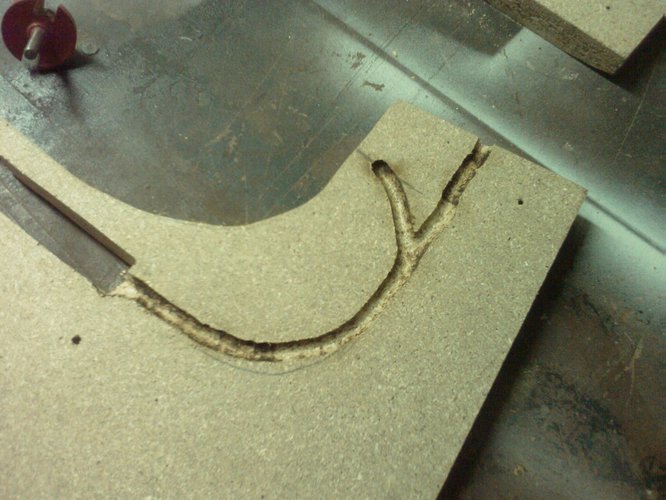
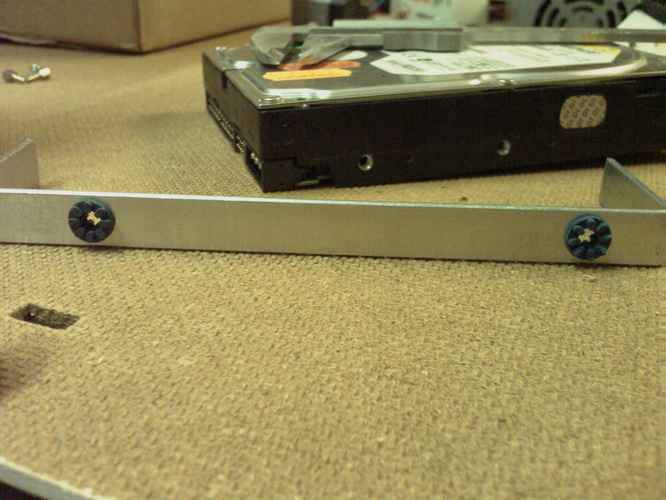
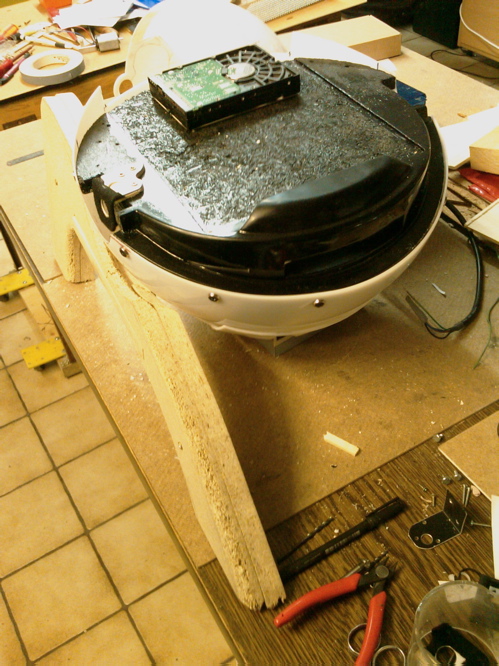
Here you can see one of four metal bars that will connect the baseplate with the stand.
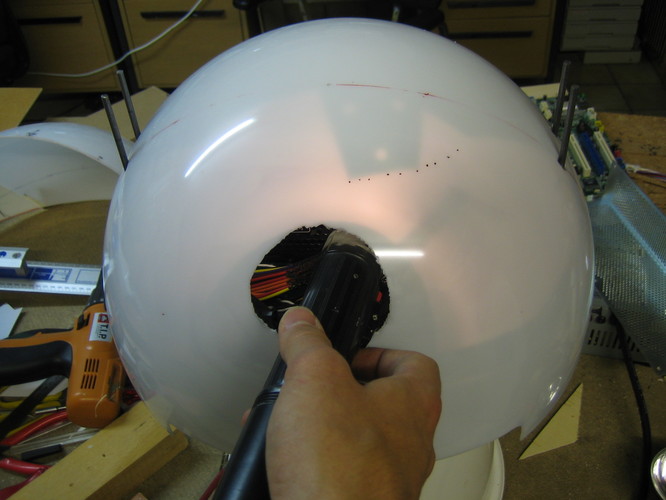
I really had problems to find the position in the lower hemisphere where I had to drill the holes for the bars. Because the spheres position is only exact when it lays completely on the baseplate. But then you can't mark the position from the inside of course... I solved this problem by adding a light source inside the sphere and projecting the shadow of a shorter bar on the sphere. I could see the shadow from outside and mark the position for the hole.
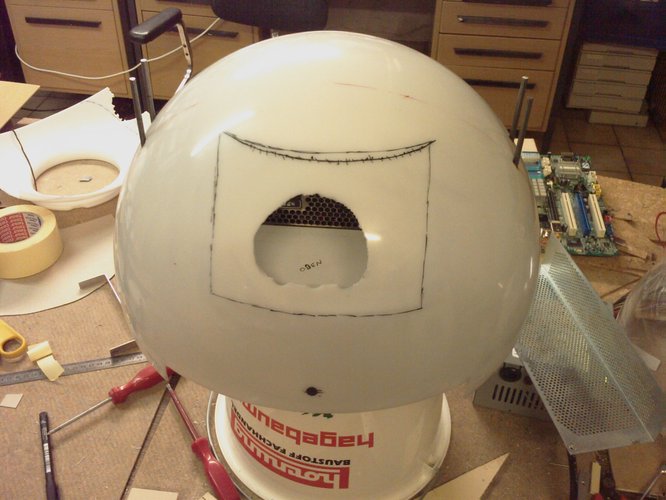
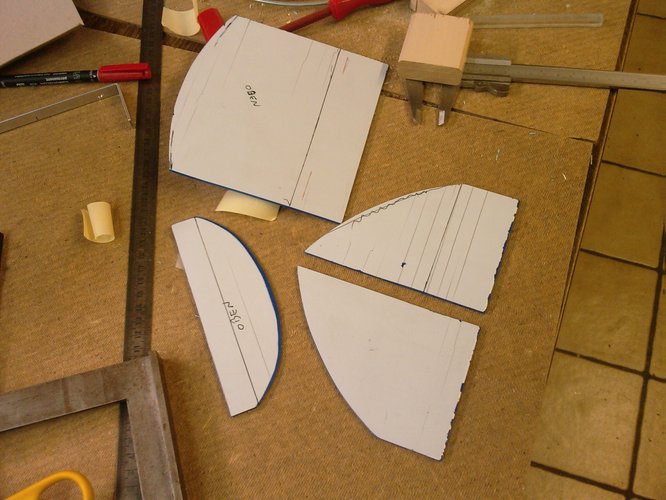
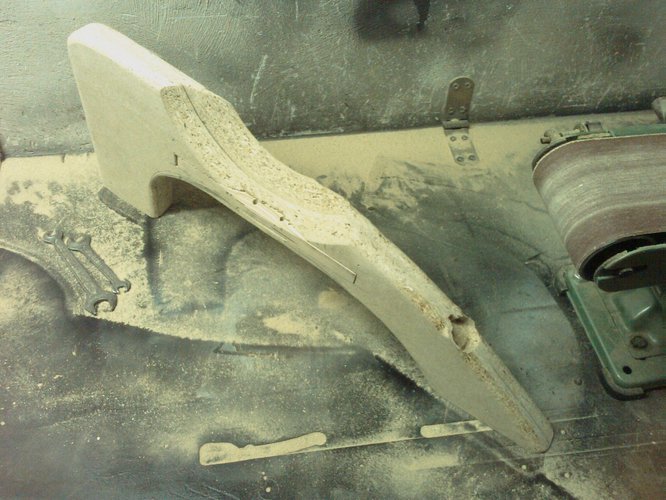
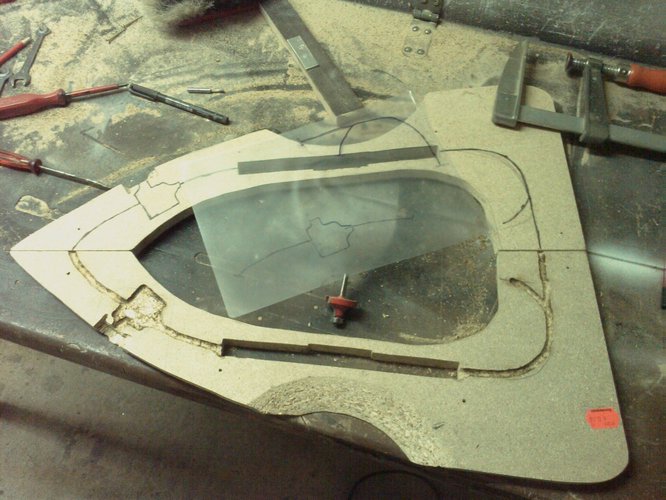
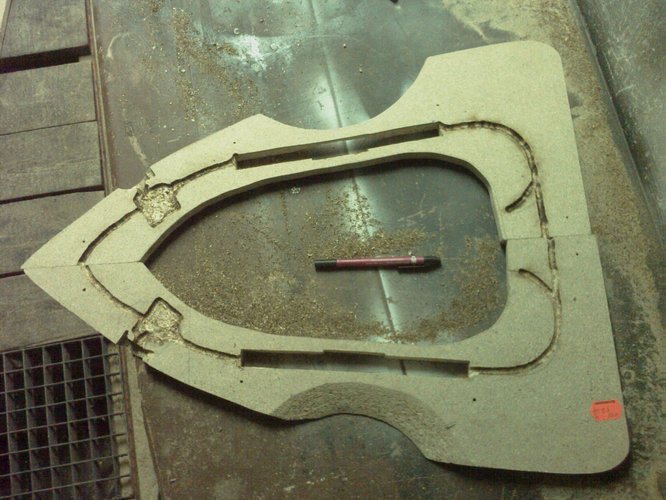
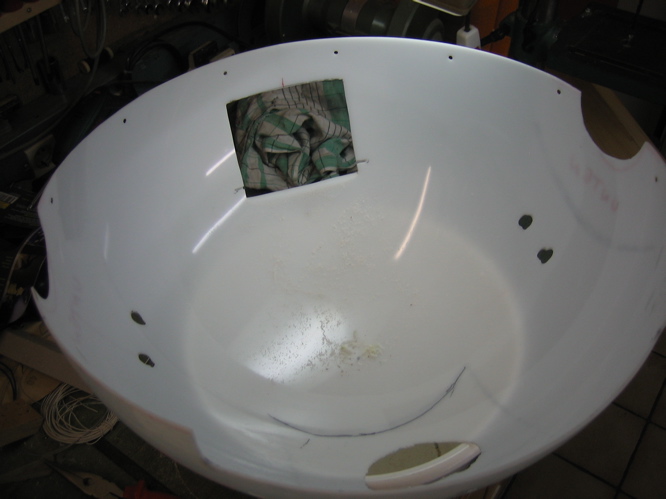
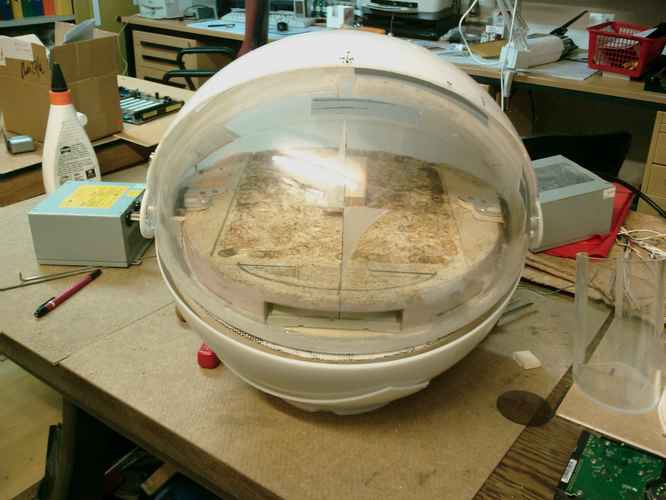
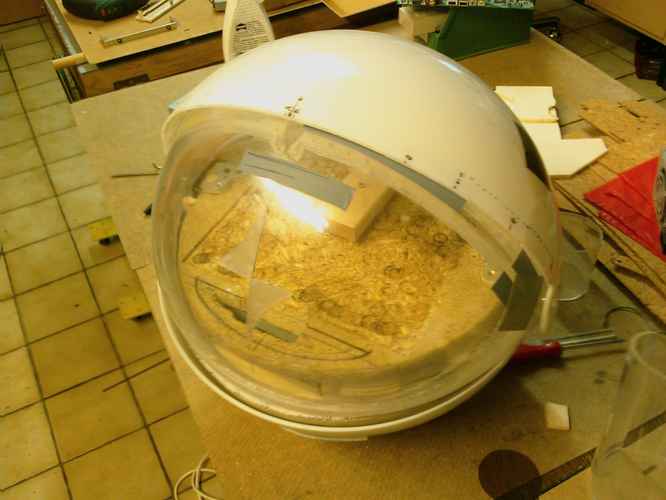
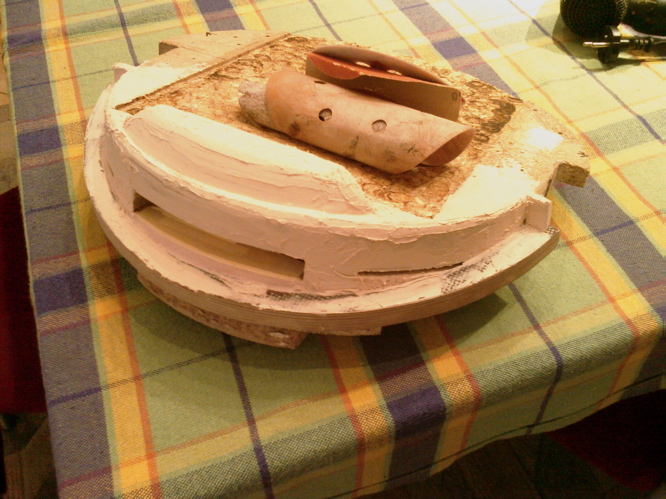
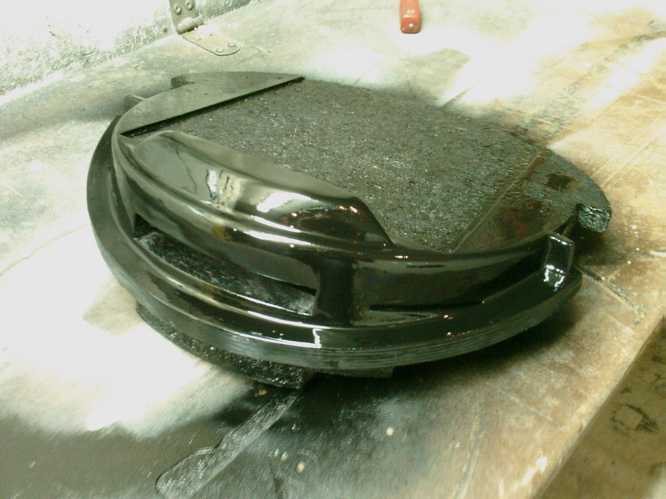
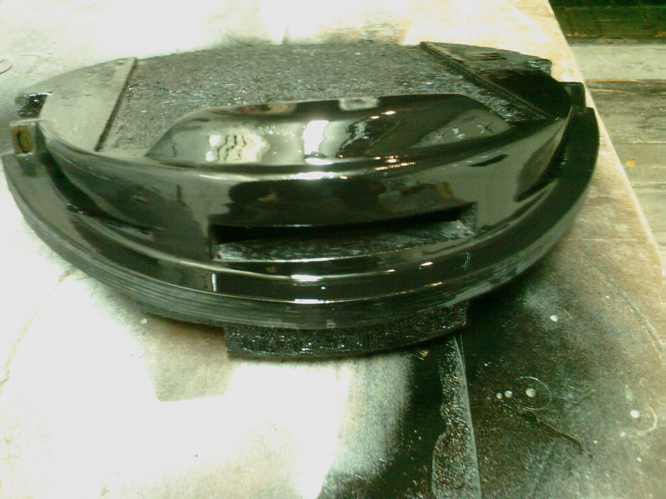
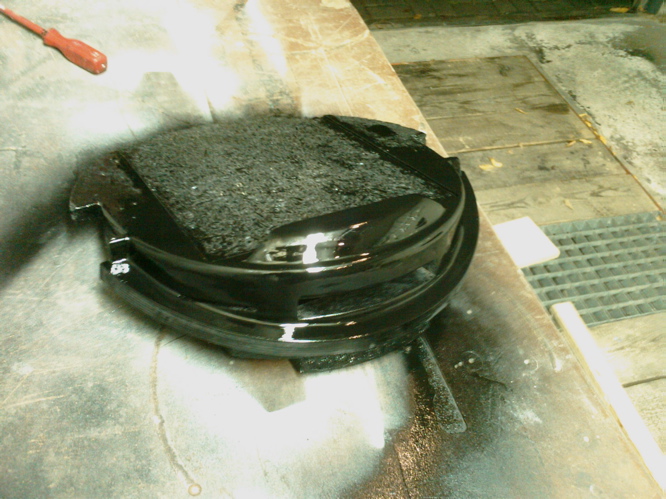
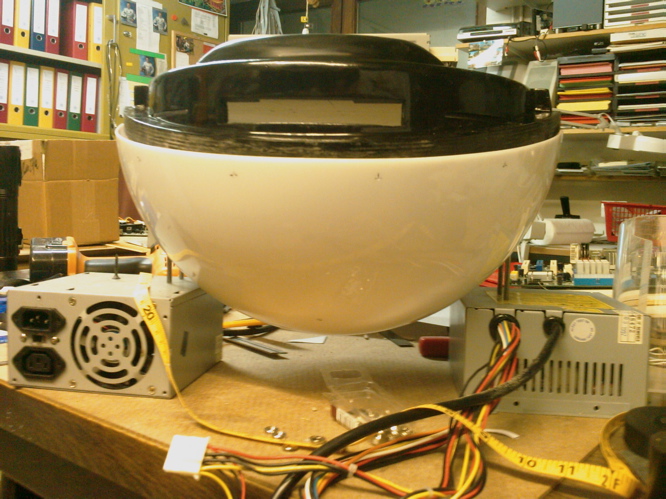
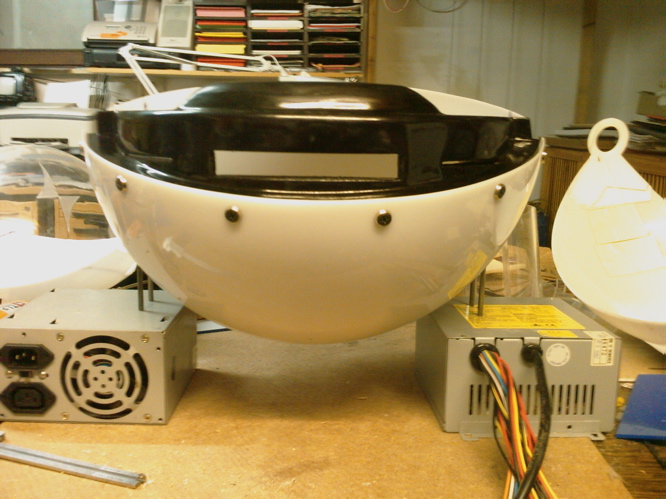
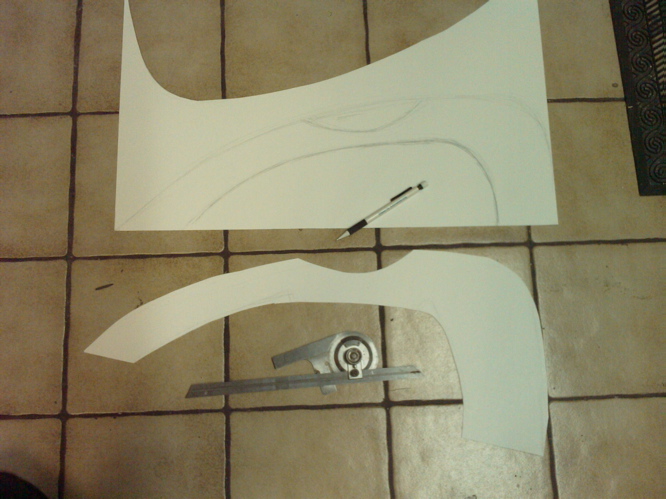
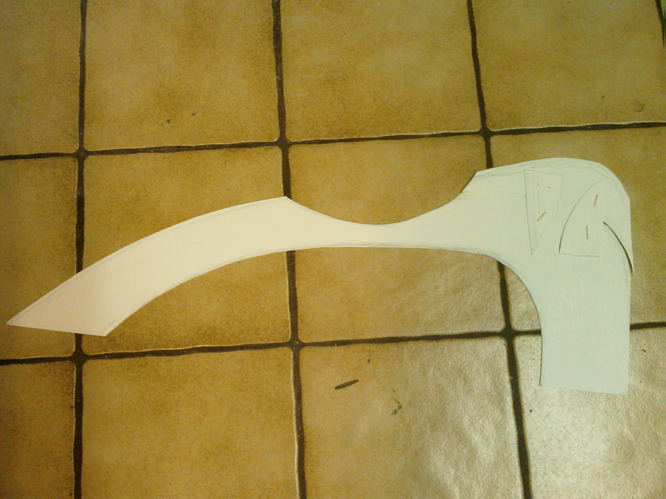
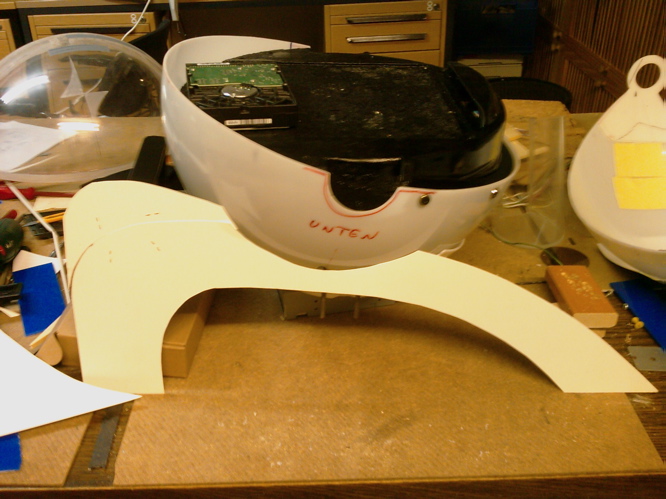
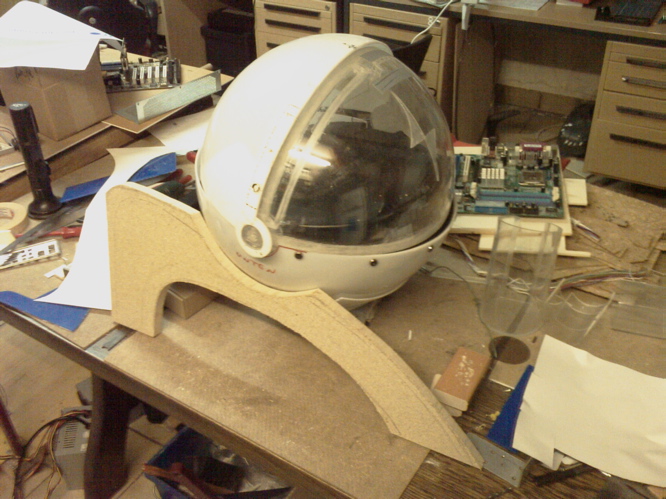
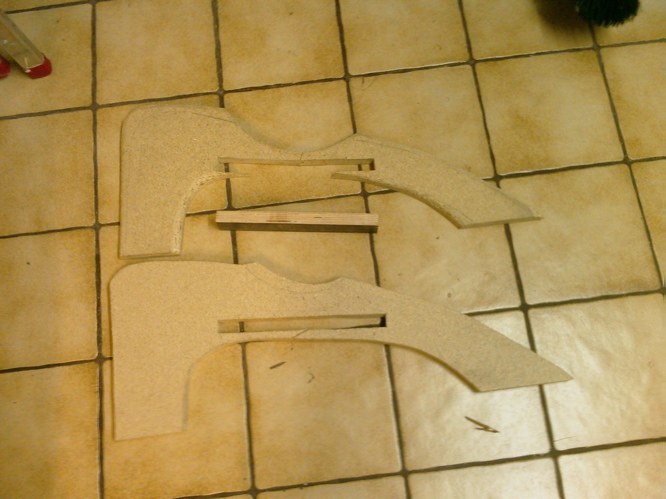
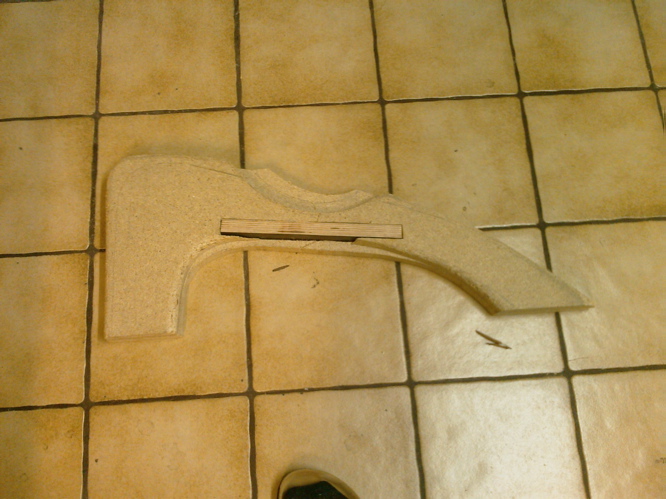
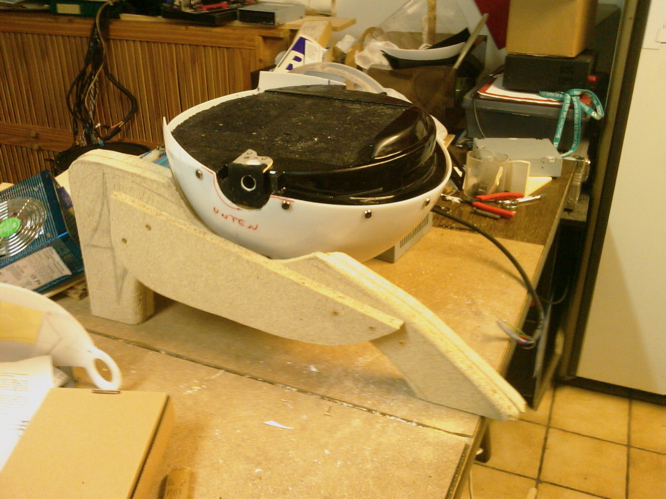
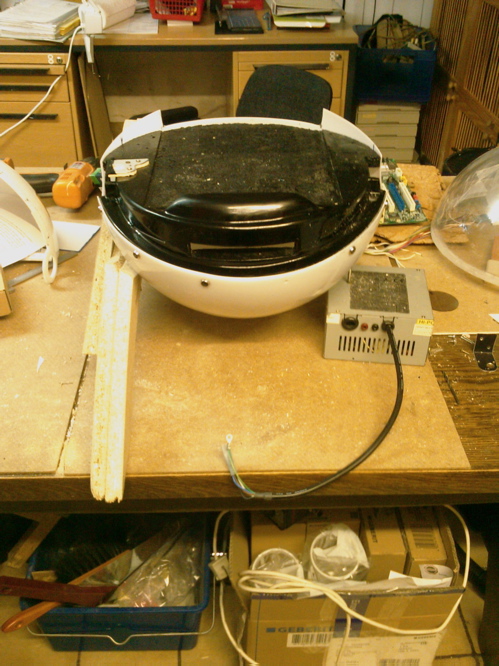
These are previews of the parts put together. Looks lousy without painting and hardware inside... But I am quite happy with it and I do believe now that I can finish that thing 
Today I hope to finish the bondo works on the baseplate, so I can start painting tomorrow.
-
-
Re: The Orb
Thanx for your comments
Today I only have a small update for you:
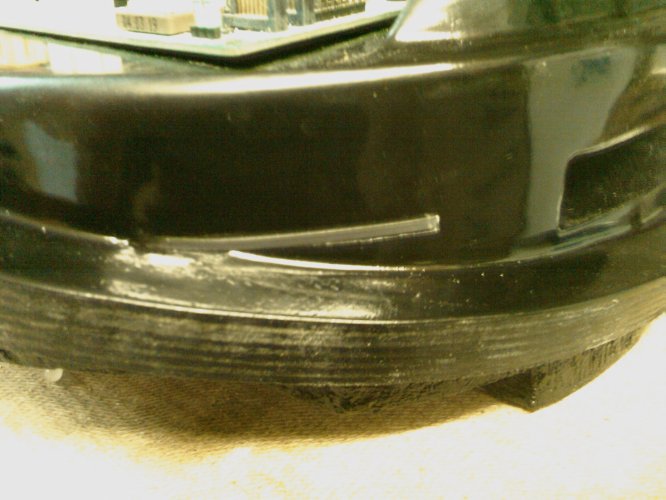
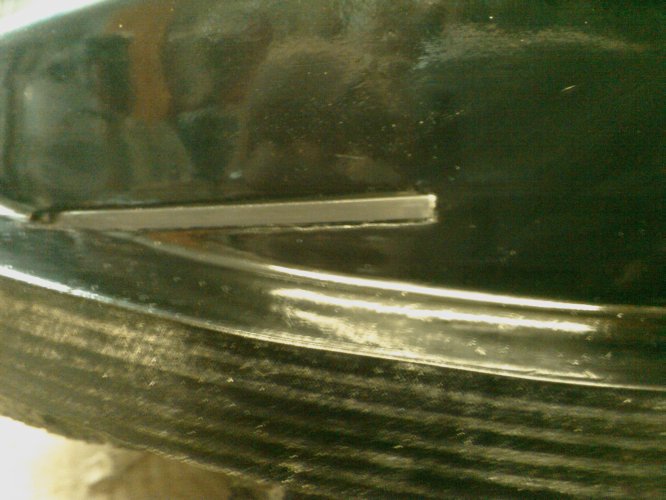
I cut out the first of the two status lights:
They are placed in the slots left and right from the DVD drive:
Two two-color-LEDs will light them up and show HDD-Activity.
The cover for the DVD will be about one millimeter smaller than the hole and be backlit with changing colors to show DVD activity.
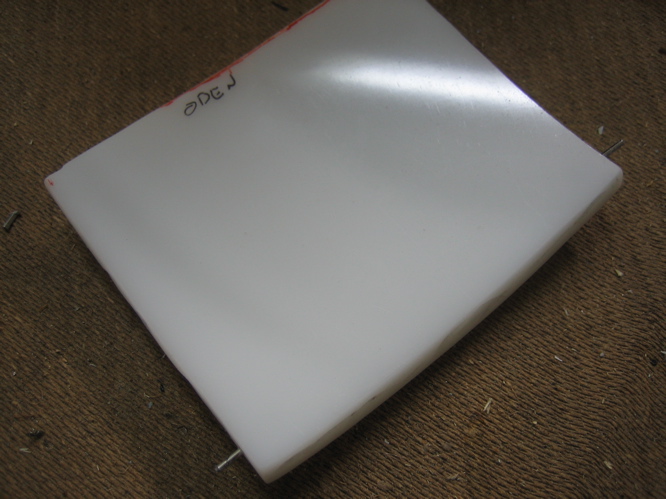
I also started with a new interior to replace the wooden stuff by some plastic. This will be made of less single pieces and therefor look smother and will be easier to mount without visible screws. Pics will follow soon.
-
-
Re: The Orb
Thanx for your tip, Dan. I will look for this HDF here in Germany. The only material I know, is MDF. It's heavy, a lot harder than wood and people use it to build speakers...
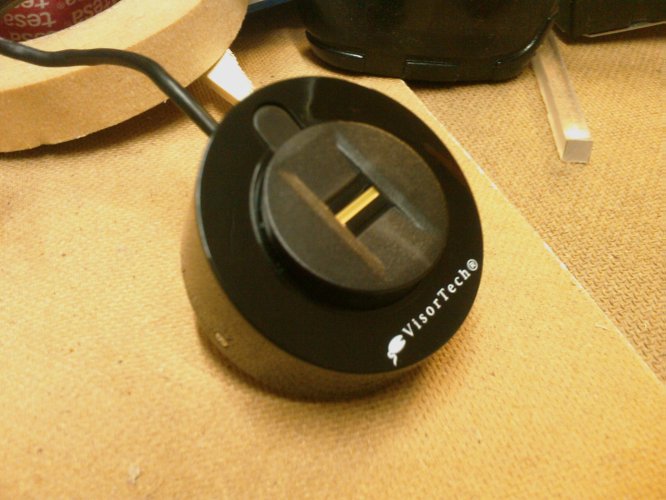
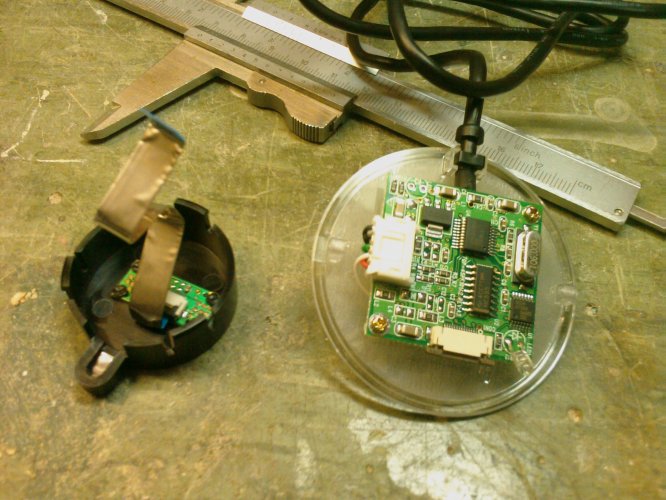
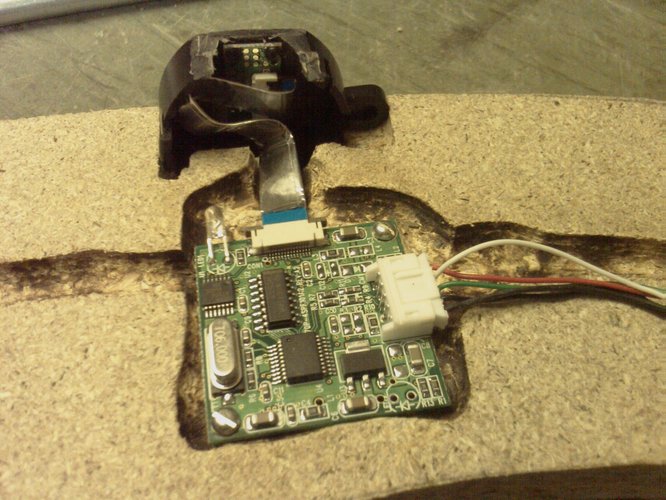
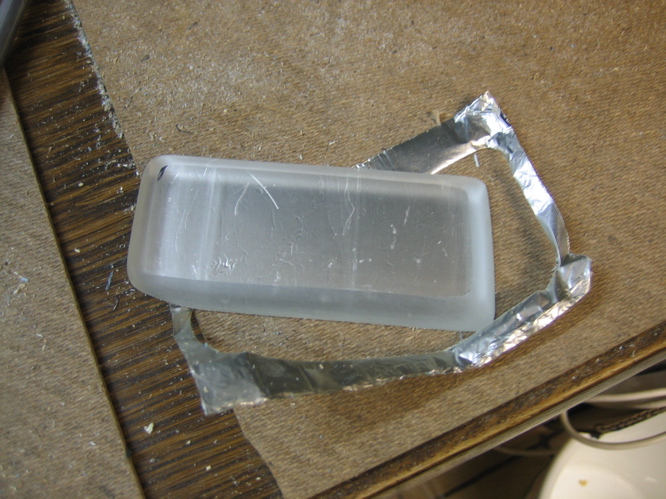
Well, I have a found a little add-on for my Orb:
Its a fingerprint sensor.
Fortunately its made of two parts, so I can rotate the bigger circuit board and fit the sensor into one of the legs.
I have more plans for the legs. They will get illuminated feet (as in the renderings on first page) and I will build in some USB- and one headphone-port. Perhaps also the button to open the Visor / DVD-drive.
Well, I have made some nice progress on the case. But my head aches as hell right now. So I will give you a bigger update tomorrow.
Bye,
Squelsh
-
Re: The Orb
All right. here comes the update:
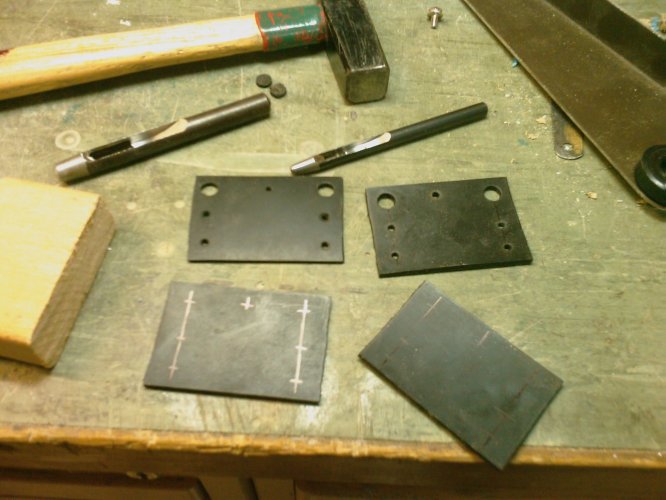
Lets start with my new HDD-mounting. I made it from thick rubber. First I cut out some rectangles and punched in some holes for screws.
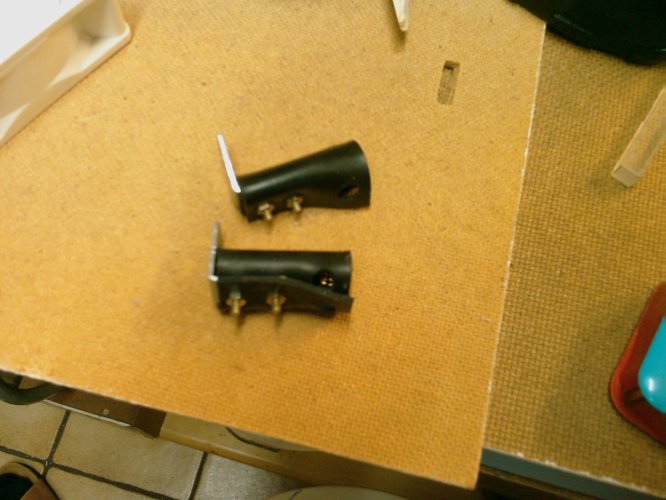
Then I rolled the rubber and fixed the lower end to an aluminium angle. The disk is then fixed on the upper end. I can access the screw through the bigger hole.
The geometry is not verry nice but this construction is really stable and surely reduces the vibration of the disk.
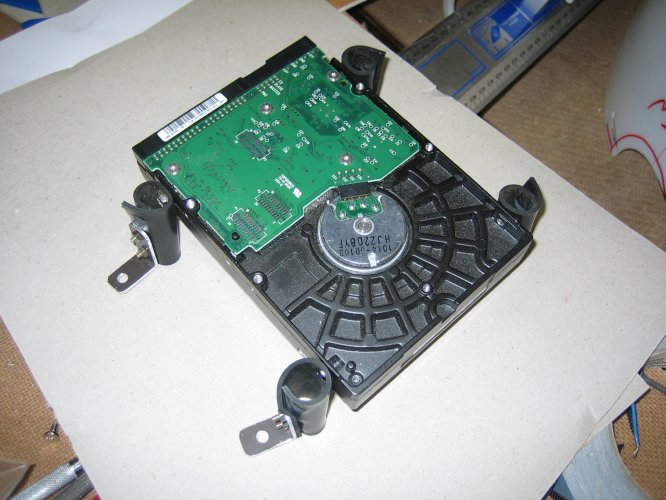
The space between the disk gives enough room for ventilation.
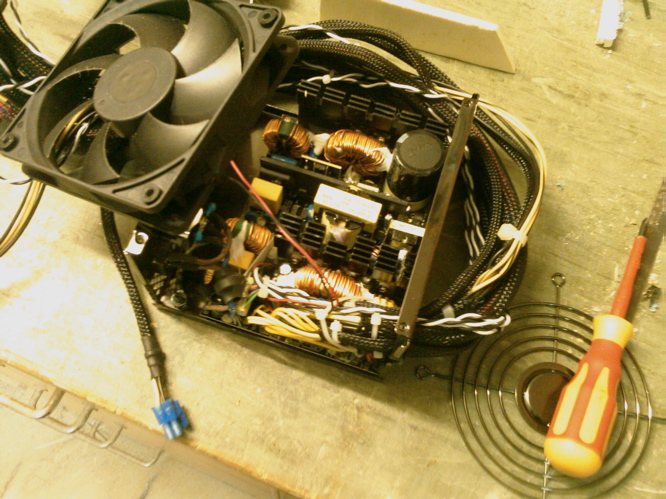
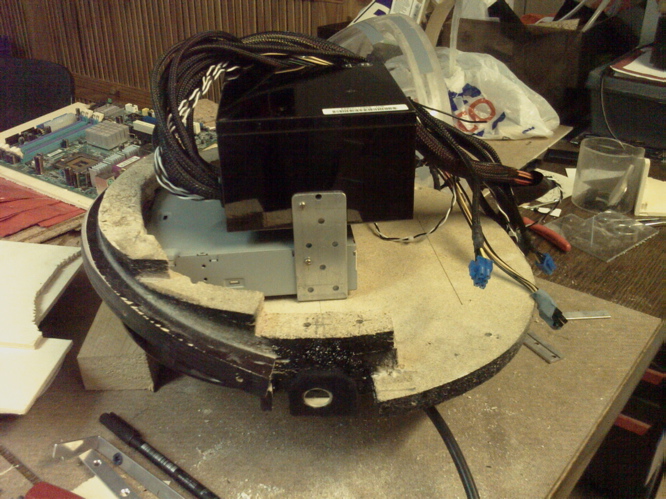
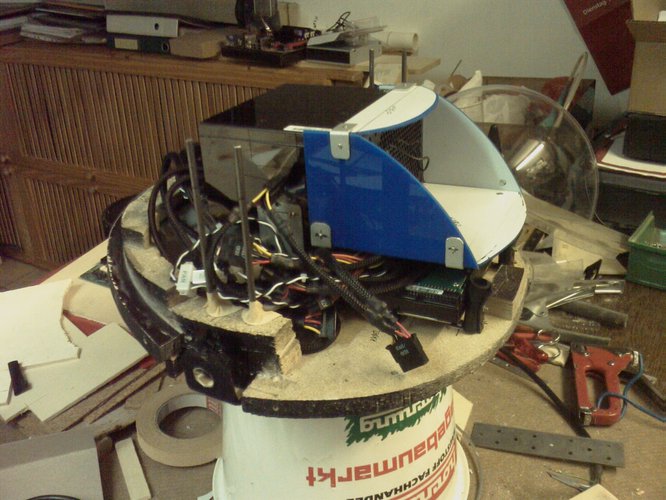
Here you see it behind the DVD. I think I will add a air duct later so that the power supply fan sucks the air over the HDD and not the DVD.
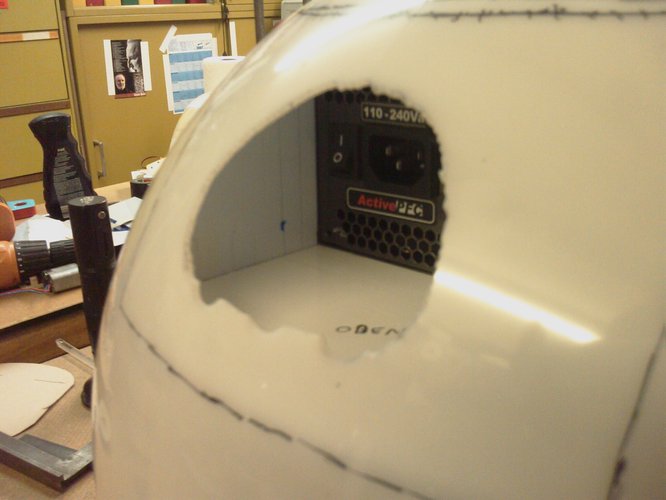
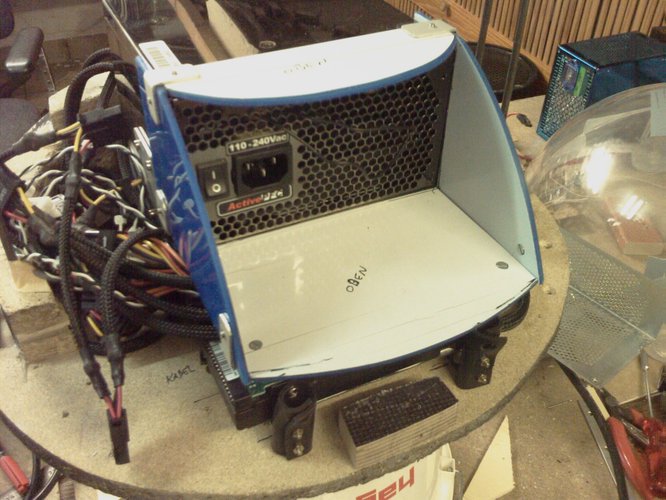
Now to a really annoying part: The air duct for the power supply:
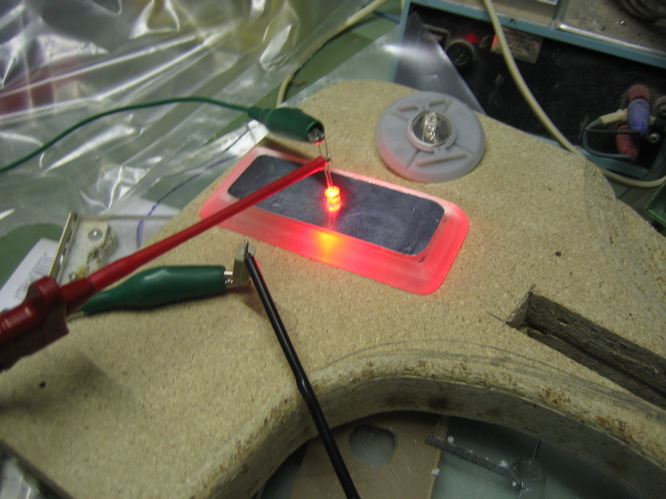
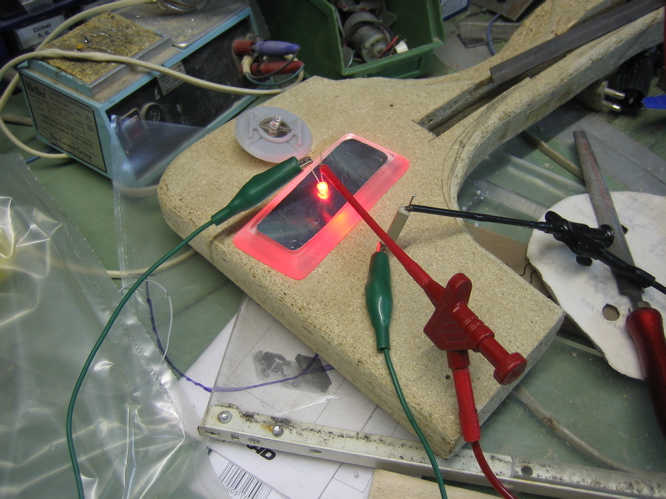
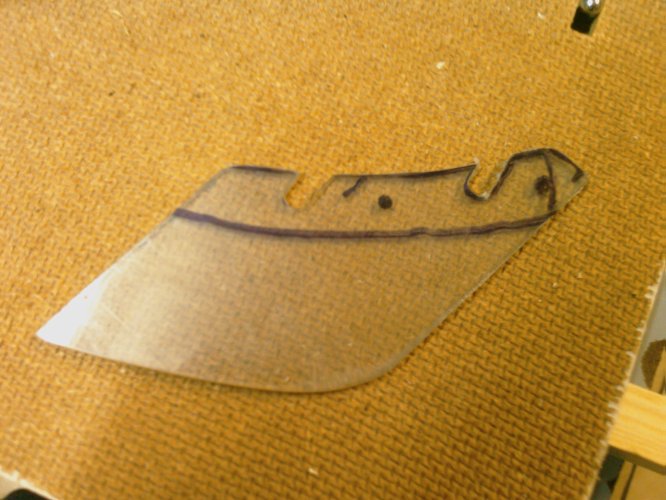
That piece guides the hot air to the outside. The problem is of course the round form of the lower hemisphere. I needed to find the right radius and place in the sphere. So I drilled a first hole into the sphere and placed a piece of metal on top of the power supply. With the help of an flashlight and the shadows the metal piece dropped I could mark the outline of the power supply.
From that I cut out several cardboard dummys and matched the perfect form that I could copy on some plasic board.
The pieces cut out and testfitted:
Horror: A bit of filing, then putting it on the powersupply closing the sphere, marking the pieces then filing again. I think I needed 10 cycles 
But the result is quite cool: Nearly no gap between airduct and sphere.
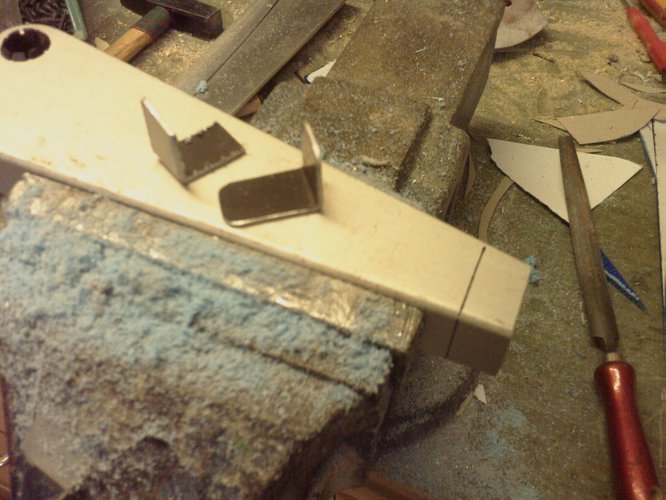
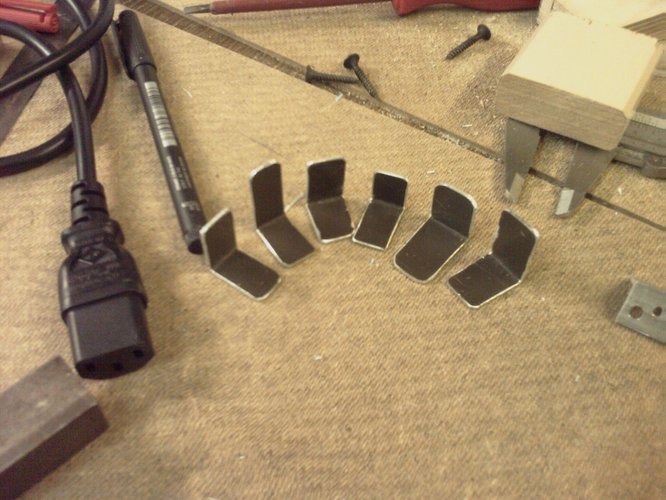
Next I needed some angles to bolt the whole thing together:
Tadaa! Final product of one afternoon:
I have to think about the hole in the sphere and how I could design it... I plan to make an removable outer grill, so I can put the power cable inside the duct for transport.
Ideas for design of that grill are verry welcome!
See you soon,
Squelsh
-
Re: The Orb
Wow! Heavy action going on in the forum... Time for an update to get me back to the first page
I spent a lot of time with the final version of the left foot. Using the prototype as a template I improved the fitting to the sphere.
First cuts:
And after about 10 iterations of matching and filing the gap is now about 1mm:
Same on the outside:
Next step was to drill the hole for the fingerprint sensor I mentioned above:
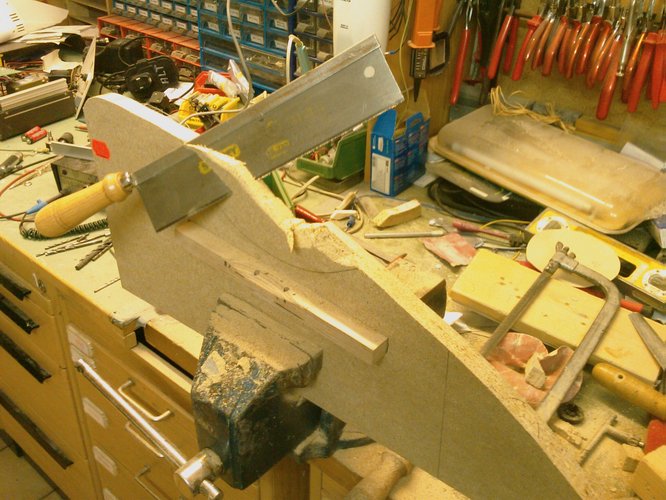
Then I moved out into the garage (-5 degrees celsius) for sanding, scrollsaw cutting and milling:
This is the lead for the cables:
I first did one piece, then copied it to the other layer with some foil. You can see the space for the fingerprint electronics.
And this is the result. The two layers together form one foot. I have to do all this one more time for the right foot.
This is the electronics board in place. Perhaps I will drill a hole for the LED in the upper left corner.
Thats it for today. Next update comes tomorrow featuring the illuminated feet and a sensor switch for detecting the visor position.
-
Re: The Orb
Thanx guys you for the rep and your comments!
@TaT3rs: Hehe, sometimes I had the same thoughts But now, I am definitely beyond the point of no return...
This morning my girlfriend bought the perfect bottles for the tanks on the backside of the Orb:
Those tanks won't be used as reservoires but only for effects. I will illuminate them and pump air through them with a really small aquarium pump for nice bubbles. All the writing on the bottles is printed on foil that can easily be removed.
Come back in about 8 hours. I hope I have some more pics till then.
-
-
Re: The Orb
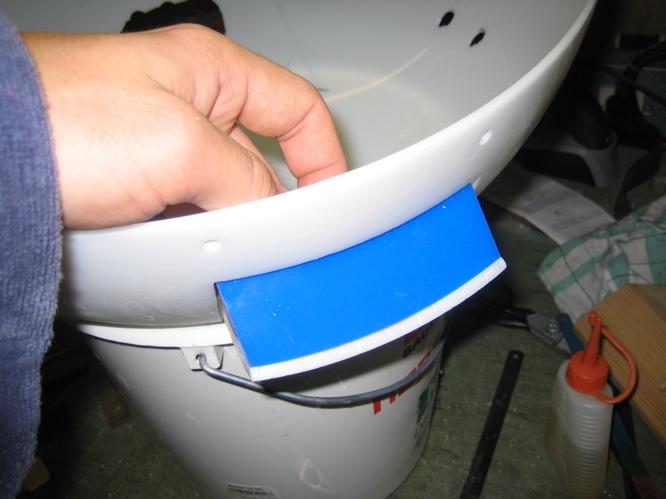
Today I continued work on the foot. With the mill I carved my logo into the side, about 3mm deep. This space will be painted red (rest of the foot will be black) and an illuminated piece of plexi will be fitted into.
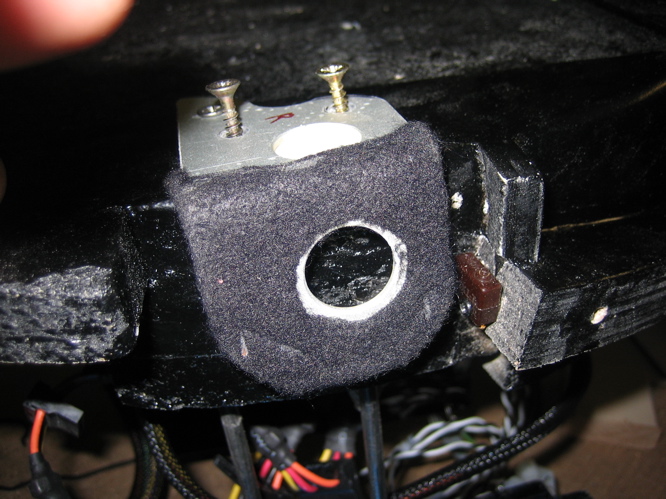
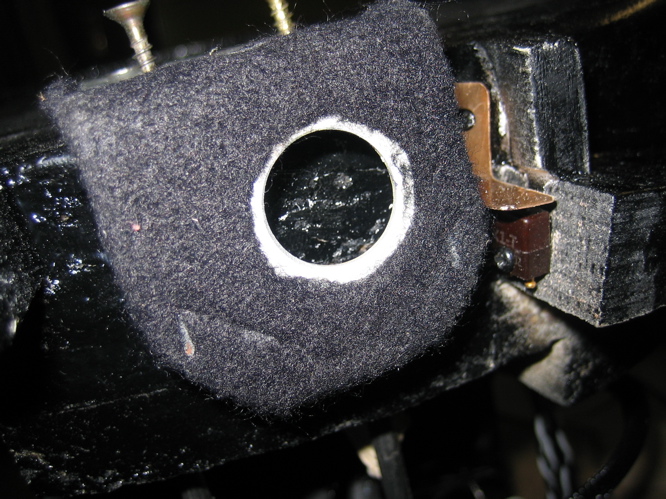
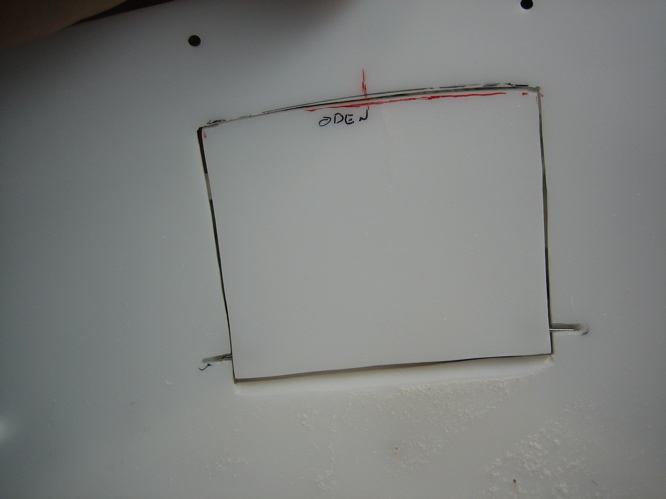
Besides that, I cut another hole into the lower hemisphere. It will host a small control panel with some buttons:
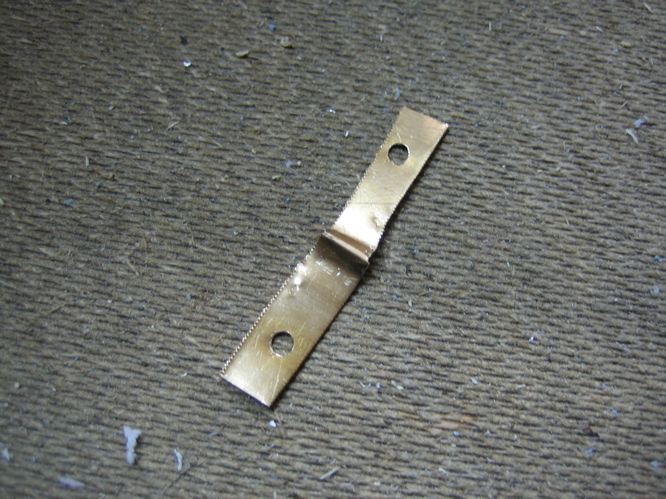
I first tried with a dremel but the material melted too fast. So I only did the first cm and then continued with a handsaw. This is the piece I cut out. On the lower corners I drilled holes and sicked 2 axles into them:
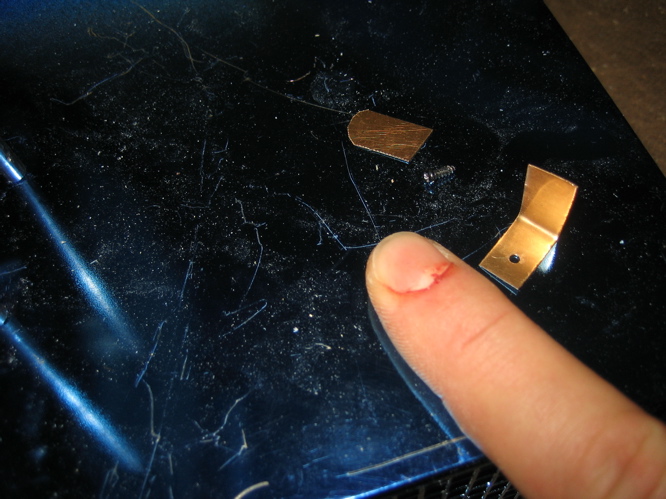
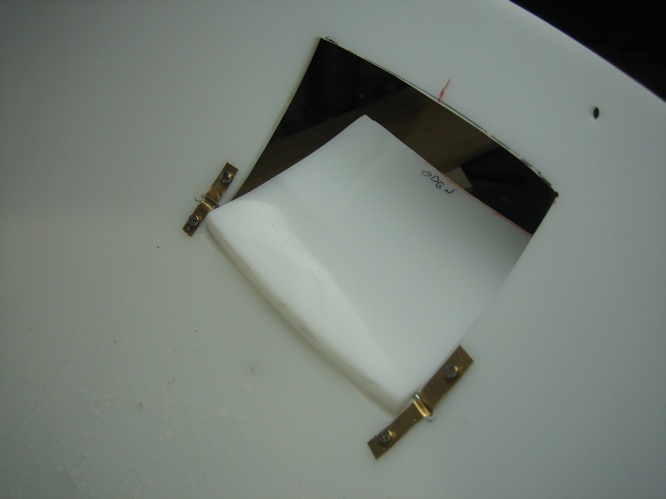
This axles can rotate in two slits and are held in place by two copper pieces:
The bended piece:
Here is the flap opened:
And this is how it's gonna look:
I have to find the right buttons and make two more plasic pieces for the sides and of course some kind of motorization to open and close the control panel.
If I can, I want to use an optical sensor inside the flap to sense when a hand is getting nearby (like in the hand dryers that switch on, when you put your hand beneath).
Anyone ever played with those kind of sensors? I'd love to get some hints on how to use them...
 Posting Permissions
- You may not post new threads
- You may not post replies
- You may not post attachments
- You may not edit your posts
-
Forum Rules


 Perhaps I have to shorten them...