nice mice! that's good for the sweet palm hand. hehe. and also its have a wide body kit. very nice work man!


nice mice! that's good for the sweet palm hand. hehe. and also its have a wide body kit. very nice work man!
Proud to be a Pinoy Modder

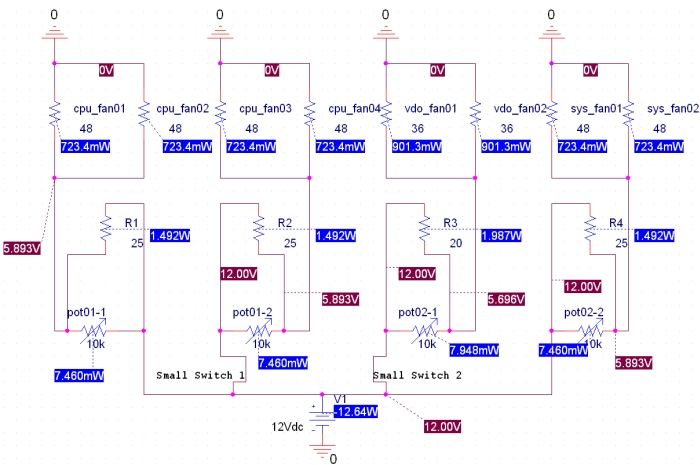
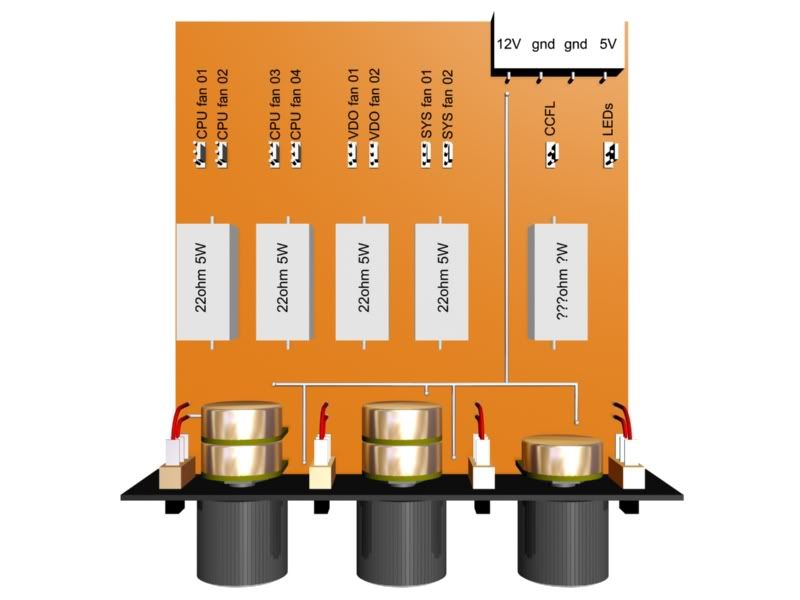
finished my math work for today... soo.. after finishing this i (re)installed orcad after a long break from it and, considering i bought some stereo-pots today.. i designed this:
the idea is to have 2 dials(..pots) for 2 zones of the system: the planned cpu duct and the system/vdo area. by turning a pot, i get control over several fans.. nothing new.. but i also wanna change their working condition:on/off too
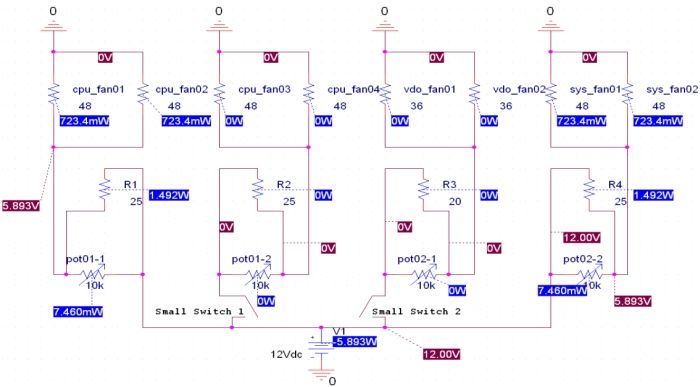
edit: back i am.. this is how the circuit module looks when the switch is open:
all fans were tested and they work at 5V(usb) with ease
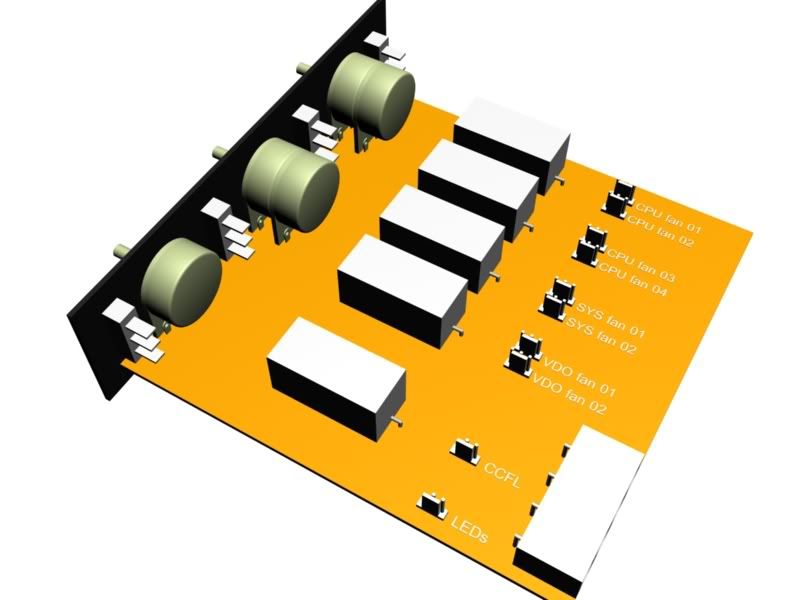
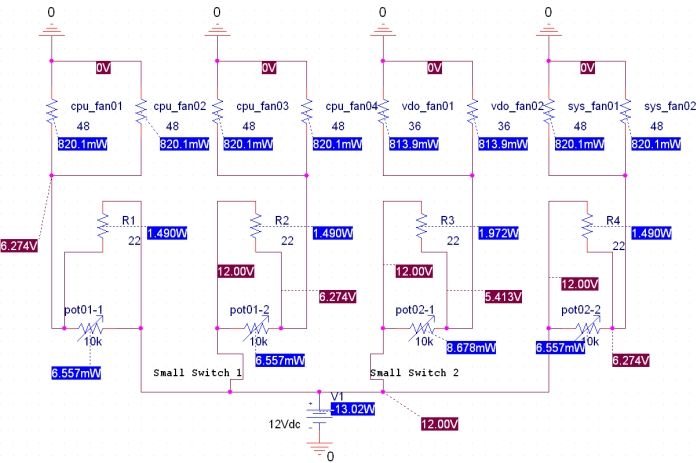
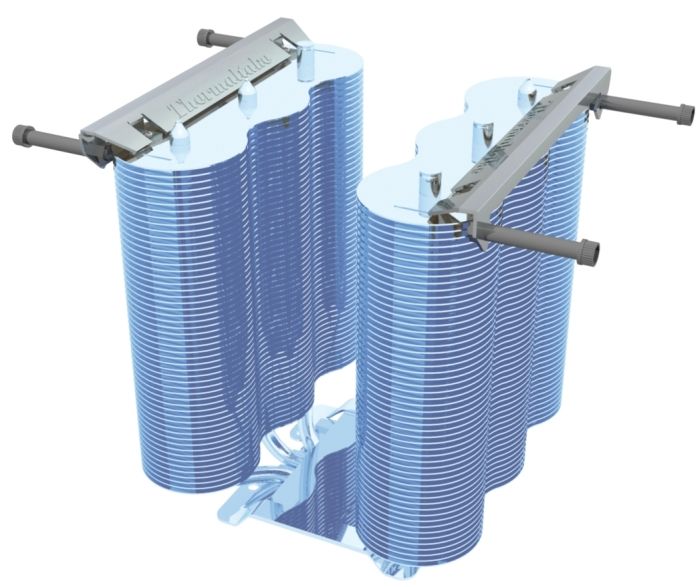
edit2: played with 3dsmax, 'cause the wiring diagram can't help if u can't picture it
morning everybody.. late last night i got some stuff done in max.. almost like building the real thing, i "did" the soldering and tweaking (quick <min renders):
side view..
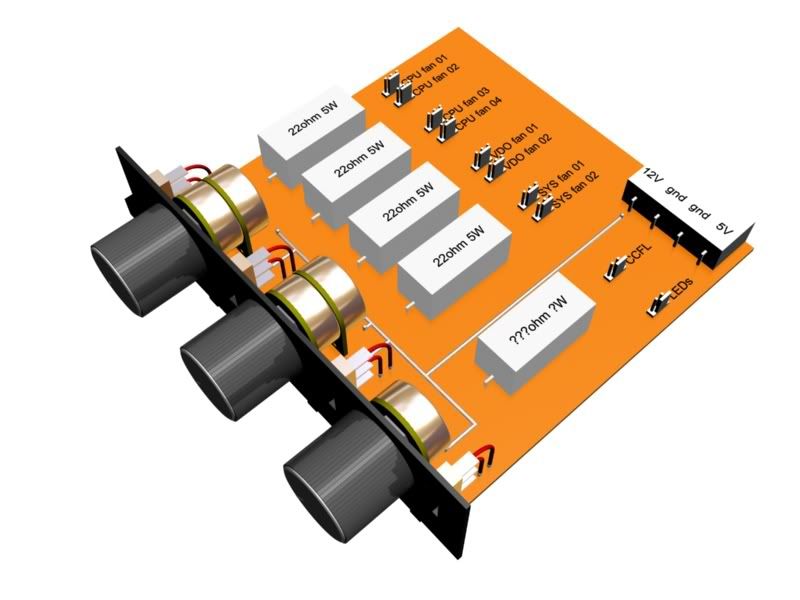
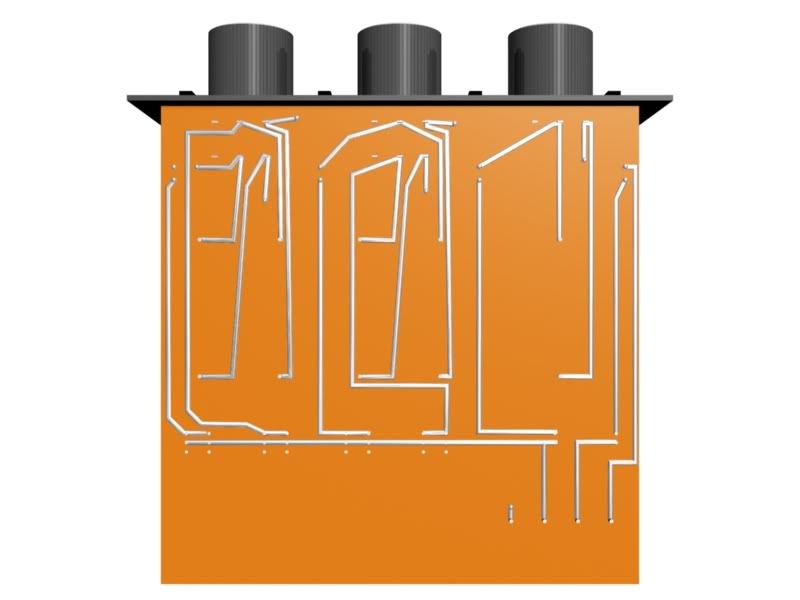
top view.. very clean on this side.. looks like the components are not really connected
and the bottom view... i wonder if i can do this on a PWB or i should etch the circuit on a copper/resin board >> PCB
changed some values
using CADs is a very valuable asset. as you can see, all the fans will drain about 13 watts from the psu, i can print the circuit's traces and etch it, i can tell which type of resistors i should use and can tell if this will work and how well.. eg: at max power drain, 6,4 watss will be generated as heat output by the big resistor only.. if i would use tiny, 0.25W ones, i would get another flamed unit.. just like the v4 controller.. wont happen again.. if the CAD says 1.5-2W, i'm going with 5W
gottogo..
hello everybody.. did some CAD work and some more soldering/unsoldering (just learning this..).. basically, right now i'm trying to make what i can right now..and at home. so i'm looking around the web for some AgNO3.. maybe your wondering why.. i have a nice idea.. it involves silver nitrate, some silver spoon or fork and some volts
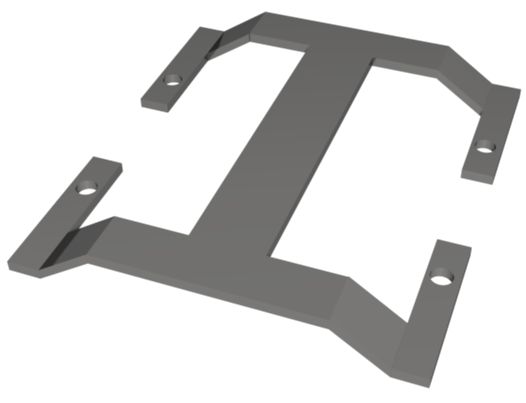
i had some issues clearance-wise with the pipes and their base.. i was even about to cancel the clip and may even do so.. i'm considering the typhoon heatsink-mod modded clip
for all those that might have a socket A rig (still) and might have a sonic tower (slim chances, but the world is big), u know that the holes around the socket make mounting the sink one way only.. so a new clip is needed to make the sink face the right way.. not neccessary for newer sockets, with a square pattern for the holes..
here are some pics:
the side view.. i lowered the tabs with holes so they would not "touch" the heatpipes.. i mean coexist in the same volume of space, of course
the new clip needs to go around the coolers base... hope the new shape won't weaken the clip's tight grip.. i'm thinking of ridging this in the middle to make it stronger..
this is how it should look.. crude, but hopefully efficient..
ok.. the weird color is from the silver i would like to place on the cooler
..hopefully, after electro silverplating..
after "placing" the virtual fans on a virtual sink and covering them with an acrylic cover.. i don't want it to be "passive" with the air in the pc, just the air i drive through
so.. please help out a bit.. and stop me if u see something wrong!
edit: yey! got some AgNO3. when i have it at hand, i'll make some photos..of the jar.. siilver nitrate is photo sensitive (nice pun, but it actually reacts with light.. it's used in the photographic industry, analog side... don't want that).. now i need to find some % and V
..so i've taken the risc of making a new clip.. it will unfortunatelly fit just my special situation and it still needs some cutting..
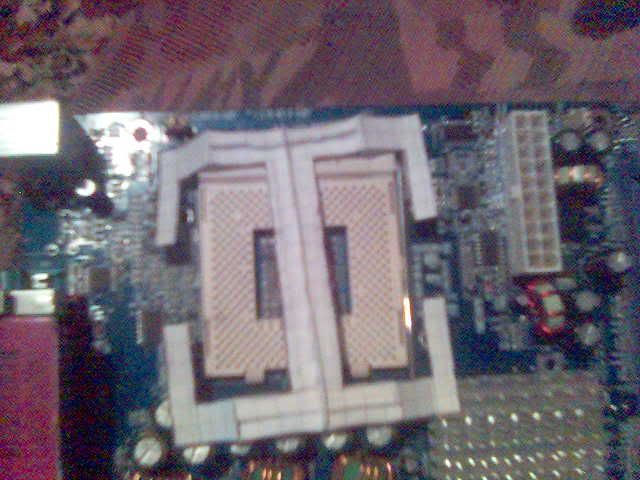
here, with my old mobo, the clip strays into the caps.. not good.. but ok as i'm not using this..
after running a sim in 3ds it appears my clip will violate the northbridge's intimate spaceso a bit of dremel work there..
but till that time comes, i need a clip to play with..
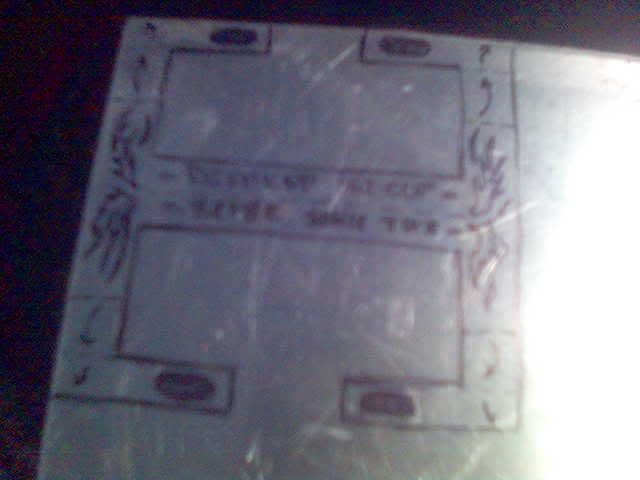
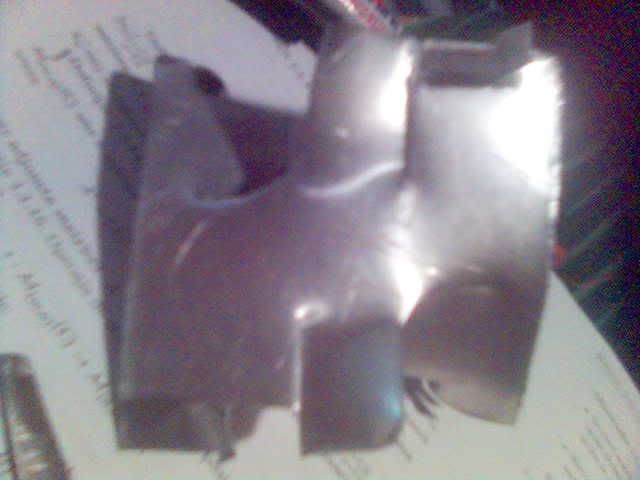
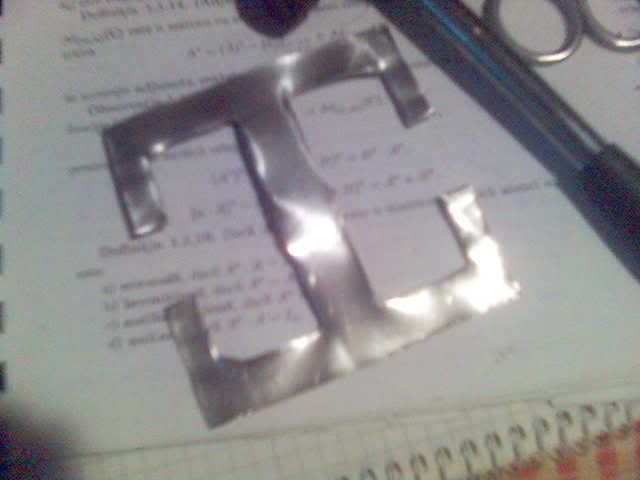
paper model.. with some reinforced paper action
(stupid) marks.. a bit bigger than the finished product..
i used some metal scisors.. with the nice effect above..
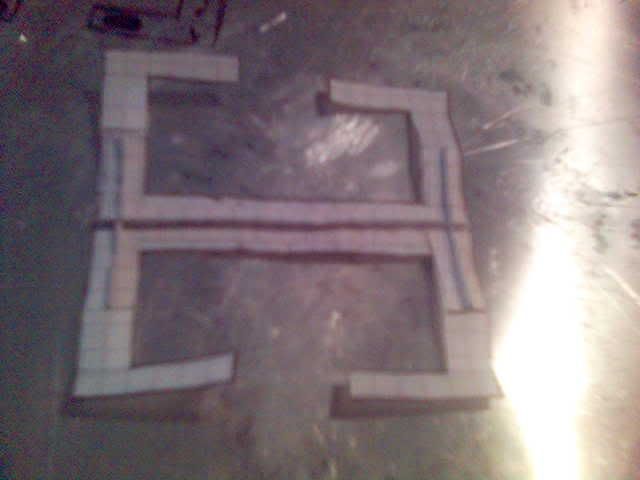
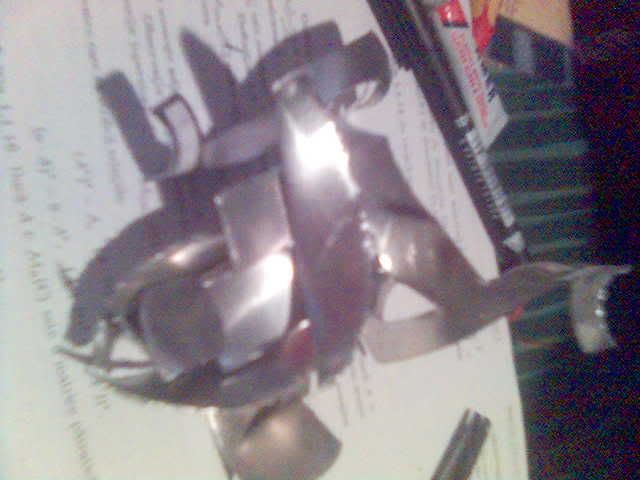
more modern art.. needs some sorting out..
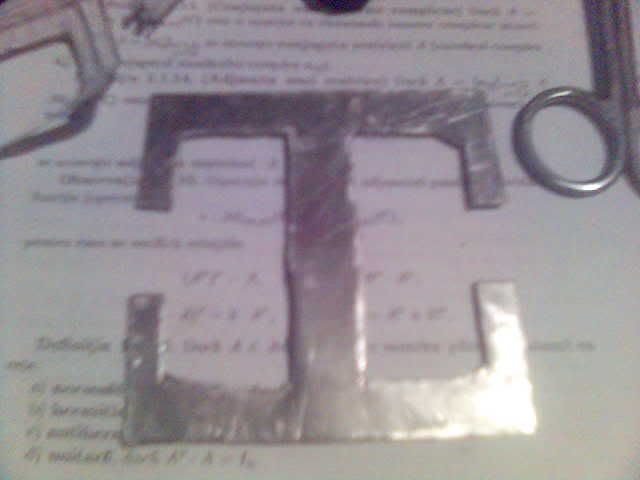
..my wavey clip..
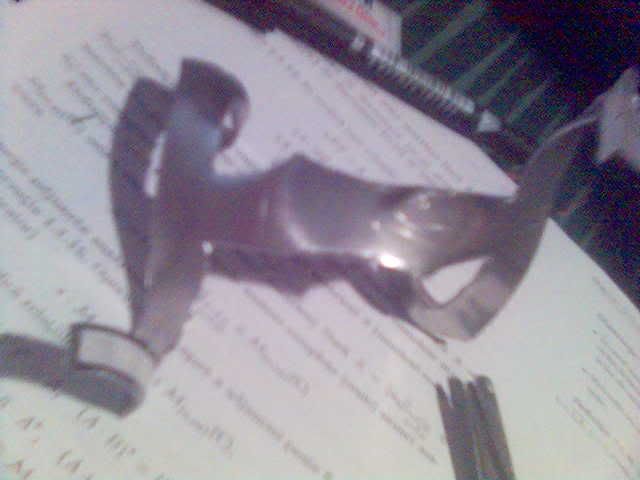
after some bending with some plyers.. my hand is still sore..
closer to a planar shape.. my hands are killing me.. i will use a hammer from now on.. and this $hi7 is so sharp.. i kinda cutt myself.. no pics of that, too small a cut for this forums
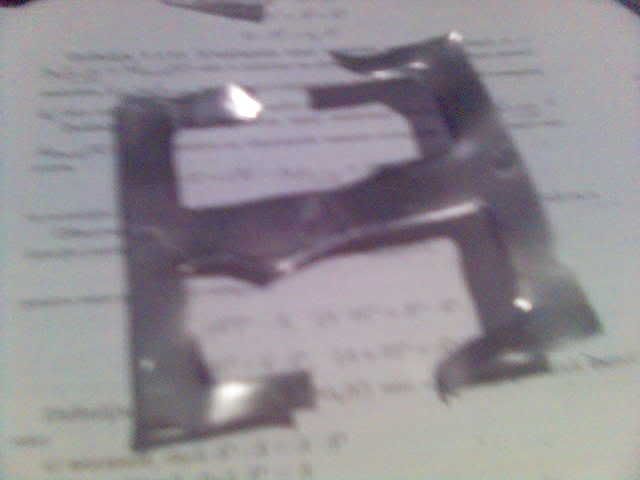
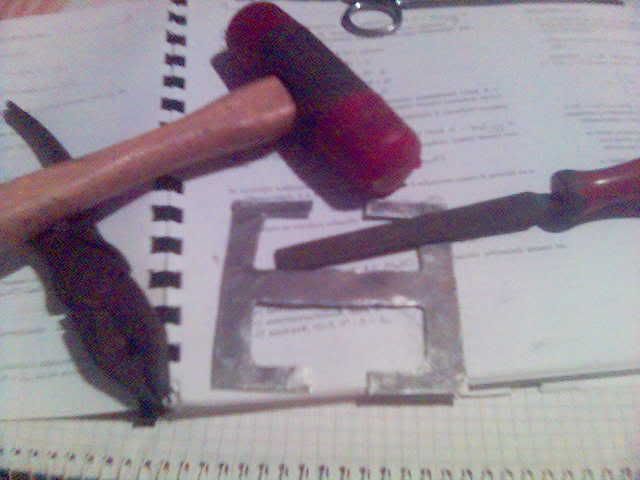
almost done piece.. needs some more shaping, filing.. not now..
this is what awaits the clip in tomorrow installment of my mod world
(sorry for the blurry pics.. i don't get it: what the hell is wrong with my phone.. i want a cameranext next buy: camera)
nice playing with 3dsmax! I hope I learn that too.
your project was really hot!
Proud to be a Pinoy Modder
..darn.. my thingy for using cutting discs on the dremel broke.. i bought a new cutting disc, made by bosch for cutting steel and the darn screw in the middle of the axle just broke and sent the disc flying... can't find it.. the problem: the screw broke inside the shaft.. so now i need a new axle-thingy..
great.. @#$%%^@#$
hi everybody.. short update:
modified a screw to fit in the dremel.. and used a cutting disc to do some work.. i think i've hit a golden vein here! this cutting disc is excellent! just try this yourself: buy a stainless-steel cutting disc (loks the same as normal ones, but it's made for cutting stainless-steel) for an angle grinder (think that's how it's called.. we call 'em "flex") and make smaller cutting disc using a pair of scissors and some coins as templates.. then make a hole with a sharp thing as close as possible to the middle of the cut cirle and use the dremel at lowest speed to sand the cutting disc to a perfect circle: this is important because it gets to excentric and might brake when on high rev.. this is a cheap way of making cutting disc, but this time i was in luck.. i cut 2 120mm metal grills off my case and that think didn't shrink at all! this is a huge improvement over other disc i used.. basicly, it cuts right thru and doesn't show it at all
i got some AgNO3 from a pharmacy and now i only need some HNO3
also, the stupid firefox bookmark losing stuff happened to me right now... curses!

what did you use for the clip
LOUD AND PROUD !
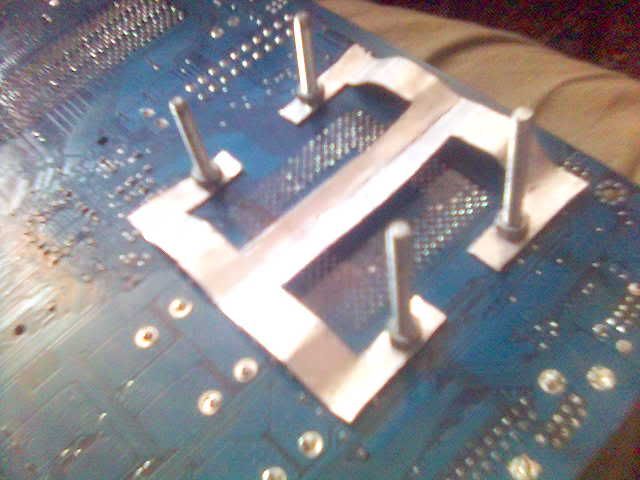
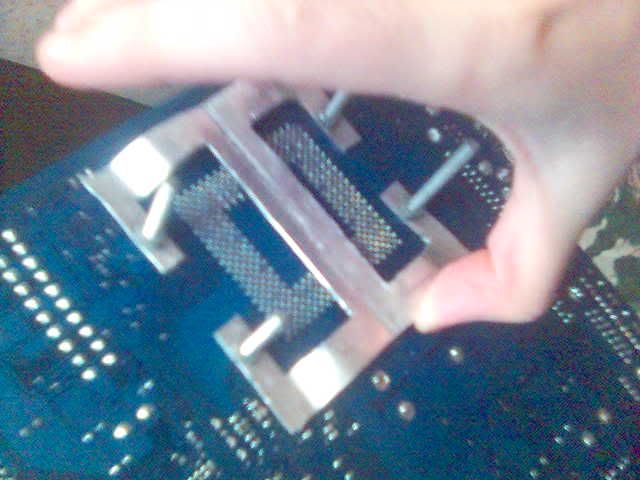
the clip is made of aluminum for toying with the shape.. it's 1mm thick
here are some pics.. just for laughs
the liltle guy was bended a bit when i mounted the screws.. could do this only with the mobo reversed, because it doesnt fit the other way
it's a bit wavy to give it some strenght.. not really needed.. but it does re-size the whole thing
..oh, this is pretty strong actually.. i can lift the entire board and the thing doesn't budge or mis-shapes..
..like i said, i cut some holes.. now my fans can breathe @100% efficiency
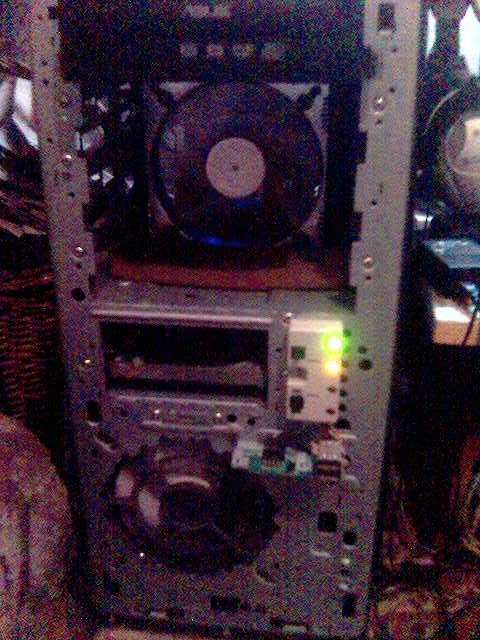
edit: i forgot.. i bought some masking tape and a sanding block today.. i'm gonna do some cutting of the front part, lower part.. i dismantled it some time ago and now i have: the door - gonna make a mesh insert with mesh and bondo; the lower part - gonna make some holes in the side, put some mesh and again bondo-smooth it. so, i need to buy bondo and paint
 Posting Permissions

 Reply With Quote