Tutorial Project: Nº2 - How to paint components
Hi Everyone,
As mentioned in the Tutorial Project: Nº2 thread, several components will have their own thread, i.e. this one. This is mainly so there´s a generic thread on how to paint such componentes so anyone can use it as a guide without having to read through the whole main tutorial project.
You can see how these components look in the overall project by reading the main thread:
http://www.thebestcasescenario.com/f...ad.php?t=28644
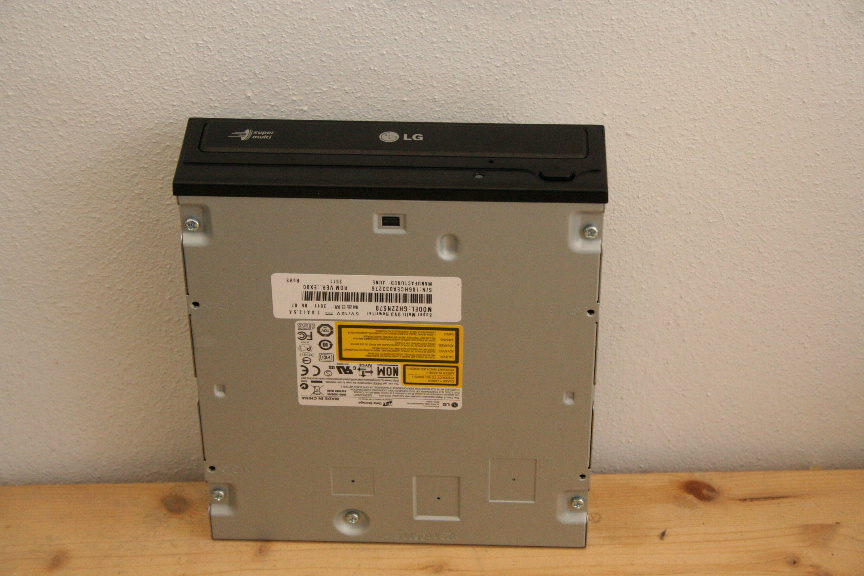
First, I´m going to start with the optical drive.
In this case I will be using an LG CD/DVD rewriter, but most common modern drives have the same mounting system so while there may be some differences, the concept remains the same.
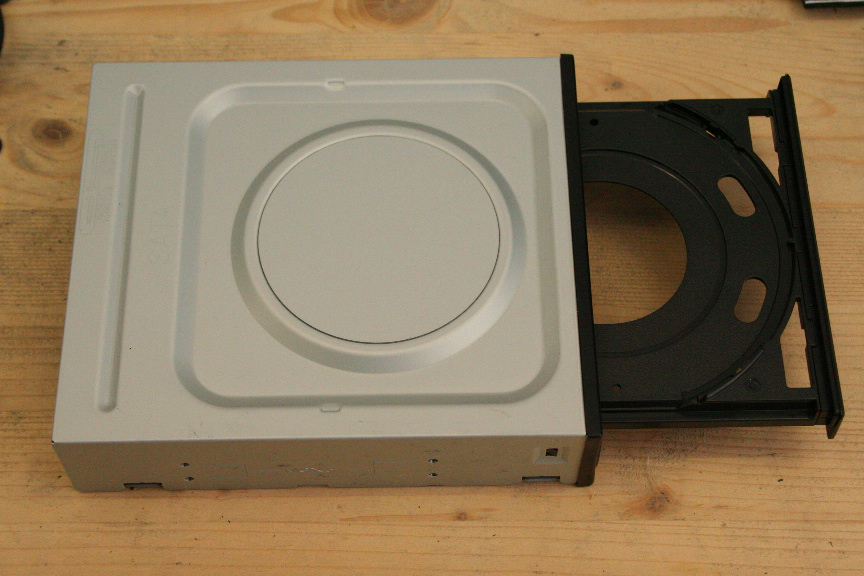
We need to open the bay, for that you can either open it when your pc is on and then leaving it open when you shut down and unmount it or you can put a pin in a small hole on the front of the bay which by pushing it in, it will eject the bay.
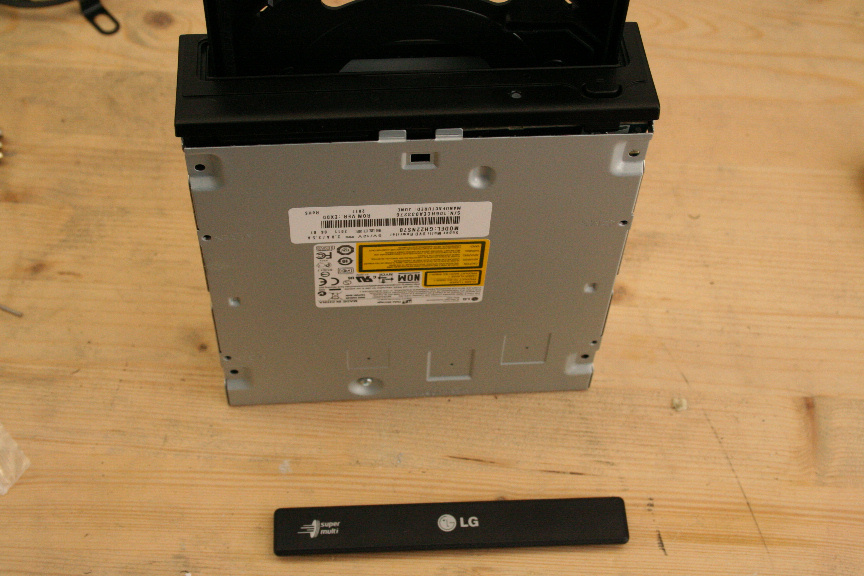
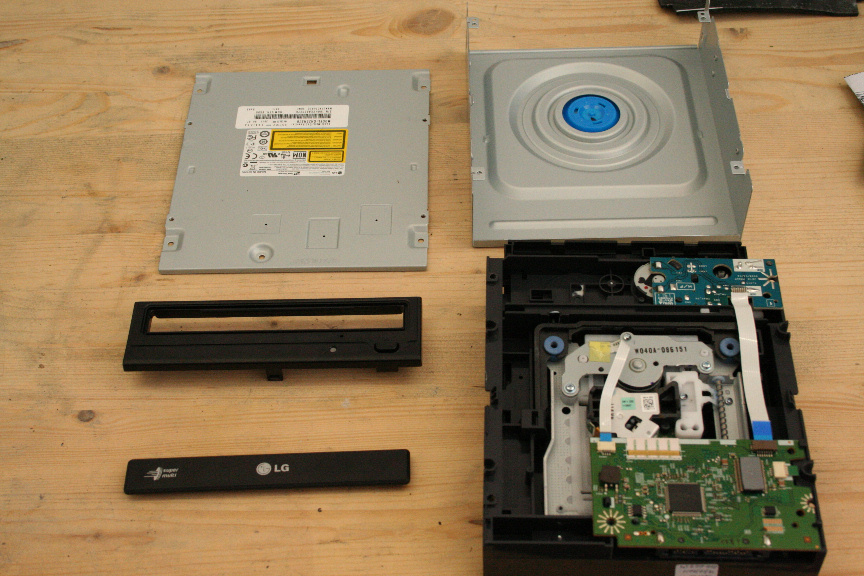
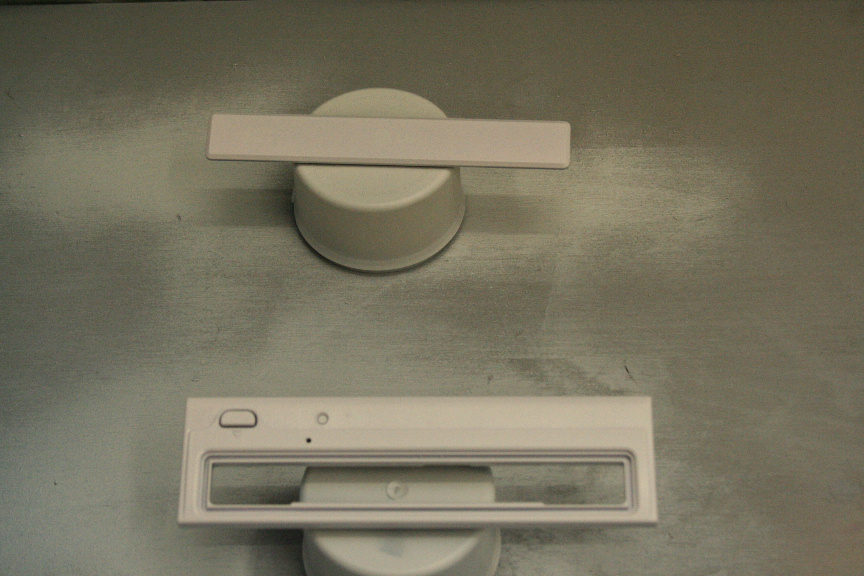
We now need to remove the bay mask, in this case it slides off upwards, again there may be some differences in your drive of choice but just be carefull, you don´t want to brake it.
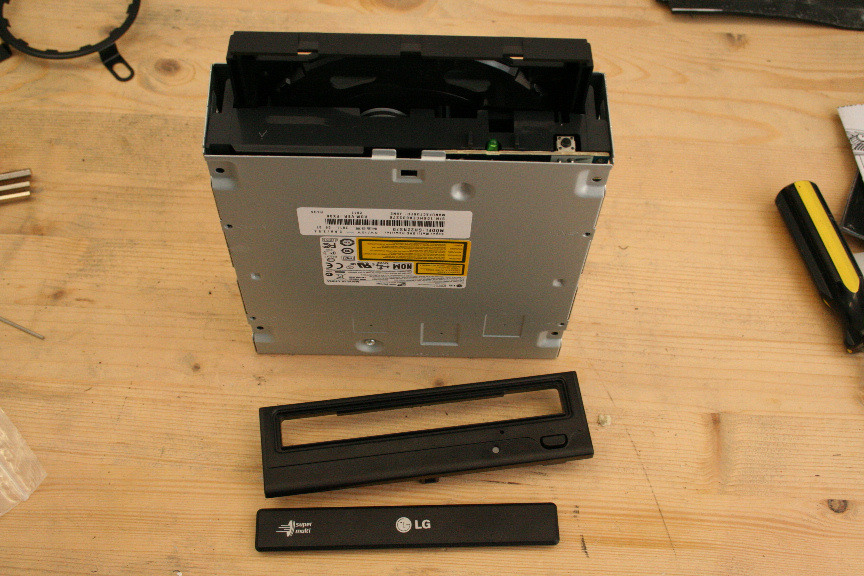
Now we need to remove the frontal, normally there are mounting clips on the sides and underneath which need to be pressed in in order to release it.
We remove the metal casing by taking off the 4-5 screws under the optical drive, once done you can take it apart easily, in most cases it will just slide off.
We proceed to sand down everything and clean it, remember to remove the stickers, normally I use distilled water but you may use other products like alcohol. If you use a different kind of product like window cleaner, make sure it´s not abrasive or you may damage the plastic.
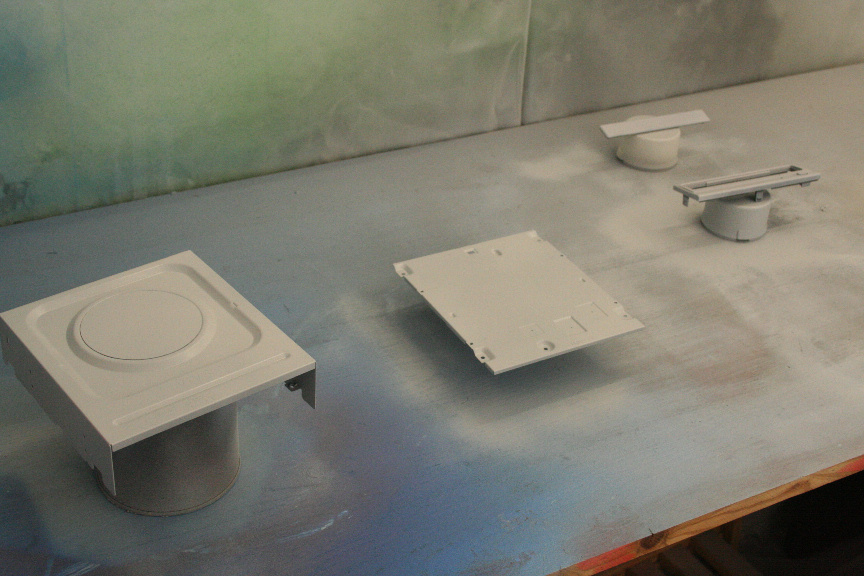
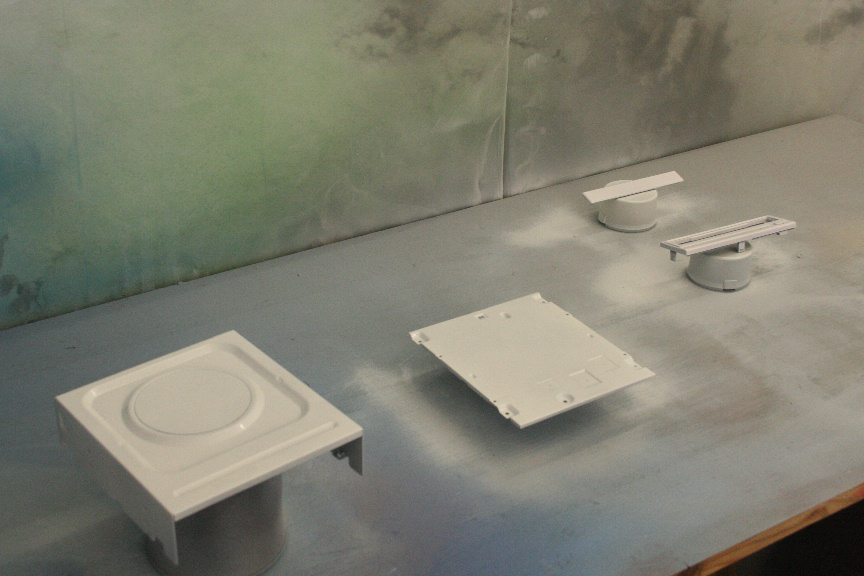
Once done and dry we proceed with the primer. For paint types and techniques please refer to the main project thread stated at the beggining of this thread.
Because I will be using a pearl effect finish, I need to aply a base color on top of the primer, if you´re using a normal, glossy, or metallic color you can ignore this step.
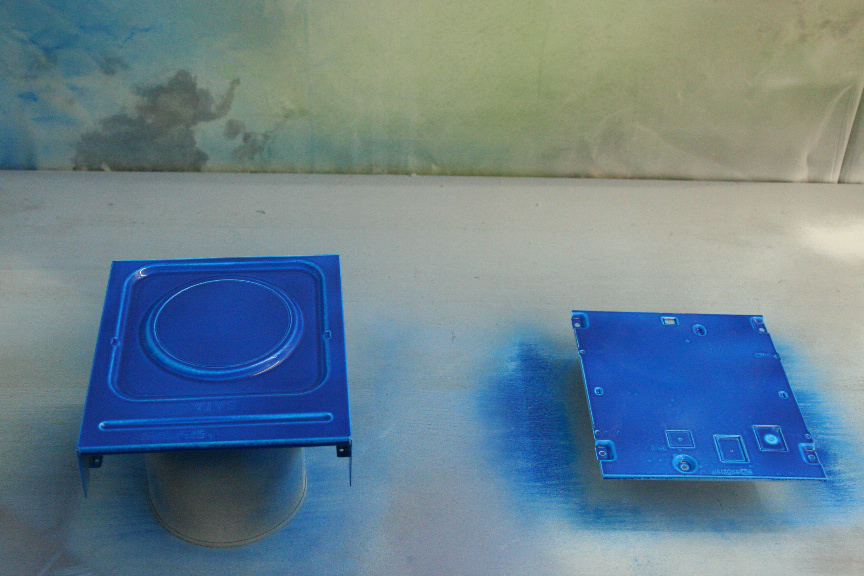
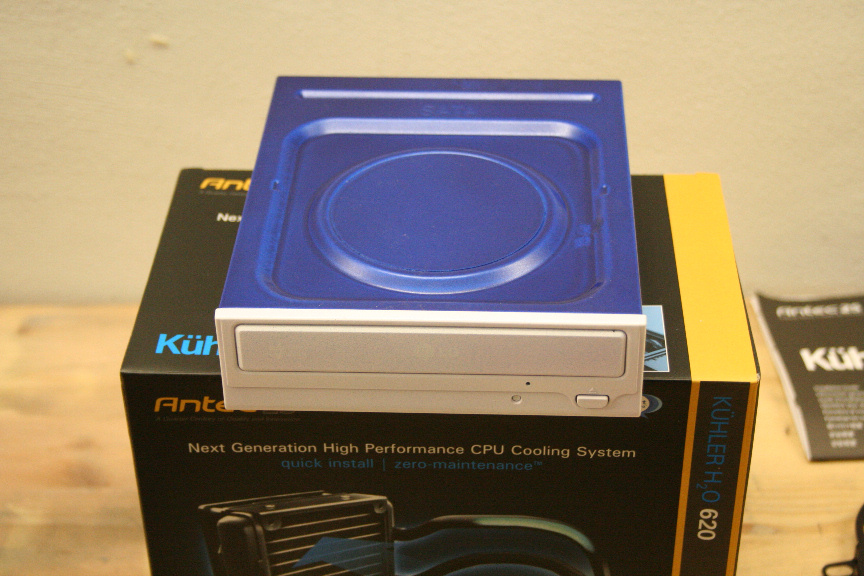
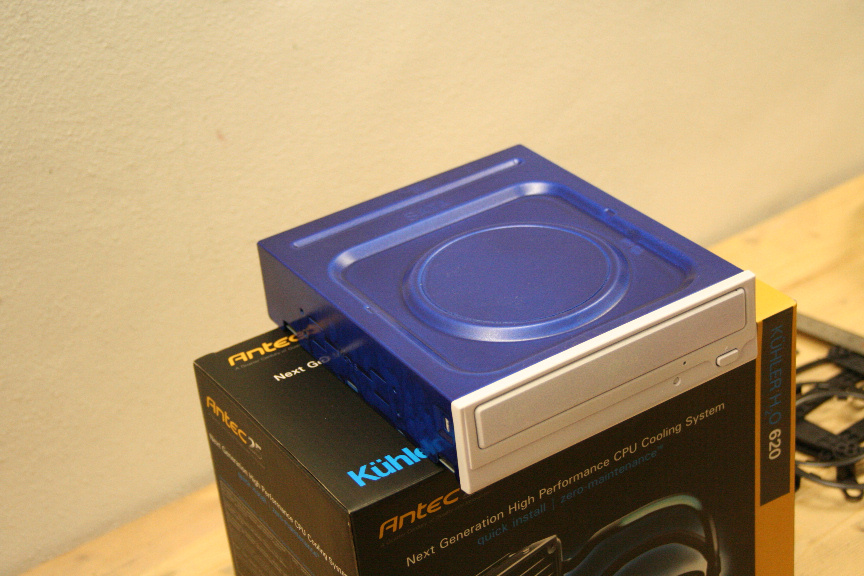
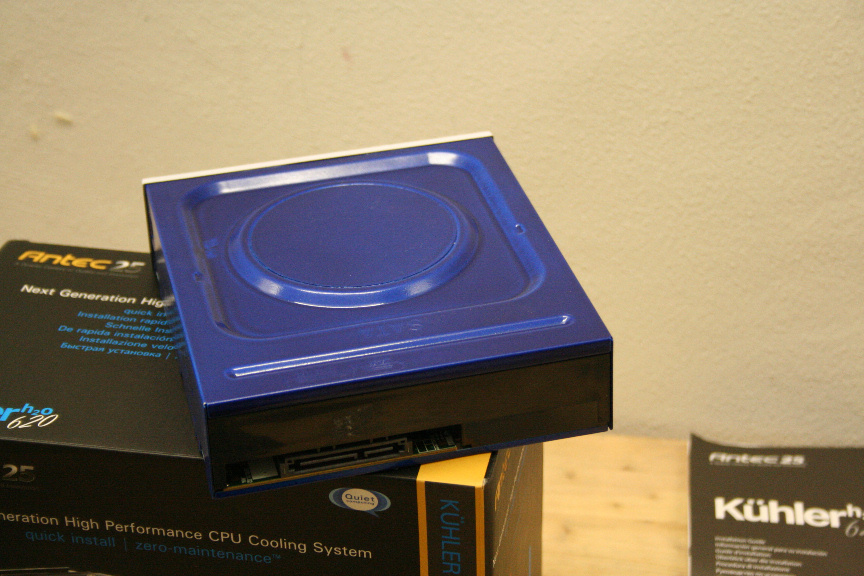
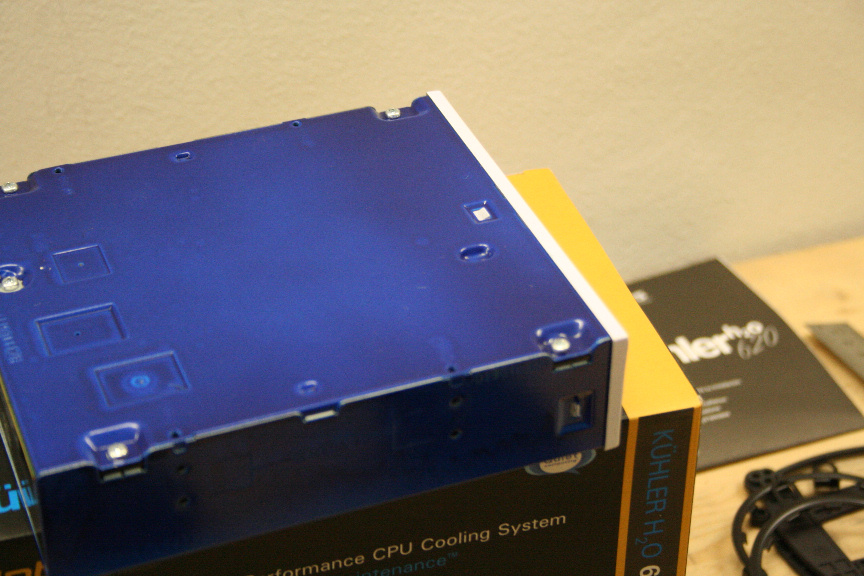
The first coat of pearl blue.
First coat of pearl white on the frontal.
Once dry, we aply a coat of clear lacquer and leave it to cure for 24h
Now it´s all ready to put it back togueter, and here we go, our finished optical drive, ready to be mounted in the tower.
Next post will be the hard drive.
Re: Tutorial Project: Nº2 - How to paint components
All that pretty blue paint is gonna get scratched up when you slide it back into the drive bay. Slip a sheet of paper in first to give it something softer to ride against. Work slowly with painted parts and keep a good eye on what you're doing.
Re: Tutorial Project: Nº2 - How to paint components
Quote:
Originally Posted by
TLHarrell

All that pretty blue paint is gonna get scratched up when you slide it back into the drive bay. Slip a sheet of paper in first to give it something softer to ride against. Work slowly with painted parts and keep a good eye on what you're doing.
Hah not when i paint something.
Ground on the metal, Positive on the can.
It'll cling to it like cliff hanger every time.
Re: Tutorial Project: Nº2 - How to paint components
Never heard of that before twig, does it really work?
@TL, yes thanks for the reminder, I do always use a bit of thick printing paper coated with mineral oil on both sides, to stick it in, and of course the oil is so I can then take the paper out without it ripping and leaving chunks behind :S
Re: Tutorial Project: Nº2 - How to paint components
it does work. i just don't know exactly how effective it is with low voltages , but that's the basic principle to how cars are painted in factories. the robot paint sprayers get charged up to about 80kV and the cars are grounded. the paint actually changes direction to flow towards the cars. 80kV is the optimum voltage. oil based paints can get away with a really low operating current, but water based paints need the same voltage, but double or more current. i used to build the processor controlled power supplies that supplied power to the robot tips at certain companies.
Re: Tutorial Project: Nº2 - How to paint components
Part 2:
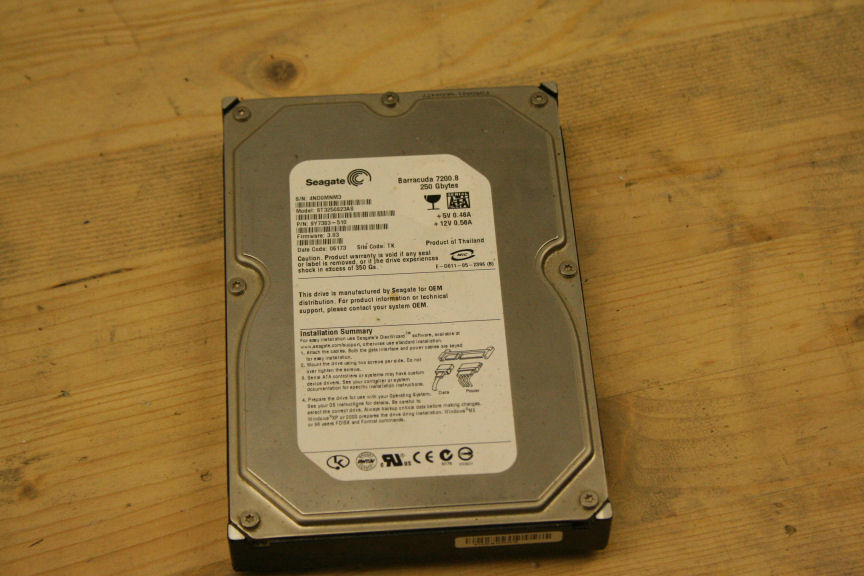
Hard Drives.
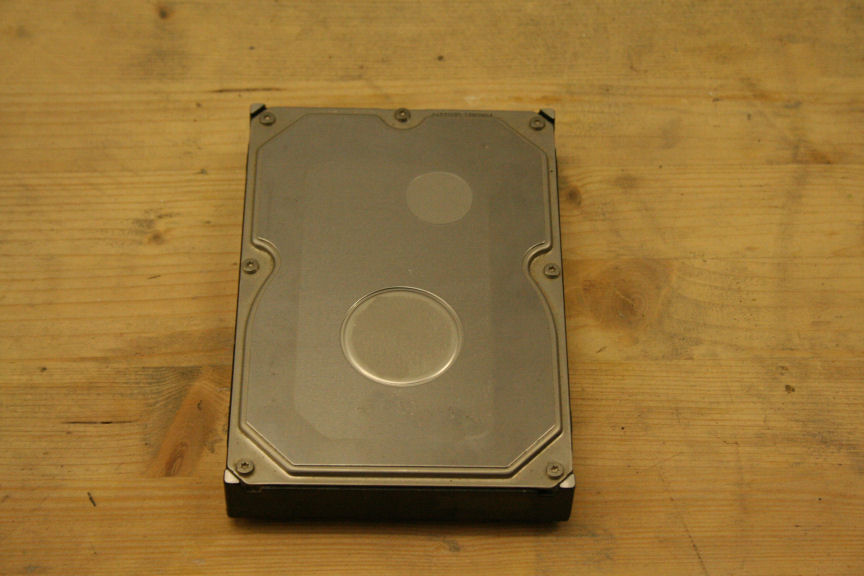
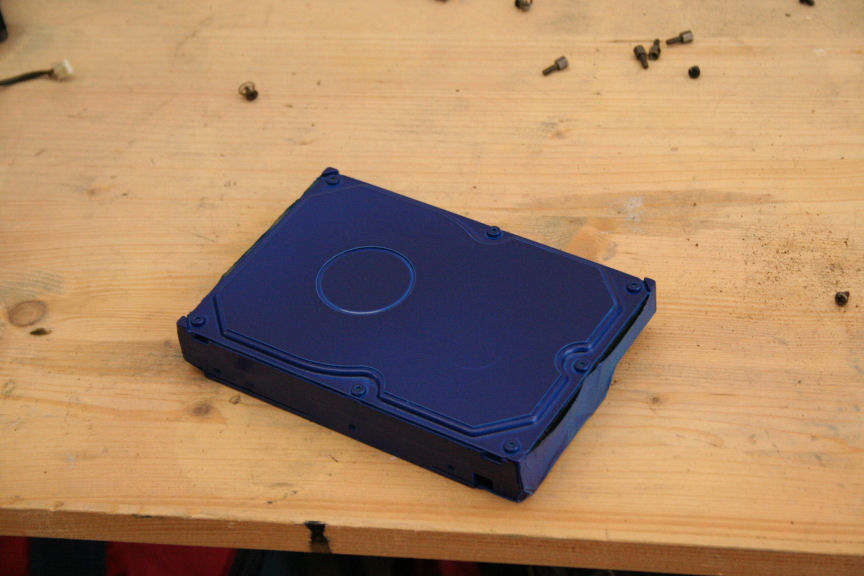
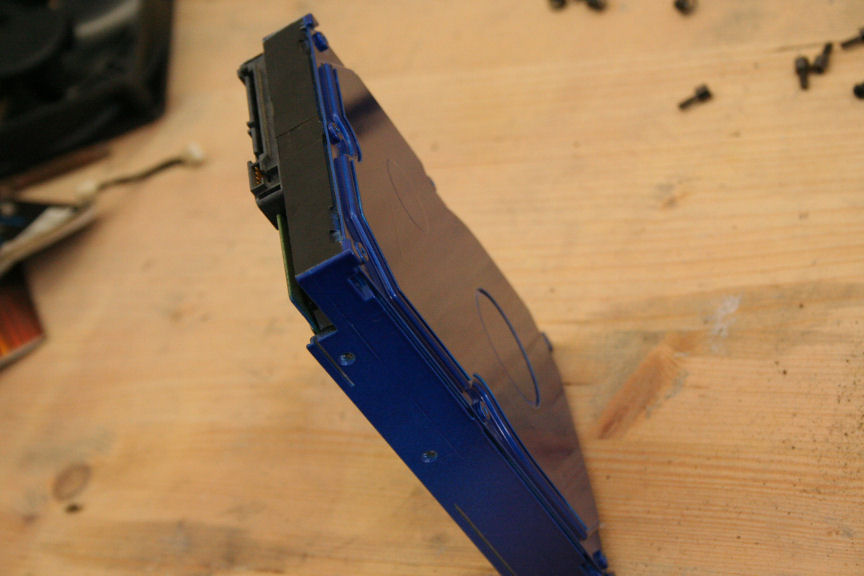
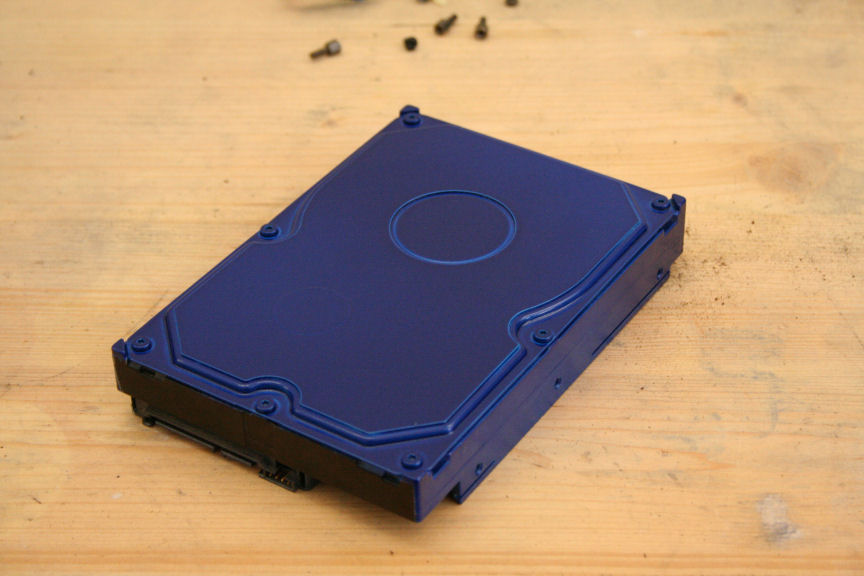
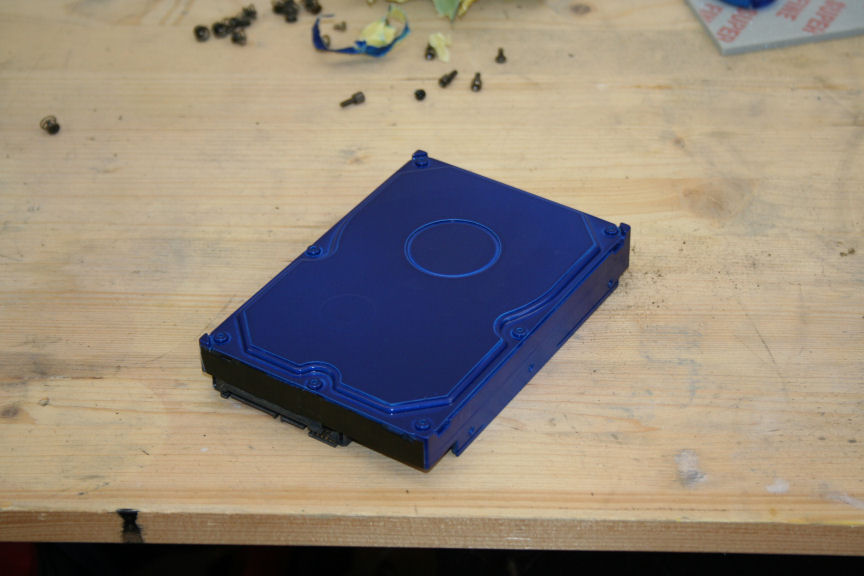
Hi everyone, before I start there´s two things you need to know; first, some hard drives have ventilation holes on top (mostly WD drives) and some don´t (mostly Seagate drives), this doesn´t mean you can´t paint them but you have to be very carefull, if you use the right paint (acrylic) you won´t cover the hole as it does not create a "coat" if you will, therefore not covering the hole, remember to paint in a sideways manner so paint doesn´t go directly in the hole as a drip could cover the hole. Secondly, i think this is pretty obvious but this WILL invalidate your warrantee.
That said, let´s start.
First we have to remove all stickers, you can if you wish to keep a more retail look, leave them on and just cover them with masking tape and detailing tape, but for the purpose of the tutorial I will be removing them.
Here´s the tricky part, if it´s not a new drive, chances are that it´s dirty so we have to clean it. We also don´t want to use sanding paper as we don´t want to create any sort of electrostatic energy on the surface of the drive, just in case. So what we do is using a bit of cotton with a drop of alcohol, we clean the drive as best as we can.
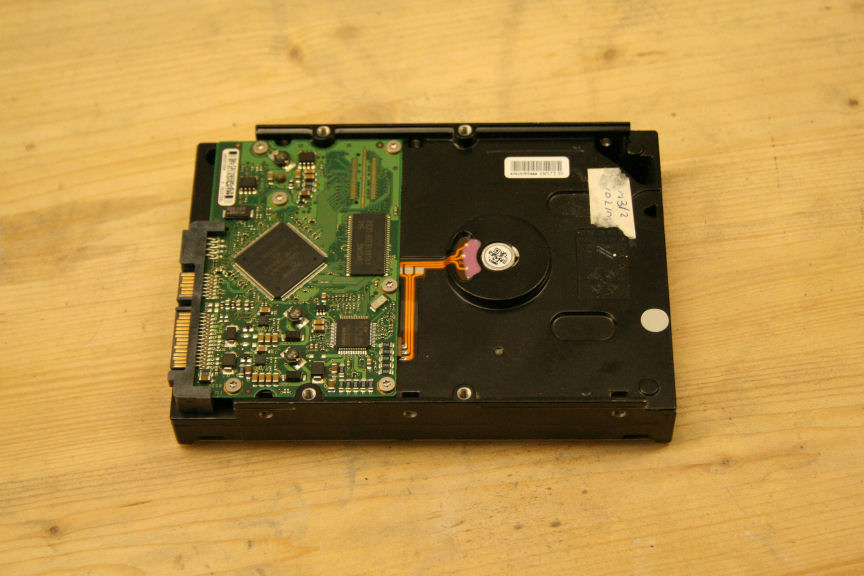
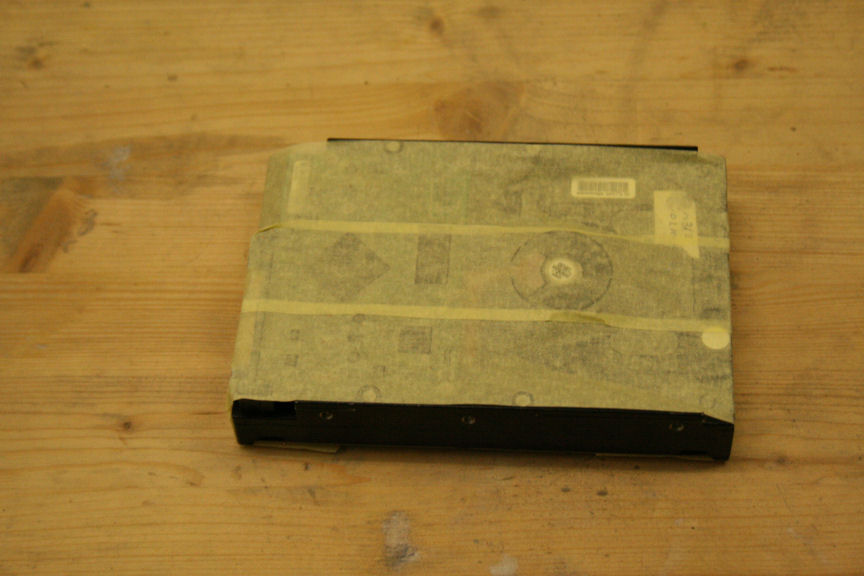
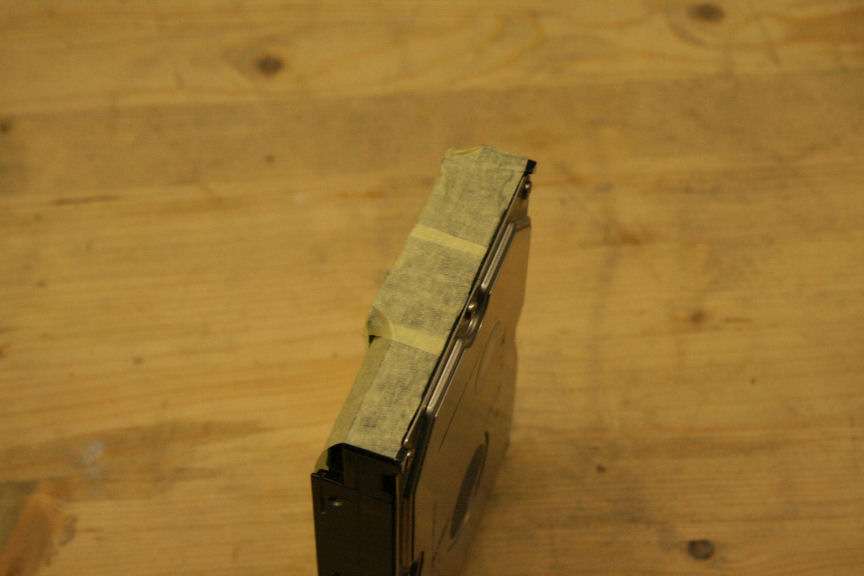
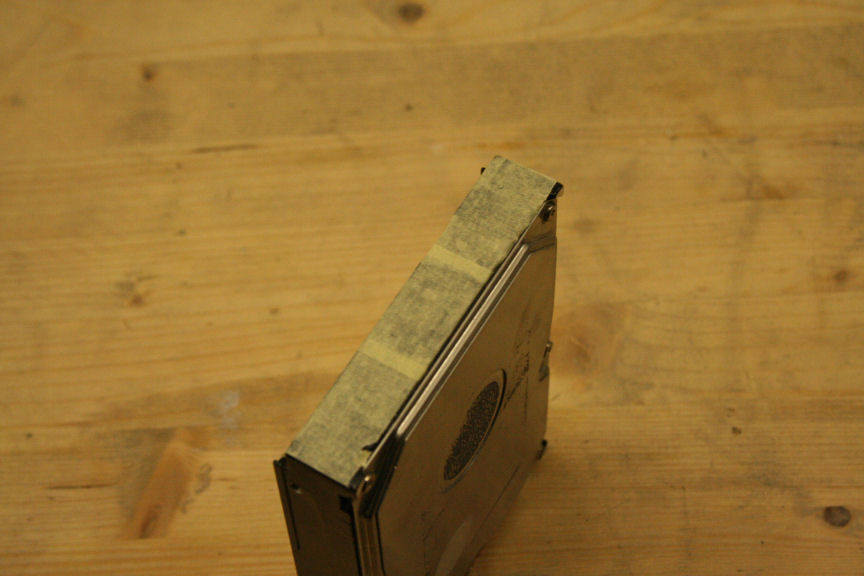
Really the paint process is the same as when painting the dvd drive, there´s a few changes however. We have to cover certain surfaces that while paint wont go anywhere near it, it´s more for safety and getting clean lines.
For this I use masking tape, not detailing tape as it has to adjust to the surface which isn´t plain or straight so detailing tape isn´t great for it.
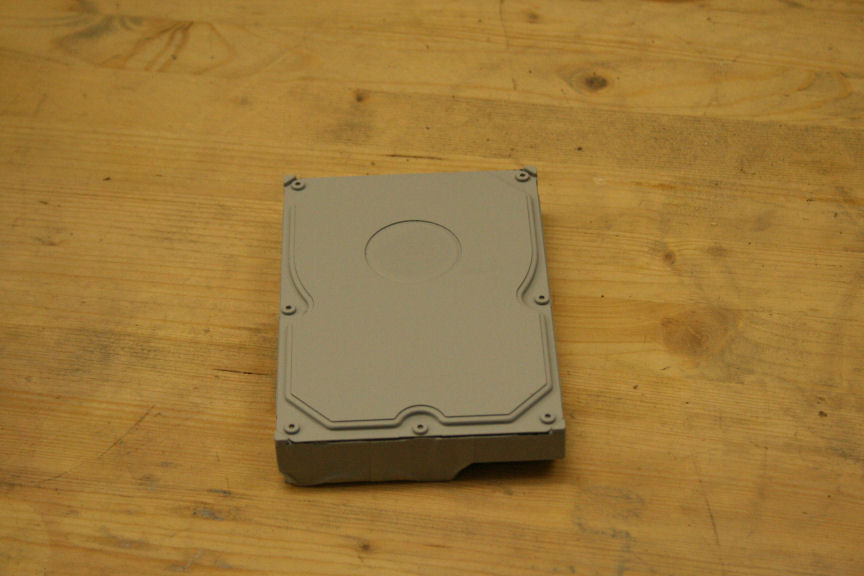
Now we aply primer, remember, for tips and what paint types to use refer to the main tutorial thread indicated on the first post of this thread.
Give it 20 minutes and we can aply the first coat of the chosen color. Wait another 20-30 minutes and aply the second coat. 40 minutes later you can aply the clear coat lacquer for protection.
Give it 24h so it can cure...
Remove the masking tape and...
...you´re done!
Next post will be a Lamptron FC3 controller, I´ve chosen this one as the design is basic and the guide should aply to most fan controllers.
Re: Tutorial Project: Nº2 - How to paint components
I like to peel off my masking tape as soon as the paint has had a chance to tack up slightly. This allows the resulting hard edge to smooth down a little. If you let it dry all the way first, it usually leaves a ragged hard edge, and it may remain stuck in the paint. Also, make sure you burnish the edge of the tape down before painting to keep it from creeping under the tape.
Re: Tutorial Project: Nº2 - How to paint components
what kind of paint do you use TLHarrell?
Re: Tutorial Project: Nº2 - How to paint components
Krylon, or I airbrush with Tamiya acrylics.
Re: Tutorial Project: Nº2 - How to paint components
hmm I´ve never had the problem you describe with acrylic based paint : /