Re: Project Clockwork vII
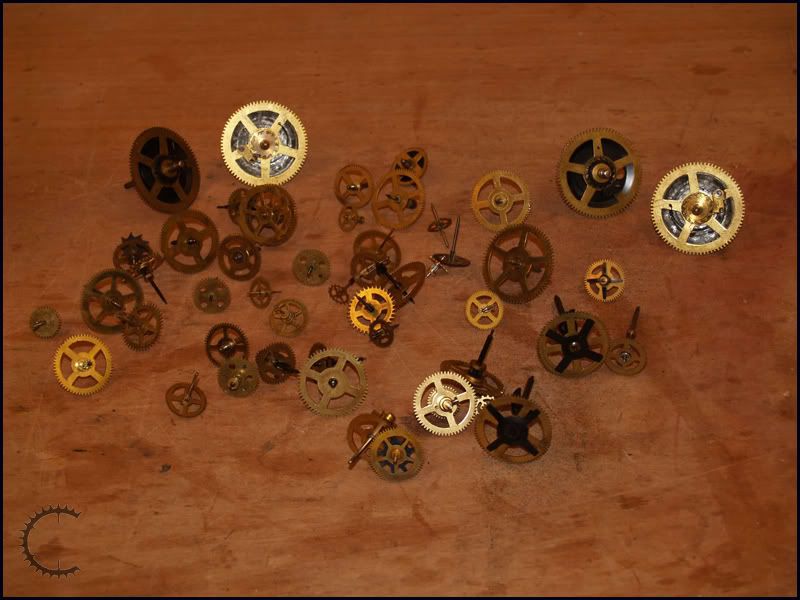
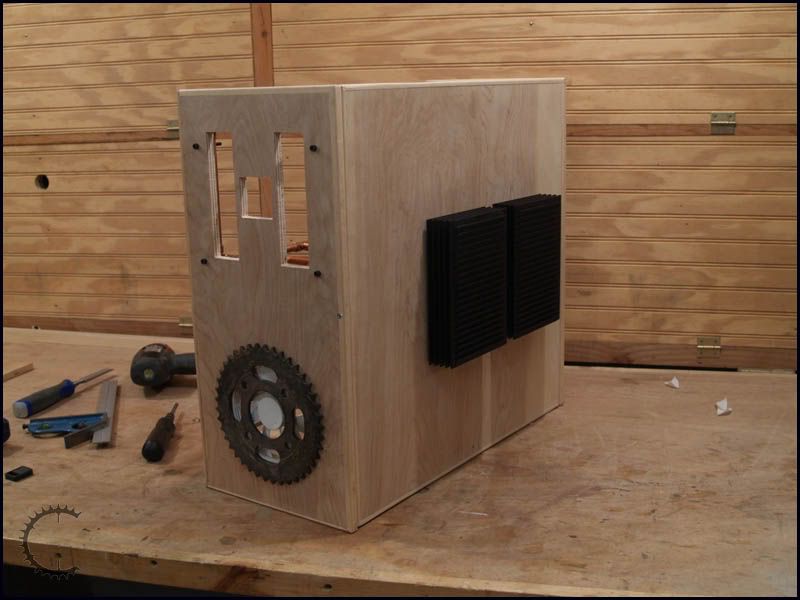
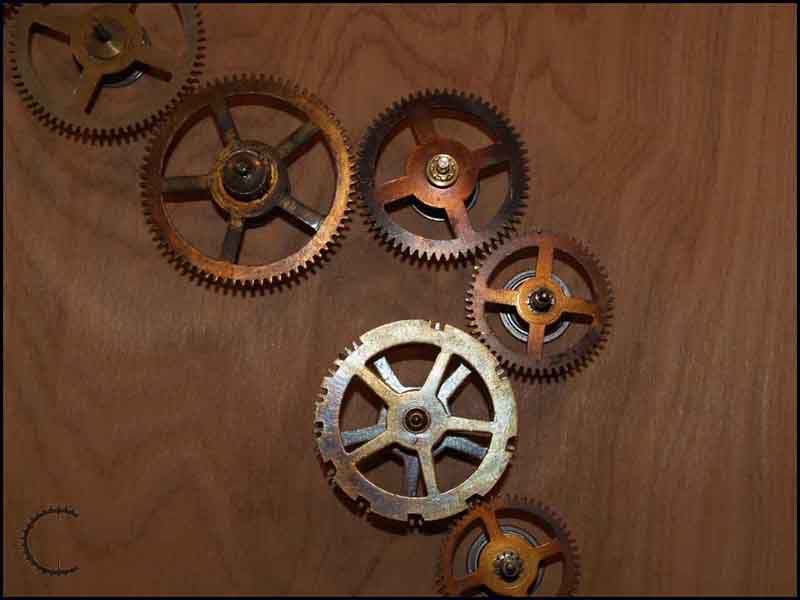
Ok, on to the gears. The plan has always been to put them together on the left side of the case in a geartrain powered by a small motor inside the case so that they turn when the power is on. I pondered and worked a long time to make that happen. Remember these are clock gears. They’re already mounted on a shaft that’s perfectly centered on the gear, and they are designed to have that shaft held in place on both ends inside a metal cage that is custom-machined for these gears. What I was trying to do turned out to be a huge puzzle in three dimensions. And since I was using the gears from five clocks it was like using pieces from five different puzzle boxes.
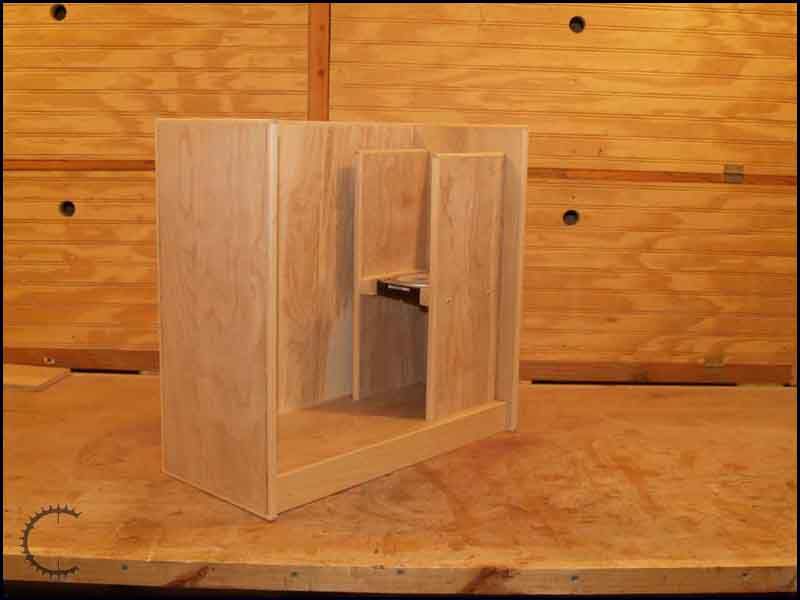
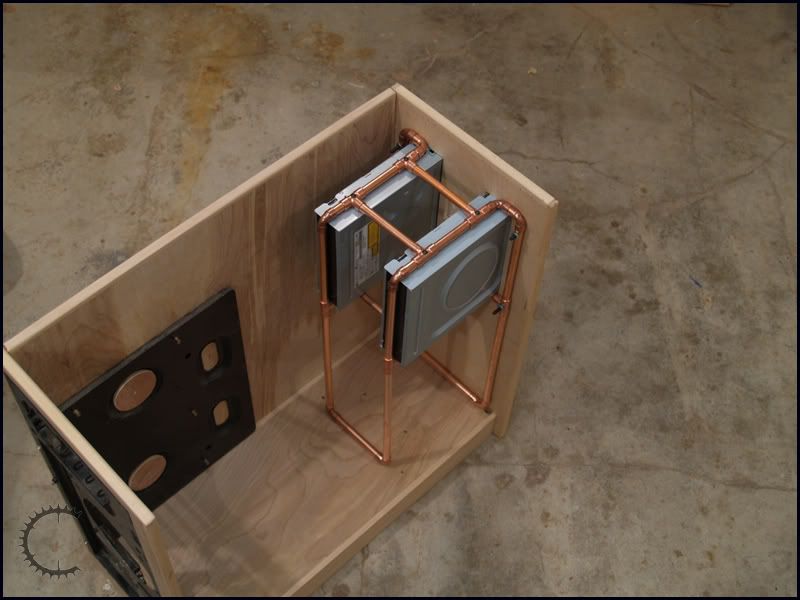
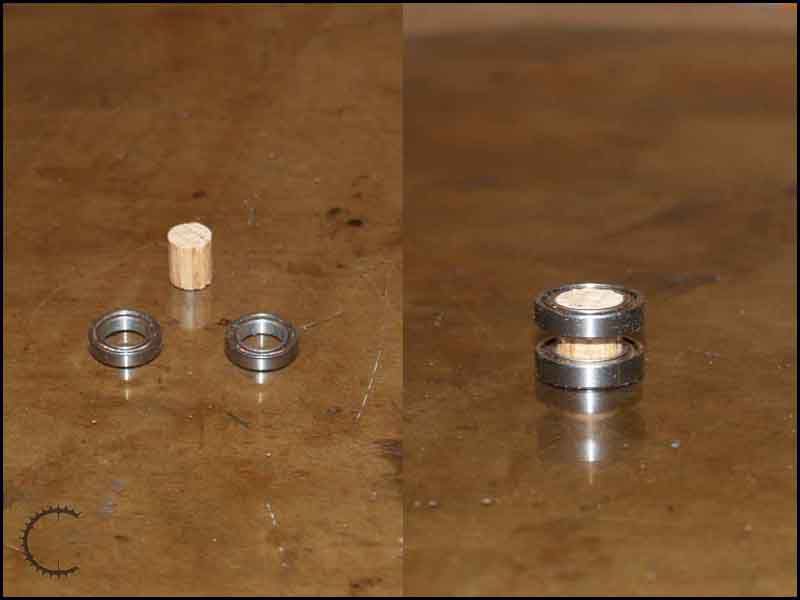
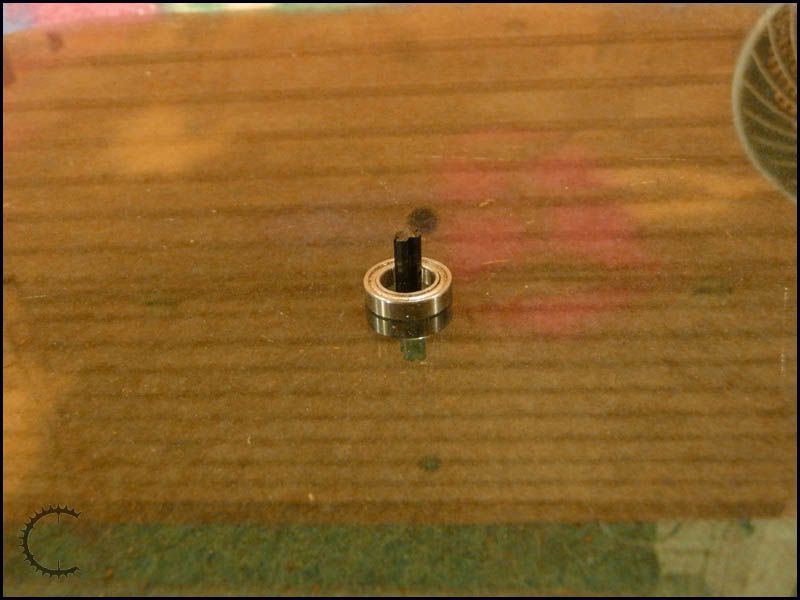
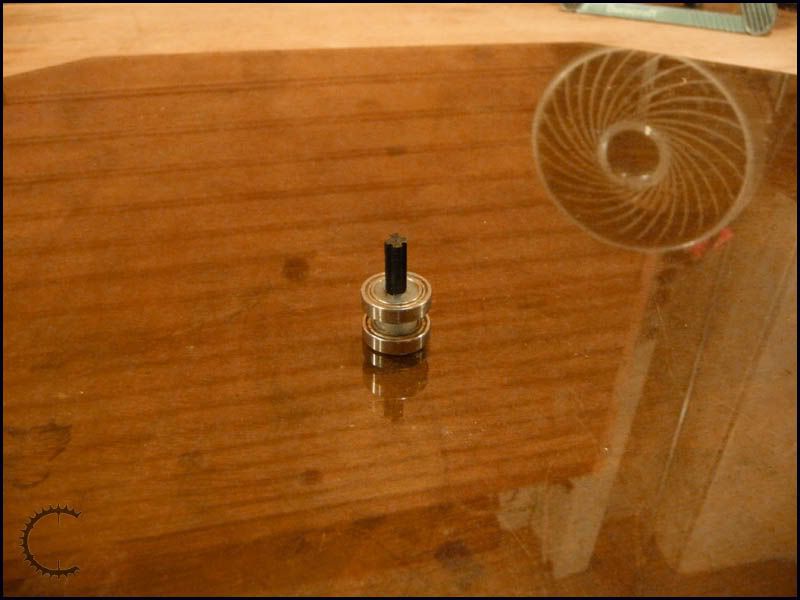
The first problem was drag. I couldn’t just slide the gearshafts through the wood, as they would either wobble or bind and not turn freely. I solved that with roller bearings. I bought a bunch of bearings that were 3/8” ID and 5/8” OD. I bored 5/8” holes in the side panel and pressed 3/8” oak dowels, cut to length, into the bearings.
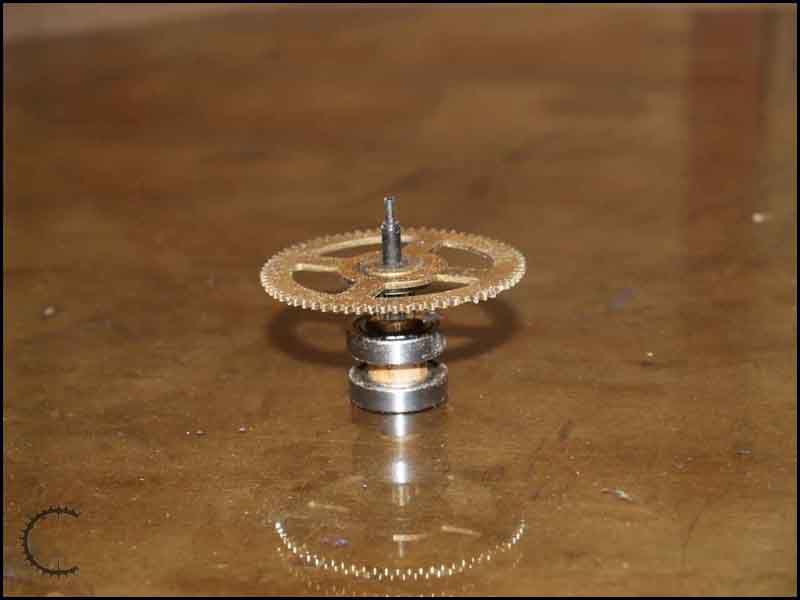
So far so good. I then pressed the gearshafts into the exact center of each dowel.
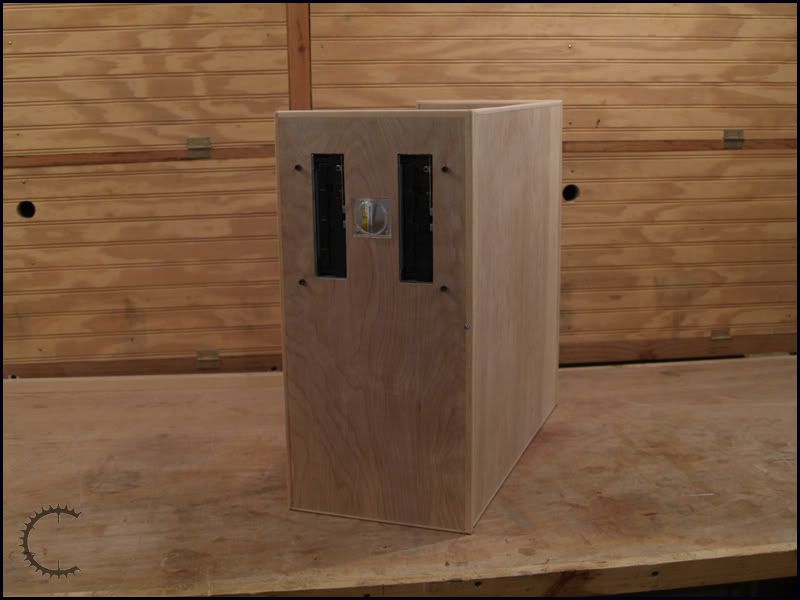
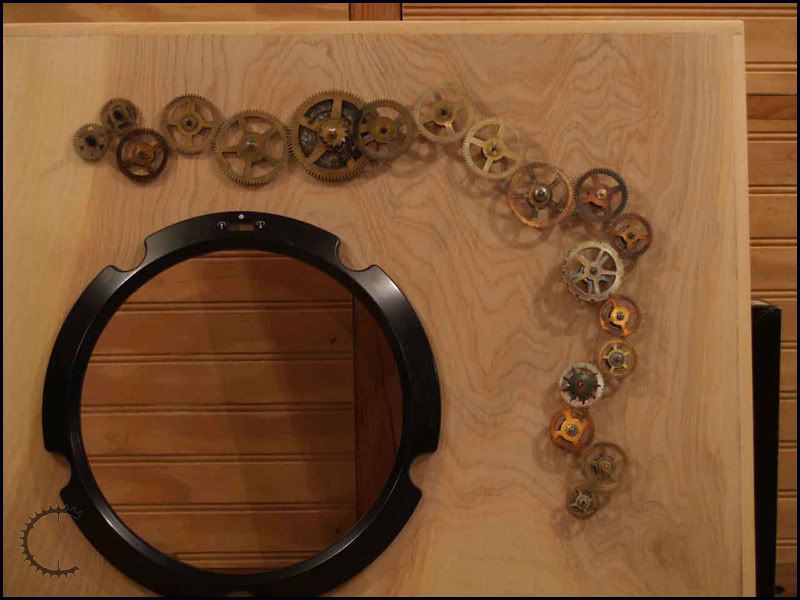
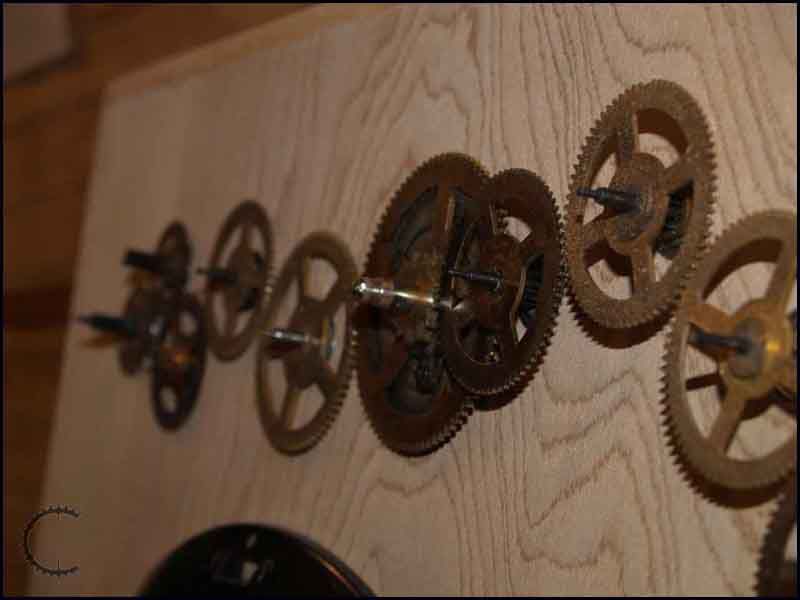
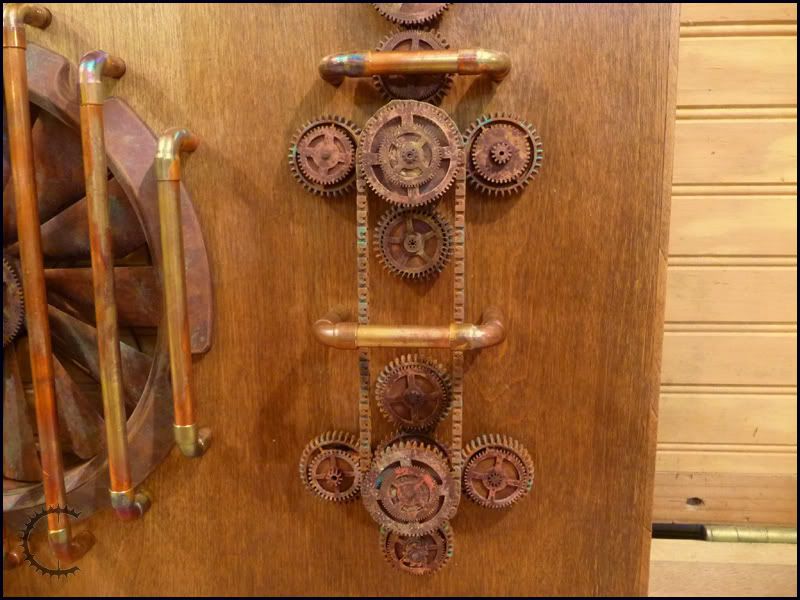
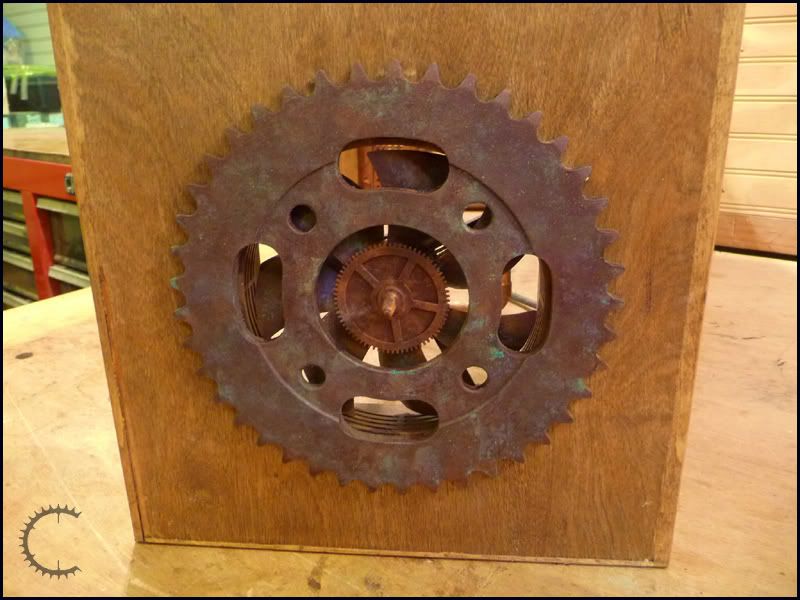
It was a lot of work and I won’t go into it all, but here is the finished result:
Beautiful. I absolutely love the way it turned out. BUT, it was not to be. Even though all of these gears turned perfectly when these pics were taken, the holes in the oak dowels wallowed out quickly and they started to wobble. Not a lot, but these gears are very thin. Even a tiny wobble will cause them to come unmeshed and then the train is broken. I had to come up with something else.
The new geartrain uses different gears for the actual motion transfer, with the above gears on top of them for cosmetics. The gears I’m using now do not have shafts in them, they have separate shafts that are customizable. Problem is, they don’t come close to fitting the bearings I have, and I'm not spending another $50 on different-sized bearings.
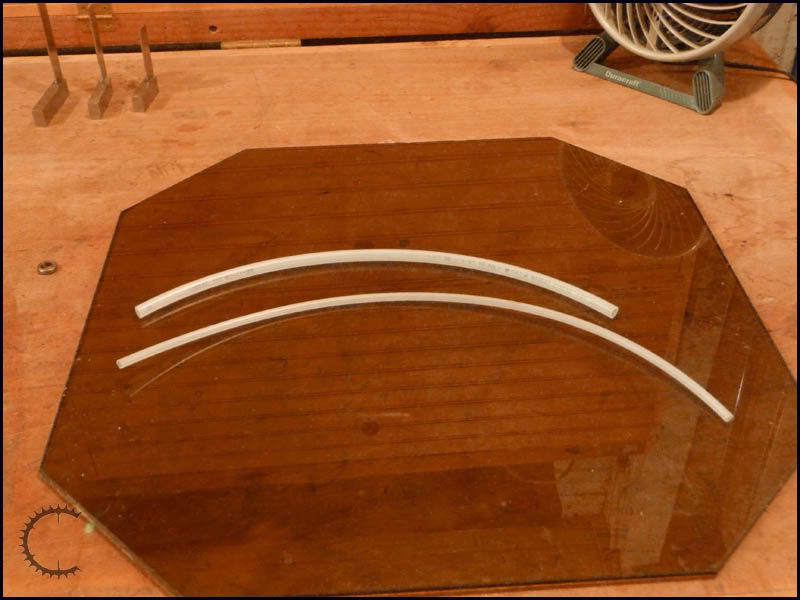
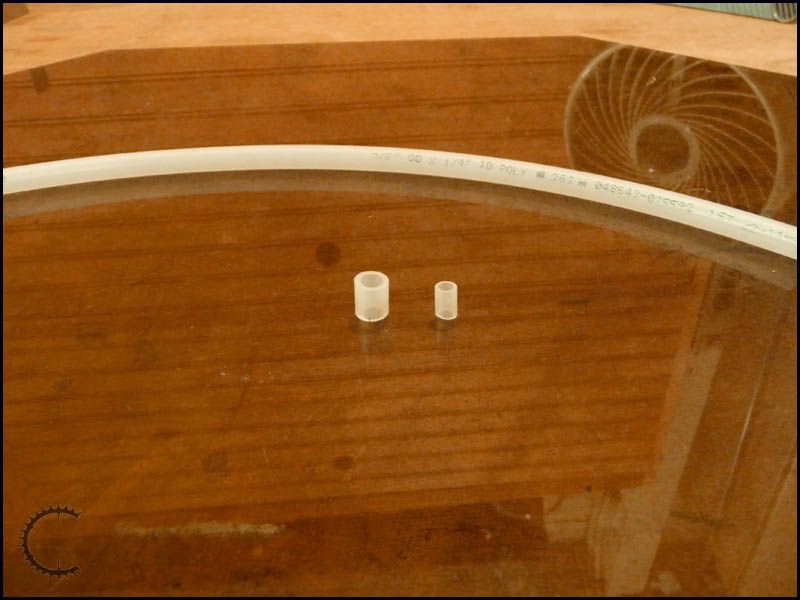
So what I needed was a way to get these shafts to fit tightly in the exact center of these bearings. I needed bushings, but to find bushings the exact size I needed wasn’t going to happen. So I improvised. ;)
Two sizes of nylon tubing, usually used as water lines.
The smaller fits snugly inside the larger. Cut a piece off of each:
Put them together, press them into the bearings and press the shaft into the center. Perfect. :D
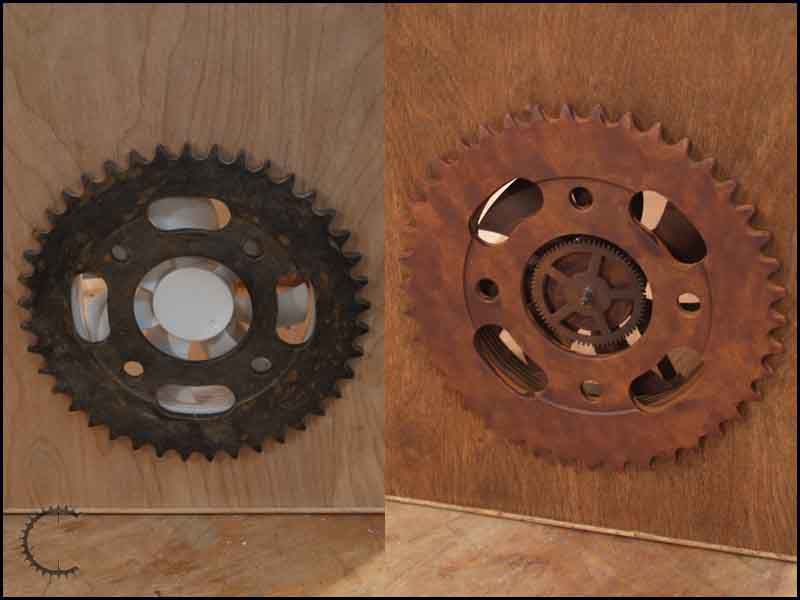
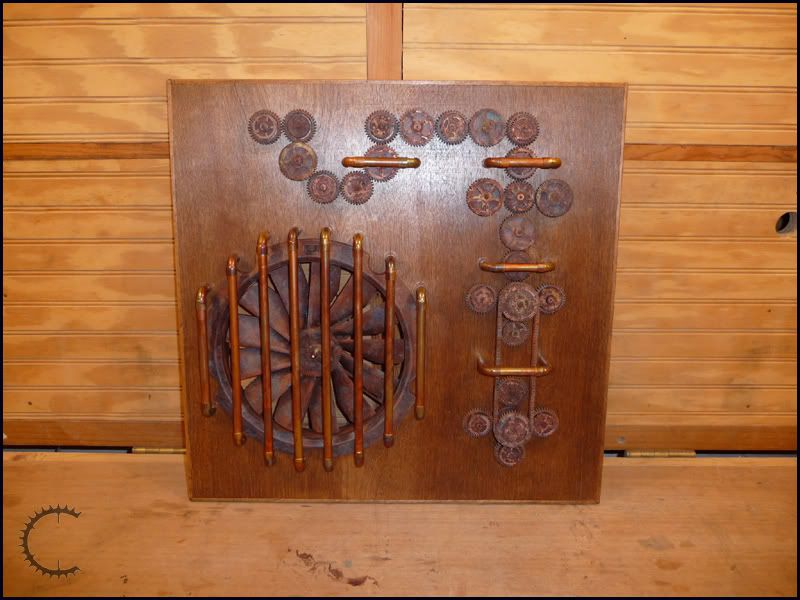
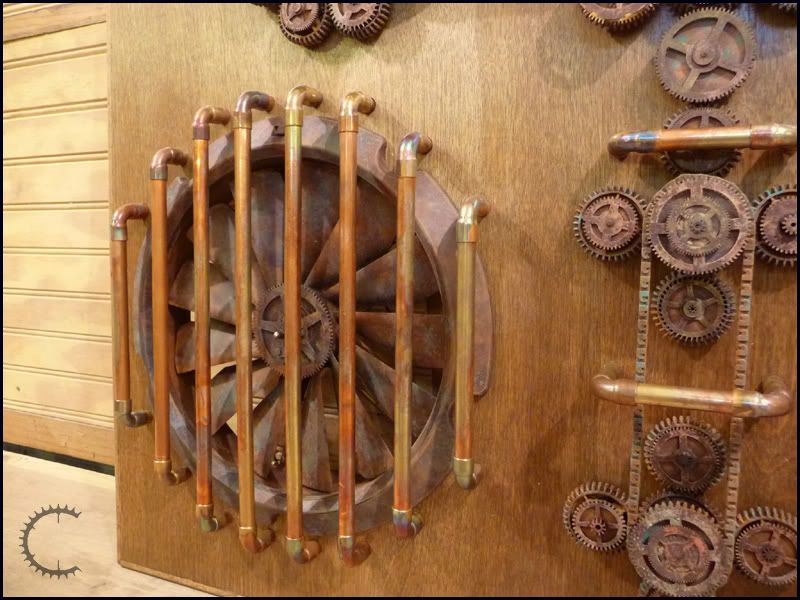
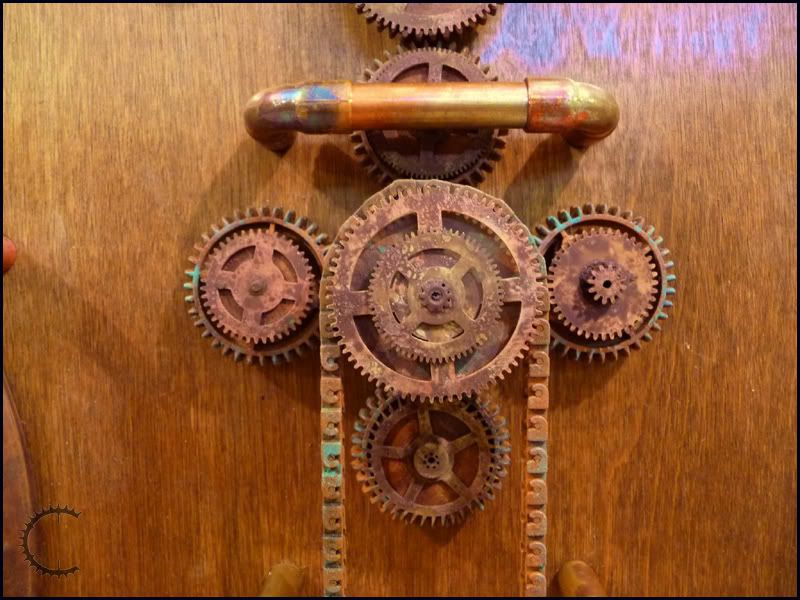
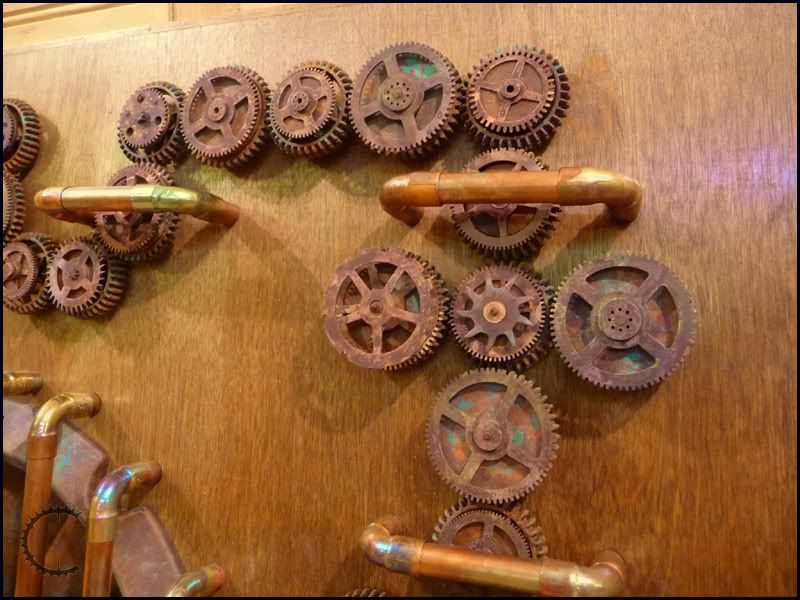
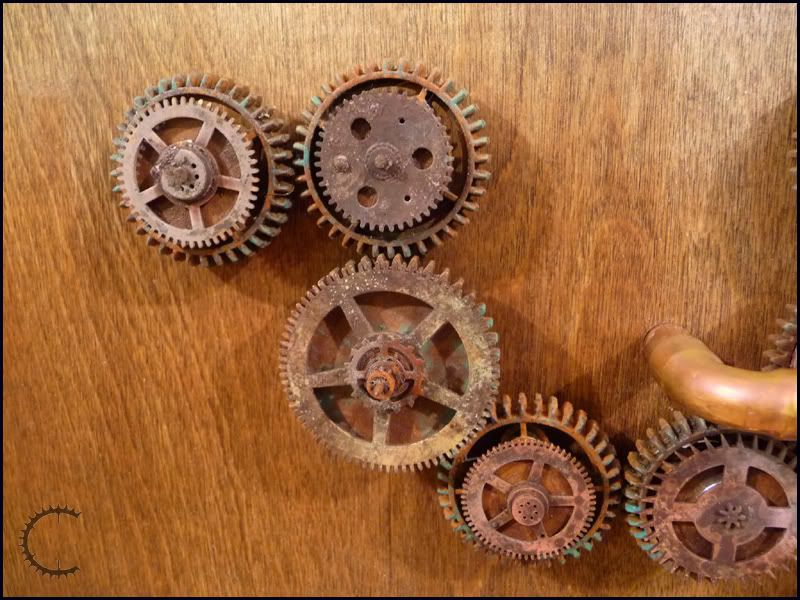
This whole system has worked out very well, finally. As usual it took some work and some (gasp!) modification, but in the end, the drive gears are WAY better than the clock gears were. BUT (there always seems to be a but), since they aren’t brass there is no way I can get them to the burnished brass finish that I liked so much in the original geartrain. I CAN get them to look old, but the old will be of a different nature. Think Shadows of Chernobyl instead of Bioshock. Old and neglected. After a great deal of experimentation and work, I finally got the thing done. That’s right, the side panel is finally complete. It’s a lot different than the original, but I actually like it better. :D
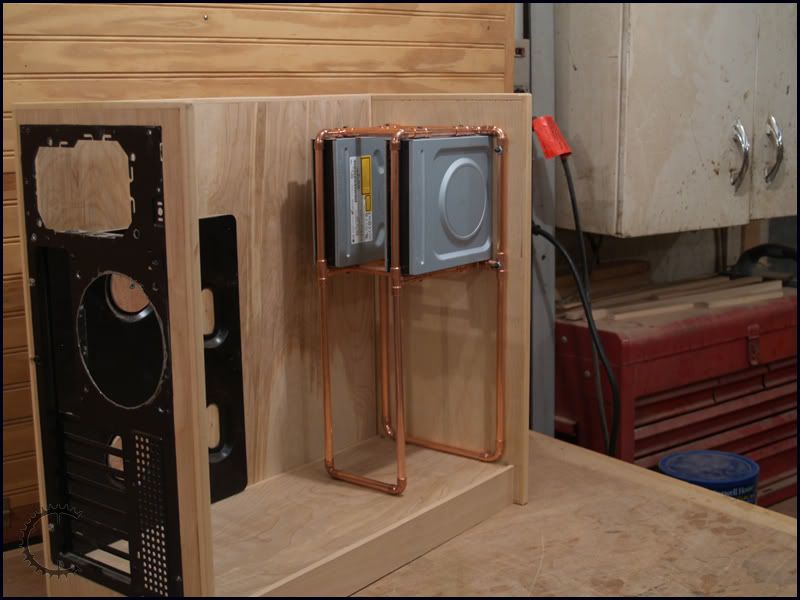
I got the copper to look that way with simple heat. I hit the pieces with a mapp gas torch until they were almost glowing and dunked them in a water bucket. Beautiful. The gears were a combination of a rust paint system from Rustoleum, two shades of blue-green paint from Lowe’s and the trusty mapp gas torch again. I love the final result, and the inclusion of the chain was a huge benefit.
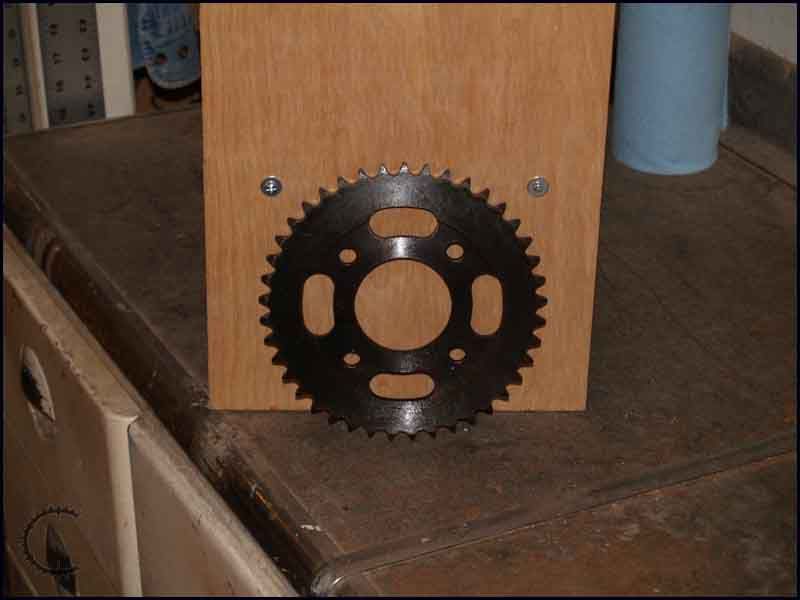
I was also able to improve on the front fan sprocket:
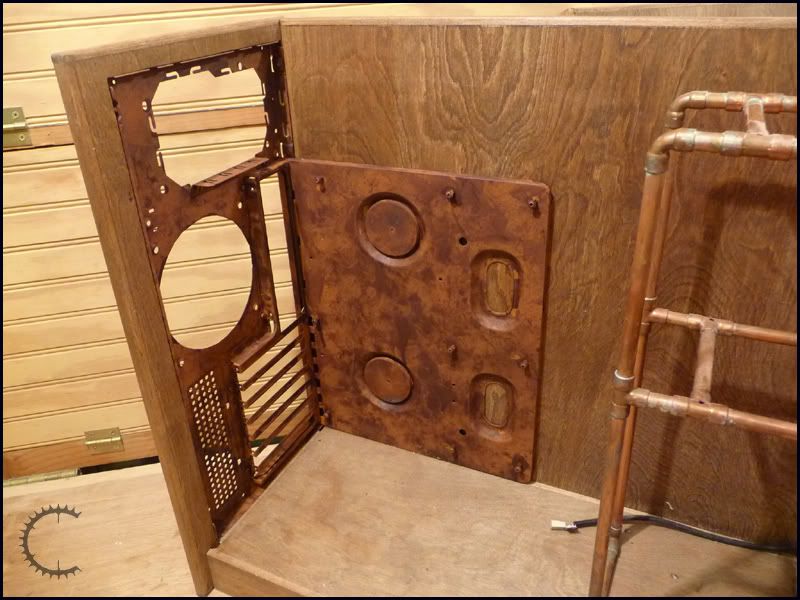
And got the first stage of the rusting done on the motherboard tray:
I have the motor for the geartrain almost mounted, have already motion tested it all. I have also recently acquired a digital camera that will take video. Now I just have to figure out how to post video here. :D
Re: Project Clockwork vII
wow i forgot how cool this was.!!!! repppppp
Re: Project Clockwork vII
I was lik OMG WHAT!!! he closed the worklog, until I read your last post lol. Glad to see this is still alive mate, I really do love this project.
Re: Project Clockwork vII
Glad you're still with me. :) Share your opinion of the new look?
Re: Project Clockwork vII
I'm really liking the look, the rusty/weathered look is really well done and the gears and cogs add a very unique look, very very cool.
Re: Project Clockwork vII
LEGOS!!!! Nice implementation of LEGO Technic...
Re: Project Clockwork vII
That is correct. They are the *best*. Anyone who needs absolutely *anything* Lego, by the piece or by the lot, needs to check out bricklink.com. If Lego makes it, you can buy it there.
I looked long and hard to find something for this deal. It was the chain that finally decided it. :D
Re: Project Clockwork vII
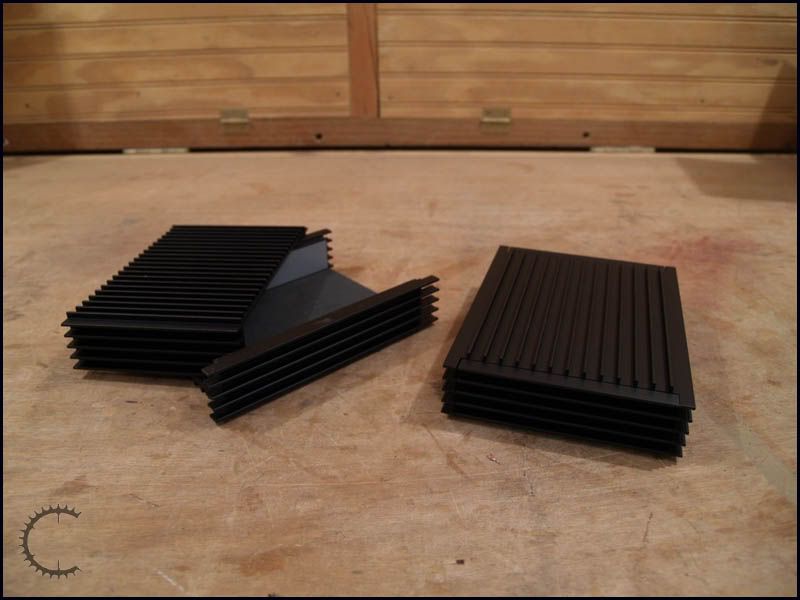
lol I was literally just looking through your clockwork worklog yesterday. Nice to see it going again. Those hard drive enclosures are sweet. They would look good on my computer lol. Great work man, the gearing, the chain, way cool!
Re: Project Clockwork vII
Go to hobby lobby, go to the craft paints. They have a real iron surfacer and rust developer that will put REAL RUST on anything. Same with verdigris. It's the same stuff PilouX used on the two HL2 cases. I have it for some projects I'm working on...