Ain't rubber nor steel mate.. they use it to weigh down the front panel cables in the case... kinda "stony" and breakable

Printable View
Ain't rubber nor steel mate.. they use it to weigh down the front panel cables in the case... kinda "stony" and breakable
Oh they are those magnet ring things they put around cables to reduce static, my brother had one in his NZXT Alpha. Lol sorry they look like the rubber grommets I am using in my mod.
Lol if you didnt tell me I have no idea what the hell that is... I just thought of it as a wire-weight or something lmao.
I don't see the need for them on the front USB cable, power and reset switches.
Hard Disk Cage Part 1
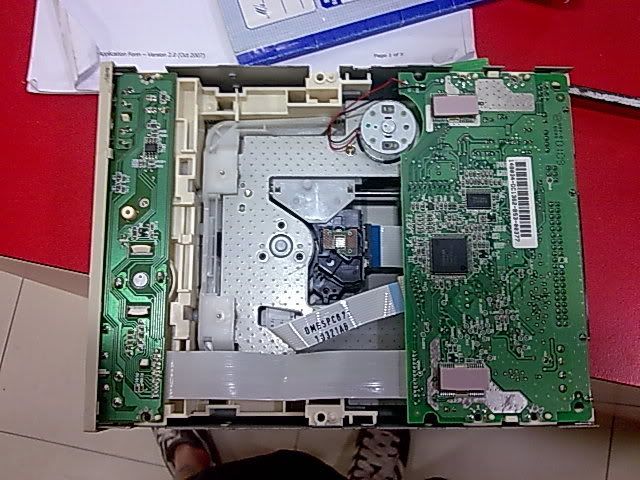
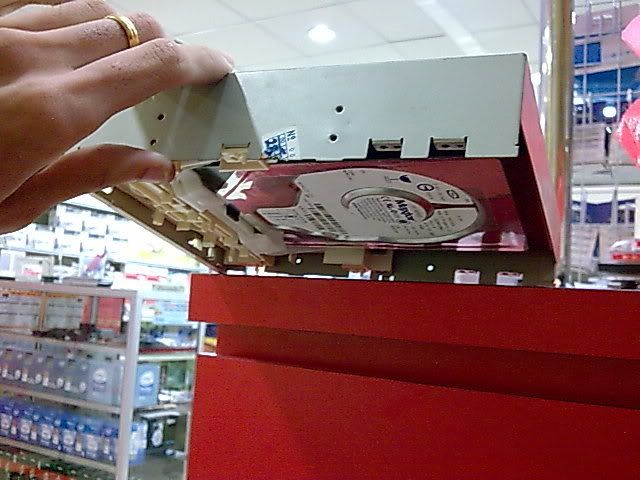
Loller.. I got nothing to do here at the shop. We have a numbnuts working here who is, everyone agreed, at the bottom of the IQ table. I saw him wrecking an old cd-rom and I asked him what he's doing. He's trying to stuff a hard disk in, cover it up, and slot it into one of the bay drives. Gave me an idea. Imagine that, ideas from a numbnuts.
Grabbed one old ASUS rom, unscrewed the bottom part and basically ripped all the greens out.
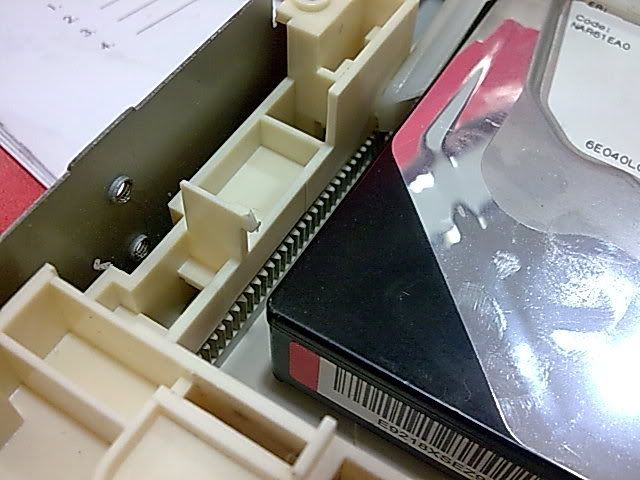
Then I found something of a latch attached to it, hooked. So I have to amputate Captain Hook in order to use the latch. Remove all the moving parts in it, and bring the hatch down
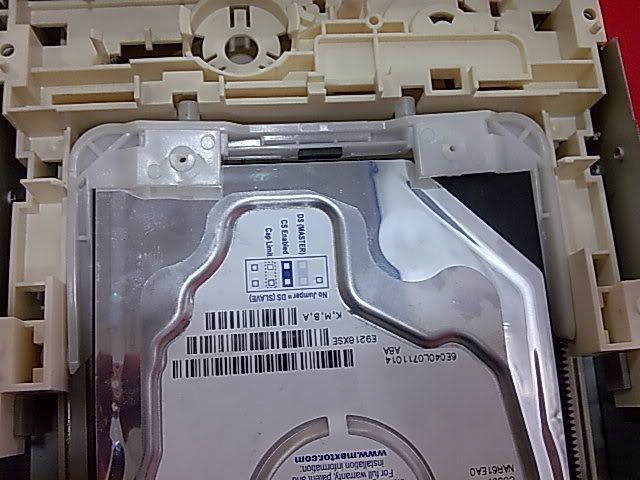
Perfect fit. Too bad now we need to cut the back as there's no space there.
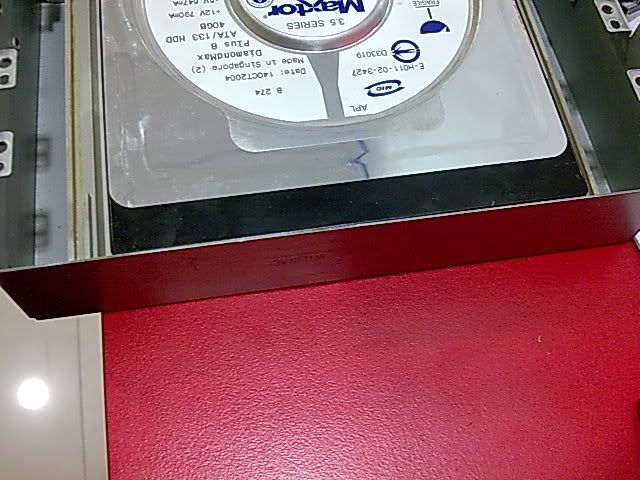
Hmmm, gonna take me some time to mold thru this thing and stick it to the bottom panel to save place and airflow allocation (strong 120mm fan at the bottom of the front panel pushing air thru this junk first and then the graphics card ;) )
Voila... doesn't move a single millimeter when overturned...
Be back soon :)
Haha that looks awesome. Nice idea.
Snug as a bug....in a rug...and a mug?
Nice Harddrive cage :P
I'm really liking the overall look so far. I think some UV paint may be in order when you get to that stage.
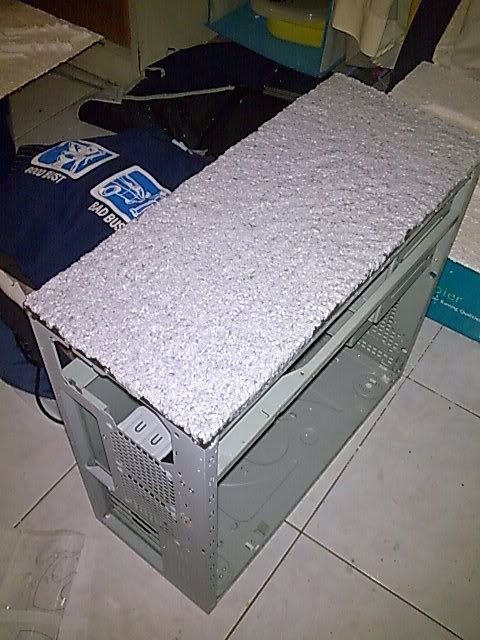
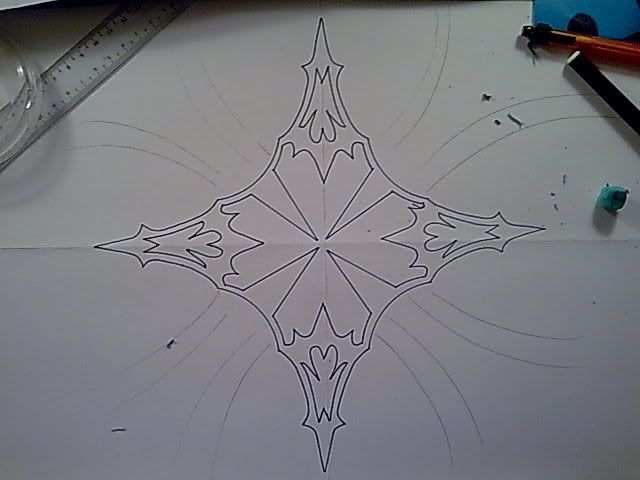
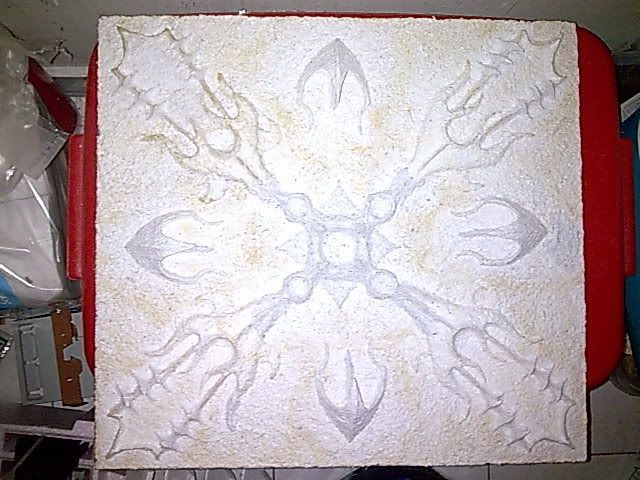
Top Panel Part 1
Headache. Everyday not enough sleep because of the thing. Layered up the top panel cos I can't touch the left panel since its done. Decide to scrap the right panel design since its too... um.. low profile compared to the left one.
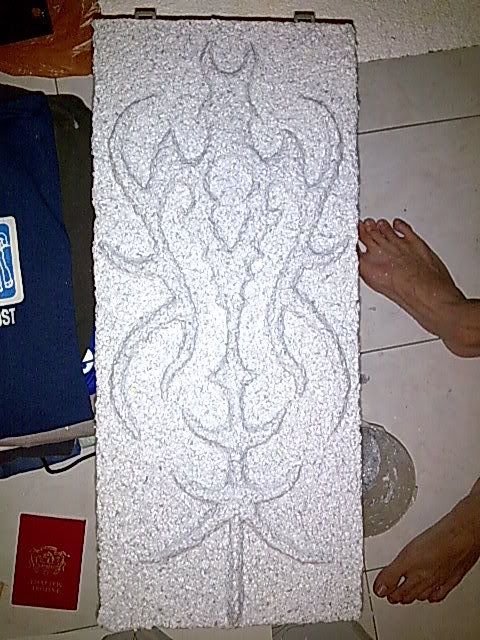
Found the design of the top panel too small and empty at the back so did some free hand add in. Still not done yet, just the first layer, its going to be bulkier than this
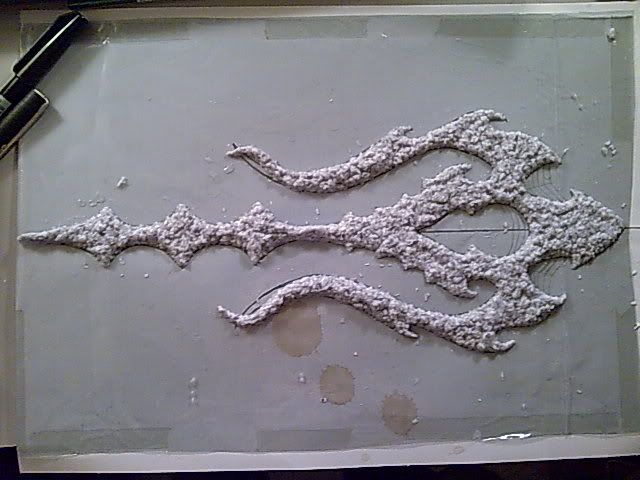
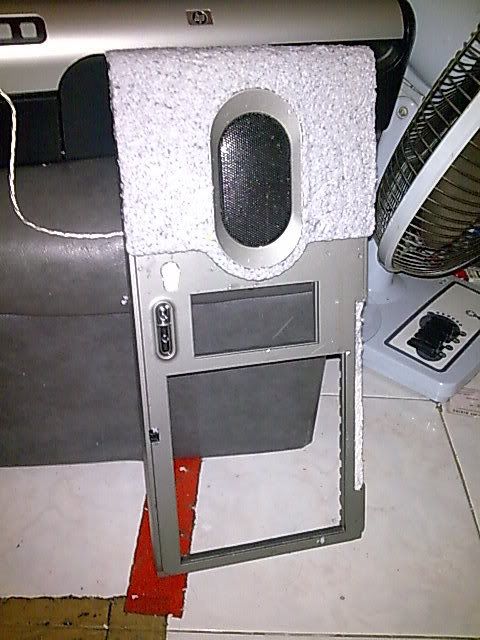
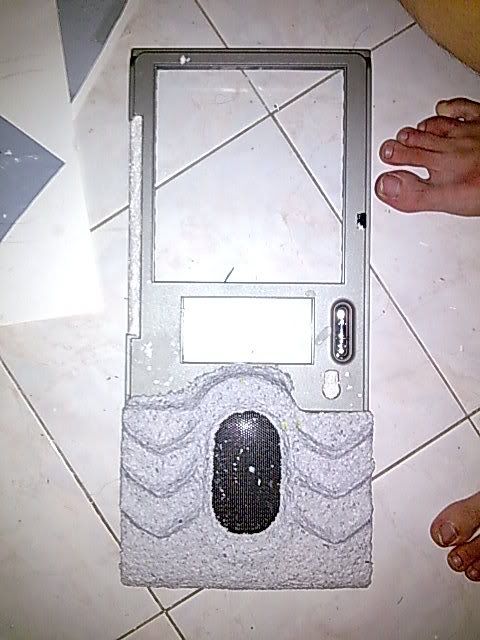
Front Panel Part 1
Layered the front panel a bit cos I still havent go and get the plexi for the fan (occupying the 3 5.25" bay under the DVD) and ran out of paper halfway molding.
This the right panel's new design, need to wait for paper to soften before molding. a bit packed but see if I can pull it off.
Left panel done, need to do some refining to fill in gaps and not-so-smooth curves, then test painting on test materials before starting to paint the panel.
This is gonna look so awesome once it's done, keep it up.
keep it up:D