Great looking start. This is going to be one of those mods that make me wish I had 1/2 the talent some of you guys do.:bowdown: Quality like this is inspiring to say the least. +rep

Printable View
Great looking start. This is going to be one of those mods that make me wish I had 1/2 the talent some of you guys do.:bowdown: Quality like this is inspiring to say the least. +rep
sooo this is the secret project u wouldnt tell me about............
Bod, you should have just started this thread in the featured worklog section, it's gonna end up there anyways!
Great work!
Thanks man!Quote:
Originally Posted by msmrx57
Umm actually, it isn't......... ;)Quote:
Originally Posted by DonT-FeaR
lol thanks, but that is up to the all-powerful mods to decide. :)Quote:
Originally Posted by DrumThumper
Smallish update just to let you know I'm still working on it :thumb:
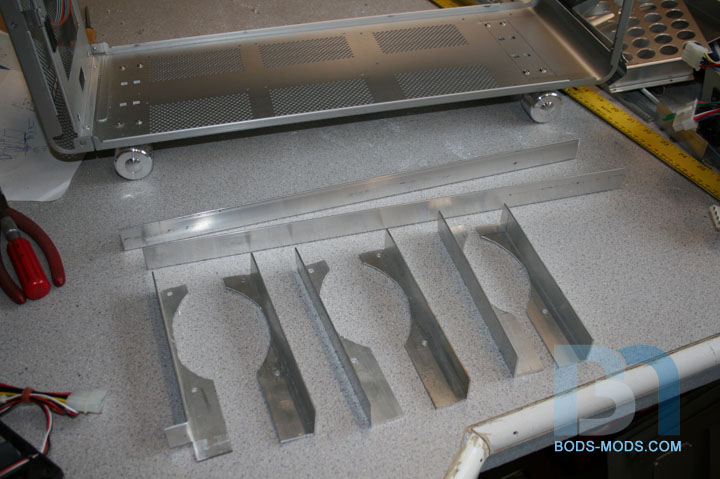
Laying out the rads and fans placement, I whipped up some quick mounts from angle bar.
Then I laid them out to see where they will eventually go.
I'm working up some custom acrylic one-piece mounts that will look much better than these ones.
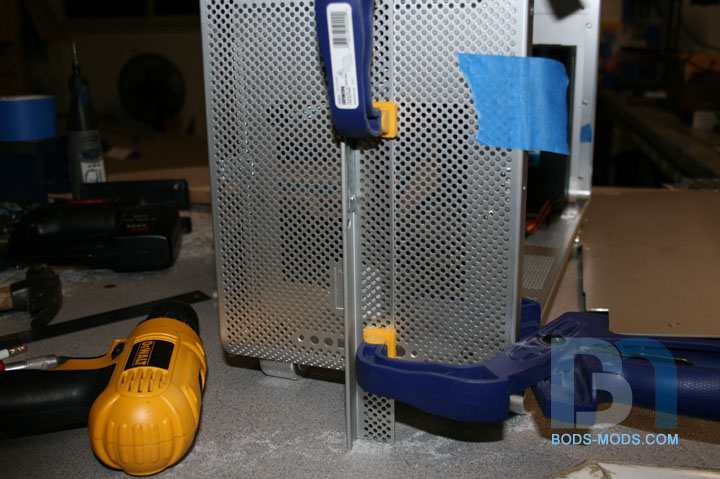
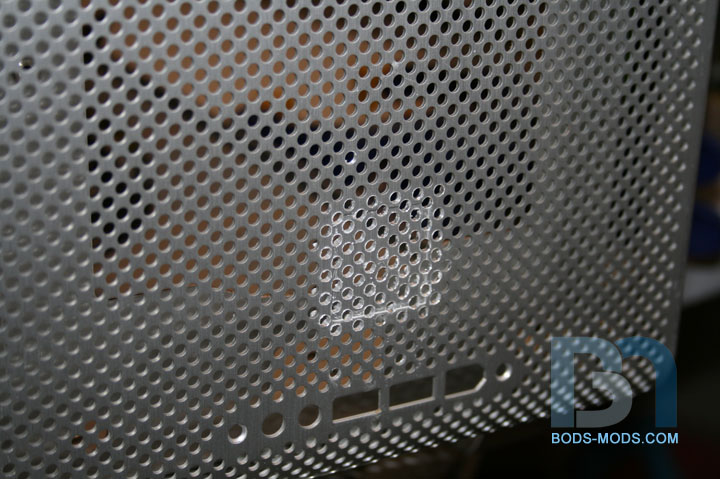
I also did some cosmetic work to the front of the case. It seems that Lian Li forgot to drill some holes in this one area,
and they just stuck a square name badge over it to cover up their mistake! :lol:
Well, not to worry, I'll take care of it...
I used the corner piece I cut out as a guide to drill out the missing holes.
All done, save for some sanding and filing. :)
I will have a custom name badge mounted over this area, so it has to look uniform, which is why I drilled out the old LL badge.
I should be able to get some more work done over the weekend, so til then!
Love the number 3 idea, and aluminium, watching with much interest.
Oh I like this. Really some cool ideas coming out in this. The resivours should looks awesome when finished. PSU mounting is nifty. My favorite has to be the pass-throughs for the radiators. Looking forward to seeing this one done.
She is looking really good Bod, as always your attention to detail is amazing. Keep it up.
Thanks guys.
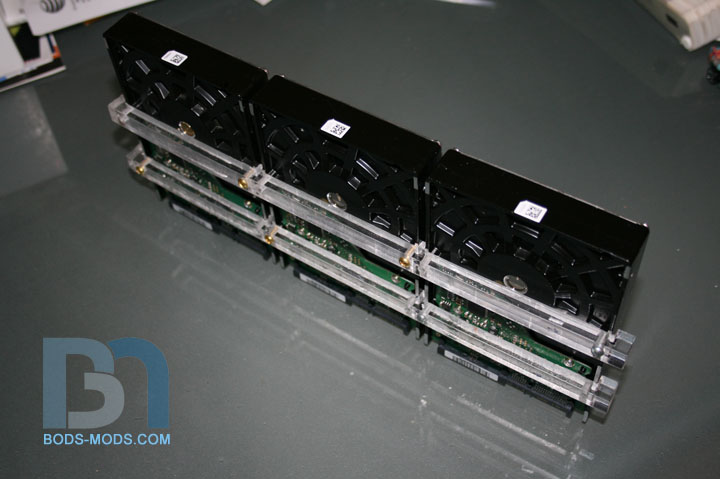
Got more accomplished this weekend. Worked on the side panels a bit more, and got the hard drive mounts done.
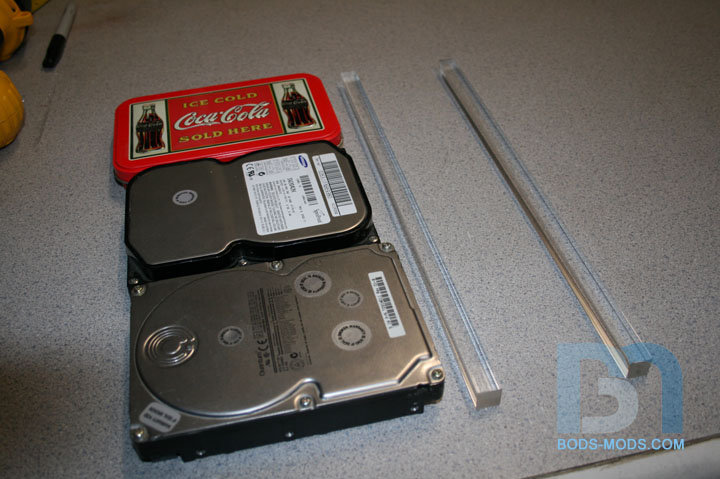
After contemplating how I was going to mount three hard drives in the case, I decided to go
about it a bit differently than the standard drive cage. I came up with a way to stack them up,
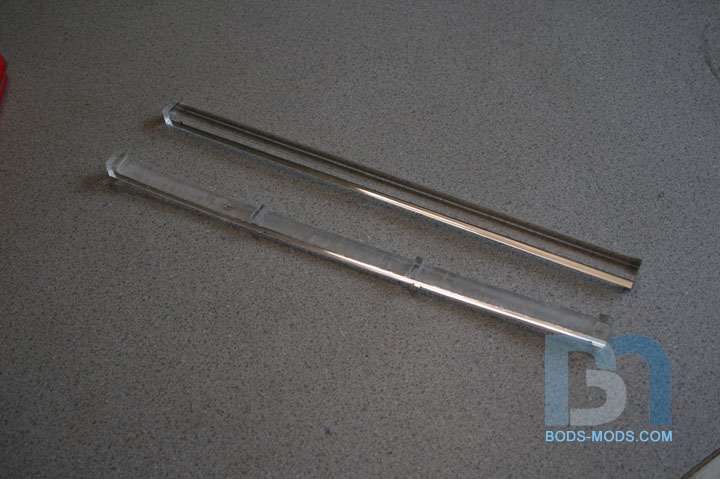
but on their sides, so there will basically be a wall of drives next to the motherboard. I used
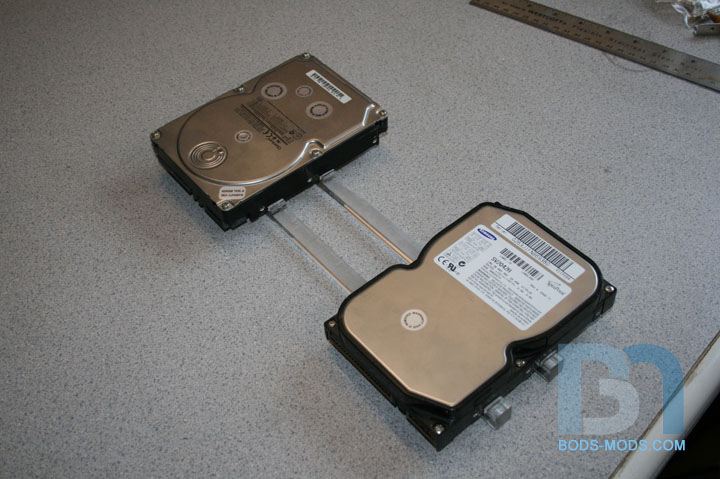
some 1/2" square acrylic rod, cutting two pieces equal length. I only had two old drives, so I
used a Coca-Cola tin as my third, just to get an idea of overall height. three drives stacked
comes out to 12", and I have 13" total height from the floor to the top of the case. So I spaced
them out so I had 3/8" on top and bottom, and 1/8" in between.
I marked the rods and cut out three 4" sections for the drives. One done, one to go.
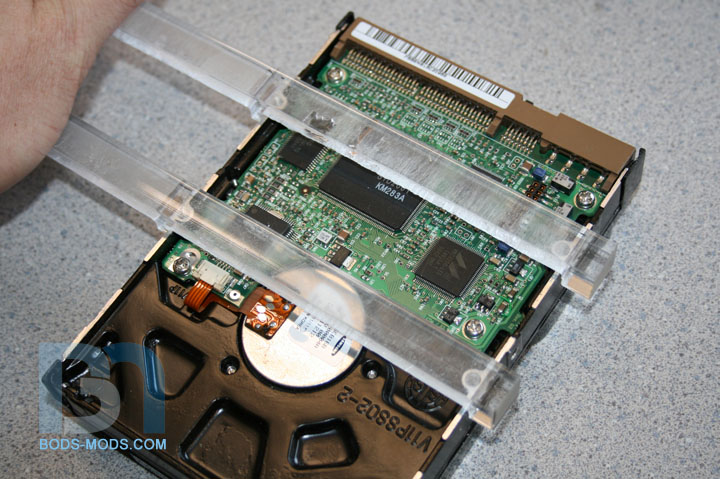
Here's how the drives will sit on the rods.
I will be utilizing the drive's bottom mounting holes, instead of the usual side holes.
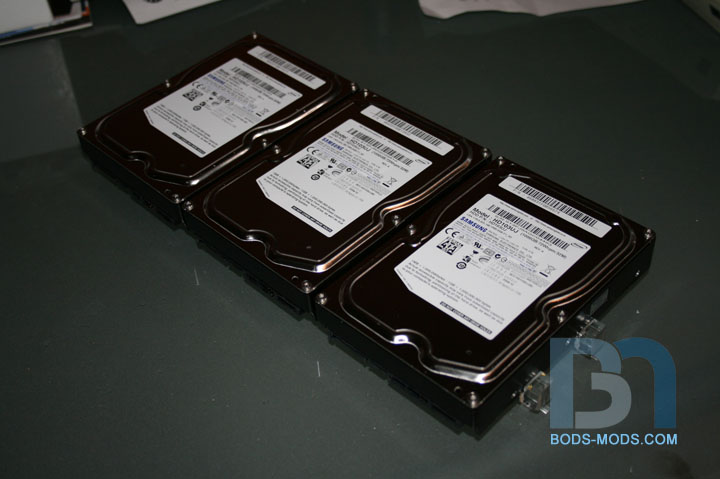
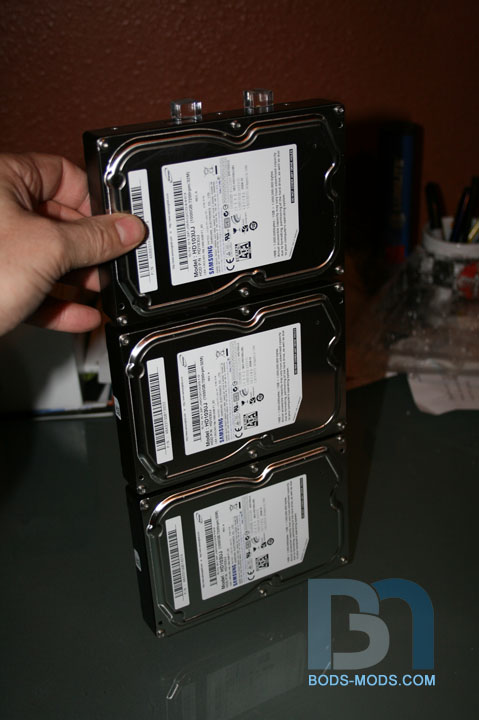
After some filing and general clean-up, I brought the 1TB Samsungs out for a test fit.
Here is how they will be positioned in the case.
To secure them in the case, I will drill and tap some holes in the bottom ends, and in the back
side for the top. Once I get to the lighting portion of the build, I will probably add some led's
as well and light them up.
8)
The HDD rack looks awesome mate, nice work.