My first real mod, Redbeard's Case
This is the worklog for my first real mod project, due to going back to college it remains not 100% but it is currently being used in the state it is in. All I really lack on it is to finish placing the lights in the case, decide on and obtauin the decals for the case, and repaint the front panel (cold weather left some undesirable places in the paint.) Anyways on to the worklog...
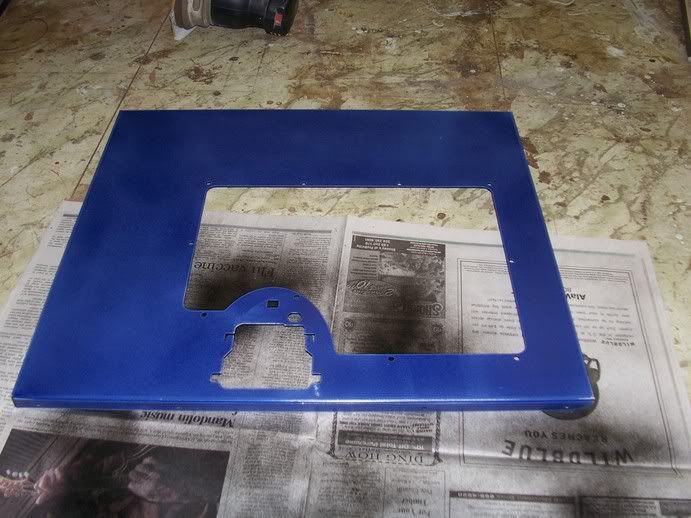
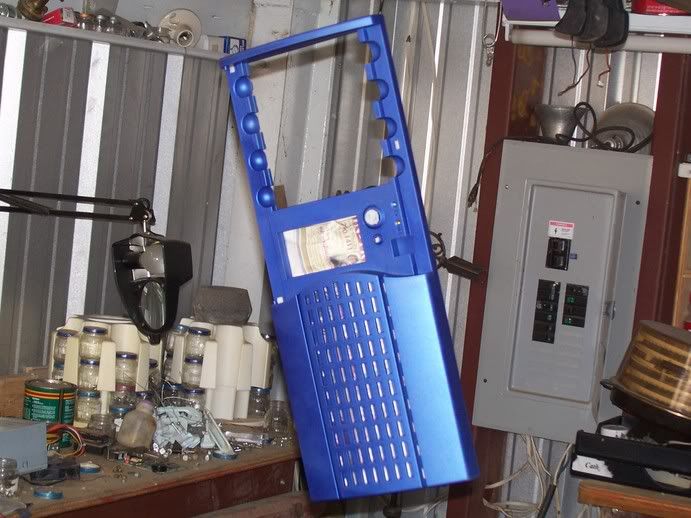
My case is a previously used blue chieftec dragon and the original front panel had to be replaced. Here is the front and left side panels after being sanded and preped to paint.
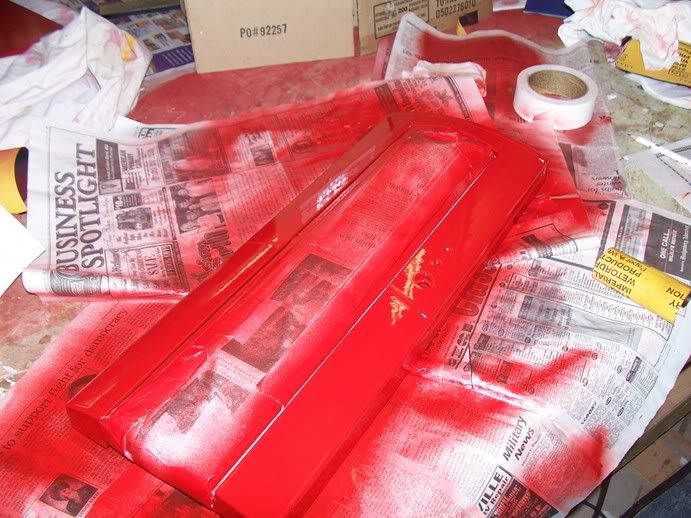
I decided not to use a standard primer because I wanted my color to be darker than it would have been if I had used gray primer. I used Duplicolor Adhesion Promoter (a clear primer usually used for plastics.)
Here is the front panel with a few coats applied. The paint I used was Duplicolor Acrylic Enamel Cherry Red.
Re: My first real mod, Redbeard's Case
Let me take a moment on this post to mention my father who without his help this project would not have been possible. His knowledge of cutting metals and painting more than made up for my inexperience.
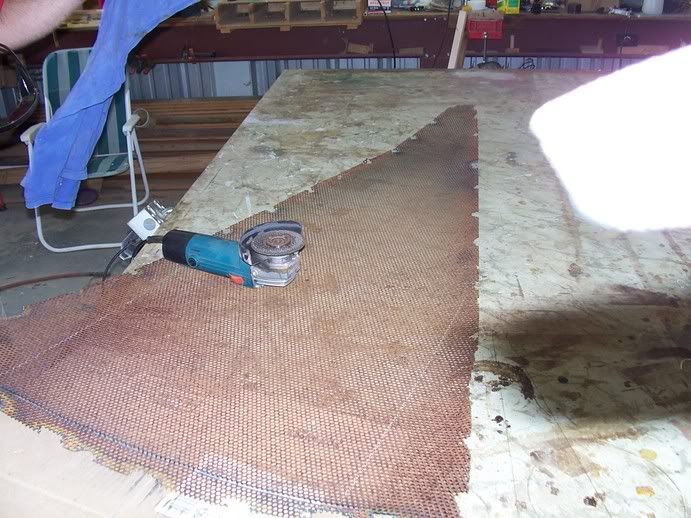
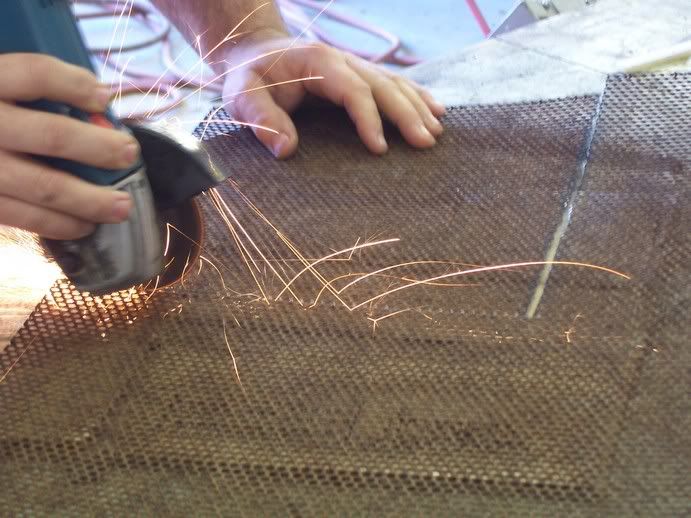
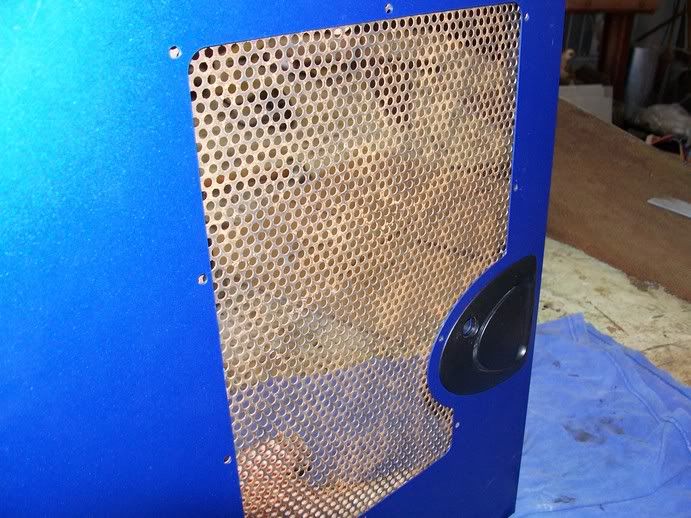
Anyways, on the mesh panel. I personally like the look of perforated metal on a case mod and try to use it as much as possible on my cases. The problem is locating a small enough quantity of good quality perforated metal in my region without spending a fortune is unheard of as far as I know. The metal we used is actually from and old panel of satellite dish.
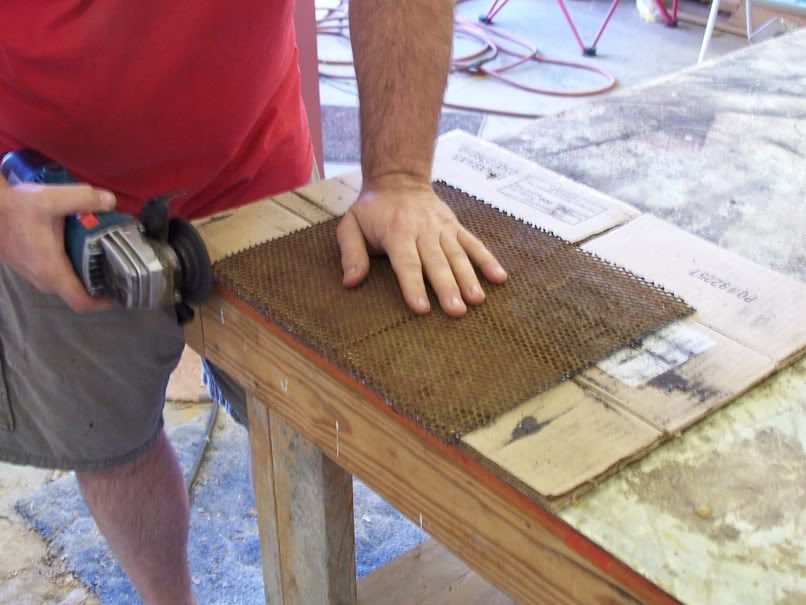
My father did all of the cutting at this stage:
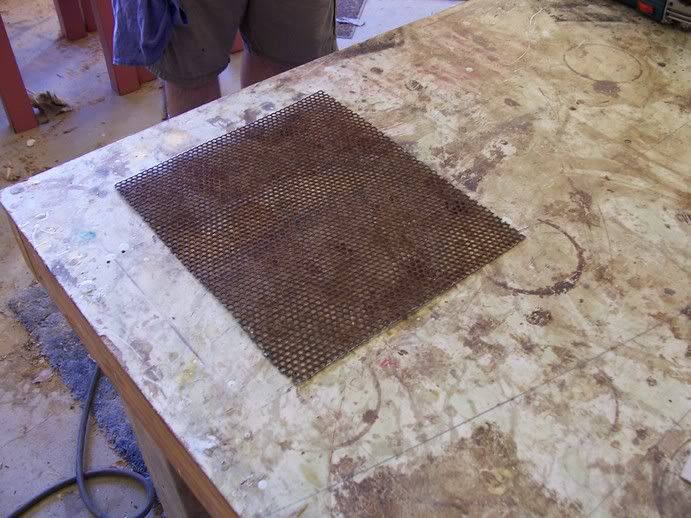
Here is the panel before cutting.
Cutting the panel.
Freshly cut square.
Deburring the edges.
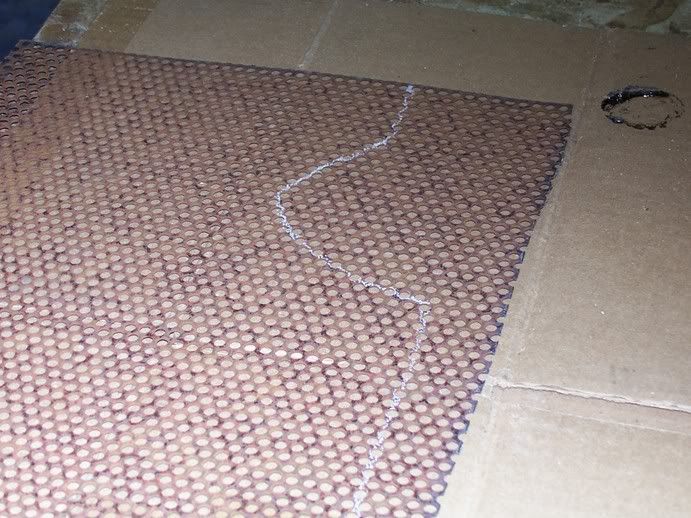
Marked out are to cut for the edge side with the curve in it. Then we sanded the metal.
Our first look at the metal in its future placement.
Re: My first real mod, Redbeard's Case
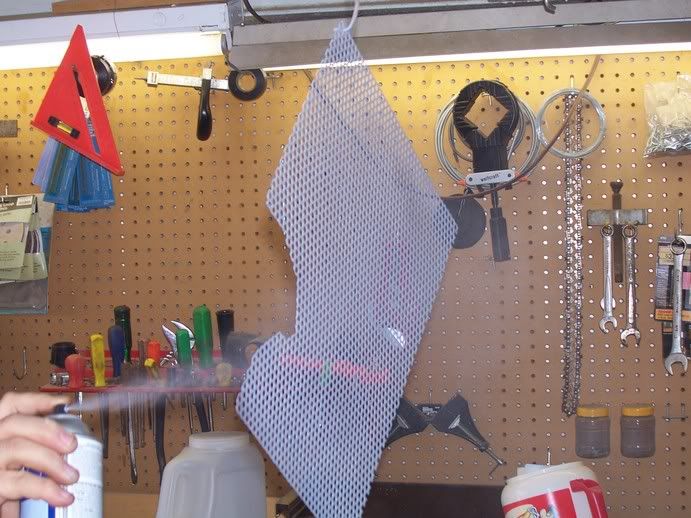
Next we sprayed gray primer and then later we painted the grill with the same type of paint I purchaed for the case, except glossy black.
Next we began intenisive painting on the case panels, unfortunately I didn't take many pictures of this stage.
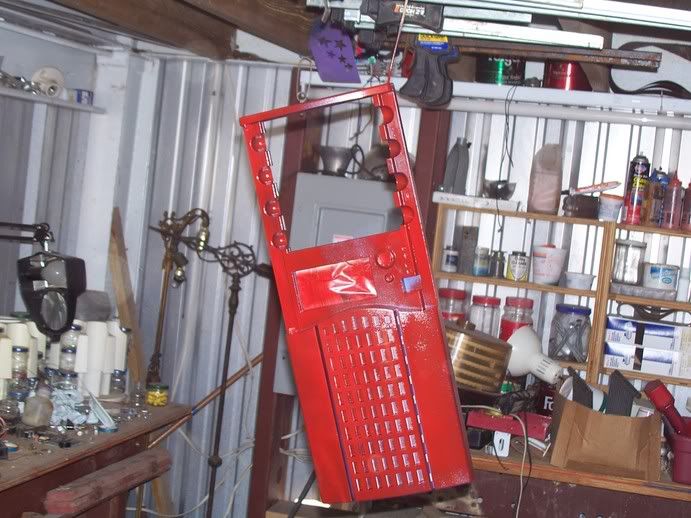
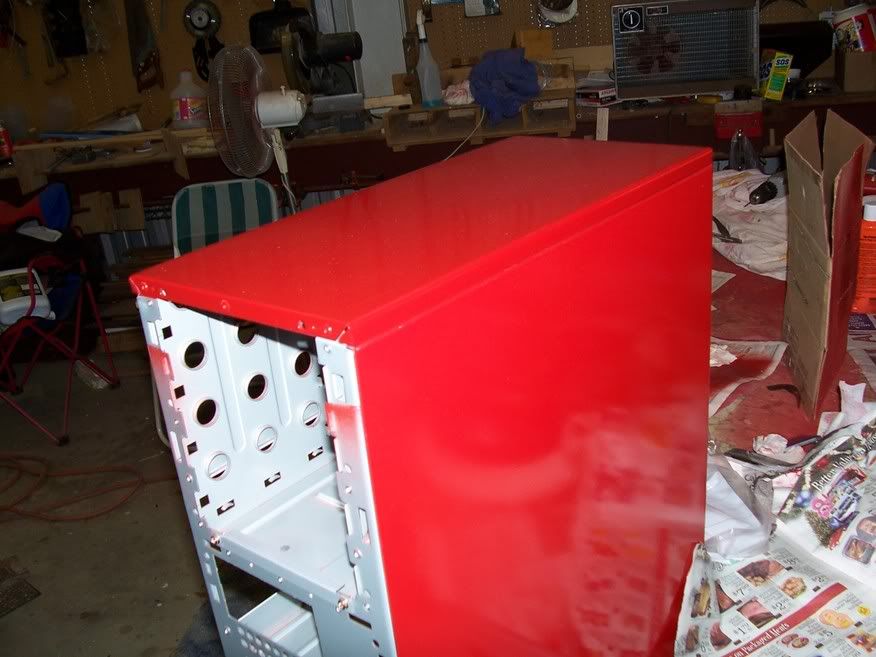
Here, after the first few coats of red we painted the inside portion of the front panel black to match the mesh side. After drying we covered the black again to repaint the red portion a few more times.
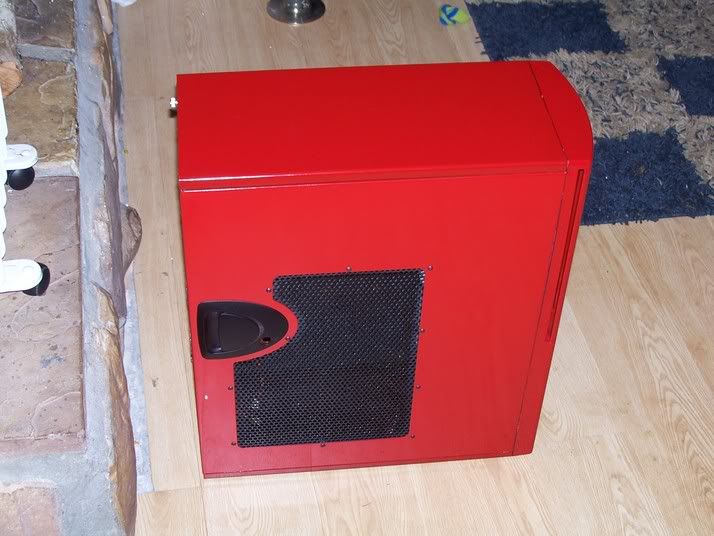
Here's the right side panel after painting and waxing. After everything dried assembly is all the remained to finish the leg of this mod.
Re: My first real mod, Redbeard's Case
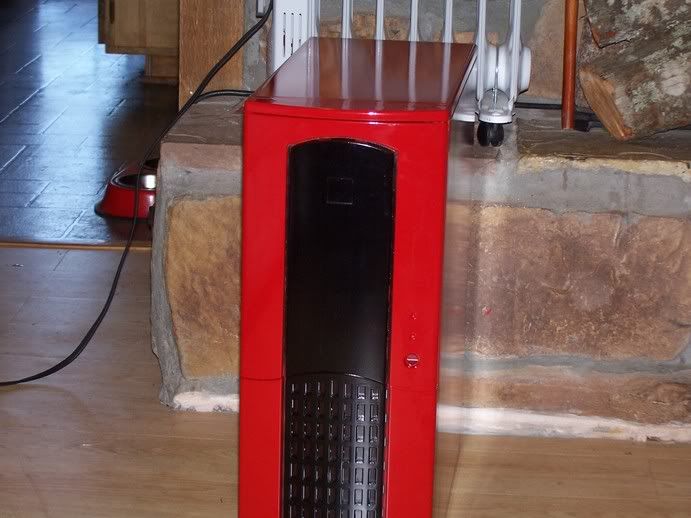
Final pictures before I left for school, all that has changed is the guts were finally put in as well as some lighting and a jolly roger bage to decorate the door.
I plan to finish the case durring the summer.
This project has allowed me to gain a wealth of knowledge, especially painting with acrylic enamels.
The specs are:
Pentium 4- 3 GHz
1 GB Corsair Value Select RAM
250 GB Western Digital HD
Radeon 9800 Pro
Re: My first real mod, Redbeard's Case
Well its definately not what I was expecting.. but still a bangup job. Looks VERY nice and CLEAN!! Great job
Re: My first real mod, Redbeard's Case
Very nice 4 a first mod !! ;)
Re: My first real mod, Redbeard's Case
yeah I know I got away from my original ideas but I felt this was more viable with my lack of experience.
I think I posted this thread in the wrong forum, sorry it was late when I did it.
Re: My first real mod, Redbeard's Case
Looks good, the cherry red panel is drop-dead sexy.
Want me to move it over to worklogs for you?
Re: My first real mod, Redbeard's Case
Re: My first real mod, Redbeard's Case
Yummy!
Great job on the painting! Please keep us up to date on the remainder of your modifications!
Where are you going to school?