Hello everyone :)
At this moment I've been working on my casemod Cubeleon for about two years. So the original design dates back to 2005. Since then I've learned a lot about casemodding and my way of designing en making parts also changed a lot. I always try to be original and I make pieces that take a lot of time.
Sometimes I just don't want to work on Cubeleon, so I started this project. There will be a lot of subprojects during time, which gives me the chance to het faster result en to finish a part within a few weeks/months ;) I started making reservoirs, after being hooked by the incredible work of tribaloverkill.
I came up with the name Phase 2 Casemodding because I want to go into another phase of casemodding. I want parts to be made by people themselves, instead of them just buying parts. I don't think I will start another phase of modding, but at least I've tried then ;) The name also comes from the second phase of water, the liquid phase. I begin this project with two reservoirs, but I don't know if I will ever make parts that aren't used for watercooling. We'll see :)
With these reservoirs, I wanted to use plexiglass on a different way than it's used normally. If someone is using plexi in het casemod, most times it's just as a second layer between the case and, for example, a fan grill. I don't say it doesn't look nice, I'm using it too, but I'm getting a little bored by that by now. So I'm looking for new ways to use it, and I will start with creating two reservoirs :)
My first reservoir has been finished for a while, but I haven't posted it on english forums yet. I will now ;)
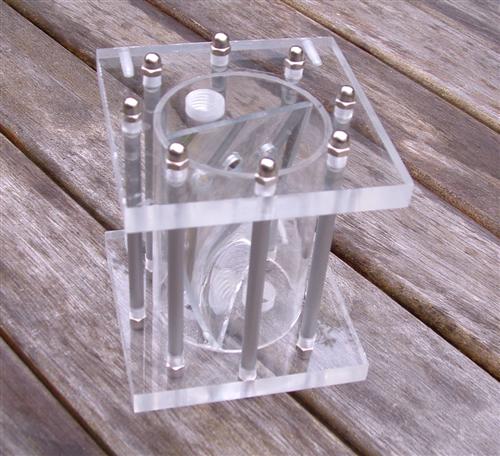
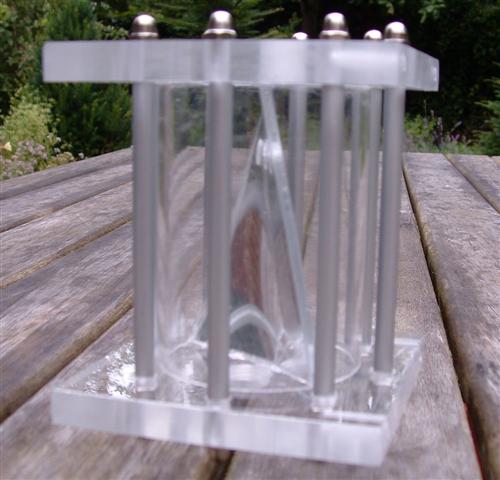
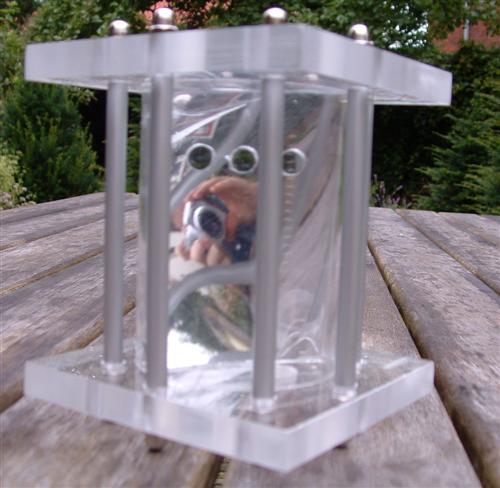
Swirl
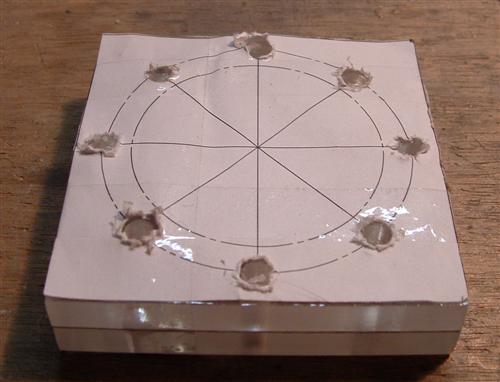
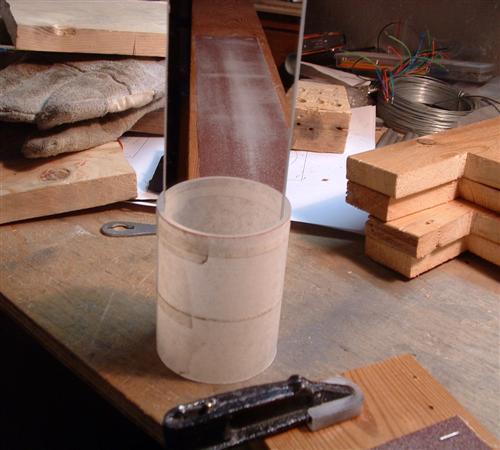
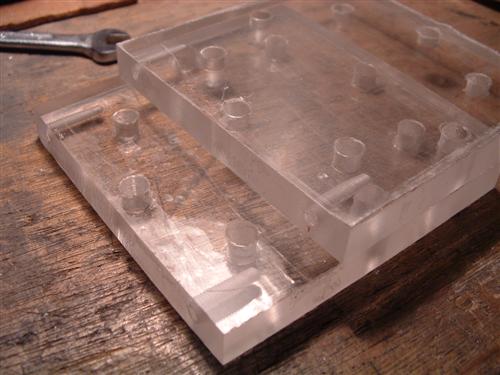
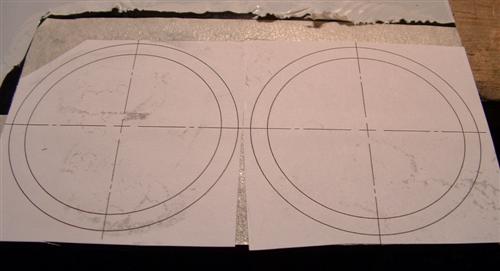
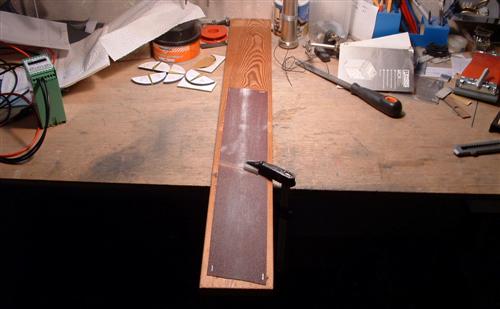
This used to be a nameless reservoir, but for the conversation, it's easier to give it a name. The creation of this res all started with a SolidWorks design. After that I ordered the plexi and started sanding the edges. This was necessary because the shop I ordered it from gave it a rough finish by cutting it too fast.
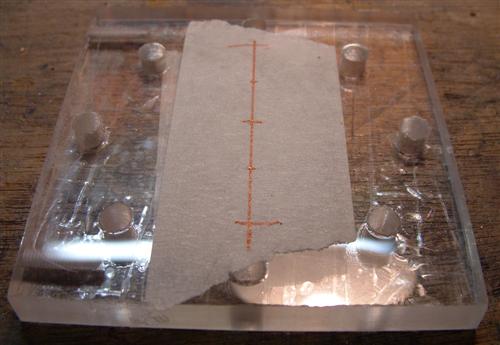
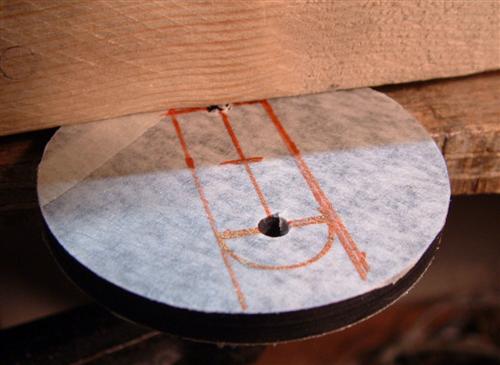
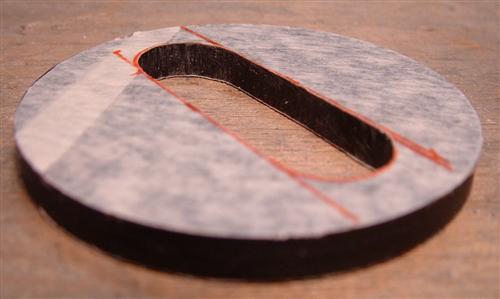
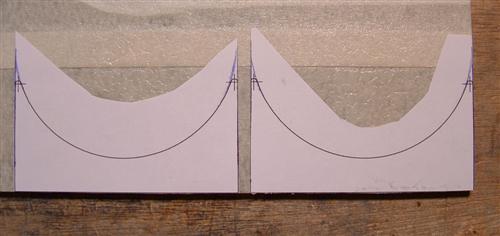
I printed out a drawing and stuck it too the plexi. After that I drilled through both of the sheets.
And after cutting some tubes, a mockup can be made :)
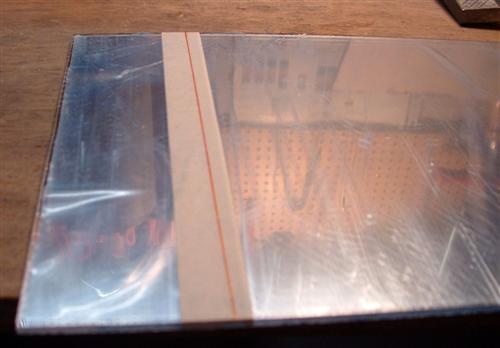
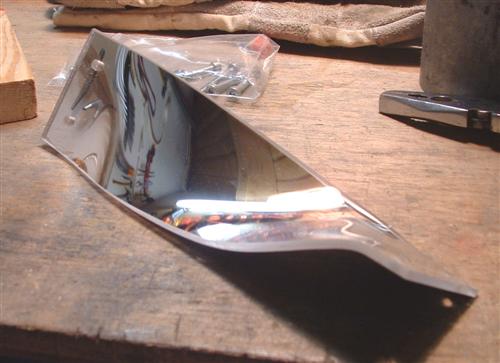
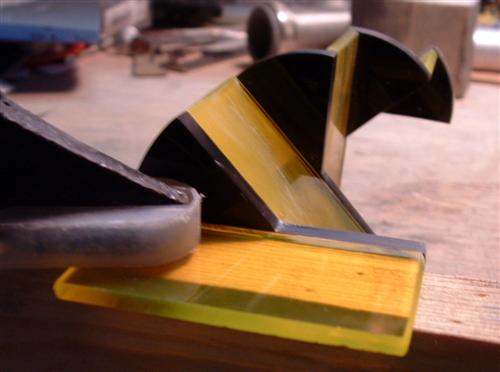
After that, it was time for the big 'feature' of the reservoir, a piece of mirroring plexi. Cutting:
The reflection is actually very good :p
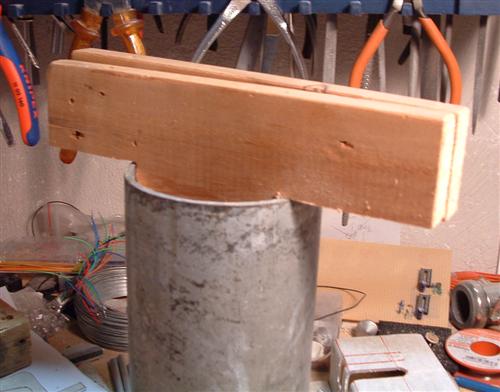
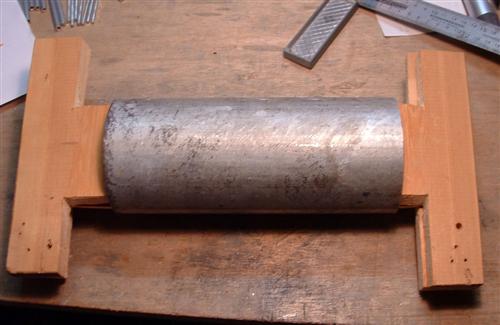
This piece needs to be bended, so I tried to create some handles from wood, to bend it within this piece of steel tubing:
The wood goes into the tube like this. I will mount the plexi in between and heat it up to give it a little twist.
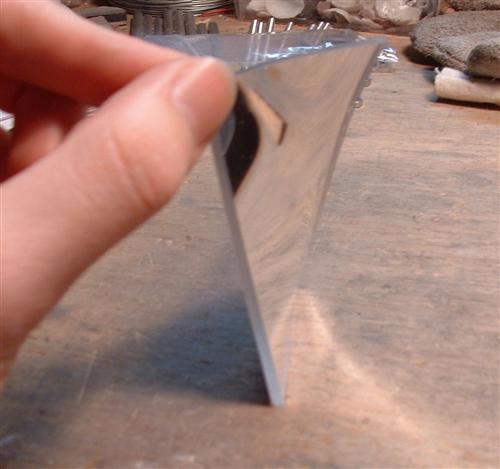
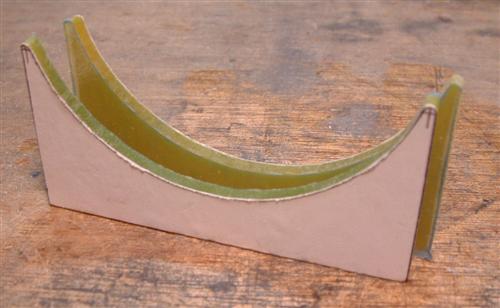
This idea didn't really work, because I was unable to get enough heat into the plexi. So I got rid of the tube. After bending, it looked like this:
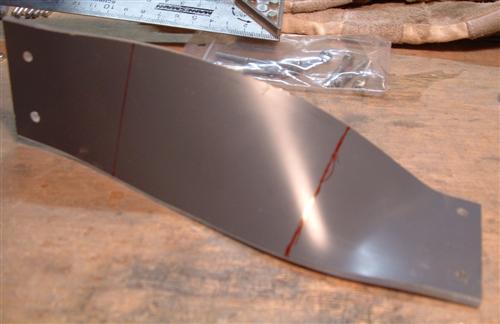
I intentionally took a piece of plexi that was a lot longer, so I coul pick out the piece that was bended the nicest. This piece was the chosen one :p:
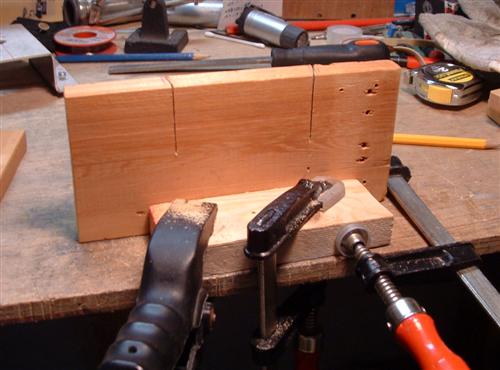
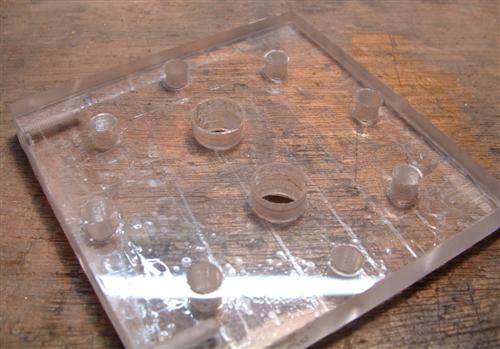
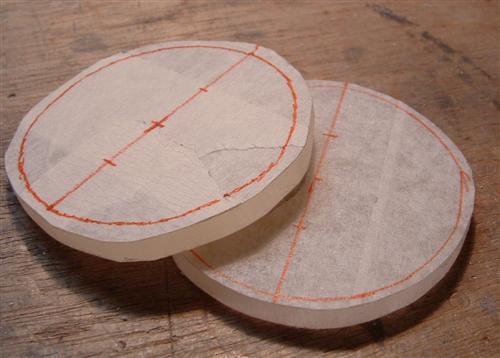
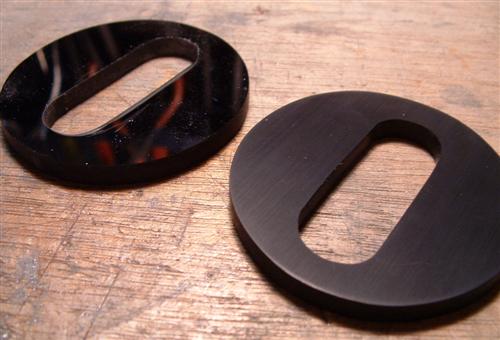
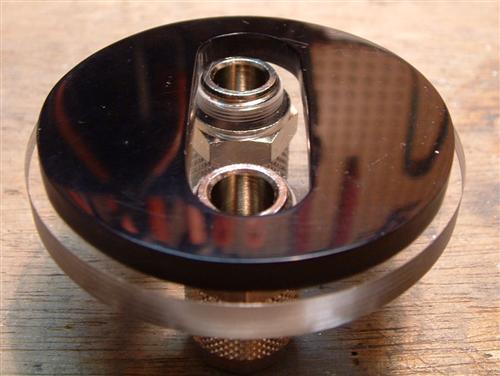
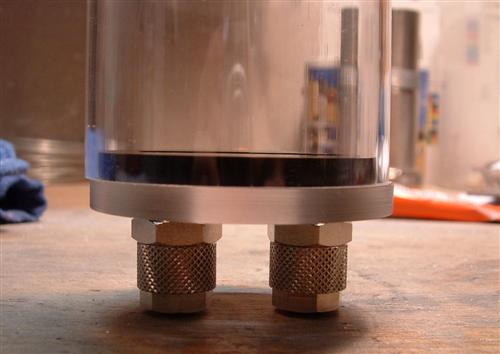
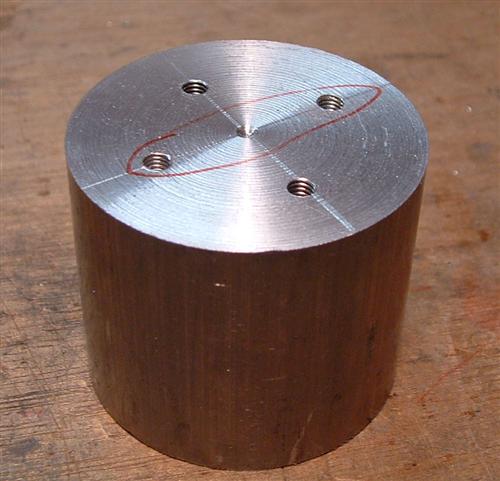
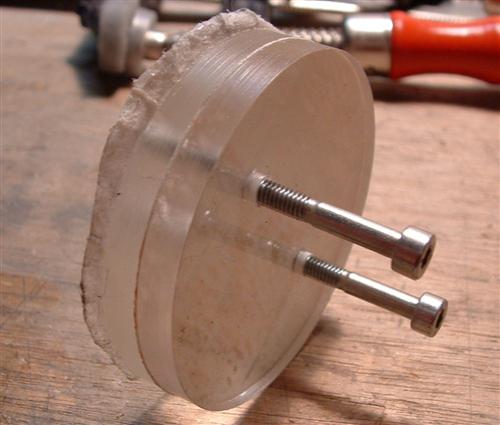
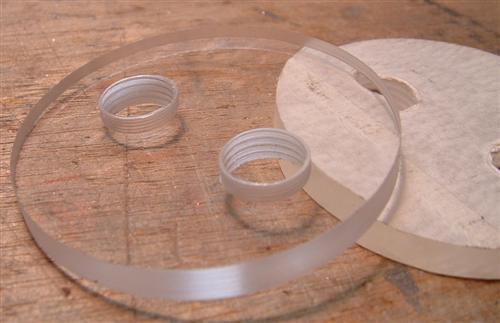
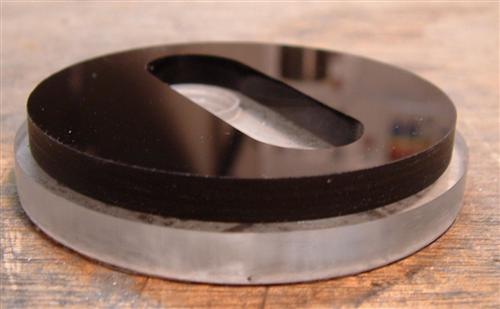
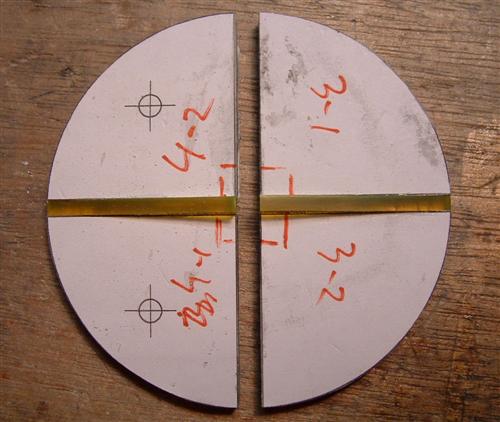
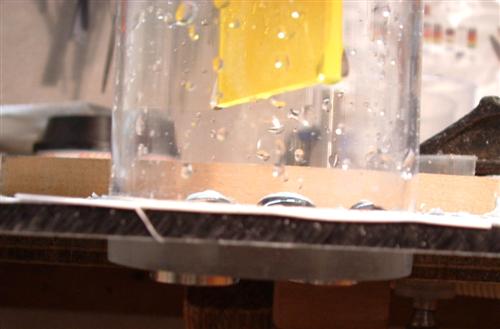
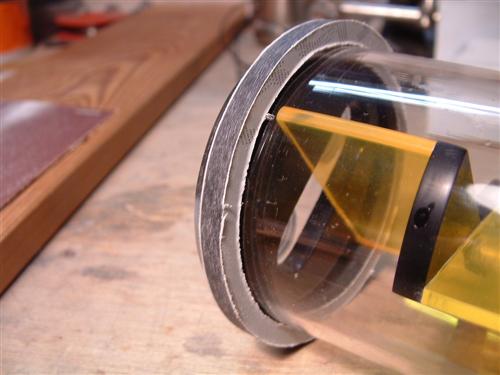
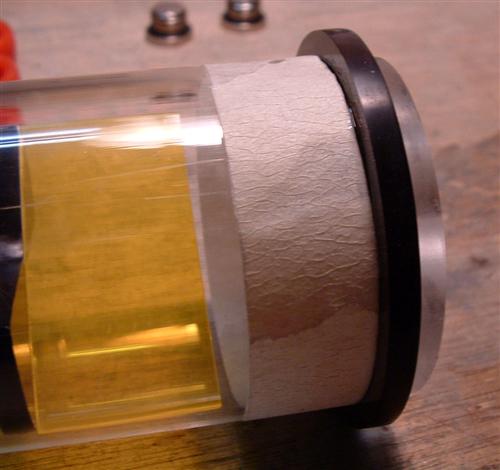
To be able to mount the res to the case, I drilled and tapped some holes:
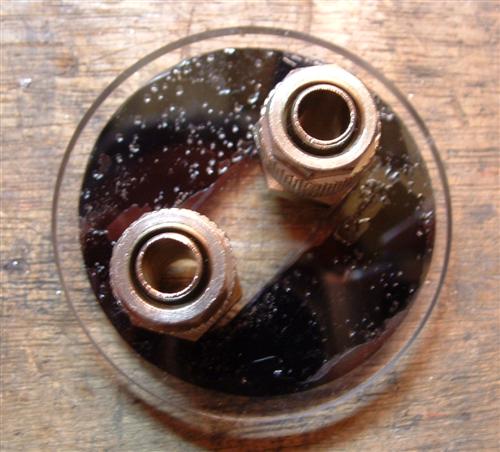
Now it was time to drill the holes for the connections. I will drill these to 12mm, and than tap it to G1/4". One on the top, two on the botton.
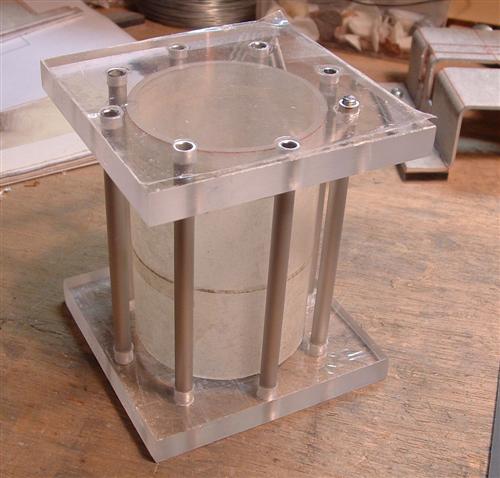
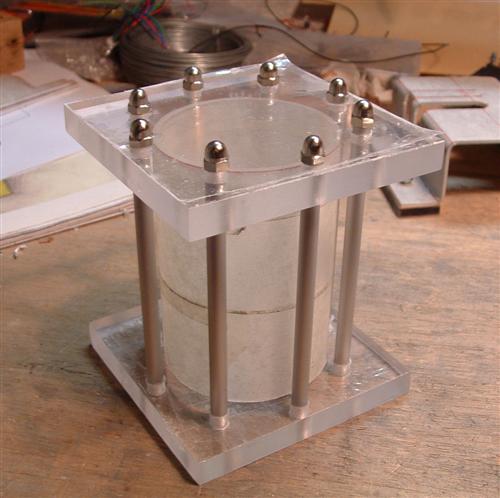
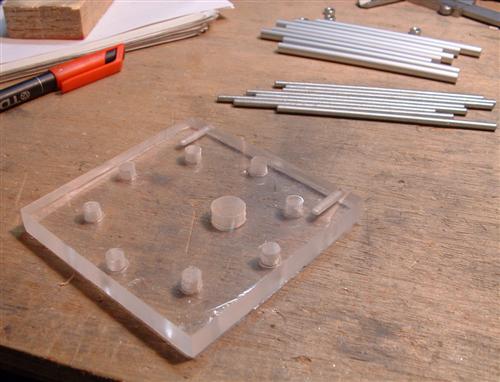
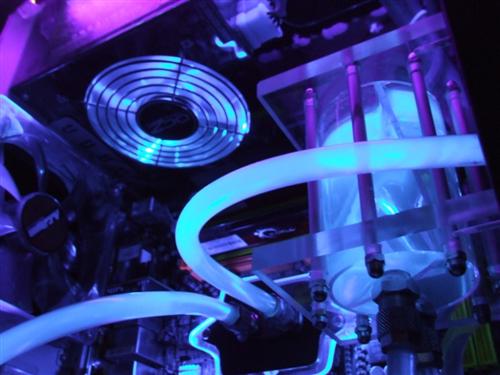
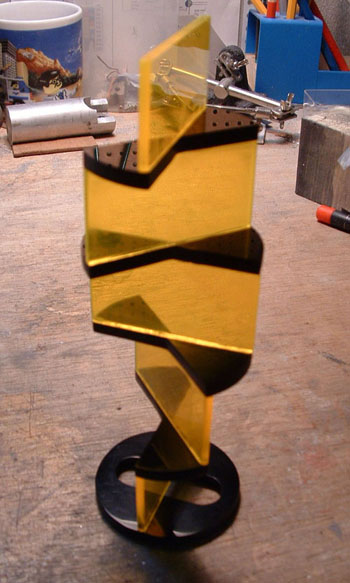
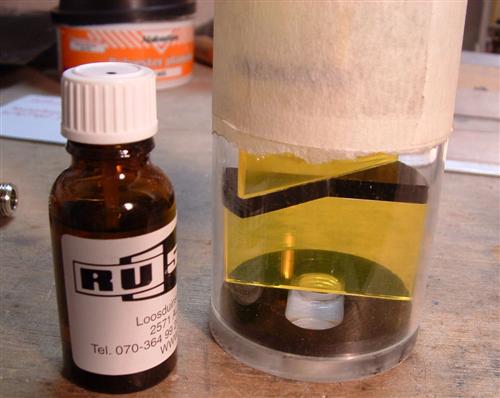
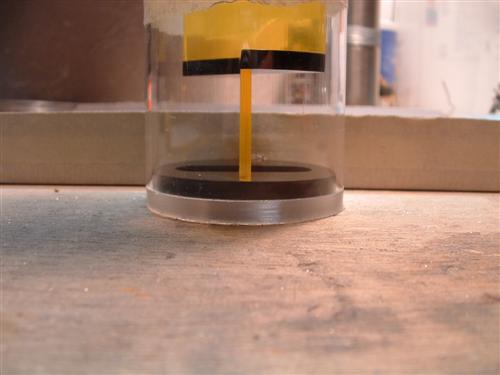
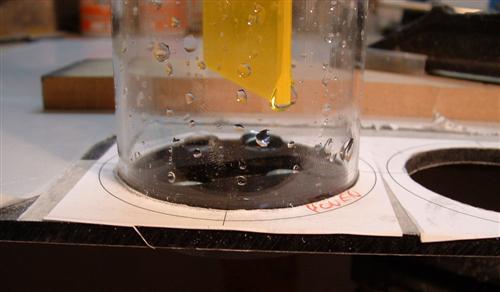
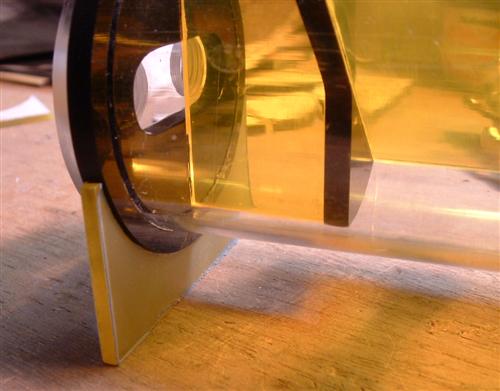
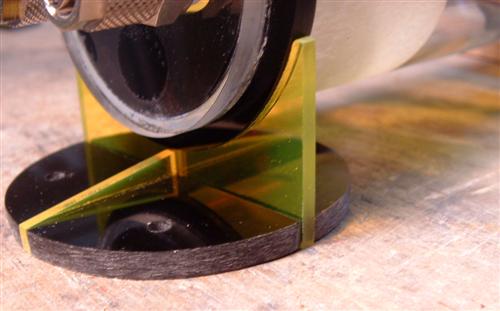
After glueing and sealing, the end result looks like this :)
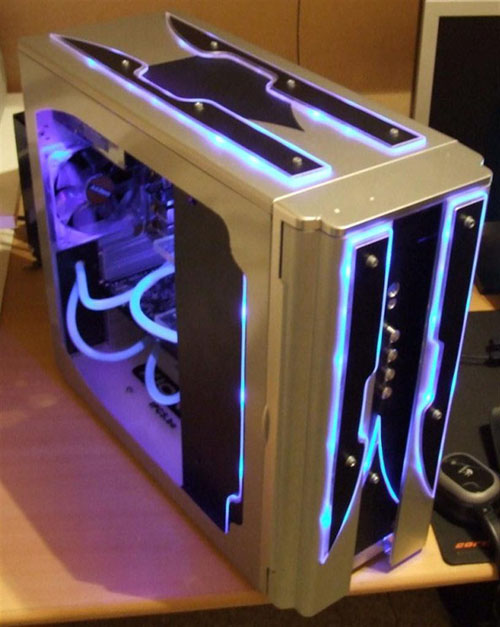
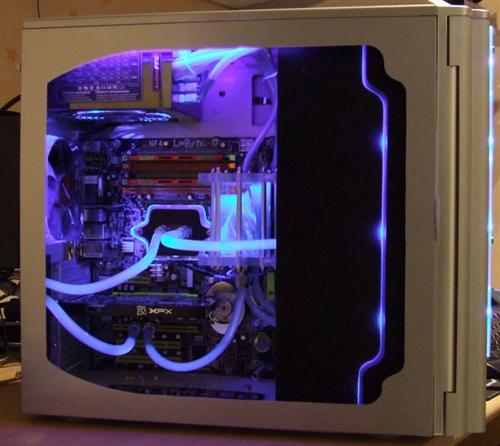
After posting my res on a dutch forum, Stievius was interested in buying it, and it's now nicely mounted in his mod Xionized :) He has won a lot of prices at the Benelux Casemod League, so I hope that was a little because of this reservoir ;)
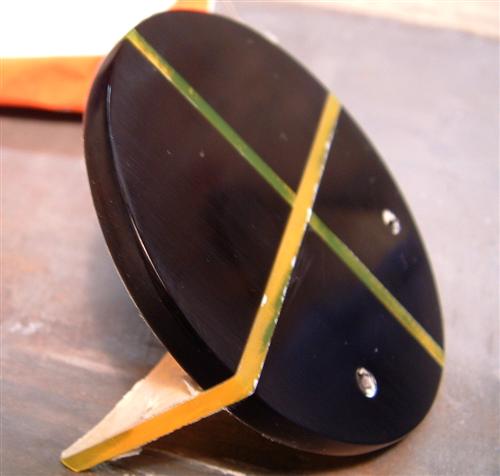
B-res
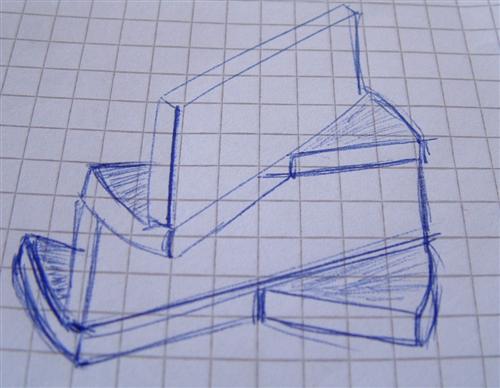
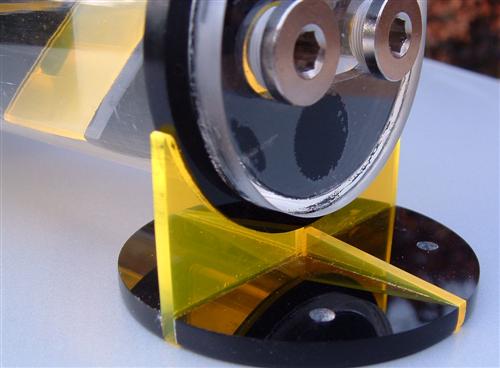
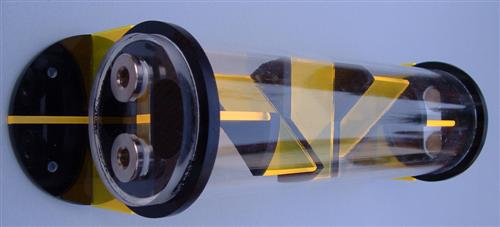
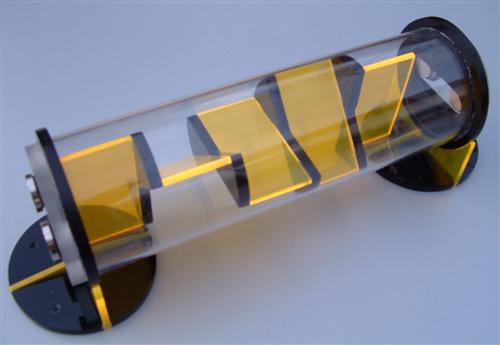
And on with the second one :) It's called B-res because it's the second one a made, and B as the second letter from the alphabet. It also has the colors of a bee :p It started with a simple sketch, the basic idea:
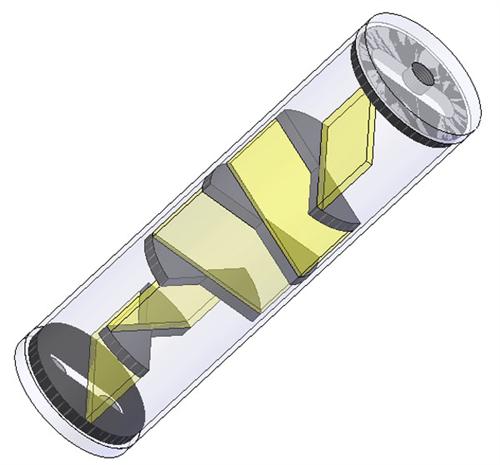
I designed it further using SolidWorks:
Unfortunately I lost a lot of pictures from the beginning, because my XD-card died. At this picture, I've cut and glued all of the pieces for the twist. I've sanded and polished every edge, to achieve perfection :)
And this is how it looks finished:
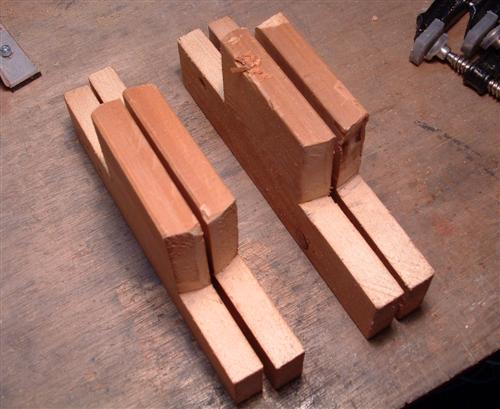
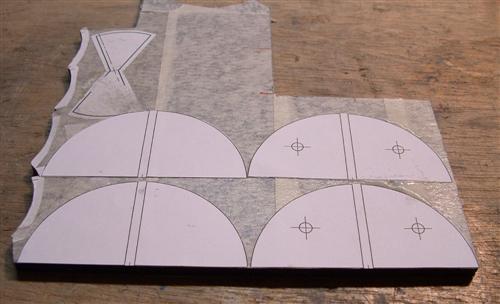
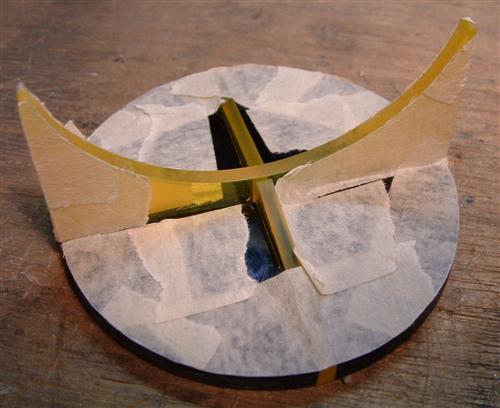
This is the first version of the endpieces. Started with a rough cut:
And the pieces that should come on top of them:
After glueing it looks like this :mad: It's all wrong, and the glue is ugly as hell:
Because the first version of the end caps couldn't get nicely round, I made some new ones using the lathe at school. I used a big chunk of alu to mount the pieces in the lathe: